
We tell how to independently install the pallet, doors, roof and check the operation of the shower. And also list the popular errors with which many are faced.

Installation of the shower cabin most often trust professionals. However, this can be done independently, if you know the installation technology. The article we understand in all intricacies. Our instruction will help you not only make a conceived, but also to control the work of the master.
How to independently install the shower:
Types of devicesDesign features
Choosing a place
Preparation for work
Step-by-step instruction
Check
Errors
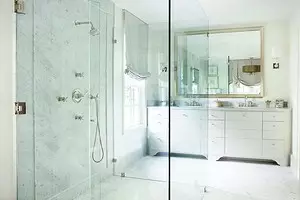
Types of shower
Let you do not confuse the variety of products in stores. All of them are divided into two large groups: open and closed type.
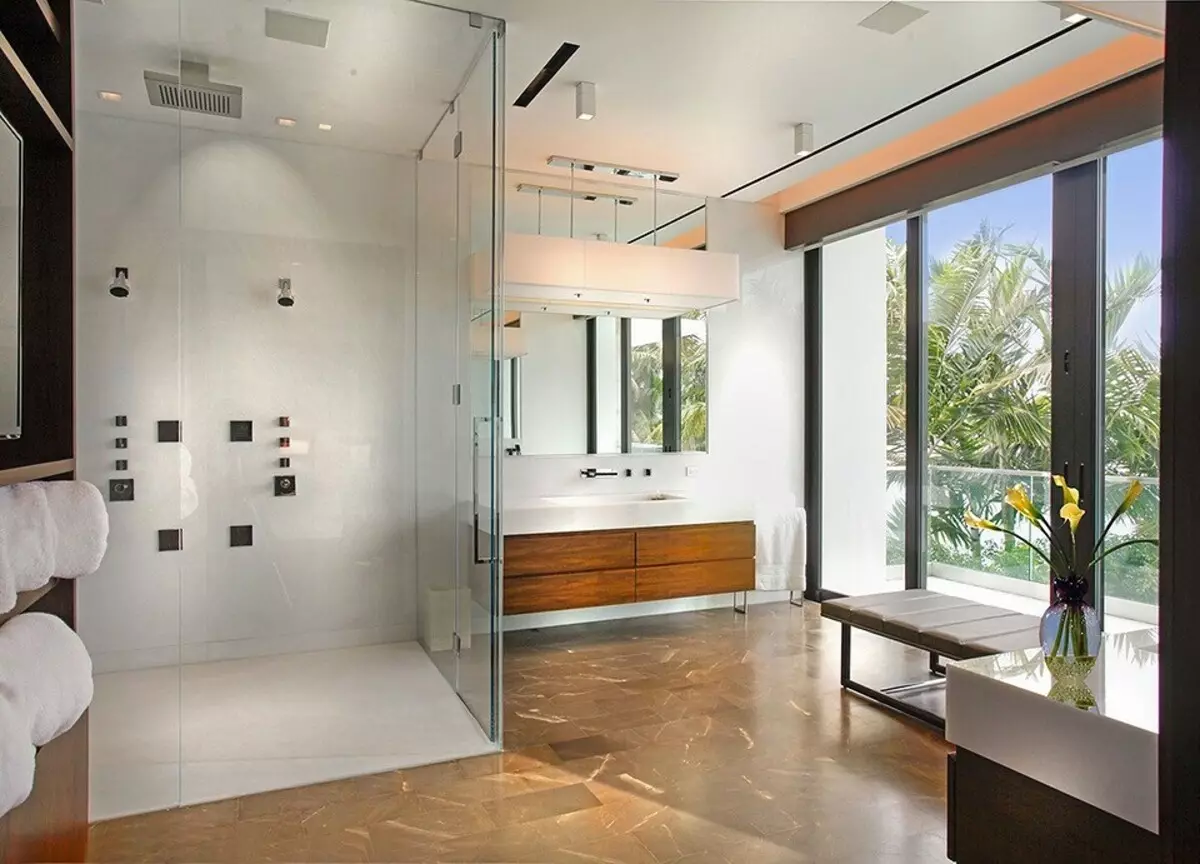
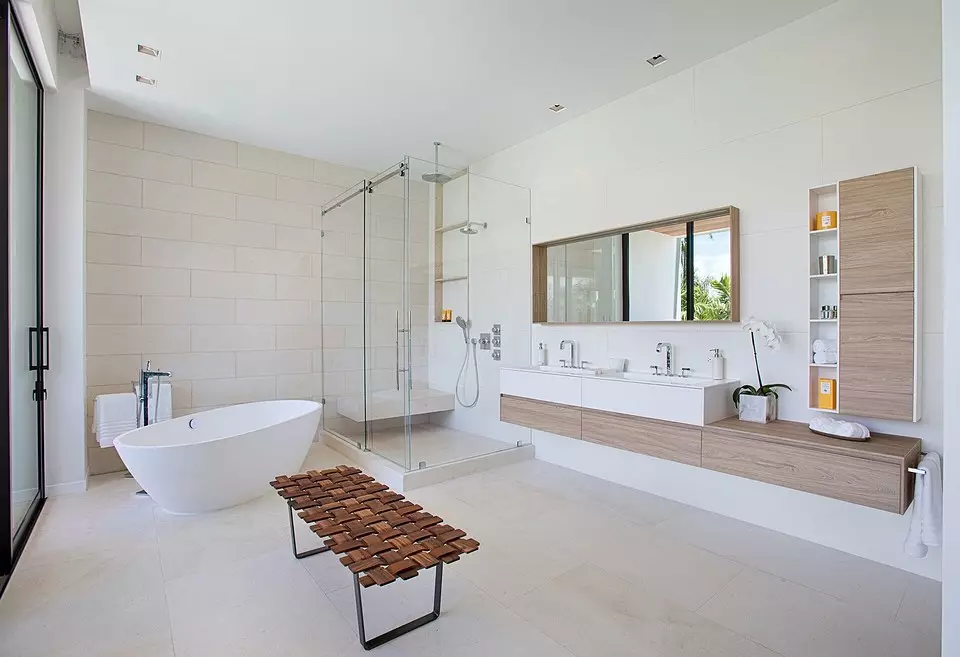
- Open - excellent option for small bathrooms and spaces decorated in minimalist style. This design does not have a roof and is assembled from the walls and the base, which can be built into the floor. Most often is installed in the corner or by the wall.
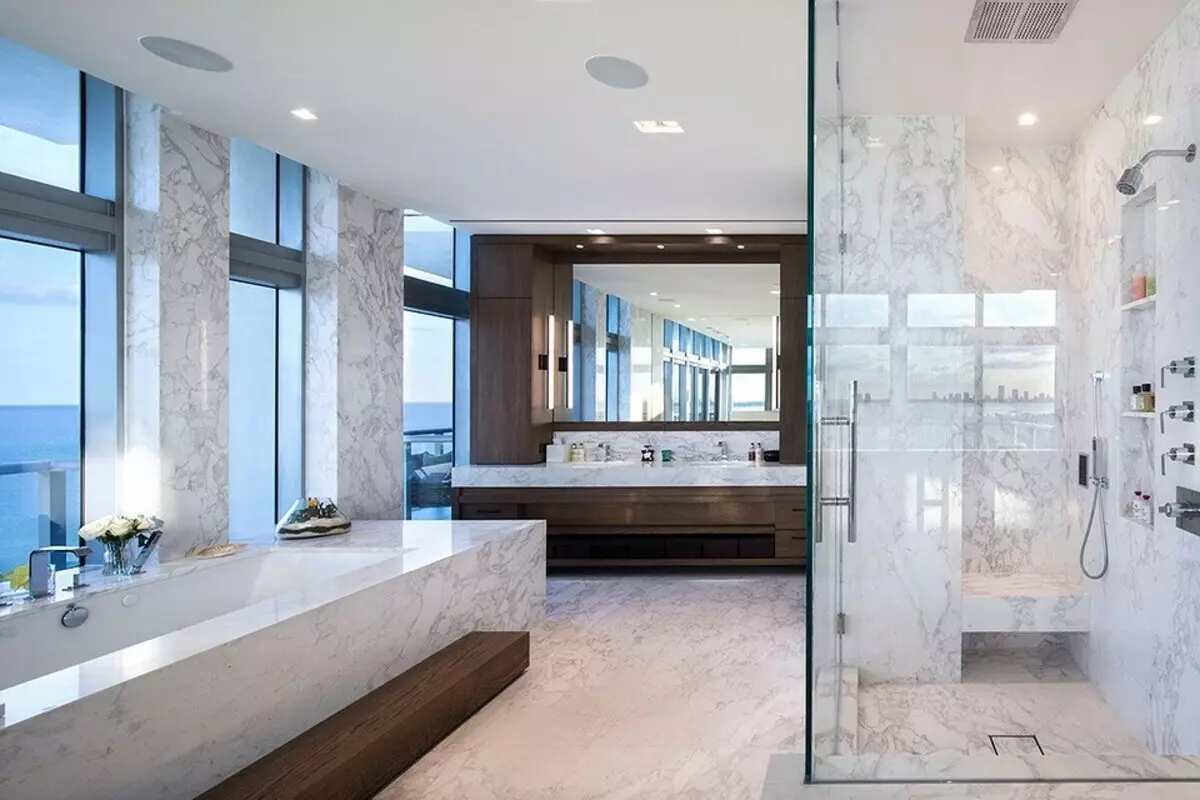
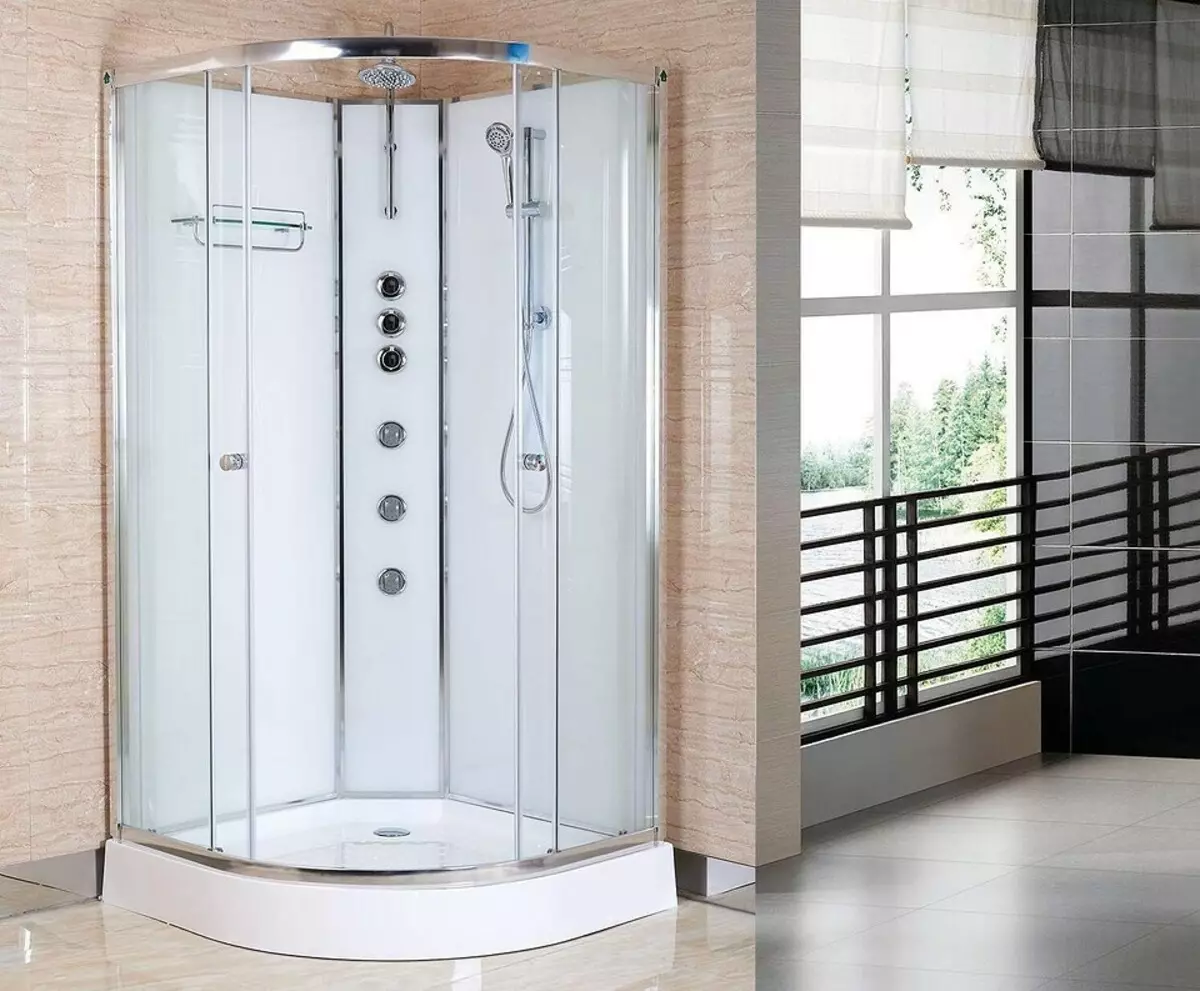
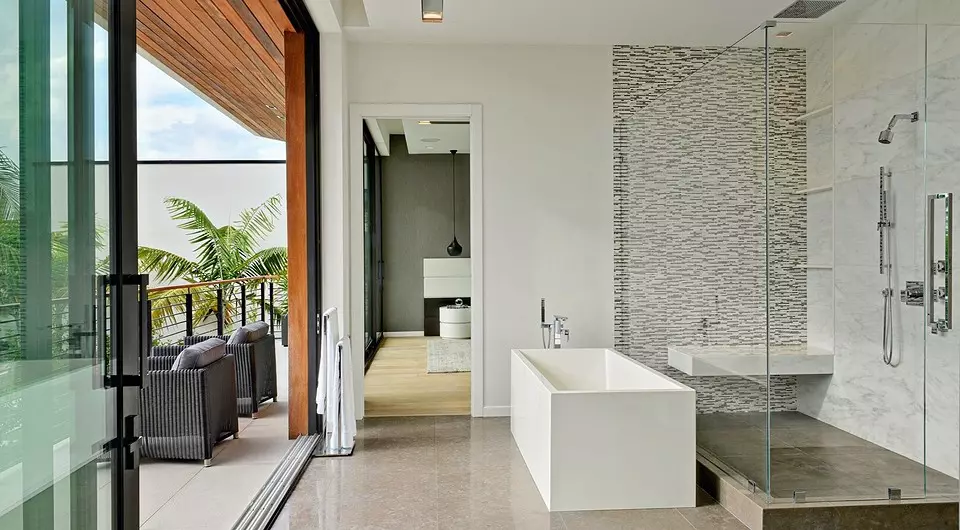
- The closed is a system in which there is also a ceiling in addition to the walls and the pallet. It can be placed anywhere, even in the center of the room. At the same time, some models are equipped with additional features: radio, hydromassage, tropical and contrasting shower, sauna mode, and so on. However, such a cabin needs more space.
Technical features
The first, with which it is desirable to understand before starting work - the components of the device.
One of the main details of any product is pallet. They differ in materials and magnitude:
- With low sidelights, it is more convenient from the point of view of ergonomics, it is not necessary to step over an obstacle. Yes, and externally, the whole design looks easier. But this device requires a good drain system, since it cannot hold the large amount of water.
- With high sideboards, you can use as a small bath, and most of them are just designed for such operation.
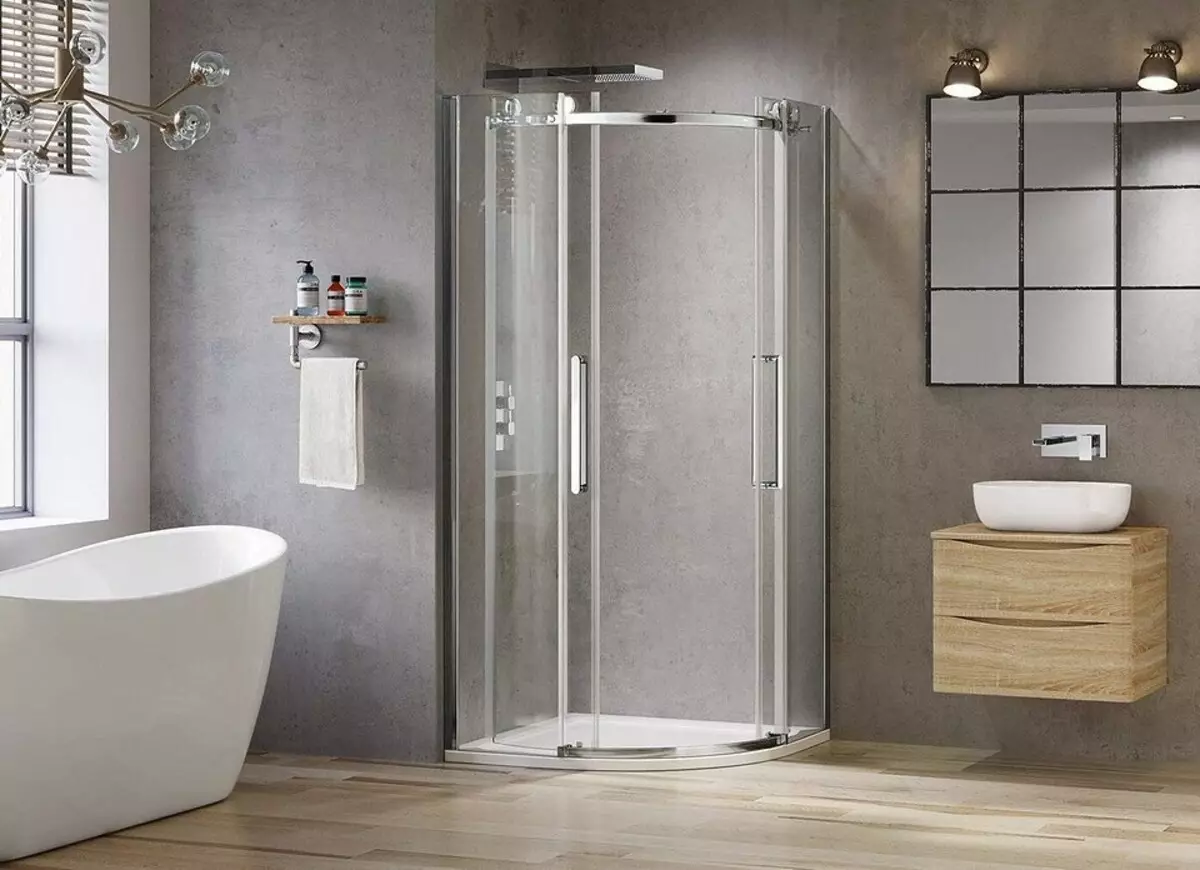
Since the souls most often are installed in the corner, the most popular are the square model and with a direct angle - sector.
Also when choosing a booth, pay attention to the doors. They are sliding and swinging. The latter require more space. So if the spaces in the bathroom are a bit, we recommend selecting devices with doors opening inwards, or sliding.
The curtains are made of tempered glass, which, when hit, is broken down into fragments without cutting angles, and from polystyrene. The latter is much cheaper, however, less wearless: on such doors over time there are divorces, in addition, they lose transparency.
Choosing a place
Installation of the shower cabin with their own hands in the apartment begins with the choice of place. It depends not only on the layout, but also from the location of the communications in the room.
- If the bathroom is large, install the system near the exhaust.
- Cabins with radio and other additional features need a socket and a system with mandatory grounding.
Preparation for work
The first thing you need to check before installing the shower cabin with your own hands - the presence of instructions in the box on its assembly. With simple models, you can even handle alone, but it is always better to have help.Check the details and components - whether everything is in place. Do not be lazy to put them on the floor and recalculate. The assembly technology depends on the specific model and its technical features. Consider the highlights.
Required tools:
- Adjustable key.
- Building level.
- A set of screwdrivers of different shapes and sizes.
- Sealant and syringe for tube. Acrylic, despite good resistance to moisture, with time from constant contact with water, it may lose properties. Therefore, we recommend using silicone. Moreover, it is advisable to choose more expensive and high-quality.
- If the walls are concrete, you may need a perforator and a drill for fastening a frame frame to the wall.
- Pencil.
- Malar tape for neat processing of seams with a sealing composition.
Step-by-step installation and connecting shower
After everything is prepared, you can start the installation. It all starts from the ground. By the way, the most common are models from acrylic despite the fact that their wear resistance is lower than those of analogs of artificial stone or faience. About them and will be speech.1. Installation of the pallet
Deep pallets have a metallic frame - support. She is attached to him on the self-tapping screw. Not all manufacturers have holes in the frame, so sometimes they have to do themselves.
It also happens that the holes are uncomfortable, in this case they will have to make new ones. Be ready for it. From the opposite side to the frame the legs are mounted. Be sure to check the support level - the pallet must stand horizontally. If the floor is not smooth, adjust the legs in height.
After you leveled the base, you can proceed to connecting the system to the plum.
The process of connecting the pallet to the plum
- Mark the location of the siphon on the floor.
- Connect the siphon to the drain pipe. Keep in mind that in the corrugation the dirt accumulates much faster than in ordinary smooth pipes.
- Place the siphon in the pallet.
- The last step is to process the seat of the pallet and walls. To do this, it is necessary to degrease them and then walk with silicone sealant.
The video below shows the process of connecting and installing the base without legs.
2. Installation of walls
Do not remove the protective film from the base. You still have to step on the bottom.
First you need to assemble the frame. And the most difficult thing in this process is not to confuse the components of the places. Read the instructions carefully, do not forget about seals, if they are included, and silicone. When the frame is ready, you can proceed to transparent panels.
- Remove the protective film from the side of the base.
- There is no strict guidelines for installing panels: someone starts with side, someone - with the back.
- After the main design is collected, you can start consolidating stationary front doors. This process is no different from the previous one.
- After that, the joints are also labeled with silicone sealant, a sanitary composition can be used.
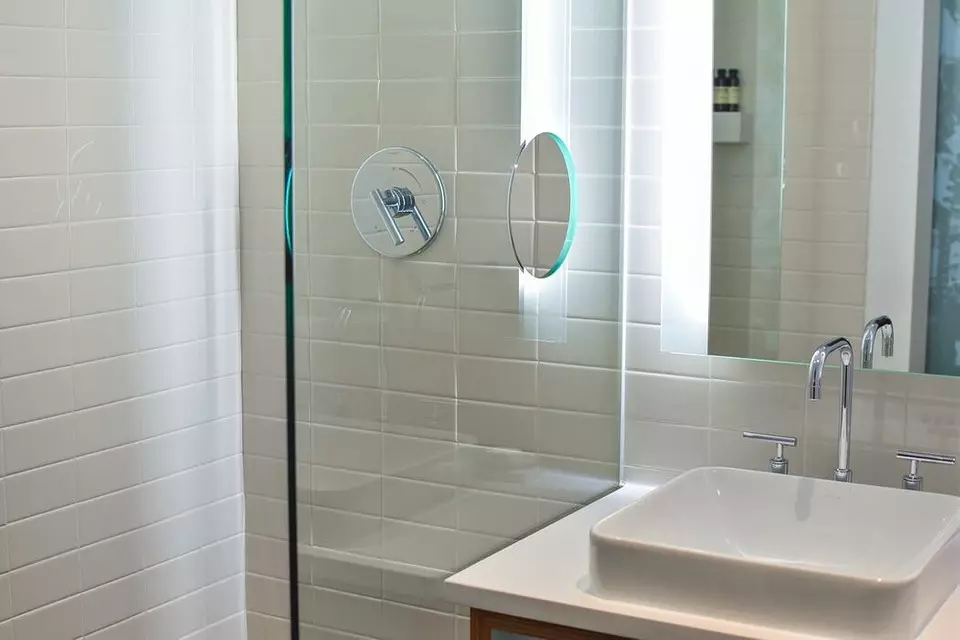
3. Installation of doors
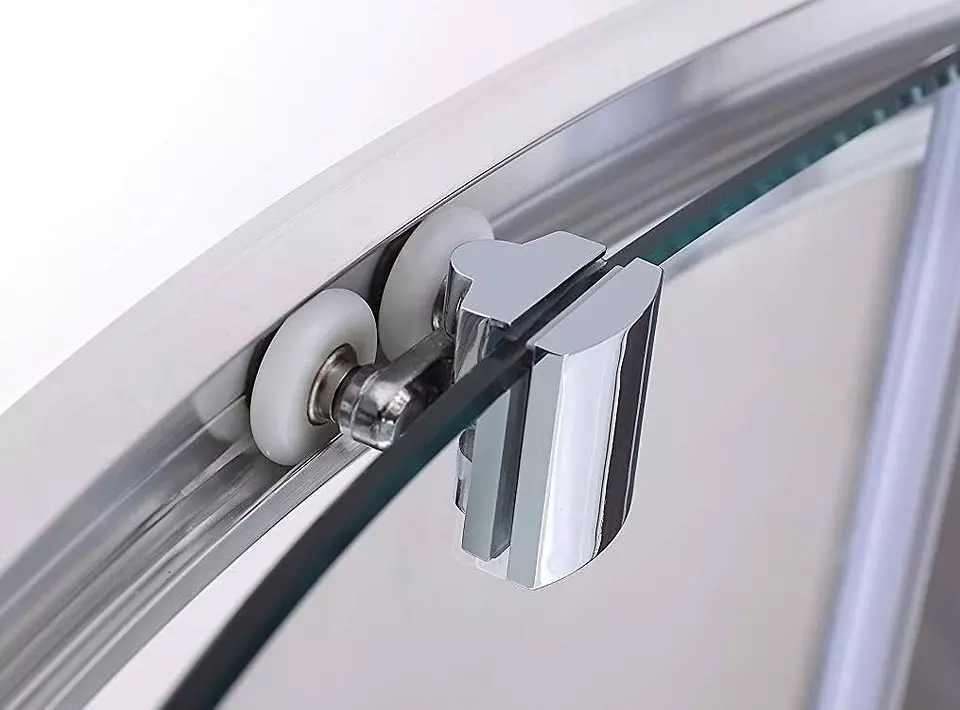
Since the shower cabin of a closed type is established more difficult than open, consider the features of the installation of doors and the roof of such models. It begins with rollers.
- To determine where the top, and where the bottom doors, pay attention to the distance of the holes for the rollers from the edge of the canvas. The party where the holes closer to the edge should be in the center of the structure.
- If you work with glass doors, be extremely neat: do not put them on the tile, use towels, for example, or a rag.
- Secure the rollers from above and below the door.
- Put on the sides of the cilia and magnetic seals. To do this, you can use sealant.
- To hang the doors, install the rollers in the grooves. Check the course of the system.
- Set the handles.
If you correctly connected the walls and the base, the roof should easily get up in its place.
4. Roof mounting
- Shakes: shower, speakers, fan and, if available, backlight, desirable to handle sealing. Despite the fact that the splashes do not come here, it is still better to be reinforced.
- The hose if the design assumes the rubber seal, it is not necessary to handle the sealant.
- Sometimes the hose is attached to the surface with the help of plastic clips. In this case, the connections are better sealing.
- After that, the roof is connected to the main part of the self-drawing.
5. Fasteners of components
At this stage, shelves for cosmetic accessories, mirrors and other components are installed in the shower. It all depends on the specific model. The joints can be treated with silicone composition.
If the shower is provided, it can be installed in the same stage. Before mounting, mark the position of the pencil. The screen itself is fastened with the drivesht, which comes complete with the components.
6. Connecting to water supply and electrical system
This is the final part of the work that runs strictly according to the instructions. And in most situations it is generally better to entrust the professional.At this stage, you need to collect flexible hoses and connect them to hot and cold water. Often the inputs are marked with color: blue and red, respectively.
Shower does not require a Uzo or other special equipment, it does not give a greater load on the general system. However, if in your home (and in the apartment, and in private), voltage jumps often occur, we recommend installing the overall electric catering.
Check
After the montage of the soul is finished, one of the most responsible stages occurs - checking its work.
- For this, once again inspect the joints, fastenings and holes.
- Go to the shower, accelerate on the spot - stability is checked. There should be no extraneous sounds and rods.
- Check the doors as easy and tightly closed.
- If everything works properly, you can turn on the water and leave it for 10-15 minutes. If you noticed even a small leaky, eliminate it. Otherwise, in the future, the hole will become greater, and, therefore, the influx of water.
After the problems are eliminated, after a day - the time of complete drying of silicone composition - you can use the shower.
Frequent errors
Despite the fact that the assembly of the cab is intuitive, many masters, and even professional, allow a number of errors in work.
- Do not align the floor. The perfectly smooth floor is the key to the long work of the shower. Therefore, if you are not sure as the coating or can not align the pallet, do not take the time and strength to the new screed.
- Connect the electrician without a professional. If you can still cope with the plumbing and without special knowledge, then leave the system to the power grid in a wet room by a specialist.
- Please note: some masters advise to use instead of the base of polystyrene mounting foam. It is believed that such a decision will facilitate the burden on the basis, especially if the souls will take a person weighing more than 100 kg. However, there is a serious minus: if you need to clean the sewage, you will have to completely cleaned this space. Compromise: Pour foam not throughout the area, but only in some places, for example, around the perimeter. To do this, choose the mounting foam with the minimum extension coefficient. And after the pouring, place something hard in the shower to avoid deformation and skew.
- The same applies to the councils to arrange the foundation of the brick. It is better to lay less and only around the perimeter.
- Not all seal spaces between the wall and glass, doors and the screen. In the future, this leads to splashing of water, even worse - flooding.