The washing is in every kitchen headset. We tell how to make it in the worktop correctly.

The times when the choice of plumbing equipment was minimal, long ago passed. Modern devices are very diverse, so even the most experienced homemade master sometimes does not know how to install a sink in the tabletop in the kitchen. Consider the features of the design and step by step will analyze the easiest way.
How to choose a sink under the tabletop
In any store plumbing, the buyer will see a large number of various sinks, but not all of them are suitable for the insertion. Distinguish between several options:
- Overhead. Install on the end of the end, it is completely closed. Maximum easy to install. The main disadvantage is the presence of gaps between furniture and sink.
- Curling. Insert into the hole equipped at the base. The installation is a bit more complicated, but the cuts are reliably protected from moisture.
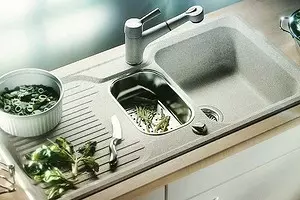
- Integrated. Practical combination of washing with a working surface. The side can be at different levels: in a table with a table, below it, etc.
- Substolete. They are integrated only in countends with special properties: from solid wood or stone. The edge of the bowl falls below the level of the base.
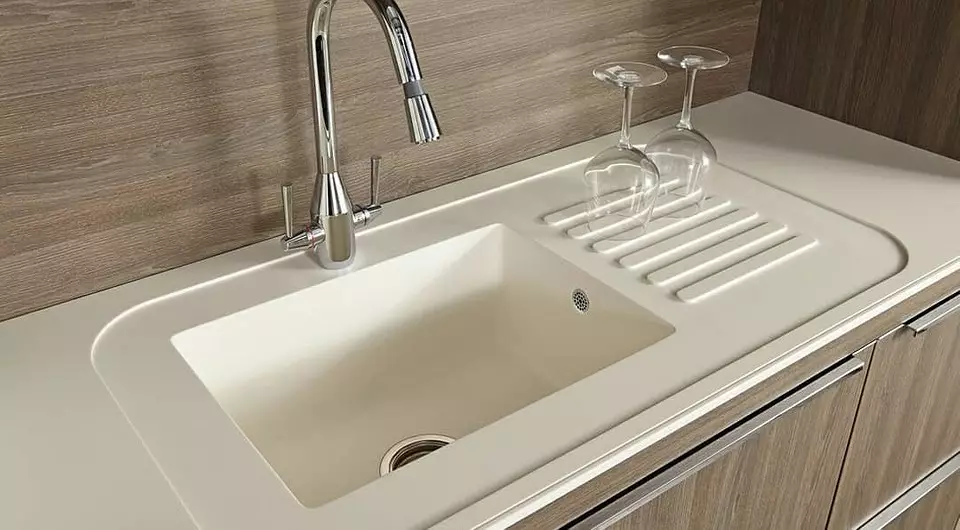
In practice, mortise devices are most often mounted. They are durable and attractive, convenient to use. The most in demand equipment from stainless steel and artificial cast stone.
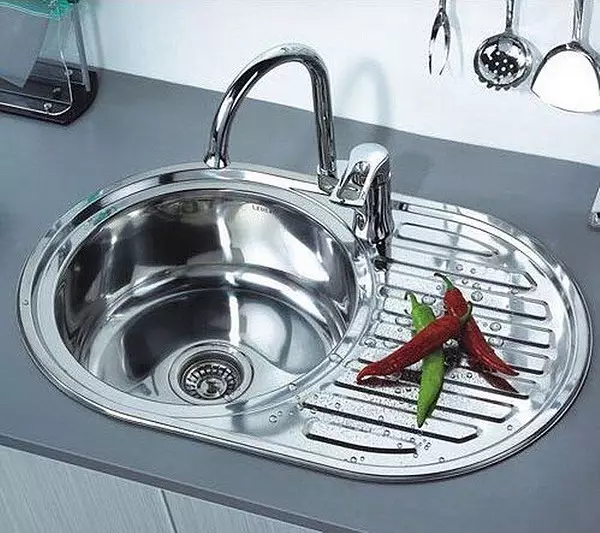
Stainless steel washers are practical and beautiful
-->
Installation rules embedded in the table top washing for the kitchen
Before starting installation work, it is worth determining the place where the design will be embedded. It is usually tied to sewage and water supply. However, modern technologies allow you to cut the device anywhere in the headset. When choosing a place of installation, it is advisable to implement these recommendations:
- The bowl is placed as close to the working area, it is more convenient to cook.
- The design divides the working surface into two parts: dirty and clean. The first is the processing of products, in the second serving.
- Do not install the sink near the slab or refrigerator. It is impractical.
- It is desirable that the bowl will stand there, it was light. If necessary, additional lighting is equipped.
For functional cuisine, it is best to choose a deep device: it will wash large dishes and other overall objects. The mixer is worth choosing a low - such a combination will give a minimum spray when working.

What to cook before mounting
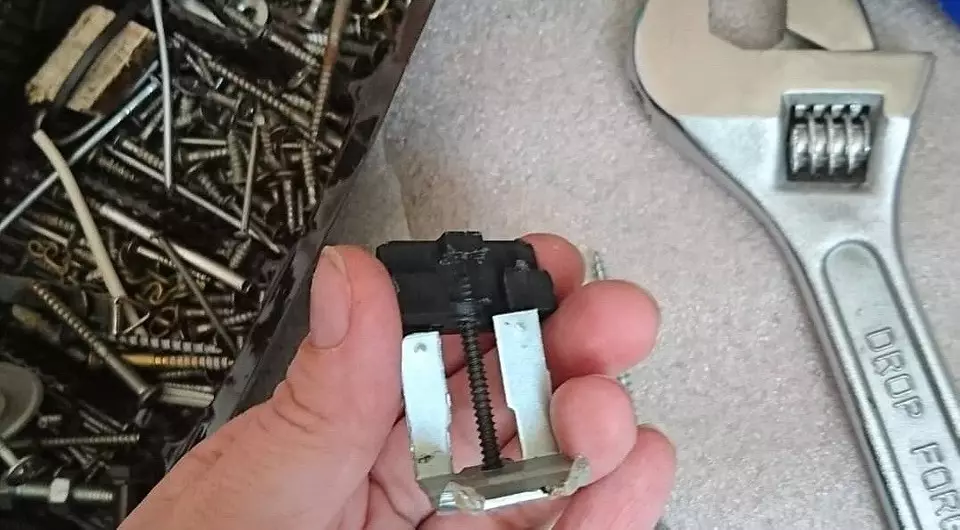
For high-quality cutting equipment in the tabletop, in addition to the plumbing device, you need to prepare:
- Electrode and electrolybiz;
- Screwdriver Set;
- Drills for a drill;
- pliers;
- Cornel, pencil and ruler;
- fasteners if they do not go bundled with the device;
- rubber seal;
- silicone sealant.
The sink must be carefully examined before purchase. It should not be dents or scratches, if it is made of stainless steel. If not, additionally need to be checked for chips. Even small shell defects will not allow her to fit tightly to the ground, and this is unacceptable. Optimally, in the kit to fasten good quality. Otherwise, they are better to purchase them.

Cutting in the tabletop: 5 main stages
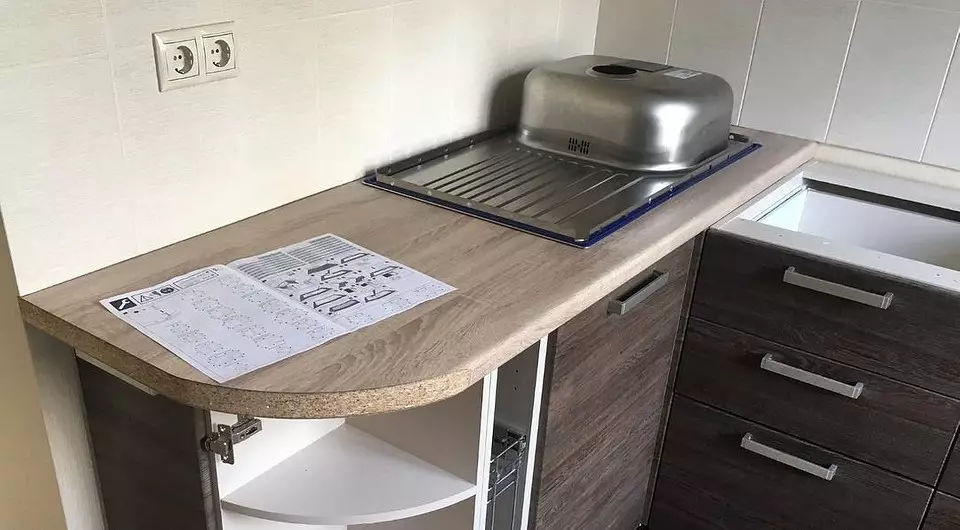
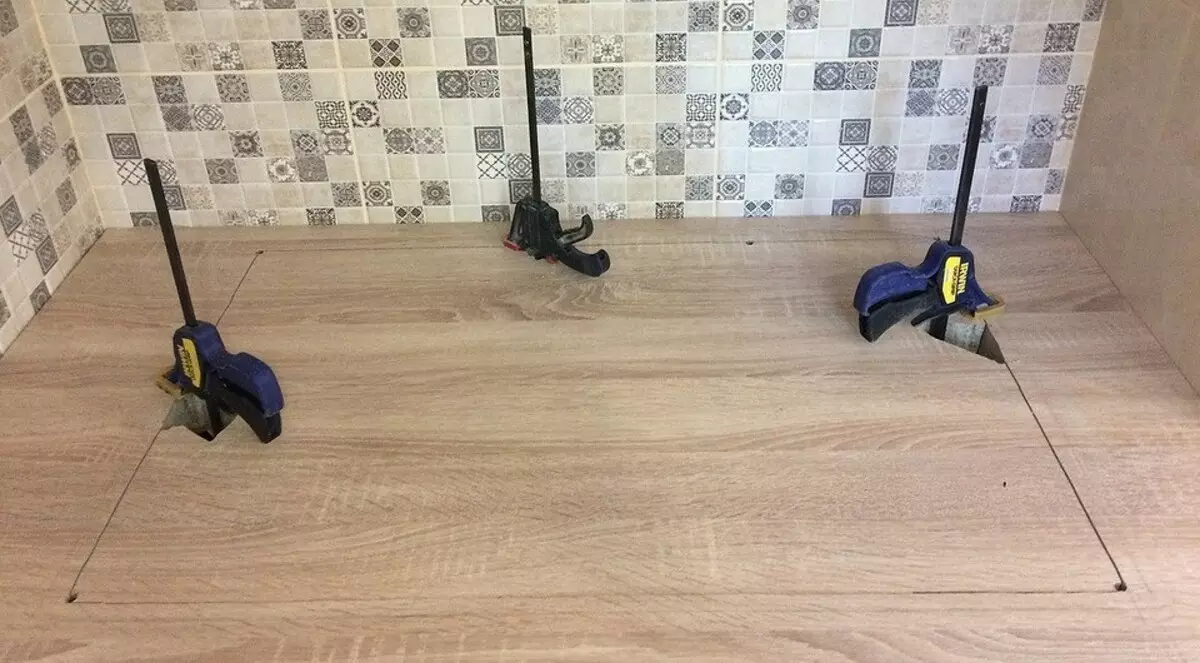
Installation work is carried out in five steps.1. Perform markup
Tabletop placing face up. Unpack the plumbing device. Optimally, if in the kit there is a template for marking. If not, we will undergo the product itself. To do this, turn it out and put it in place where it will be posted. It is very important that the built-in sink does not interfere with the doors of the couch freely open. It must be controlled.
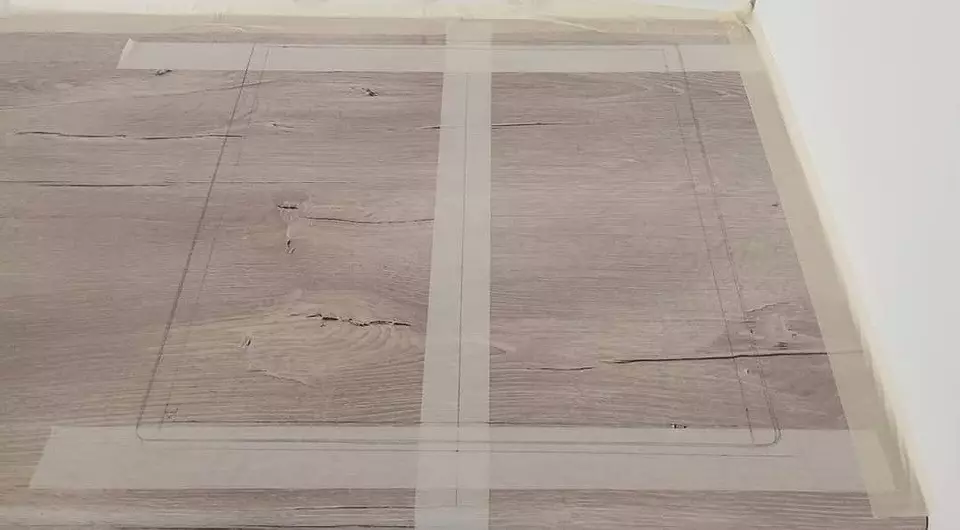
If everything is fine, we supply the contour with a simple pencil and get a line on which the edge of the kitchen sink will be. Now you should define the inner contour of the bowl. To do this, measure its side, its length is on average 12 mm. Sewing inside from the planned line the value obtained and planning the inner border. It is necessary that it will be necessary to cut a hole. In order to prevent chips when drinking, we stick to the contour with greasy tape.
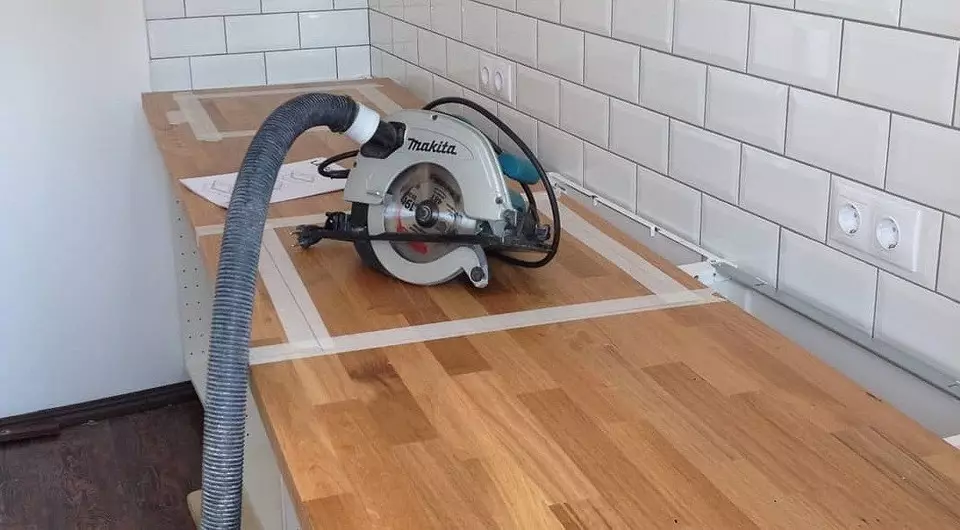
2. We work with a hole
We take a drill, put the drill in it with a diameter of about 10 mm. Drills a hole on the previously planned internal circuit. In this hole, we install the pubsik pylon and carefully cut the opening under the bowl. If the device has a quadrangular shape, the drill holes are performed in each of the corners.
An important point is to keep the scaled part. At that moment, when the neckline is almost ready, it can fall out and break the laminated coating. Therefore, it is necessary or adhered to below or consolidate something suitable. These can be clamps, self-tapping screws, etc. Carefully remove the sliced fragment and clean the hole from the shallow dust.
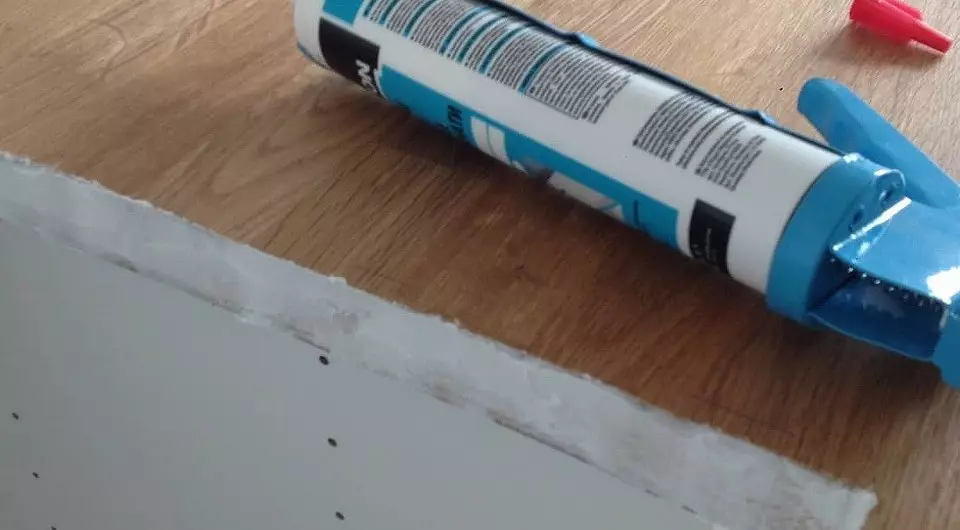
3. Processing slice
It should be understood that the absolute sealing of the cut line is impossible. But it is worth trying to do so that it is most protected. Otherwise, this problem area will first become dark, which will indicate the appearance of moisture inside the wood cooker. Then the foci of the development of mold can be formed, and the foundation will be unusable.
We start from grinding. I clean the slice of a small sandpaper, getting rid of all irregularities, remove dust. Then we take the sealant and apply it to the purified surface. Given that the plot will not be noticeable, you can take the usual white composition. For the convenience of applying, we use a small spatula, if it is not, you can apply a drug with a finger. Gently smooth the sealant so that it closes the whole slice with a thick smooth layer.
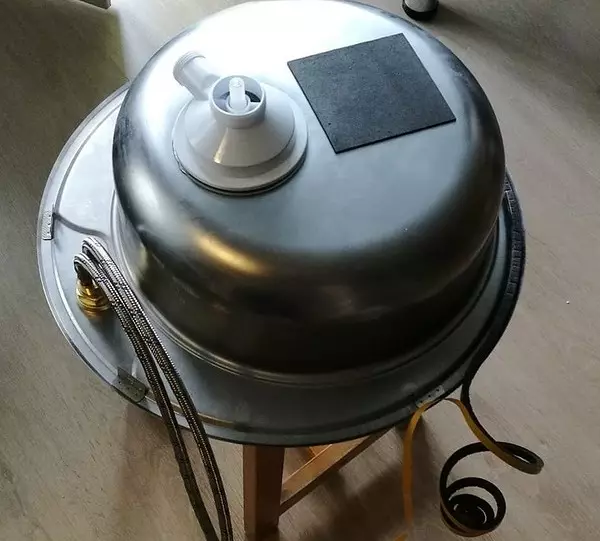
4. Cooking washing
Before installing the equipment, it is necessary to stick to it sealing tape. I turn over the bowl and determine the place where the seal will be located. We take the rubber tape, which should be included in the package, and with the help of a waters moistened in a gasoline or solvent degrease it.
Continuous layer put appropriate glue on the seal. It should not be too much so that in the process of sticking he did not appear out. We impose a ribbon to the edge of the sink and pressed so that the composition grabbing. It may be that in the kit the self-adhesive seal is supplied. It is easier to work with him. It is necessary to remove the protective strip and paste the insulator.
The seal is pasted around the perimeter of washing
-->5. Fastening washing to the tabletop
We apply the sealant layer between the side and the seal. Since there is a small probability that the strip of the composition will be visible, you can choose a suitable mixture. For example, a black or any other. Transparent sealant - universal solution.
Then we put on the opposite side of the attachment bowl so that they are not fixed to the end. Now we insert the sink into the base. Embed starting from the site where the mixer will be attached.
We tip the bowl and gently omit into the hole, put a fragment into place. Further, we gradually install the design, so that the sides get on the inside of the base. So that the bowl gets tightly, gently press it, moving around the perimeter of the equipment. In this case, the excess sealant can perform from under the device. Immediately remove them with a rag. After the frozen, it will not work unnoticed. We carry out the installation, tightening fasteners.
On this, the installation of the shell can be considered completed. It remains to connect it to the sewage system, put the mixer in place and connect it with the pipe supply pipe. It cannot be argued that the installation of mortise equipment is very simple. However, if desired, it can be performed independently. Accuracy, patience and strict adherence instructions guarantee a good result.