
Facing the walls with tiles implies leveling of the base, and the easiest way to perform it using GCL. We will tell, can we put a tile on plasterboard and how to do it right.

Why tile lay on plasterboard
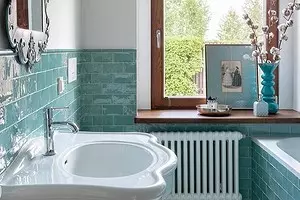
Facing the walls of the cafeter is a practical and beautiful solution. This is perhaps the best option for the design of walls in the bathroom, in the bathrooms, partly in the kitchen. Doubt arises, is it possible to lay a tile on plasterboard. Let's try to figure out. In order for the facing "lay down" correctly and has held a long time on the ground, it is necessary that it is even. The maximum permissible is the difference in 2-3 mm per m2.
Considering that in real houses, perfectly smooth walls are extremely rare, most often their lining alignment is required. You can do this in different ways, but the simplest and quick - installation of plasterboard. With it, you can align the base literally for the day of work. It is enough to put a frame and shelter his GLC.
How to glue ceramic tiles on plasterboard: process features
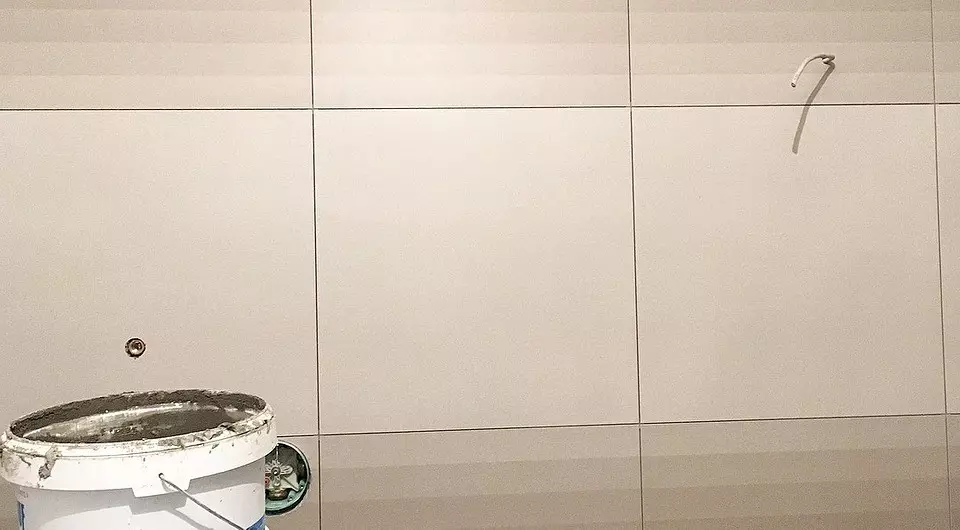
The composition of drywall is pressed gypsum and cellulose. For this reason, many are confident that it cannot be used in wet premises and choose as a basis if "wet" laying of cladding is supposed. This is true. Standard sheets are hygroscopic: they absorb water, which gradually destroys them.
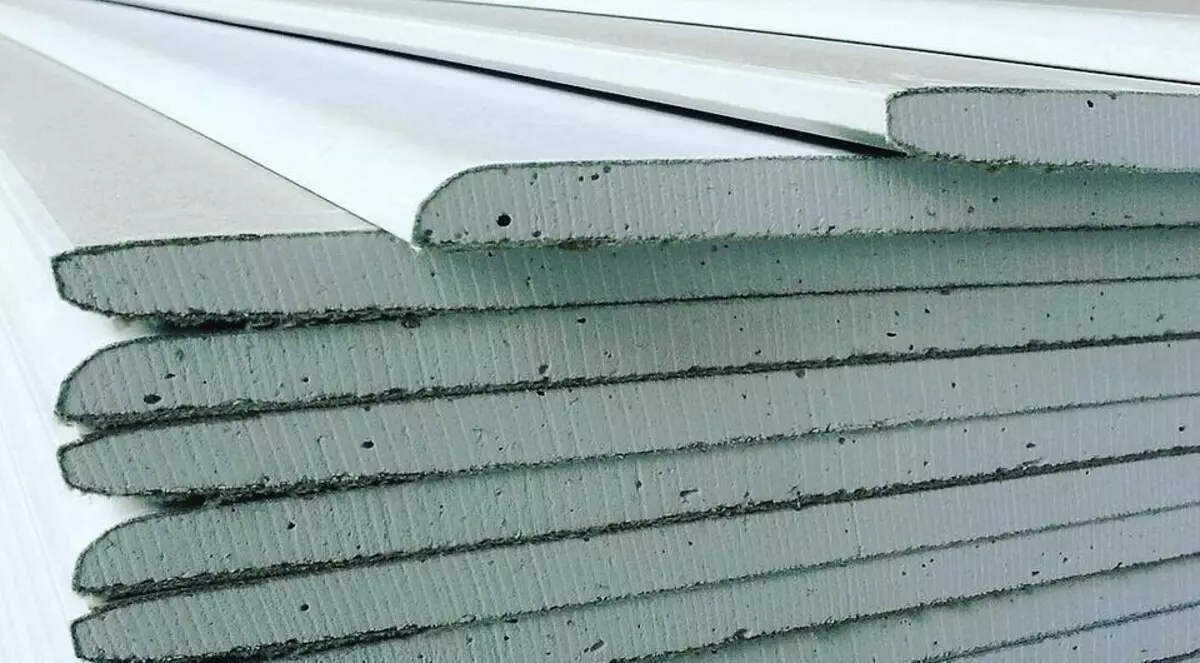
Moisture-resistant plasterboard
But moisture-resistant plasterboard is produced. In the production process, it is impregnated with a special composition. G Clac is easy to distinguish on green. This material can be installed in wet rooms, while it has good strength and insulating characteristics. You can put a ceramic tile on it. There are some features of the process that you need to know.
Subtleties assembly frame
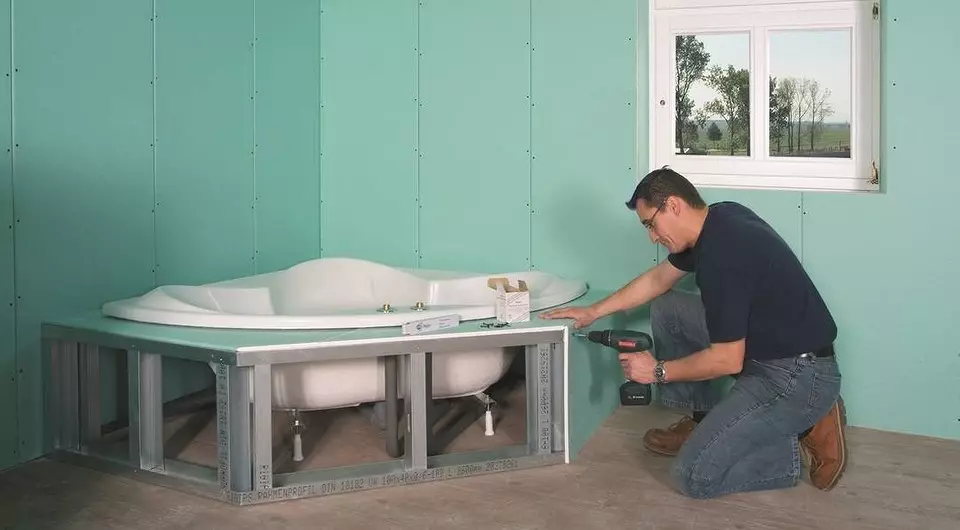
On the wall that needs to be aligned, a doomle is going. It should only be made of metal elements. Perhaps the tree is easier to assemble and cheaper, but in the conditions of high humidity there is a risk of quickly damage. The frame is going under a heavy wall, because it will be attached not only by plasterboard, but also cladding. Therefore, the side of the square of the crate should not be greater than 0.4 m.
Installation of plasterboard
Before buying a material, you need to make sure that its moisture-resistant variety is selected. In the work of G Clac, no different from the standard counterpart. It also snoves well and lights. In the process of laying, it is recommended to additionally protect sheets from dampness. To do this, the fastening is applied to waterproofing mastic in all the ends of the plate or closed their insulating membrane.
An important point that is necessarily present in the recommendations as putting the tile on plasterboard. Do not fully rely on the moisture resistance of the material. Control over humidity in the room is necessary. You need to make sure that the ventilation works normally and excessive dampness is deleted in a timely manner. If this is not the case, it is necessary to arrange an effective air exchange system.
Installation of plasterboard under the tile
What glue is worth using
To glue a tile on plasterboard, the first part of the composition cannot be chosen. You need to look for one that is suitable for sticking tiles on a plasterboard surface (this information should be on the package). It can be glue two types:
- Dry mix. Before starting work, it will have to breed with water in the proportions specified by the manufacturer. It is usually less durable, but cheaper materials.
- Liquid glue. Ready to apply. The composition is already divorced, but not water, but polyurethane. This gives the mounting glue elasticity and significantly increases the adhesion strength.
Tip: If you plan to glue only a few plates of facing, you can use liquid nails - the composition will perfectly cope with the work.
Tip from Masters: For the finishing of large areas, liquid nails are better not to take. It turns out very expensive.
When choosing glue, cladding weight is taken into account. If it is great, as, for example, in porcelain stoneware, choose the composition of strength from 1MP.
Tile on plasterboard
We choose the layout scheme
The scheme of laying tiles must be made before the start of work. It implies counting the number of elements in vertical and in horizontal rows. Instructions for choosing a suitable option:Horizontal row
We lay out the tile in a row on the floor opposite the wall. If the last tile falls smoothly around the corner, very good. But it is rare, the gap remains more often. If it is more than half the item, then the laying will need to start from that corner that is in plain form. When the gap is smaller than half the width of the part, it is recommended to use the so-called symmetric laying.
Laying of ceramic tile
In this case, the first element must be stacked exactly in the center of the row. The rest are glued to the parties from it. Thus, in the corners are mounted the same fragments of cladding. The same option is suitable for cases when it is necessary to symmetrically arrange any decorative elements.
Vertical series
Counting is carried out based on the fact that the upper row must be laid from solid tiles. Therefore, they consider it from top to bottom. Typically measure the height of the future masonry and divide it to the height of the element, without forgetting to add the width of the interputric seam. If the number obtained is integer, it means that the trimming is not needed. The fraction implies that the lower row will consist of the fragments cropped in the desired way.Preparation for facing
Preparation includes two main stages. Let us consider in detail each.
Installation of sheets of plasterboard
Before laying the tile on plasterboard, you should collect a frame and to strip it with sheets of G CLEB. We start with the frame assembly:
- To the ceiling is secure a guide profile. We use a dowel for this.
- We note on the guide location of the vertical profiles. Lower the line to the floor.
- Fix the two extreme profile to the wall and one near the floor so that a peculiar frame was turned out.
- We plan the installation site of vertical profiles. To do this, we deposit from one of the lateral elements of 0.4 m, we put the point and take the line using a plumb. We continue until the end of the wall.
- Every 0.5 m on the lines carried out, direct suspensions are mounted.
- We establish vertical profiles and fix them to suspensions. For the details rose exactly, you need to pull between the previously installed side profiles durable cord in 3-4 rows.
- I exhibit horizontal profiles. Break them to vertical using crabs.
When working, be sure to use the construction level to accurately hold the direction of the elements. Increase the distance between profiles is not recommended. Such a frame may not withstand the weight of the trim and cladding. On the finished crate, fasten the sheets of G Clac.
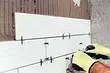
Laying tiles on plasterboard
Preparation of the foundation
To keep the tile well, the foundation needs to be properly prepared:
- We will expand all sections of the joints of G Clac. To do this, remove from the end of each chamfer at an angle of 45 °. Then the seams are putting off and reliably sickle with sickle. This will prevent the possible discrepancy between sheets. On top of the tape once again we appreciate the putty, we wait until it dry, and whirlpool.
- We will expand all holes. Similarly, we remove the chamfer, shit, whisch.
- Cover all the surface of the base of the primer. At the composition must be a mark that it is suitable for drywall and tiles. The number of primer layers can be varied. Most often, the manufacturer recommends it in two layers.
If there are technological holes for pipes on the wall, as may be, for example, in the bathroom, be carefully processed by their silicone sealant.

Tile in the bathroom
Application markup
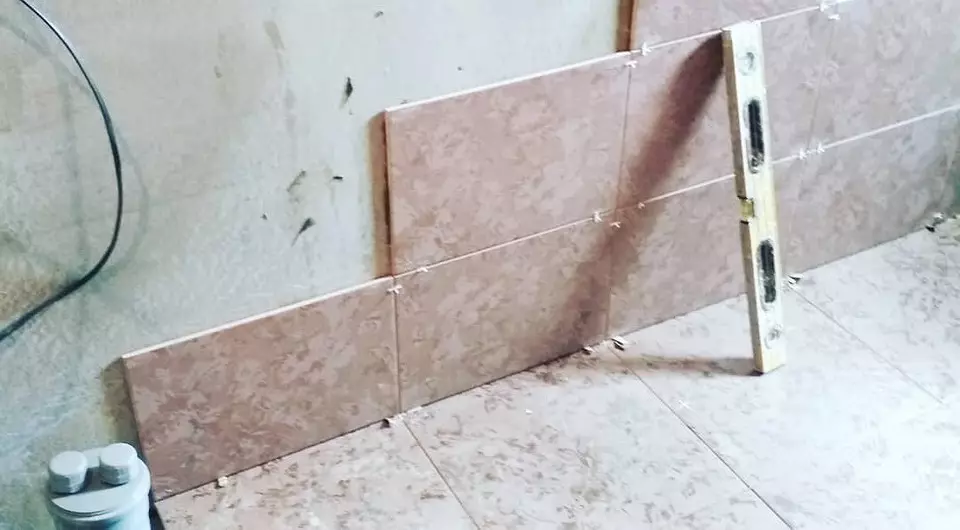
It is quite difficult to put the tile with your own hands, especially if such works are carried out for the first time. It will be much easier if you first put markup on the wall. This is done in this way:
- We note the "zero level", which will help to spend the horizontal. To do this, in one of the corners, we put the point and, using the construction level, we transfer it to the remaining corners.
- We plan horizontal lines. We take the cord moistened in the paint, and press it to two points "zero-level". The resulting line will become the basis from which horizontal rows are measured and outlined.
- We place vertical rows. At the top of the wall, we put the mark with a step equal to the width of two or three elements. Using a plumb, we lower to the floor of the line from these points.
- We define a plot where the lower boundary of the first row of whole tiles will be held. We carry out a line.
To create a support for the first row of the laid tile, under the line with a metal or wood plank. It will hold the details until the adhesive composition grabbing fade.
Laying tiles on plasterboard
Laying tiles on plasterboard: process technology
After all the preparatory work is over, you can start laying. First, if you need, we prepare the adhesive composition. It is not necessary to breed the entire mixture at once, since its term is limited. Preparing glue in small portions. Then proceed to work. So it looks step by step:
- We determine the place of gluing the first tile. If symmetrical laying is assumed, it will be the center of the row. If not, put on the corner.
- We put glue on the wall or on the facing - as more convenient. It is evenly distributed.
- Gently put the plate in place, if necessary, correct and slightly pressing into the adhesive composition.
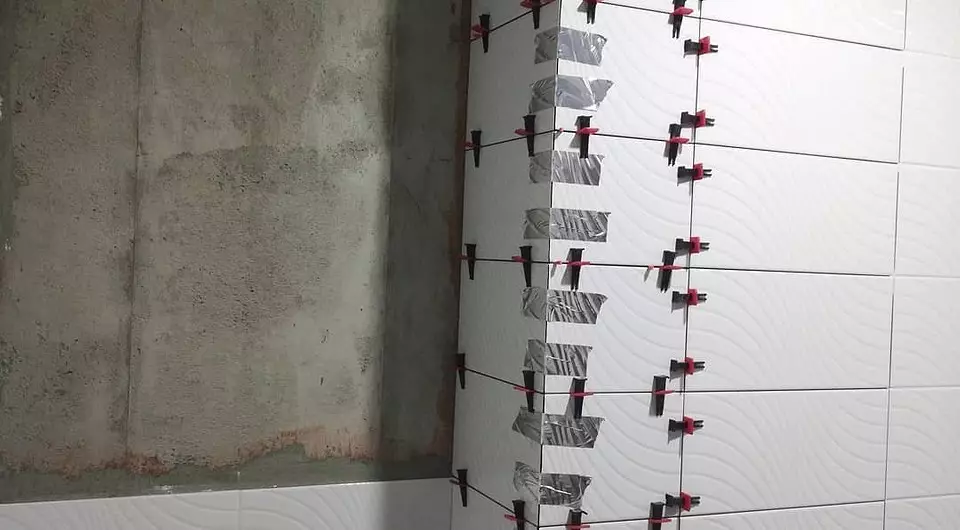
- Similarly, we stick the next tile, moving only horizontally. The distance between the elements is monitored using special crosses that are installed directly in the seam.
After the first row is laid, the process is interrupted at about an hour and a half. It is necessary that the adhesive composition can grasp and the facing quite firmly held in place. Then it will be possible to lay out the following rows that will be relying on the first.
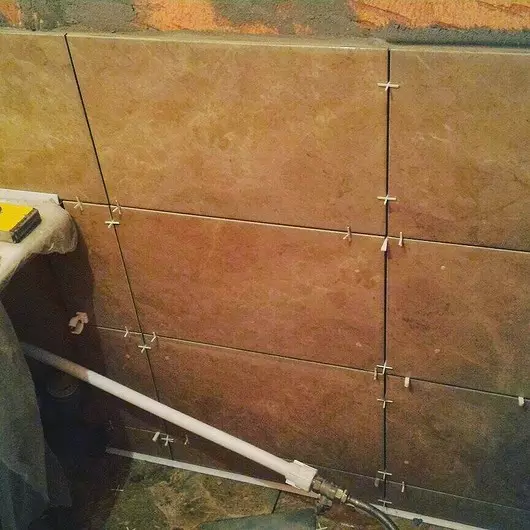
Crossings in intercine seams
Proper sealing of seams
To get a good result, you need to know not only how to glue a tile on plasterboard, but also how to seal the seams. This procedure is mandatory, we will examine why. After the cladding is glued, small gaps remain between the elements. They are called seams. Moisture easily penetrates them, gradually impresses the base and glue. As a result of dampness, mold and fungus appear, plasterboard and adhesive mixture are destroyed.
In order to avoid these problems, the seams are closed by a special composition - grout. The mixtures differ in color, you can pick up the material of the contrast or maximum suitable for tone tile. We produce special moisture-resistant grouts, which is such chosen for rooms with high humidity.

Remove crossbars from interputric seams
Sealing work starts only after the glue is completely dry. Depending on the brand, it leaves one to three days. Slip seams as follows:
- Gently remove plastic elements from interputric seams.
- We are preparing grouting to work. We divorce the mixture, guided by the manufacturer's recommendations. It turns out a paste with a consistency of thick sour cream.
- We take the rubber plastic spatula and apply the composition on the seams with accurate movements diagonally.
- We wait until the mixture hardens. After an hour, we remove the surplus paste with a sponge.
If you want to further protect the intercutric seams, you can treat them with water-repellent varnishes or liquid glass.
Do not doubt whether it is possible to glue the tile on plasterboard. If you competently select materials for the base and adhesive mixture, the facing will be perfectly held. The alignment of the Wall G Clac allows you to significantly save time and means, gives a good result. If you wish, all work can be done yourself.