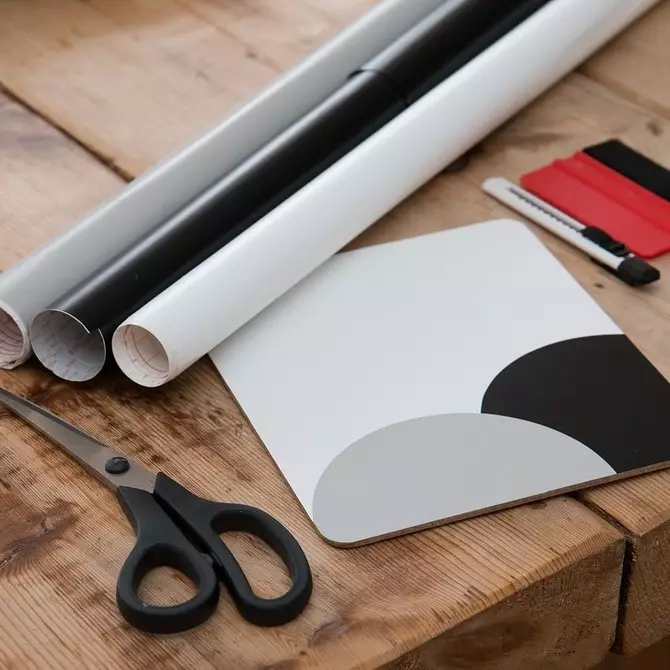
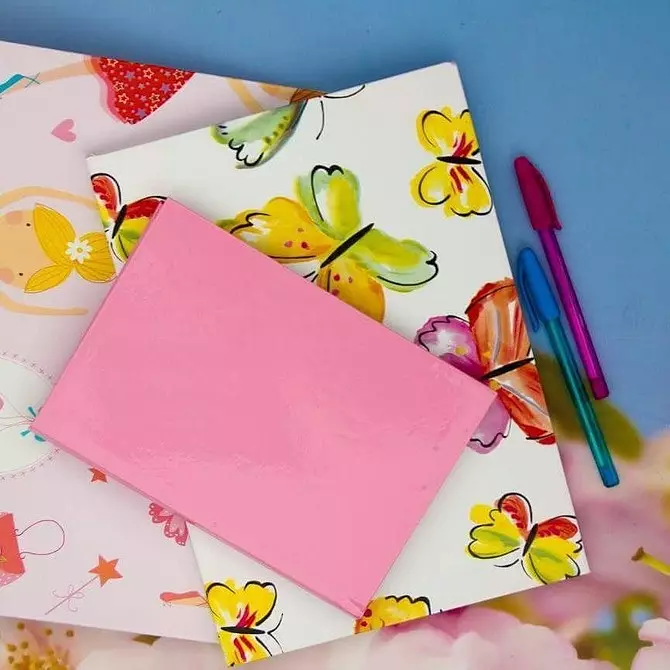
We are talking about the benefits of self-keys, species and give detailed instructions on pasting doors, furniture, books and different surfaces.

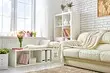
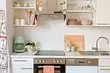
Sometimes I want to drastically change the interior or at least make fresh notes into it, but there is not enough time or money for repairs. A good solution will be the use of self-keys. In a matter of hours, it is possible to change the appearance of furniture or walls. We just need to choose the material correctly. We will understand how to glue the self-adhesive film correctly and quickly.
All about self-adhesive wallpaper
What it isVarieties
Benefits
What you need for sticking
- Instruments
- Materials
How to bold corners
- Straight
- Rounded
How to salary chipboard
How to salary a book
How to bold the door
How to transform furniture
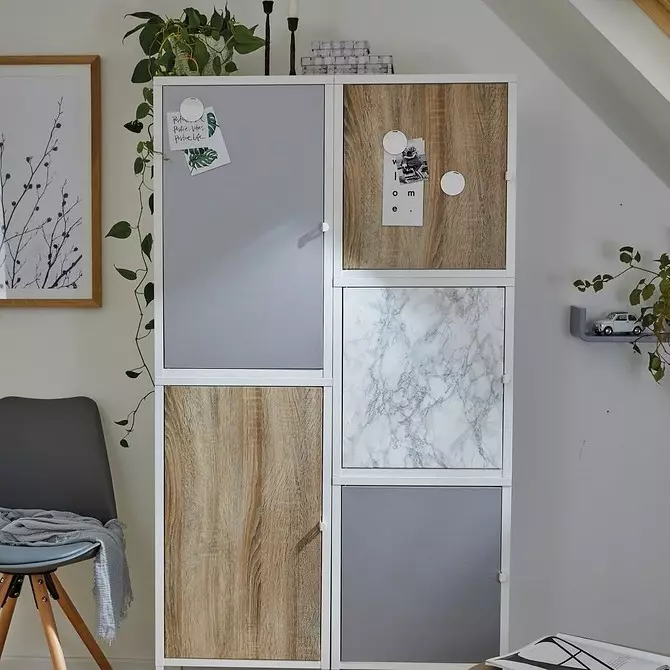
- Cupboard
- Dresser
- Kitchen and table top
- bedside
- table
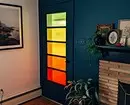
- Refrigerator
Common mistakes
How to spare decor
What is self-shot
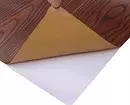
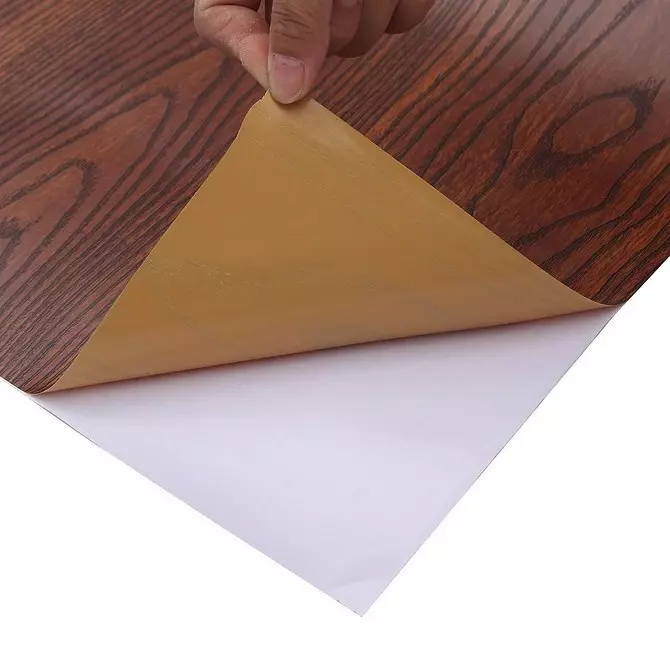
The decor manufacturing technology assumes the presence of two layers. External is a rather thin film. Its base can be propylene, polyester or polyvinyl chloride. The last option is most often used. On the outer layer is imposed by adhesive. Thanks to this, self-tech can be mounted without prior flaming, which is very convenient.
Glue provides adhesion with a base and well holds vinyl on different materials. Provided that they are properly prepared for salary. So that the adhesive layer is not dry and not contaminated, it is covered with protective paper. Immediately before applying, it is neatly cleaned.
In the video showed how to transform the interior with self-keys
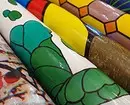
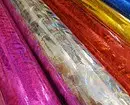
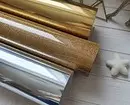
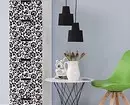
Types of self-adhesive film
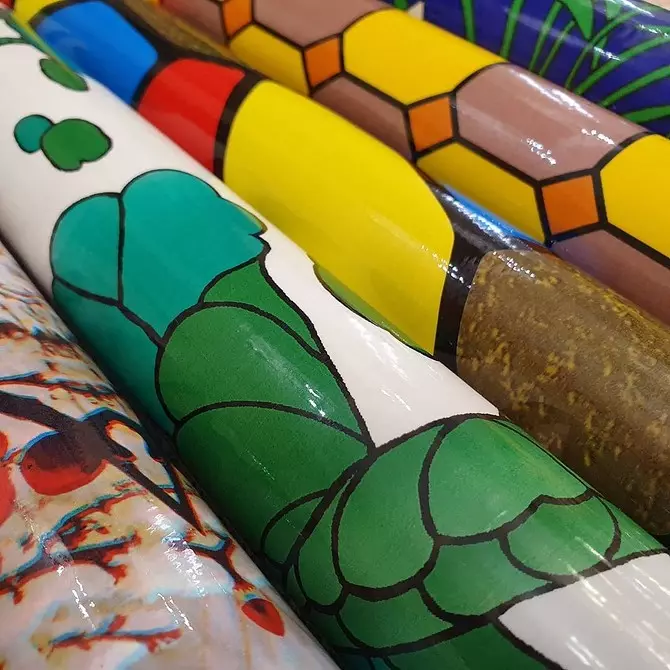
You can find many varieties of self-keys. The base from the polyvinyl chloride allows a variety of types of finishes. We will analyze the most common types.
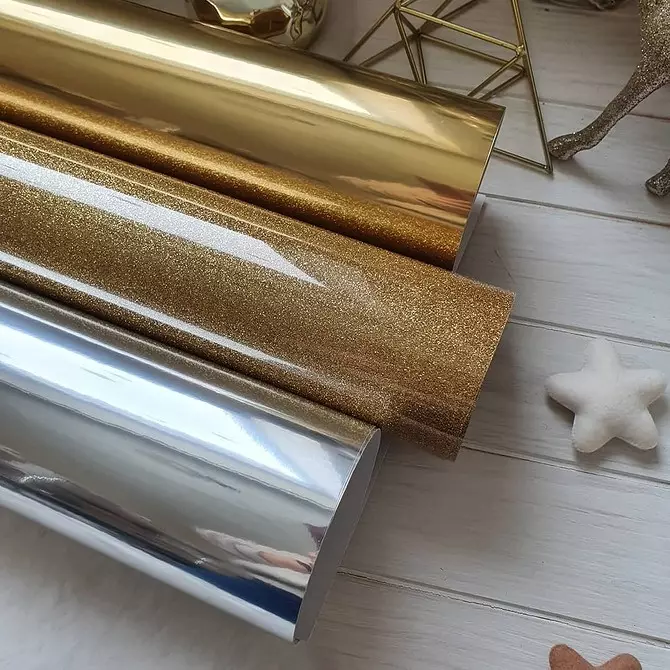
- Matte. Opaque canvas without shine. It may be monophonic, with any pattern that imitates different materials: stone, fabric, wood.
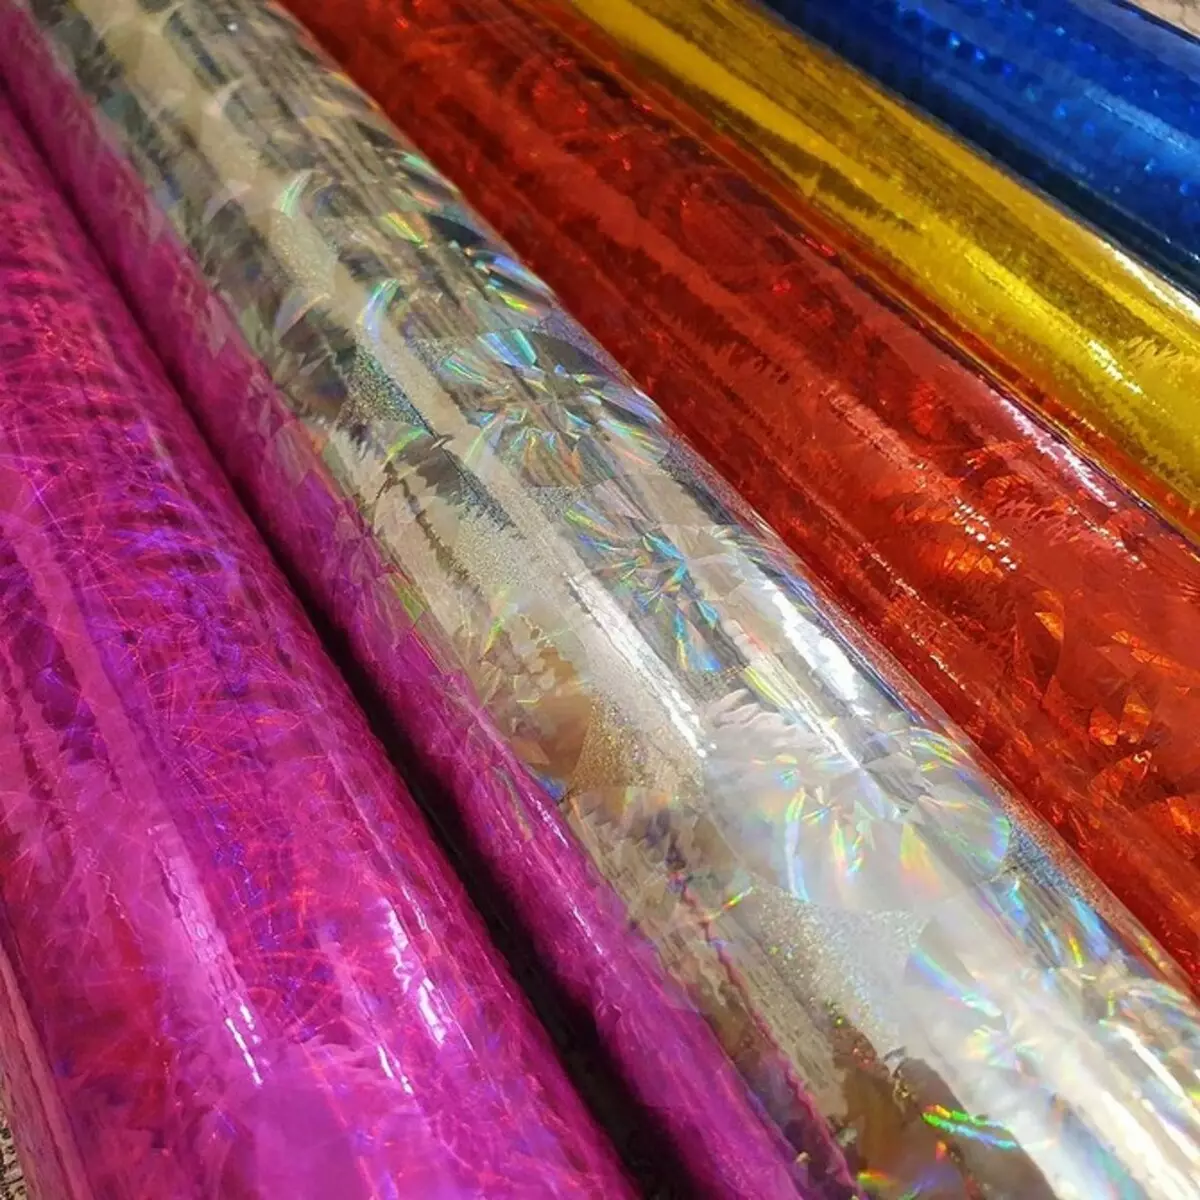
- Glossy. Brilliant coating. It happens one-color or with a pattern, with a holographic effect or metallized.
- Mirror. This type of glossy finish, imitates mirror coatings.
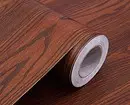
- Under the tree. Finishing, imitating wood of various breeds. The effect is more common only external, since the texture is a thin material does not transmit.
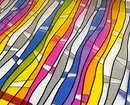
- Transparent. Transparent canvas can be used as an imperceptible protective layer or as decorative design. In the latter case, it can be one-color or with a pattern. Transparent PVC film with ornament is used for stained glass windows.
Matte
Glossy
Mirror
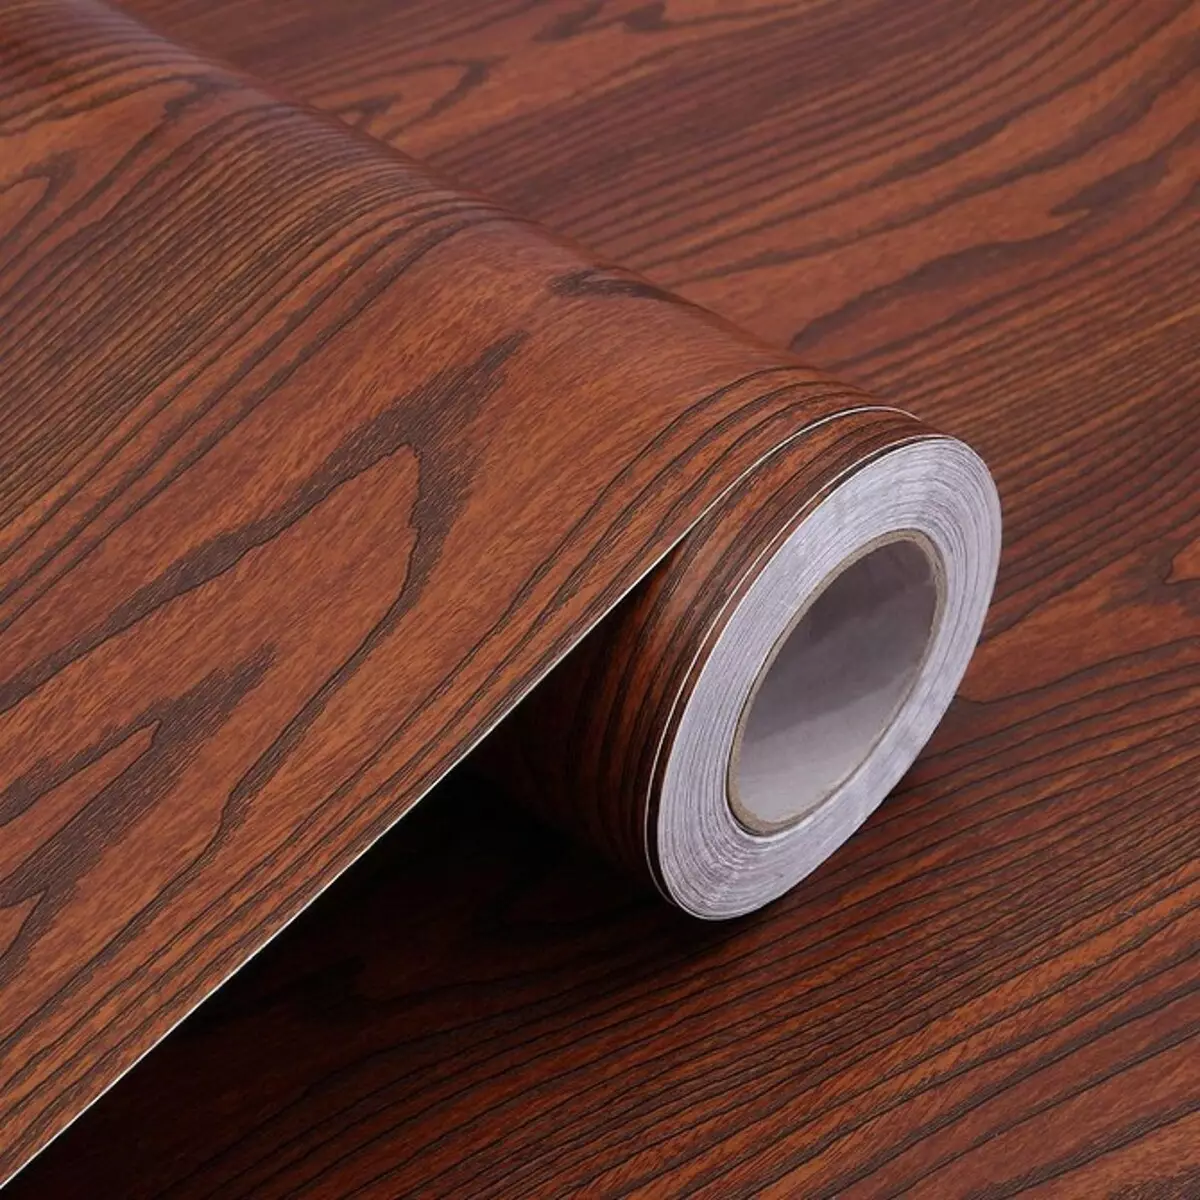
Under the tree
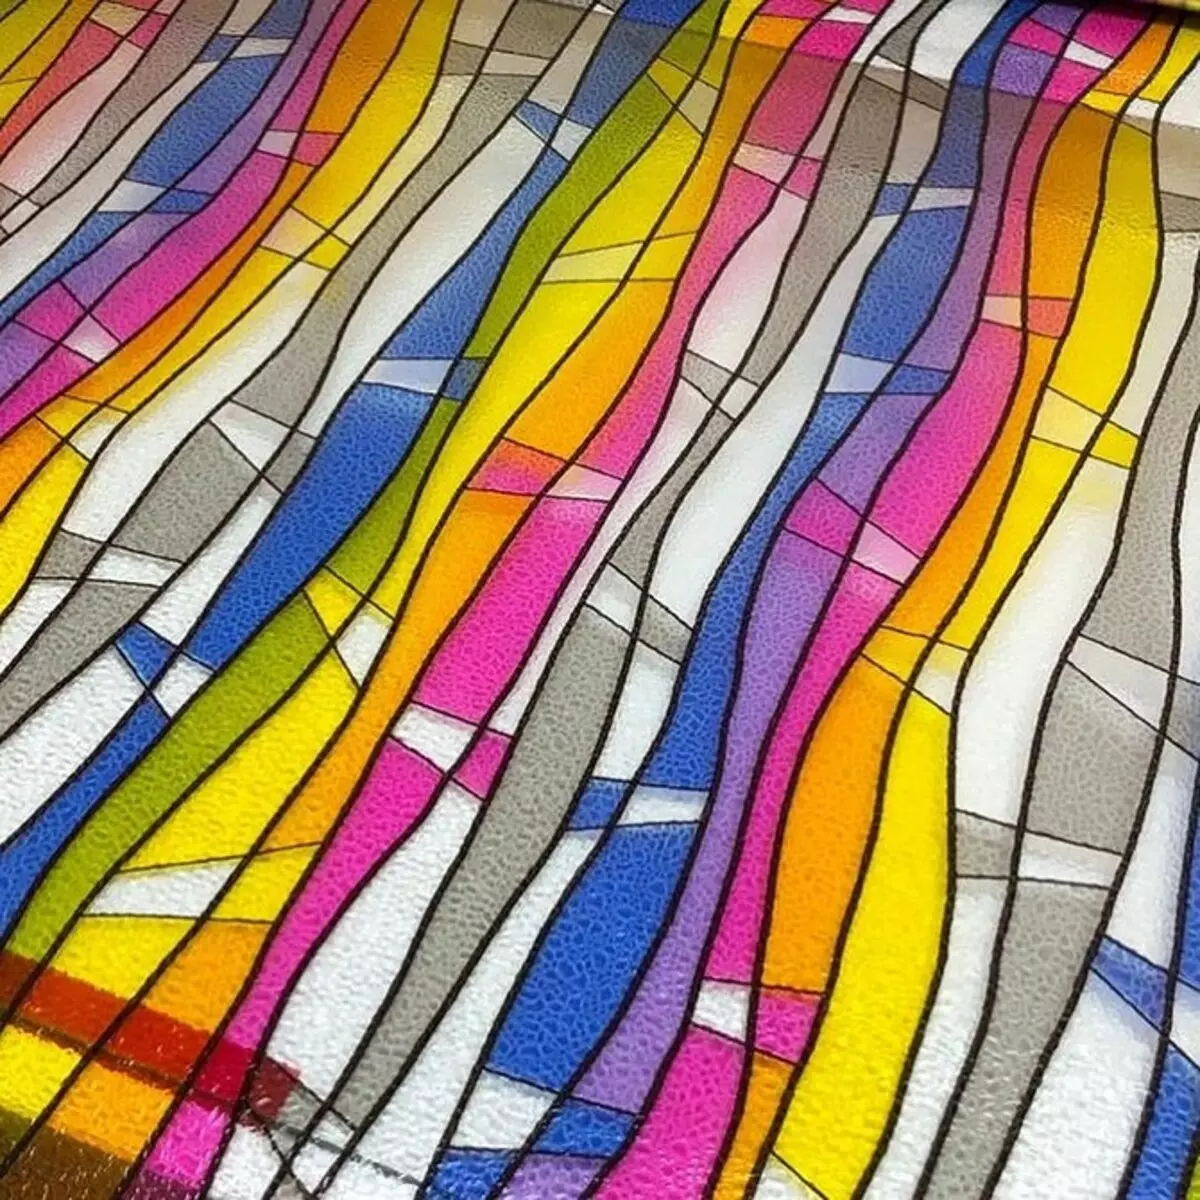
Transparent stained glass
Advantages of using self-adhesive film
Decorative material is very in demand. It is not surprising, because it has many advantages. We list them.pros
- Water resistance, self-tier is allowed to use in wet rooms.
- Easy to care, pollution is easily removed from the plastic.
- Low price.
- Multifunctionality. Used to design a variety of surfaces and items.
- Simple and fast installation without special fixtures and equipment.
There are several significant drawbacks.
Minuses
- The thin coating accurately repeats the relief of the base, so it needs to be carefully aligned.
- The joints are almost impossible to make invisible.
- In the intensive friction sites, the decorative layer is abolished over time.
- It is possible to glue on non-smooth bases after preliminary training.
Cheap decorative finish of low quality is easily deformed. She can stretch out or, on the contrary, give shrinkage.

What will be needed for pasting
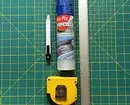
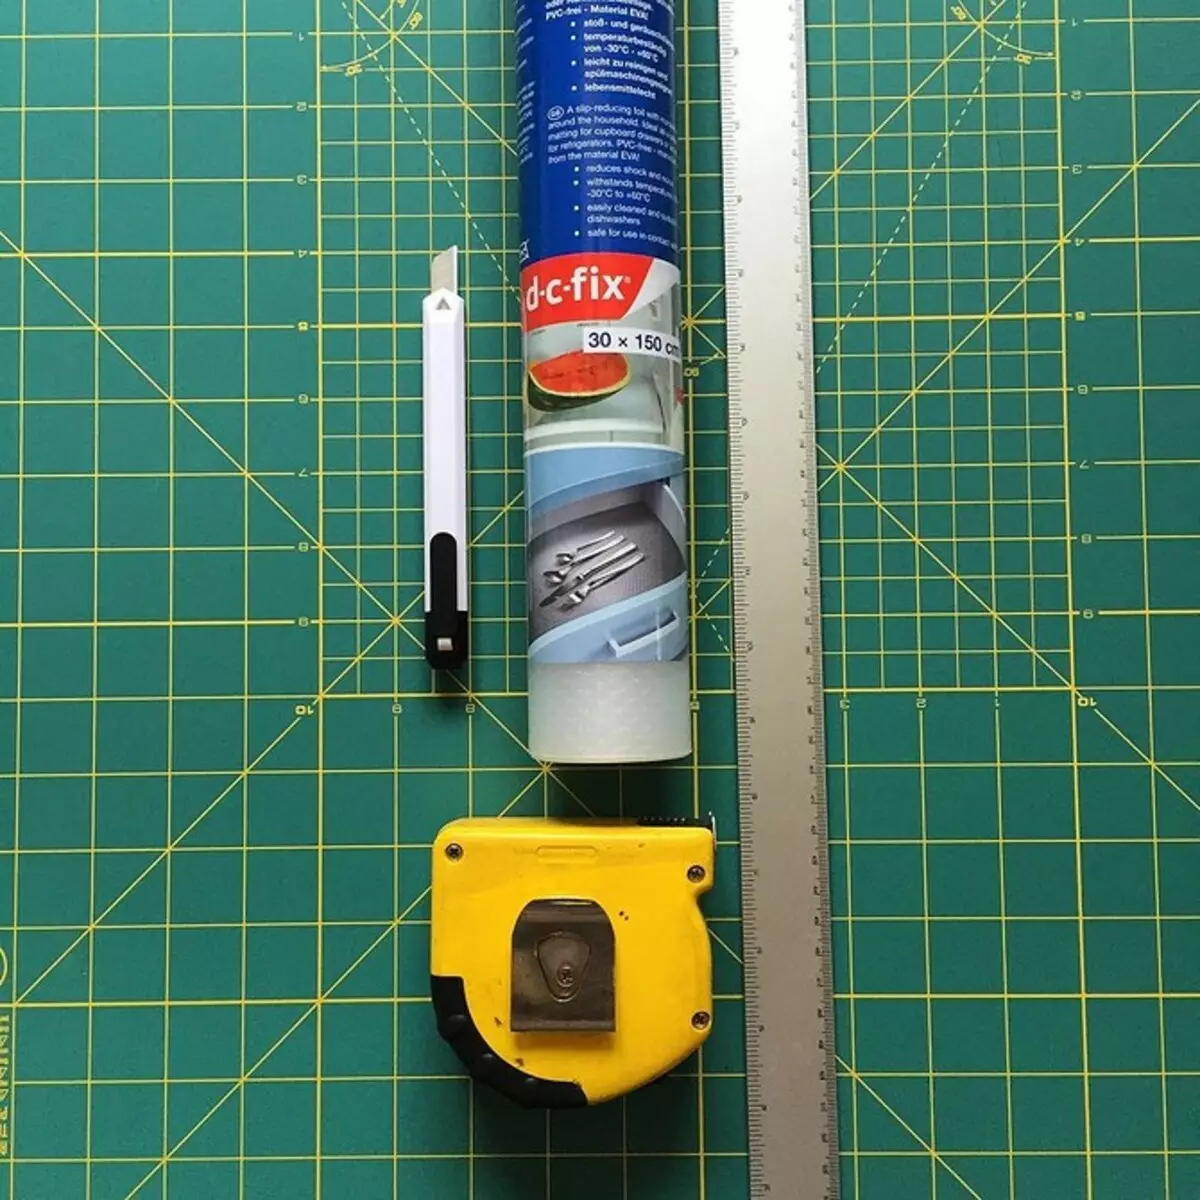
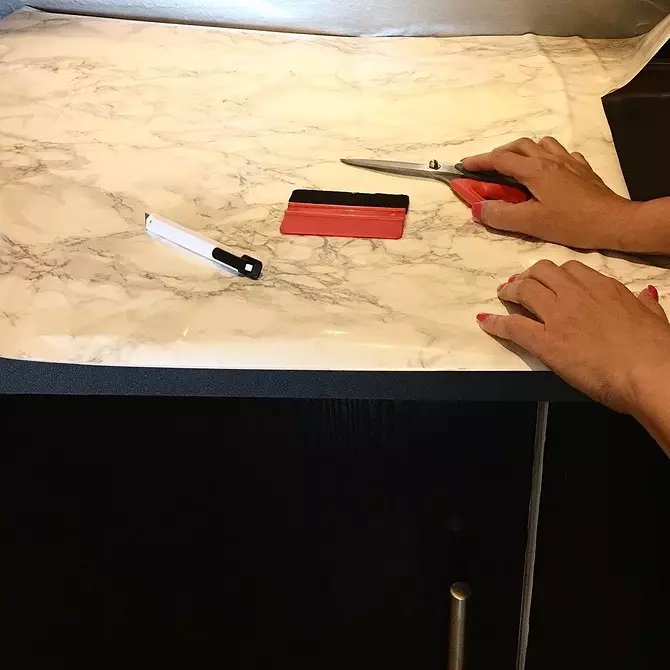
It is not difficult to stick the finish if you pre-cook everything you need. We will list that you will need to work.Instruments
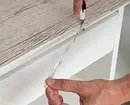
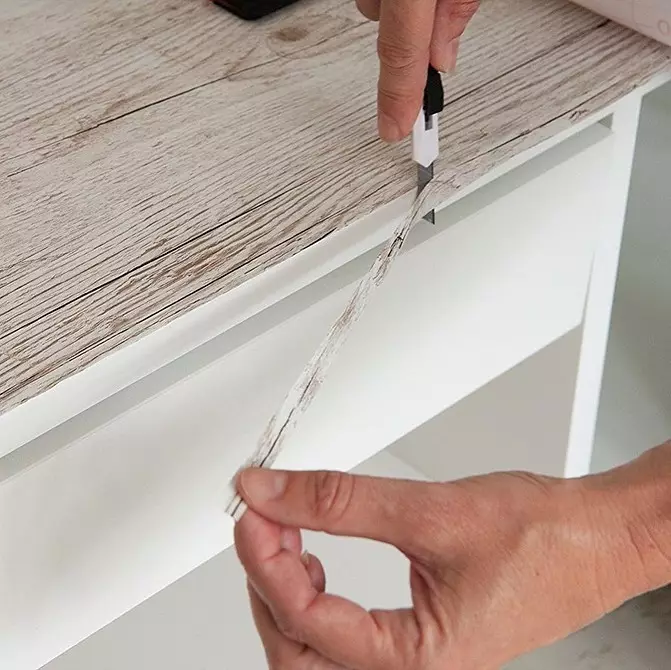
- Construction or stationery knife. If we used the blade, it is better to replace it with a new one. It should be very sharp. Only such vinyl is cut smoothly and easily.
- Pencil or marker for marking. Tags put so that they are invisible after mounting. Therefore, it is worth thinking in advance than rubbing them.
- Scissors for trimming and cutting lines of complex forms.
- Line. It is best to take a long line of metal. With it, it will be possible to measure and, if necessary, cut off the stripes.
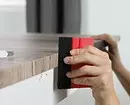
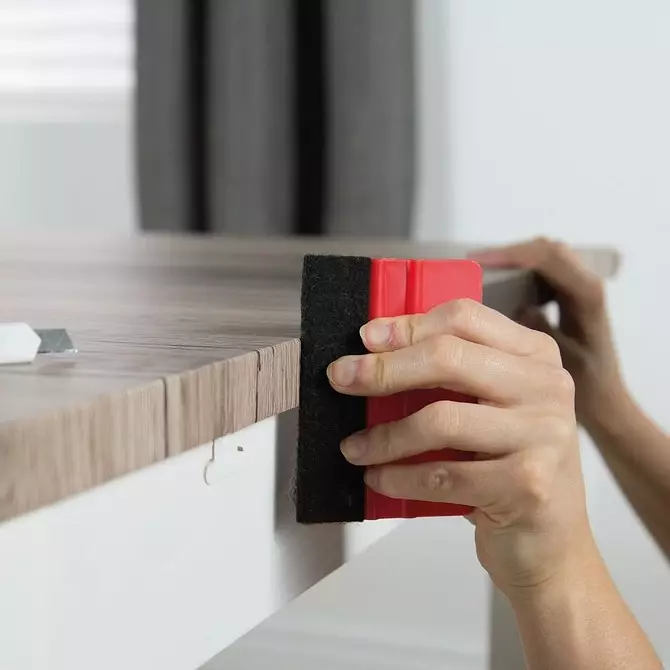
- Felt spatula or similar device. The soft tool smoothes the PVC film, allows you to glue it without chances and bubbles.
- Hairdryer. Suitable household, but it is better to take a construction hairdryer with a power adjustment function. It is needed to warm the vinyl when gluing.
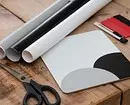
Materials
It will take the drug to degrease the base: any solvent, alcohol or gasoline. For not very smooth surfaces, primer is required. It will improve grip with decorative coating. If the alignment is needed or the base is too rough or the grainy, the finish putty is used, the primer is superimposed on top of it.
Now let's start instructions.
How to puncture corners
When furniture facades and other parts are saved, the most difficult point is sticking to the corners. We offer instructions for straight corners.Straight
- We glue the cloth over the entire length of the part, we turn to the bottom end and glue.
- Cut the side end to the corner.
- Cut the strip to the center of the angle so that it remains next to several millimeters from both sides.
- Alternately we start the mini-adhesive to the angle, glit.
- Take the hair dryer, heating the angle, gently press the preheated blank with a spatula or soft cloth.
Rounded
Rounded corners are embraced differently.
- With the help of a hair dryer, the material is heated with a small allowance.
- The heated strip with a small force is stretched on a convex or concave surface.
- Gently straighten all folds, allow you to cool.
This technique "works" is only high quality self-tech. It stretches well, but does not break. In other cases, there are notches and impose an abrupt fragments to each other. Such seam is noticeable and not very beautiful.
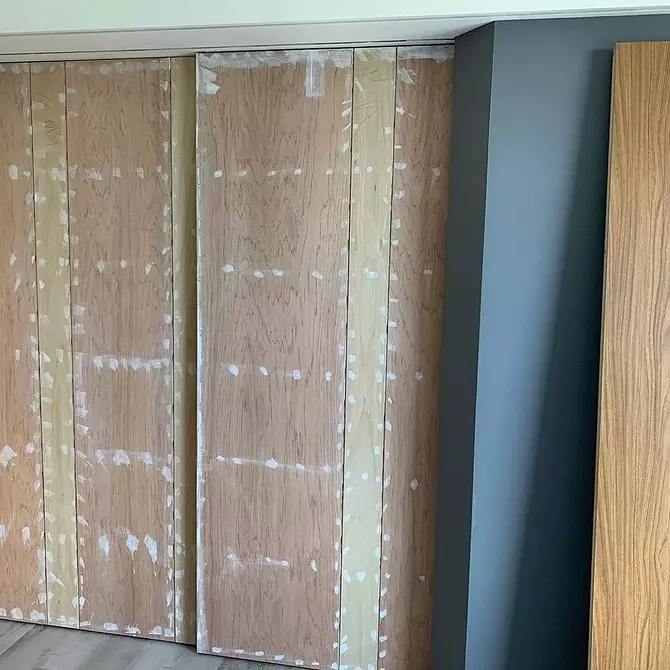
How to Pliste DSP
Chipboard - rough and not always smooth. Therefore, it is impossible to bite it with vinyl without prior preparation. To make the design well, you need to make the basis as smooth as possible. We have prepared instructions, how to stick a self-adhesive film on an uneven surface.Procedure
- Carefully inspect the base, mark chips, cracks and other defects.
- Ground "Problem" plots, give a primer to dry.
- Putty, you can car, close the large defects. Let's open, we clean.
- We remove all dust and possible contaminants from the bottom.
- Apply primer. If the instructions says that several layers of soil are required, we assign them alternately. Before laying each subsequent layer, be sure to dry the previous one.
- Put the surface, maximally align it.
- Let me dry, we clean. For stripping, use the sandpaper. First, clean coarse paper, then gradually go to fine-grained.
- Ground prepared grounds. We give a primer to dry.
- From the edge of the PVC film, we remove the protection, not more than 6-10 cm. Apply to the chipboard, press and glue. We hold the canvas with hand, with small fragments, remove the protection and gradually glue the entire workpiece.
- Spatula stroke all the coating, drive out air bubbles. We do it in the direction from the center to the edges. If the bubble still remained, neatly pierced it with a thin needle, squeeze the air.
Important remark. Bugs in gluing can be corrected within a few minutes. After that, it is impossible to cross the film strip. It is necessary to remove it very carefully: if its fragments glued together, it is almost impossible to divide them.
How to Plan a Book
Update and strengthen the lossed cover with the help of vinyl. It can be transparent or color. But then it will not work without a trace.Sequencing
- We start with markup. We decide vinyl back up on an even horizontal base. Open the revealed book on top. We plan a cut slicing line so that the rebuke is left. Opposite the root from the bottom and on top of the allowance we remove, here the material will not be wrapped.
- We remove the book, cut out the pattern of the cover with sharp scissors.
- We begin to glue from one edge, moving in the root direction. Remove the protective paper from a small plot of self-keys, put it on the cover. At the same time, do not forget about the allowances that should be wrapped inside. Printe the edge. Then gradually remove the defense, constantly stroking the spatula of the canvas, move to the root.
- Cut the allowances to the corners. So that they laid on each other with a small overlay. Watch them inside the cover, glit.
- Similarly, we accumulate the second half of the cover. Moving from the root to the edge. We are racing and smoothing self-keys so that the folds or chances are not formed. Watch the allowance inside, we shoot out the corners.
If bubbles were formed on the cover and it is impossible to move them, they are pierced with a thin needle, carefully squeeze the air.

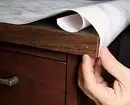
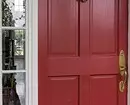
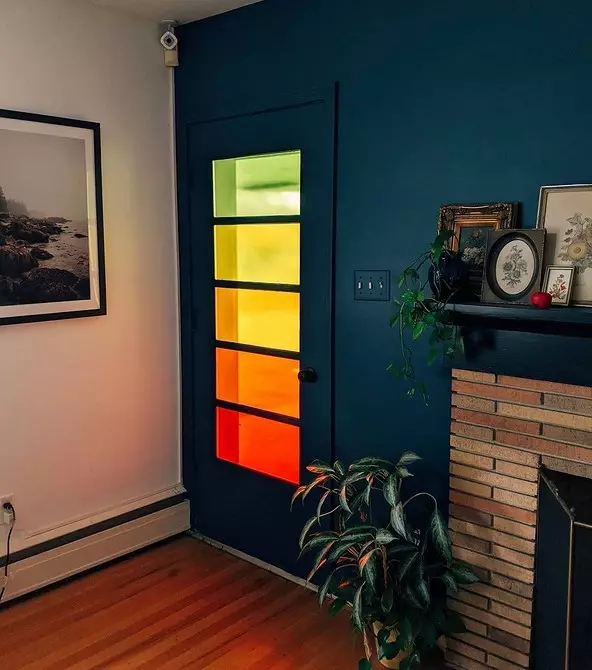
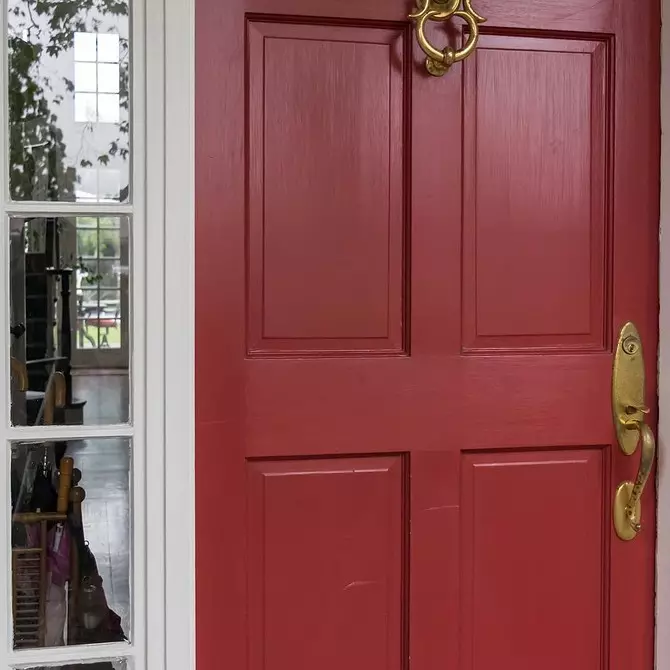
How to glue the self-adhesive film on the door
The result largely depends on the quality of the door training. The preparation procedure depends on the material from which they are made. Thus, the metal is clean and degreases with any suitable composition. A tree or chipboard is inspected for the availability of defects. They must be embedded and only then begin to equalize the surface by sandpaper or putty, if there are significant irregularities.Step-by-step action
- Remove the door with loops, put on an even base.
- We dismantle all the accessories, overhead decorations.
- Metal mine, degrease. Tree with grinding, dust and soil. If it is in good condition and without defects, you can simply wash it with soapy water to remove fat and dirt. The protective layer of varnish in this case is not necessary to remove.
- Decitation PVC film, decomposing it with the opposite side up on a flat surface. Weiently focus on the marking inflicted factory. Put the length and width of the door, taking into account points on the ends. Carefully cut out. If you have to make a mix with the combination of drawing, cutting and markup is carried out on the front side.
- From the upper edge of the outlet fragment we remove 12-15 cm of protective paper. We put it on the upper door end, glit. We begin the workpiece, go to the canvas, smooth the film trimber with a spatula.
- Little by little, we spare paper protection, straighten and glue a fragment. Appearing bubbles carefully drive from the center to the edges. Fully glue the door.
- Getting to salary corners. Cut the allowance so that they are imposed on each other with a small adhesive. We rush the corners, warm them with a hairdryer and smoothed the spatula.
Experienced masters know a small trick, how to get the door to the self-adhesive film. Before glue, the base is treated with a soap solution from the sprayer. Soap slows down the gripping process, which makes it possible to adjust the position of vinyl and, if necessary, shifted it. Sometimes only glass inserts in interior doors are decorated. They are also wetted before sticking.
How to glue self-adhesive film on furniture
You can accumulate with the film decor any furniture, with the exception of the one that is located in the kitchen near open fire or oven. Decor is not thermosetic. Under the influence of high temperatures, it is deformed, can ignite. To begin with, we offer step-by-step instructions, how to enclose the cabinet with a self-adhesive film.Cupboard
- We dismantle the doors, take out the boxes if they are. Remove the front panels from them. We remove the fittings and decor.
- Preparing elements to the salary. Preparation of wood plates and wood is described in detail above.
- Decitation self-keeper. We try to carve out the blanks so that the joints are as small as possible. For each detail, we definitely leave the allowance for the end of the ends. Crow from the wrong side, focusing on the factory markup. If the pattern is required, crumbling on the facial.
- Prepared detail laid on a solid flat base. We begin to shit from the edge. Remove a small part of the protective layer from the edge of the decor, stick it to the end. Gradually remove the defense and stick the workpiece to the base. Gently smoothed it with a spatula. Plastic roller can be used to remove bubbles.
- We accumulate corners and ends. If necessary, heating the decorative material with a hairdryer. Put in place accessories and decorations.
- Thus, you get all the details. Then put them in place, collect the wardrobe.
If necessary, you are saving the side parts. Only doors often become a compartment wardrobe with glass doors. They are preventing them, spray with water from the spray and glue the decor. Dismantling of such doors is undesirable, glass can break.
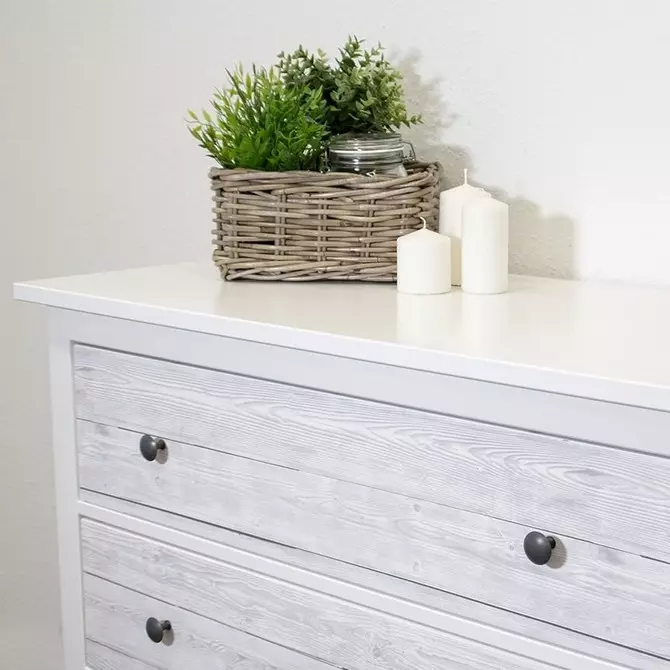
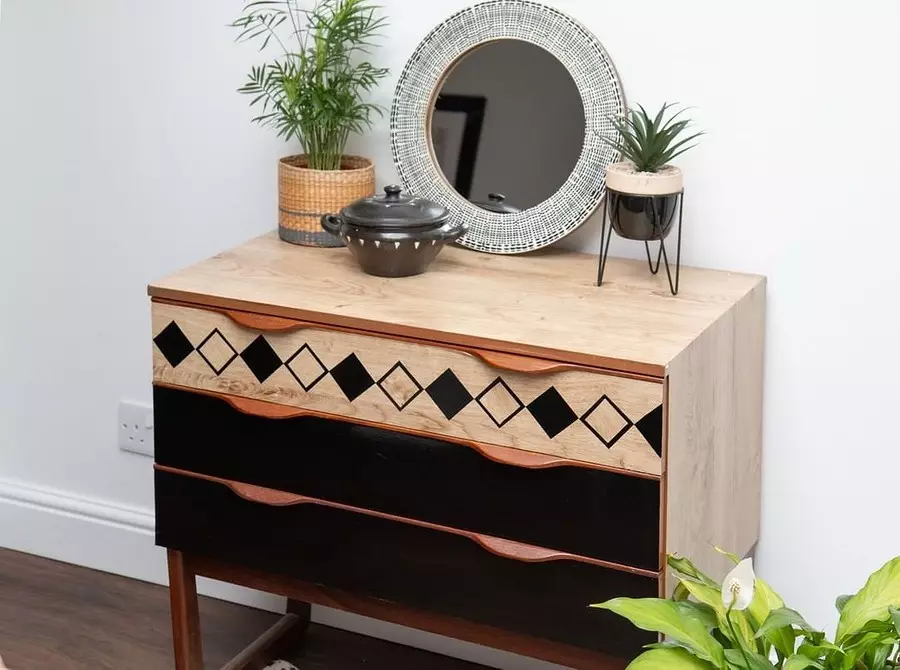
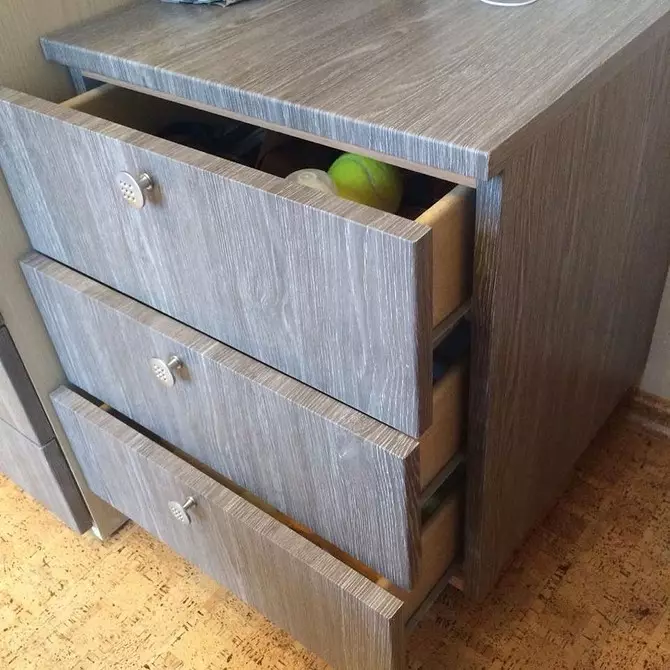
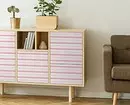
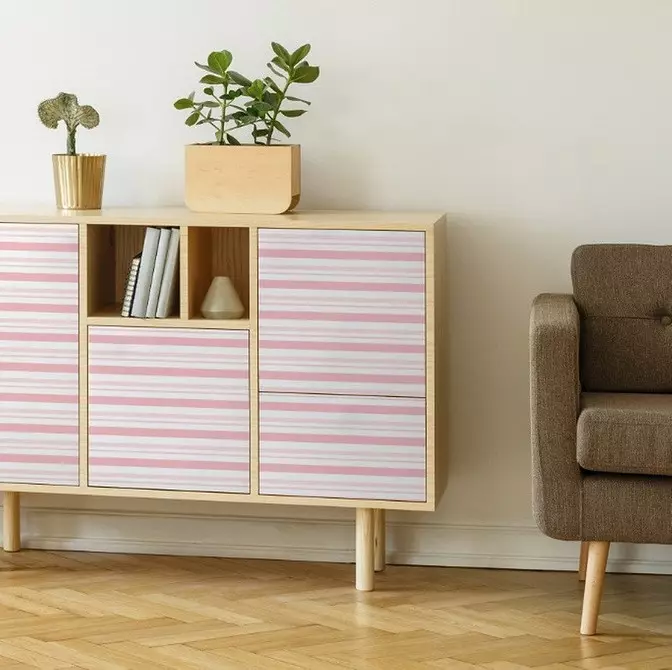
Chest of drawers
A step-by-step plan, how to attach the chest of drawers by a self-adhesive film, in general repeats the method of the wardrobe. The only difference is that the chest should stick the finish on the boxes and, if necessary on the countertop cover. First, the furniture disassemble. You can, of course, try to crack the boxes in the assembled form, but then the result will not be the best. Optimally remove the front panel from each box, remove accessories and decor from it. After that, carefully prepare the surface to the salary.
After the panel is pasted PVC films, they are collected. Then put the handle and decor, if it is, is covered by the side walls of furniture, if necessary. They can be left in the same condition or paint. Start from the top edge. Following the recommendations, how to glue a self-adhesive film without bubbles, remove part of the protective paper, glue the edge to the base. Gradually glued all the canvas, spread it with a spatula or rag.
Similarly come with a second sidewall. The tabletop begin to work with one of the side edges. Be sure to make allowances on self-keys to make them under the tabletop. First, the chest lid is gradually falling. Then go to the ends. They glue the canvas, put it under the lid. For the processing of the corners, the material is cut down so that small adhesives are formed. Print the film decor, warm it up and well smoothed by a spatula.
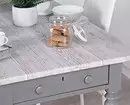
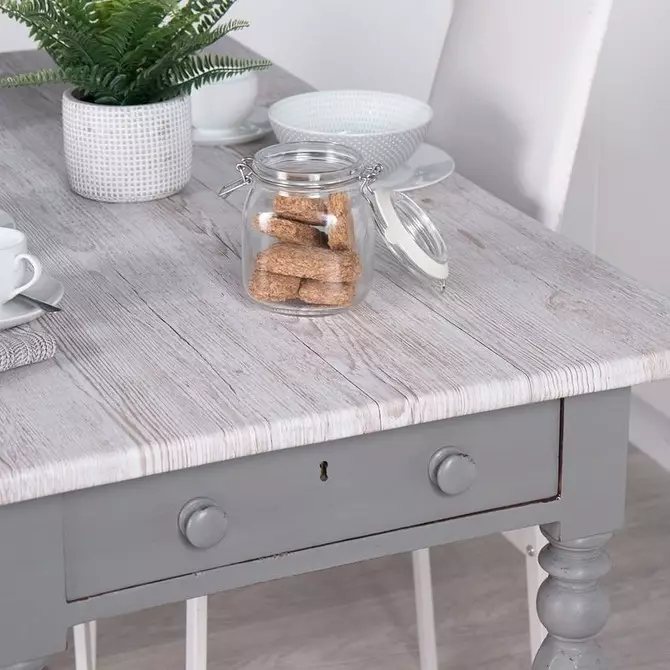
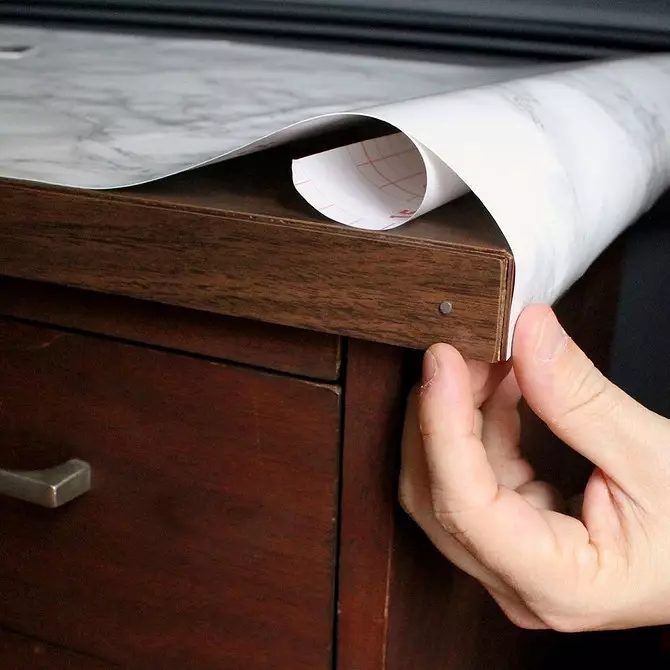
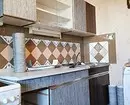
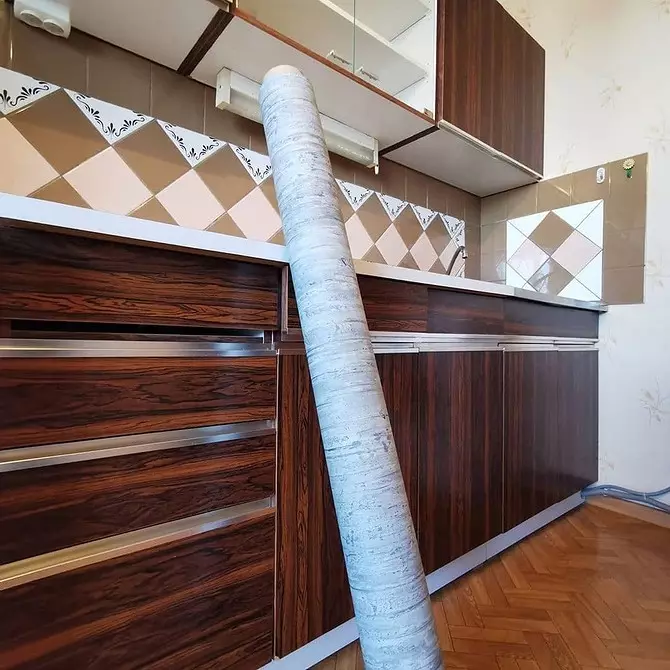
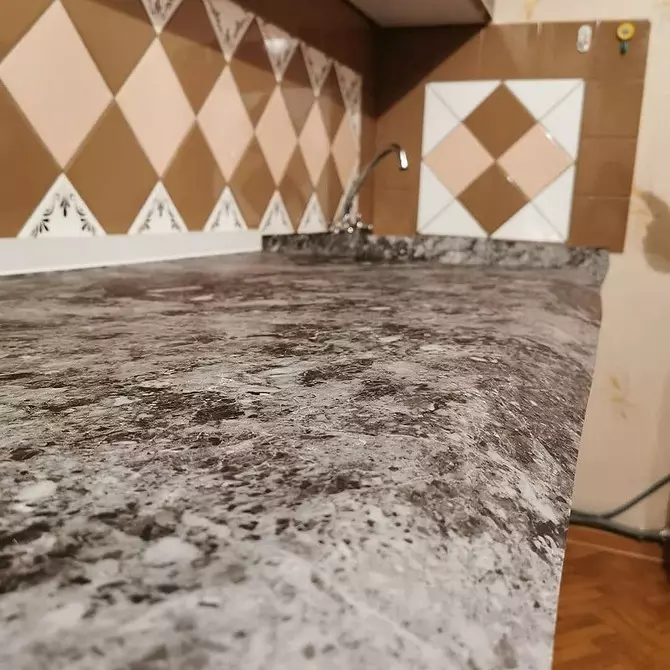
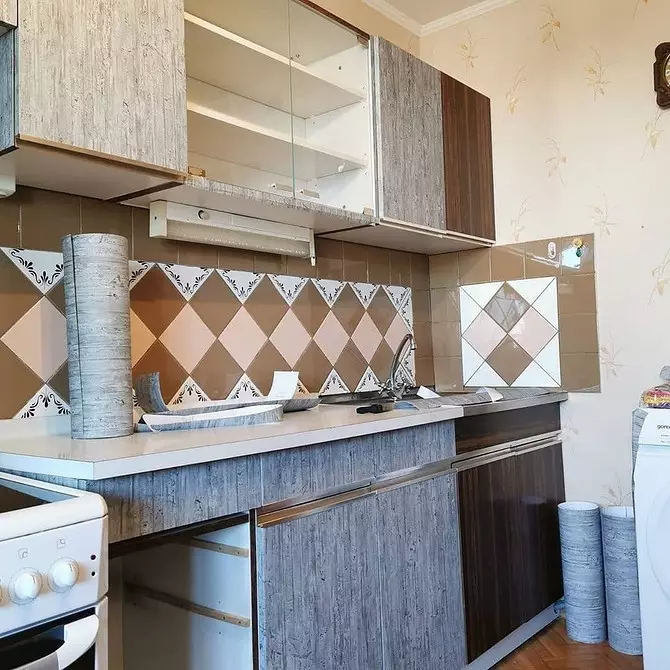
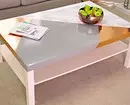
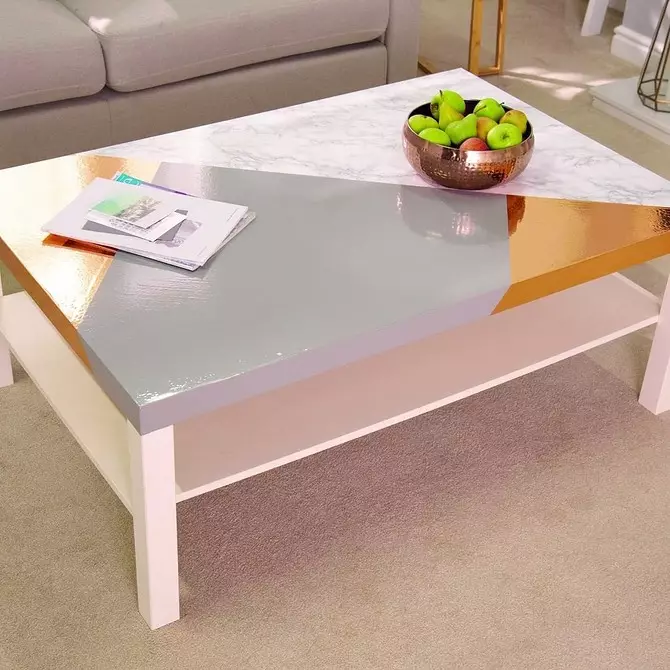
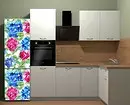
Kitchen and table top
Cooking kitchen self-adhesive film is a good way to update old furniture. A wide selection of colors of finishing material allows you to drastically change the look of an old kitchen headset. You can choose a one-window decor, combine it with a large or, on the contrary, a small pattern. There are a lot of options.
If the drawing is selected, it is important to choose the coating properly. The width of the canvas is different, it is best to take such so that there is no joints. If it is impossible, you need to dock in the most invisible places. The material is bought with a margin in order to fit the pattern elements.
Another important point is to prepare furniture for salary. It is best to remove the facades, remove accessories and decor from them. Be sure to carefully wash the parts from fat and pollution, dry. All irregularities and roughness to sharpen, then brew. Self-tech is good only on a carefully prepared surface.
Lockers and boxes are covered according to the technology described above. We will analyze how to attach a self-adhesive film countertop in the kitchen.
The junctions should be as little as possible. It is best that they are not at all. Then moisture will be difficult to get under the coating and spoil the adhesive layer.
The canvas is manifested by a solid piece with compulsory allowances on the end of the ends. The table top is laundered from fat and contaminants, dried. Glue start from the edge. From a small area, the protective layer is removed, part of the PVC film are glued. We gradually remove the defense, the vinyl glue, gently spread it with a spatula. So that there are no bubbles, use a hairdryer. They warm the coating, then smoothed it.
After the entire countertop is saved, go to ends. Self-tech is separated by the tabletop, they are well cut. Straight angles are sealed with trimming and a small adhesive. Rounded parts are covered with heated and slightly stretched decorative web.
Bedside
Even small furniture can be transformed. We offer instructions how to enclose the bedside table with a self-adhesive film.
- Remove the doors, take out the boxes. Tighten all the fasteners on the frame. If this is not done, in these places after pasting, small tubercles will be visible. We remove the fittings.
- My bedside table with soap, dry well.
- We inspect the details for damage. If there are defects, we close them with putty, after drying we clean.
- Surfaces cleaned, dust and soil. We give a primer to dry.
- Alternately, they take the details. We start from the edge, we stick the finish with fragments, gradually freeing it from the protective paper.
- We collect a bedside table, install accessories in place.

Table
For bolding tables use two types of self-keys. Transparent glued to protect furniture from possible damage, color to change its design. Application technology is the same. We will deal with how to attach the table by self-adhesive film.
Start with preparation. Commitable cleaning, deleting defects, priming. You do not need to disassemble the table, it is possible to work with it and assembled.
For accumulation of the countertop, a solid canvas with letters on the ends are cut. It is glued gradually, moving from one edge to another. If still you have to make a junction, make a small backstage. The strip must be on the band about 0.5-0.7 cm. The bottom of the glued, the upper is just put on it, but do not press.
In the center of the allen lay a metal line, both layers cut the sharp knife. Gently, so as not to stretch the edge, lift the upper strip, remove the cut part, the parts are glued to the base. It is desirable to warm up the PVC film and slightly pull it out when gluing. Such a joint is obtained as imperceptible as possible.
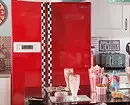
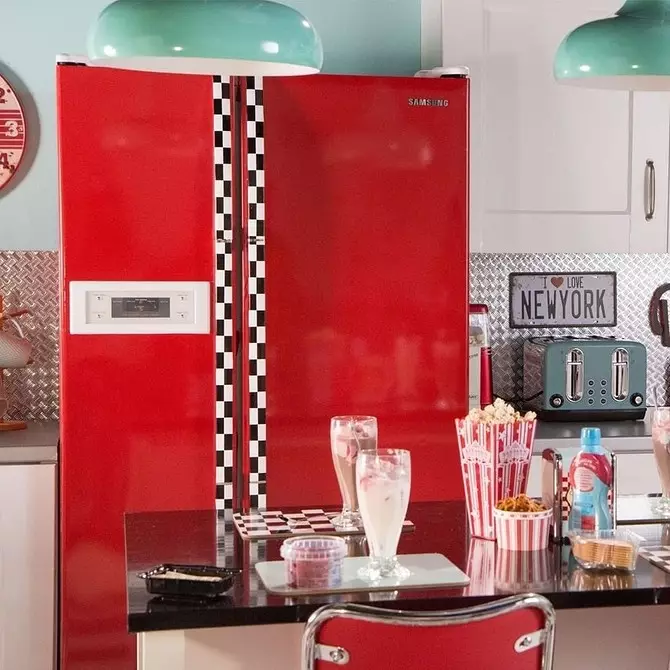
Refrigerator
There are two ways to attach a refrigerator with self-adhesive film. In any case, you first need to prepare the technique. The unit is disconnected from the network, they defrun and wash. The handles are removed, if possible, remove the door and seal. It is so easier to stick the material without folds. The surfaces are laundered from contamination, degreased, dried well. Crunette decorative self-keys, not forgetting to make points.Dry fashion
- We start with the top left corner of the door. Separate part of the protective layer from the PVC film, glue it.
- Moving to the center, down and to the sides. We gradually remove the protection, straighten and glue the film decor. To get rid of the folds and bubbles, heated the workpiece, we can with a spatula.
- Watch the edges on the end parts of the door, excess hide under the sealing gum.
- Similarly, overlook the side parts and top of the refrigerator.
Wet method
- Cooking solution for wetting. Pour water in the sprayer, add a few drops of alcohol or any detergent. We scribble.
- Detail declined from self-keys on a horizontal surface. Fully remove the protective layer from it. We do it carefully so that it does not bond.
- Spray the fluid on the pattern and the fragment to be pasted. They should not be very wet, only wet.
- We begin to glue from the upper left corner, moving down. We can with a spatula with a spatula, excessive fill under the seal.
- Similarly, you take the rest of the refrigerator.
Wet application involves slow down glue. This makes it possible to adjust your actions. So the canvas is easy enough to move aside or reach if necessary.

Common mistakes
Despite the seeming simplicity of pasting, sometimes defects are manifested, which spoil the appearance of the renewed furniture. The reason lies in insufficient knowledge, how to glue a self-adhesive film without glue. We list errors that are often allowed inexperienced masters.- Poorly prepared the foundation. This manifests itself in an uneven surface, through the new decor will appear the flaws and small grains. It is important to take all defects, pollute the basis and clean it.
- Not primed and did not degrease the foundation. In this case, the PVC canvate is not pasted. Perhaps there remained dust interfering with gluing.
- The plane did not coincide the drawing. It is important to paint the web with the ornament of the web only on the front side, so it turns out to pre-combine the drawing.
- When you have forgotten, you forgot to add allowances to the grounds. In this case, the stripped strip is not enough to pasting the shield.
How to remove self-keys
If the film decor is tired, it can be removed. True, it will be more complicated than, for example, to remove the wallpaper, even though they are externally and similar. For successful removal it is necessary to dissolve hard glue. This will help make a high temperature. To begin with, the surface is abundantly wetted by hot water. In this form, it is left for 8-10 minutes. Then a knife or spatula, you will fit the canvas, pull it on yourself and remove from the basics.
Not always glue dissolves. Then he warm his hair dryer, domestic or construction. The softened PVC coating is neatly removed. It is important not to damage the surface with a metal tool, otherwise then it will have to be repaired. The remnants of the adhesive layer also need to be removed. They are cleaned with alcohol or any solvent. Pre-test the safety of the product at a low-rise corner of furniture.