
Facade thermopanels simultaneously solve two important tasks - for insulation and decorative finish at home. We tell about the features of such a cladding and its approximate cost.
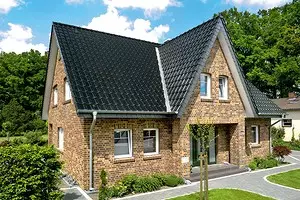
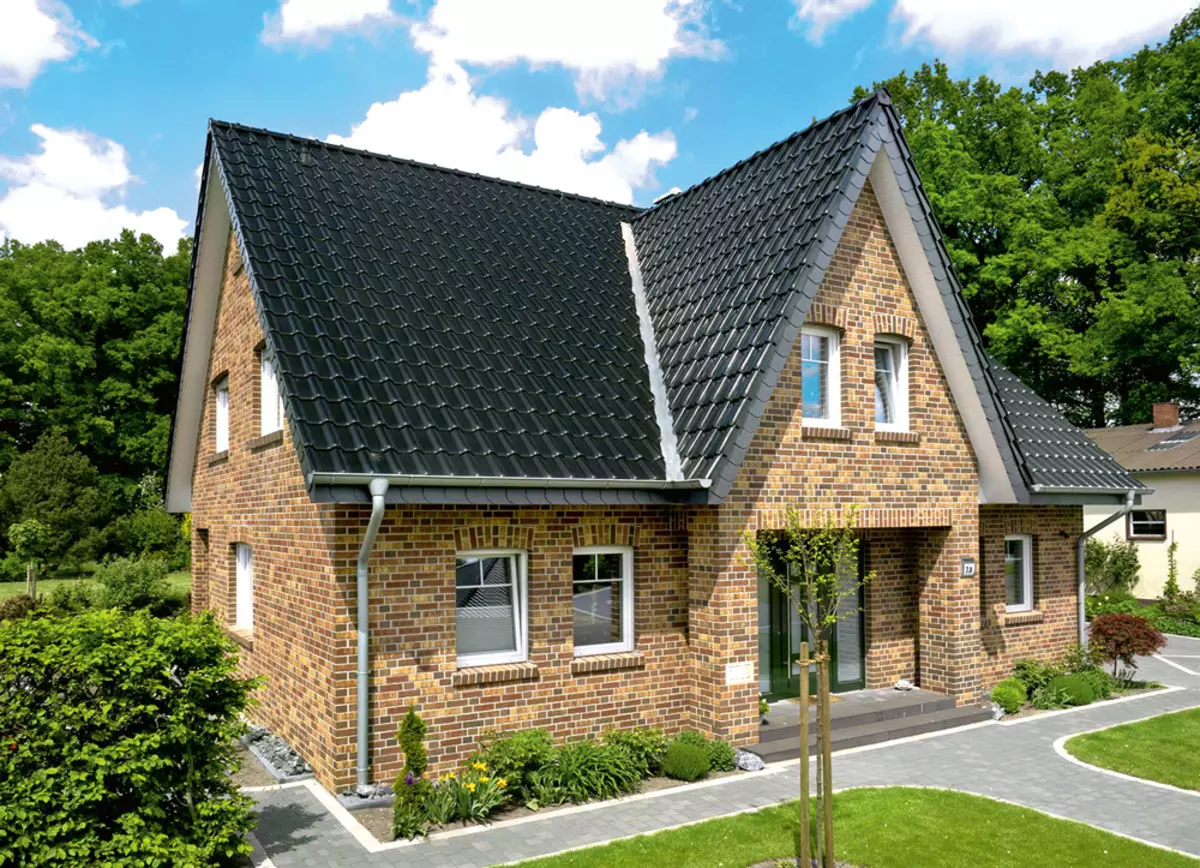
Photo: Feldhaus Klinker
Thermopanels are two or three-layer design. The basis for them is thermal insulation of polystyrene foam, polyurethane foam or extruded polyurethane foam. An external protective and decorative layer is a clinker tile, artificial stone, porcelain stoneware, ceramic tiles, less often - natural stone. Some companies produce thermopanels with a third rigid layer on the back of the panel of a chipboard, glass magnifying sheet, etc. P. According to their approval, it provides the manufacturability of installation and does not allow the product to deform.

Thermopanel with decorative facing brick "London Brick" (White Hills), which recreates an old masonry. Photo: White Hills

Photo: White Hills
For the convenience of facade works, manufacturers offer several types of panels: ordinary, angular, base (smaller size than ordinary, with larger and, as a rule, a dark facing material), good (for finishing window and door openings). The sizes of ordinary panels are diverse. Length 750-1560 mm, width 480-747 mm. The thickness of the panel is made up of several quantities: the insulation thickness (40-110 mm), the thickness of the stone or ceramics (10-20 mm) and the thickness of the rigid base (8-13 mm). This type of facade finish is represented by many companies, among them Foreland, White Hills, "Perfect Stone", "Workshop of Facade Materials", "Regent", "Fraid". Cost 1 m² of thermopadals: 980-3770 rub.
When loading and unloading, it is desirable to take the thermopanels closer to the middle, and not beyond the edges to exclude the inflection and the possible tile of tiles. Fold and transport them tiles up.
Facing home thermopanels
| Benefits | disadvantages |
|---|---|
| Simultaneous insulation and facade finish. | The need to prepare the surface (alignment). |
| Suitable for facades from different materials and structures. | The complexity of cladding of curvilinear planes. |
| A small mass of panels, no need to further strengthen the foundation. | In most cases, high prices for material (especially on angular elements). |
| Simple installation of elements with minimal use of wet processes. | |
| The presence of angular elements. | |
| The ability to lead facing work all year round. | |
| The solid surface of the non-resistant panels to mechanical effects. | |
| Lifetime of panels for at least 50 years. |
Thermopanel with a decorative layer of artificial stone (White Hills) and thermal insulation of polystyrene foam. Element size 1140 × 650 mm (1950 rub. / M²). Photo: White Hills
Features of finishing thermopanels
Photo: White Hills
To minimize the costs of finishing and operating at home, it is necessary to determine the optimal thickness of the thermopanel insulation layer. Specialists of manufacturing companies will help this, which in accordance with the standards will select the products from the desired thickness of the insulating layer and taking into account the material of the outer wall.
It is also necessary to determine the method of installation of panels, which depends on the state of the facade. If its surface is smooth (monolithic concrete, concrete blocks, brick, frame structures), then the elements of the facing are fixed directly to the external walls. With existing high wall defects, their surface is pre-cleaned, removed the old peeling plaster, other crumbling materials and are aligned with cement plaster. Facing work starts from the angle and are promoted by rows around the structure from below-up.
For fitting the clinker panel, the diamond disk is cut, after which the heat insulation layer is cut. Photo: "Regent"
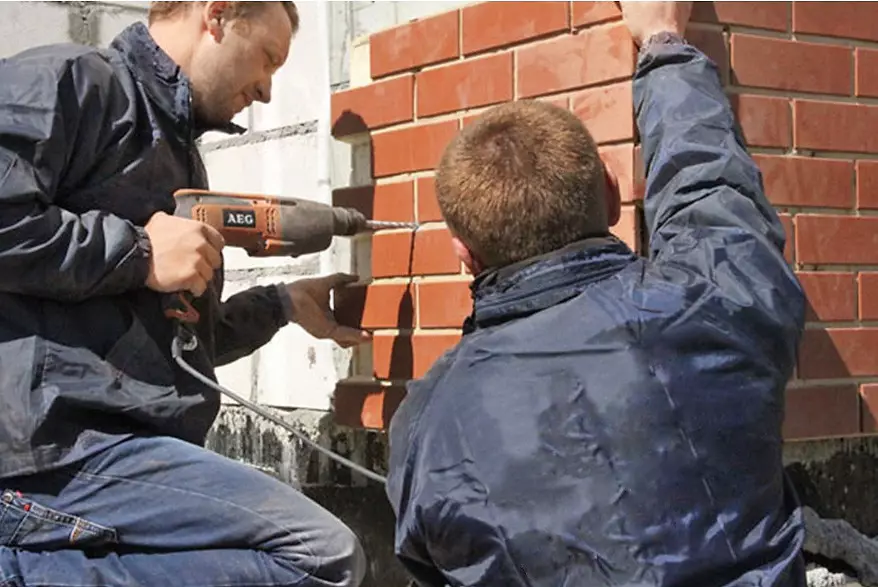
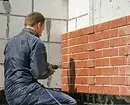
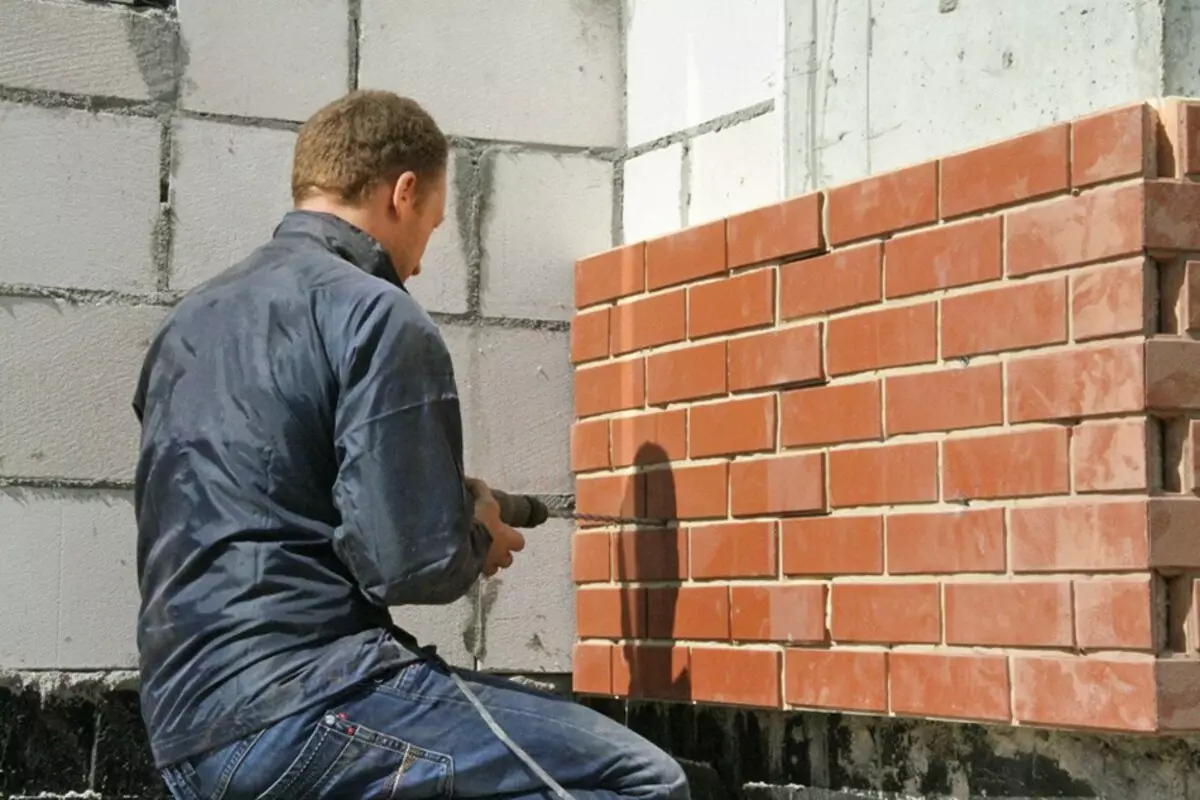
The places of fastening the thermopanels to the wall are marked on it to the mortgage sleeves. The element is applied to the place of installation, through the guides drilled the hole in the wall and is fixed with the help of self-soles or dowel-nails of sufficient length (at least 120 mm). The seams are filled with frost-resistant grout for wide seams. Photo: "Regent"
After facing the facades panels, the plane of possible condensation ("dew point") is derived from the wall design and moves into the outer layer of insulation of polyurethane-tana or foam polystyrene. These materials have minimal water absorption, which eliminates the condensation of moisture and the freezing of bearing walls. Photo: White Hills
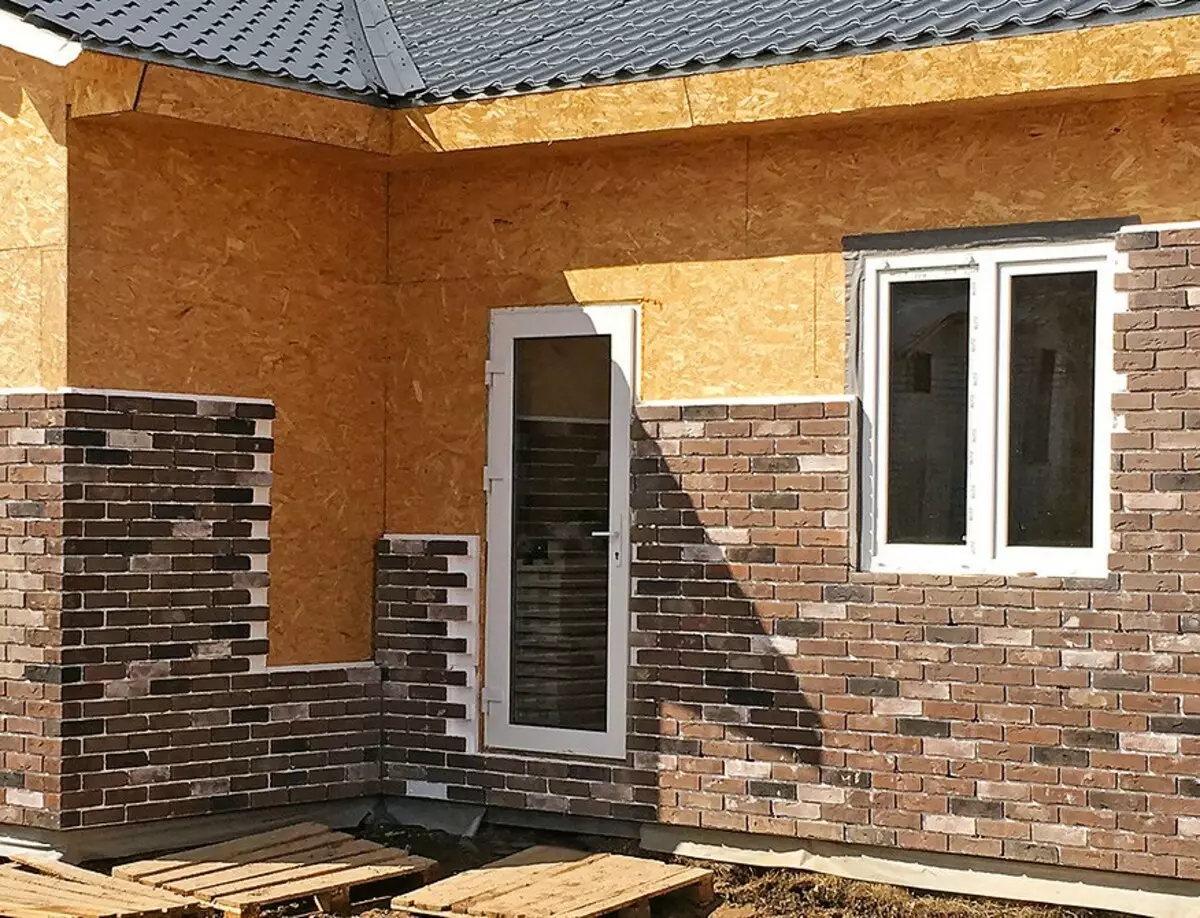
From the ideal of the geometry of the walls, it is leveled by the helms of the wooden bars or metal profiles, to which the thermopanels are then attached. Otherwise, they will repeat all the irregularities of the walls, and imitation of smooth stone, brick or clinker masonry will not work.
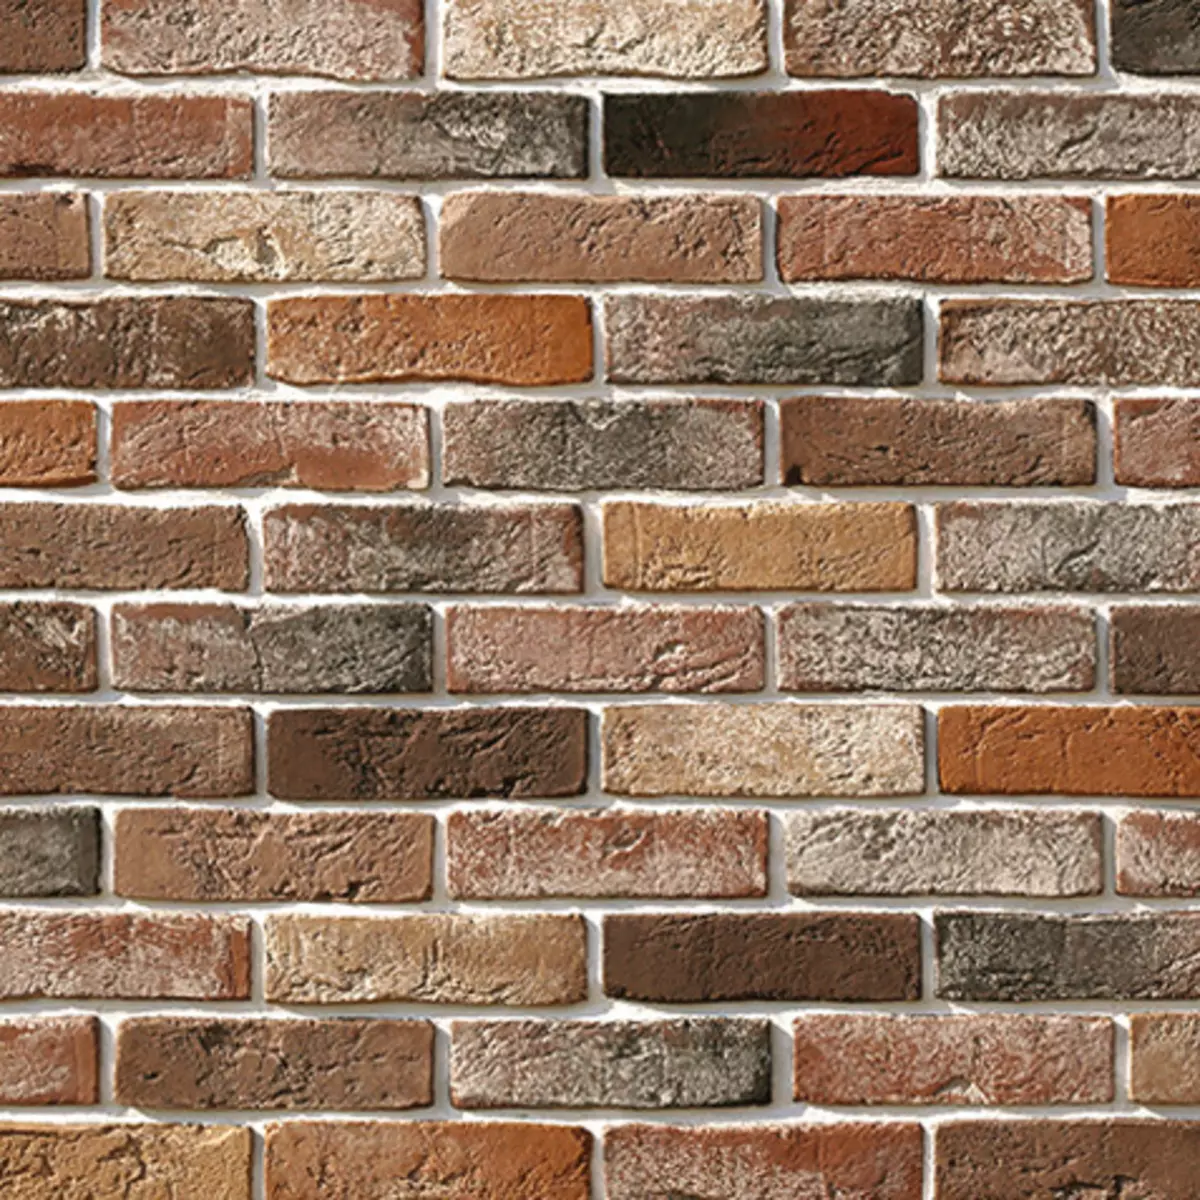
Photo: White Hills
Thermopanels are mounted on a vertical makeup with self-draws, and directly on the wall - with the help of polymer glue and dowel-nails corresponding to the base material. The manufacturer must provide recommendations for the number of necessary mounting elements per 1 m², as well as the choice and features of the use of other consumables: glue for the joints of panels, suture grout, etc.
As for the wooden structures, in the first year after the construction, when the process of natural drying of wood is coming, the lining of the church of the thermopanels is undesirable. It is better to postpone it at least for the season. On the satisted log house, they first mounted a doom and already to it panel. The gap between the bearing wall and panels is required to exit moisture from home and remove condensate.
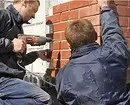
When mounting the panels to the outer wall, the self-tapping screws are used in the corresponding length so that at least a third of the total length of self-pressing is included in the wall. Photo: ftp-europa
How to make invisible seams
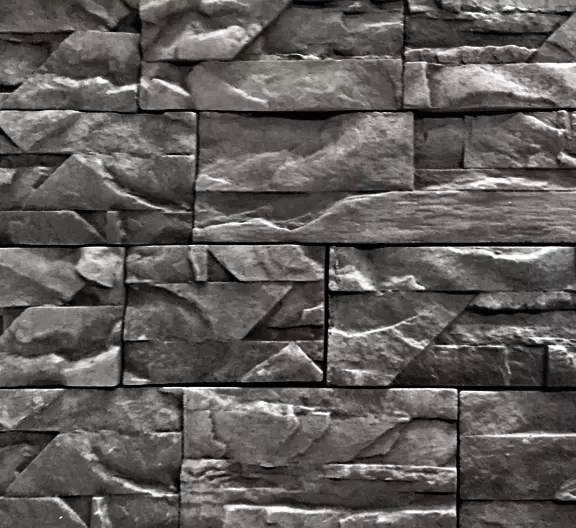
Photo: "MFM"
One of the common mistakes when working with thermopanels is an installation on an unprepared base. As a result, there are noticeable seams between the elements and the overall sense of the facade curve appears. Even small deviations of the walls from the vertical (3 cm on the line 3 m) to level the thermopanels will not be possible. Facing will look beautiful and smoothly only on pre-trained walls. Their surface is aligned with cement plaster or with the help of brucks. In addition, the seams may become noticeable a year later due to deformation of the panels of inappropriate quality. Therefore, it is worth purchasing material only from proven manufacturers, do not chase as cheap and commission the installation of a qualified brigade with the experience with thermopanels.
The facade of the facade of the country house with thermopanels was carried out in winter, then the stamps of the seams requiring this procedure can be postponed until warm season.
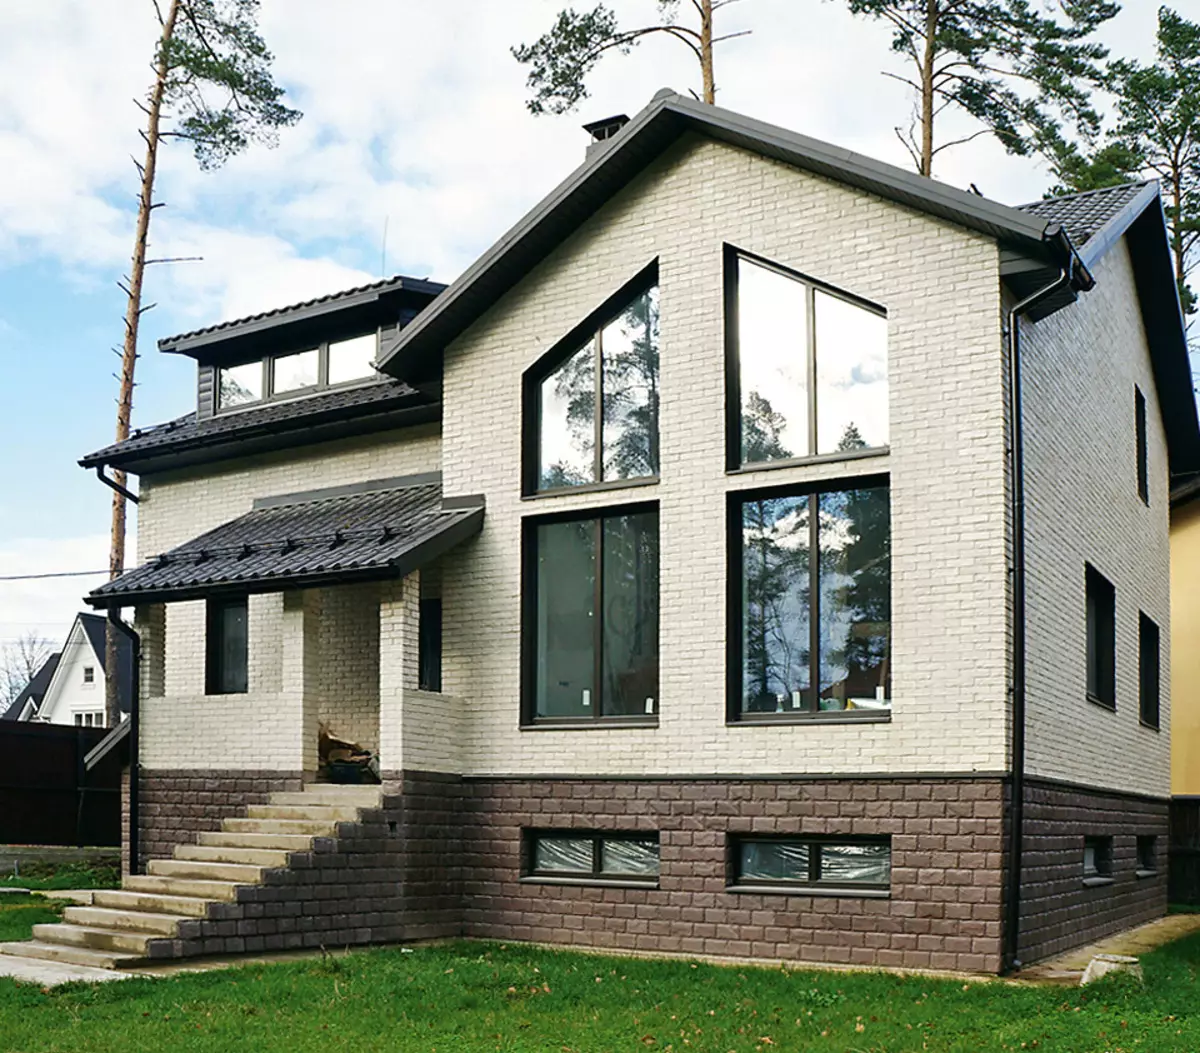
Photo: "MFM"
How much is the trim of thermopanels
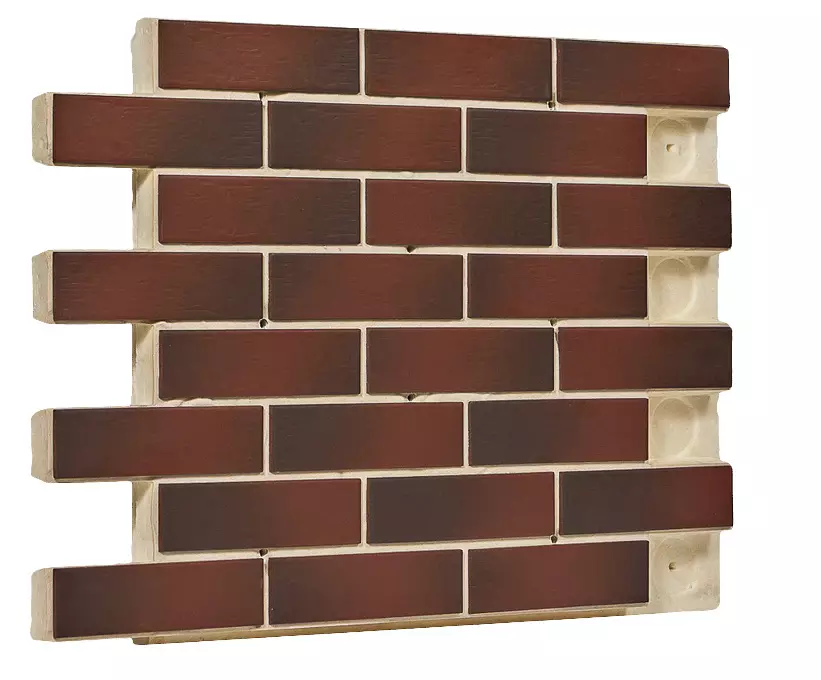
Photo: "Regent"
Determine the number of necessary thermopanels, it would seem easy. It is necessary to calculate the area of the facade, to deduct the area of door and window openings and add 10-15% on trimming and fit. After that, the obtained value is divided into one panel area.
However, the appearance of a warmed house will be more attractive if used panels with tiles or a stone of different colors or textures, as well as good and decorative elements. In addition, the exact data on the desired amount of cladding and consumables (fastening elements, glue, grout, etc.) will help optimize costs.
This requires not just a preliminary measurement, but based on it drawings of the walls of the house, indicating the necessary number of decorative elements, angular, volunteer, base or design project design of the facade with different types of ceramics or stone. Departure of a specialist for measurement and drawing up a detailed estimate costs about 5 thousand rubles. (Subsequently, this amount is usually subtracted from the cost of the thermochanges ordered.)
The cost of installation of thermopadals begins from 650 rubles. For 1 m², the batch of seams - from 350 rubles. For 1 m². Given the value of the material itself, the option of finishing the facades by thermopanels cannot be called budget. But the desire to save is fraught with the acquisition of poor-quality material and the unpredictable result of the work of the assembly dilettant. Choosing a beautiful and durable cladding, which should serve at least half a century, is unlikely to give up the services of professionals.
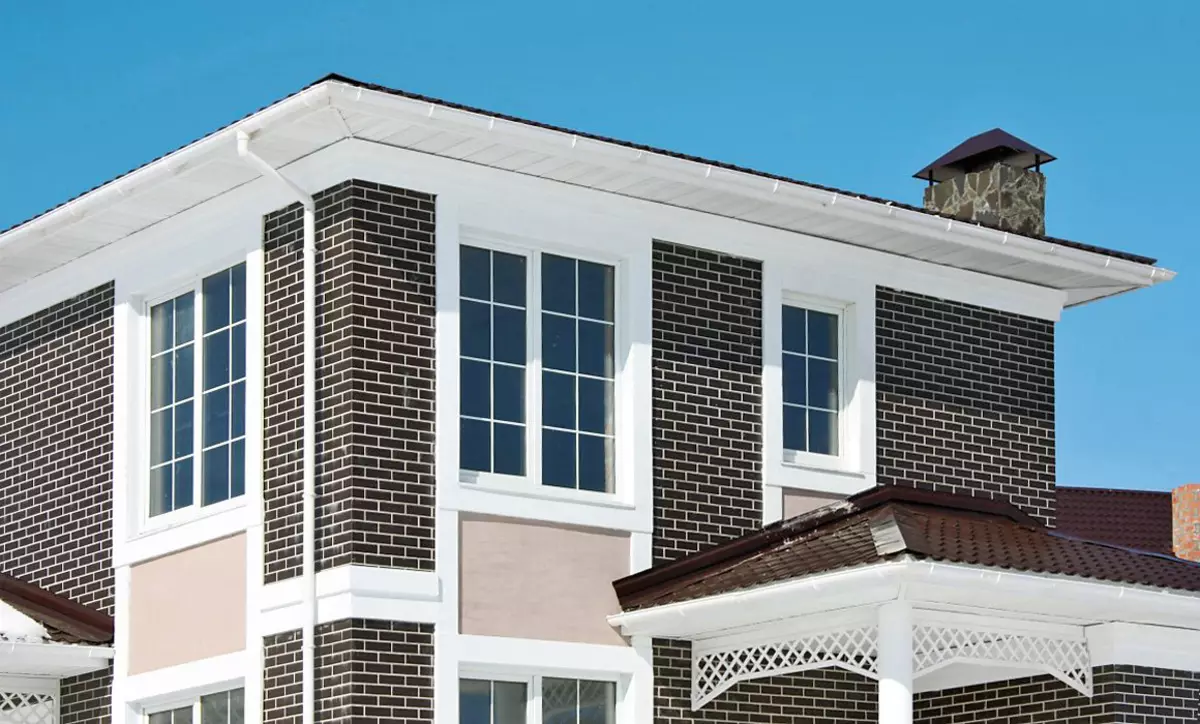
Photo: ftp-europa
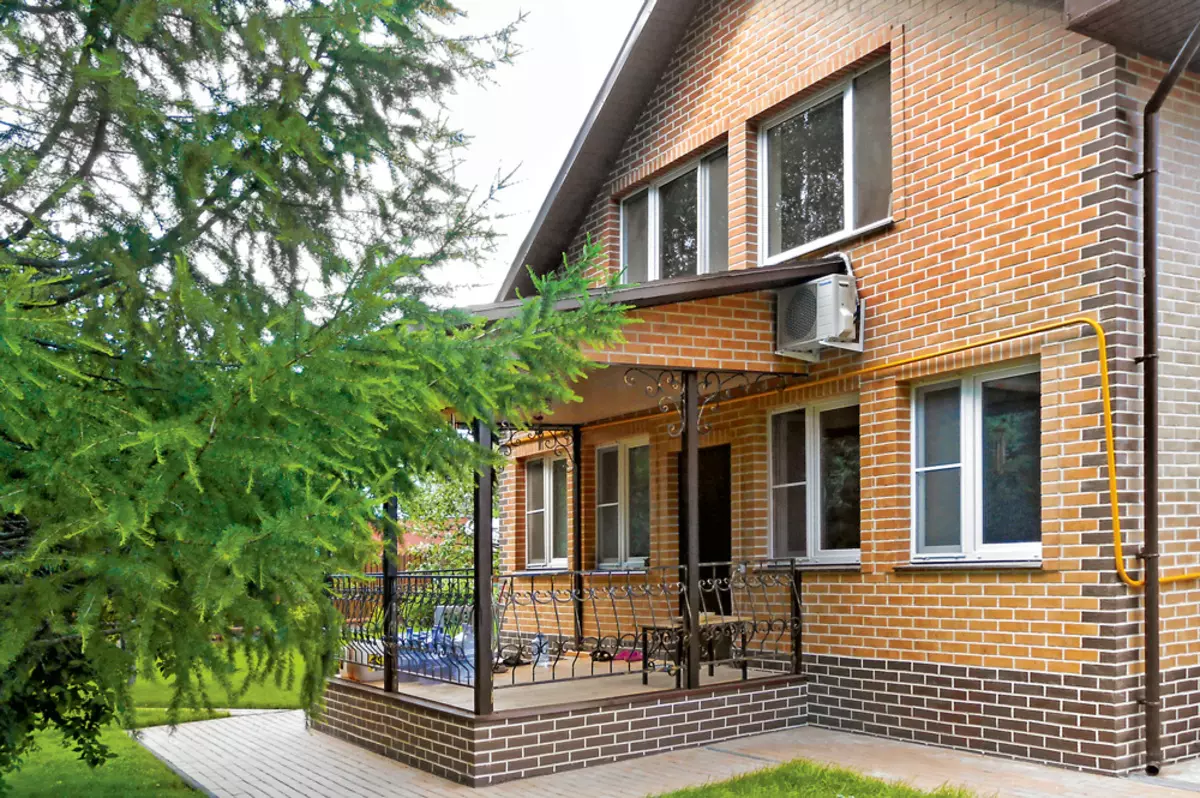
The advantages of thermopanels are in combination of thermal insulation, in our case, polystyrene of the PSB-C-35 brand, and decorative cladding. In this capacity, brick collections of artificial stone of different colors and textures are very popular. When installing the White Hills thermopadals, you do not need to use adhesive solution and grout. Therefore, installation is permissible all year round, regardless of weather conditions. Compared with the "wet" cladding of work, it takes less time, on average, 2 weeks to finish the house. Use thermopanels on facades from different materials: bricks, concrete, timber. The small weight of the product creates minimal loads on the foundation and the supporting structures of the building.
Alexander Ziruliev
Deputy Head of the Project Sales Department of the company WHITE HILLS
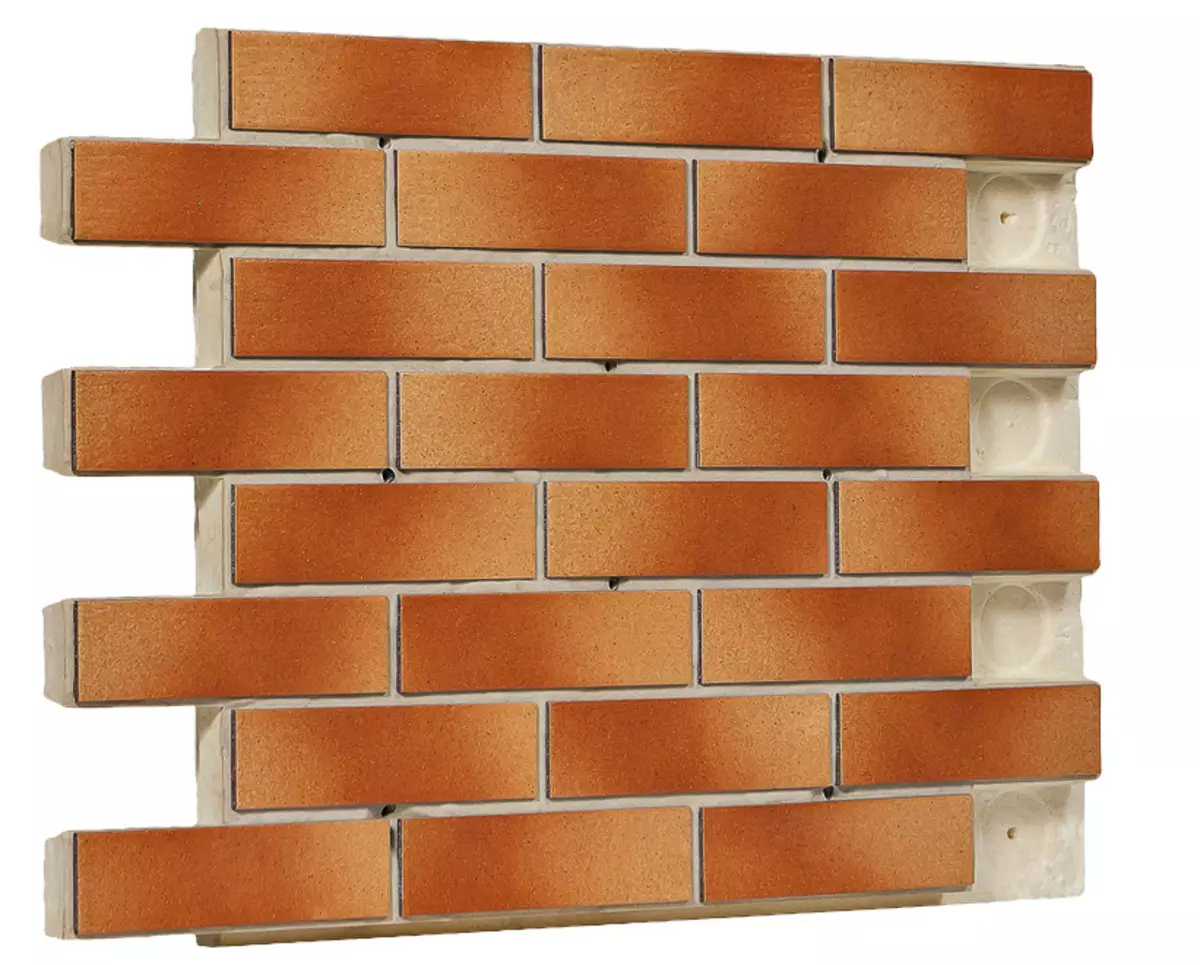
Photo: "Regent"

Grout for seams Perel RL (UP. 25 kg - 765 rub.). Photo: "TD Person"
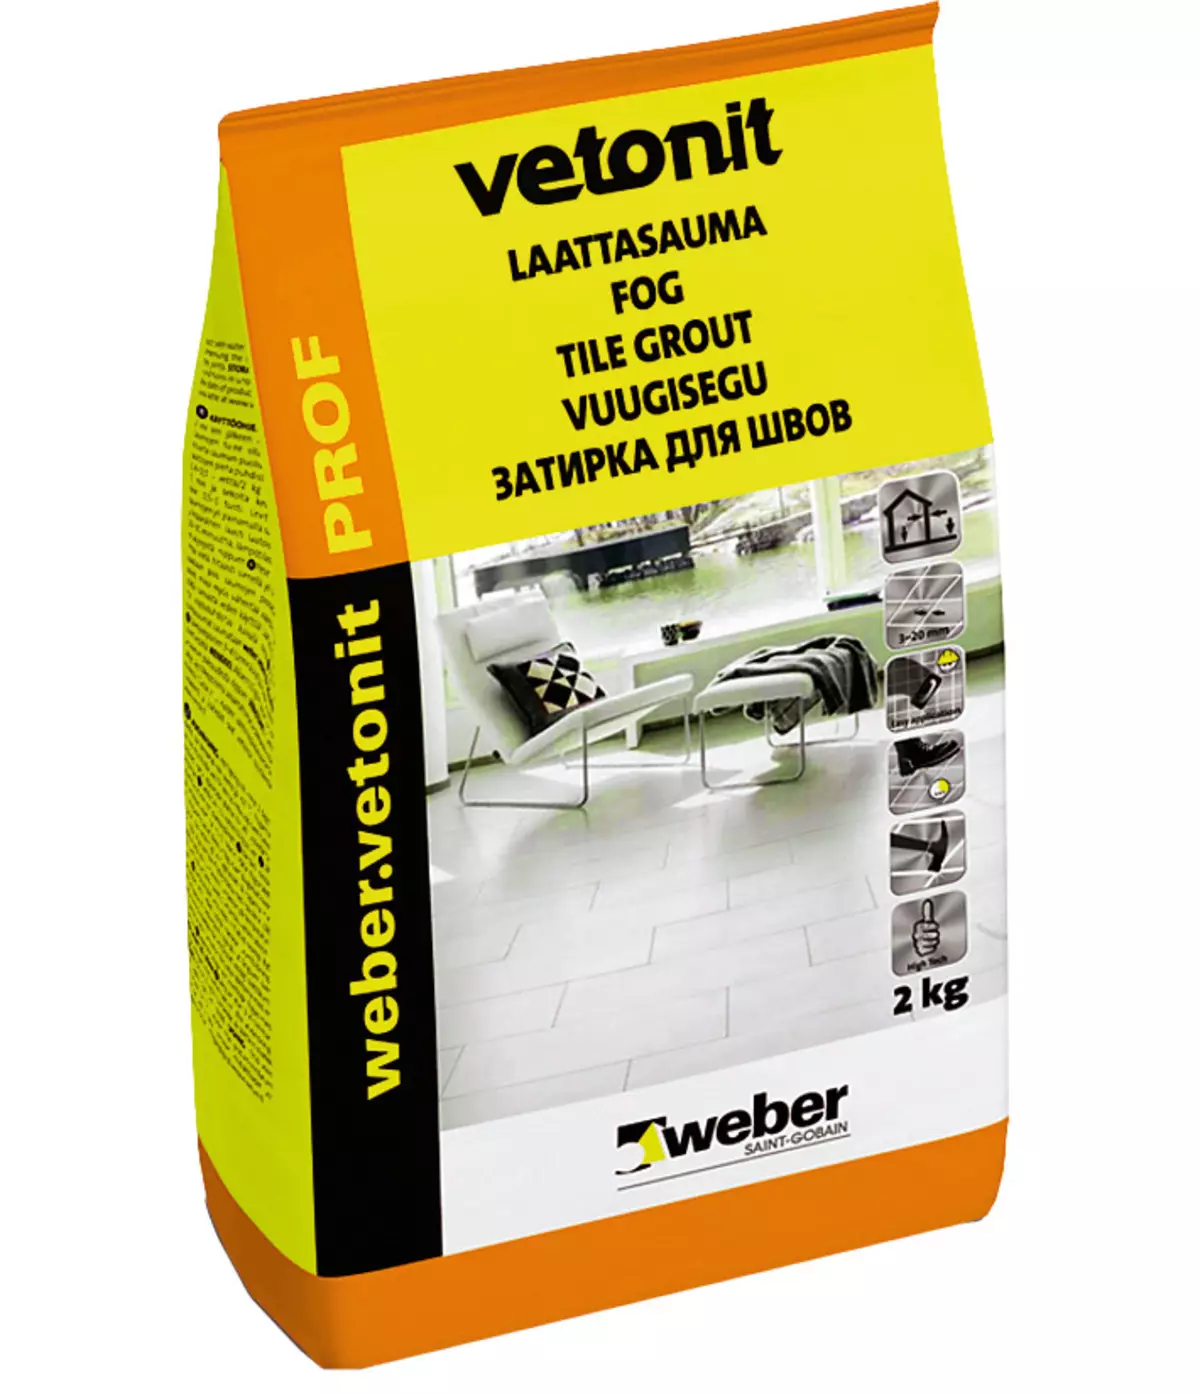
Grout for seams Weber.vetonit prof (UE. 15 kg - 1326 rub.). Photo: "Saint-Goben"
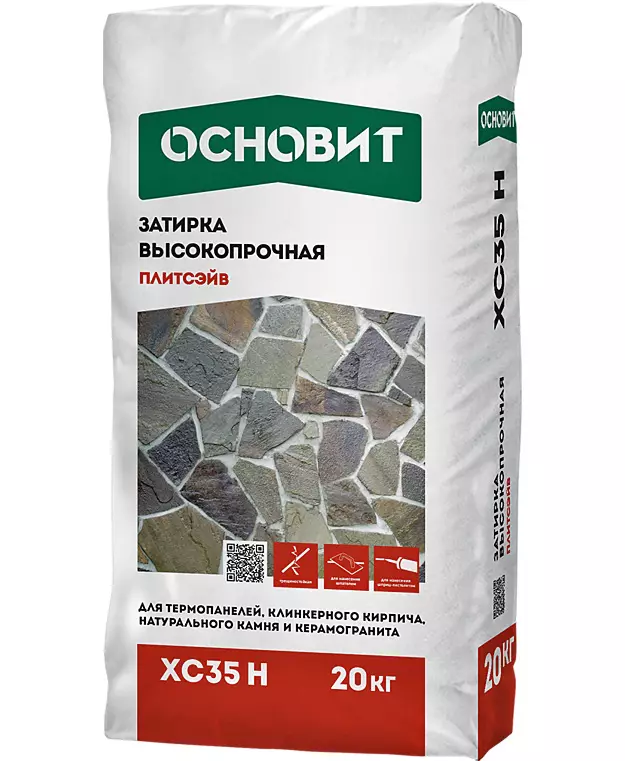
Grouting "Plysayiv" ("Best") (UE. 20 kg - from 670 rubles). Photo: "Best"
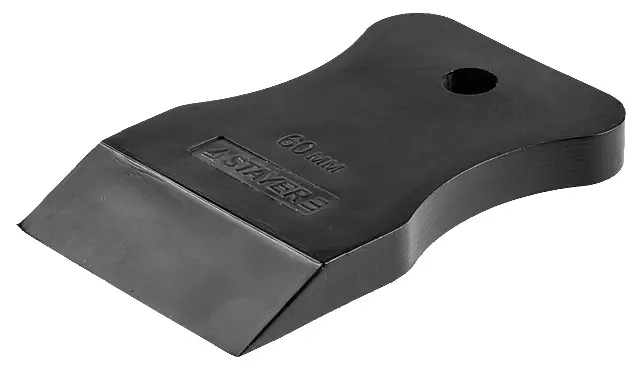
Photo: Stayer.
Photo: "Bison"