
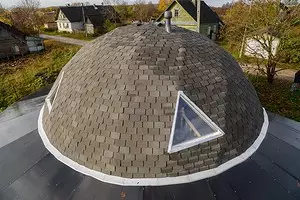
Sometimes the owners of the house, having lived in it for several years, decide to install a mansard window in the roof. Of course, there are risks, because you will have to partially dismantle the inner finish and disrupt the integrity of the roofing pie, but if you know the rules and features of the installation, problems can be avoided. What should be considered?
Work on the installation of the attic window is made from the inside of the room.
First stage - Preparation of window opening
To do this, on the finishing of the skate, the approximate center of the window is noted, around which the hole is cut off the hole with a size of 200 x 200 mm. Next, using the folding line, the arrangement of the rafter and the distance between the "legs" determine, after which the dimensions of the future window opening are placed on the surface.
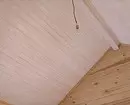
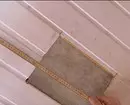
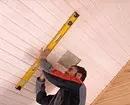
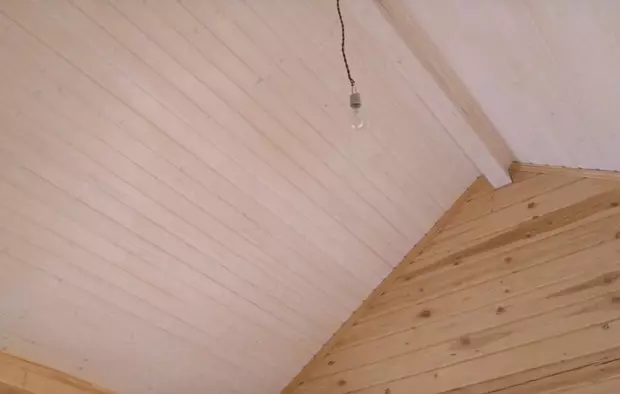
Photo: Tehtonol
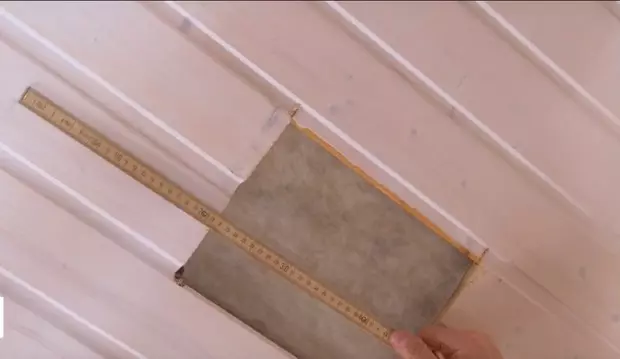
Photo: Tehtonol
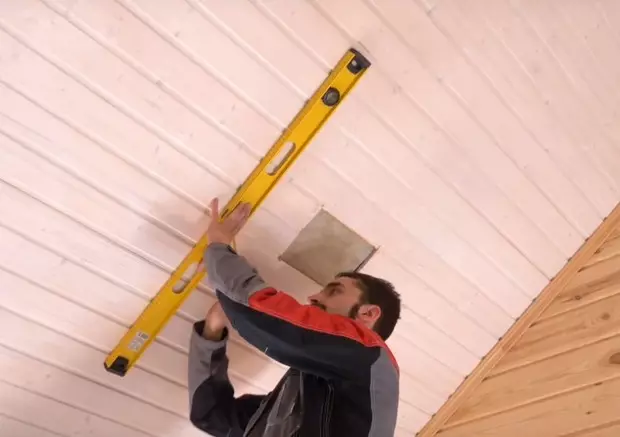
Photo: Tehtonol
It should be noted that the step between the rafters is usually 60 cm, which allows you to pretend the plates of the mineral wool insulation of the murmur without cutting and extension. This in turn makes it possible to establish a standard mansard window of 55 cm wide with a rapid legs without transferring and dismantling. In case it is necessary to embed the window of the greater width, the rafters are partially dismantled and shifted, and it will be necessary to strengthen the rafter system, because Wooden beam was dismantled. This option is more costly, and therefore experts recommend purchasing a window that can be installed without transferring rafters.
The next step is to drink the opening of a predetermined markup
It should be noted that the width of the opening should be 40-60 mm more than the window itself. This is necessary to install a special circuit of insulation around the window that prevents the design of the structure and eliminating the appearance of cold bridges. The length of the opening is calculated based on the fact that the bottom slope must be vertical, and the upper one is horizontal.

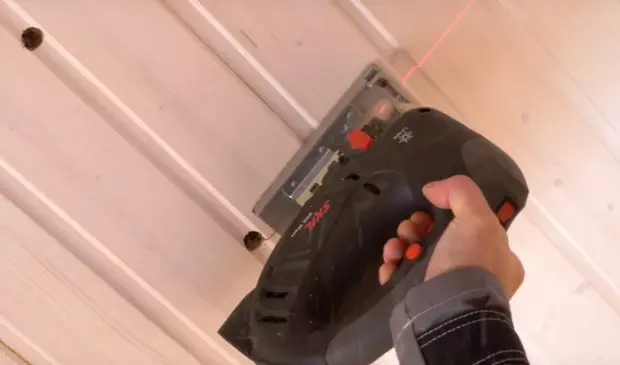
Photo: Tehtonol
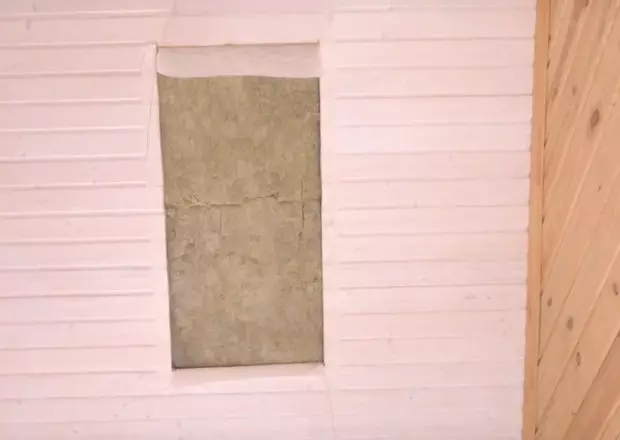
Photo: Tehtonol
A number of mansard windows are equipped with a circuit of insulation on a rigid frame and a waterproofing apron, so it is not necessary to buy anything else.
After the opening is made, steamed vaporizolation and remove the insulation. The diffusion membrane is cut and wrapped inside the room, after which the roofing is cut through the jigsion, a solid base and a crate at the site of the attic window. Further, the diffusion membrane is fixed with a construction staple to the crate, cutting unnecessary by the level of a solid base.
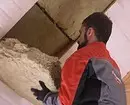
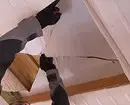
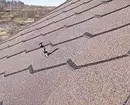

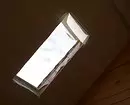
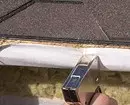
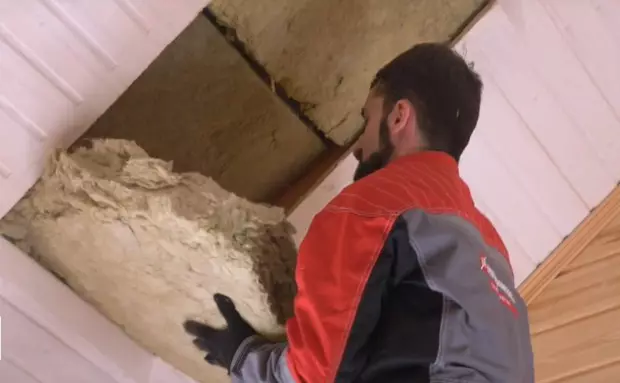
Photo: Tehtonol
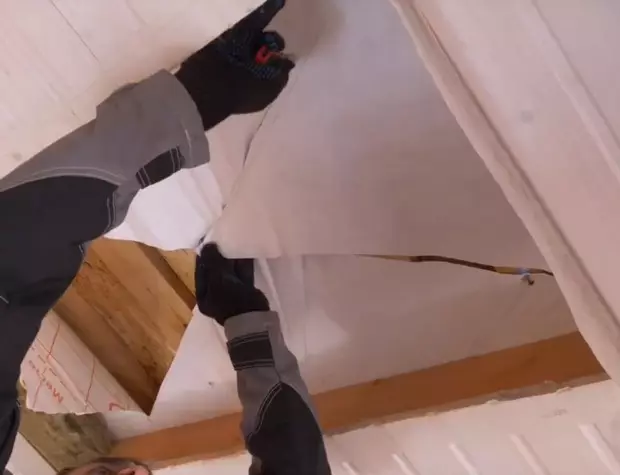
Photo: Tehtonol
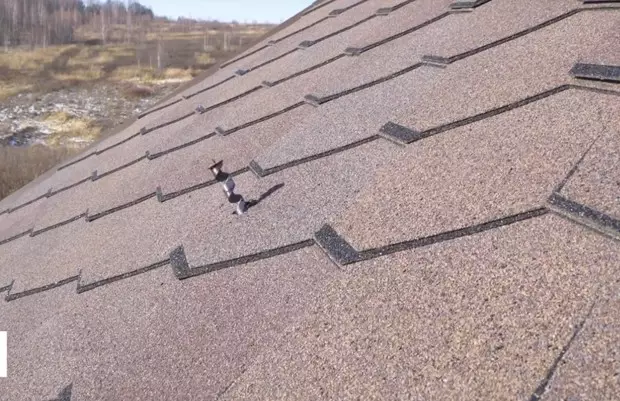
Photo: Tehtonol
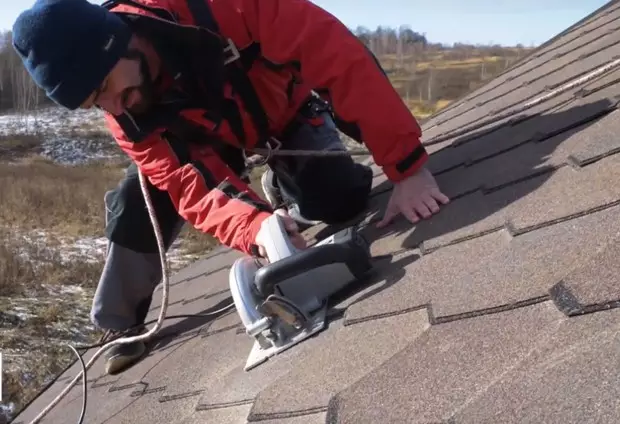
Photo: Tehtonol
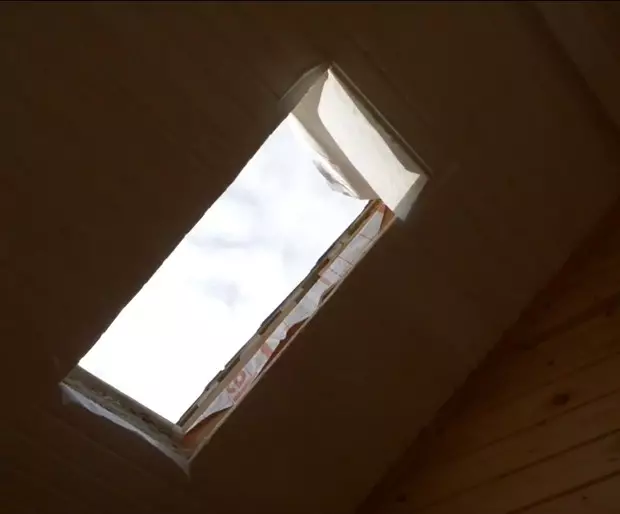
Photo: Tehtonol
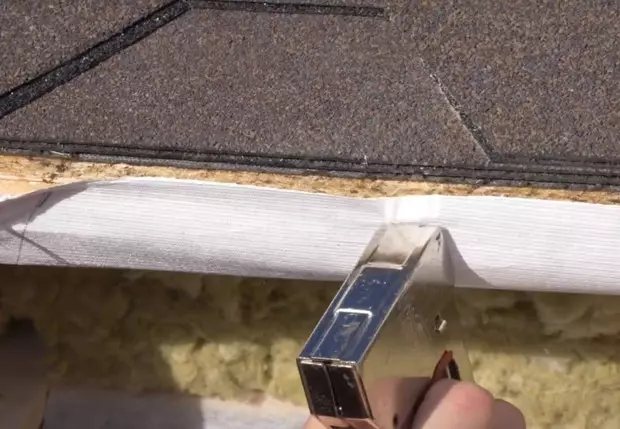
Photo: Tehtonol
Third stage - installation of a window frame
It is possible to produce it, both from the inside and outside. The window frame should be based on the crate, in those places where the lamp is missing, it must be done and strengthened.
A mansard window can be installed in a properly insulated roof with a slope of at least 15 °. Please note that for different roofing materials, windows manufacturers produce different mounting kits.
To hermetically combine the roof with the window salary, part of the flexible tiles around the window is dismantled. To do this, with a slotted screwdriver and nail-made fasteners and gently divide the self-adhesive layer. For ease of dismantling, you can slightly warm the tiles with a construction hairdryer. It is also worth considering that 50 mm should be from the edge of the tiles to the window box, everything is superfluous.
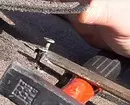
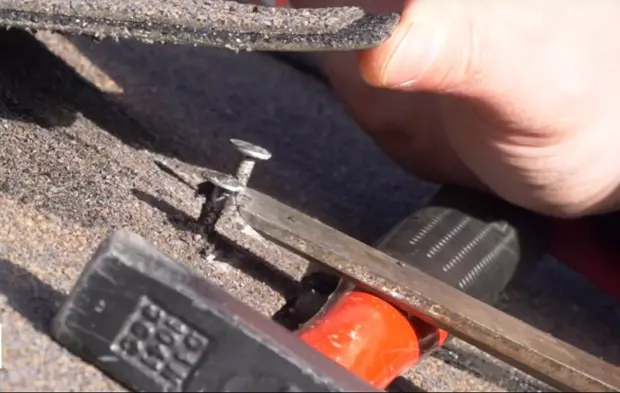
Photo: Tehtonol
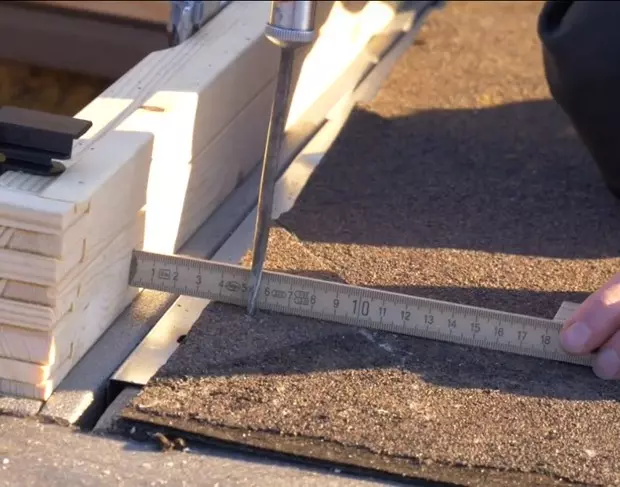
Photo: Tehtonol
The next step is to assemble the insulation circuit and install it in the opening
When mounting the window into the finished roof, the drainage chute is not used, in other cases it is necessary. When installing the window from the inside of the room, the frame and the box of the attic window are separated before installation and mounted in turn, if the installation is made outside, the dismantling of the sash is not performed.

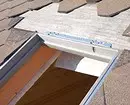
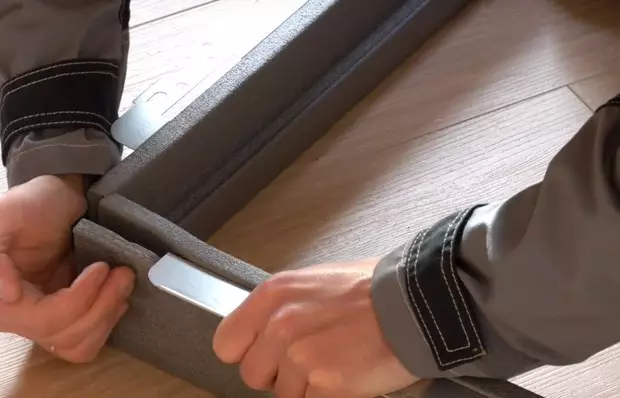
Photo: Tehtonol
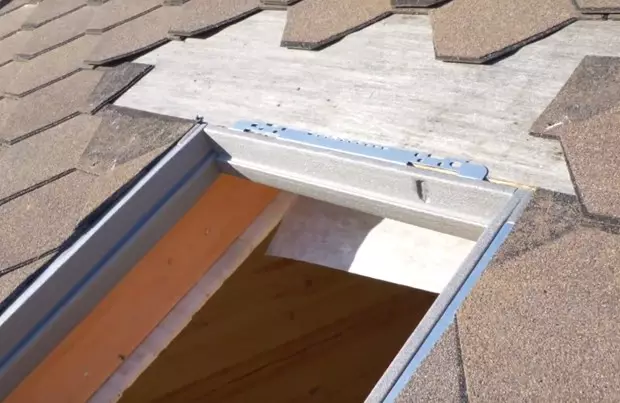
Photo: Tehtonol
On the box of the window on special marked places screw the mounting corners, after which the box itself is installed in the opening in the circuit of insulation. The lower part of the design is exhibited by level and secure. Next, insert the rotary flap and adjust the gaps between the box and the sash.
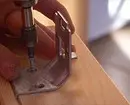
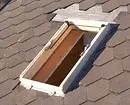
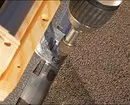
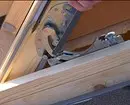
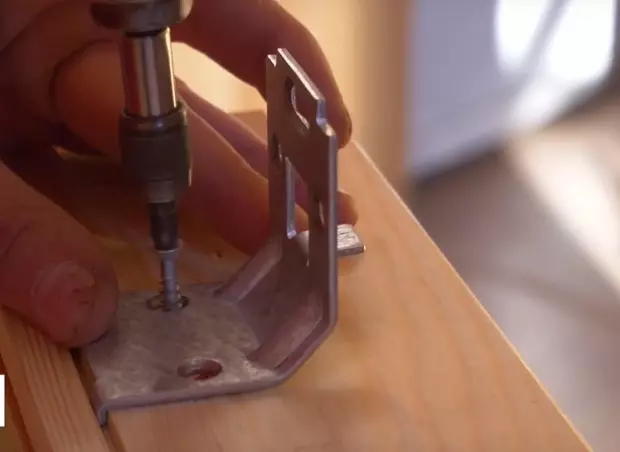
Photo: Tehtonol
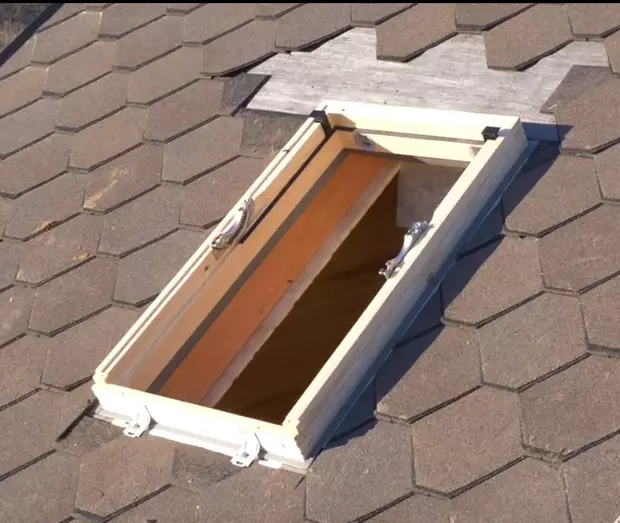
Photo: Tehtonol
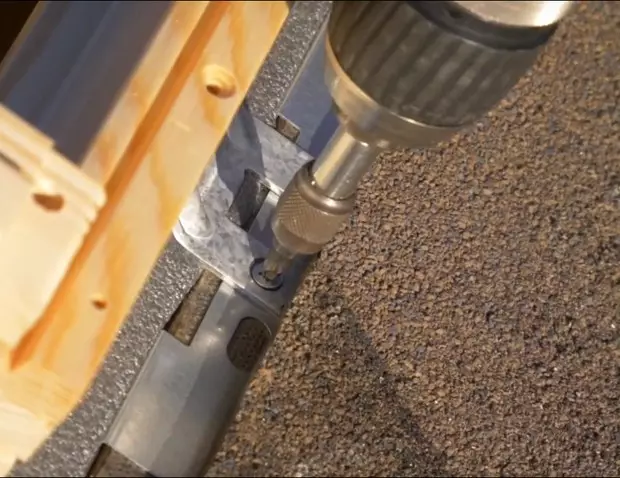
Photo: Tehtonol
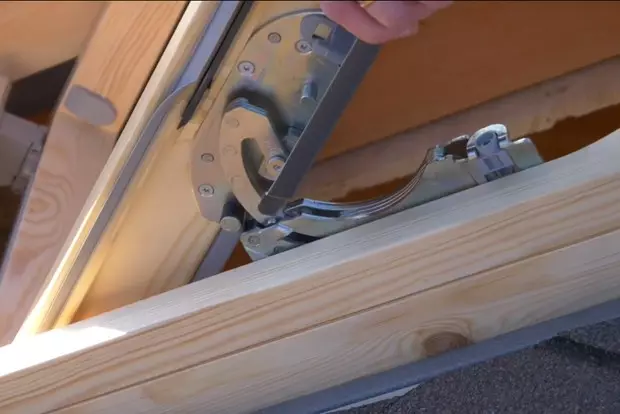
Photo: Tehtonol
For the tightness of the window, a special waterproofing apron is used, tailored under the window size and ready for installation. It is attached to the box with a self-adhesive strip, and the upper pleated edges of the apron roll up under the tile.
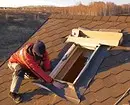

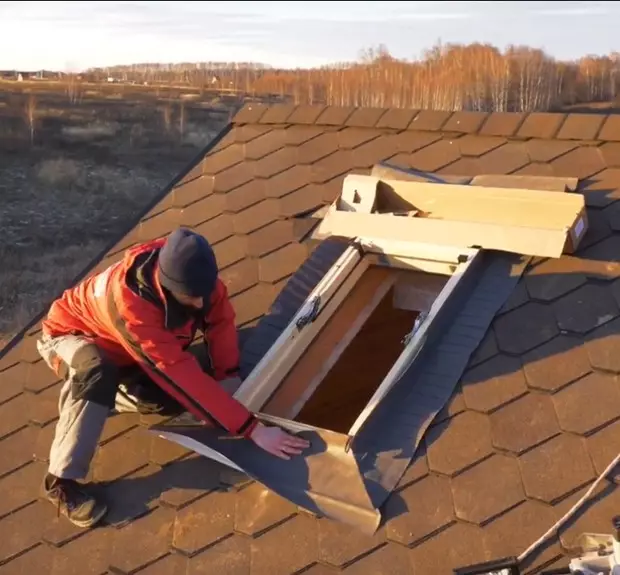
Photo: Tehtonol
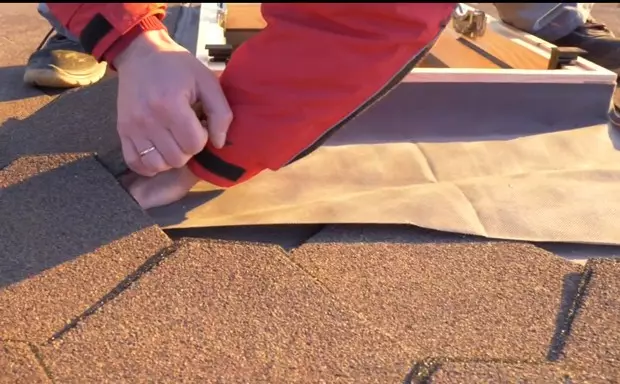
Photo: Tehtonol
Fifth stage - installation of the salary (system of tap grooves around the window)
First, klymmers are nourished, after which they latch on them the lower part. Next pressed overlaid and attach to the frame. Additionally, the set of seals that contribute to the best sealing of the window are additionally. Thanks to this kit, mansard windows can withstand the most extreme weather conditions. Next, the wooden box is closed with metal overlays protecting the tree from the sun and moisture. After mounting the top of the salary, the gutter system is obtained.
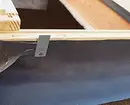
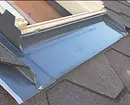
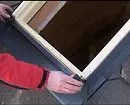
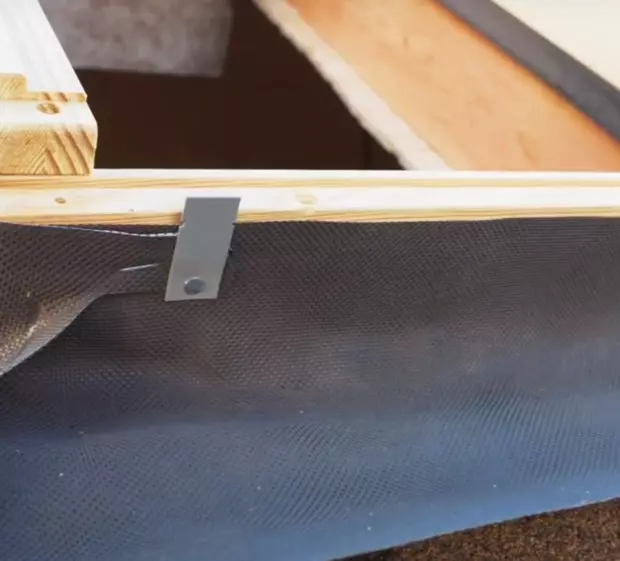
Photo: Tehtonol
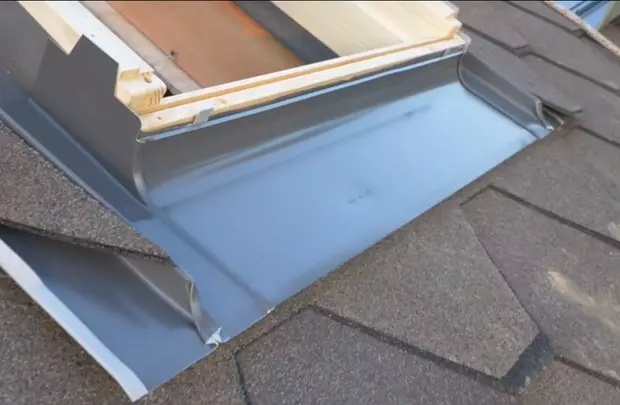
Photo: Tehtonol
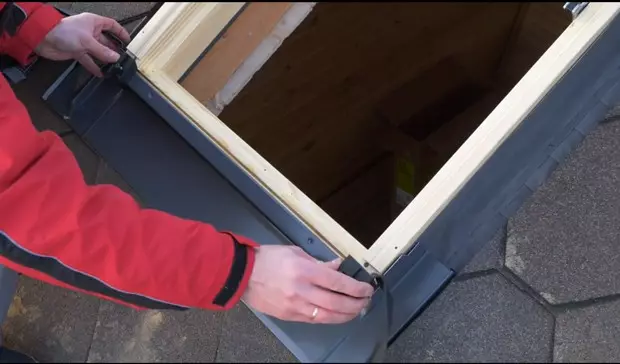
Photo: Tehtonol
Note! There are no holes in the salary, which guarantees absolute tightness.
So that the flexible tile does not flush, the upper kant of salary is flattened. After that, they laid the tile around the window, and the shing should be supplied to a large ridge of the salary.
Last Stage - Installation of Interior Finishing
To do this, pre-lay the vapor barrier film, the slopes are insulated and they are separated.
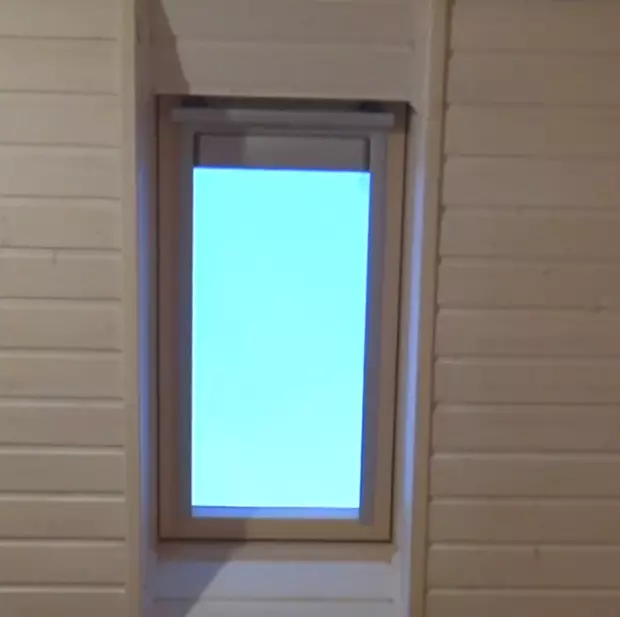
Photo: Tehtonol
Now, knowing the features of the attachment of the attic window into the finished roof, you can prevent errors and be sure that the window will flash without leaks and freezing.