
Special mansard windows sometimes leak during heavy rains, covered with inside in winter, and outside the snow. Similarly, as a rule, illiterate installation.


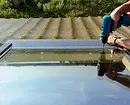
At the attic window, there are fairly hard requirements for energy saving, so they are always equipped with a double-glazed glass with low-emission glass. Photo: Velux.
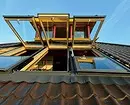
Residential mansardIdeally, the installation of mansard windows should be provided in the design of the building, however, there is an experience of the slicer of attic windows in the already built houses. Manufacturers usually recommend using the services of certified brigades, but with a small amount of work (one or two windows) and a significant distance from the city, the challenge of experienced professionals will cost expensive, so many customers resort to roofing brigade services. In this case, the work of the masters must be carefully monitored, however, the "right" accessories should be purchased before.
Step 1: Purchase of accessories window
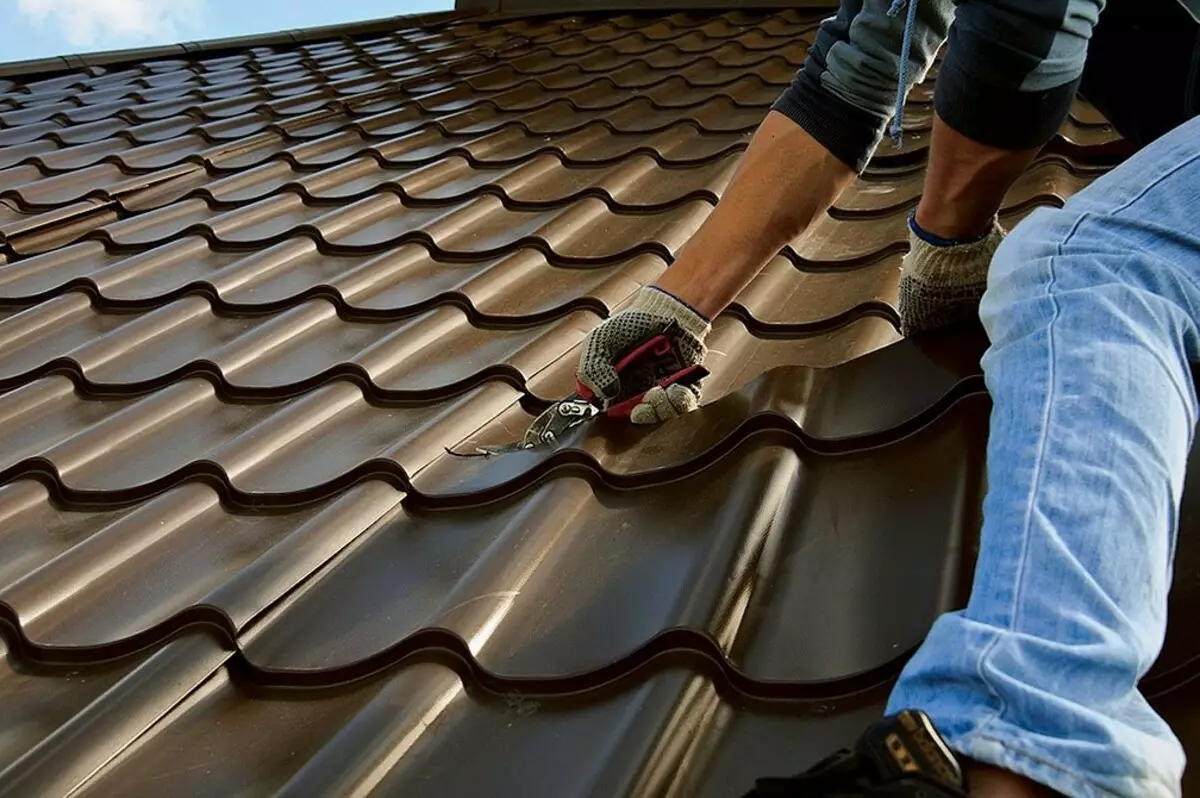
The attic window is installed between the rafters, applying a special accessory to seal the joint with the roof. For the internal vaporizolation of the mounting seam, special films are used, and then fasten the framing from the panels. It is best to purchase the entire set of the manufacturer of the window. In the extreme case, you can save on vaporizolation and interior finishing panels (these materials are sold and in the markets - it is important to only buy products of well-known brands, such as Illbruk or Tehtonikol). But without the salary, it will not be possible to do, and it should correspond to the roofing coating - the product intended for flexible tiles will not suit the professional flooring.
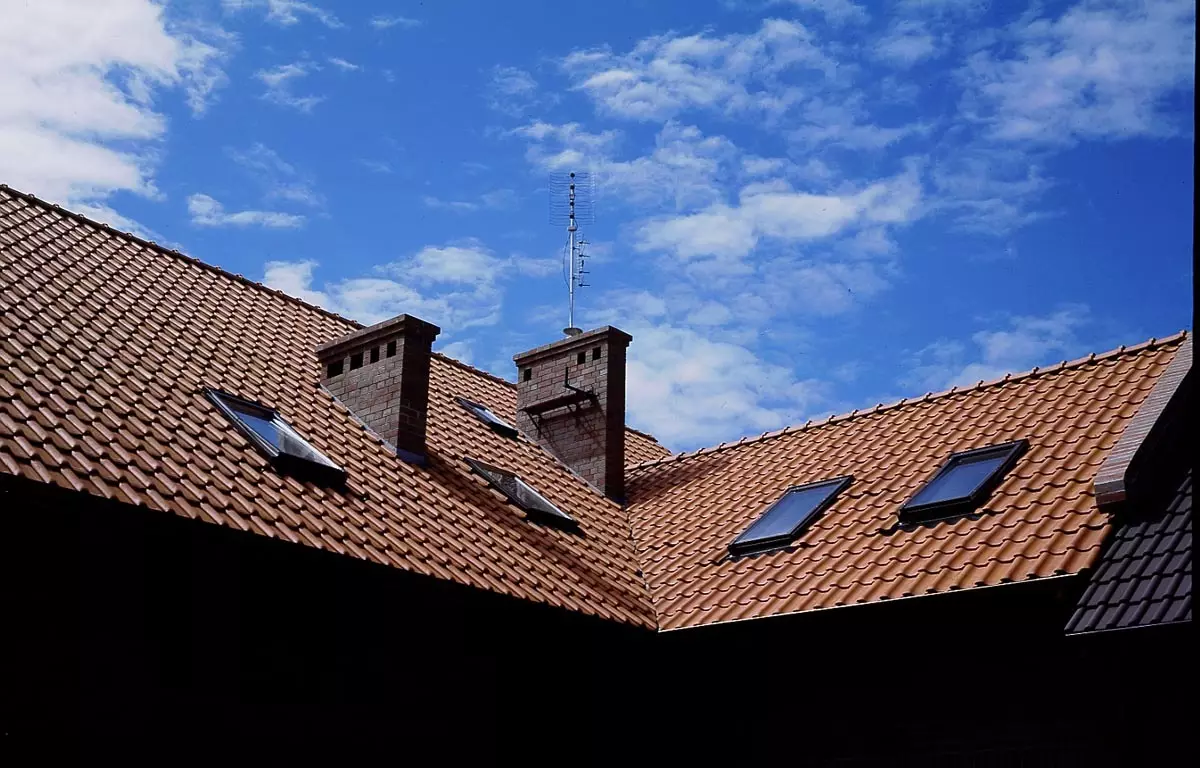
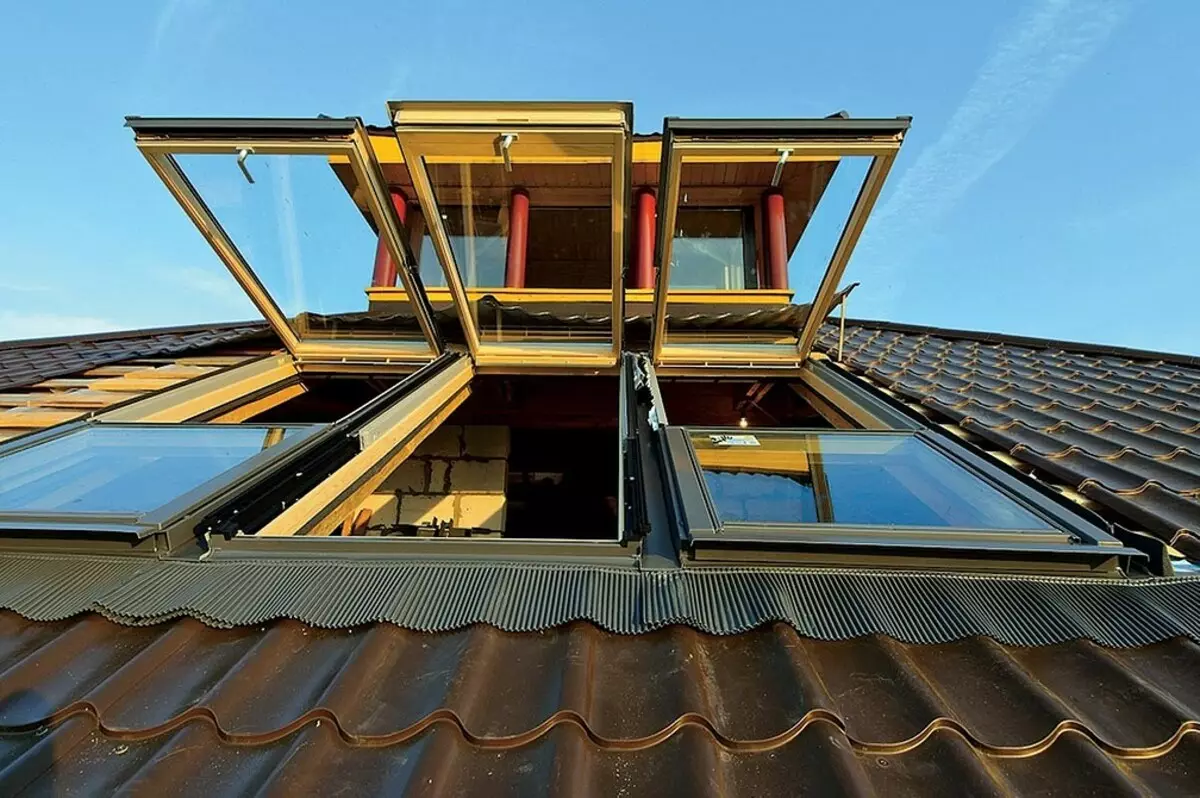
When calculating the number and size of mansard windows, it comes from the square area. Conventional ratio: 1 m² glazing at 10 m² of living space. Photo: Fakro.
Stage 2: Fastening and waterproofing
If suddenly it turned out that the window box is barely placed between the rafters, it is better to try to pass the window and buy another or make changes to the rafter design (a little tolerate the rafter foot), otherwise it will not be possible to correctly install the window. The mounted gap should be 10-30 mm.Carnate the box of the attic window with conventional frame dowels, it is impossible to stock up with mounting corners or plates. Another important nuance concerns foam for insulation of the seam - it should have a small expansion coefficient so as not to deform the design.
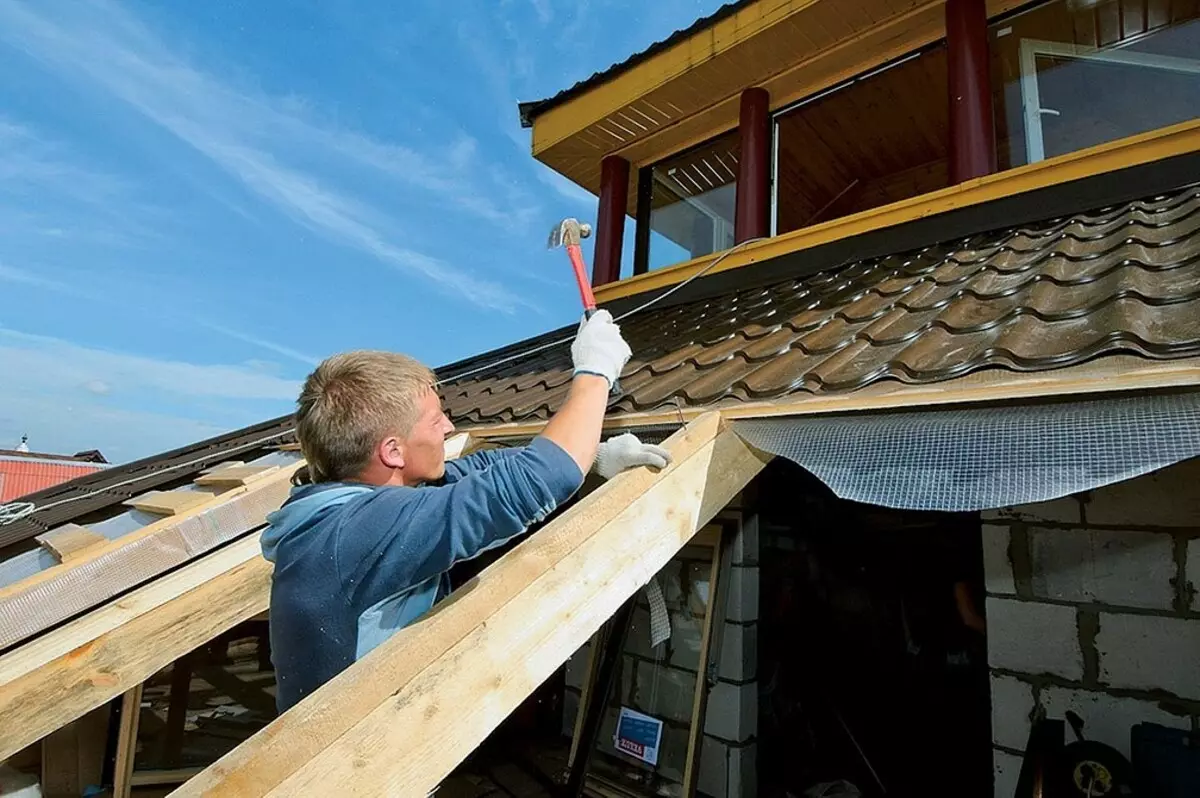
The salary is installed on top of a vapor-permeable waterproofing membrane, which should be tightly connected (to glue with mastic or ribbon) with underwater waterproofing. Together with the salary, drainage gutters are supplied - make sure that the installers do not "forget" about them, otherwise the likelihood of the penetration of rain and melt water into the thickness of the roofing cake is great.
Stage 3: Interior trim
From the inside the gap between the window block and the rafters must be additionally insulated. For this purpose, special roofing plates made of stone or glass wool with water-repellent properties are perfectly suitable. If you carelessly insulate the slopes, the condensate will be abundantly at the perimeter - sometimes this problem is even taken for leakage. Next, the insulation is protected from wet room air with a special apron or self-made pattern from a vapor barrier film. All joints at the same time should be punished with scotch. When installing the offend panels, it is important not to break through vaporizolation. In addition, you should install the bottom panel in the vertical plane so that it does not interfere with blowing glass with warm air from the battery.
Montage of mansard windows

When installing in the finished roof, we first cut the way. Photo: Velux.
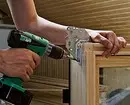
Next, they prepare rafters, feeding the support bars to them. Photo: Velux.
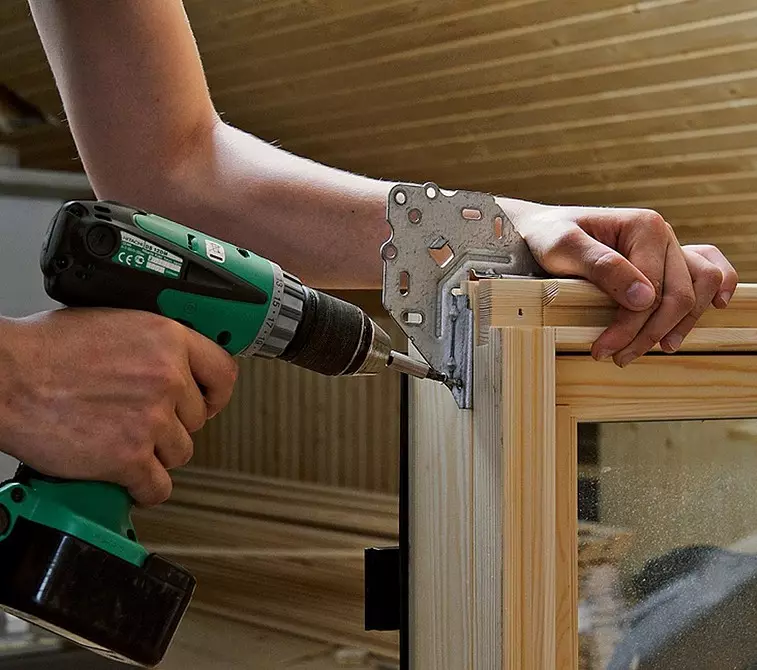
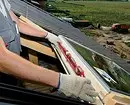
Fixed plates screwed down to the corners of the window box. Photo: Velux.
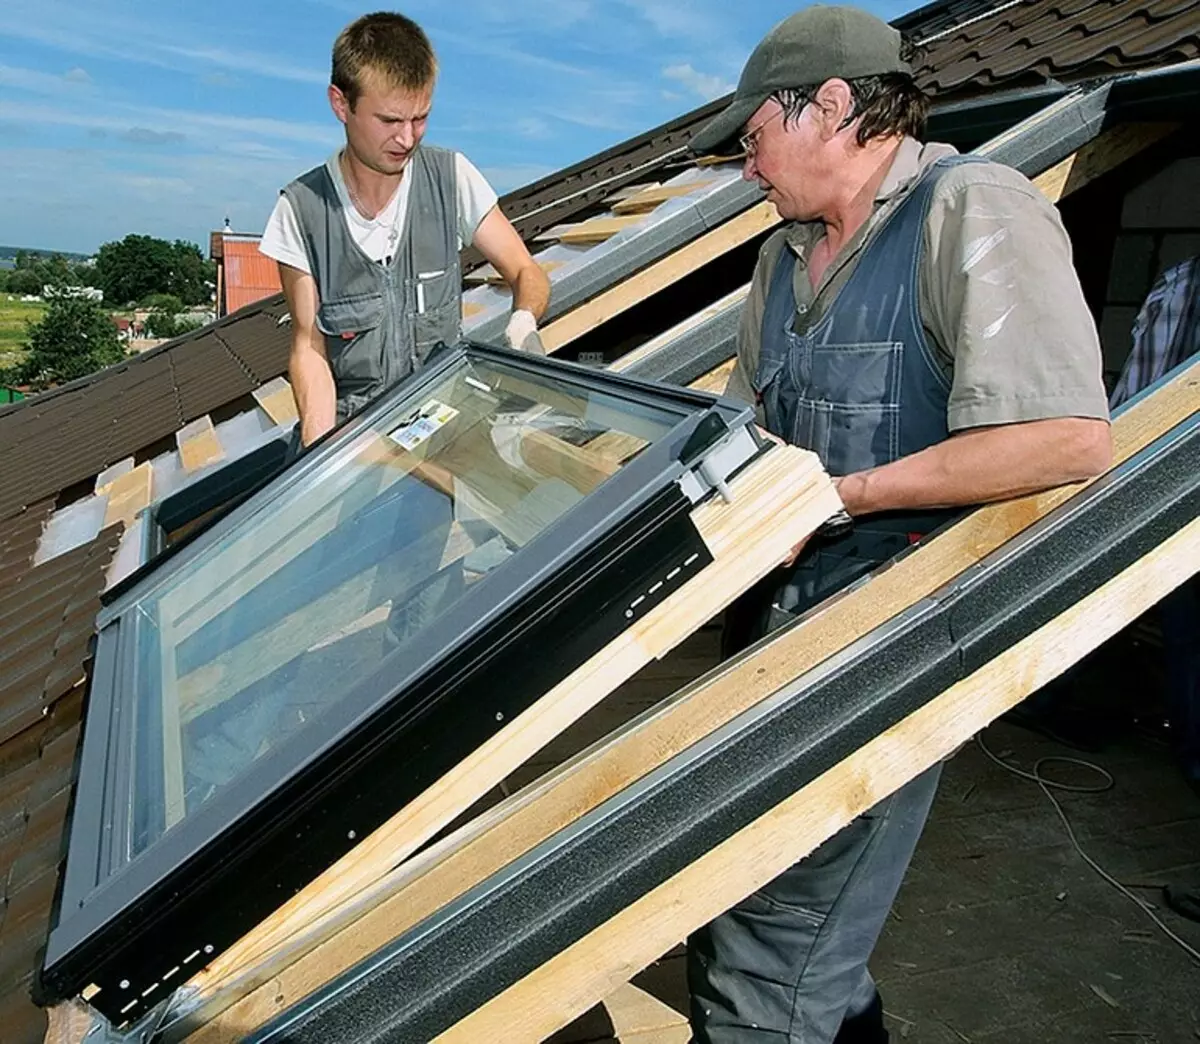
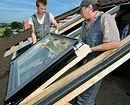
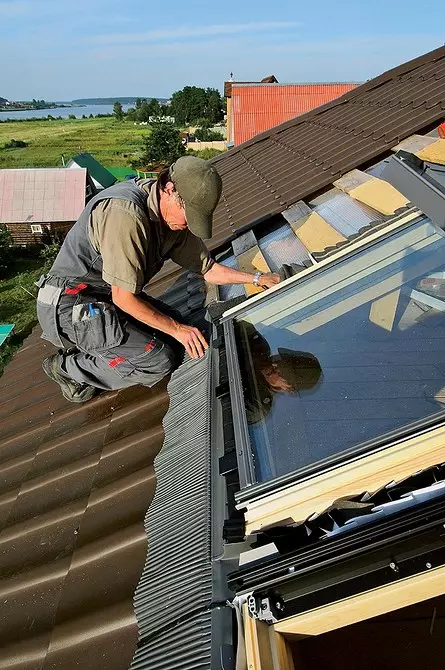
Install the window block into place. Photo: Velux.

Check its position of the frame horizontally. Photo: Velux.
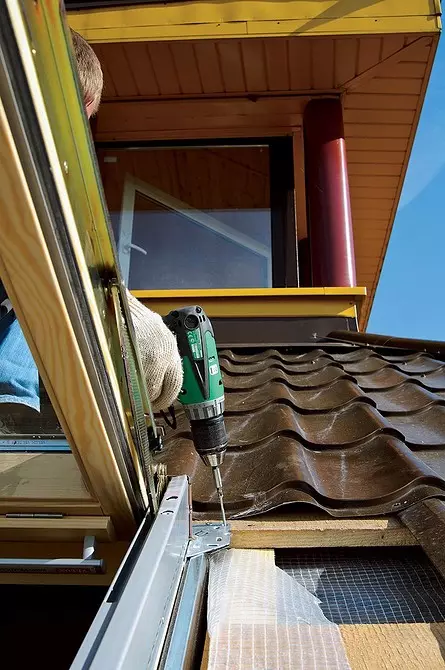
Fix with screws. Photo: Velux.
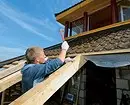
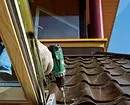
Fasten a waterproofing apron. Photo: Velux.
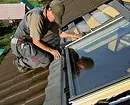
10. The bottom corrugated part is tightly pressed to roofing. Photo: Velux.
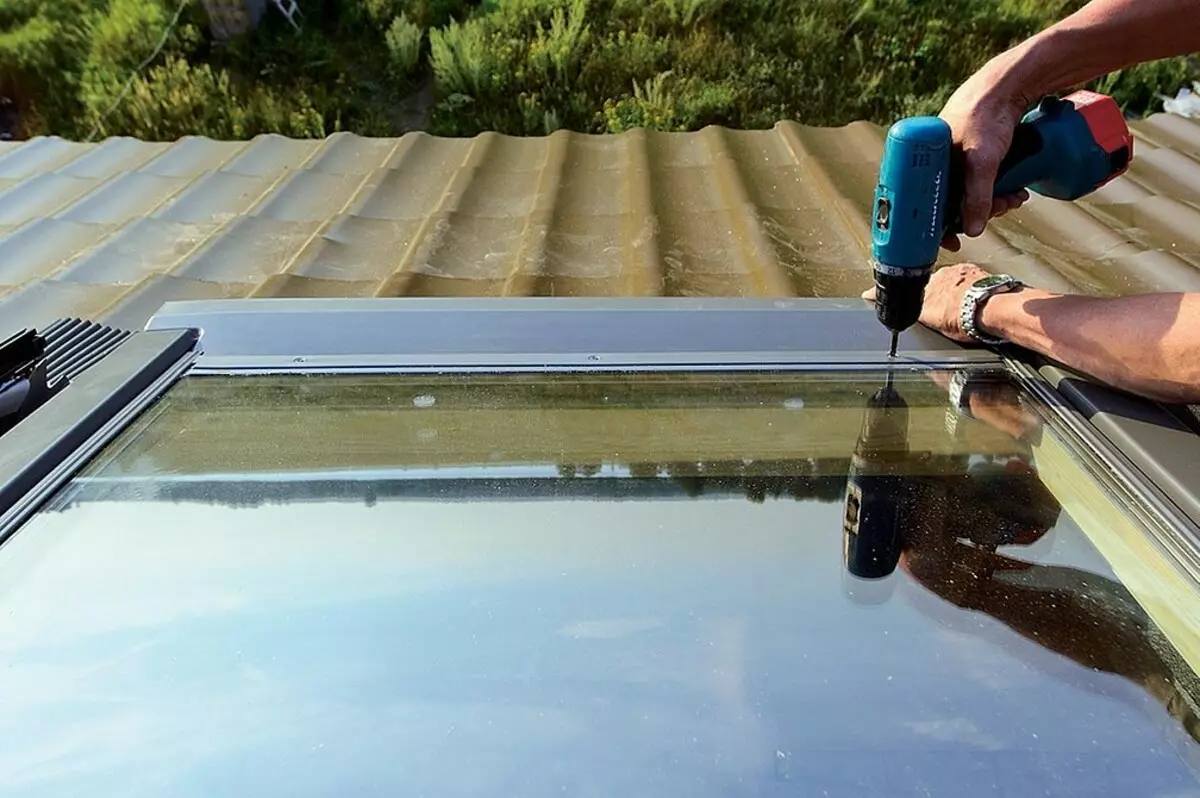
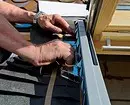
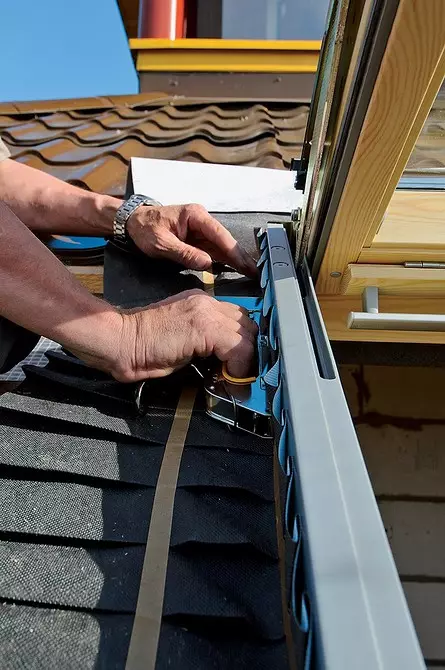
Install aluminum salary parts. Photo: Velux.
The windows are installed. Photo: Velux.