
The veranda can be provided in the design of the house, but it is often attached to the ready-made building. How to do it right?
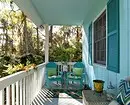
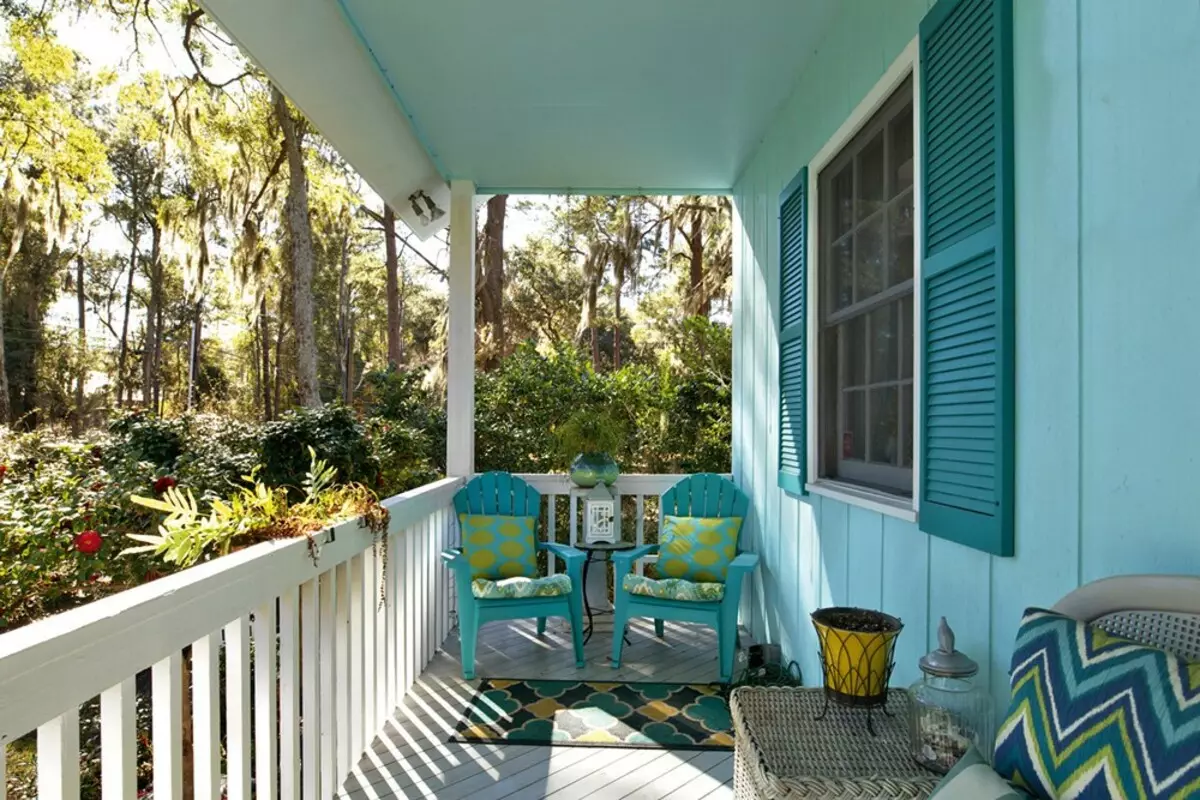

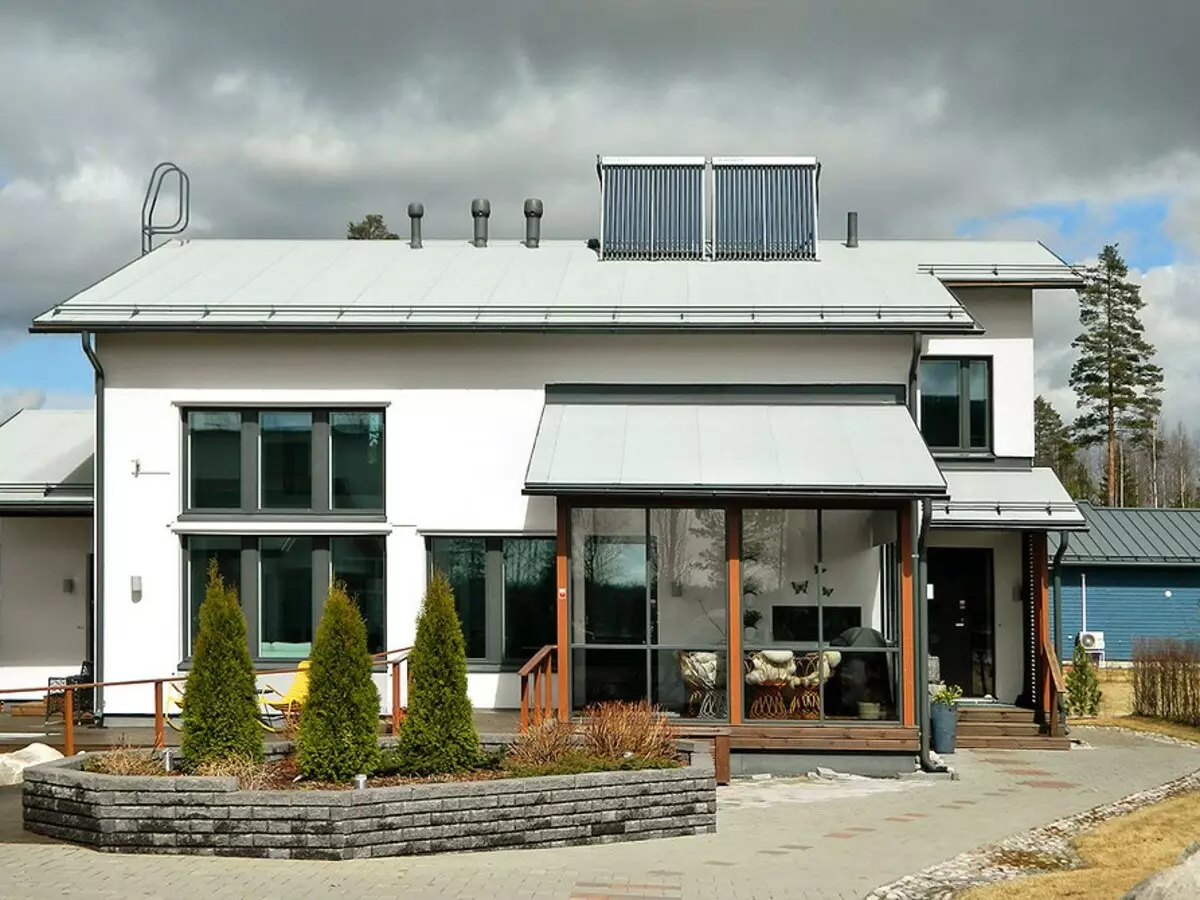
The veranda can be turned into a real summer living room, however, the costs will justify themselves only in the region with a warm climate
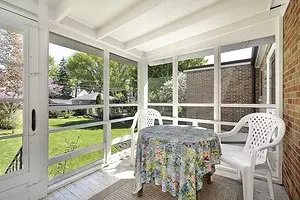
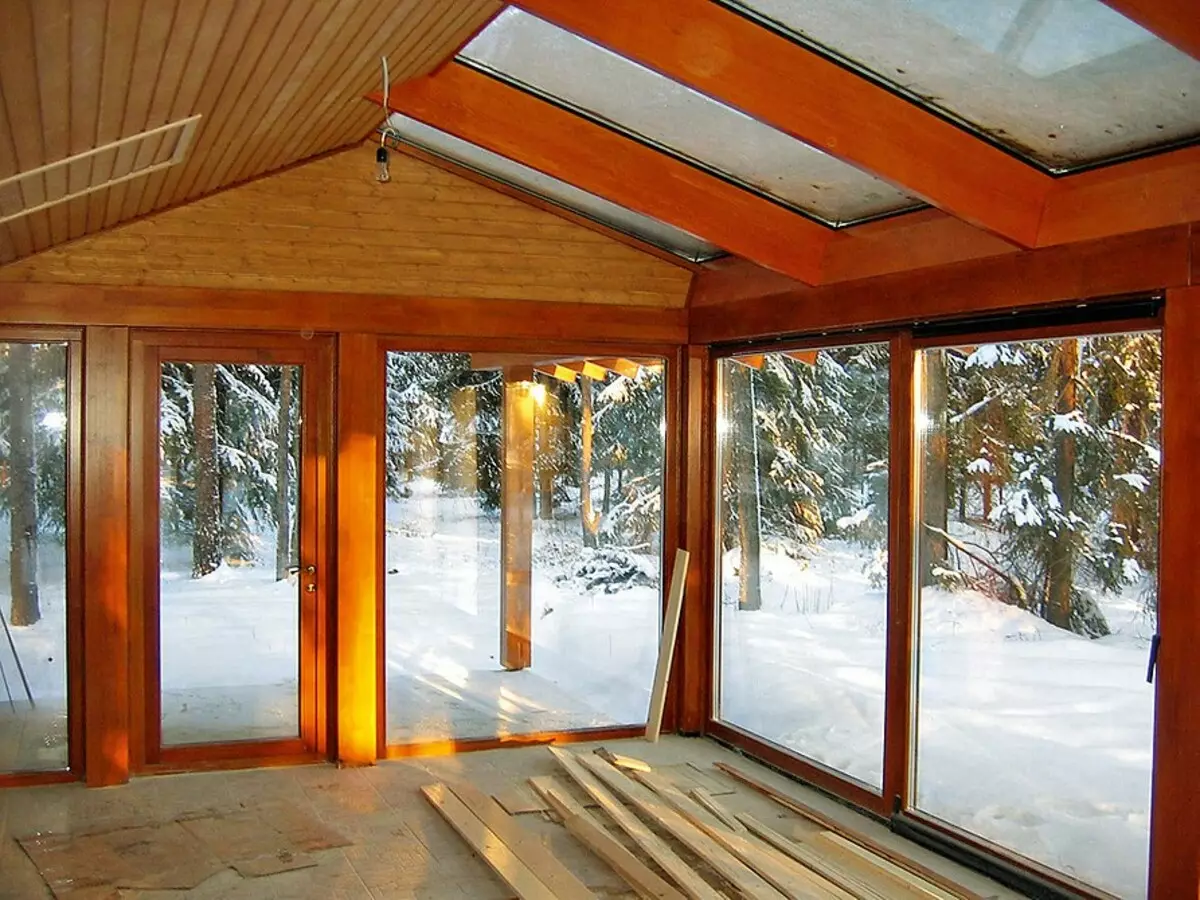
The veranda is the indoor room (in contrast to the terrace, which is a pad without a roof), usually with light walls, which sometimes are only outlined by racks supporting the roof, and with lattice rates. However, if glazing is planned, a solid parapet is performed. Heating on the veranda, as a rule, do not provide. This feature, as well as a small mass of the entire extension, must be considered when the foundation is erected.
Visualization: Vladimir Grigoriev / Burda Media
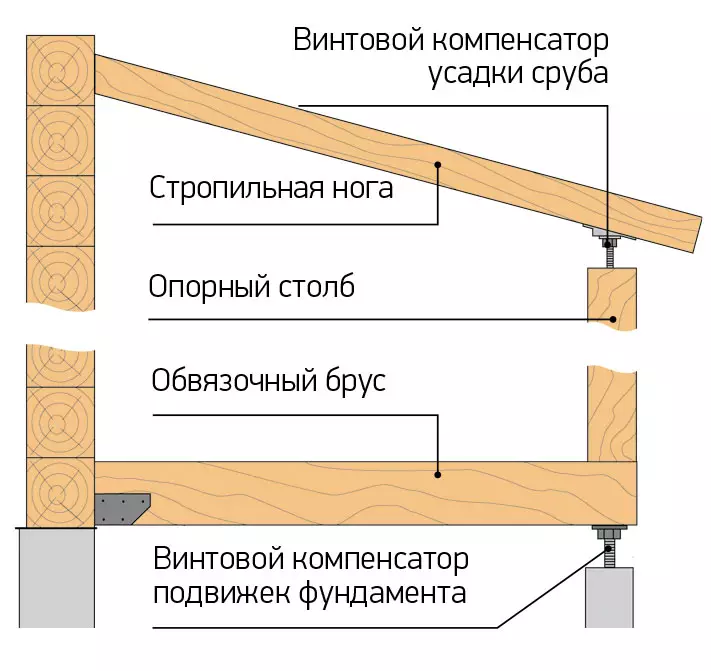
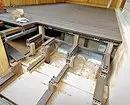
Location of compensating nodes in the design of the extension
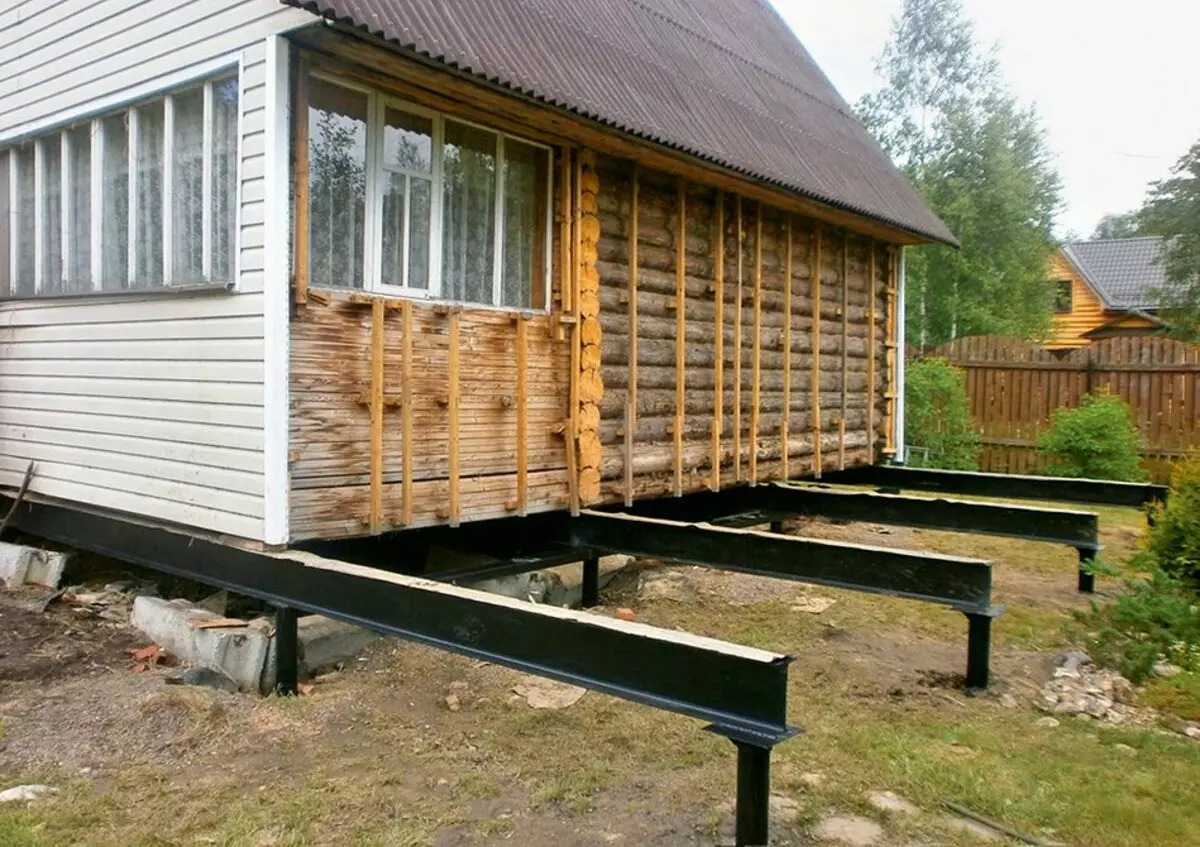
Foundation for veranda
Choosing a base type is the most responsible stage of the construction of the veranda. Sometimes it is performed simultaneously with the foundation of the main building, but only lay down to a smaller depth or are made narrower (due to the small weight of the veranda). But often the base of the veranda is built later.
What preferred: piles or piles. On non-empty soils (coarse sand, gravel, rock and rock fragments) can be done by the foundation from finely breeding or unlucky pillars. It is enough to align the platform and install concrete blocks on it at a distance of 1-2.5 m from each other - and you can start assembling the bottom strapping of the walls. On bunching soils (water-saturated clays, loams, sandy), foundation from drilling or screw piles is required. By the way, such a base is suitable for the slopes, but the depth of the embedding here should be increased from the usual 1.5-2 to 3-4 m.
If during the construction of the foundation of the veranda not to take into account the shrinkage and the impact of frosting powder, the extension will break
Why on bunched soils can not be used pillars. Any fine-gulled foundations (columnar, tape, slab) in this case are unsuitable for the unheated extension, because the ground under it freezes and the light terrace "bounces" about the house, which leads to the skewers of its walls and roof.

Visualization: Vladimir Grigoriev / Burda Media
Node adjoining the roof of the veranda to the wall of the house
How to arrange supports. On the one hand, the less often there are piles or piles, it is easier to align them horizontally, and on materials and installation
You can save. On the other hand, at a very small number, the rigli rigels and floor beams can progress. You have to look for a golden middle, considering the cross section and the material of the beams. In practice, the support step is usually 1.5-2 m, they must be placed under the corners of the corners of the strapping, and the closest to the building ends of the riglels is better to bind to the wall or the foundation of the house, since here the support for the ground will create only problems.
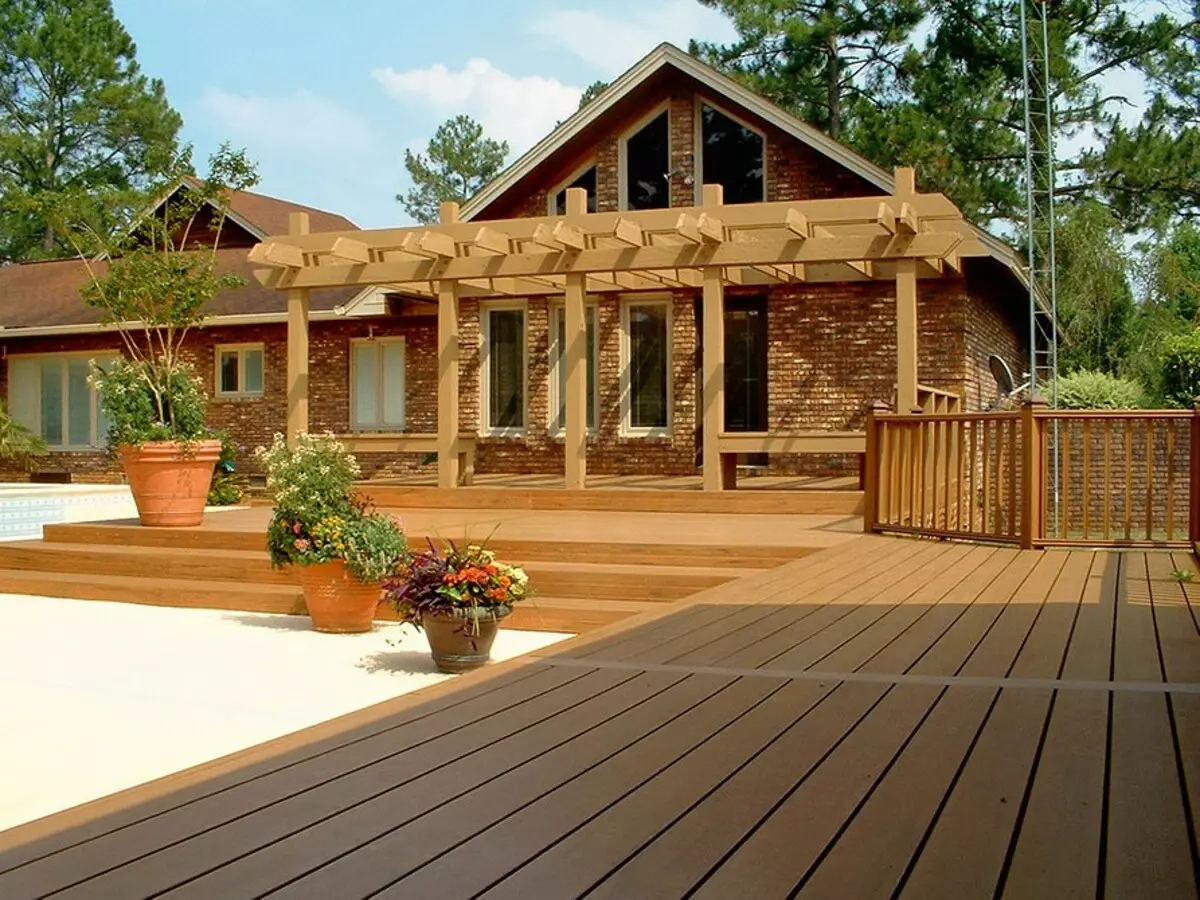
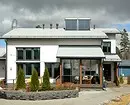
How to enter the Vernida in the appearance of the house
The veranda is quite difficult to enter into the appearance of a high building, especially with the iser or broken roof. In this case, the extension is better to arrange from the main or rear facade. It is very important not to disturb the style unity of the house. For example, a veranda with rustic columns and carved eaves is unlikely to be combined with a modest brick house without any architectural delights.Finally, the choice of materials plays a big role: it is extremely desirable to use the same roofing coating as on the main building, to accurately pick up the paint for wooden parts. However, there are also universal structures that are well combined with almost any buildings - both wooden and stone. It is primarily about pavilions from metal profiles and large sheets of polycarbonate or safe glass - transparent or tinted.
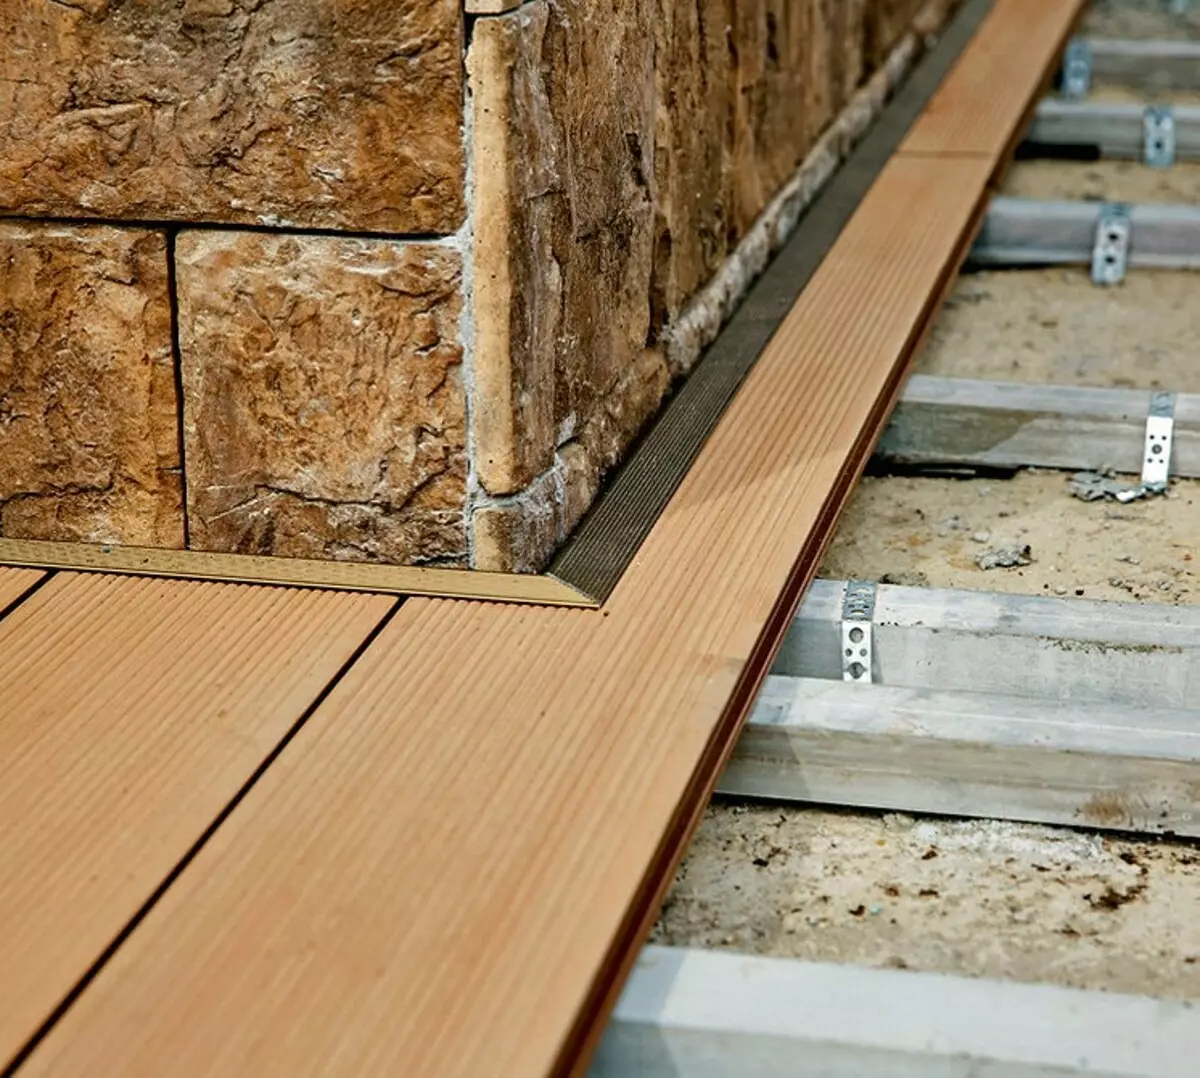
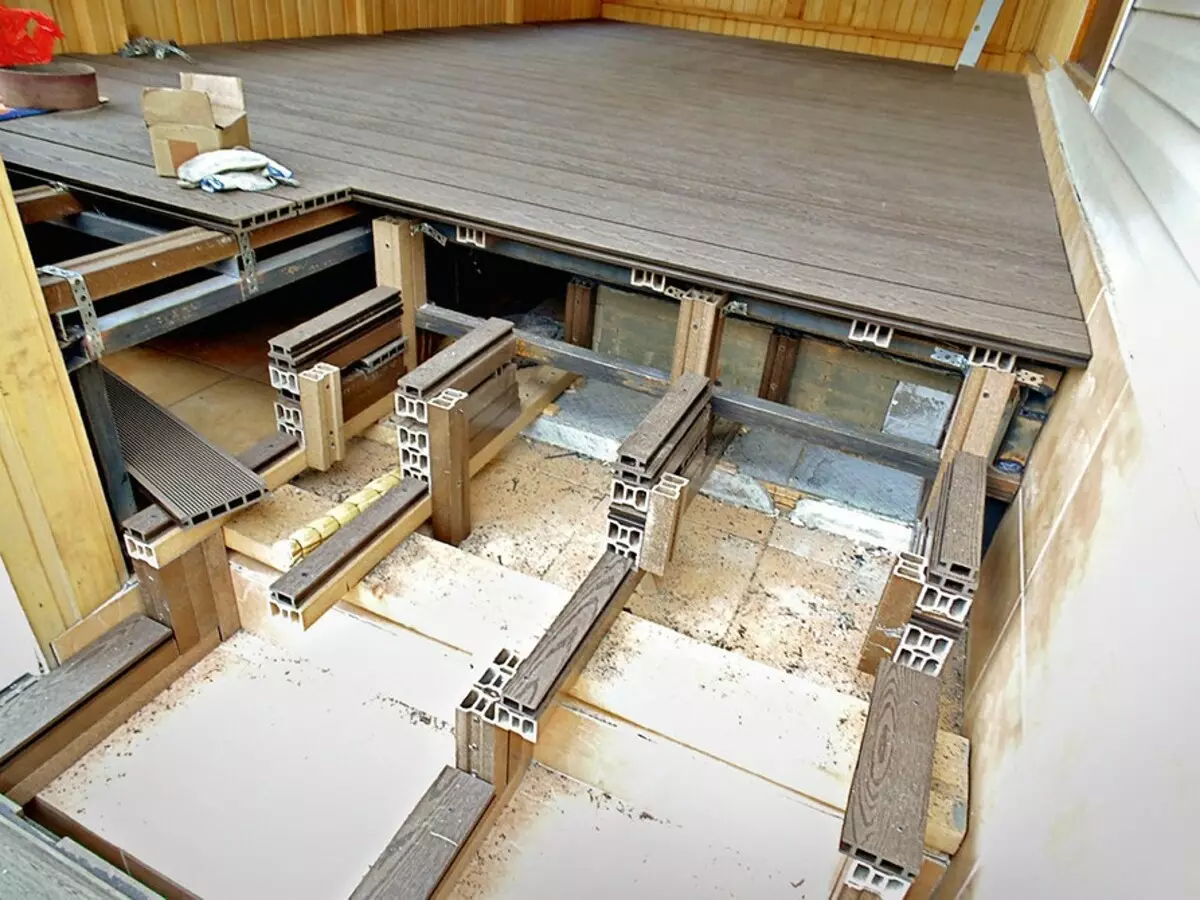
What makes the bottom strapping of walls and floor beams. Usually it is made from BRUSEV 150 × 150 mm and more. The strapping from metal foreign or channels is more durable, but it will have to decorated with boards or a slate of sheet materials or lattice screens.
The impunity serves as the basis for the floor beams, the cross section is chosen so that the deflection in the middle of the flights under load 100 kg was no more than 5 mm. The beams should be fixed so as not to weaken the wooden strapping - best with the help of special metal brackets.
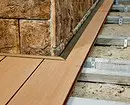
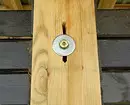
How to compensate for small mutual movements of the house and an extension. To do this, it is necessary that the lower bind of verandas relieves not directly to the foundation, but on metal adjustment elements (mortgages with nut and support washer), laid in the poles or piles. Do not confuse these adjustment nodes with plastic jacks for a terrace intended for one-time alignment of the lag.
What else should I remember. Wooden details of the strapping and floor beams need to be carefully antiseptrate and separate the layer of rolled waterproofing with a thickness of 3-5 mm from the foundation. The floor of the glazed veranda is advisable to insulate the layer of mineral wool with a thickness of at least 80 mm, which should be reduced from above, is protected from moisture with rolled waterproofing. Chernovka can be performed from umbreamed winding boards.
5 Tips for the construction of the veranda
- It is desirable that the Day of the veranda is covered from direct sunlight.
- The width of the room should allow you to move freely around the dining table with chairs, and therefore be at least 2.5 m.
- In order for the veranda well "saved" with the house, it should be envisaged to adjust the bottom strapping of the structure in height. For this, metal screw supports are fixed to the foundation from above.
- It must be borne in mind that many framework details remain visible, and it is better to immediately wear them and polish.
- If the cottage is located near the forest or reservoir, it is better to choose a glazed option with the possibility of installing mosquito nets.
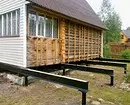

Star and pile foundations of deep downstream are well resist the frosty bearing of the soil, and there are enough of their carrying ability with excess for light extension
and dry areas the base for the veranda can serve as a reinforced concrete plate, on top of which lags or frames from bars or metal profiles are mounted, and then flooring.
To reduce the risk of plating a slab basement, you need to remove rainwater from it
Paul on an open veranda, where rain and snow can fall, you should be covered with moisture-resistant material with an anti-slip surface - a street cement or ceramic tiles or a terraced board with rifrance. To care for similar coatings, it is more convenient to use a high-pressure washing
Build Karsas, balustry and parapet veranda
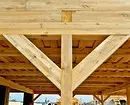
How to collect the skeleton of the veranda. On the lower strapping, the racks are installed, they mount the upper strapping, and then strengthen the structure with the pan. Note that one of the architectural trends involves the execution of a frame from very massive bars with a cross section of 200 × 200 mm and even more.What to perform a balustrade. Traditional material for it is a tree. Poles and railings can be purchased ready in the construction supermarket, to order in a workshop or make independently (this will require an electric milling mill, jigsaw, planer and grinding). Not so long ago, a combination of bars with transparent screens from the monolithic polycarbonate was included, but ordering a similar design, without consulting with the architect, risky.
In the walls of the walls, the veranda is not necessary to insert windows - you can restrict ourselves to curtains or grow a green curtain of curly plants
How to build a parapet of the glazed veranda. The solid parapet is performed according to the usual panel scheme; It is not necessary to warm it too much, however, on a sunny day, the inner surface of the fence should not be very hot. As a rule, it is enough to establish between the elements of the frame of the mineral wool plate with a thickness of 50-100 mm, tightening them outside the vagina-proof, and from the inside - a vapor barrier film.
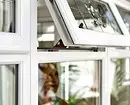
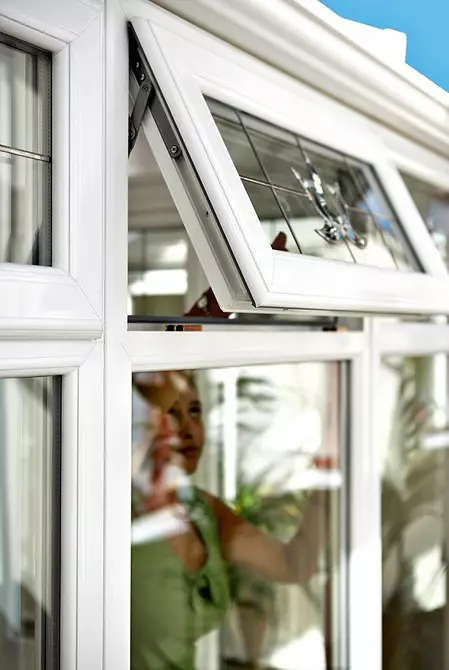
What windupacks install on the veranda?
Energy-saving double-glazed windows on the veranda are not needed: sufficiently single glass cutting 5 or 6 mm. On the south side, do not do without marquis or blinds, it does not hurt and a tinting film or sunscreen spraying on stools. If the windows overlook the lively street, it is worth ordering designs with double-glazed windows - at least one-chamber thickness of 16-24 mm.
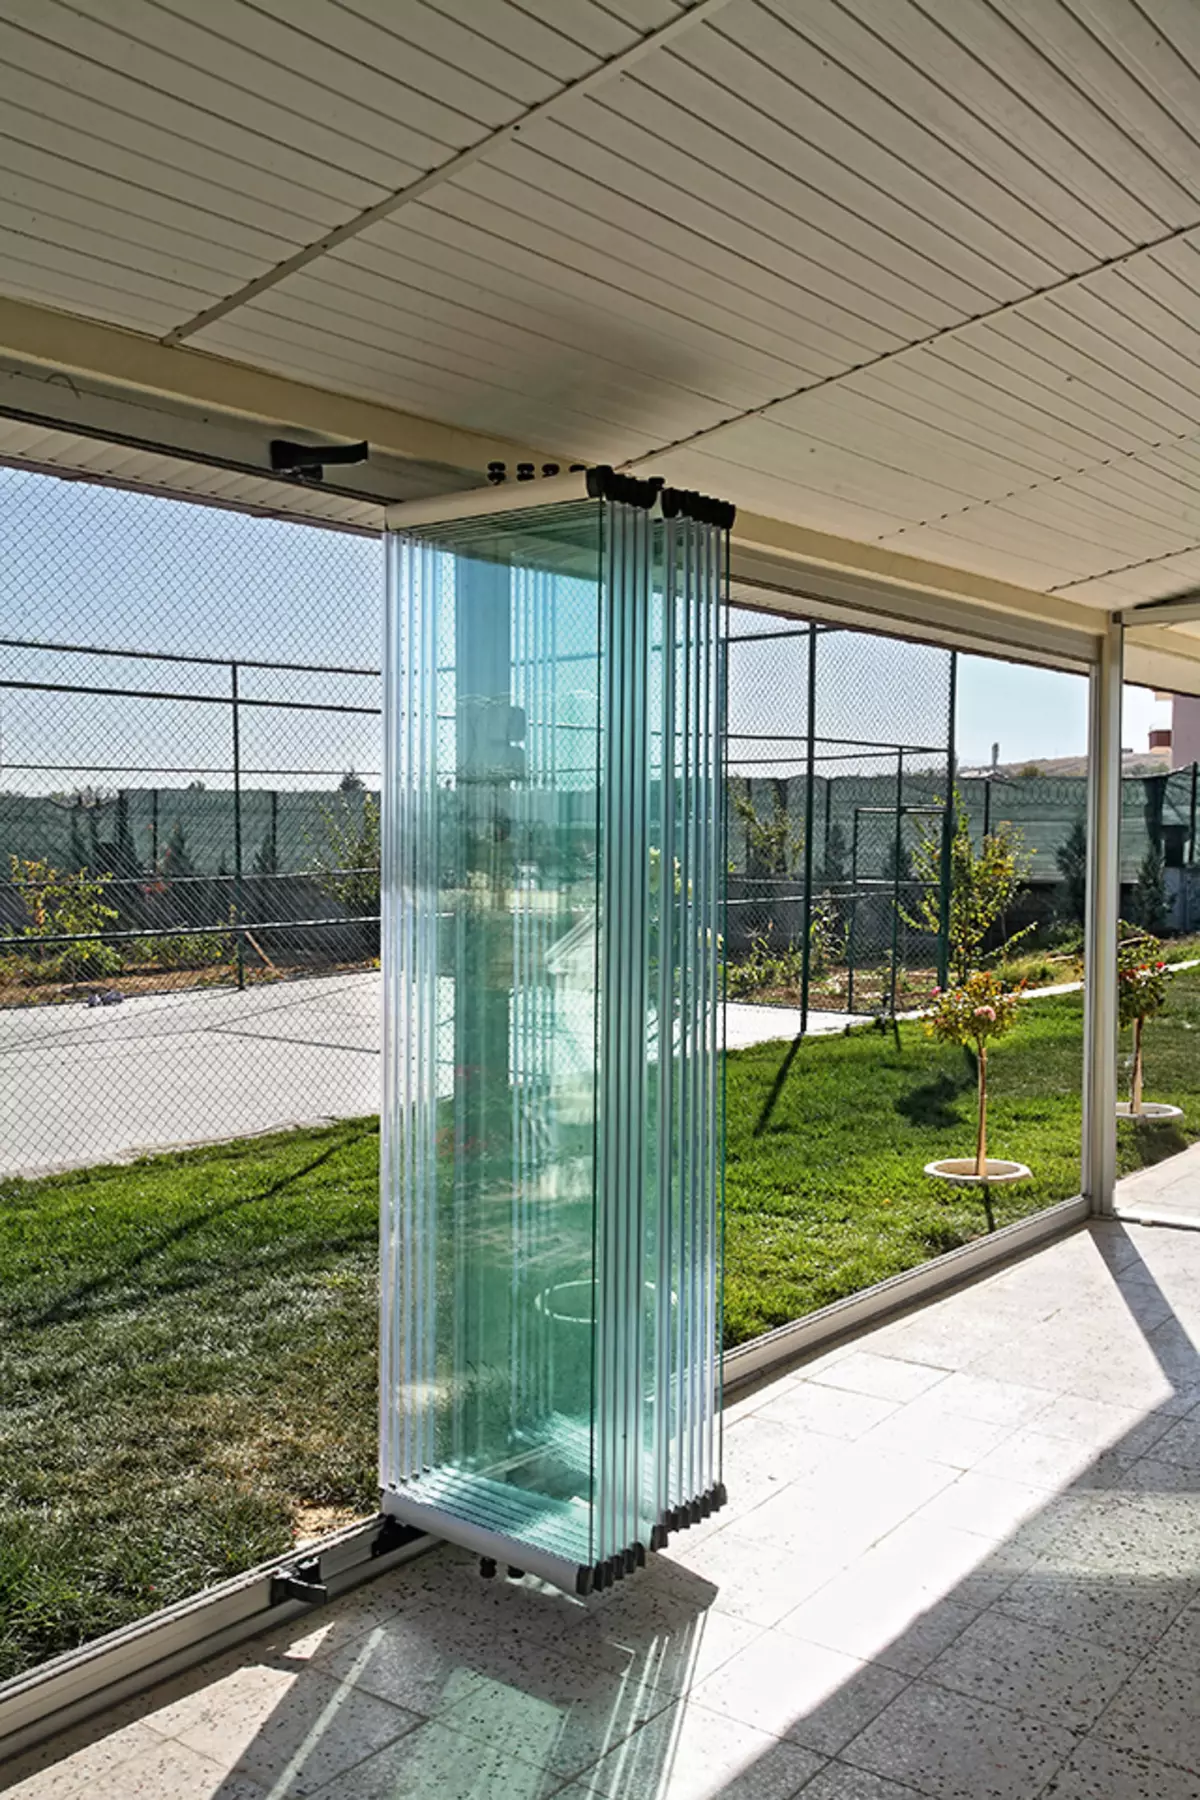
Photo: New Vision
Parkable flaps allow us to fully free the discovery, but in favor of the room in contrast to parallel-sliding
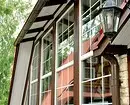
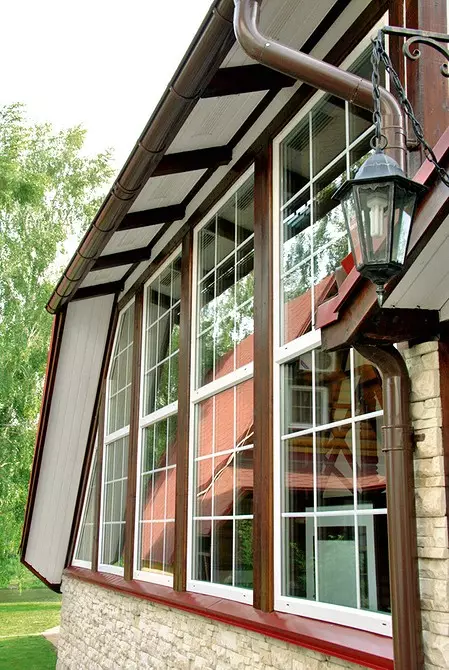
For the veranda, windows with imitation of binding are perfect
Saving space will help sash opening out
Frameless glazing will provide an elegant appearance of an extension

Frameless glazing systems for veranda
Modern trends in the design of the veranda are largely inspired by the appearance of Mediterranean bungalows with their spacious open patto. However, in our climate, protection is required from cool wind and oblique rain, and the snow-rented snow can harm furniture and flooring. Solve the problem helps the system of frameless glazing offered by European companies Acristalia, Lumon, SKS Stakusit, Vizyon, etc. The maximum height of the tempered glass with a thickness of 6 mm (standard version) is 3 m, and due to the absence of vertical binding elements, the illusion of a solid glass wall is created. Unfortunately unheard systems with so-called parking sash: such a fence can literally disappear, because all the canvas one after another can be moved to the edge of the outlet, turn around the vertical axis and fold the wall at the wall. True, the price of structures of this type is very high - from 18 thousand rubles. for 1 m2. Frameless systems with parallel movement of the canvas (as in the usual balcony glazing) are twice as cheaper, but they have a threshold that interferes with movement, it is easily polluted and damaged: such glazing is better installed on the parapet.As for the Rams, there will be cheaper than the swollen wooden, ordered in the joinery workshop (3-5 thousand rubles per 1 m2). They can be painted independently in any color, and there will be no problems with the repair. However, find a workshop, ready to fulfill such an order, is becoming more and more difficult.
But there are no problems with the purchase of structures from aluminum and plastic, especially sliding - based on Provedal, Krauss systems (aluminum), SunLine, Suntech (plastic) and their analogues. The cost of such windows starts from 8 thousand rubles. for 1 m2. There are systems for sale with both double-lens and four-rail guides; The second make it possible to open up to ¾.
What is the focus or oven is suitable for the veranda?
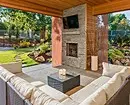
Why not install a decorative focus on the veranda or barbecue oven? Under the roof, you can cook kebabs in bad weather or just comfortably accommodate with households near open fire.
For the veranda, not every hearth. So, if we are talking about factory aggregates, the manufacturer should provide for the possibility of elongation of the chimney. When installing, fire retreats from combustible structures should be observed - 250 mm. If the roof is made of a fuel material, in the area of the chimney it is replaced with a metal sheet of at least 600 × 600 mm; It should also be mounted in the mouth of the sparking pipe.
An open focus installed in the gazebo requires close attention, because the corner of the furnace can cause a fire. Reduced to a minimum risk of fire will help a non-combustible flooring, as well as a mesh screen or a flap for fuel cap.
If you spend the chimney problematic, create comfort and decorate the interior can be done with the help of biocamine working on ethyl alcohol. Add heat cool in the evening will help the electric street IR device. But installed on the veranda gas heater cannot be - these powerful devices are intended exclusively for open areas.
There are on sale and swing cold windows from PVC and aluminum, but they are not cheaper than the sliding. It is bad that in warehouses there are usually only white frames, and the products of other colors must be ordered, and the period of waiting can sometimes reach 6 weeks. Meanwhile, the attempts to paint independently or bind plastic or aluminum color film or aluminum, as a rule, fail.
The roof of the veranda may suffer as a result of snowing snow and ice from the roof of the house, if you do not take care of the installation of detain or heating systems of the cornices
With the open veranda, the fall will have to clean the furniture, and in the winter it is desirable to fit the snow to extend the service life of the coating and hidden beams under it. However, you can purchase transparent curtains made of soft PVC. They are quite available (from 1000-1200 rubles per 1 m2), ensure reliable protection against precipitation and wind, serve at least 10 years and are mounted in minutes.

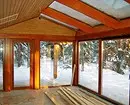
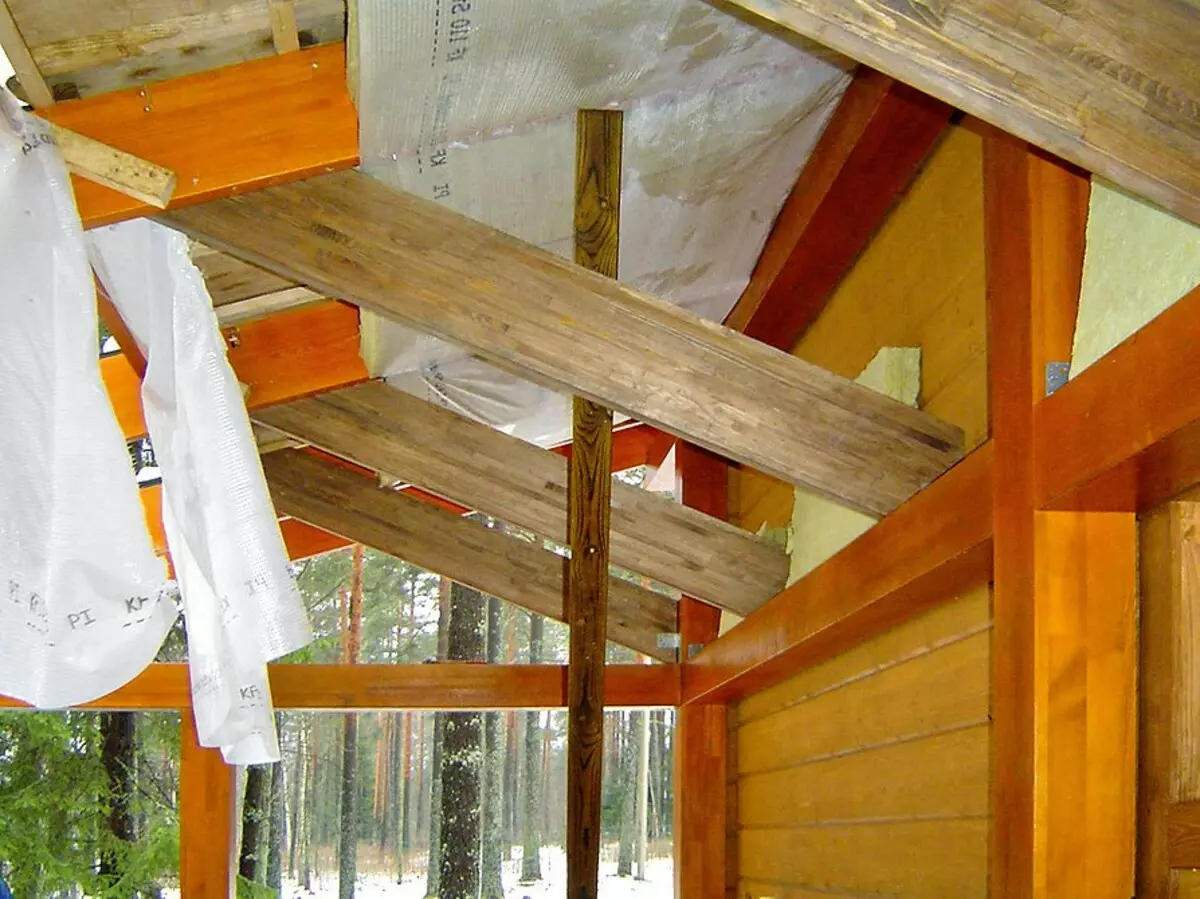
One part of the roof of the veranda was coated with flexible tiles, and the other - monolithic polycarbonate. The rafters were reinforced by the sink
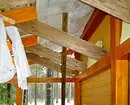
Open parts of the supporting structure in advance were altered and covered with varnish
Open parts of the supporting structure in advance were altered and covered with varnish
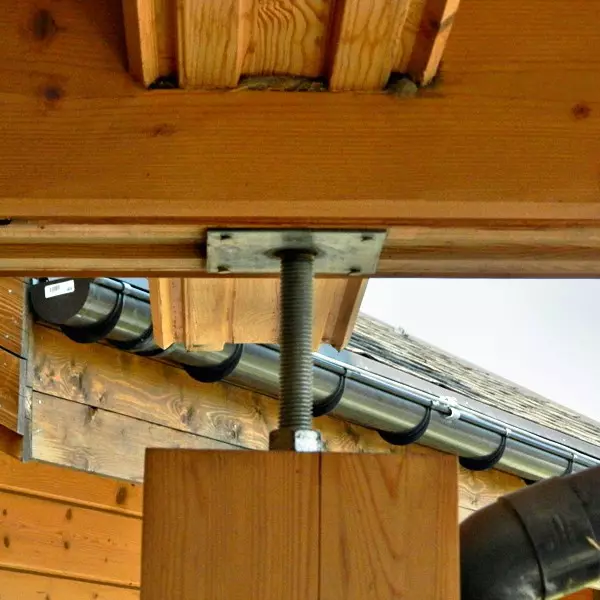
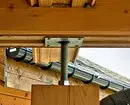
If the veranda is attached to the house from a log or bar, which has not yet given a complete shrinkage, then the pillars that support the roof must be equipped with screw compensators

In the brusade house connections of the frame racks with the wall make moving
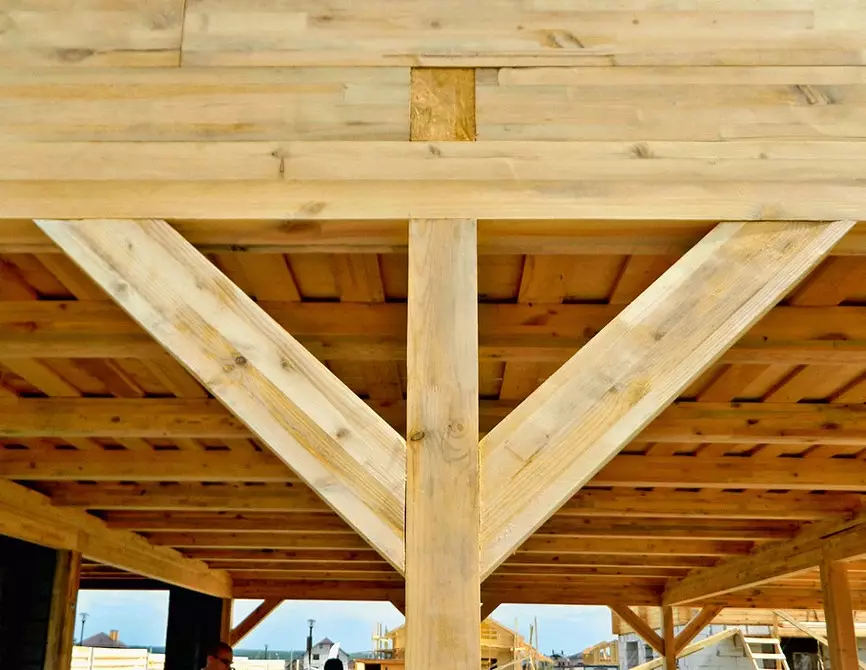
Design is necessarily enhanced by pins
How to adjoin the roof
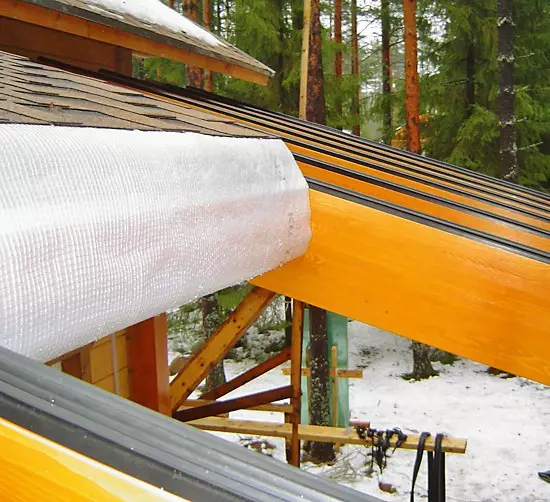
The roof of the verandas usually make a single-table with a slope of 5-25 ° from the house, much less often - two- or three-tier. It is easy to collect a rafter design so that it relies only on the strapping of an extension (at the top - through the grandmother's racks); However, it is possible to attach the upper end of the rafted and to the wall of the house - through brackets or anchors (but you should not do the nest in the wall for this). The safety margin does not prevent: with a small slope of the slide, thin or rarely located rafters can progress under the weight of snow.
The node of the roof covering knot to the wall threatens with leaks. It is necessary that the adjoining was not only waterproof, but also elastic and withstood small construct movements. For sealing use rolled lining carpets and ribbons, special dobors and mastic. It is recommended to protect the wall with roofing material to a height of at least 30 cm.