We give detailed instructions for laying the material with adhesive and impressive way.

PVC tile is a relatively new development. About ten years ago she appeared on the shelves, and during this time he managed to become popular. In terms of its operational characteristics, it exceeds traditional laminate and linoleum. Not inferior to them in choosing colors and textures. Many buy a novelty for their homes, especially since it can be put on their own. We will analyze all the subtleties of laying vinyl tiles.
All about laying PVC tile
Features of the materialTwo Montaja Methods
- glue
- Besleless
Useful advice
Features of the coverage of PVC.
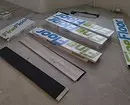
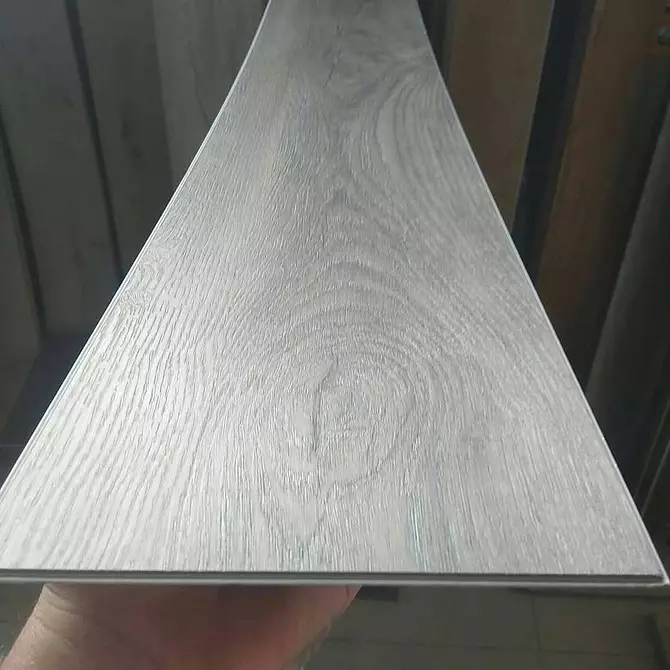
PVC tiles call two different material properties. First - Quartzinyl. This is a multilayer finish based on polyvinyl chloride in a mixture with quartz sand. This gives it high density and strength. Vinyl plates are made only from PVC. Single layered finish completely consists of foamed polyvinyl chloride. It is soft, quickly wear out. It is used less often. Resins, fillers and plasticizers are added to the multilayer cladding. This increases its strength.
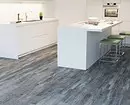
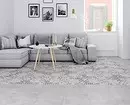
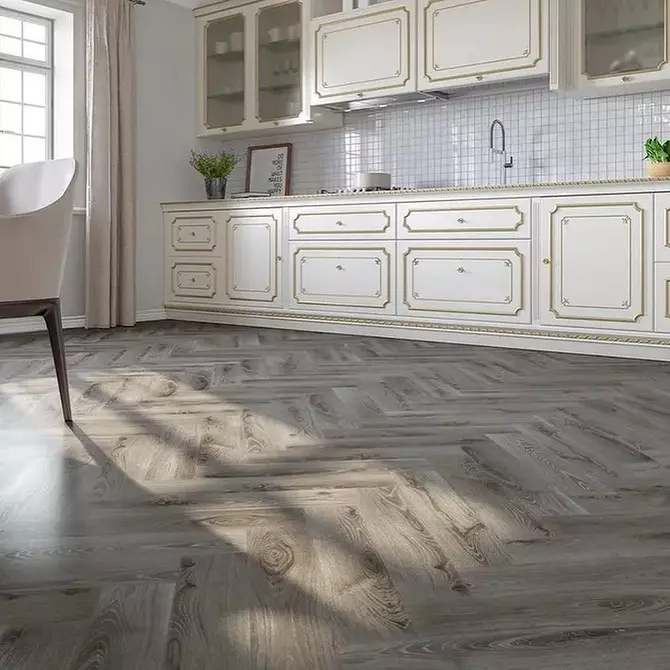
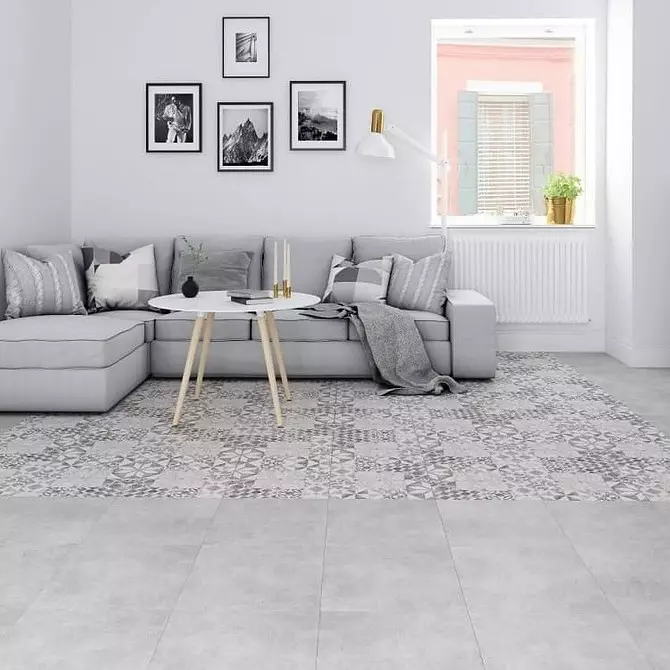
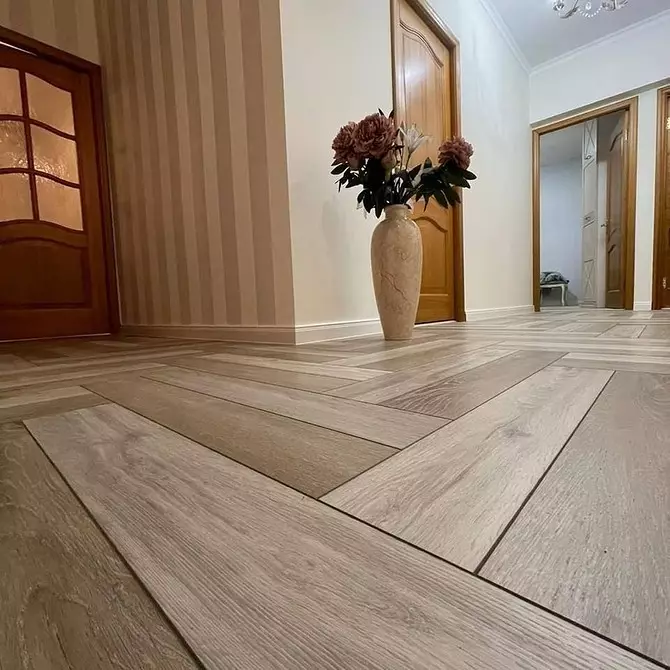
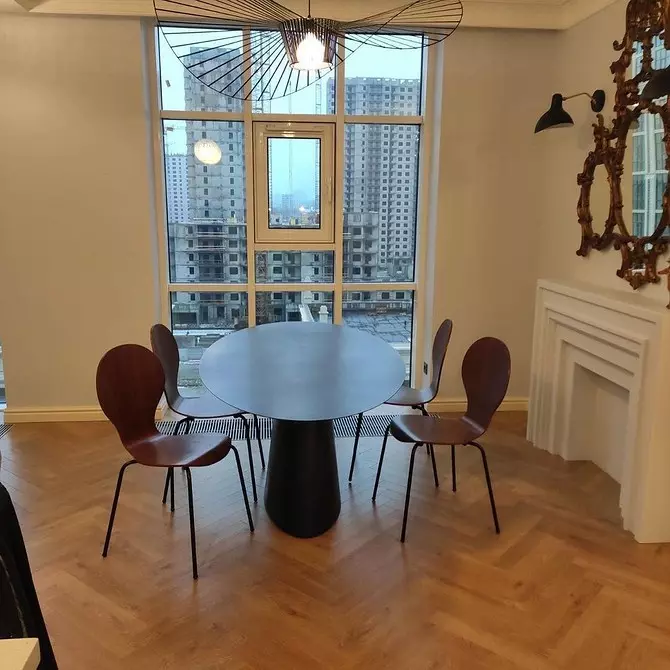
Pros and cons of vinyl tile for the floor of both varieties are common. They differ in moisture resistance, are not afraid of high and low temperatures, can fit in unheated rooms. Design does not fade, not deformed, opposes mechanical damage. Coloring options and textures are very much, there are models, high-quality imitating natural materials. In addition to standard squares and rectangles, panels of different forms are available. This expands the possibilities of their decorative use.
Facing eco-friendly, does not release toxic substances. Therefore, it is placed in all rooms, including children. It's easy to care for the coating. It is not afraid of moisture and aggressive substances, easily mounted with soapy solution. If necessary, you can apply "potent" chemistry. The minuses usually include a high price. Quality Quartzinyl costs almost like parquet. Vinyl finish is cheaper, but also the strength of it below.


Two ways of laying
Installation technology depends on the type of cladding. The plates with the locks "Schip-groove" in the ends are collected by a volatile method. They are snapped by forming a floating floor. Therefore, the castle decoration is called another vinyl laminate. Matchless panels are glued to the base. They can be self-adhesive, then glue is applied to the outer side and covers the protective film. Glue them very simple. The rest are glued in the usual way.We will analyze both options in detail. In any case, begin with the preparation of the base. It should be thoroughly aligned and cleaned.
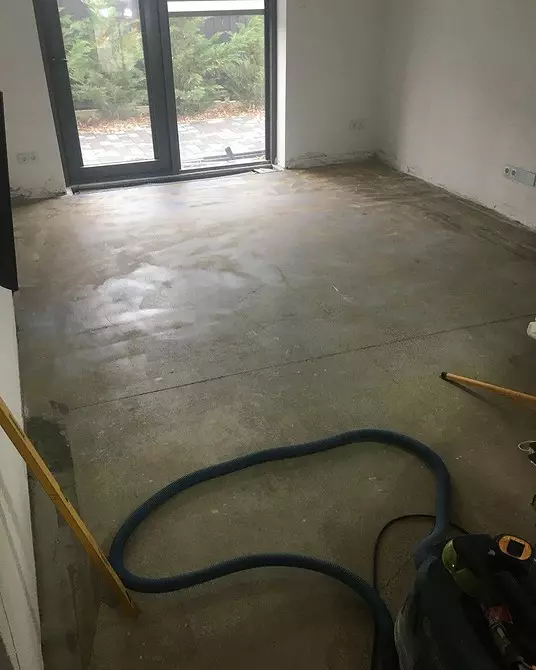
Step-by-step preparation of the basis
- We remove the old finish. Gently dismantle it to damage the screed or stove are minimal.
- Clean the rough surface from garbage and dust. If flax spots, fuel oil or other dirt, are fully laundered.
- We inspect the basis, we estimate its condition. Small defects of the type of cracks or dents are putty. We give the solution to the time for a complete rejection, then we clean up to an even state. If there are a lot of cracks and chipping, there are a large number of crackling fragments, the screed is filling anew.
- We wait until the base is dry. It is best to measure humidity by a hygrometer. Normal is considered to be 0.05%.
- Finally grind, after that we are diverting the draft floor. He is ready for laying.

There is no desire to mess around with the dismantling of the old cladding. Then questions appear: how to lay the vinyl tile on the wooden floor, on linoleum or tile. Immediately clarify what perhaps it is not always. So in some cases clinically castle type. But before that, carefully examine the old finish. It should lie smoothly, firmly, without the slightest hints for peeling. Seams between boards or tile It is advisable to close up to get a perfectly smooth robust surface. It is permissible to use as a base. Wooden floor before installation, it is desirable to handle an antiseptic.
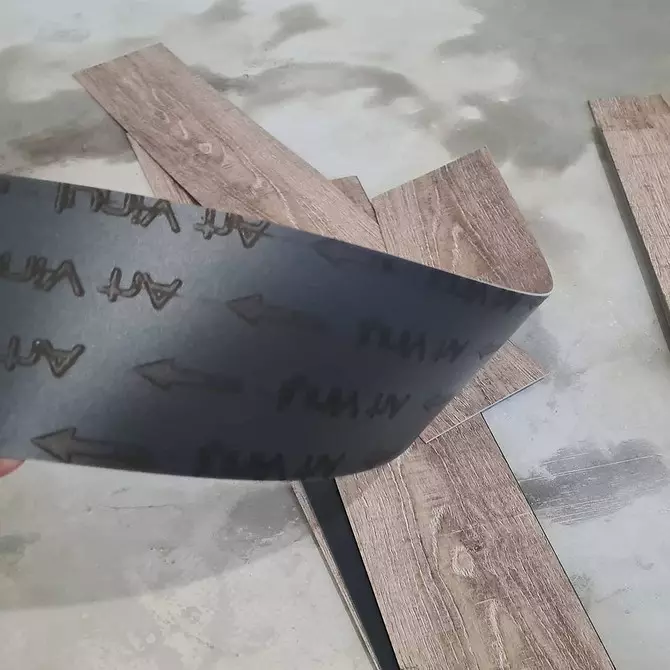
How to glue vinyl tile on the floor
Plates start from the center of the room. Self-adhesive varieties allowed to put from the corner the opposite door of the wall. But this is not always done. We have prepared a phased description of laying vinyl tiles on glue.
- We carry out markup. We find the center of the room. For this, out of opposite corners, we stretch the greasy cord, stretch it and beat it. At the intersection is the center. Through it we spend two perpendicular axial lines. We make it a pencil. Chalk dust, which is undesirable when working with glue. For figure styling, we carry out additional lines, focusing on the axial.
- Preparing glue. It is selected, based on the type of facing. Finished pastes before work thoroughly mixed. Dry mixes are bred by water. The proportions and other features of the process are indicated on the packaging of the composition.
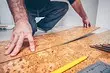
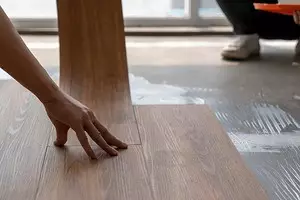
- The first plate must be glued, applying an angle to the intersection of axial lines. With a gear spatula evenly distribute glue on the basis. We apply a paste on a small area, not more than a square meter, because the composition quickly harms. We are waiting for about 6-10 minutes, just time is indicated on the packaging. The exact movement is placed in the place, pressed. If necessary, adjust its position. There are no more than 10 minutes.
- Similarly, lay the second and the following panels. Between them should not be gaps. We definitely press the cladding to the base so that there are no air bubbles left. Speaking surplus glue carefully remove the rag. By posting two rows, for a better clutch, we press the rubber roller finish. Especially carefully rolling joints.
- The tile of vinyl tile pasted in such a way to complete the glue. It is an average of a day.
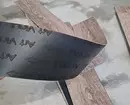
If you need to trim items, take a sharp construction knife. On the front side, the parts are scheduled to the cut line, lay it on a flat surface. The exact movement with a small force is performed by cutting, the plate is flexed and break it. With a large thickness of the dice makes an additional incision on the reverse side.


Declessing technique
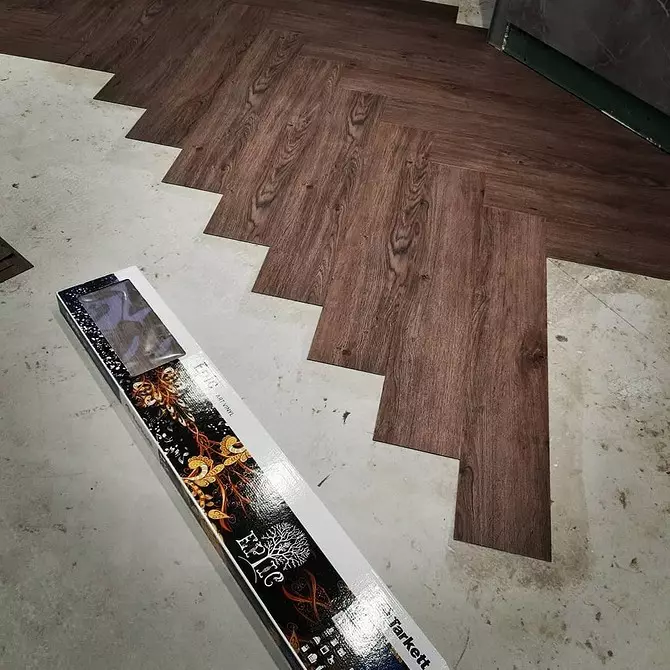
The technology is similar to laying laminate, but there are some differences. We offer instructions for mounting a Quartzinyl with a lock connection.
- We apply an antiseptic to the base. This will prevent the appearance of mold and fungus.
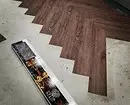
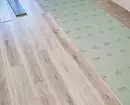
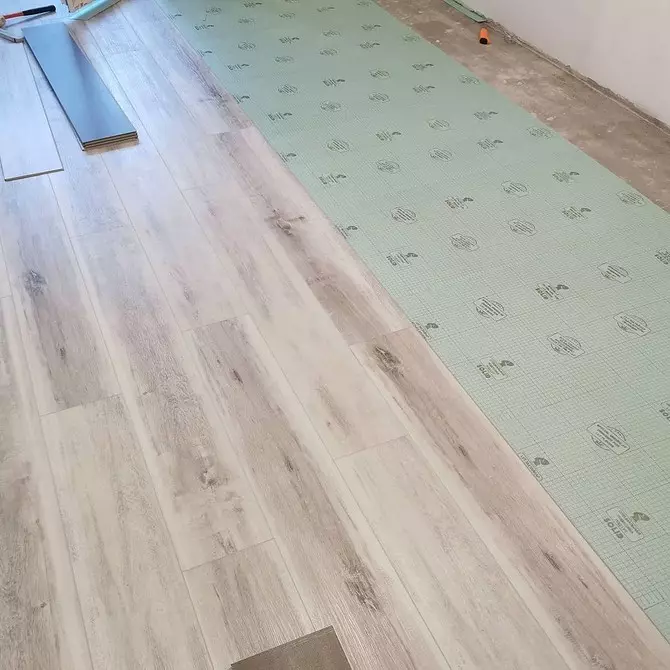
- We put the substrate. This is not a mandatory, but desirable stage. The material levels small irregularities if they are, additionally delays heat and serves as a noise insulator. It is impossible to lay a thick substrate. It gives an uneven load on the lamella, which leads to a rapid failure of the castle compounds. The optimal thickness is 2-3 mm. The stripes are stacked without adhesive, the joints are sickling with scotch.
- Stop starting from one of the corners the opposite entrance of the wall. First we fold the panel of the first row, connect their sides. Castle compound with rubber hammer. We collect a solid strip, deployed groove to the wall. We put it at the wall so that the gap of 5-7 mm remains between them.
- The second row is starting with a cut-off plate. So do that the joints of the slats do not coincide. The item is cut into a third or half, the next row begins with it. Insert it into the lock connection parts from the first row, snap. We take the following, joking, gradually fill in the row.
- Similarly, we collect the third and subsequent ranks. Important moment. There is a gap of 5-7 mm between the walls and the coating everywhere. It is necessary for the normal functioning of the floating gender. It is constantly increasing and decreases in size. No boards are deformed.
- On the perimeter of the room we install plinths, fix them to the wall. They pressed PVC lamella to the base and close the technological gap.
The required trimming is made by a construction knife. It is carried out with an effort on the cut slicer on the front side. Then bend the bar and shift it. A little differently cut the model with a substrate. It is glued to the back of the panel. In this case, the cuts are carried out on the front part, then the substrate is cut on the back, then the part is broken along the cut line.
Useful advice
The technology of installation of both varieties is not difficult, however, there are nuances that is important to know. We collected such.
- The base under PVC tile should be smooth. Usually it is leveled with a wet tie, if for some reason it is impossible, put dry. That is, align the floor with sturdy wood plates, boards or thick plywood.
- The basis should be dry. If it is not so, the moisture will remain under the coating, which will lead to the appearance of fungus. Before laying, be sure to check the humidity by a hygrometer. If it is not, the "home" technique is suitable. The three-liter jar is turned over and put on a screed for 12-14 hours. Condensate on the walls indicates an excess of moisture.
- In rooms with high humidity before mounting the cloth facing, it is desirable to additionally "dry" the basis. For this, all interpanel jokes are pretty close in any suitable composition, for example, cold welding.
- The remaining fresh glue on the floor surface is well removed by any alcohol solution. Holded mastic is removed by a solvent.

PVC tile is a practical and durable floor finish. Also, she is also beautiful. You can select the imitation of a parquet board, wild stone or any other material. Materials are combined by placing together models of different shapes, sizes and colors. Interesting spectacular combinations are obtained.