
We tell what tools and materials are needed and give a step-by-step action plan: from preparation before mounting chandeliers on the ceiling.

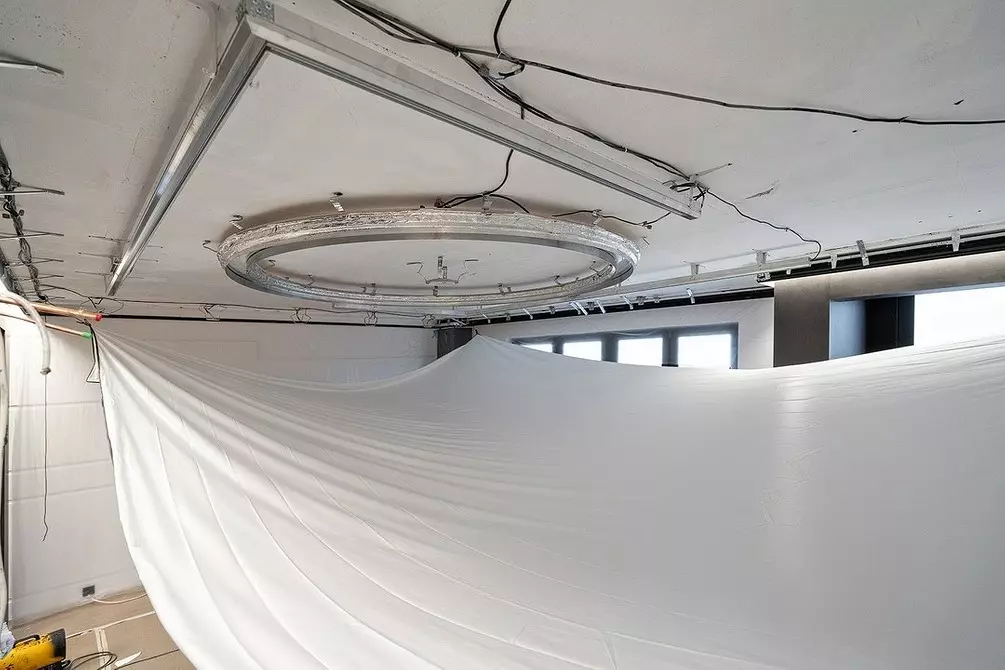
The ceiling surface finish can be different, one of the options - stretch designs. They are quickly installed, do not require special preparation of the foundation and at the same time have an attractive view. Installation of the system is quite simple, if desired, it is quite possible to perform it yourself. We will deal with the installation of the stretch ceiling with your own hands to perform its quality and without errors.
All about independent installation of stretch ceiling
System varieties- Tissue
- film
Mounting varieties
Types of profiles
- by type mount
- by material
Tools and materials
Step-by-step instruction
- Preparation
- Installation of Bagueta
- Mounting mortgages for lamps
- Preparation of the web
- Fixation of the coating
- Nuances when working with fabric cloth
- Installation of the lamp
Dismantling of the tension system
Types of stretch ceilings
Not a specialist may seem that all stretch systems are the same. However, it is not. Despite the similar method of fixing, the trapped canvas happens differently. Depending on its type, the method of fixing and installation technology is selected. Consider two main types of material.
Tissue
For tension, high-strength synthetic fabric, made of polyester or polyester and impregnated with polyurethane, is used. The production technology allows you to receive only matte canvases, but it is possible to high-quality imitation of fabrics of various textures: Sitz, suede, etc. Two-layer canvas are manufactured. In this case, an embossed decorative layer is superimposed on the tissue base in the form of a mesh.

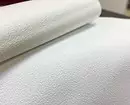
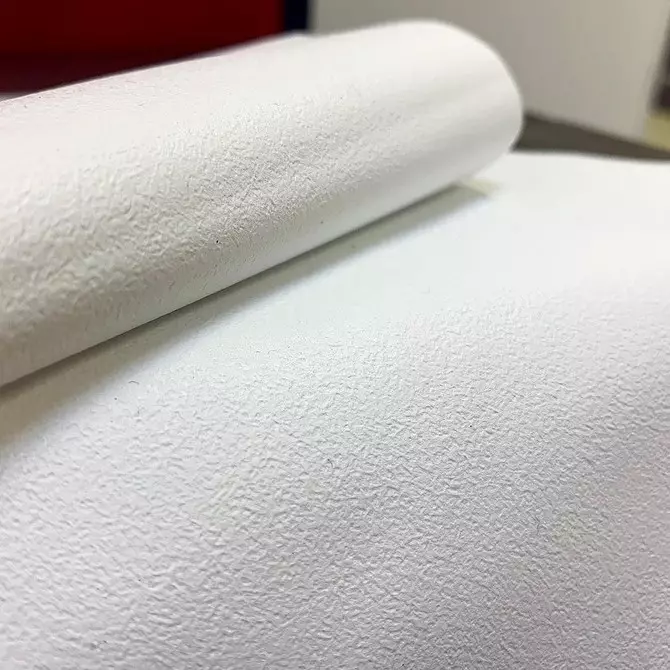
Fissure materials are released with different finishes. They can be white or colored. In the latter case, the shades are a bit, no more than twenty. But all of them are deep and smooth. It is possible to apply sequins and photo printing (though, in the interior they may look old-fashioned). Another option of decor is a transit fabric under which special lamps are installed. True, when they breakage, you will have to dismantle the old coating and pull the new one.
Dignity
- Roll width - 510 cm, so you can perform a seamless finish.
- Installation with a minimum reduction of the height of the walls. In the room with proper geometry "eaten" only 15 mm.
- Strength. You can intentionally damage the fabric, but it is hardly hard to. She is not terrible enough serious mechanical impacts.
- Parry permeability. Thanks to the special impregnation, the canvas briefly delays water, but the pairs and air misses well. This allows the design to "breathe".
- Wide range of "workers" temperatures. It is in the range from 80 to -40 ° C. This makes it possible to install tissue systems in different rooms. For example, in unheated loggias in winter or in very heating in the summer of attic
- Fire safety. The material is processed by antipirens, so it does not burn and does not give a smoke.
- Antibacterial effect. Bacteria and mold do not live on the surface of synthetic fibers.
- Installation is carried out without the use of heat guns.
disadvantages
- After dismantling the fabric cannot be pulled again.
- Insufficient resistance to moisture. It is not recommended to assemble in rooms with high humidity, the appearance of "dirty" divorces is possible. Despite the special impregnation, the canvas does not tolerate washing. It is only dry cleaning. With leakage from above, the liquid does not hold.
- The fabric absorbs odors. Extraly difficult to get rid of them. Therefore, smoking, for example, is not recommended in rooms with such a ceiling.
If the width of the room where the system is planned to be installed, more than 5 m, you will have to check and close it with a special overlay.

PVC film
Stretch the film from polyvinyl chloride of various thickness. Unfair manufacturers can use cheap toxic raw materials in the production process. Such a film, when heated, sews toxic substances, and after its installation holds a persistent unpleasant odor. In order not to receive such a result, when you purchase, you need to check the certificate of quality and safety of the material.

Film coatings are available in a wide variety of colors, there are tens of them. There are matte, glossy, satin and mirrored film. It is possible to use photo printing, although in modern interiors it loses relevance.
pros
- Full waterproof. When flooding from above, the elastic film is stretched, kept fluid inside. After the drain takes the former shape.
- The possibility of repeated use. After dismantling the canvas can be installed again.
- Easy to care. Possible dry and wet cleaning. Dirt is easily washed with soapy water. The use of aggressive chemistry is prohibited.
- Low price material and mounting.
Minuses
- Low strength. A thin film is easy to damage if it hook it with a sharp object. Ingressing corks from champagne and similar impacts cause severe damage.
- A small width of the canvas, the maximum is three meters. Thus, for finishing spacious rooms you have to weld two or more strips.
- Small range of "workers" temperatures. At -5 ° C and below the material becomes breaking, it begins to crack and collapse. Therefore, it is not used in houses with seasonal accommodation. High temperatures soften plastic, it increases in size. With a strong heating, it can change the color, for example, get used to the sections next to the lamps.
- Sufficient installation with special equipment. The plastic strip is heated by a heat flush and fasten into fasteners. If errors are allowed during the installation, it saves or collapsed, that is, sticks to the base.

Varieties of fastening systems
For fixing the canvas, three fastening options are used.
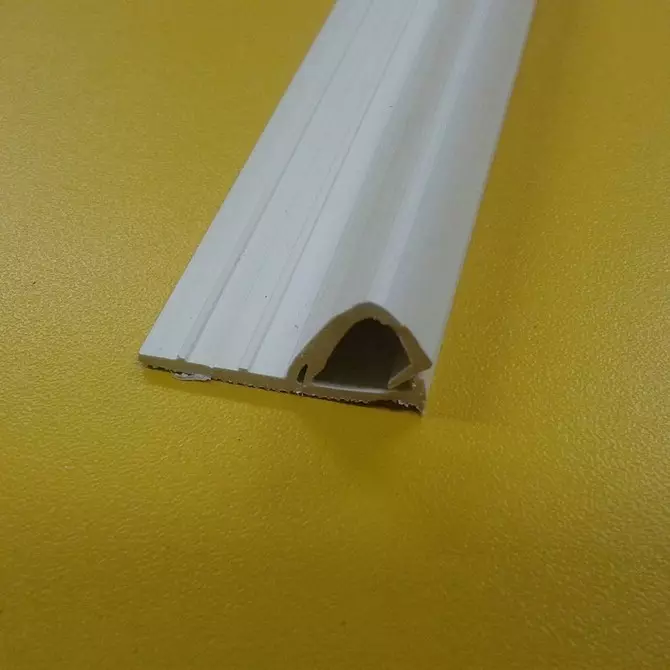
- Cartoon. The edge of plastic is welded on the edges of the outlet strip. It is called harpoon. It is tightly inserted into the profile. If necessary, disassembly is possible with the subsequent installation. Caporyous scheme is used to fix the PVC film.
- Stocked. The canvas refuel into the groove and is fixed with a special clock-stroke. Cutting is carried out so that there is a small allowance. It is filled with a profile or short cut off. The resulting seam is closed with a decorative plug.
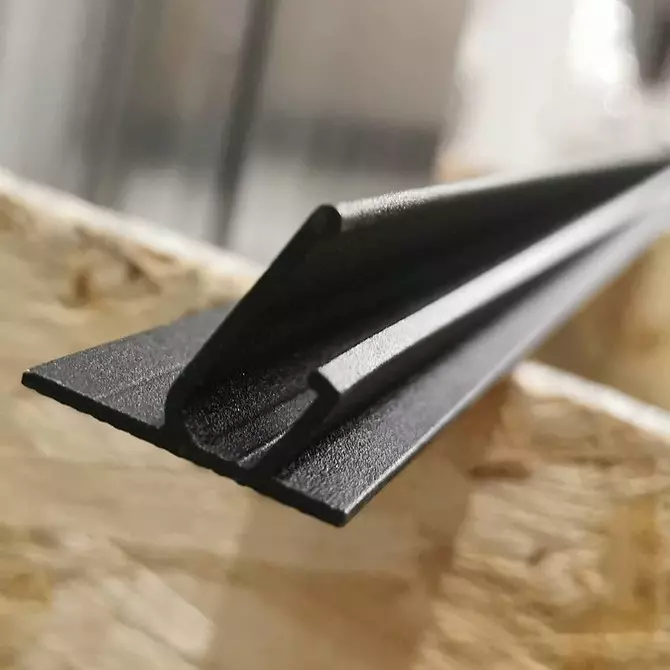
- Clips (or cam). The fixing element in the cut is similar to an elongated clip. It is inserted by a bent edge of the linen with the allowance, it is firmly clamped with the tongue. Surplus is cut. Clipped circuit use only for fastening the tissue.

Cartoon mount
Stroke mount
Clip fastening
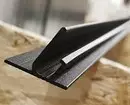
Types of profiles for stretch ceilings
Profiles are used for mounting the band. These are fasteners of different shapes. It depends on the type and the place of consolidation.By type of fastening
- Ceiling. Mounted to a rough basis. This makes it possible to minimally reduce the height of the walls. With proper geometry of the room, only 150-300 mm is removed.
- Wall. Fixed around the perimeter of the walls. Provides maximum reliable fixation. "Takes" from 300 to 1,200 mm room height.
- Universal. Fastened both on the walls and to the ceiling overlap. Apply when assembling non-standard models: multi-level, with complex geometry, etc.
- Dividing. Mounted when installing combined design when elements of different textures or colors are connected. In addition, the separation elements put in the threat of a margin of large cloths.
By material
For the manufacture of elements use two types of materials.
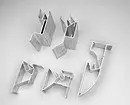
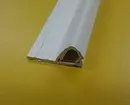
Plastic

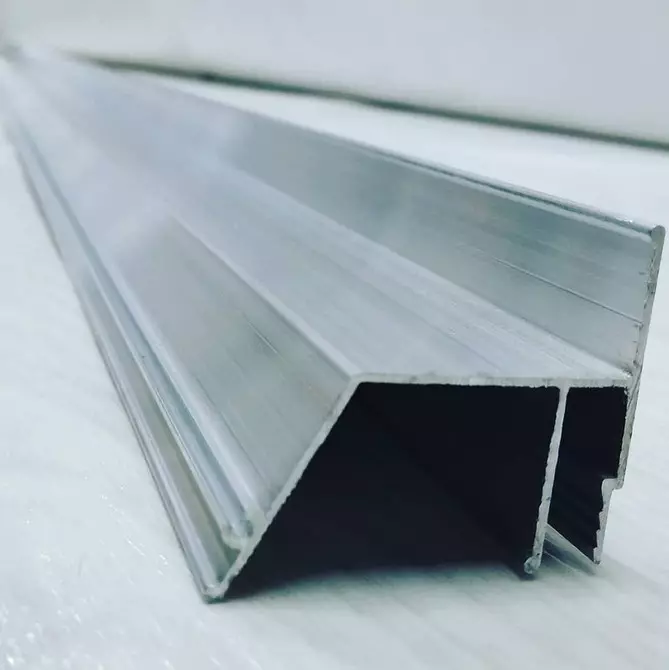
Aluminum
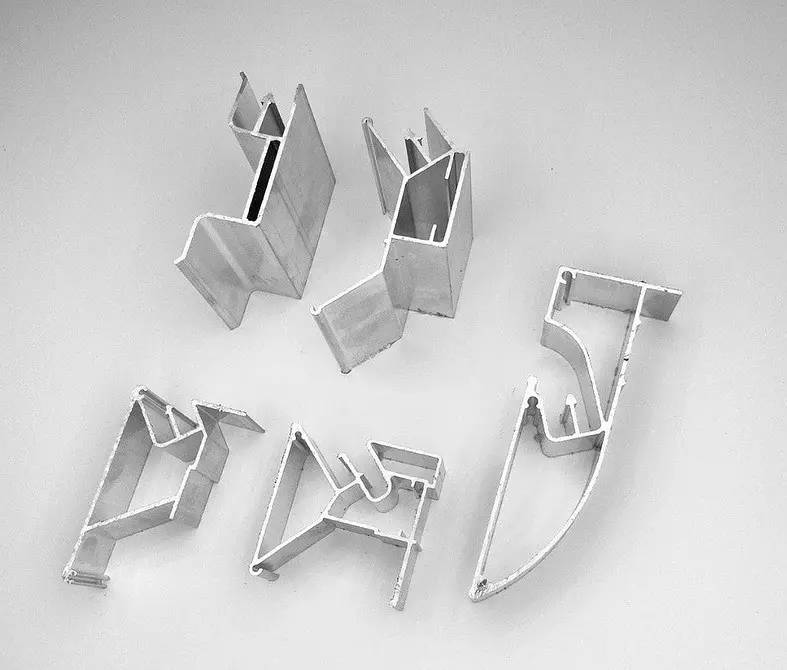
Aluminum
- Aluminum profiles. Well withstand significant loads, durable. Due to the high strength, the step of consolidation is large enough: from 30 to 45 cm. This saves the budget for the purchase of fasteners and reduces the timing of installation work. Aluminum bar is not deformed during operation. It can be used to create a frame with broken lines. At the same time, metal products are quite massive, dents appear with inaccurate circulation. The price of aluminum is quite high.
- Plastic parts. Their main dignity is flexibility. Only with their help you can make various rounded and curved forms. In addition, plastic is lightweight, there are no traces of bends on it, it is easy to transport and secure. It does not need to be captivated, like a metal, the screws easily enter it. The price of plastics is small, but it is not as strong as aluminum. Therefore, for large areas it is better to choose more strong metal elements. Plastic of low quality can split when fastening with self-draws. For the frame of "broken" form with sharp plastic plastic is not suitable. It is cleared.

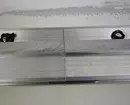
Required tools and materials
Let's start with tools for mounting the stretch ceiling. To fix the profile, you will need a perforator and screwdriver. If these are models that are compatible with the vacuum cleaner, very good. Then during work it will be pure. Placing the design is best with a laser level. An ordinary bubble will not fit. The likelihood of error is too high. For applying marks apply a greasy cord. If it is not, you can replace it with usual. Before working on it, the chalk or powder paint is applied.In addition, special clamps will be required, or crocodiles, as they call the masters. They pre-fix the stripes. For softening, the PVC film is used a heat gun. What a flush stretching stretch ceilings, does not matter much. Usually choose the one that works on gas, although you can also take electrical. So safer. To secure the material inside the baguette, the blades are applied. It is better to take a set with different blades. So you can reach the most hard-to-reach places.
Since it is necessary to work under the ceiling overlap, select a convenient stepladder or any other support of a suitable height. To pruning the mounting system at an angle, you will need a stub. Another necessary tool is a metal detector. It will help determine where hidden wiring passes. Otherwise, in the process of assembly work, it can be damaged.
Necessary materials can be bought by a set. Sets for sale sets for self-pulling ceiling. They include a polyvinyl chloride film with a treated edge, profiles, platform-template for a luminaire, thermocole, pipe strokes. In addition, it has specials and sealant. If the kit for some reason it is impossible to buy, everything is purchased separately. In addition, metallized tape and fasteners will be required.
Installation of stretch ceilings with your own hands: Detailed step by step instructions
When everything you need is prepared, proceed to work. Step-by-step will look at how stretching ceilings from PVC stretch using a harpoon mount.
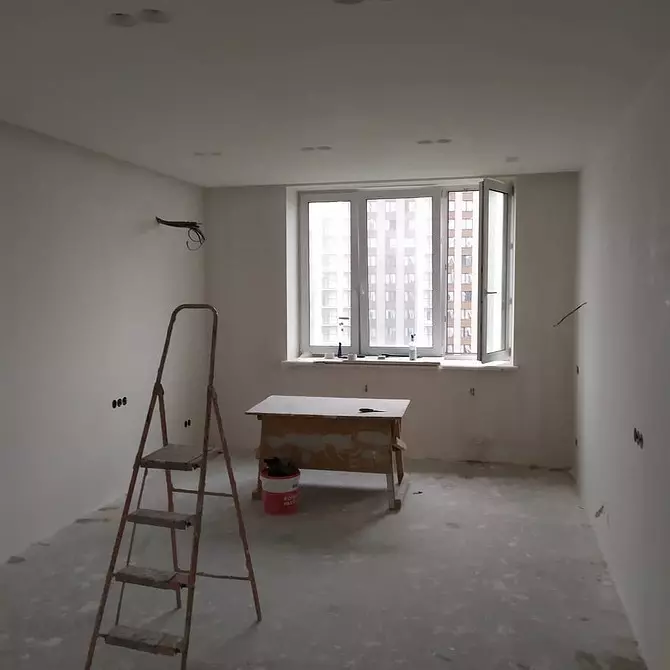
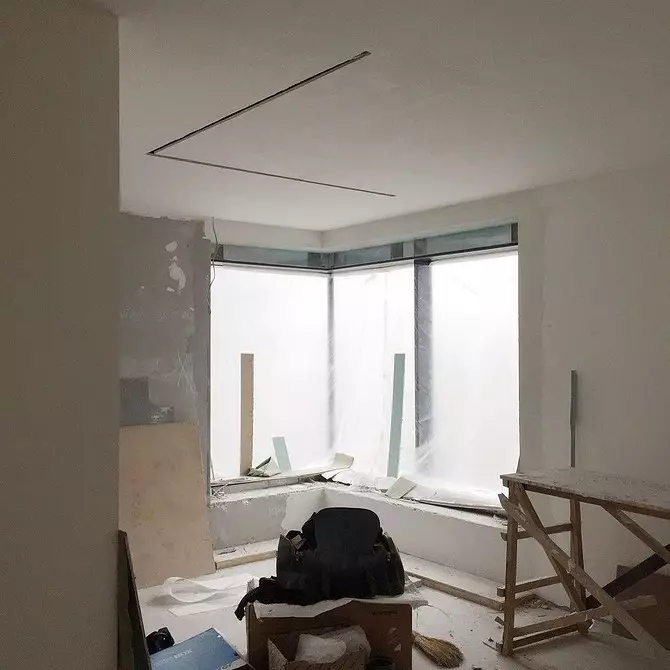
Preparation
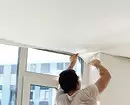
Installers advertise their services, emphasizing that in comparison with the plastering works of dirt and dust almost will not. Therefore, many are confident that the preparation is not needed. In fact, everything is not quite so. Building dust is, it flies from a perforator that prepares holes for fasteners. Therefore, everything you can, better endure. The rest is hermetically covered with plastic. Another point. When the heat gun is working, the temperature in the room is significantly increased. If there is a risk of damage to some kind of item, it must be taken out.
A rough ceiling must also be prepared. With him remove the remnants of the old finish, remove the stucco fragments and the like. The surface will be completely closed, but if the base begins to crumble, lumps will fall on the coating and spoil it. The base prepared in this way is treated with a primer with an antiseptic effect. It will strengthen the design and prevents the possible development of fungus and mold.
Preparation is needed and walls. They are most often fixed by baguette, so finishing work, if planned, must be completed. The finishing finish is carried out after installing the ceiling structure, but the blacks before this: that is, the wiring must be laid, the walls are aligned with plastering mixtures or hlock plates, primed and dried.
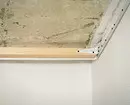
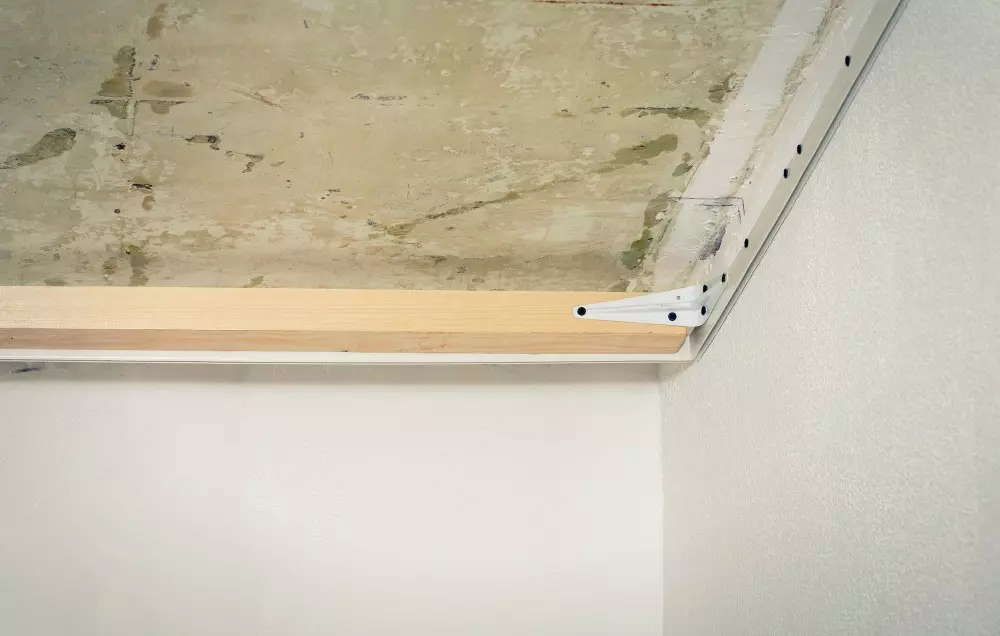
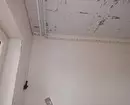
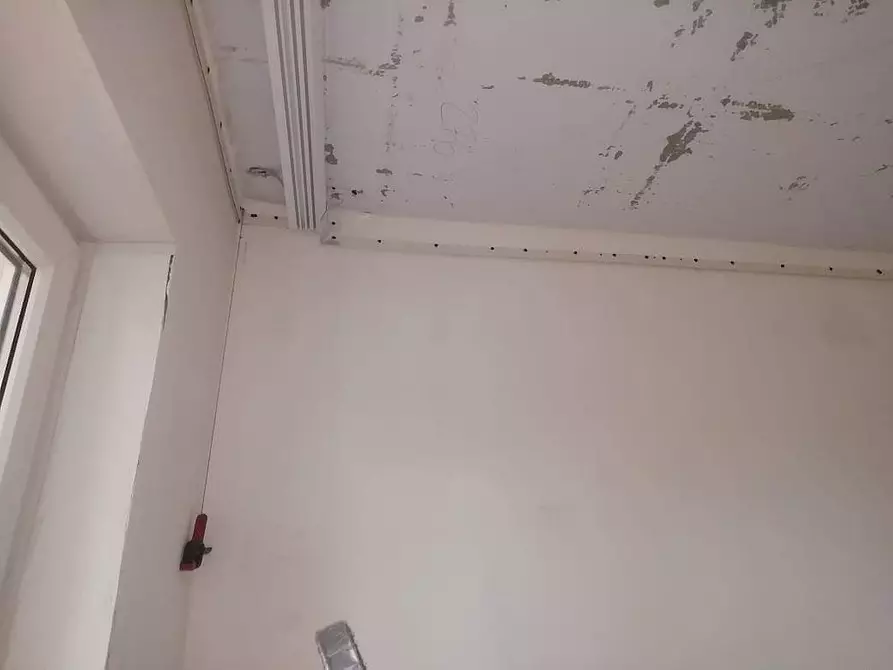
Fixing profile
Installation of a baguette for the stretch ceiling begins with marking. First determine the height on which the canvas will be stretched. If embedded luminaires are planned, the value is determined by their dimensions. Usually in such cases the ceiling is lowered by 70 mm or even lower. Rarely, but it happens that on the basis of engineering communications. Then the film is lowered with their dimensions. In all other cases, the indentation of the base is 30-50 mm.It is necessary to consider that the smaller the indent, the more difficult it will work with the perforator. Therefore, 50 mm is considered the optimal value of the indent. Particular attention is paid to the geometry of the plane. If it is not at a right angle, the distance from the ceiling overlap to the profile in different parts will be not the same. Marking starts from the bottom of the overlap. Down from it is postponed the amount of incitement.
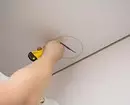
With the help of a laser or ordinary level tolerate the walls on the walls, then in the corners. The folding cord is applied in the corners, stretch, placed the walls. The pumping line goes throughout the perimeter, with a planned indentation from the base. On the markup, the sections of the passage of wiring are noted. It is necessary to accidentally do not put fasteners and not break through the wire. To do this, use a metal detector or exact plan where the location of the cables is indicated.
Fasten profiles start from any of the inner corners.
How to fix fastening systems
- Apply the item to the wall so that its lower edge lay on the markup.
- Drill holes for clamps. Drill both baguette and base. Be sure to skip the sections under which the wiring passes.
- Put plastic liners-dowels.
- Cress the profile to the base, fixed with self-draws.
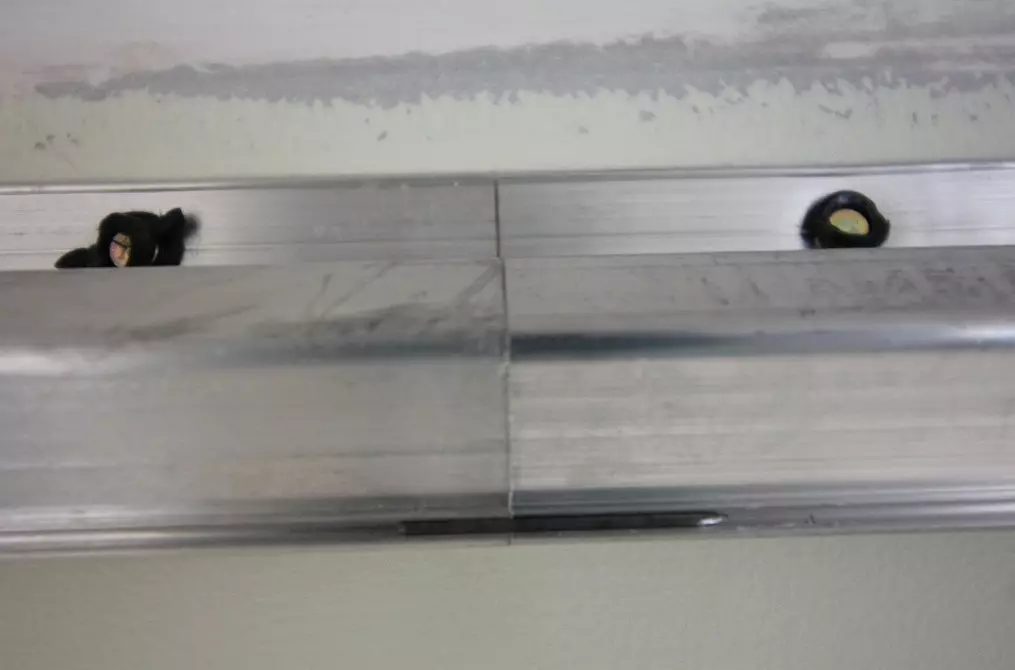
After fixation, check the strength of the baguette fastening. If it is walking, there are some more self-tapping screws. Special attention is paid to the joints. Details must accurately coincide in the level, large gaps between them are unacceptable. Maximum - 3 mm. Each seam must be treated so that sharp edges do not break the PVC film. For this, the file is cleaned with each edge, then neatly stick to the joint scotch.
External and internal angles are trimmed according to one scheme. Take only the whole detail, there should be no joints in the corners. Perform measurements and set off on the fastening profile. Distance to the center of the corner. Then, from the back, they are performed with a hack or a grinder. For an external angle, three naves make, the distance between notches is 1 cm, for internal one. Then bend items on the cuts, applied to the wall and secure.
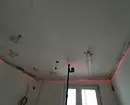

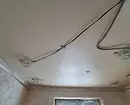
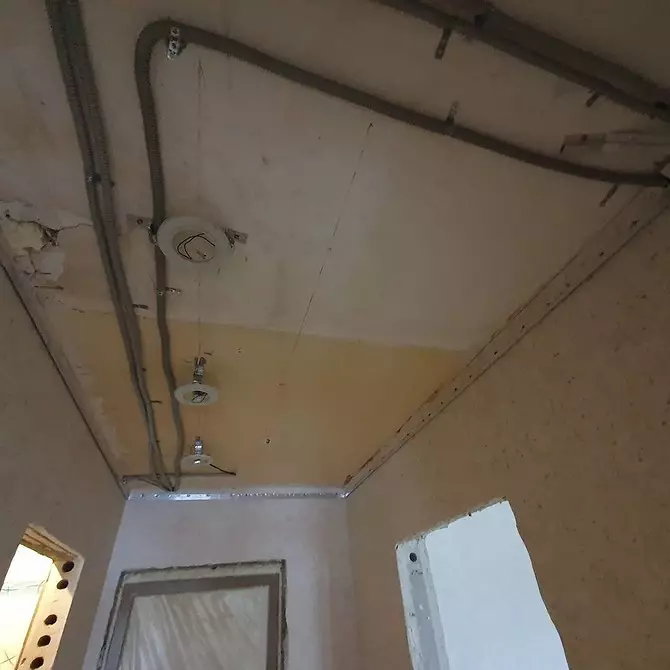
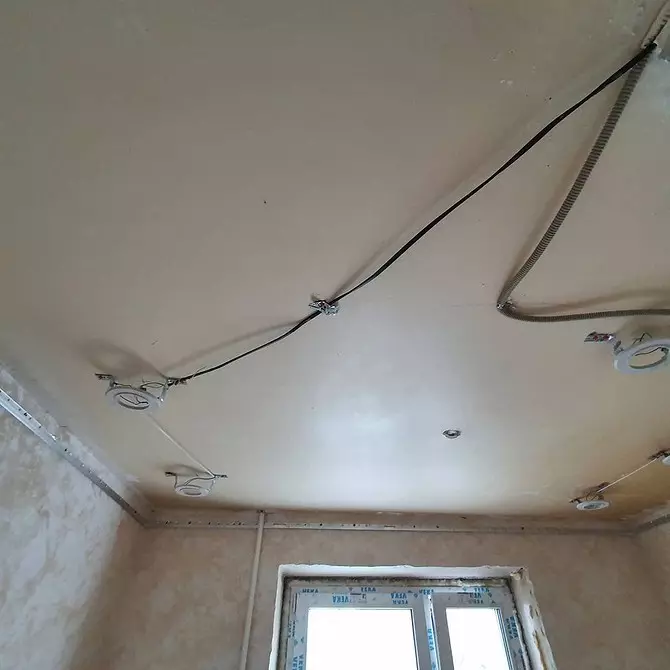
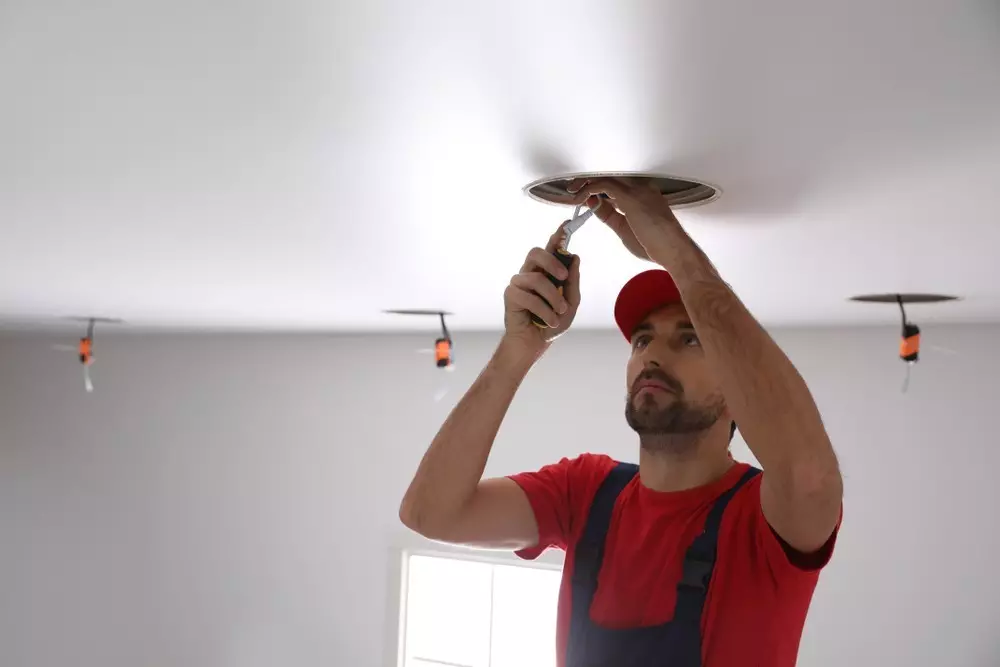
Preparation for lighting
Based on the place of installation of lighting devices. If there are several of them, it is desirable to make a similar scheme on the floor, it will be easier to find the mortgages after tensioning the web. A platform from special thermoplastic is exhibited for each lamp. Install it on metal flexible suspensions.How to install a platform for a luminaire
- Crop the hole in thermal platform to the desired value.
- The suspension is cut into two parts or strifting it with the letter P. fixed to the platform from two sides with two clusted screws.
- Apply the resulting item to the ceiling overlap, outlined points under the fasteners.
- Drill holes, plastic dowels exhibit.
- They put the mortgage to the place, fixate with self-draws.
Important moment. The lower edge of the platform in the end should be on the same level with the stretched web. To check this, you need to pull the thread between the fixed profiles. Speaking thermoplate lift a little. For this, the suspension is sweeping. If there is such a need, pave the wiring, that is, they collect the lighting system. The cable is placed in the corrugation, fix on the suspension.

Preparation of the web
Complex preparatory work before installation will not be required. However, some Master Procedures are recommended to hold. Film must be gently unpack and straighten. It is necessary to give it to "acclimatize" in the room. This is especially important if the material was in a cool place. On the surface there may be chances, they are formed during prolonged storage in a tightly folded form. Over time, they will disappear. Important moment: nothing can be put on the decomposed coating, otherwise you can damage it.Fastening the web
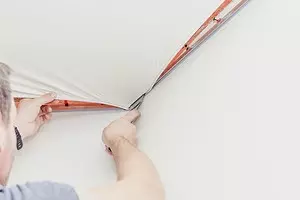
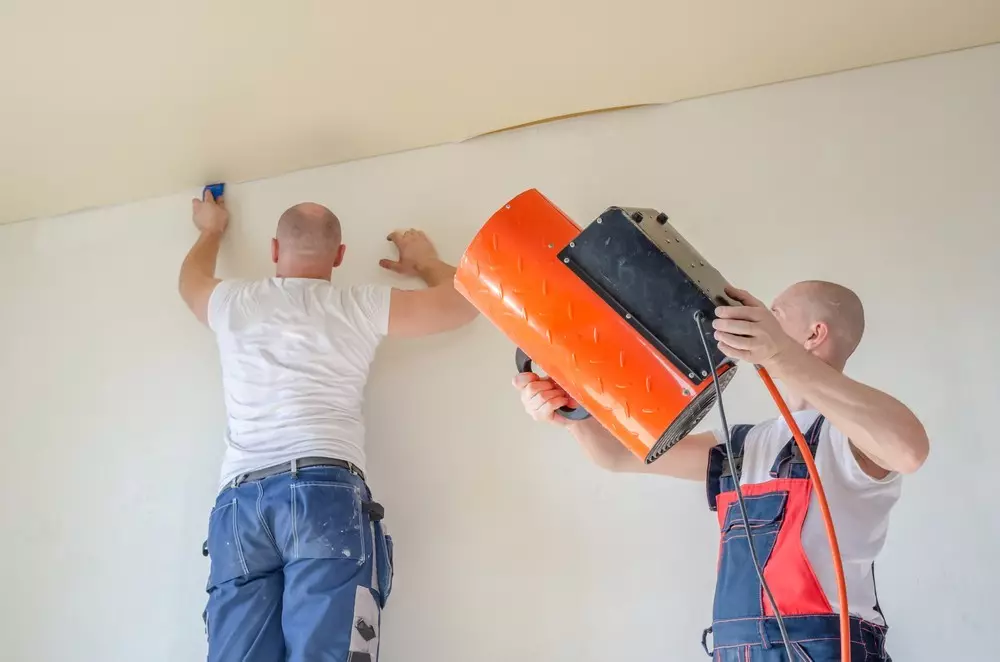
Before starting work, the doors and windows in the room are tightly closed. Crocodiles fixtures are fixed to the corners. The PVC film is laid out so that the harpoon mount is directed down by its underwent part. Alternately fix its corners with a closure-crocodile, hanging over it above the floor. After that, begin to warm up the film. To do this, include a heat gun. It is directed to plastic from a distance of at least 1 m. The direction of heating should be constantly changing, otherwise the plastic damage is possible.
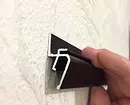
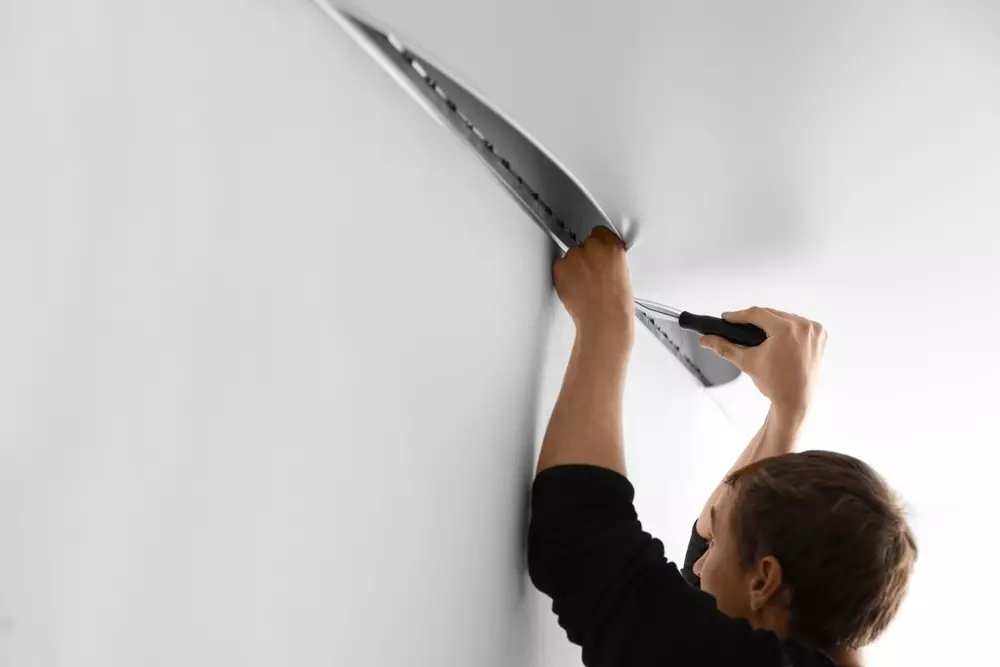
After the room temperature rises to 50 ° C, the polyvinyl chloride begins to soften. It becomes plastic, easily stretches. The edge-harpoon is softened. Now it can be easily inserted into the profile. PVC film is tightened, refuel into the profile. To do this, the special spatula is submitted by the edge and insert it into the recess on the baguette. The spatula is gently taken out.
Start from any angle, then fix the film in the opposite. After that, it is similar to two remaining corners. After the film is filled with all the corners, go to the center of one of the walls. Fix the material by moving from the center to the corners throughout the perimeter. The degree of tension is not needed. When the plot is exactly observed and after cooling the ceiling will take the desired form. But the bias are unacceptable. They lead to the formation of not removed folds.
We described the harpoon fastening technology, which is used only for polyvinyl chloride. For tissue ceilings, a slightly different methodology is used.
Nuances when working with fabric cloth
We will analyze how to pull the stretch ceiling without a gas gun. Stages of preparation, fastening baguettes and installation of mortgages are carried out similarly. Fix the canvas starts from the middle of one of the walls, then fasten the opposite section and refill the fabric on the two remaining walls. The spatula can be filled with the baguette inside, then the tool is gently removed.Move from the center to the corners, gradually pulling all the coating. Poksomov must be avoided. The billet is exhibited with the allowance, so it needs to be tightened well before focusing inside the profile. It is advisable to work with the assistant. Not enough well-strained coating will quickly resist. It is fixed in the clips or stroke baguette. After all the material is filled, the surplus is cut off with a sharp knife and refuel under the baguette.
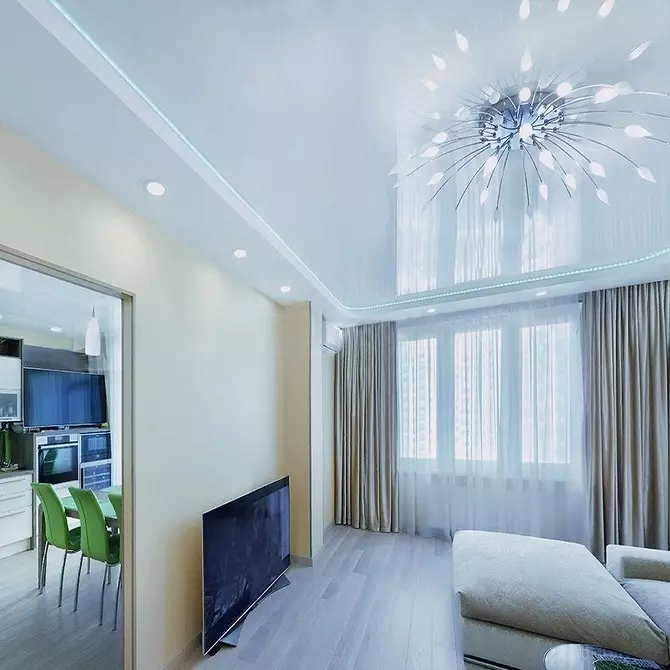
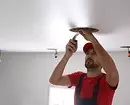
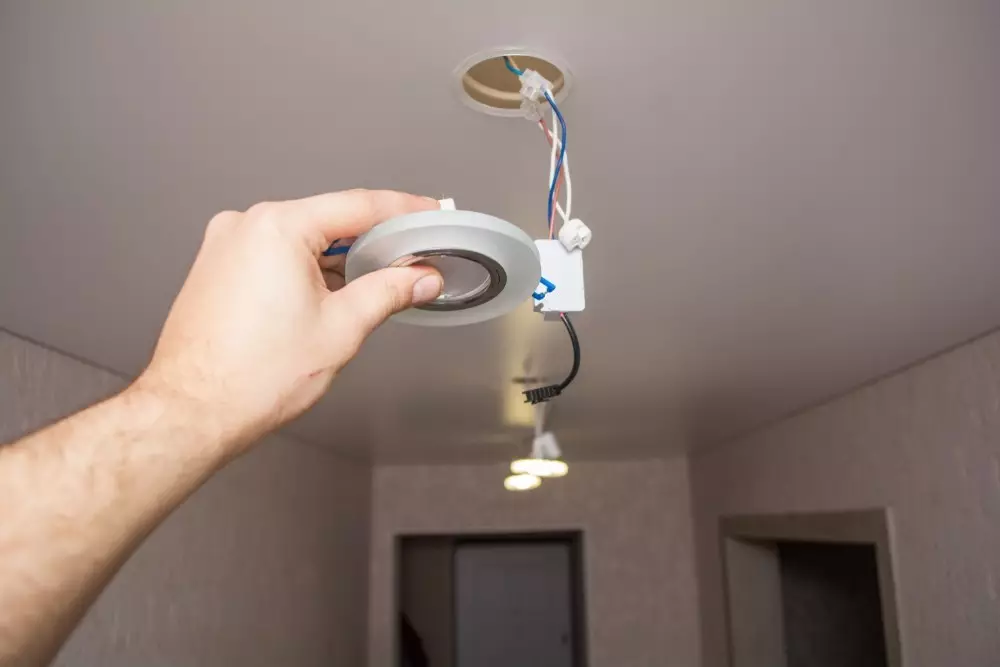
Installation of chandeliers
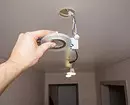
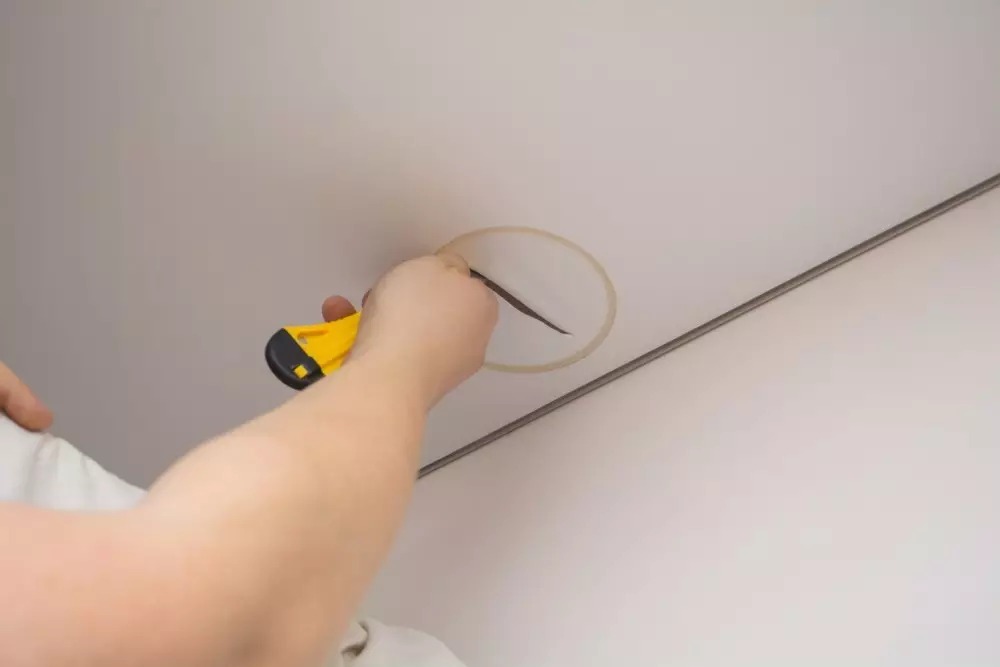
Start with what de-energize the room. To put a lamp in place, it is necessary to find the place where the mortgage is placed. On the outside, the thermocole is glued to the previously installed platform. It is necessary to do it carefully so that both parts are completely coincided. After the glue dries, the hole inside the thermocolon is cut with a sharp knife. From the resulting cavity, the wires are removed, they are connected to the embedded lamp. Then the installation springs are rejected and put the device in place. The chandelier is similarly mounted. The difference is that it is not accumulated into the surface, and attach to mortgage screws.

Dismantling stretch ceiling with your own hands
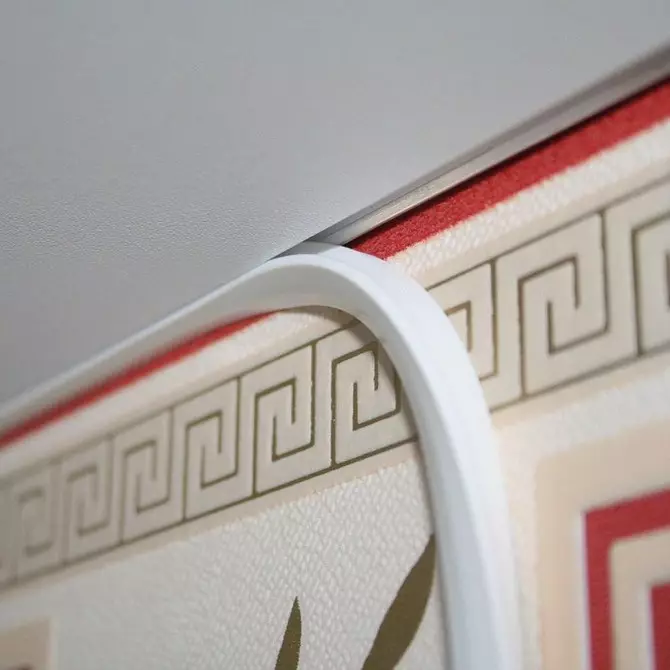
Before you remove the tension ceiling with your own hands, you need to determine the type of fastening it and find out what material it is made. The first is determined by the type of profile. From one of the angles, the camouflage cord is taken carefully if it is, and inspect the system. If you are seen in the battery, it is clip. Clearly visible clocks-stapper and allowances indicate a stroke structure. With the harpoon fixation, only a small slot will be visible.
It is important to deal with the material. If it is harpoon, then only the PVC film is fixed. Repeated installation is possible here, so they will need a heat gun for a neat dismantling. The head is fastened and the film, and the fabric, the clips is only a fabric. In the last two cases, the re-installation is not possible, the heat cannon is not needed. Finding out all the features of the finish, you can proceed to its dismantling.
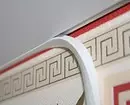
In any case, start with the removal of the camouflage tape. Start from the junction, it, as a rule, is located in one of the corners. They take over the edge and, uplining the cord with a screwdriver, take it out of the groove. Next remove the design. If it is harpoon, first warm the PVC film with a cannon. It will become plastic and soft, which will make it easier for the procedure. Between the edge of the mounting and harpoon, the spatula is inserted, the grooves are slightly rejected with it.
The wire crochet is pushing the harpoon fastening, remove it from the baguette. Pull the strip from the attachment. Important moment: the force is applied not to the film, it is easy to damage, but to the thickened edge. The canvas removed in this way remains the whole and can be reused.
The stroke mount is removed a little different. First find stapper. Fake it up with a screwdriver and remove from the baguette. Similarly come with all the fasteners. Now the material is not fixed by anything, it can be easily removed.

Clip attachment that keeps the tissue ceiling is even easier to reveal. You need to press on the edge, located closer to the wall. Clip works like a clothespin. It is revealed from such a press. The canvas are removed from the clips, removed all over the perimeter.
These are gentle ways to dismantle. They retain material. If he is no longer needed, they do otherwise. A sharp knife makes several punctures, then cut the cloth along the contour and remove it. Then dismantle profiles.