
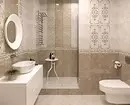
We consider the entire process on laying tiles in the bathroom and toilet: from varieties of material, selection of tools to the grout of the seams.

Ceramics is one of the most popular materials for finishing walls and floor in the bathroom and toilet. Lined surfaces are durable, moisture and temperature drops are not afraid. This finish is also beautiful, which is important. And the appropriate material is easy to choose for any interior. You can put it alone. Tell how to glue a tile and get a good result.
All about the installation of ceramic finishes
Varieties of materialMethods of layout
- Straight
- Split
- Mosaic
- Diagonal
- horizontal
- Vertical
What is necessary for work
- Instruments
- Materials
Preparation of the basis
- With cracks
- with mold and fungus
- With irregularities
Condition
- glass cutter
- Platecores
- Bulgarian
Instructions for laying a tile
- In the bathroom
- In the toilet
Features of laying on plasterboard
Installation on old tile
How to rub the seams
Typical errors
Varieties of decorative material
The tile for decoration can be different. Depending on the production technology and the selected raw materials, several types are distinguished.
- Monocotture. Plate of red either white clay single firing. Molded by enhanced pressing, which reduces porosity. Durable, resistant to wear, frost-resistant.
- Bikotture. The product is subjected to double burning. The extruded mixture of red clay is exposed to high-temperature processing, then the enamel is covered and re-burned. Less durable than monocotture, but the maximum waterproof and beautiful.
- Porcelain stoneware, he is gres. According to the technology, the pigment is added at the stage of mixing raw materials, so the enamel is not needed. Plates are pressed twice, which gives additional strength, then burn. Maximum durable, low moisture absorption, frost, wear.
- Cotto. The unlawed porous material is manufactured by extrusion. After drying is burned. It has a special appearance, only varieties with reducing treatment are chosen for interior decoration.
- Kottofort. Unlike Cotto is subjected to double burning. The second is carried out after applying the glaze. This reduces the number of pores and improves the appearance of the product. It is used as an outdoor coating.
- Clinker. Raw materials for him - shale high-pile clay without additives. For molding, extrusion is used, then firing at 1,300-1,400 ° C. The clinker has increased strength, frosty, absorbs minimum moisture, racks to aggressive chemistry.
- Majolica. Production technology assumes double firing. The first processing is carried out at low temperatures, the glaze is applied. Sometimes it is hand painted. After that, high temperature processing is performed. Beautiful facing is used only in the premises.

Monocotture
Bicotura
Ceramographic
Cotto
Kottofort.
Clinker
Majolica
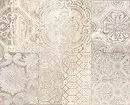
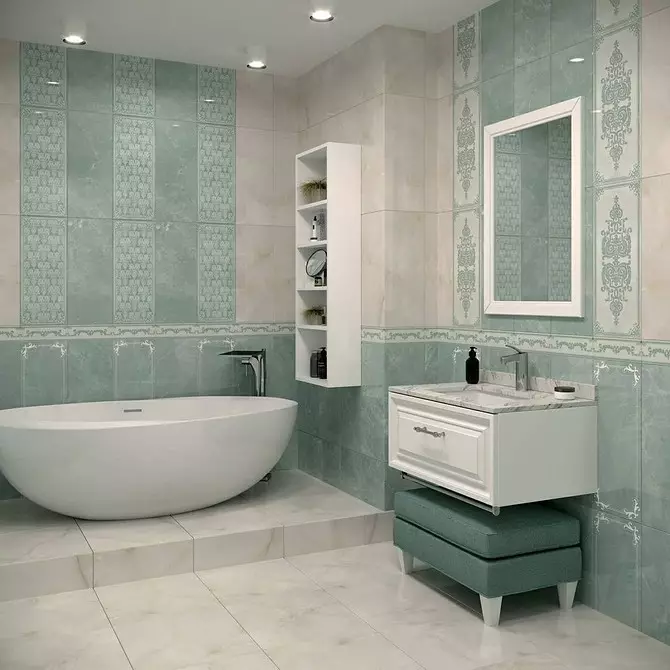
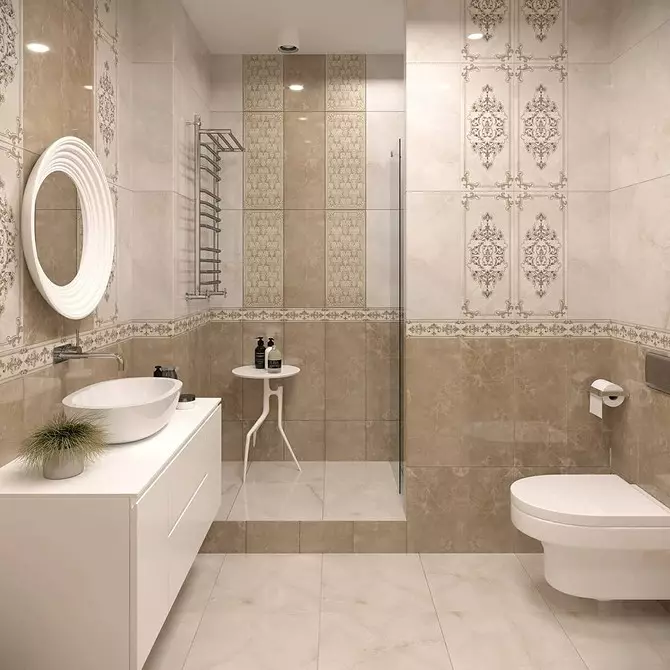
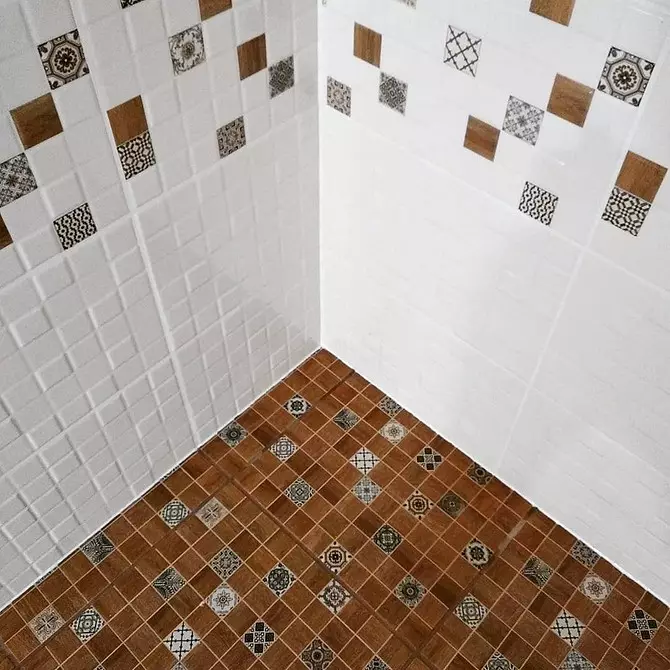
For the design of the floor, durable, mechanical damage resistant types are selected. It is desirable that their surface does not slide. For the decor of the walls pick up the decor with an interesting finish. It has less durability and resistance to damage. When choosing, the finishing finish of the surface is taken into account. It can be matte, glazed, structured, polished or laptic.

Ceramics varies on wear resistance. On this basis, five material groups are distinguished. The highest rates of the PEI V class, the lowest - in PEI I. The shape and dimensions of the plates are also different. Standard is considered a rectangle and square, non-standard - oval, rhombus, a trapezium. Simply put them much more difficult.
Methods for laying ceramic tiles
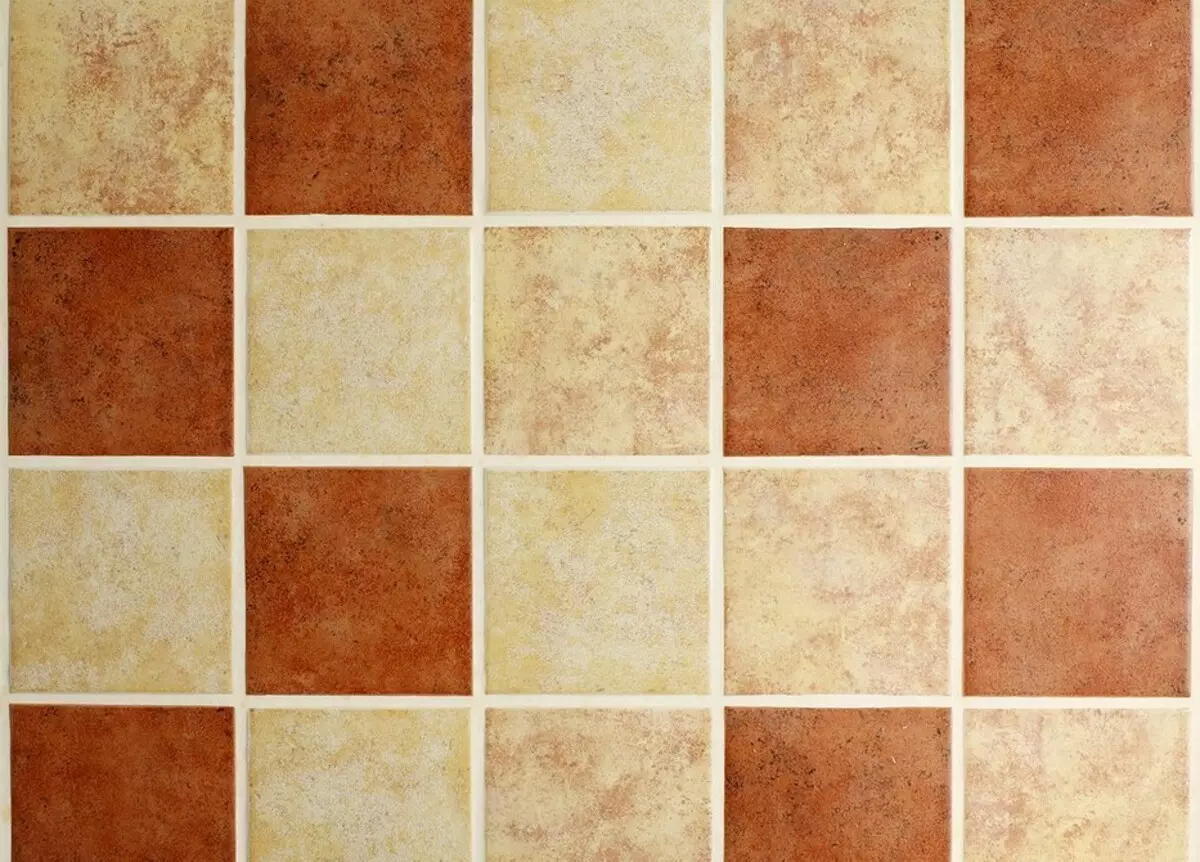
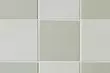
Another important point: before glue ceramic tiles, it is worth deciding on the layout. Not only the type of room depends on this. Varides the complexity and consumption of material. There are several layout options.Straight
Facing stacked one above the other, parallel to the walls. This is the easiest option. Do not require complex calculations. The recalculation of the decor is also almost no, the trimming is small.
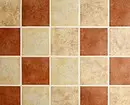
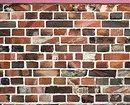
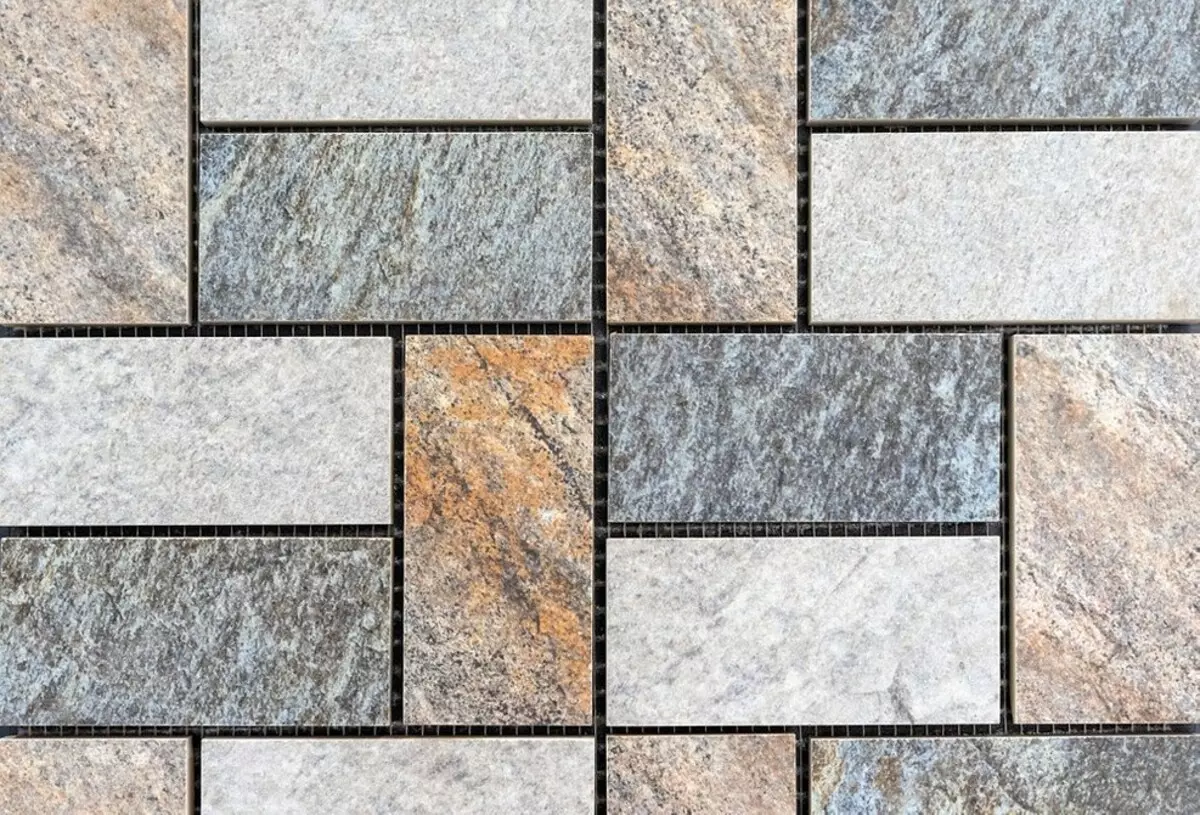
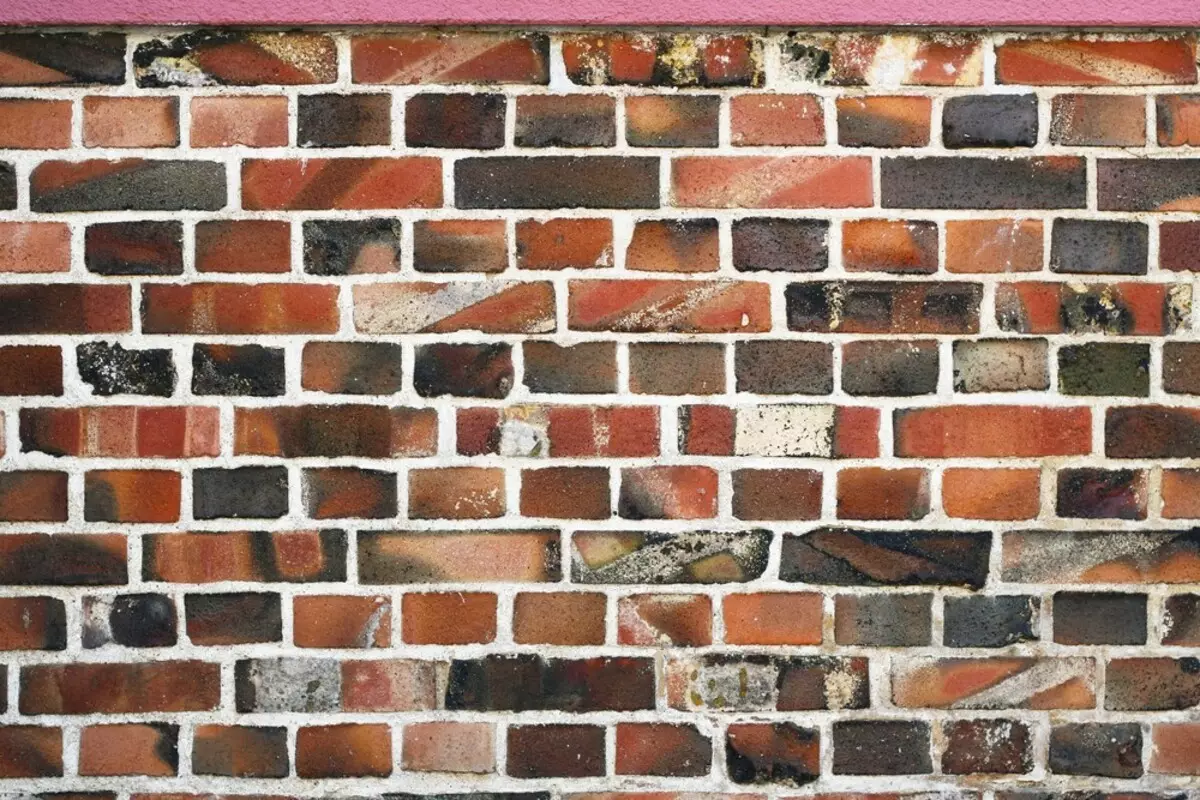
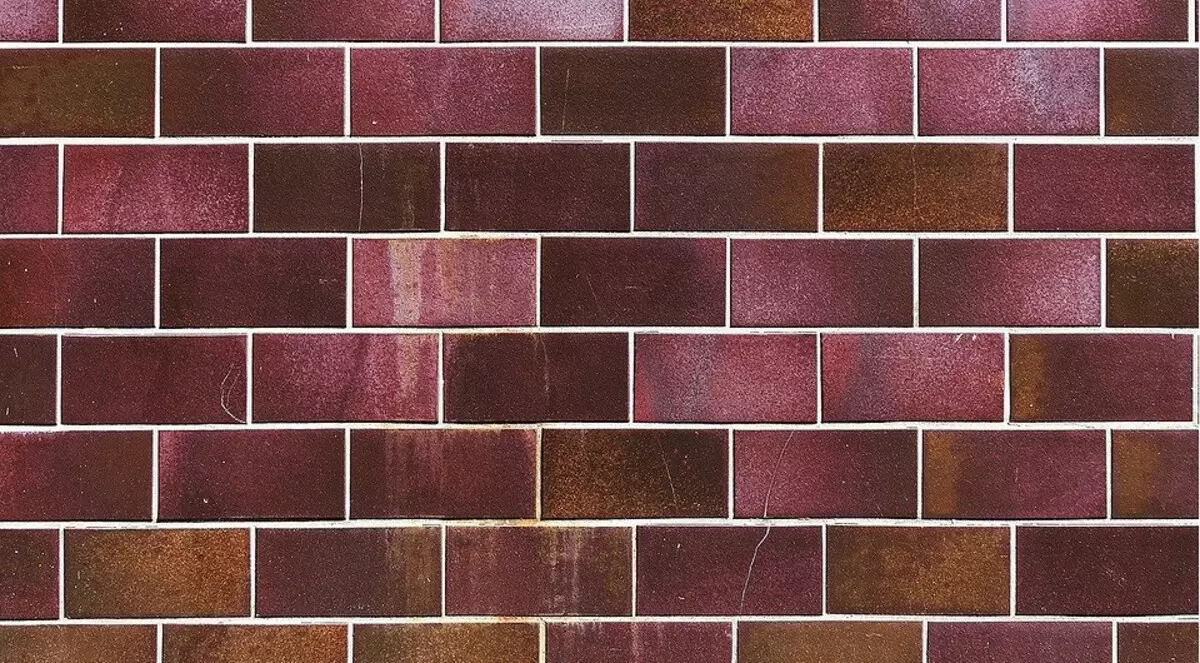
Missor
Imitation of brickwork, when the subsequent row is shifted relative to the previous one. It looks good with rectangular finish, preferably of the same color.
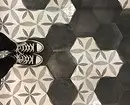
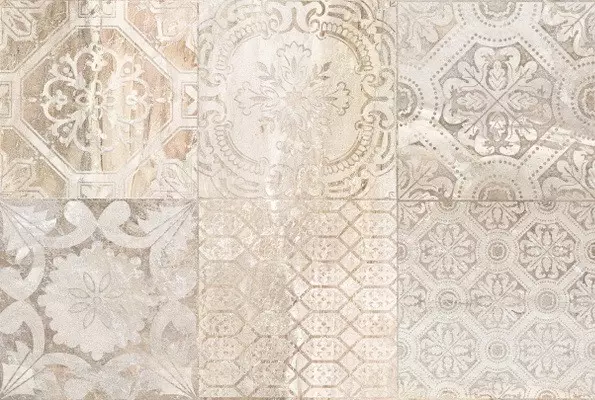
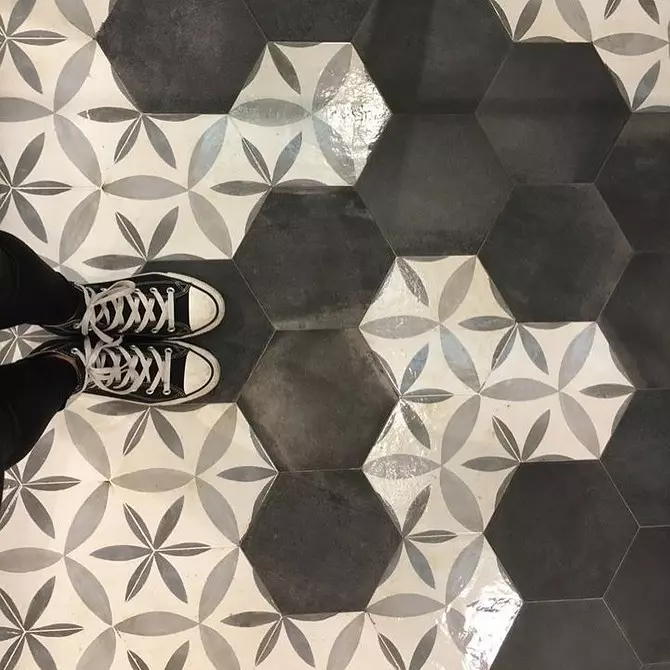
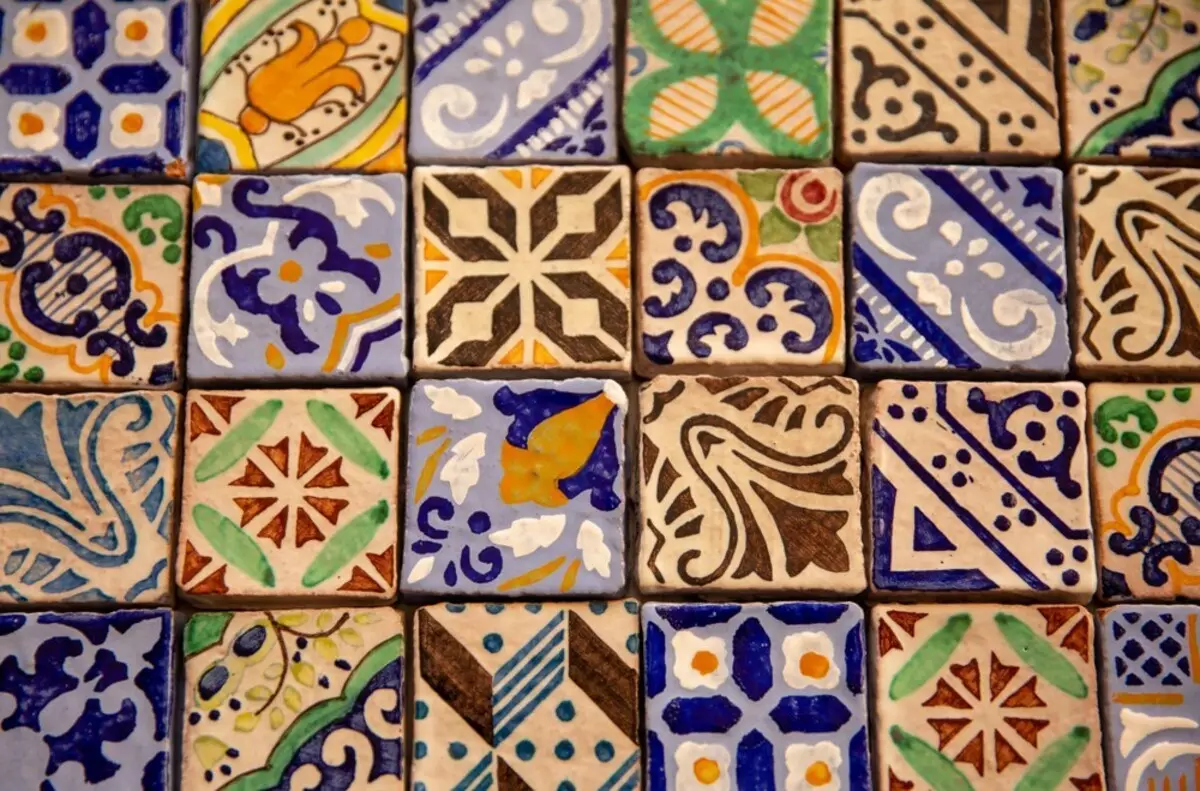
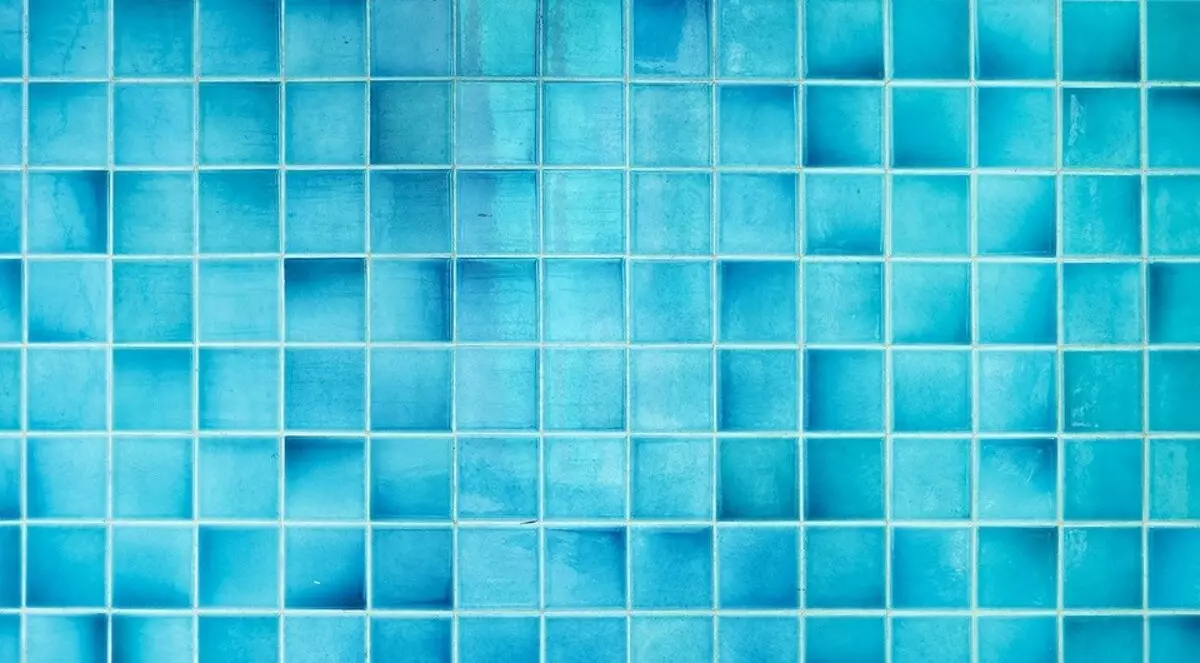
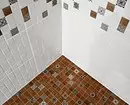
Mosaic layout
Mosaic is different from the usual cladding with dimensions. Most often it is sold by blocks recorded on the grid. Patterns are formed from blocks. Most often they are placed directly or diagonally.
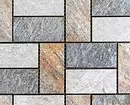
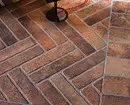
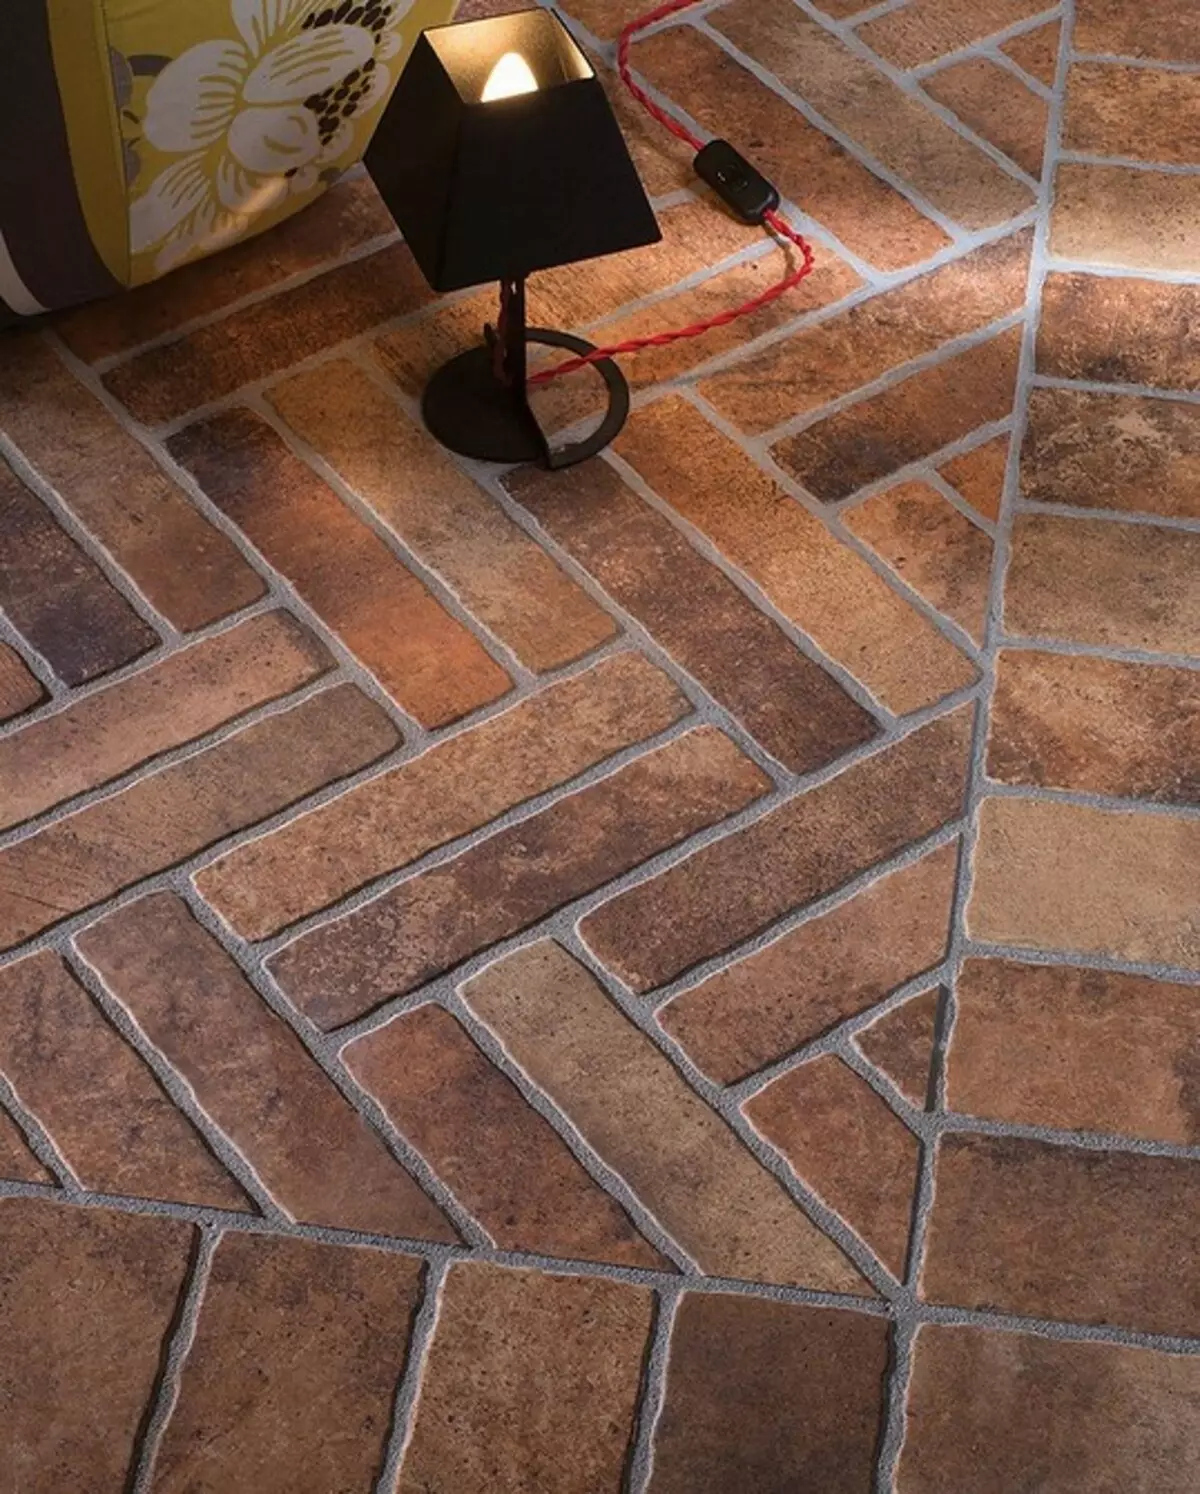
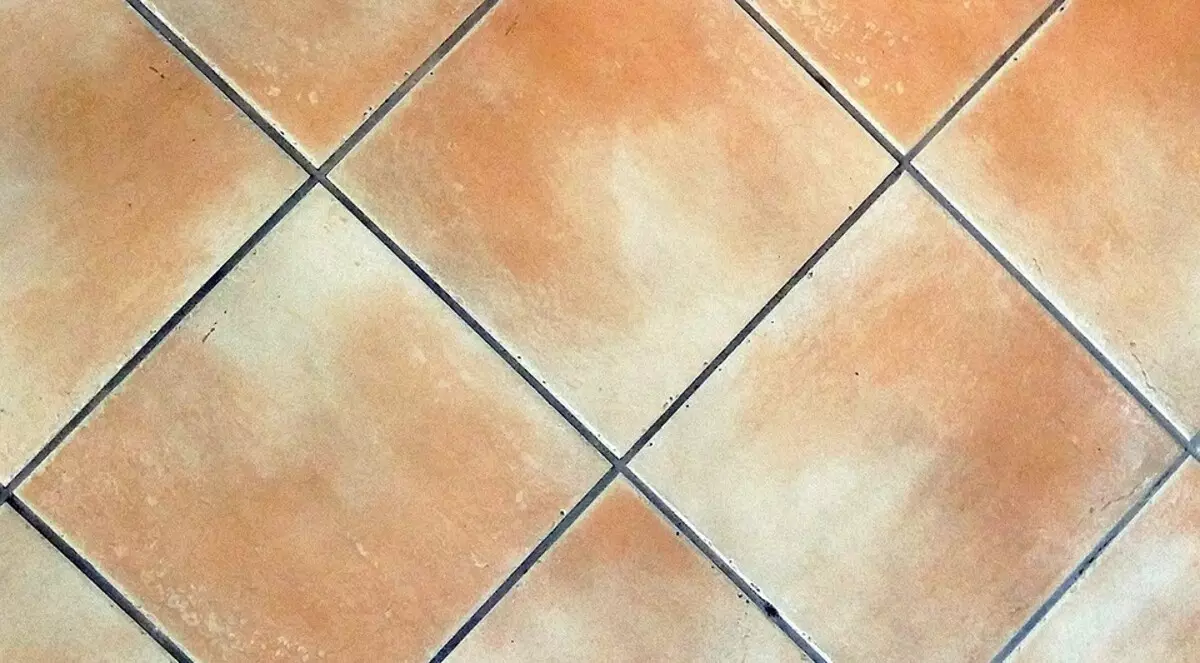
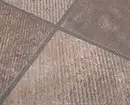
Diagonal
Located on the diagonal of the room. Ideal for a visual increase in the area of the room. With such a layout, the consumption of finishing material increases.
Horizontal
Used for rectangular decor. This is a direct layout when the facing is turned horizontally. So a narrow room can be wider.
Vertical
Another option of laying rectangular parts: straight masonry with vertical orientation. With such a layout, you can visually pull the ceiling.
Methods of laying can be combined with each other. So, the masters can put the finish diagonally or alternate a straight masonry with mosaic. There are a lot of options, it all depends on the professionalism of the master and wishes.
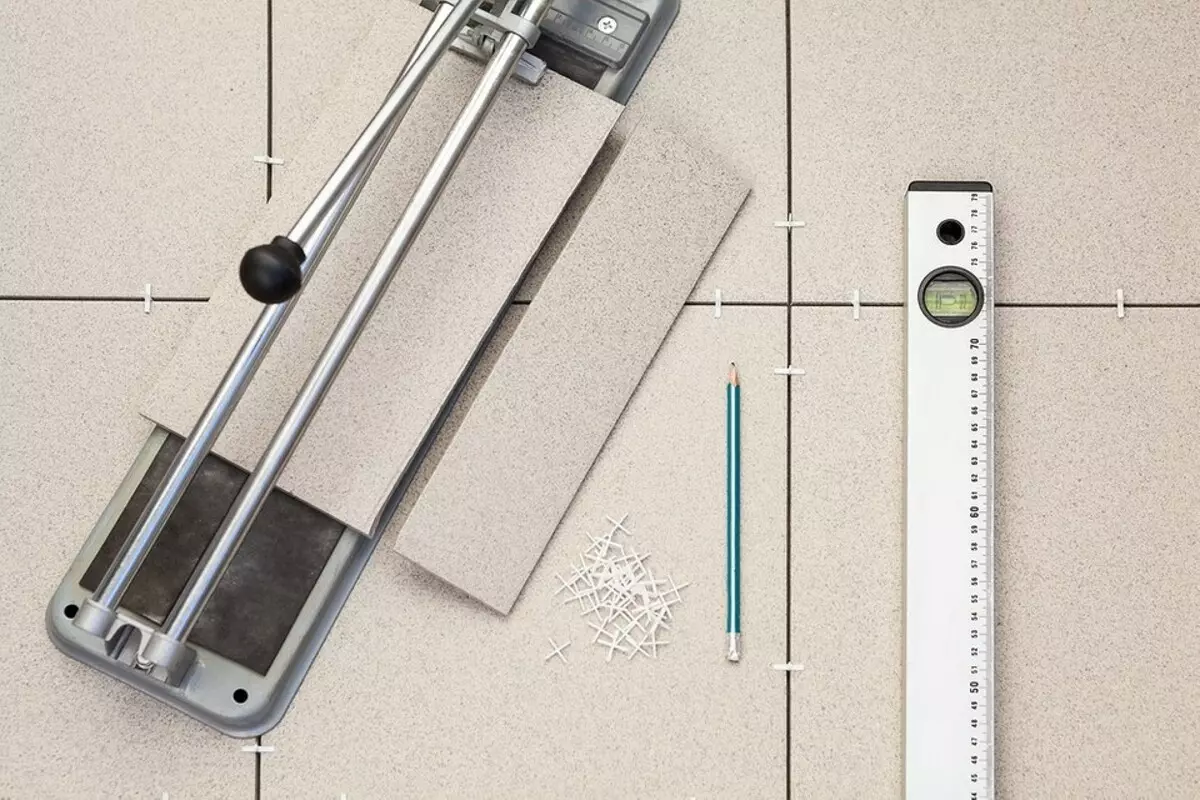
Necessary materials and tools
All recommendations, how to put the tile on the wall or on the floor, begin with a review of the necessary devices and mixtures. This is what will be needed during the work.Instruments
- Set of spatulas. You will need metal devices with smooth and with a toothed edge. Dimensions are selected individually. A smooth spatula is used to equalize the base and pump glue (in this case it can be replaced by a trowel). The toothed is used for the smilling layer of glue. The rubber spatula with a flexible tip is watched by the seams.
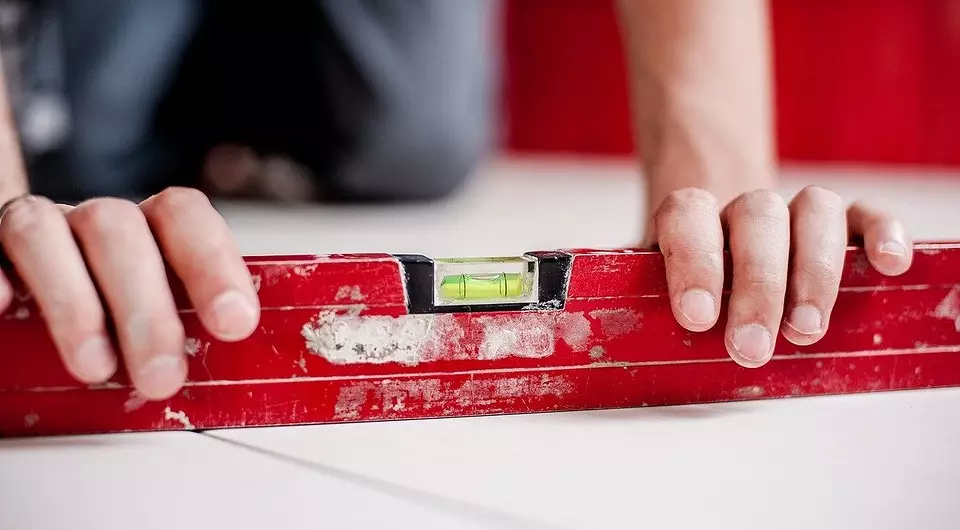
- Construction level or plumb. With it, check the accuracy of the vertical and horizontally working surface. The level is better to take long so that you can put on several tiles. It is easier to evaluate the quality of the masonry.
- Containers for trimming. Universal version - electric, electric or manual. But it only performs straight cuts. For the manufacture of holes, a drill with winning drills or crowns is used. A glass cutter is used for cutting, it is suitable only for a tile, a grinder with a diamond disk or a jigsaw with a diamond thread.
- Kiyanka. It is tapping on the ceramic plate, pressed it to the base. It is best to choose a rubber hammer. Wooden can also be used, but the metal is able to split the tile when hitting it.
- Alignment system. A set of wedges, pegs and other devices that simplify the coating alignment procedure. If it is not, you can do with plastic crosses. With their help regulate the magnitude of the intercutric seam.
- Devices for mixing the adhesive solution. For a manual kneading, a fairly spatula and buckets, but this process is very laborious. Therefore, it is advisable to find the power tools. This is a building mixer or a drill with a special nozzle.
In addition, you will need more accommodation accessories: drawing pencil or marker, square, line. To mix the adhesive, the tank of suitable sizes is prepared, scales for the measurement of dry powder, measure for water. For timely removal of excess solutions, you will need a rag.
Materials
For laying cladding, three types of mixtures are used.Primer
In the preparation process, primer is necessarily applied. Its main task is to improve the adhesion of the foundation and aligning its absorbent properties. In addition, other tasks can be solved. Primer with antiseptic reduces the risk of mold and fungus. There are solutions that reduce moisture absorption that increase frost resistance. The primer selection depends on the base material, operating conditions. Usually choose universal compositions.
Glue
To glue a tile, special glue is needed. The mixtures differ depending on the place of application, the type of ceramics, operating conditions. There are compositions for outdoor and internal works, waterproof and non-desorable, with antiseptic additives, for "complex" bases of type of paint or drywall. Adhesive drugs are produced in the form of a dry powder, packaged in bags. Before work, they are kneaded by small portions, because the composition quickly harms.Battle pasta
The grout is used to fill interporter seams. It closes the moisture access to the glue, which prevents its destruction and decaying cladding. In addition, it improves the appearance of the coating. The paste is chosen in the tone of the design or contrasting. They produce a grout in the form of ready-made mastics or dry mixes, which are bred before applying.
Surface preparation
Only a smooth dry surface can be facing. Its preparation is carried out in several stages.- Dismantling the old finish. Walls or gears cleaned to base.
- Assessment of the condition of the purified surface. If it is satisfactory, the foundation is sandwiched and divened. If there are defects, they are corrected.
- Applying primer. The tool is applied in accordance with the manufacturer's recommendations in one or more layers. Before applying the subsequent time, time is required for the complete drying of the previous one.
If necessary, waterproofing is carried out. On the floor laid rolled or coating, on the walls - coating. During preparatory work, difficulties may arise if the basis has pronounced defects. We'll figure it out how to fix them.
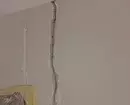
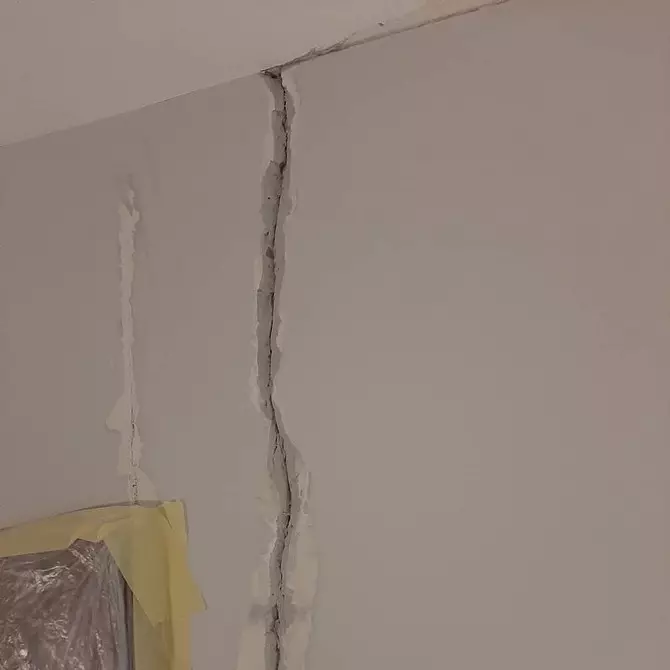
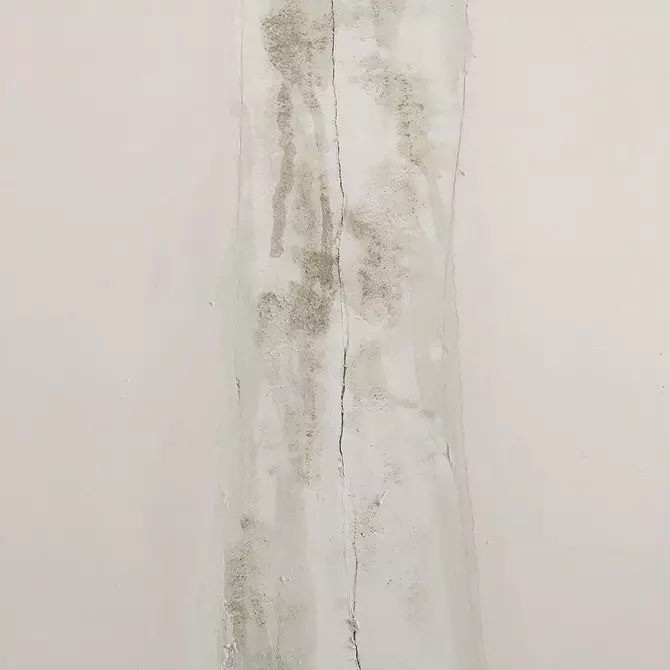
Cracks
Even the smallest cracks need to be seen. For this use any repair mix. Deep and medium cracks in front of the seal are expanded, that is, slightly expand the spatula or sharp knife. It is necessary to completely fill the crack with the solution. After that, the brush is cleaned with dust, sculpt the primer. After drying, the recess of repair paste is neatly filled. Control filling with a knife or wand, the solution is torn. On the filled crack impose a reinforcing tape, fix it with putty. After her, the embedded seam was grinding.
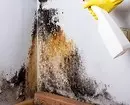
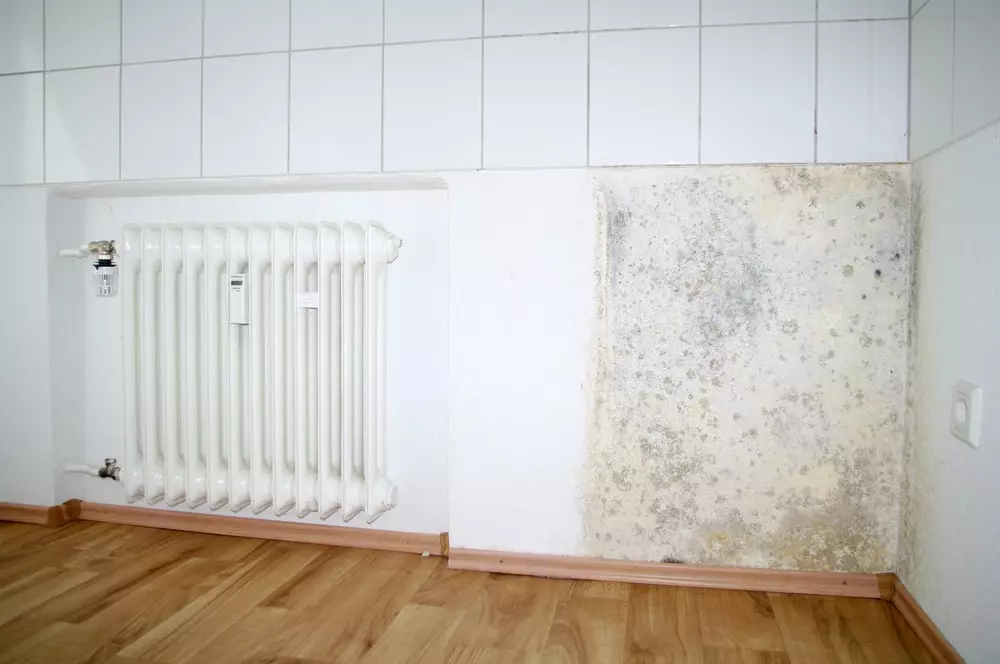
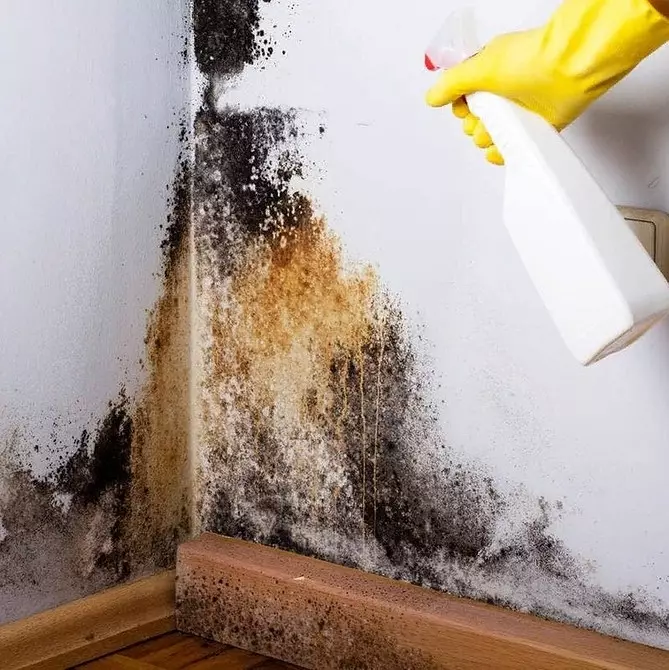
Fungus and mold.
Their presence is noticeable by characteristic stains. They need to get rid of them. The sharp object scores mold and fungal growths. After them, the traces are wicked by vinegar or chlorine, then washed. Special preparations can be used. If notlands do not disappear, we will have to repeat the processing. Surfaces give dry. After that, they apply a special preparation with an antiseptic. It will take one or more layers. This is specified in the instructions for use.
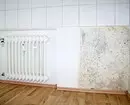
Rightness
Inexperienced masters do not always understand how to put the tile on the uneven wall. First, it must be aligned. Otherwise, it is impossible to lay design. There are several methods aligning the surface.
- Plastering. If the curvature of the walls exceeds 6 mm, it will have to plaster the base. First, vertical beacons are installed on it, accuracy check the level. Then between them laid the plaster, they grow it with the rule. The dried coating is ground and put on the final alignment.
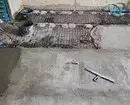
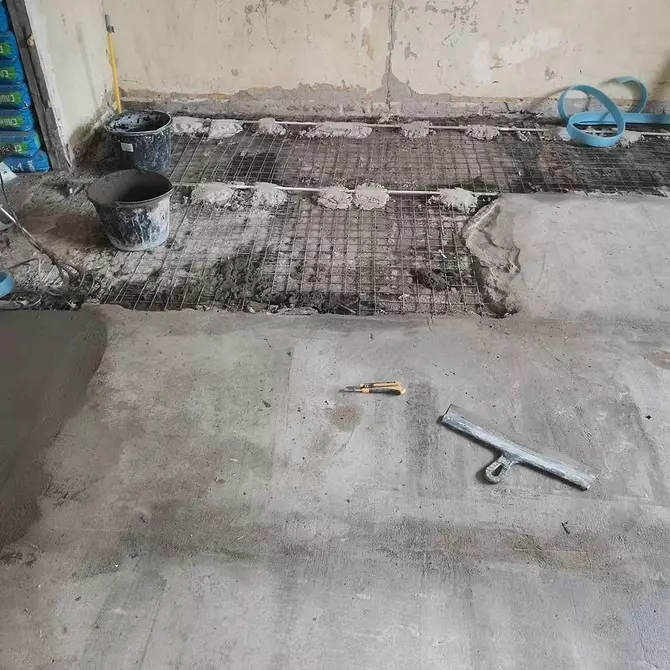
- Laying screed. Paul with significant height differences are aligned by a concrete tie. For this, the lighthouses are mounted in terms of level. Focusing on their location, poured the screed. When concrete grabbing, the lighthouses are removed, close the resulting defects. Give the solution to open.
- Installation of plasterboard. Align the walls can be sheets of plasterboard. They are fixed on a pre-assembled frame of metal products or fixed to the base for glue, nails or screws. The latter option is possible to remove small irregularities. For installation, only moisture-proof GLCs take, it differs in green.
How and how to cut tiles
The cutting tool is selected taking into account the strength and thickness of ceramics, its surface relief. It is worth considering both the complexity of the process. For a small volume, glass cutter is quite suitable, for example, but to cut them a large amount of decor for a very long time and inconvenient. For cutting, it is recommended to use several devices.Glass cutter
There are glass cutters with a diamond tip and cutting roller. For ceramics, any variety is suitable. Single is performed in such a sequence.
- We lake the ceramic plate on a flat surface.
- We look at the cut slicing line.
- The glass cutter is pressed to the markup, and the exact movement in the direction from the far edge is carried to themselves grooves-incision.
- We shift the plate on the edge of the rigid surface, we shake the hanging fragment with a sharp movement exactly along the furrow.
If the cut fragment is small or it is necessary to cut a hole, the ceramics are not chopped, but bite with special layers or pliers. The removable part is gramnogy, the resulting uneven edge is cleaned. The glass cutter is suitable only for a smooth wall decor.
Platecores
Manual models are improved varieties of ordinary glass cutter. To increase the pressure of the pressure, the lever connected to the roller into the overall mechanism is used. Platekorez is designed to cut any ceramics, you just need to choose the instrument correctly. Ther is done in this way.- We look at the cut line.
- We put the part on the face so that the mark coincides with the longitudinal protrusion.
- With the help of the lever, we put the cutting roller on the mark from the far from the edge.
- With a slight pressure, we spend the roller on the markup.
- Raise the lever, put the bilateral press on the incision, gently press.
In addition to manual tiles, there are still electrical. This is an expensive professional tool, it rarely use homemade masters.
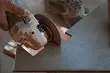
Bulgarian
Corner grinders are universal. Successfully apply for cutting of all types of tiles. It is better to take a tool with a small disk diameter, not more than 125 mm. As nozzle use a special disc for tile or for concrete. When working, the Bulgarian is strongly dust, it is possible to depart small sharp pieces of ceramics, so you need to be careful.
As in the previous versions, the part is placed, stacked on a flat surface. The sharp is performed from the outside. Only narrow strips are completely cut off. In other cases, an incision is performed, along which a fragment is thenlated. With the help of grinding, you can make straight or circular holes. Perform them from the back to protect the facial from chips and damage.
How to put a tile on the walls and floor
We will analyze the main techniques of laying, which "work", regardless of whether to put the tile on the wall or to the floor.Showed the whole process on video
And write more.
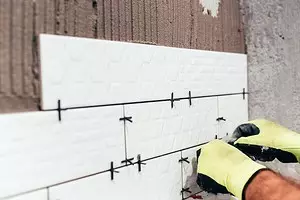
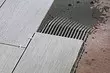
- Summary. It is performed before starting laying the tile on the wall. We knew a small portion, because the glue quickly hards. The required amount of water is poured into the capacitance, then the dieted powder is falling asleep. Mass interfere with low speed. After it is stirred, speed increases. Paste is given to stand for a few minutes so that glue "matured."
- The solution is superimposed with a spatula on a smooth side of the toothed tool with a hill. It is neatly distributed. A smooth side of the toothed spatula is applied to the base, is distributed with a layer of 5-6 mm. It is done with a little effort, the mass as it would be "rubbed." The area for laying the solution should not exceed two or three tiles.
- The spatula is cleaned, turns over with a toothed side. She "sticks out" glides on the glue. Their direction is not important, but it is desirable that it is parallel to one row. When performing the grooves, an effort is applied so that the spatula pulls the teeth to the base.
- Ceramics stacked in place, slightly pressed. So glue grooves suck and fill emptiness. In the process of squeezing, the part is slightly shifted on the sides so that the solution is evenly distributed. They put cross in intercutric seams, finally adjust the position of the tile and fix it. To do this, tip in Cyans. Clean the excess glue.
These are general techniques, as a newcomer to lay a tile on the wall or on the floor. We will analyze the private points of laying.
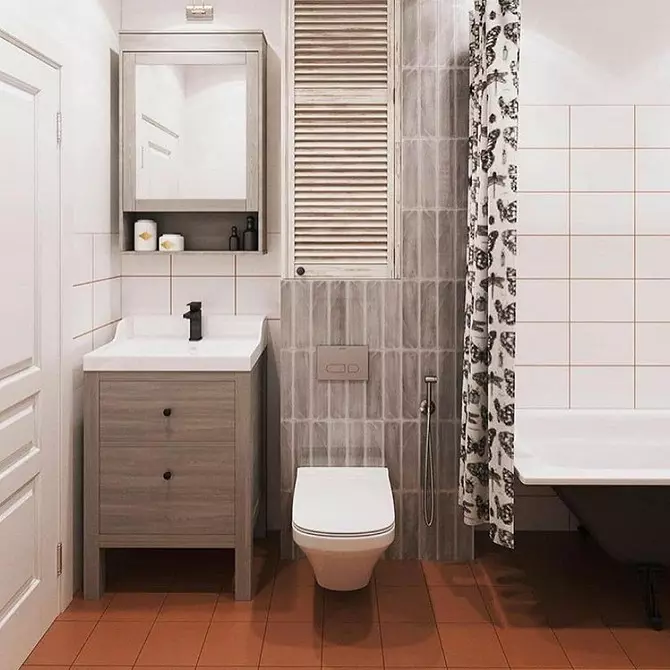
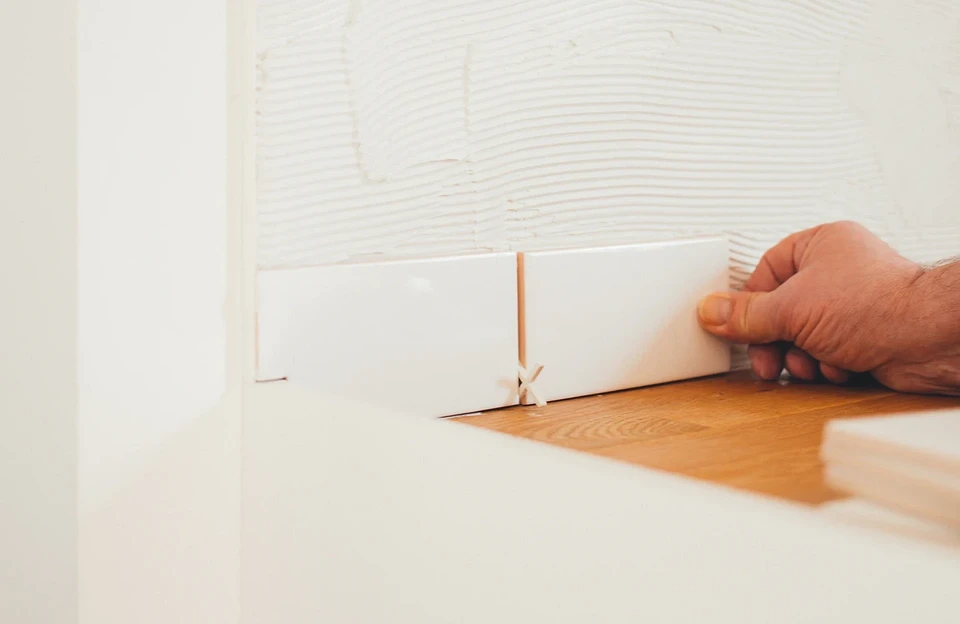
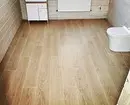
In the bathroom
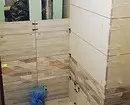
Installation of wall cladding in the bathroom begins with a selection of layouts. After that, determine the angle from which a number will begin. It is important that he is on the door. If the door canvas is located in the center, start from any angle. It is advisable to perform a preliminary layout to be the minimum amount of trimming. We offer instructions like putting the wall on the wall in the bathroom.
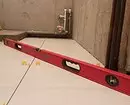
- We plan the location of the reference plank. To do this, we put the height of the tile plus the size of the interputric seam. At this height, we carry out a straight line.
- Focusing on the markup, we put the support bar, fix it to the wall. The plates of the second row will be relying on it.
- We put the starting row. First, lay out whole details, then trim. Be sure to check the accuracy of the plane level.
- We put the finish with rows, moving up. Check the accuracy of laying by the level after laying each plate, we put the cross in the intercutric seams.
- After a day, when the glue is enough, remove the cross, we clean the intercutric seams. Remove the rail, run out the bottom edge of the facing from the leak droplets.
The first row is left blank. It is filled after the flooring is mounted.
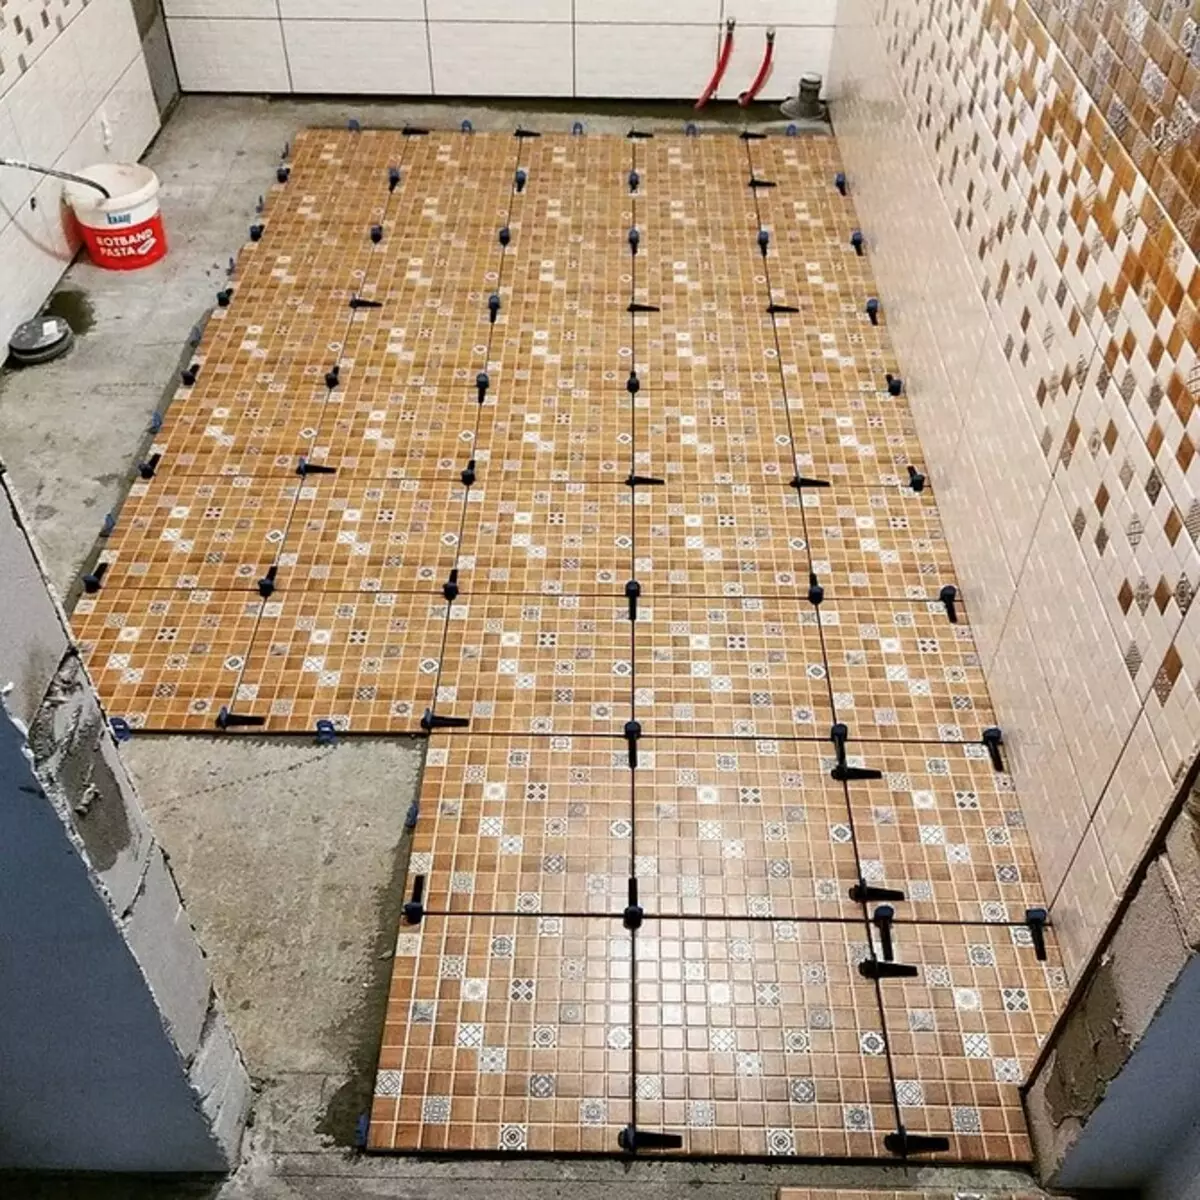
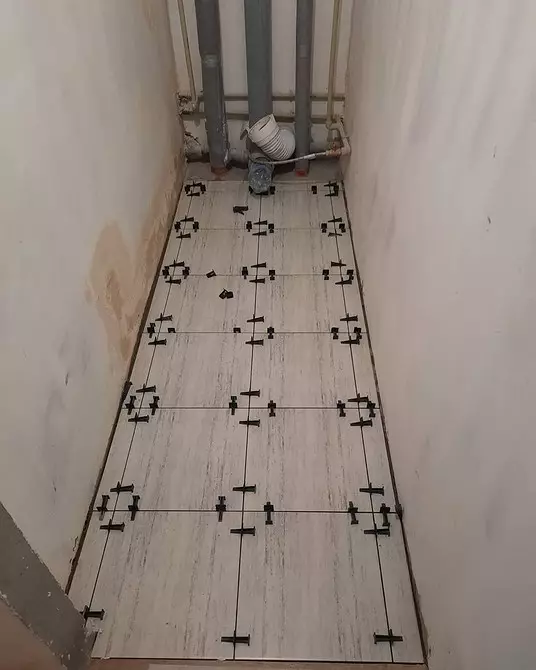
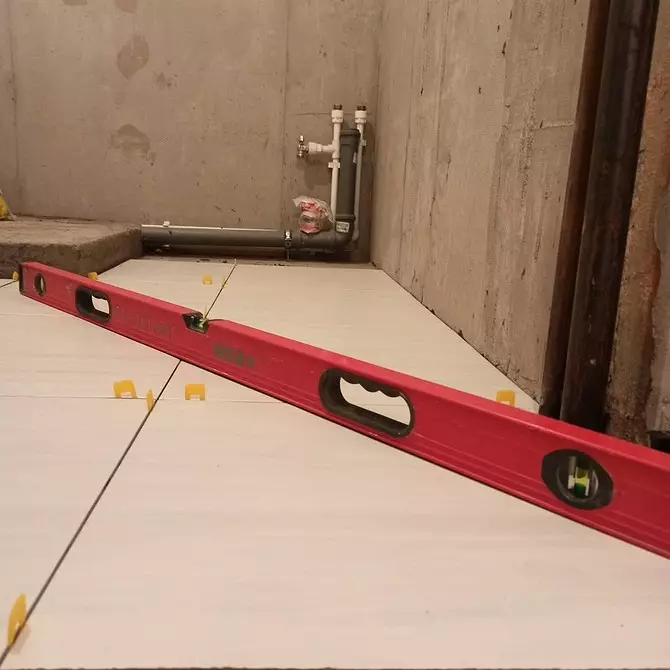
Stop outdoor cladding starts from a long corner, located opposite the doors. But in the recommendations, how to put the tile on the floor in the bathroom, they advise you to start with the corner nearest to the door. This is explained by the fact that plumbing and communications are on the opposite wall to them. The trimming necessary in such cases will be less noticeable under them. It is advisable to make a preliminary layout so that the curved fragments are less.
The first part is placed with the gap from the walls at least 1.5-2 mm. The level check the plane, then put crosses and put the following item. After laying each row, the plane is once again checked. If there are deviations, the plates pressed stronger. This can be done until the solution disappear. After the masonry is over, the coating is left for a day so that the glue has turned. After that, crosses are cleaned, clean the seams.

In the toilet
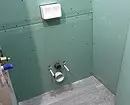
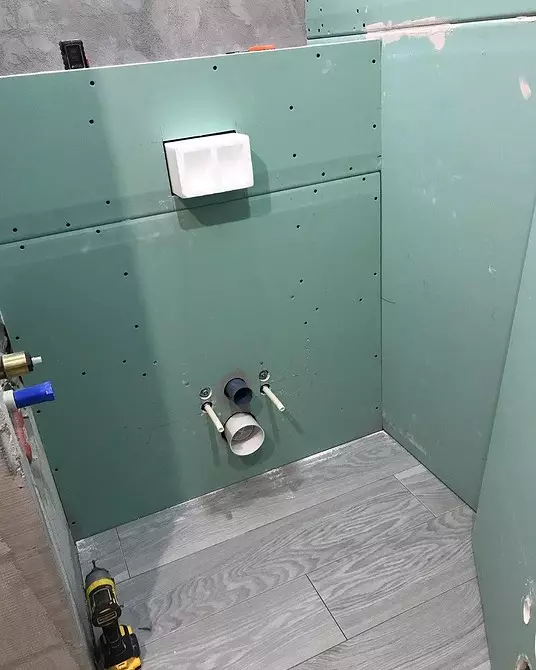
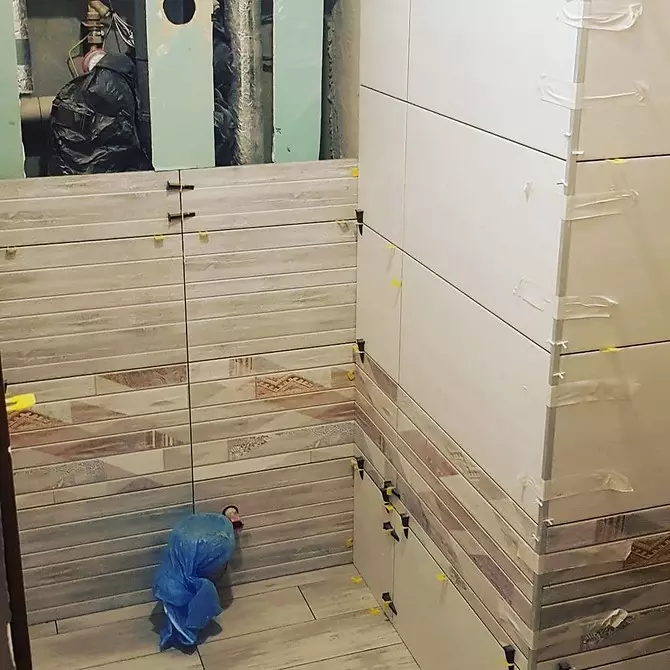
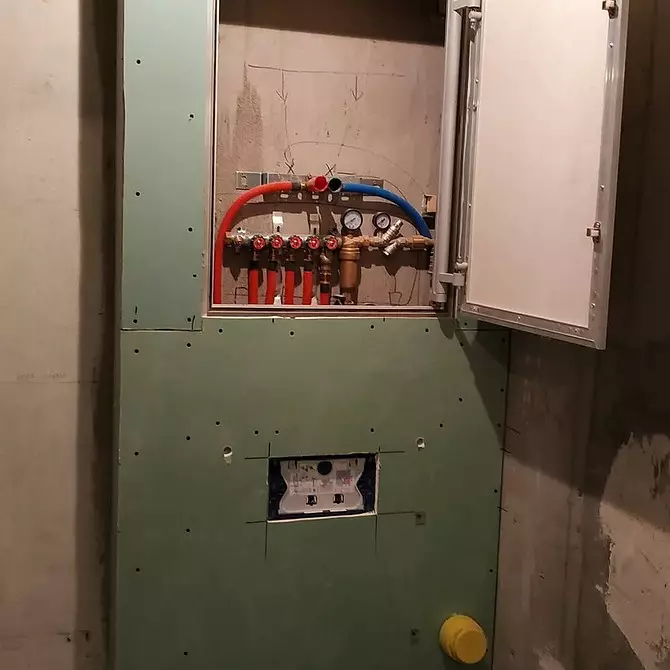
This is a small room that needs to be completely free from plumbing. It is dismantled and remove. Usually in the bathroom there is a sewer riser and other engineering communications. They can be closed with a false carpet plate. For inspections, there is an audit hatch with the door. After preparing surfaces, it is started to install. We will analyze how to put the tile on the wall in the toilet.
- We plan a plot of fastening the support plank. I put the height of the finish plus the magnitude of the interlocking seam and the height of the outdoor decor if it is stacked. Marking is performed throughout the perimeter of the room.
- We put in place and fix profile or slats. Check the accuracy level.
- Lay out the starting row. We start from the door and move around the perimeter in the direction from left to right.
- Be sure to control the plane, put the crosses. For the joint in the corners, the finish is cut at an angle of 45 °. It is difficult and long, you can do otherwise. We start the plate one for another. At the same time, they should not touch the edges.
- We continue laying, moving up. As you need, we make trimming for pipes. Fill all the space.
- After rejection of the glue, we remove the cross, clean the seams.
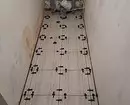
Laying on the floor is complicated by the size of the room. The symmetric layout will require a large amount of trimming. Accordingly, the material consumption will increase. The first tile is put in the center. It is planned by spending a vertical and horizontal. Everyone else is put on it. The plane is necessarily controlled, crosses are exhibited. After rejection of the solution, they are cleaned. You can lay out the finish diagonally, but it is more difficult and requires a certain experience.
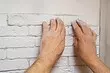
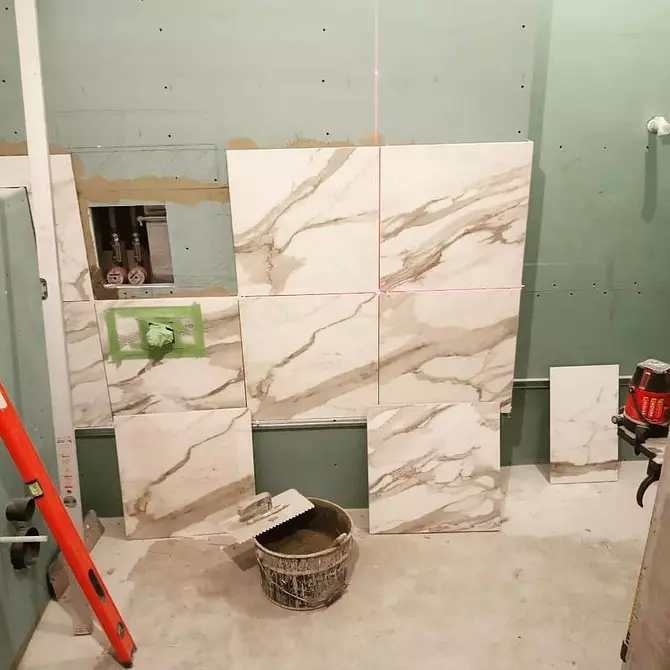
How to put a tile on the plasterboard on the wall
If the surfaces were aligned with the GLK, or Fallestin was collected from this material, they can be bred by ceramics. The technology does not differ from the standard. Differences in the preparation of the base. Since the bathroom refers to wet premises, moisture-resistant sheets are chosen for work. They are painted in green. After the alignment or installation of falsely, proceed to preparation. We'll figure it out how to put the tile on plasterboard in the toilet.
- Close the seams between the sheets. To do this, we put a layer of putty on the joint, distribute. On top of it put the reinforcing tape. We close another layer of the spacion mixture, far. We are waiting until the mastic hardens, we clean the sandpaper.
- Processing the basis of waterproofing solution. This is necessary for the usual GLC. Waterproof can not be missed.
- Apply the primer of deep penetration. It is advisable to choose the composition with antiseptic additives. We apply two layers (second after drying the first).
- After complete drying, plasterboard can be facing.
Is it possible to glue a tile on the tile
If the old cladding is reliably held in place and does not have significant defects, you can put a new one right on it. It will save time and strength. But it is necessary to understand that the floor will rise and may have to trim the door. Wall-mounted design will also reduce the room area. This is especially noticeable in small bathrooms. In addition, there is a risk of finishing collapse under its weight if the old laying is poor quality.
Special compositions are selected for gluing. Especially important is the right choice for the walls. Take plastic mixtures with high adhesion, preferably quick-drying to prevent slipping. For the floor, conventional cement formulations are suitable. Supportable preparatory work, which include the following.
- Attentive inspection of an old coating on the subject of clutch with the basis and defects. The presence of a large number of defects and detachments is a reason for dismantling. A small amount of drop-down or sloping plates is embarrassed by cement.
- Removing a gloss from the surface. This is done in two ways. The first assumes the removal of the top of the tile. For this, the grinder is performed notches so that no less than 60% of the foundation. Or you can use a special primer. It is applied to the old finish, accurately following the instructions.
The surface is ready for laying. The technology does not differ about previous instructions, how to put the tile in the bathroom.
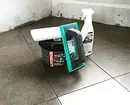
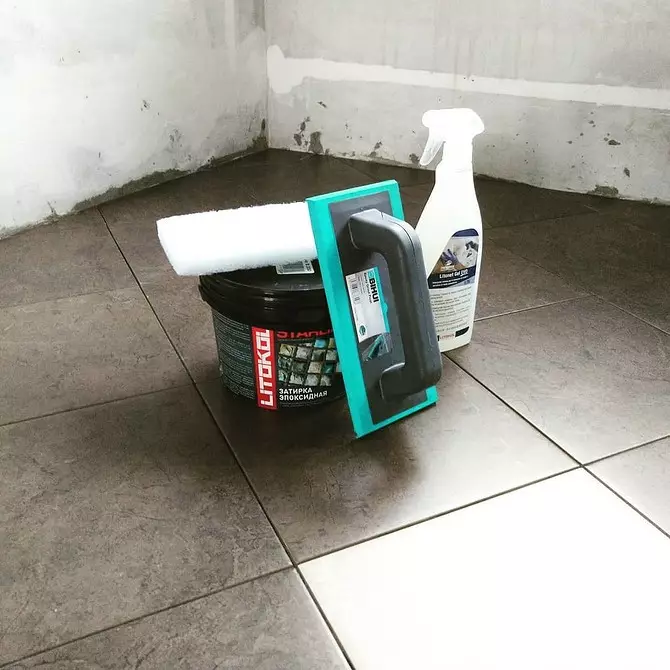
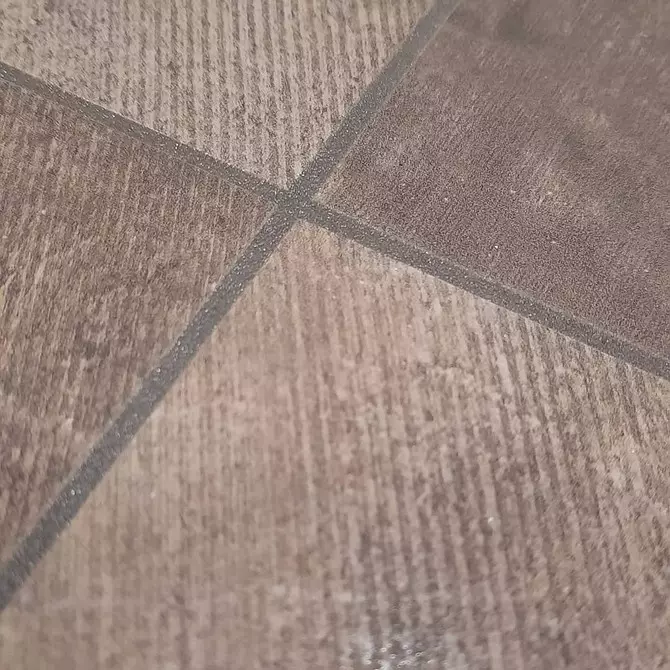
How to rub the seams on the tile
Pulling is called the process of filling intercutric seams. Do it after the glue turned and removed all its excess from the surface. We offer instructions how to rub the stitches on the tile on the floor and wall.
- We prepare the mixture if necessary. We mix small portions because it hardly harden.
- The straight metal spatula is placing the grout between the plates.
- Rubber spatula neatly rinse it. Void should not be left.
- After the mastic is grabbing, a grater or soft sponge circular movements finally sprink up the grout.
In the process of reclamation, you can not move the tool on the seam, it will destroy not to have time to open the mass.
Basic mistakes
If there is no work experience, errors happen. We collected those that are most often found.
- Point applying glue. To save mastika, it is put on the middle and the corners. As a result, voids are formed under the plate. They become the reason for peeling and splitting the tile.
- Wave-shaped grooves. The toothed spatula when aligning the solution is moving only directly. After sticking the finishes on the groove in the form of a wave under her, emptiness are formed. These are potential fault areas.
- Violation of the proportions of mixing adhesive solution. In this case, the mastic loses its properties, the quality of work deteriorates sharply.
- No primer. This worsens the adhesion of materials, increases the consumption of tile glue.
- Installation "on the eye". Neggrerying alignment with the level spoils all the work. Small irregularities can sometimes be invisible with bad lighting, everything else is immediately striking.
- Application of grout before curing the adhesive composition.
The design of the cafeter looks practical and beautiful. If you wish, you can do your own work. But at the same time it is necessary to understand that this is not an easy and painstaking task. If you follow all the recommendations, walls and floor of the bathroom and the bathroom will be happy to please your owner with a beautiful view.