
Installation of decorative facing stone - the process is creative. However, there are certain rules, the observance of which will make the stacking simple, and the result is qualitative. Know them is useful both professionals and those who invite masters to finish an apartment or at home
Installation of decorative facing stone - the process is creative. However, there are certain rules, the observance of which will make the stacking simple, and the result is qualitative. Know them is useful both professionals and those who invite masters to finish an apartment or at home
| 
| 
| 
|
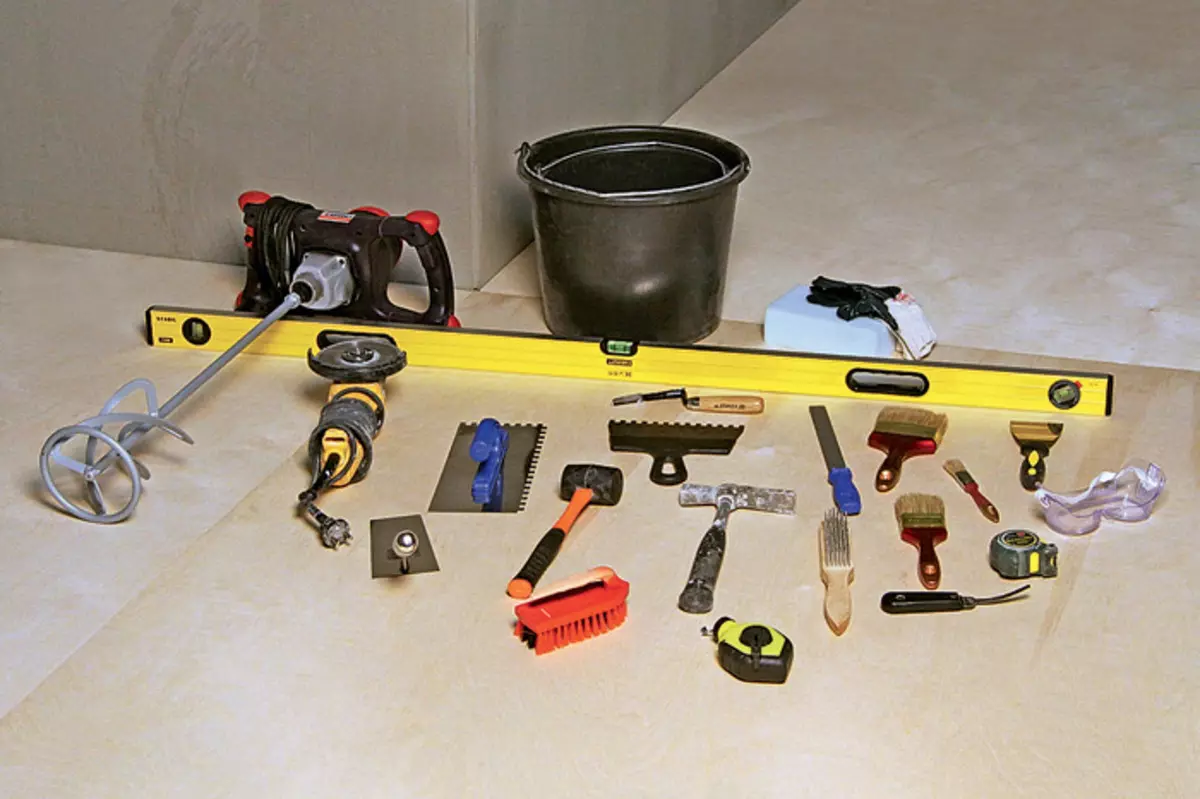
1. Required tools: Roulette or ruler for measuring distances and markup of a factional surface; building level, square, cords for installing horizontal lighthouses; Metal surface cleaning brush; Capacities for kneading glue and grouts; Electrode with a nozzle-mixer for the preparation of adhesive and molding solutions; Paint brush for moisturizing stone and finished surfaces, trowel, culma or spatula for applying and leveling of the solution; Rubber hammer and wooden bar for fitting and precipitation of elements; Bulgarian with a disk for cutting stone; Coupe or syringe gun for filling seams by grouting; brush or brush medium hardness for alignment and stripping of seams; Brush or sprayer for applying a hydrophobizator.
2. The basis for laying a decorative artificial stone should be durable, smooth, clean, not exposed to shrink or deformations. Pollution, float, spots from oils and fats, peeling coatings are necessarily removed. If the installation is performed in hot and dry weather, the working surface and the back of the stone should be moistened.
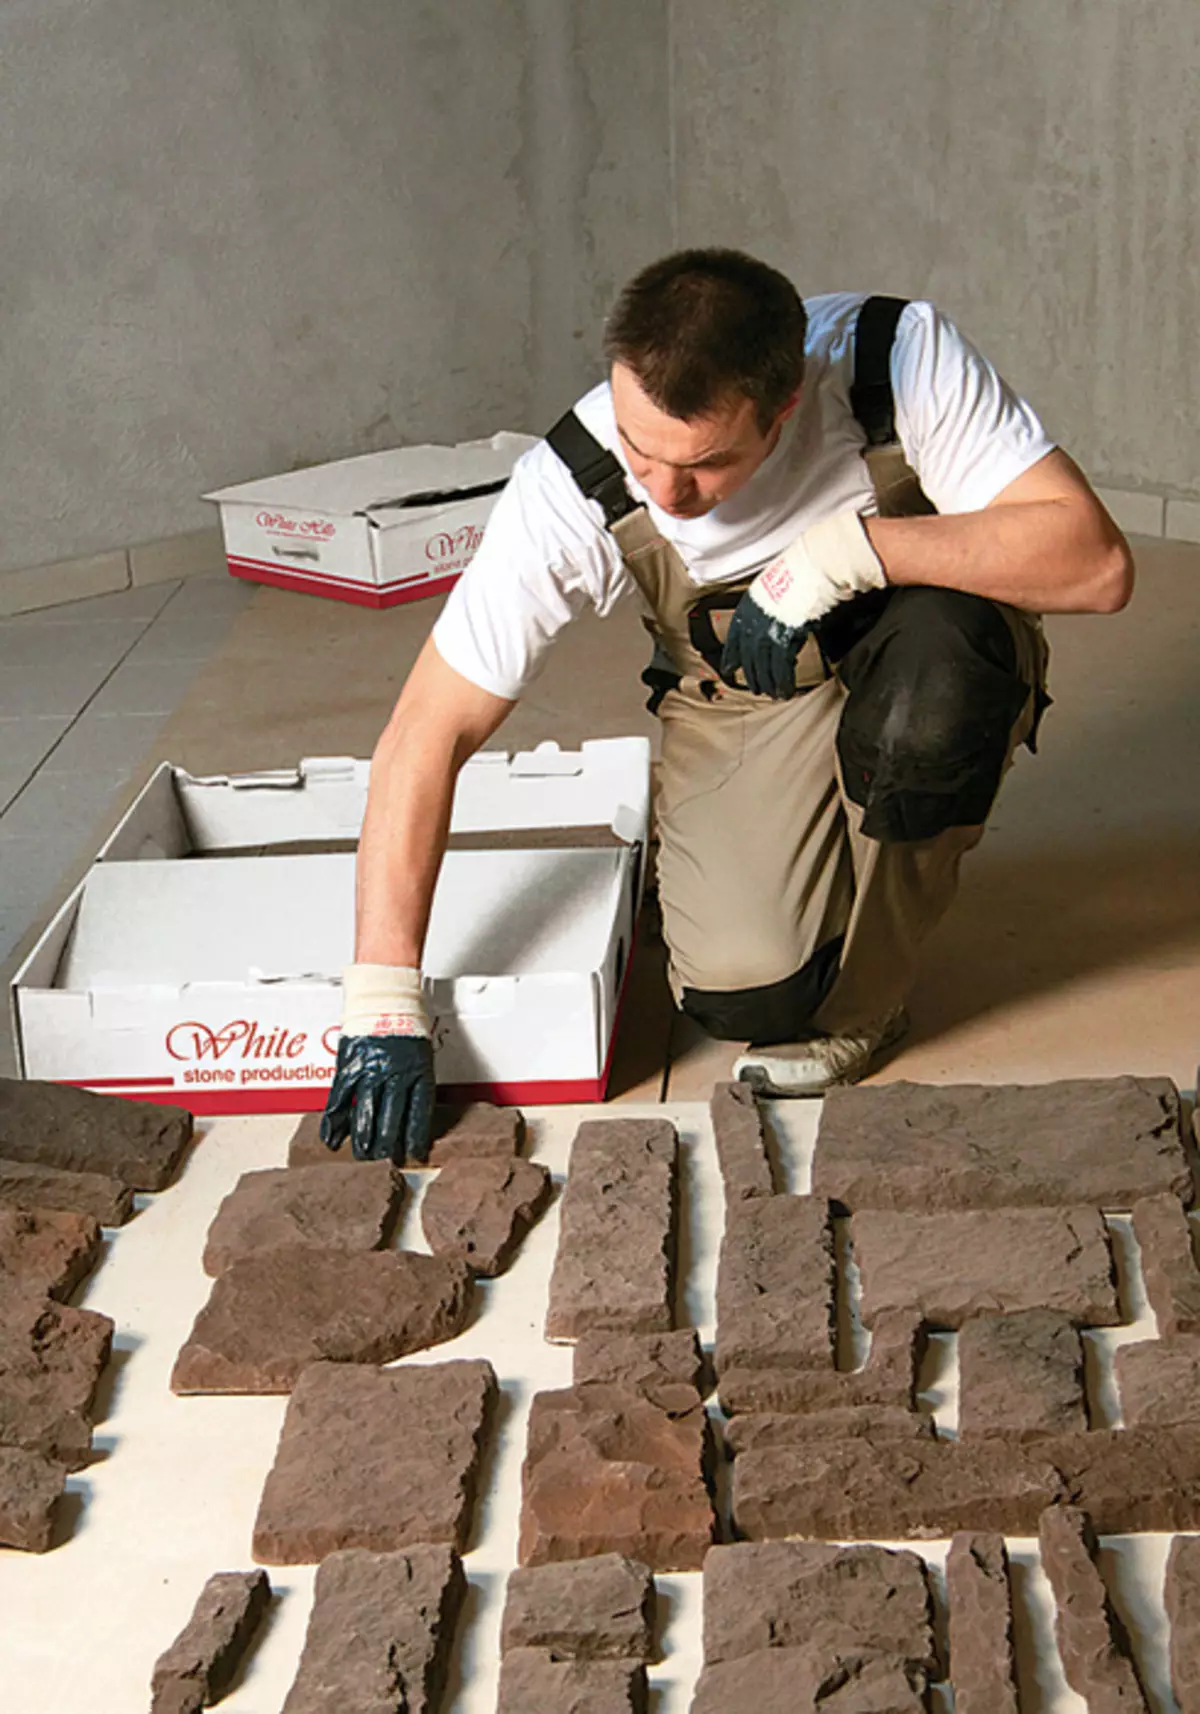
3. Before starting the installation, the decorative facing stone is removed from several packages and laid out on a flat surface area of approximately 2m2. The elements are selected in color, size, thickness and texture so that pronounced pronounced groups from large or small stones are not formed, with the same height or color.
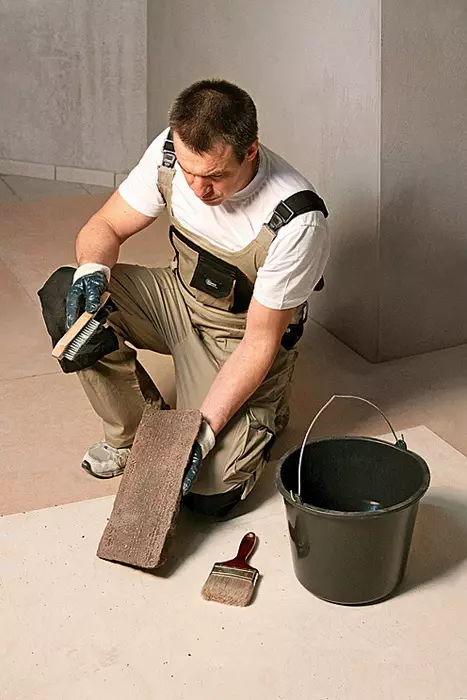
4. If there is a cement milk on the back of the stone, it is removed with a rigid metal brush (otherwise it will increase the possibility of detachment of cladding).
| 
| 
| 
|
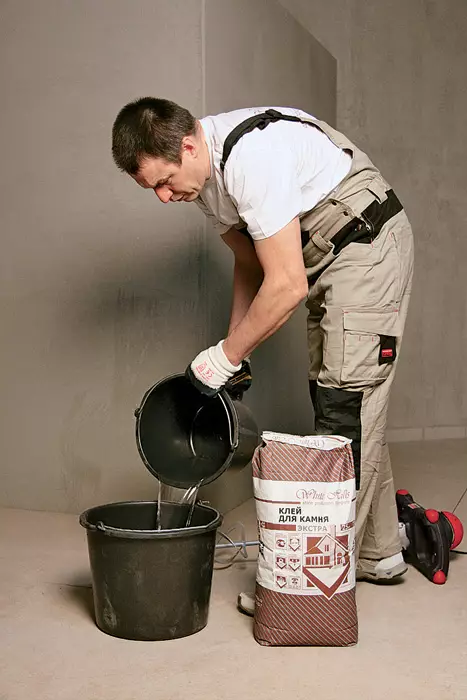
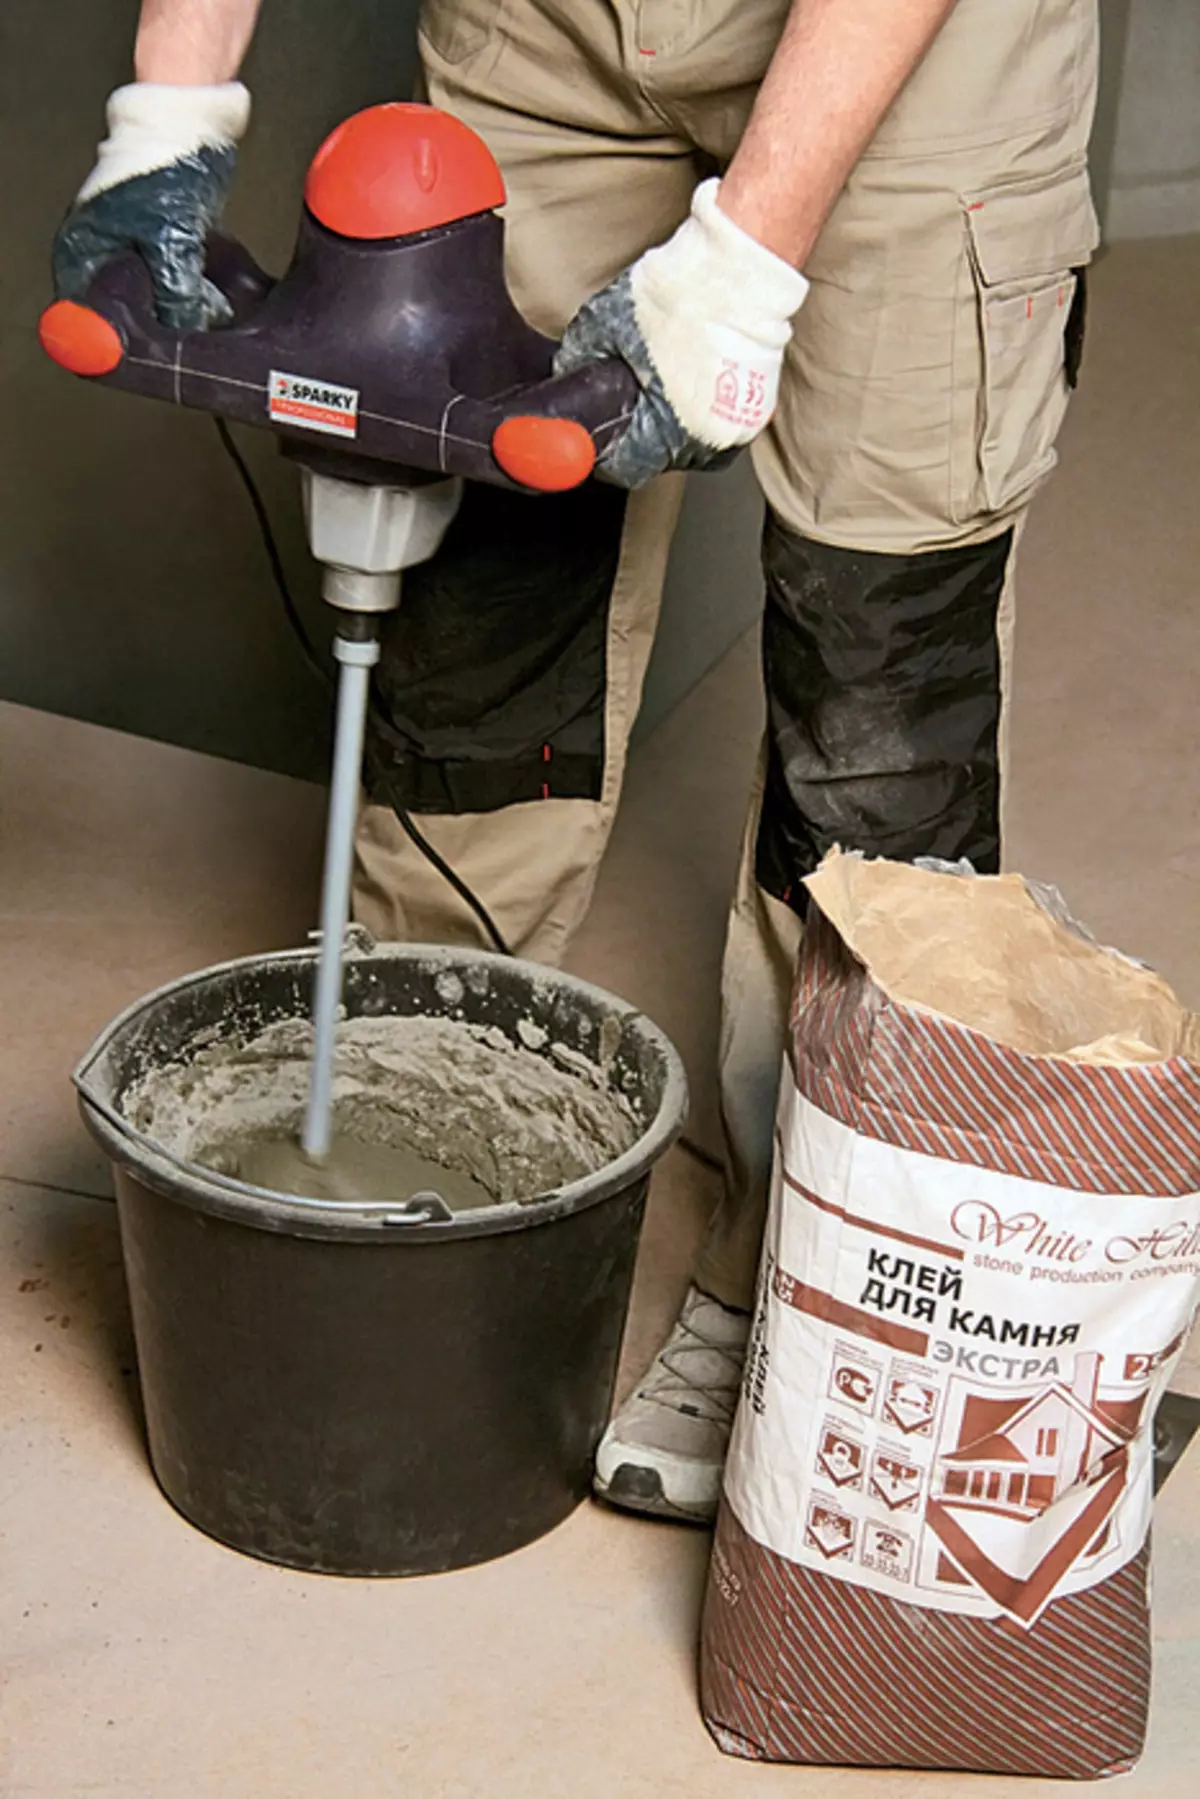
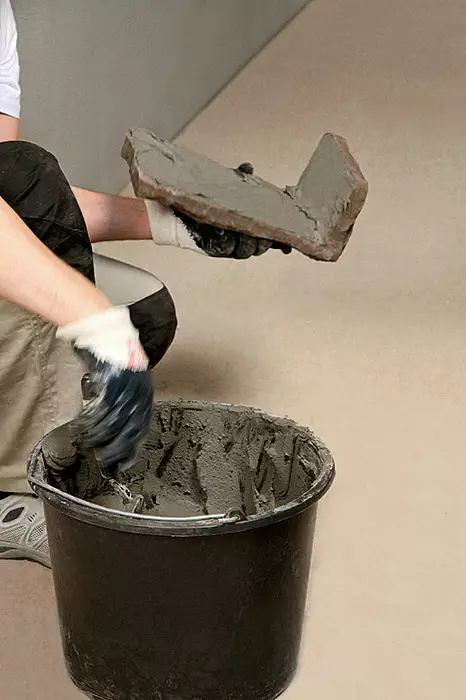
5, 6. The adhesive solution is prepared in strict accordance with the manufacturer's instructions printed on the package. First, water (5) is poured into the container, then the dry adhesive mixture is poured and the electric door is continuously stirred with a nozzle-mixer to obtain a homogeneous plastic mass without lumps (6). The resulting solution is kept for 5-10 minutes for the ripening and re-stirred.
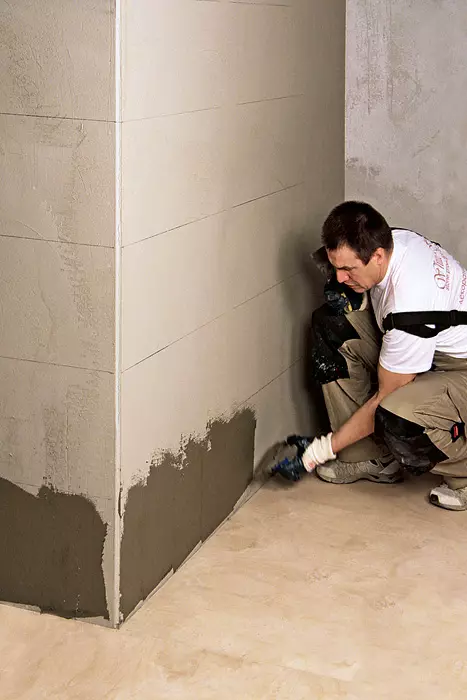
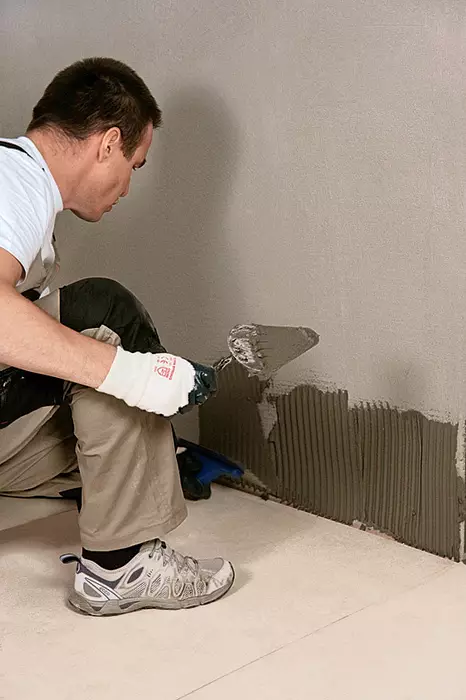
7. A glue solution is applied by a smooth spatula on a prepared base, filling microcracks and irregularities.
8. Roll up with a toothed spatula.
Accurate calculation
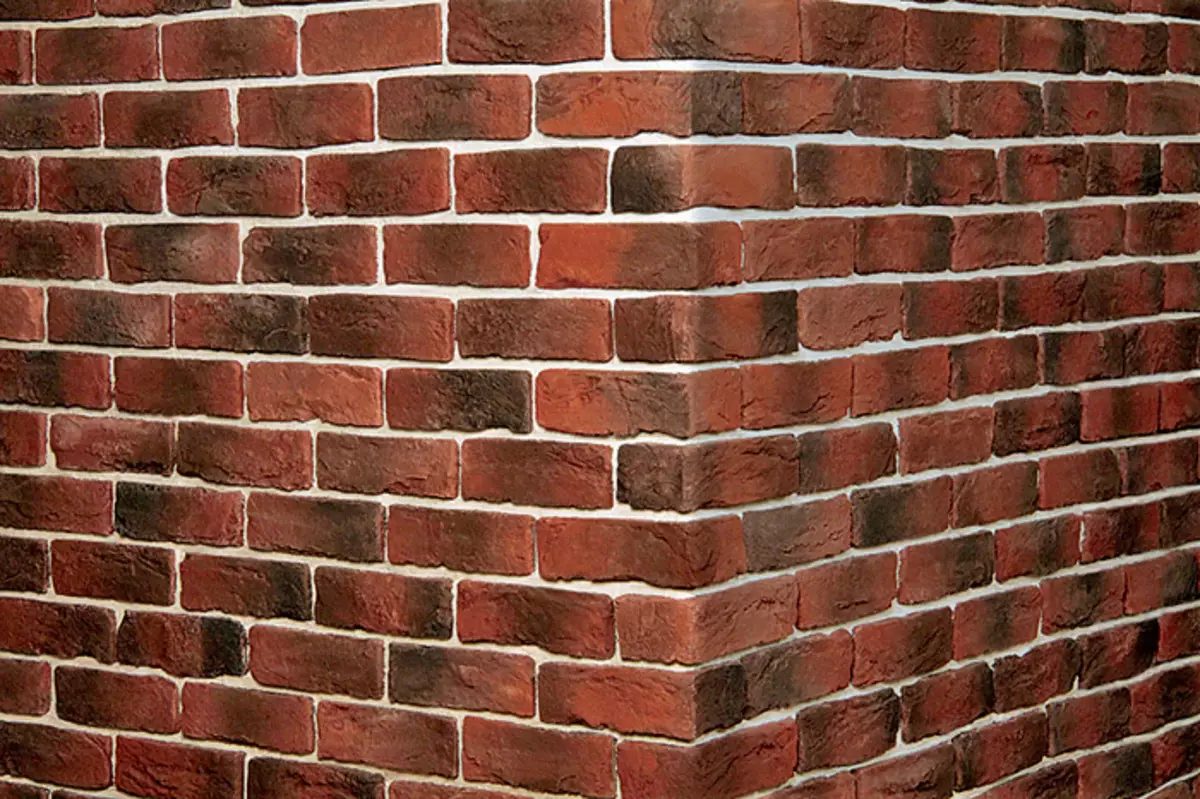
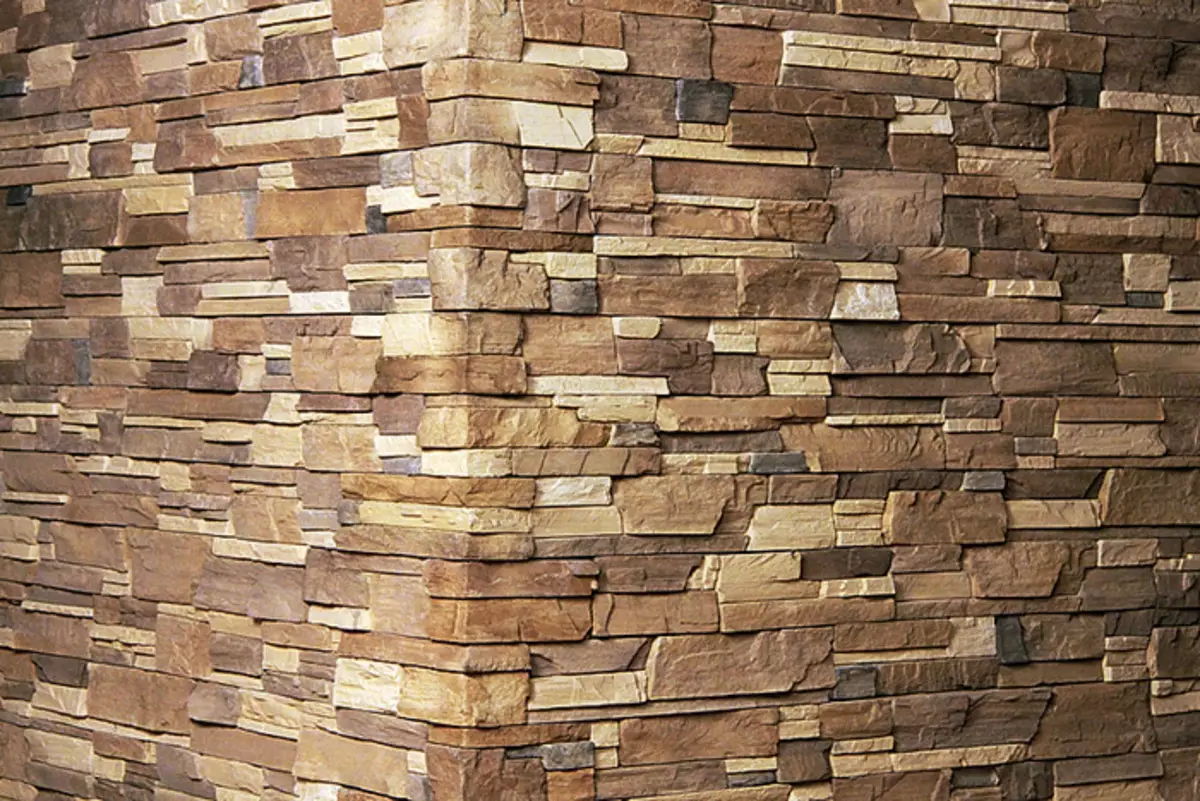
For cladding, a decorative stone of two types - plane and angular (L-shaped shape in cross section) is used. Calculate the area of the coating is simple: multiply the length of the surface of the surface to the height, from the value of the value of the total area of the not subject to the decoration of the planes (windows, doors IT.D.). To determine the required number of angular elements in the route meters, measure the height of the wall in external angles and multiply it by 0.33, as 1 p. The angular elements closes about 0.33m. Flat surface. Then, from the total area of plane elements, deduct the resulting value. It is desirable to add a coutioner number 7-10% to have a stock material in case of possible damage, trimming of fragments or selection of elements of the desired color and texture.
| 
| 
| 
|
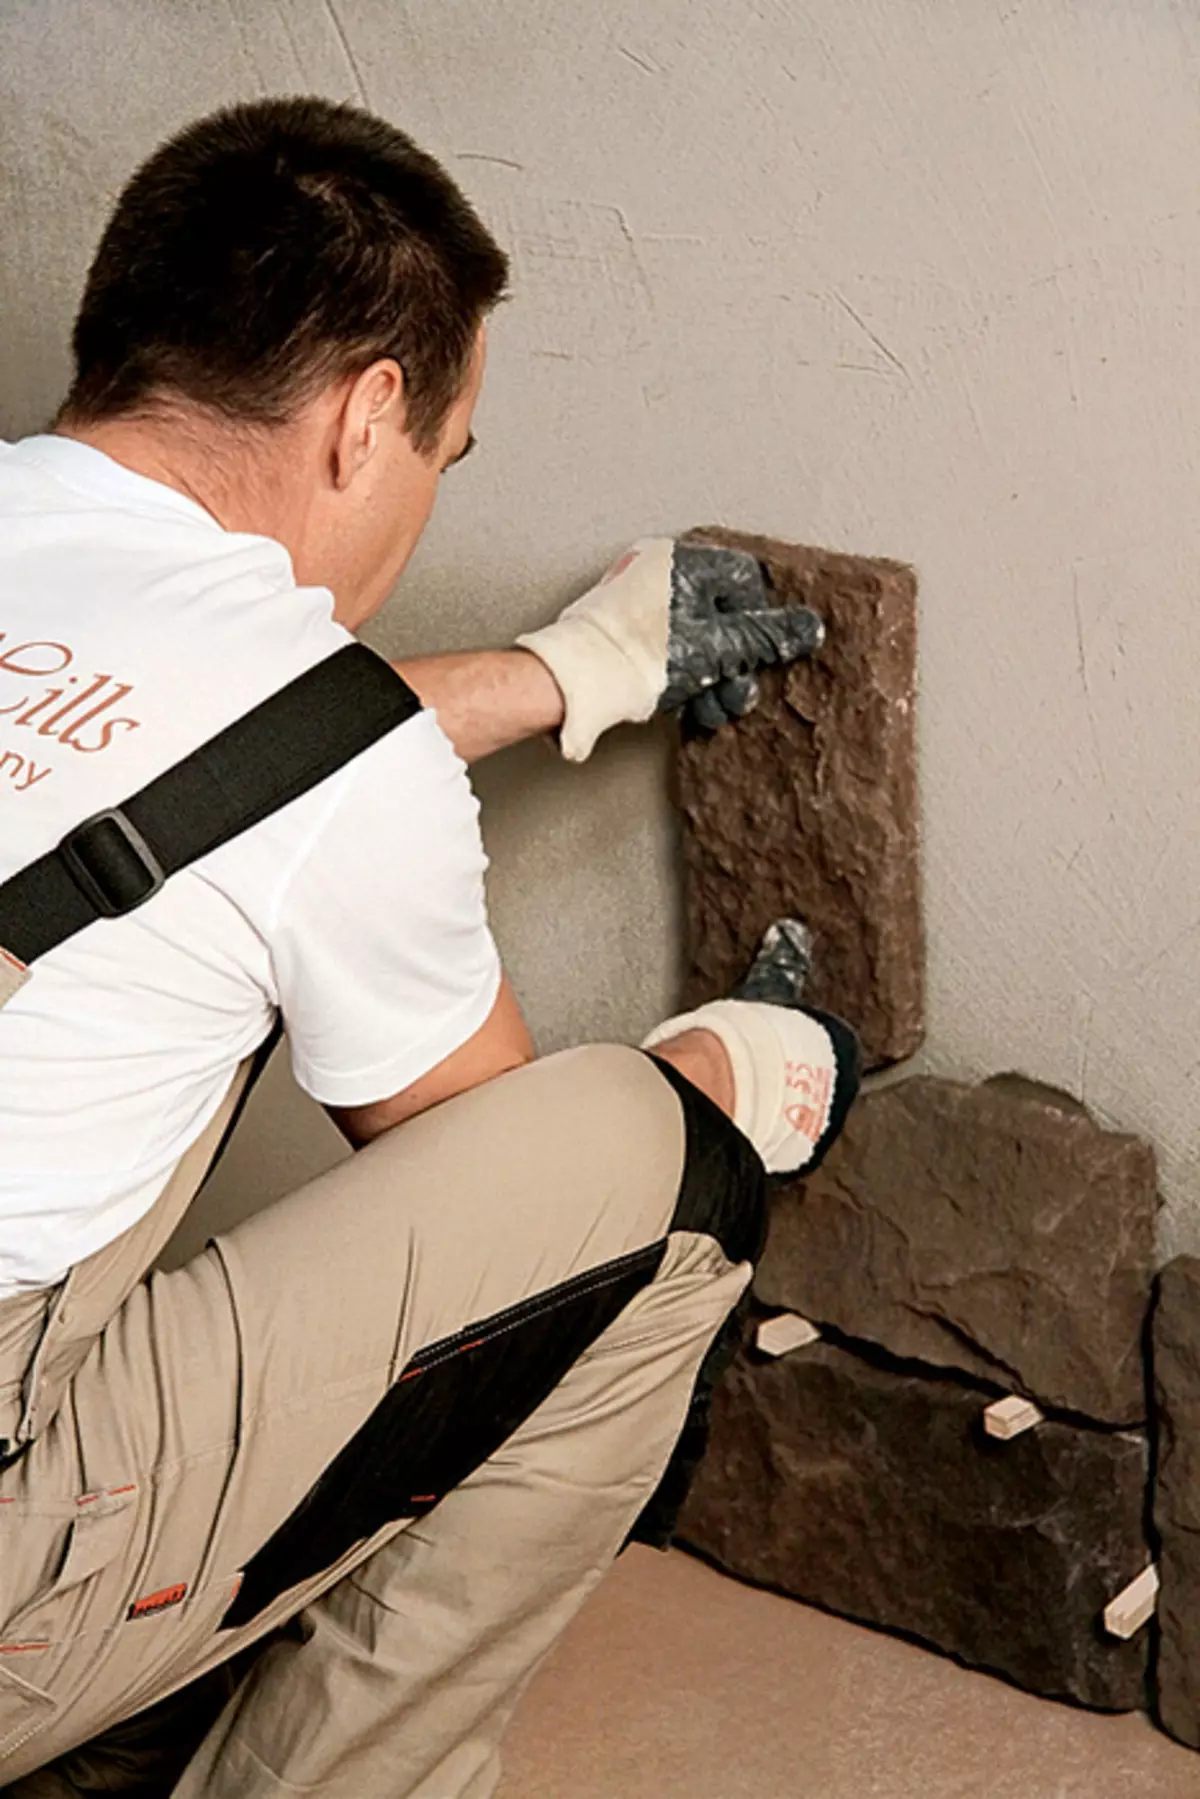
9. Installation starts with angular elements. The glue is applied to the back side of the element with a thin layer (not more than 1-6mm) so that the whole it is covered evenly.
10. The stone is firmly pressed against the wall and move slightly from the side to the side to provide the best clutch. When installing with the extender, cckets are used to fix items at the required distance from each other. Then go to the horizontal row.
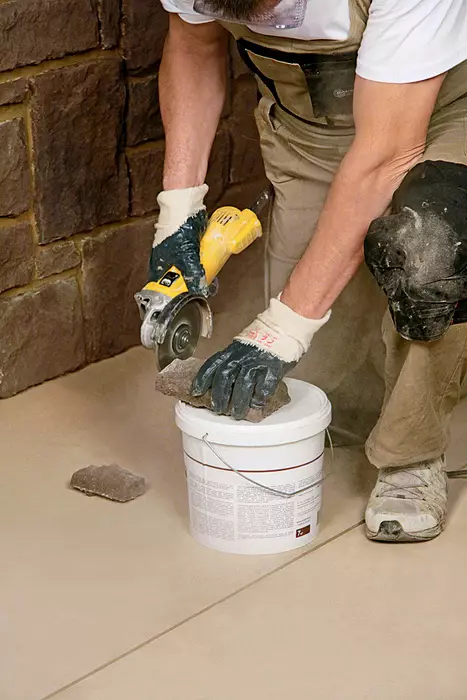
11. Decorative facing stone is well amenable to mechanical processing: the element of the desired size is cut off with a disk for cutting stone.
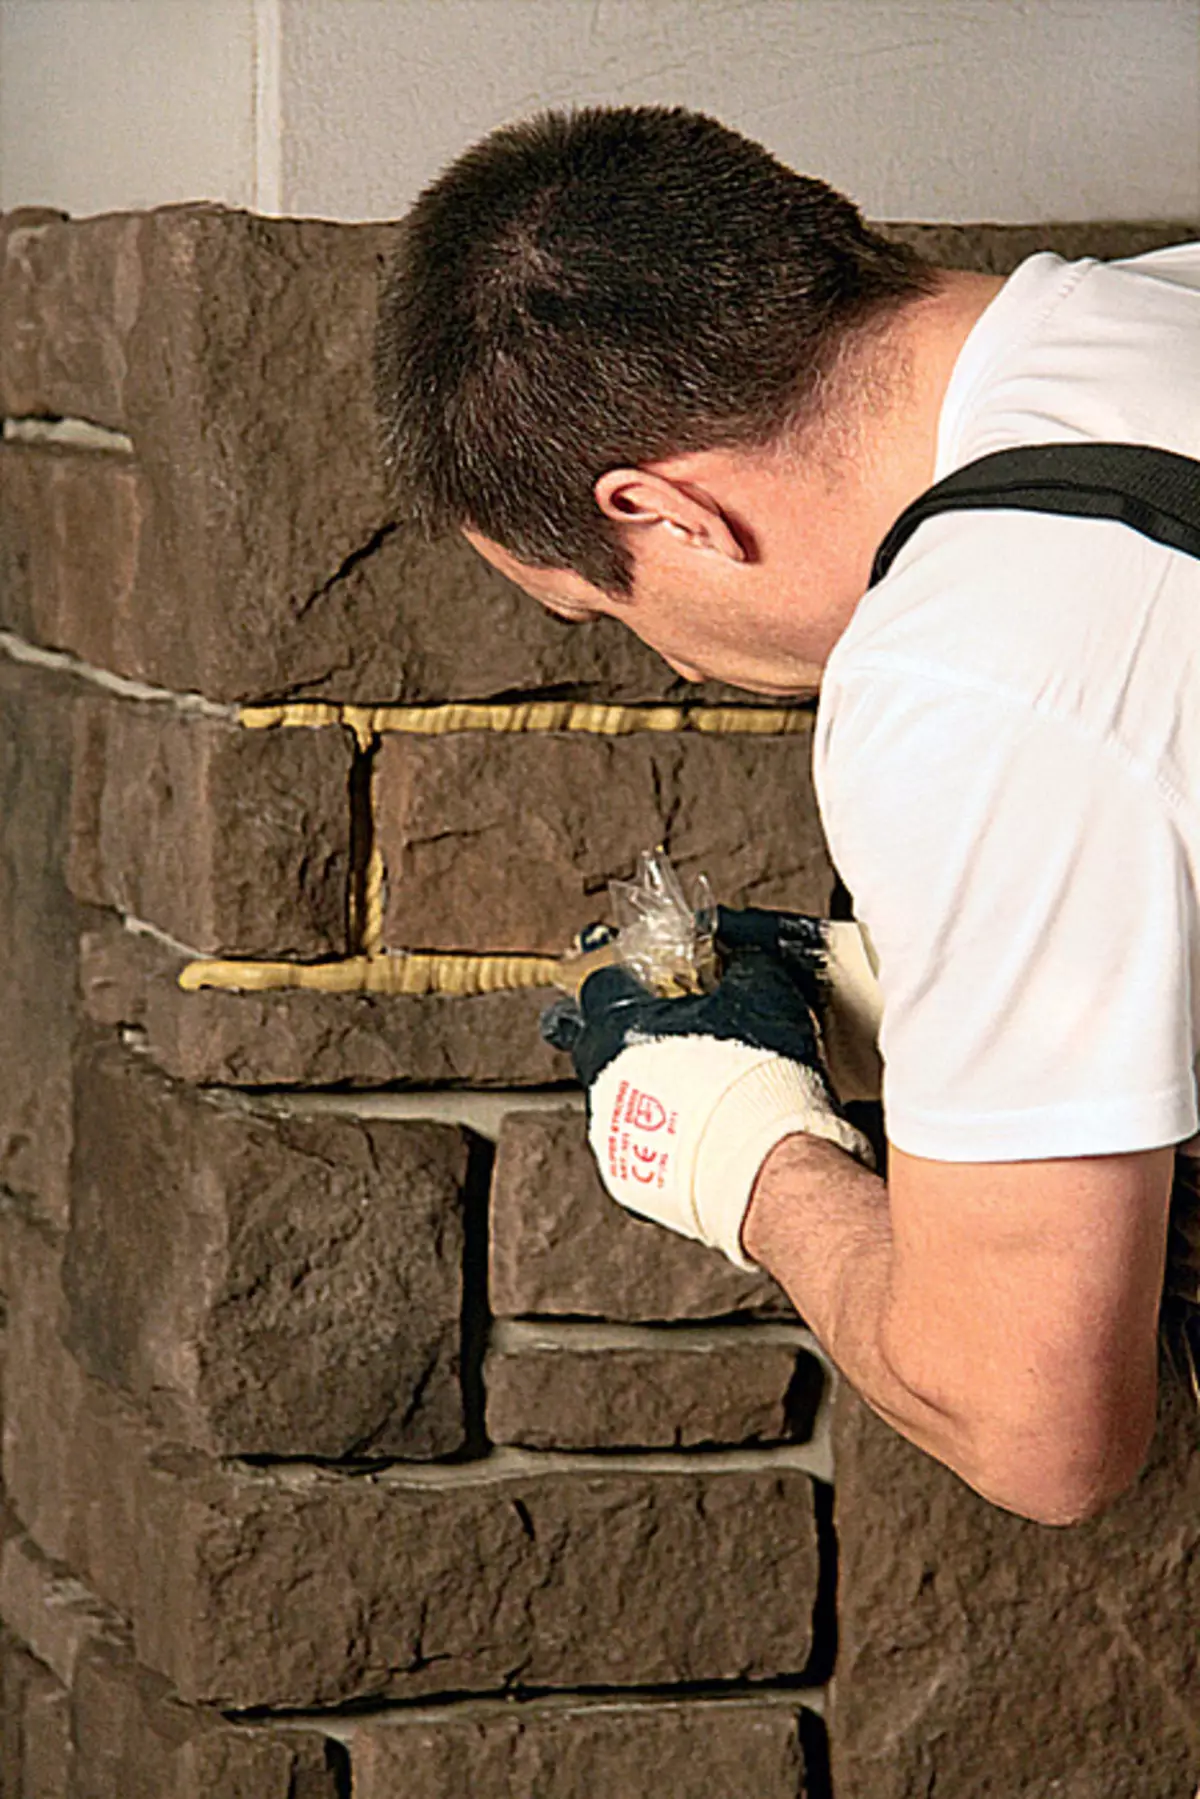
12. After complete drying of the adhesive solution, the seams are proceeded. This is necessary to seal the masonry. To get a colored grout, the dye is added to the dry mixture, and then fall asleep it into the water. The seams are filled with a construction syringe-pistol (12) or a special grout (13), slowly squeezing the rapid solution.
| 
| 
|
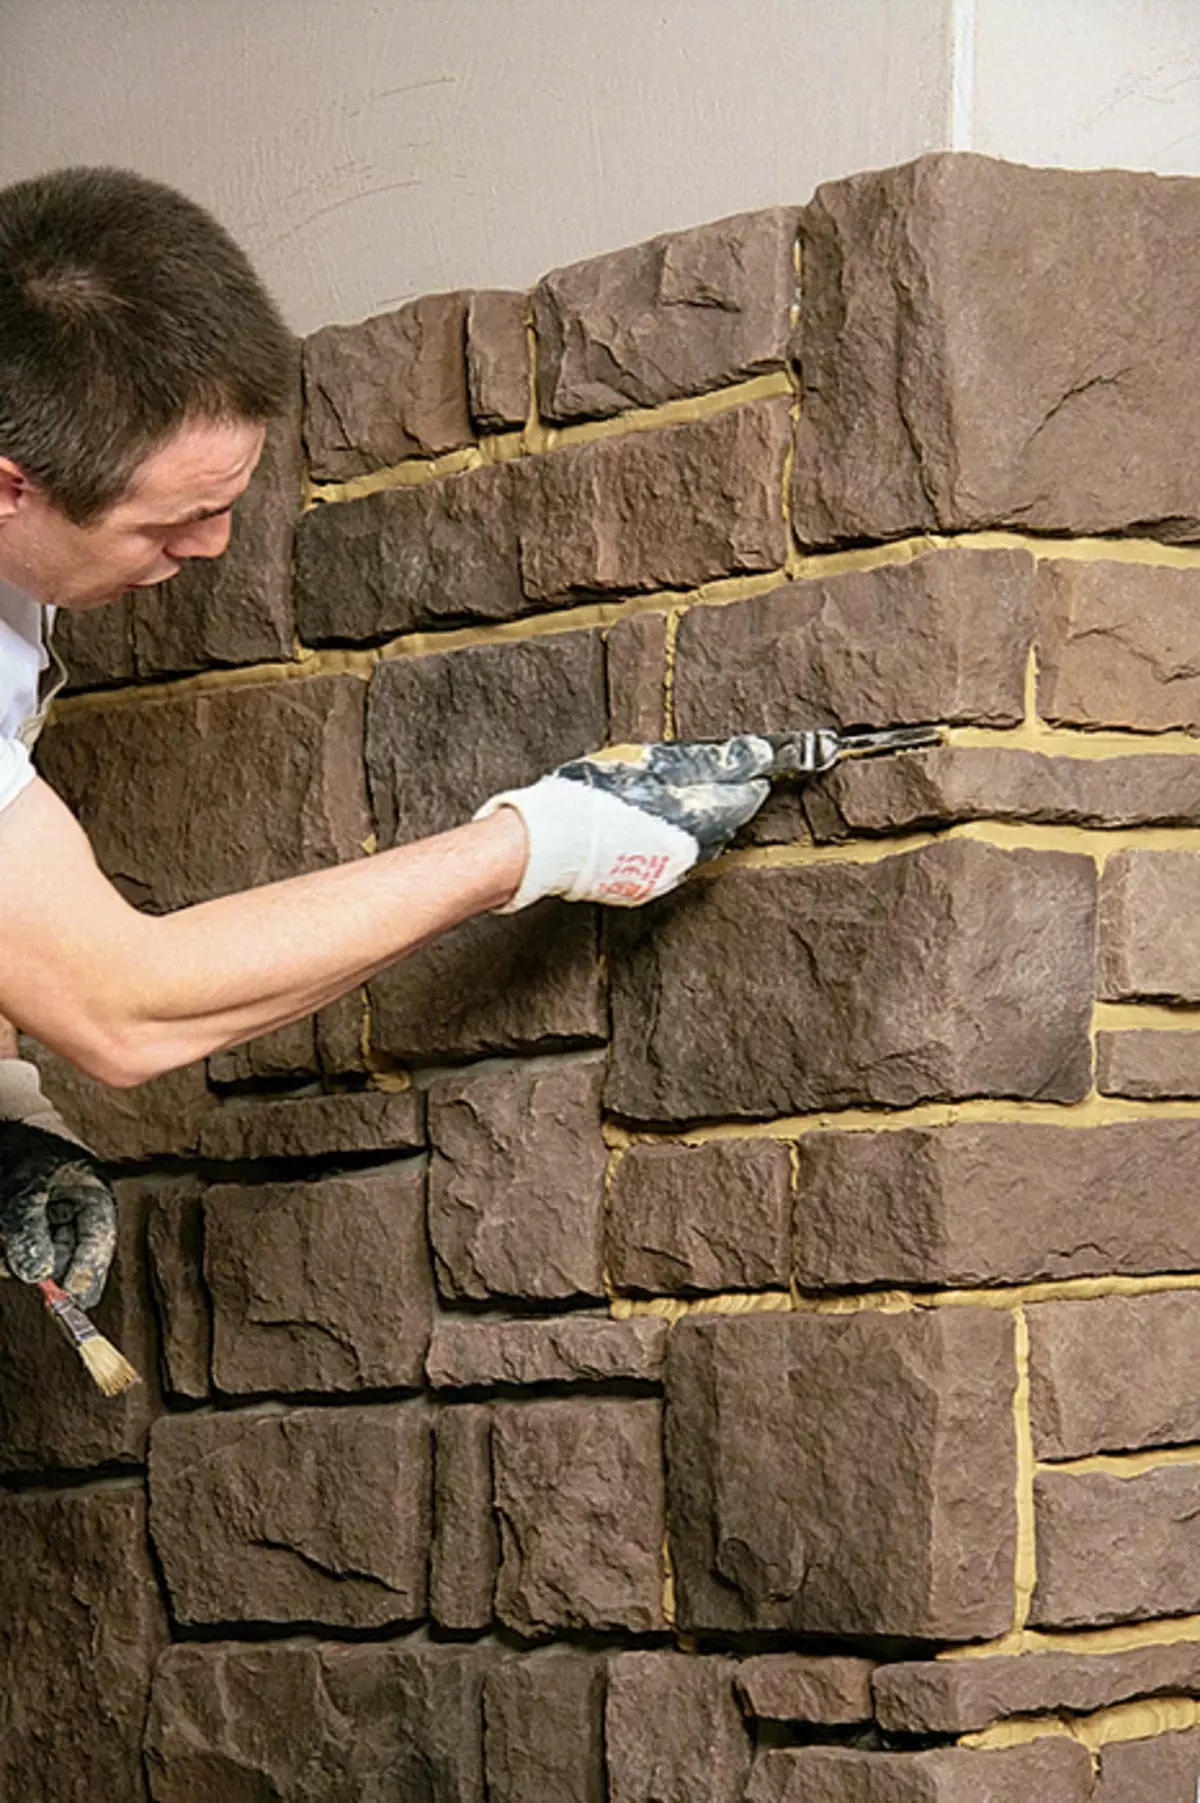
14. After 40-50 minutes, when the rapid solution hardens a little, it is smoothed by a spatula or a curly shovel for the board. For the final alignment and grout of the seams, you must go through it with a brush of medium stiffness.
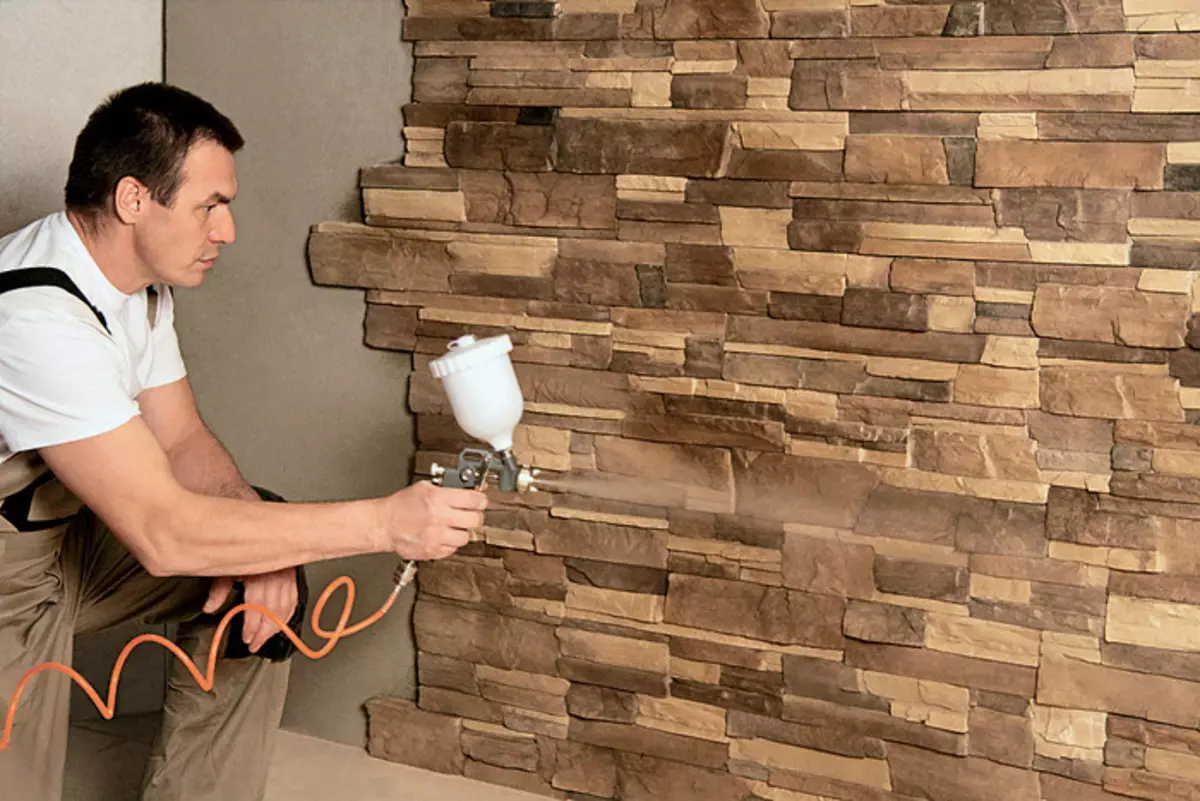
15. After the final drying of the masonry, it can be treated with a protective hydrophobic composition with a sprayer or brush. It forms an elastic semi-permeable membrane on the surface of the facing, which will protect the decorative facing stone from moisture, pollution, UV rays, temperature fluctuations.
| 
| 
|
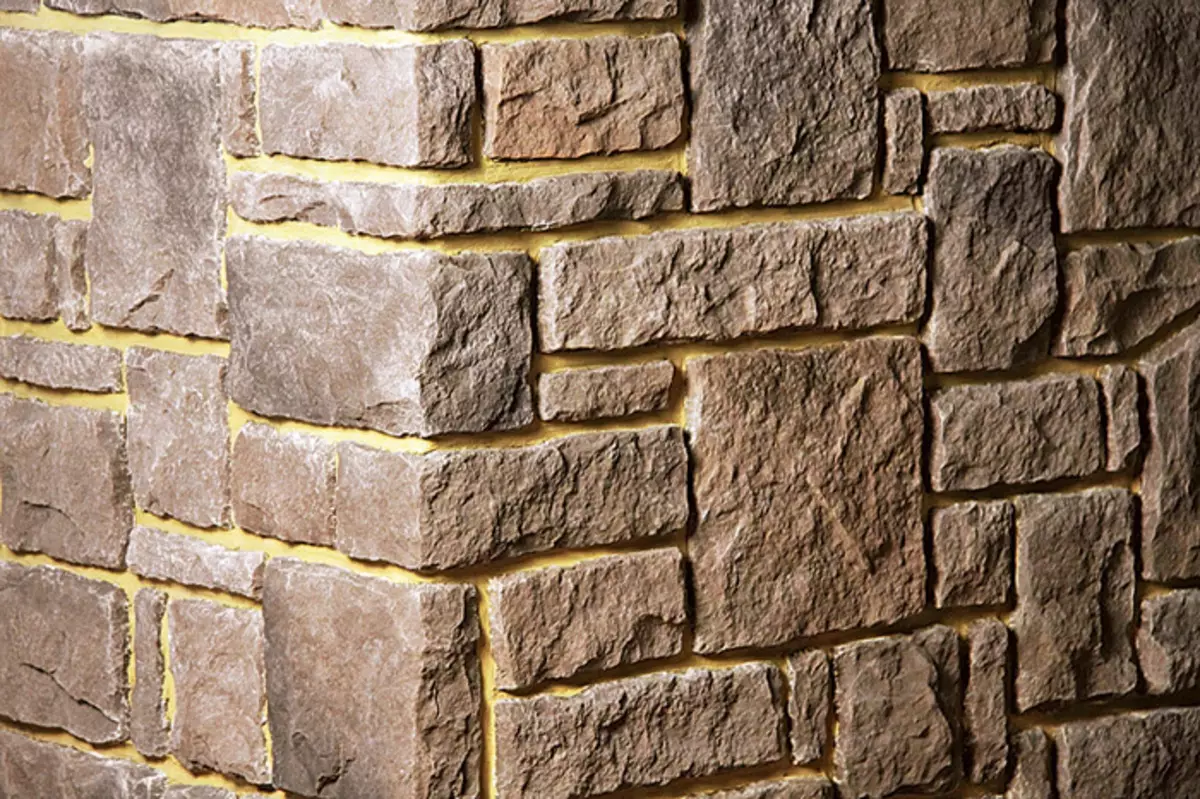
16-18. The decorative stone is placed with the extender (1.5-2Cm between the elements) (16, 17) or without it (18). For the case, the masonry starts downwardly down, in the second, on the contrary. But when moving from the bottom up, the probability of climbing is excluded.
Photo provided by WHITE HILLS