
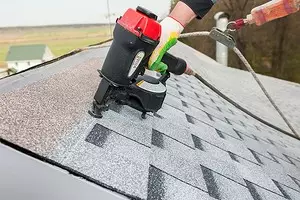
Nine forms of cutting and 74 color solutions - Flexible tile Technonol Shinglas has a unique assortment range! The technology of laying flexible tiles is quite simple, but there are general installation features, as well as the nuances of attachment for each type of cutting form, which we will look below.
Transportation and storage
First, the packaging with the flexible tiles of Tekhnonikol Shinglas has a small weight, so it is easily transferred with his hands, does not require the involvement of lifting mechanisms and special devices. In small batches, they can be transported even in a personal car. However, at the transportation stage, it is very important not to spoil the material. So, in no case, you can not put pallets with materials on each other - they can deform the tiles gates. You can only transfer packaging with tiles only by an edge (as shown in the figure).
During the installation of packaging, like individual trunks, you should not add the skate on the inflection.
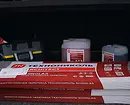
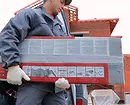
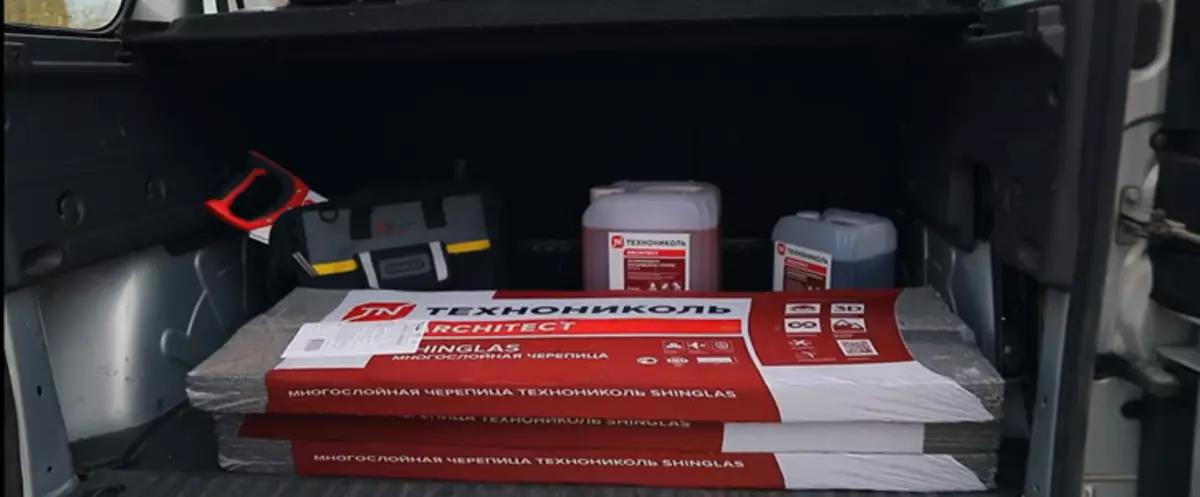
Photo: Tehtonol

Photo: Tehtonol
Another feature is before you open the packaging, it is necessary to bend a bit and shake. This will noticeably facilitate the extraction of blind shots.
To minimize the color imbalance (formation of color spots) of the roofing coating, gears of 5-6 packs should be mixed with each other.
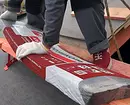
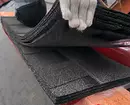
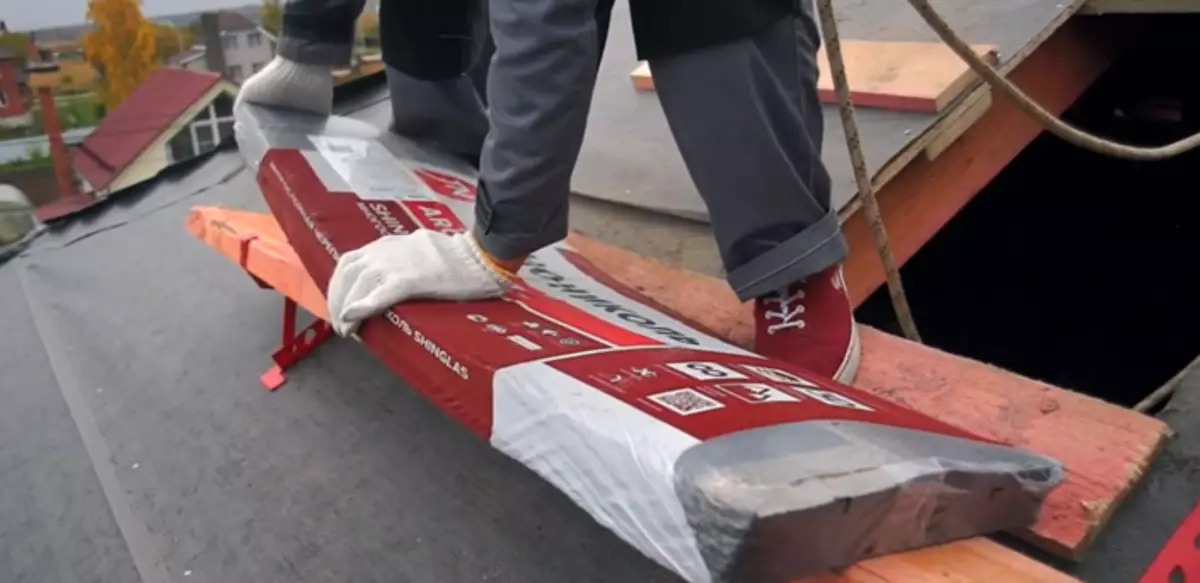
Photo: Tehtonol
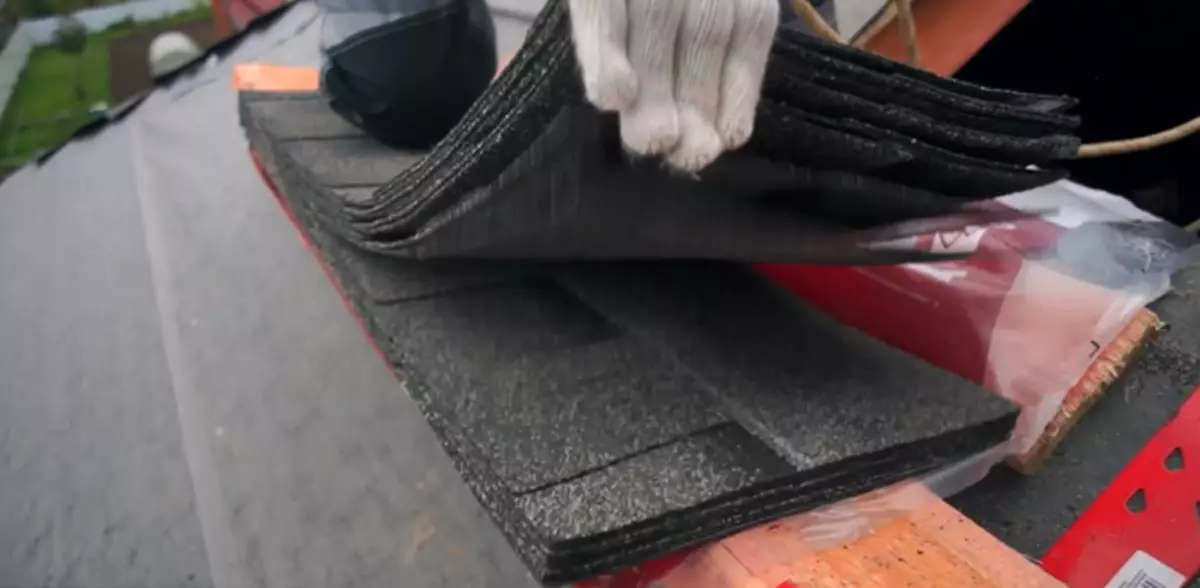
Photo: Tehtonol
Marking
Immediately before mounting on the lining carpet, markup is applied. It is a general guideline in which you can align the sheets of flexible tiles along the vertical and horizontal in the process of laying. That is, the shings do not fit clearly along the lines of this markup. But it is particularly well helped if the roof has roundings or rods.Considering the dimensions of any roof better than the markup to do with the help of a construction shoelace.
The markup is applied in the form of a grid, in which the horizontal lines have a step equal to five tile rows (70-75 cm), vertical - one meter, in the size of one shingle of flexible tile.
Range
In the assortment of flexible tile of production Technonol - nine forms of cutting: "Continent", "Atlantica", "Western", "Frame tooth" - forms of multi-layer tile, "Accord", "Sonata", "BRICS", "Burrow Tail", " Trio "- forms of single-layer tiles.
Each of the forms is presented in a variety of color schemes.
For example, the form of cutting "Continent" is represented by a series of similar name with four tints: "Europe", "America", "Asia", "Africa". The largest collection of colors in the cutting "Dragon tooth" - 18 shades in the collections "Jazz" and "Country".
Decide on the shape of the cutting, collection and tint, as well as to try on a particular collection on the model of a residential building on the Schinglas TechnoNikol website.
Installation
Consider the installation of the flexible tiles of Technonikol Shinglas in detail, on the example of a two-layer flexible tile shape of the cutting "Dragon Tooth".
On long slopes, laying of tile shrestle is underway - from the cornese swelling to the roof of the roof, from the center of the lower edge, so that it is easier to exhibit the tiled horizontally.
The process of installing flexible tiles begins with styling starting strip along the cornese swell. It is made from a special skate-carnice tile. It does not have a "petals" of any form of cutting, consists of three parts and is attached to 12 roofing nails - six nails at the top, six - down. Subsequently, they will be closed the first roof tile.
Also, the starting band can be made independently - from the rice of the ordinary single-layer tiles, gently cutting off with a roofing knife in the "petals". In the case of cutting "Dragon Tooth", the starting strip is made of ordinary tiles, without trimming.
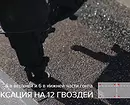
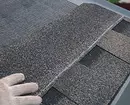
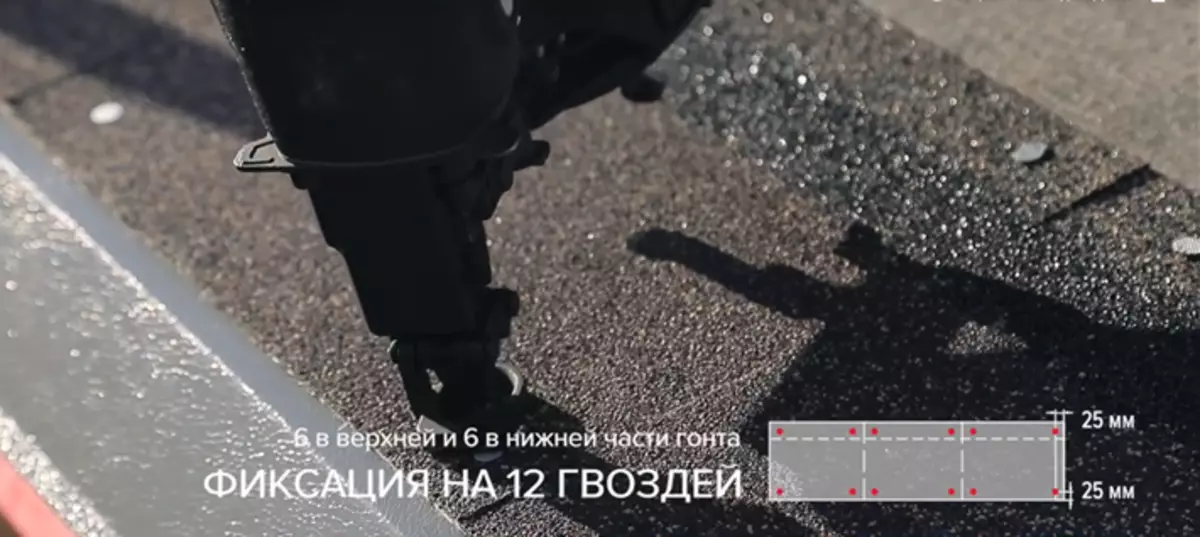
Photo: Tehtonol
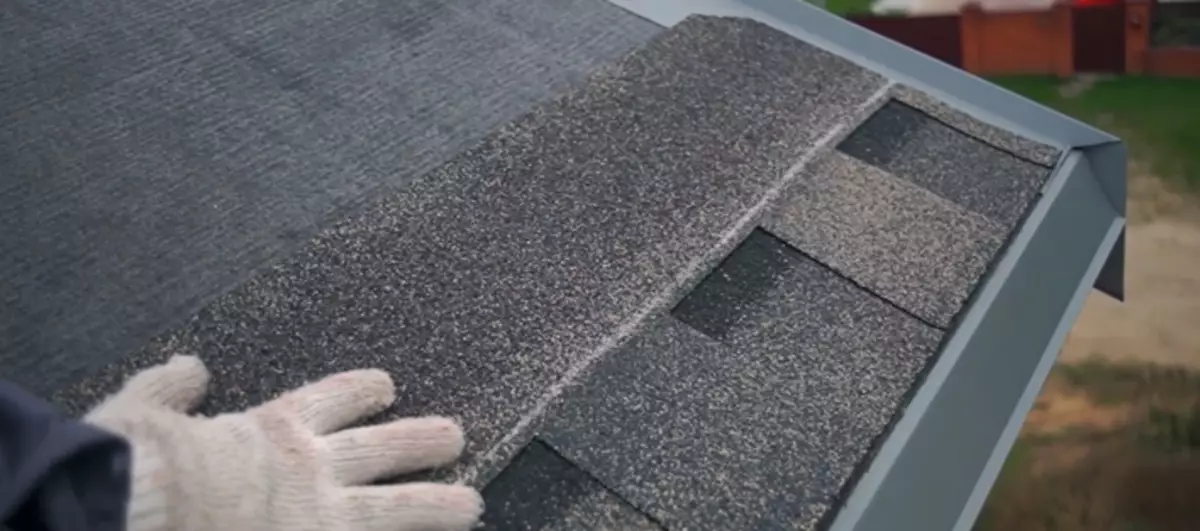
Photo: Tehtonol
The starting string is laid on the lining carpet with an indent from the inflection of the cornese sweep of 1-2 cm. At the corner of the roof of the roof of more than 45 degrees, the indent must be increased by a couple of centimeters. When laying the first row of flexible tile, the rear face of the material is well urged by a bituminous mastic Tekhtonol Fixer and is additionally fixed with roofing nails.

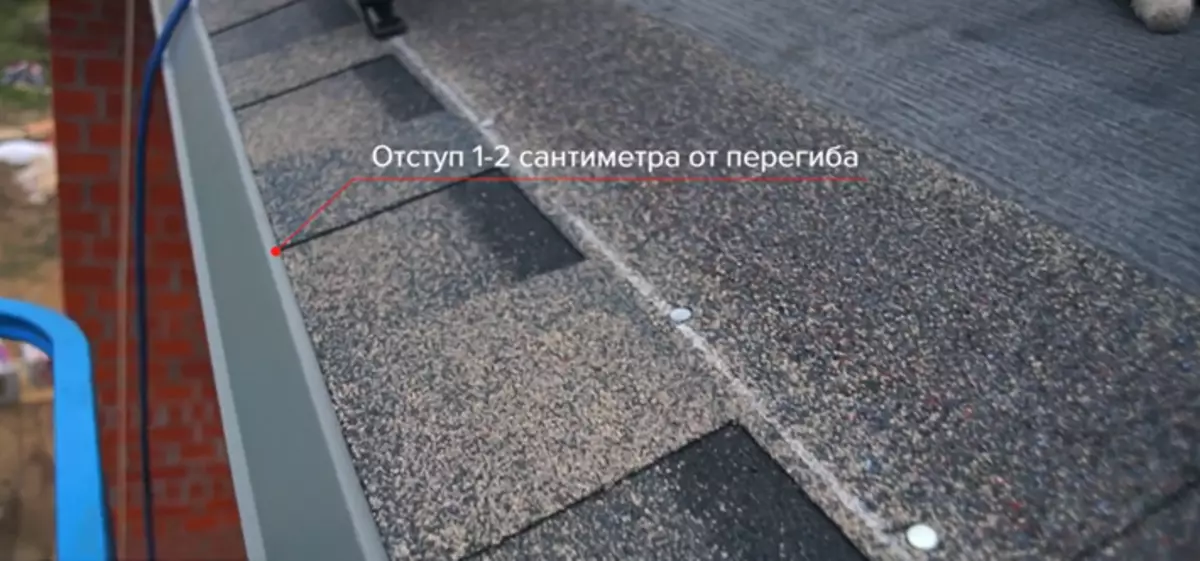
Photo: Tehtonol
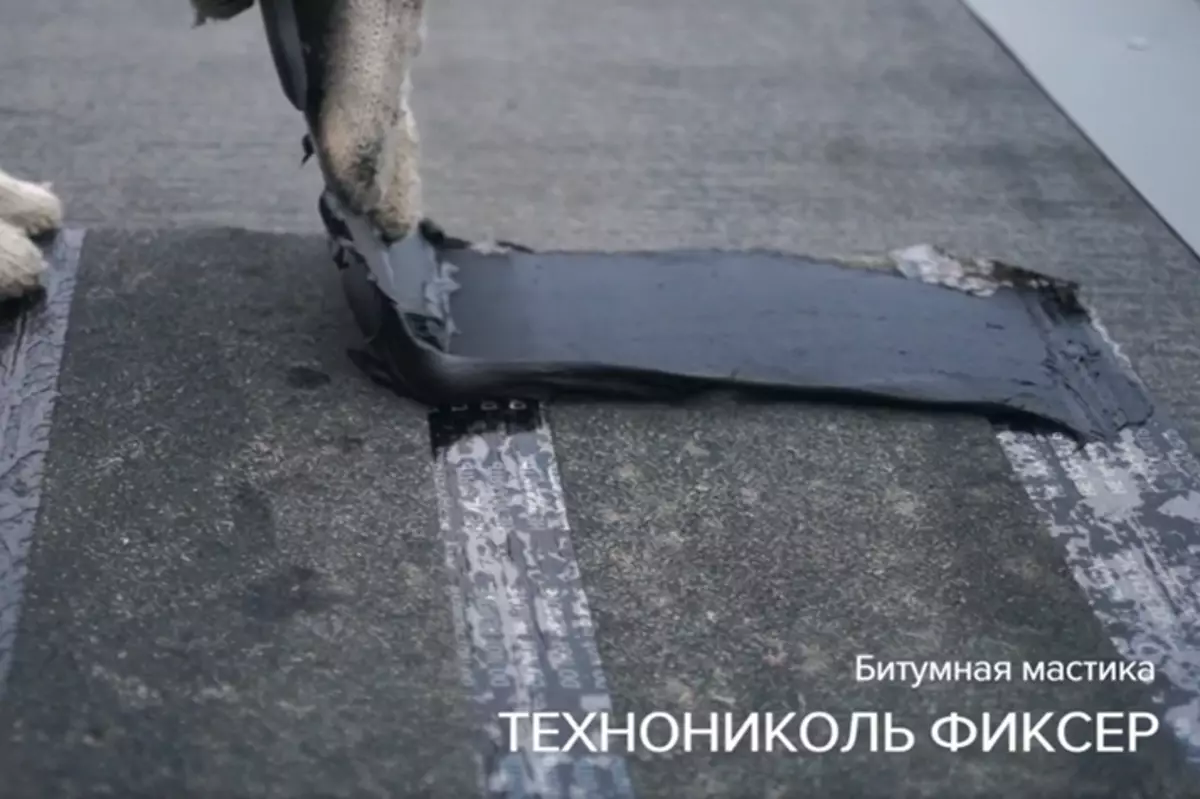
Photo: Tehtonol
All shots of the flexible tile on the back side there are special protective stripes. When laying a multi-layer tile in the cutting "Dragon Tooth" collections "Jazz", "Country" and "Ranch", in contrast to all other types and collections, the protective film is not removed. This film is needed exclusively for transporting trunks so that they do not stick together.
When working with other forms and collections, the film is removed, as it protects the adhesive layer.
The installation process "Dragon tooth" is another feature - the bands are stacked with a vertical seam offset at least 15 cm in such a way that the "petals" of the upper row completely closed the fastening of the underlying row.
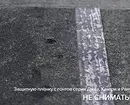
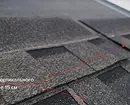
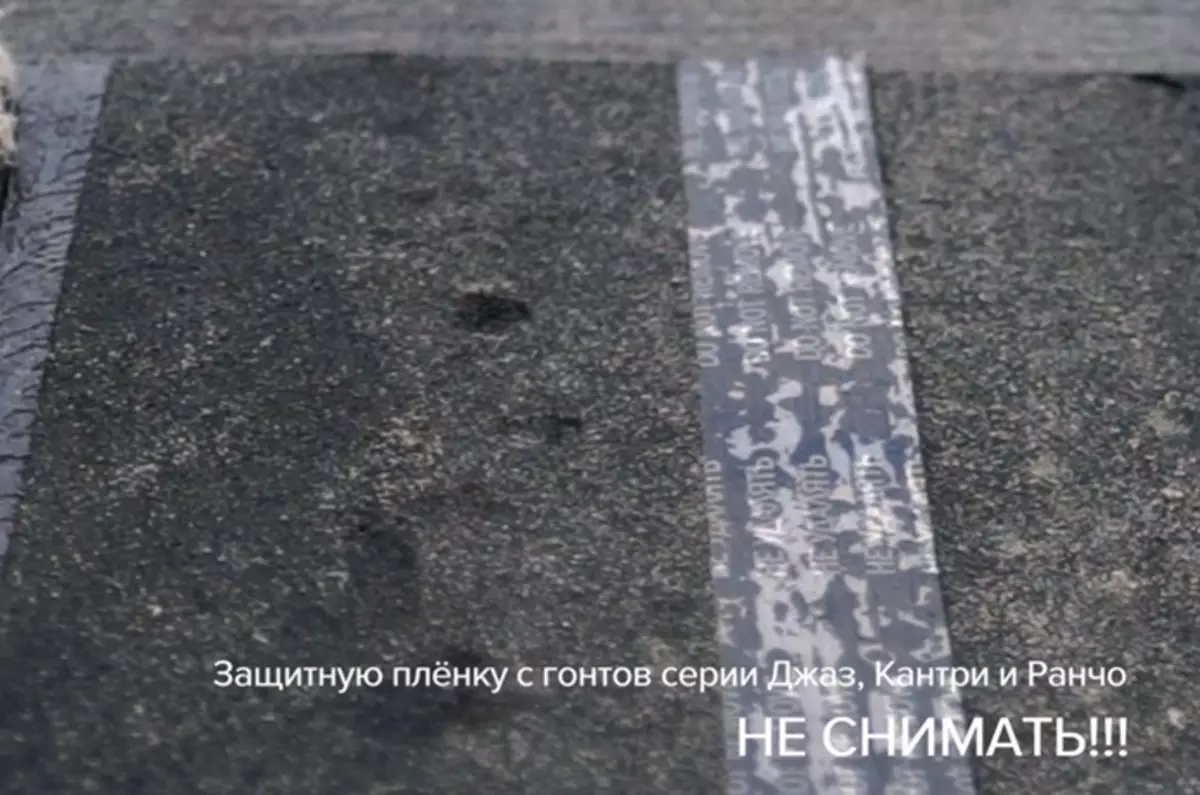
Photo: Tehtonol
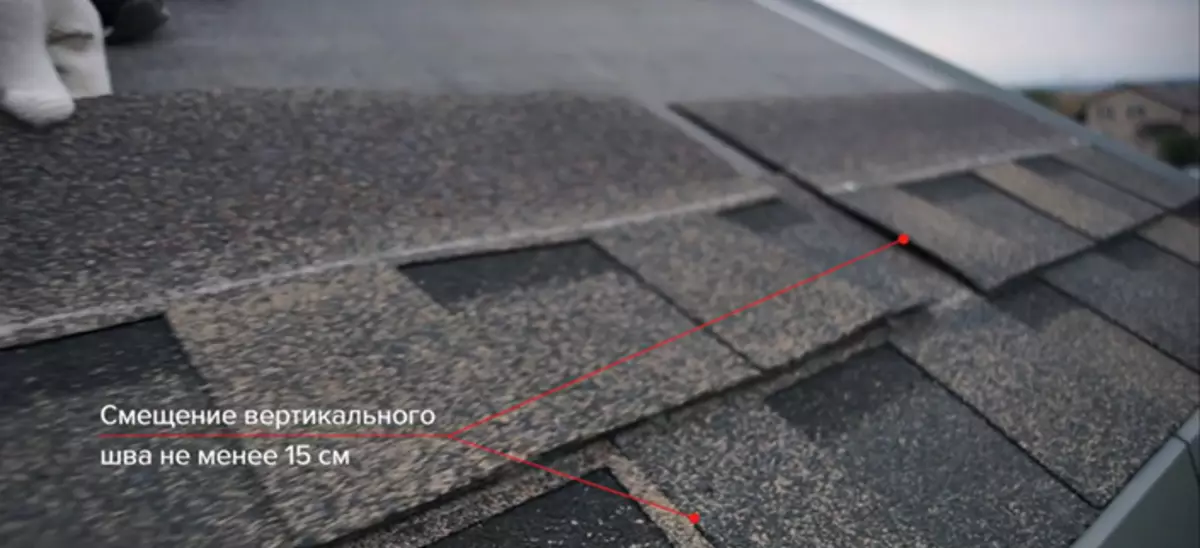
Photo: Tehtonol
The first row stacked from the lower edge of the starting strip with an indent of 1-2 cm, fully covering the nailed mount of the starting strip. From the front of the front, the fastening area needs to be labeled with a tekhnonol fiber mastic - approximately 10 cm wide and a thickness of not more than 1 mm.
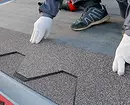
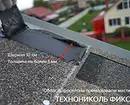
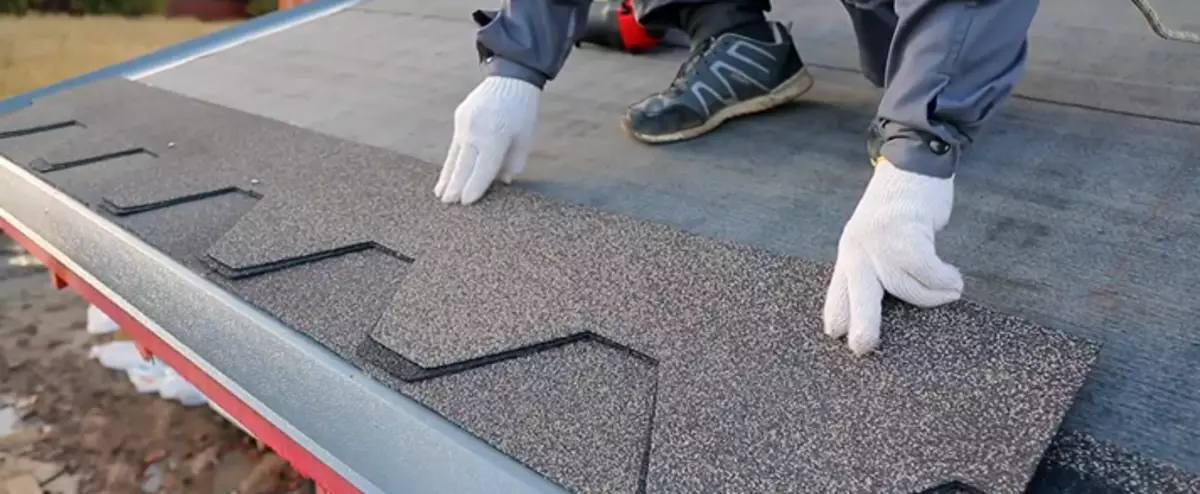
Photo: Tehtonol
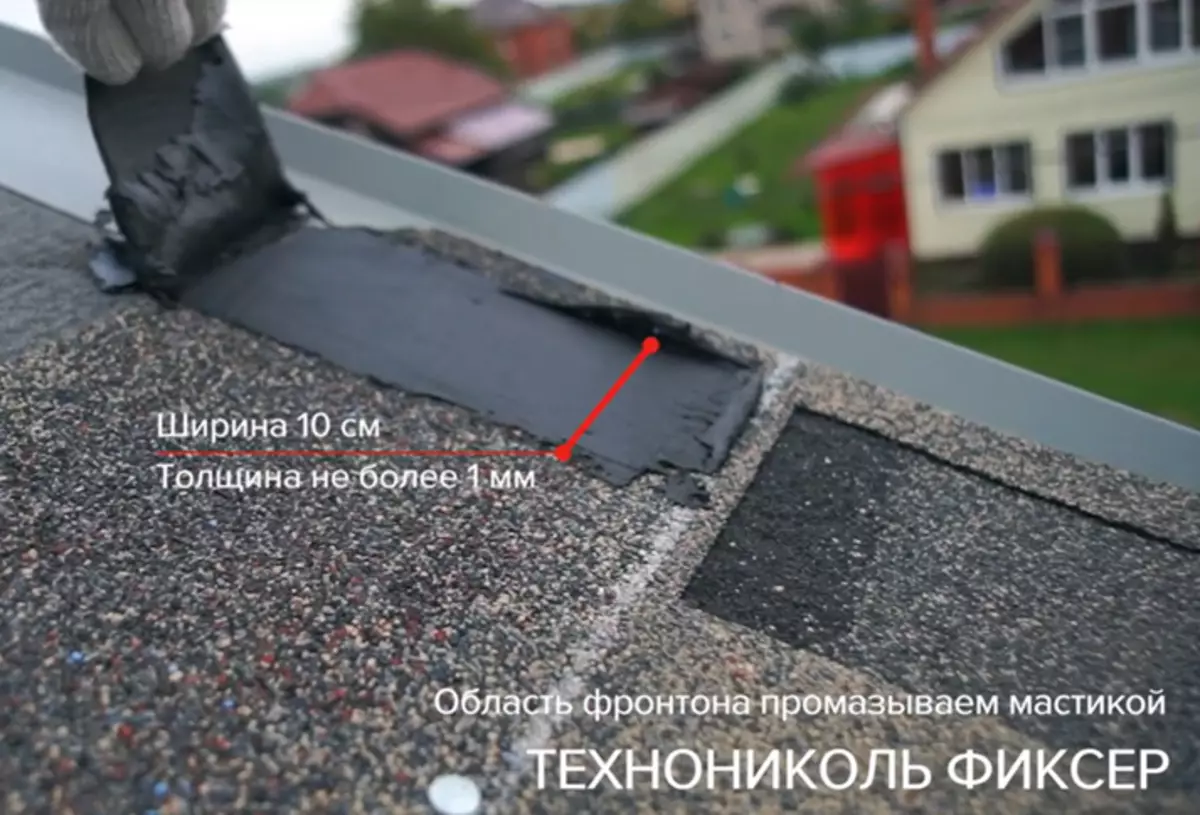
Photo: Tehtonol
Recall that the styling of the trunks is conducted from the central axis of the roof, so the front-line sink of long rings, it is possible to cut off the desired width. But it is necessary to take into account that it should not be less than 20 cm and is attached to at least two nails.
The top corner of the extreme trimming of the frontal plank is cut to ensure the removal of water.
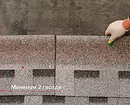
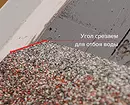
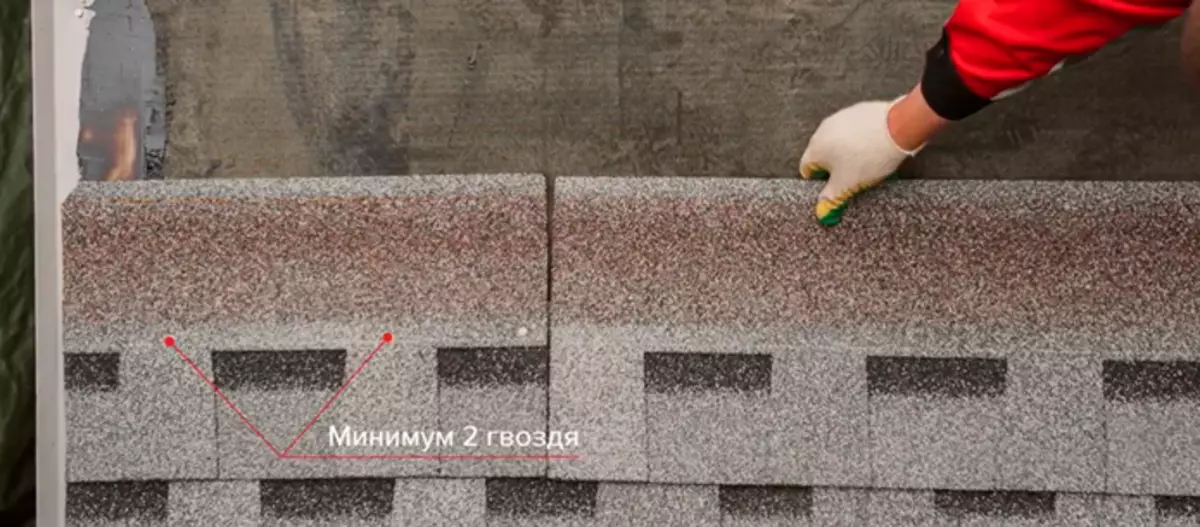
Photo: Tehtonol
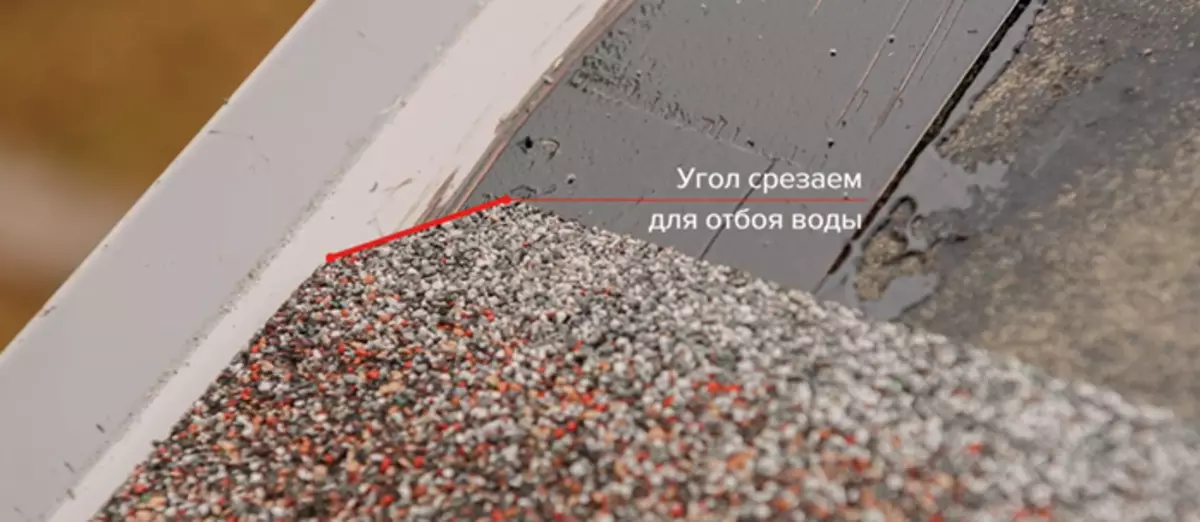
Photo: Tehtonol
The total for all forms of cutting - in the process of laying, each subsequent row of the bands is stacked with a splitting on a splice.
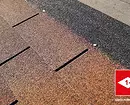
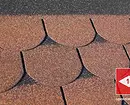
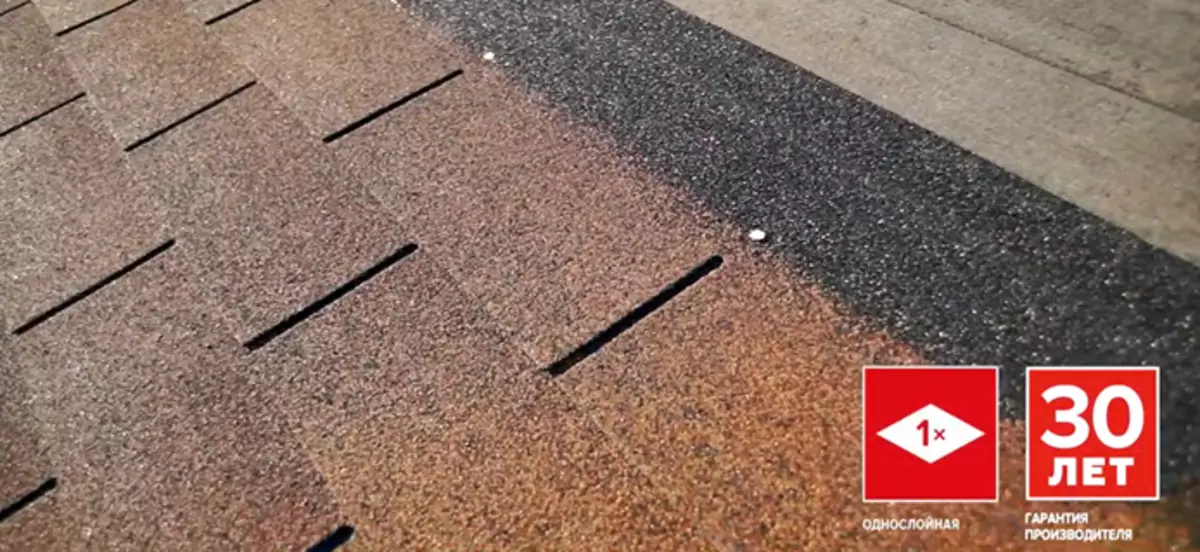
Photo: Tehtonol
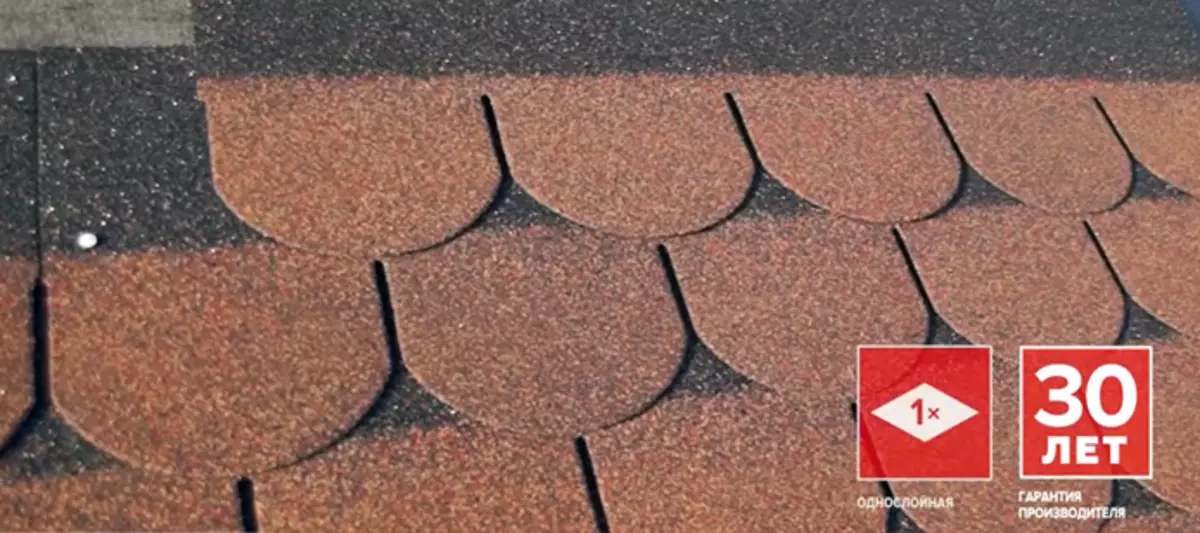
Photo: Tehtonol
SHINGLAS SHINGLAS SHINGLAS GRANCE SHINGLAS MAKING ON Galvanized Roofing Nails with a Wide Hat 30 mm, 3.5 cm long. Each form cuts its number of nail fasteners.
They are nailed along a special line that is on each shingle, and is applied in the factory. It is very convenient - it is extremely difficult to make mistakes.
Note that the number of nails on the truncation also depends on the angle of inclination of the roof - if it is less than 45 degrees. For example, in the cutting "Dragon Tooth" for one gesture enough of five nails, if the angle is greater - then eight.
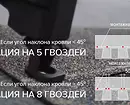

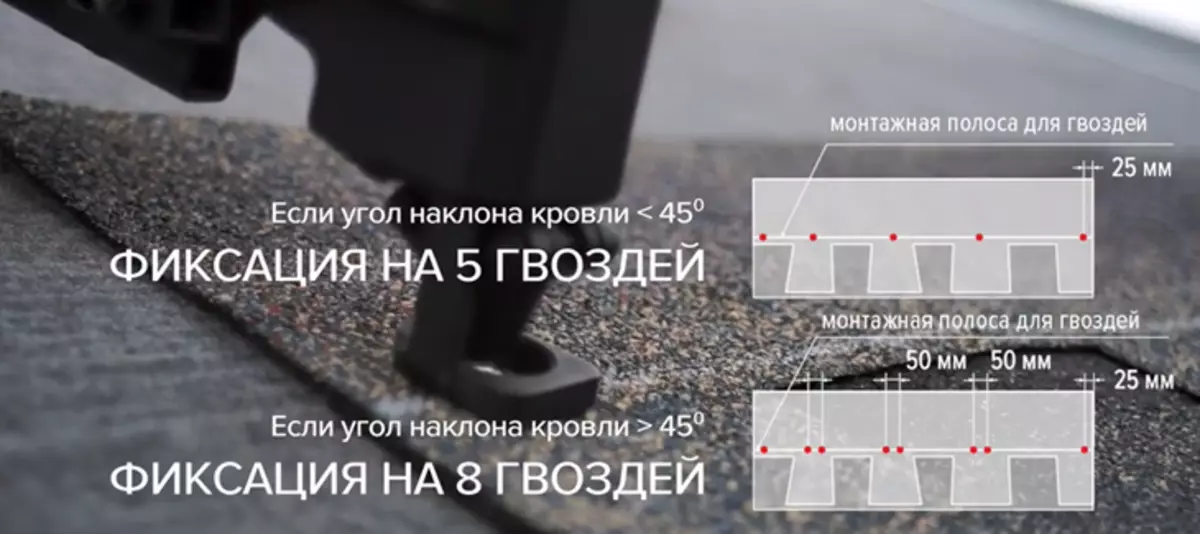
Photo: Tehtonol
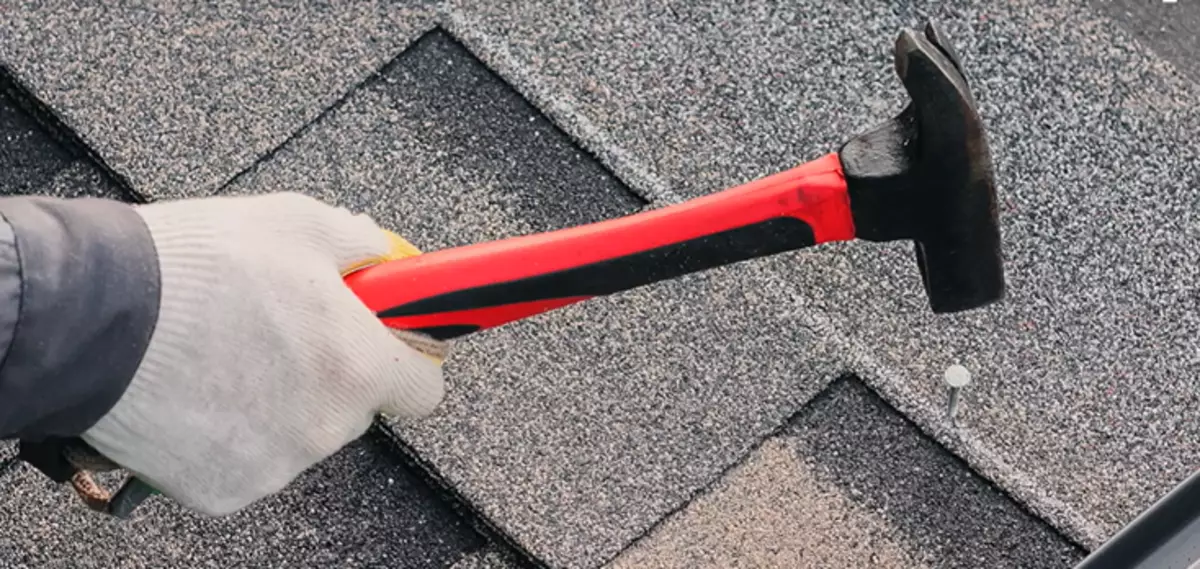
Photo: Tehtonol
Roofing nails should enter smoothly and the hat should not be "blend" into the tile. At the same time, each nail must be attached at once two shings - on the noted line the upper gears and the upper part of the lower gentle. This directly affects the stability and reliability of the entire design of flexible tile. Important! With the fastener of the three-layer flexible tile of forms of cutting "Continent" and "Atlantica", it is necessary to use roofing nails with a length of 45 mm.
The overall layout of nail fasteners and places of mastic mastic depending on the shape of the cutting and angle of inclination of the roof is presented in the diagram:
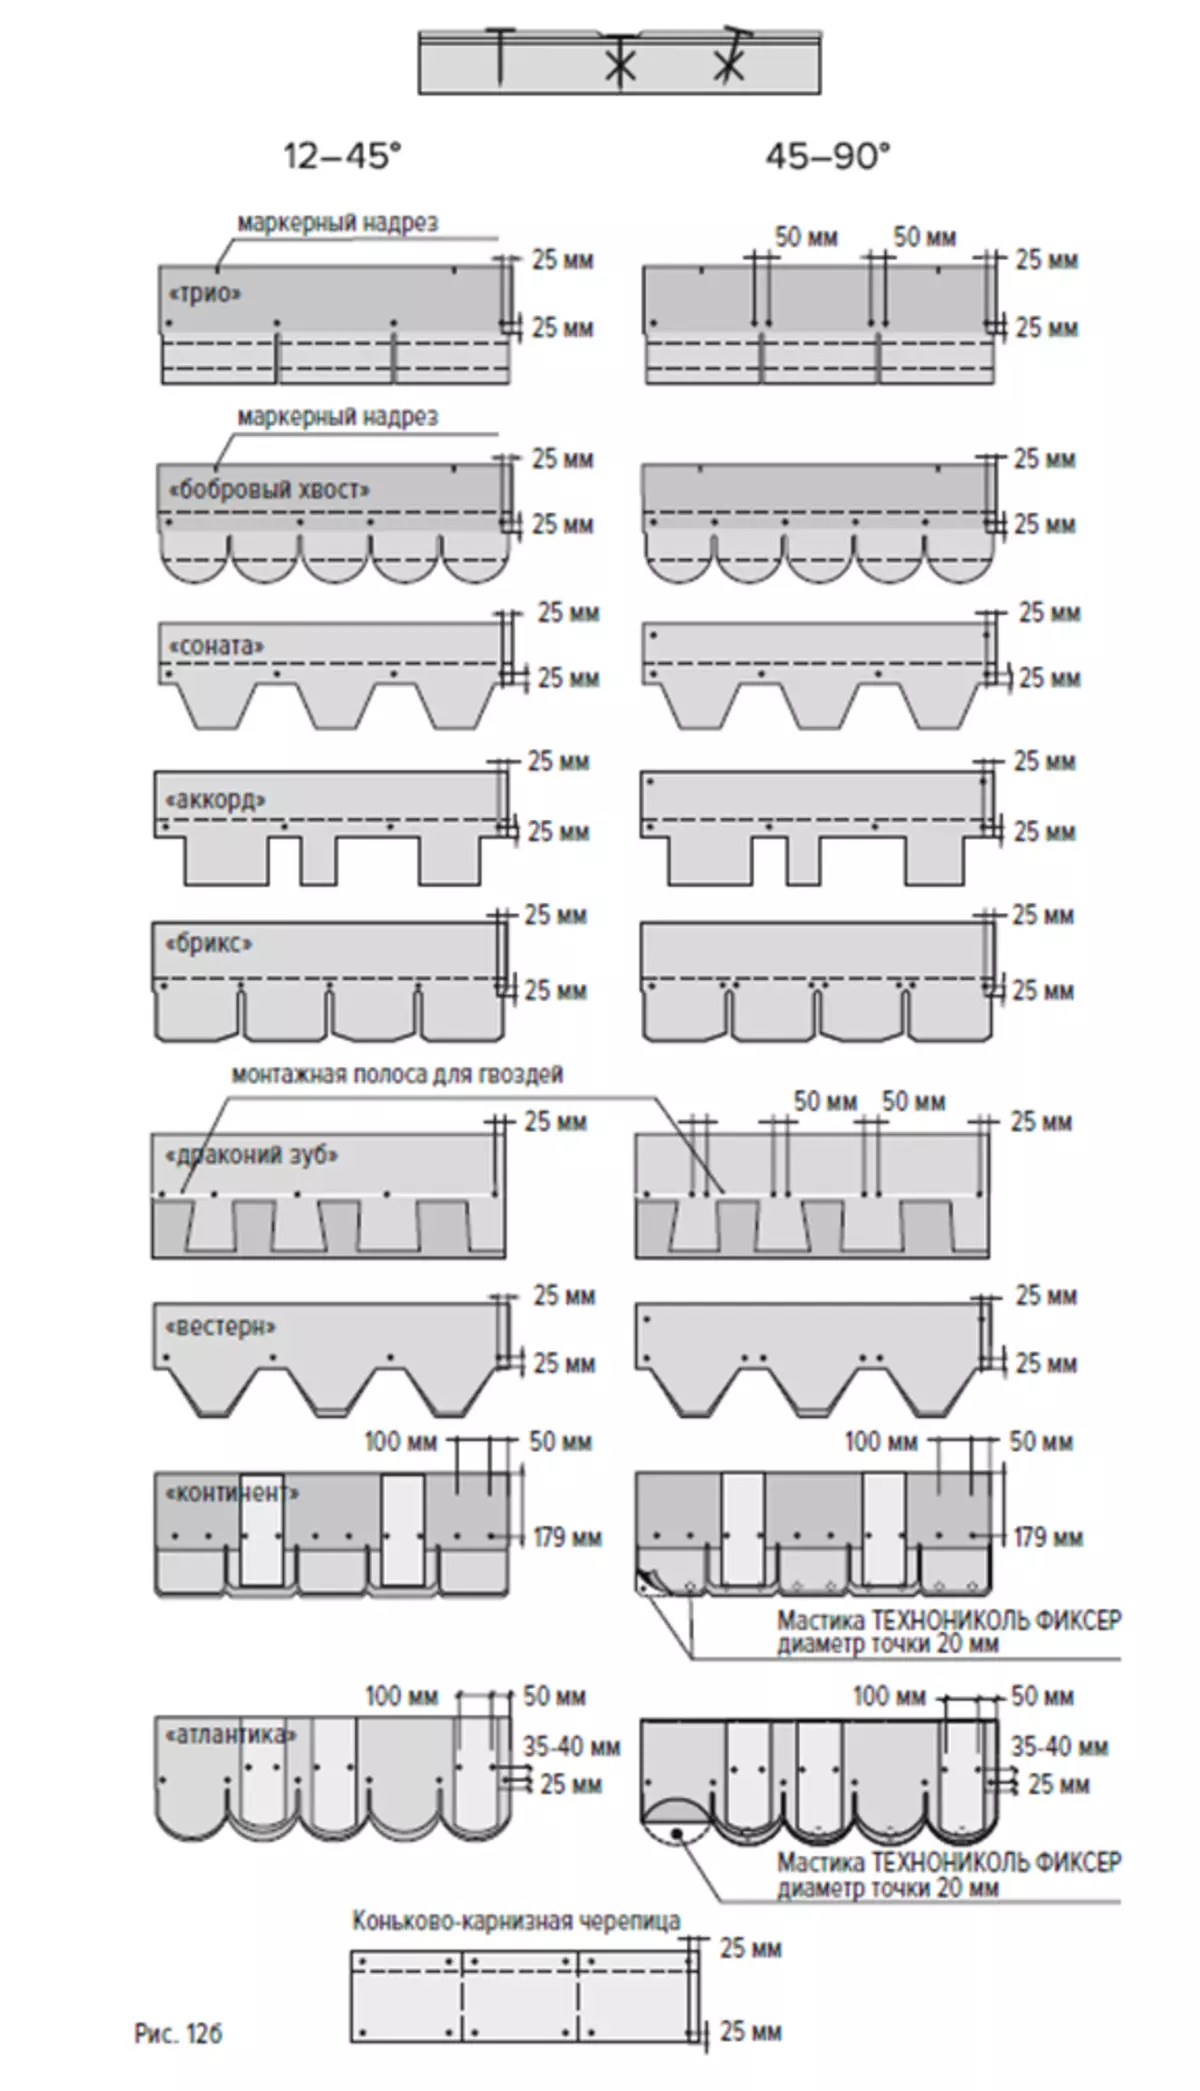
Fig. The movement system on the scope roof. Photo: Tehtonol
For a more comfortable and safe installation of flexible tiles, as well as storing materials and placement of the instrument, Tekhnonikol offers special brackets. They can be adjusted along the corner of the roof inclination by 40, 50 and 60 degrees, and do not damage the mounted materials.
The main part of the bracket is nailed over the stacked layer of the tiles - the upper part to the bottom of the roof. When laying subsequent strips, it closes with tiles.
Further, wooden boards - forest scaffolding, for which you can move freely.
The dismantling of the brackets also does not represent complexity - the shingles of the cerebrics gently be rejected, the attachments (screws or nails) are pulled out, after which the bent shings fit into place.
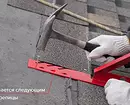

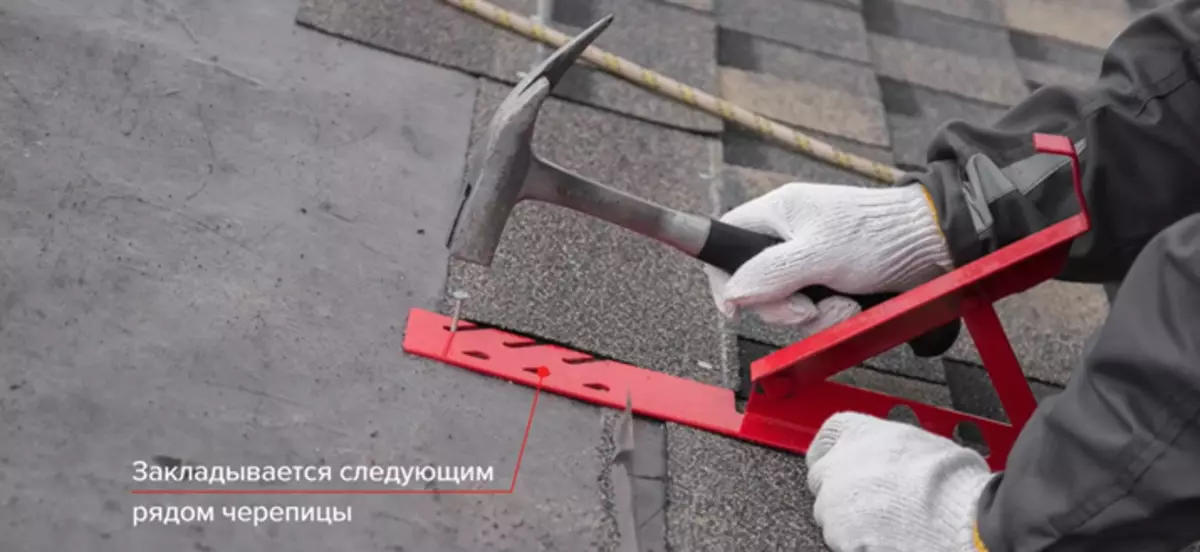
Photo: Tehtonol
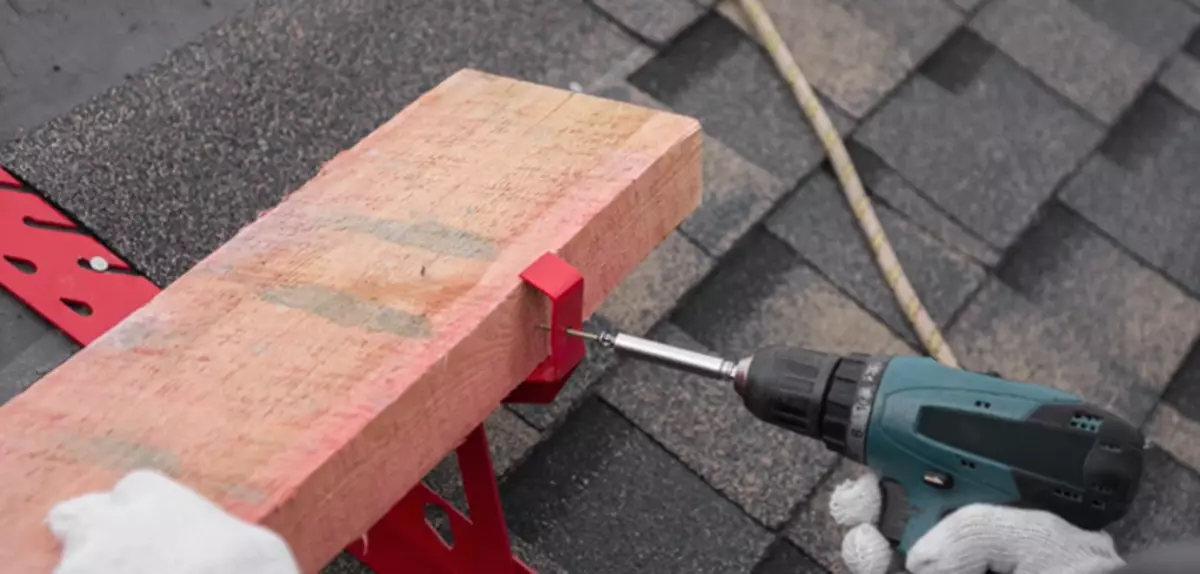
Photo: Tehtonol