We tell about the peculiarities of the design of the cane-mixer and gradually disassemble the process of replacing the mechanical equipment to the new one.

Sooner or later, any kitchen crane fails. It is especially unpleasant if it happens suddenly, or the breakdown threatens with a serious leakage. You can replace the breakdown or served your device yourself. Let us examine the design features in detail and the mixer replacement stages in the kitchen.
All about self-replacement mixer
Features of the design of the deviceReplacement in four stages
- Preparation of a new crane
- Dismantling of the stopping mixer
- Installation of the device
- Checking performance
Features of the design of the tap mixer
Before proceeding to replacing the equipment, it is worth determining its type. There are several varieties of mixers with different ways to supply water and connect. The difference may be small, but it is, and therefore you should study all possible options. By the attachment method, two types of cranes are distinguished.
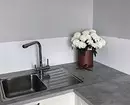
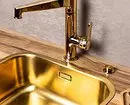
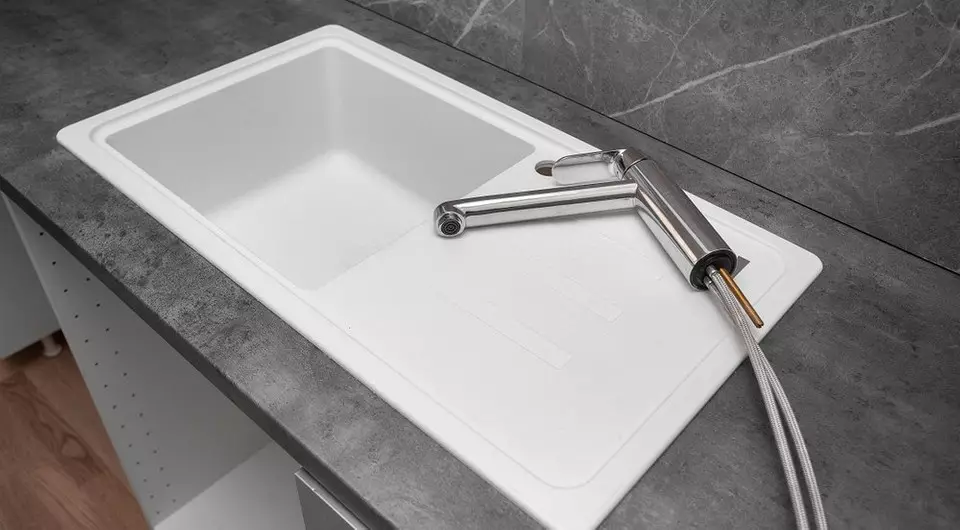
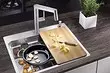
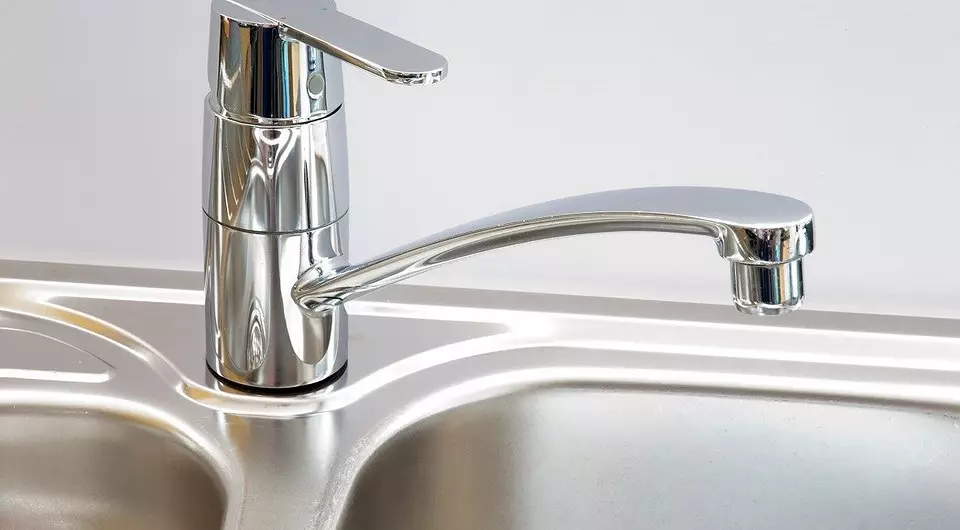
Desktop
Installed on the tabletop or washing. For the kitchen, the second option is often used. The device is mounted in the seating hole, which is performed in the sink. It can be in any convenient place, but only where the surface is smooth. It is impossible to install the mixer on the corrugated base. Water pipes are connected by flexible liner hoses.Wall
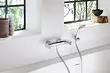
Mounted on the wall near the sink. May have a short or long spout. Such models are less likely installed in the kitchen, more often they can be seen in the bathroom. Cranes are connected to water outlets, bred into the wall, no eyeliner is provided here.
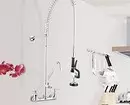
Wall models are arranged approximately equally, but the desktops differ in the way of controlling water flows. Two-dense devices or Christmas trees, as they are also called, are like two devices combined in one case. Each of which "answers" for the supply of hot or cold water. To regulate the temperature, unscrew and spin the valves.
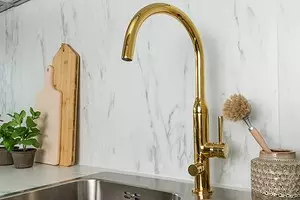
Single-frame systems are managed by a built-in unintended cartridge. Therefore, all modifications of single-art models are unified under the dimensions of the embedded cartridges. Whereas among themselves they differ in the shape and size of the housings. Desktop devices are interchangeable. That is, it is possible to install a single-art, and vice versa. The main thing is to suit the diameter of the planting opening.
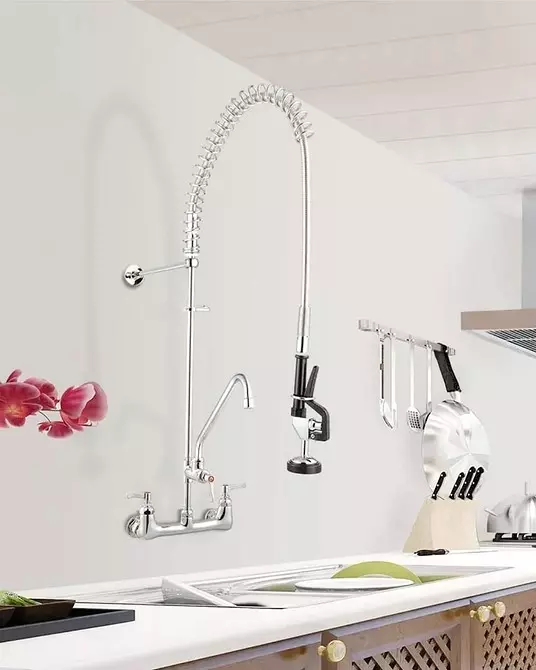
Wall mixer

Desktop binary
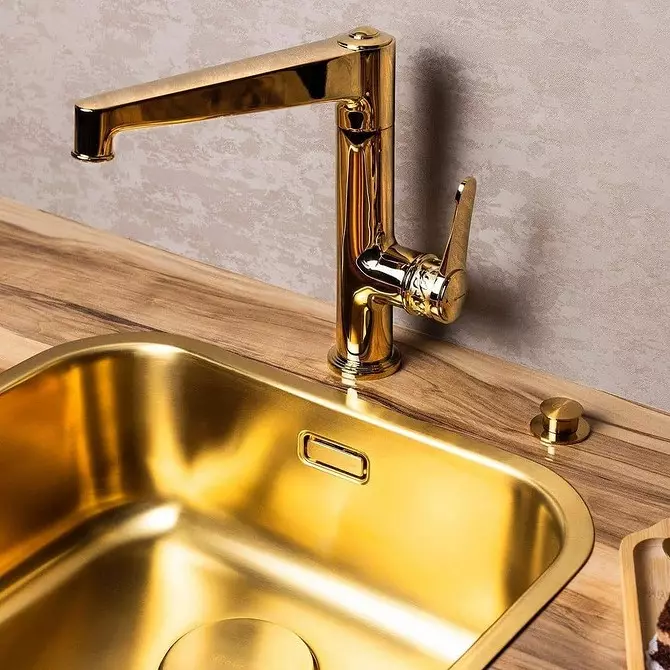
Desktop one-art
Replacing the mixer in the kitchen with your own hands in four stages
It does not matter whether the equipment will be planned or forced, starting it from buying a new device. It is necessary to take into account the design features of the output product and choose a model with similar characteristics. In addition, you will need a small set of tools. We list what needs to be prepared.- Spanner 13x14 or 10x12. This is determined by the diameter of the flexible lining fitting.
- Gas key number one.
- The key is the end, deep bed 13x14 or 10x12.
- Non-tagged metal brush for cleaning the seating area.
- Fume thread or tape for tighting thread.
In addition, the installation kit will be needed: this is a set of nuts, pads, screws, etc. Usually it is sold with the device. If not, you will need to purchase the necessary details. After checking the presence of all the necessary, proceed to the installation. We gradually wonder how to change the mixer in the kitchen with your own hands.
1. Preparing a new product
The device is carefully removed from the box. With it removed the packaging material and carefully examine. There should be no external damage. Scratches, dents, cracks are unacceptable. The focus on the coating is also undesirable. This suggests that the finish is not high quality, and will soon begin to peel. Especially carefully examined the section with carvings. Even the slightest crack can provoke damage to the connecting node when mounting.
After that, you should check the performance of mechanical nodes. The valves or lever turn, put the "open" position, then "closed". Details must move easily and smoothly. The quality of the eyeliner hoses is also checked. If they seem not safe enough, it is better to change. In the package necessarily there is an instruction on the assembly. It must be carefully examined. It contains in detail all the nuances of the preliminary assembly and equipment installation, the equipment is described. It should be verified that all the necessary parts are in stock.
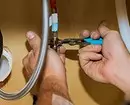
If the instructions are not written differently, the only thing you want to do before installing is to fasten the flexible eyelid to the body. They are included in the package of equipment. Both fittings wear special gaskets, after which the hoses are screwed. First, they are tightened until they stop the hand. Then tighten the wrench for another two or three turns.
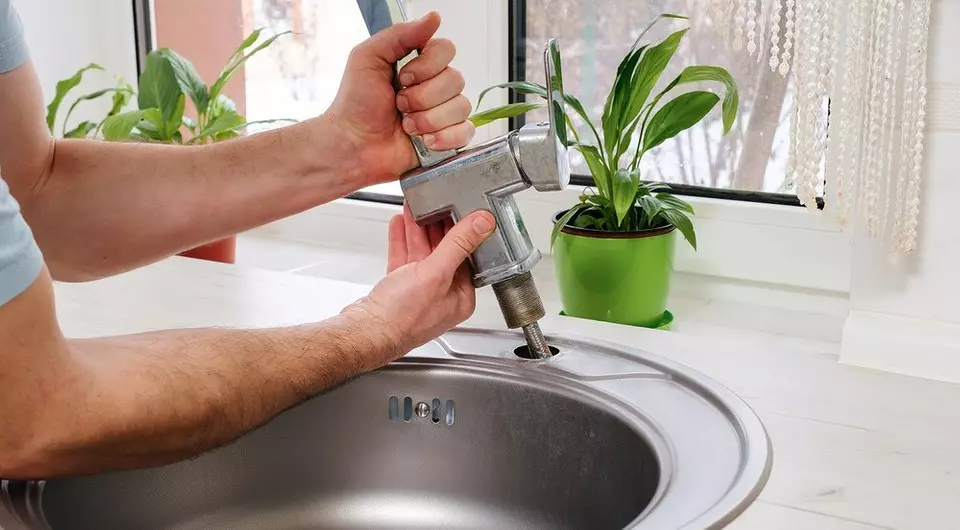
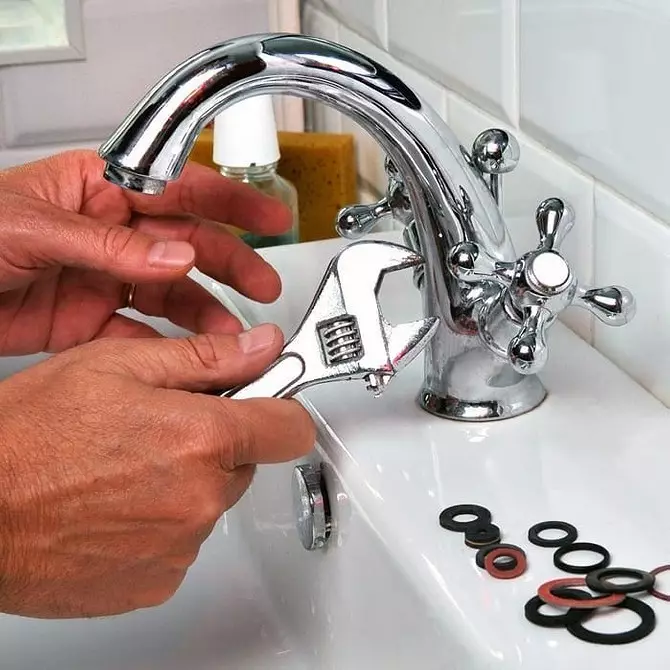
2. We dismantle the exported faucet
First overlap the water. For this, the valves close on the plumbing highways. Usually such valves are located on entering communications to a house or apartment. It is necessary to check the reliability of the constipation. For this, the lever of the mixer is translated to the "open" position. If there is no moisture, disassembly begin.
Structure, even subtle, indicates a malfunction of shut-off valves. They must be replaced, and only after that start work. Disassembly of desktop models are performed in such a sequence.
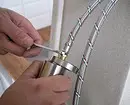
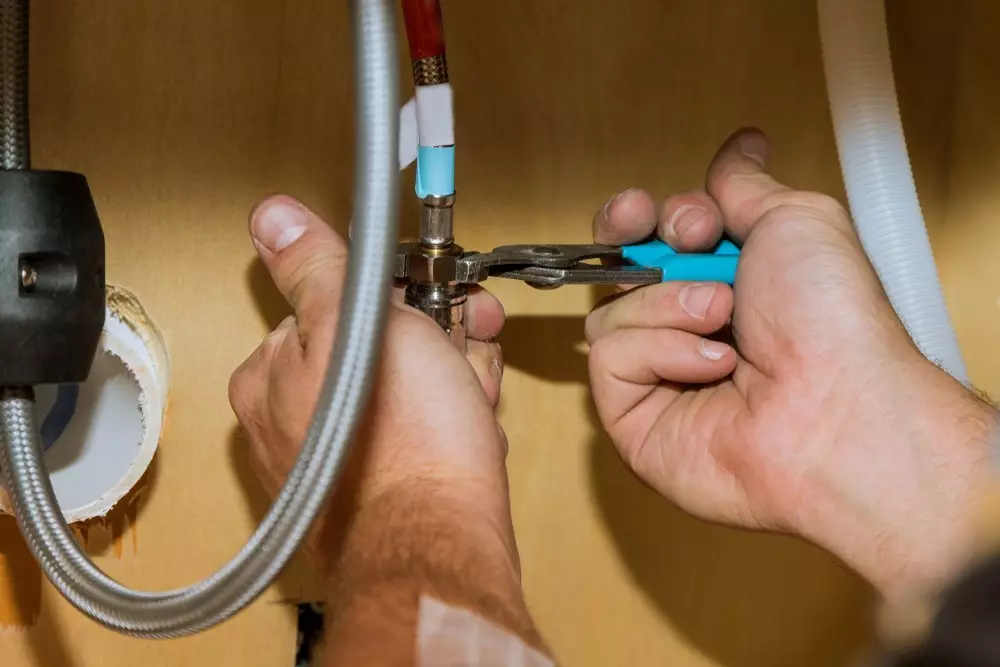
- We dismantle flexible liner hoses. They are attached to the pipes of the water pipeline with cape nuts. We unscrew them with a gas key. To the body of the mixer, the eyeliner is fixed with tubular fittings. They twist their proper size wrench. Similar actions are performed if you need to change the hoses on the mixer in the kitchen, how to connect new, described above.
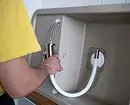
- Remove the device. Usually it holds the washer pressed by two hex nuts. They are screwed on the hairpins. Alternately unscrew the fasteners. It is convenient to do this with a tubular end key. After that, we remove the puck with the studs and remove the crane that came into disrepair.
Otherwise, dismantling of wall equipment is carried out. There is no flexible liner hoses, the mixer is connected through the ancores to the water pipes mounted in the wall. To remove it, it is enough to unscrew the fastening nuts.
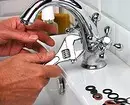
Now you need to clean the seat. From the holes of water sockets remove the accumulated rust and scale. From the thread remove the residues of the seal. Do this is the easiest enough non-metal metal brushing or metal sponge. On the car wash most often traces from rust and scale. They are cleaned with tight rags, so as not to spoil the coating of the bowl. If the design allows, then the sink is preferably removed. It is more convenient to fix new equipment.
3. Mount Kitchen Crane
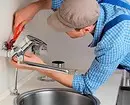
Installation is most convenient to spend on a dismantled sink. If it is so impossible, you will maximize access from below to the bowl and prepare lighting. Work under the sink is uncomfortable and dark. It must be considered. We list the installation steps.
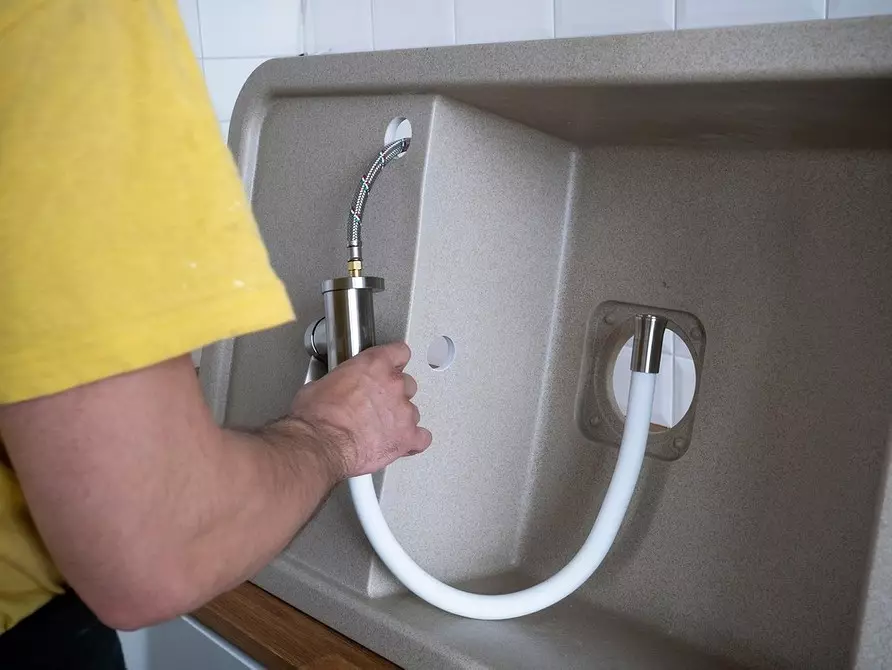
- Previously connected to the tap of the clamping-hoses to do in the mounting hole. The housing is lowered onto the landing place where it needs to be secured.
- From the bottom of the sink we put the sealing washer. We put it on the hairpins attached to the device body. Hook the nuts, thus tightening the washer to the bowl. Do not twist tightly, we leave the ability to change the position of the housing. It is necessary for possible adjustment.
- Check the position of the mixer. It should stand exactly in the center of the mounting hole. If necessary, move it to set correctly. Now finally tighten the nuts.
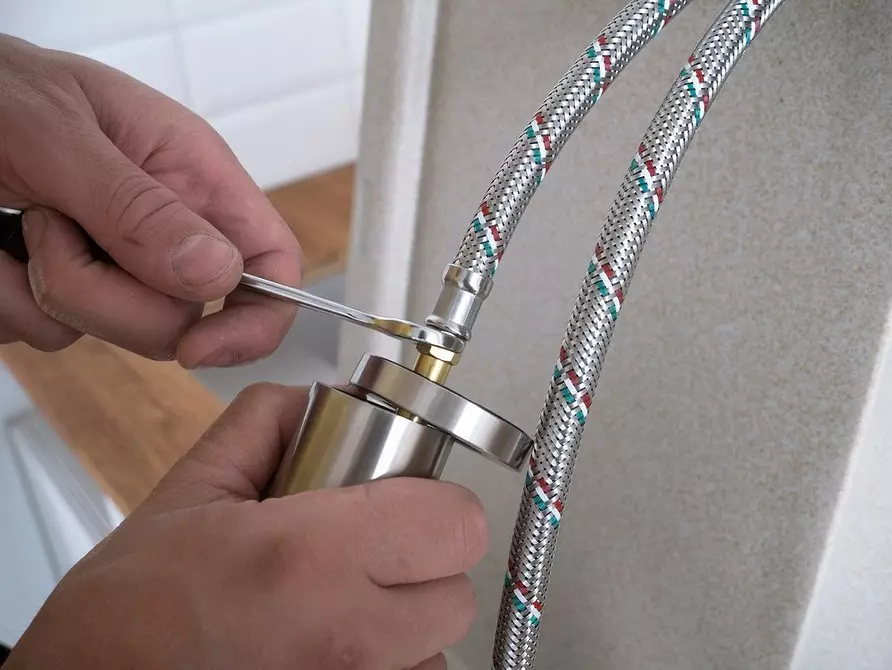
- We connect the liner hoses to the pipeline. We specify the position of the elements so that cold and hot water is supplied to the appropriate conclusions. Fittings retard on the exits of water supply pipes. First we twist the hand until you stop, after tightening the wrench for another two or three turns.
Important moment. The connected eyeliner must be saved. Tension is unacceptable, otherwise it will quickly fail. Hoses are made of different lengths. If it turned out that the length of the flexible elements is not enough, you have to buy others.
The spiker connection is usually used for single-art models. Two-dense are equipped with another fastener node. In this embodiment, the support washer is delayed only by one nut, it is attached to the bottom of the case. Therefore, wrenches will not need to consolidate. Fasteners is tightened with a gas key.
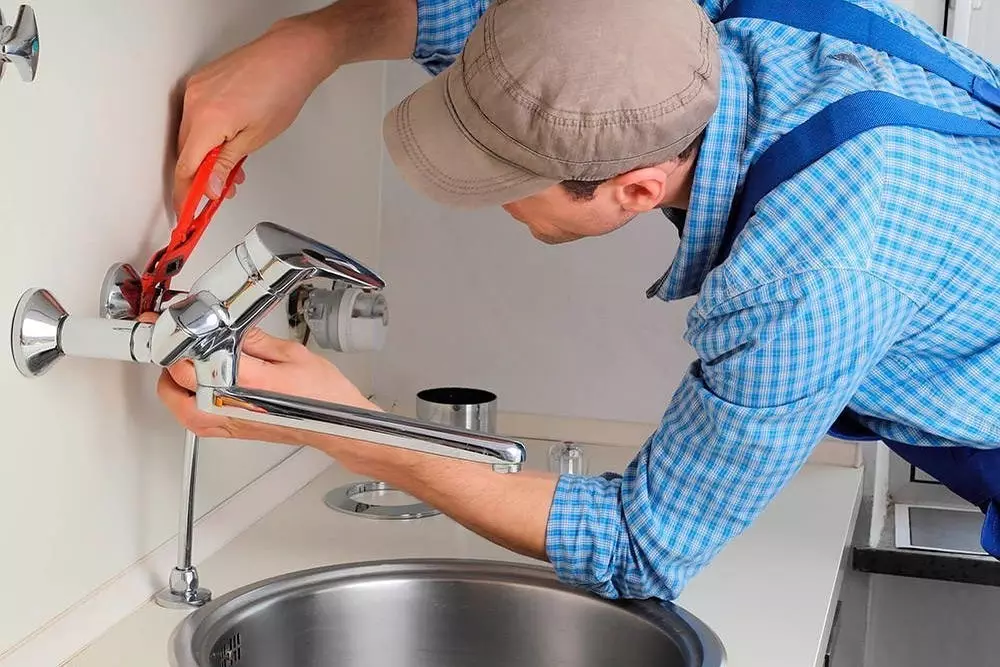
Installation of wall models is carried out otherwise. It is much easier. The conclusions of the cane mixer are rigidly connected to the outlets of the water outlet. This is done directly with the mandatory use of the sealing tape. The only difficulty may occur if the inter-axis distance of the equipment conclusions and the ends of the pipeline does not coincide. In this case, special eccentric adapters use. They are screwed between the elements, after which the mid-scene distance is adjusted.
Touch models and thermostat mixers appeared on sale. The technology of their installation differs little from the installation of standard devices. Differences are related to the presence of an electronic control system. In this embodiment, the external power supply is mounted or the batteries are installed, the sensitivity sensitivity is adjusted. After installation, configure user temperature mode, one or more. All data are stored in the memory of the electronic device.
4. Check the performance of the new device
After replacing the crane, it is necessary to check its performance and tightness of the installation. For this, leverage or equipment valves are set to "closed". Then, alternately open shut-off valves on the water supply. Waiting for 20-25 minutes, then carefully inspect the mixer and all sections of the mounting connections. Everything should be dry, without a very small amount of moisture. If it is, the constipation is released again, tighten the threaded fasteners.
The next step is to flush the new device. Aerator is removed from the gland. It is attached to the end of the hussac of a strainer. It delays particles of pollution. After that, they include water at full power. The flow will wash the inside the pipeline and the housing when mounting the particle of scale, rust, etc. Then the aerator is placed in place, water is again served. The flow should be smooth, without splashing. If it is, the grid is removed and cleared.
Even a plumbing with a small experience will be able to independently replace the kitchen faucet. Before work, you must carefully examine the instructions for a new device and perform it. Recall that we need to pay special attention to. Threaded connections should be sealed. For this, it is necessary to apply a sealing thread or tape. Flexible liner hoses should not be stretched, only mount with a small savory. This will protect the hoses from damage.