
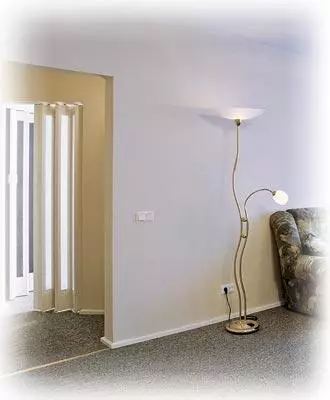
The walls of the walls with sheets and plasterboard panels - the optimal solution of the problem of price and quality during repair.
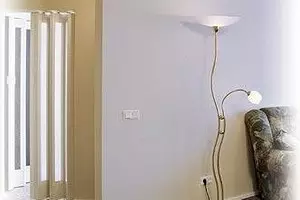
You have old walls in your house - wallpaper, painting, whitewashes do not hide cracks, irregularities that have shuffled plaster. What to do? This classic question torments and does not allow sleep: there is not enough money to overhaul, and as with the lowest costs to get the best result - do not know.
Length, 2500mm
Width - 500 or 600mm
Thickness - 10 or 12,5mm
Tensile strength - 105 kg / cm2
Weight 1m2-iffered 8.5-10 kg
The big advantage of such designs is the technology of "dry" construction, which eliminates the use of water-based solutions and mixtures, which is especially important for old walls. When finishing bathrooms and toilet rooms, special moisture-resistant sheets are used (G CLEB), on top of which can be putting decorative facing tiles.
The finishing panel is made of a leaf of plasterboard, which is placed on the front side by a polyvinyl chloride decorative film, and is intended for the final lining of the surfaces of the walls and partitions from reinforced concrete, brick, wood, including plastered, in residential and public spaces. The idea of using plasterboard sheets and panels for wall decoration and ceilings pay many architectural and decorative features.
Convinced? .. then proceed.
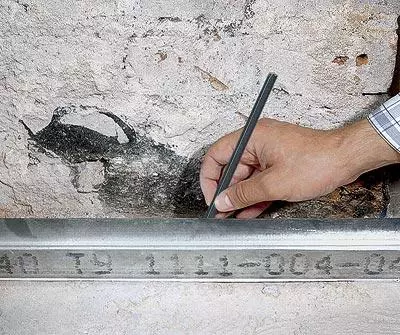
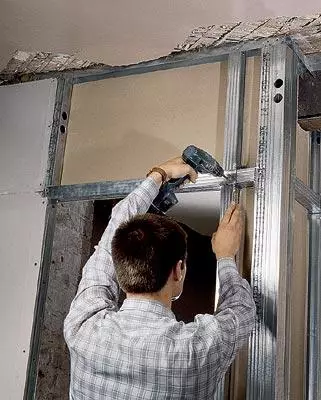
Depending on the type of room, the thickness of the walls and the height of the ceiling select metal profiles to build a carrier frame. To fasten it, you will need a drill with a carbide drill that corresponds to the diameter of a plastic dowel, a screwdriver, a hammer, a carbon knife, a spatula, a hacksaw or scissors for the cutting of the profile, as well as a cutter for plasterboard plates, markup pencil, construction level and meter. When all this you will be at hand, you can start work.
Elements of carcass
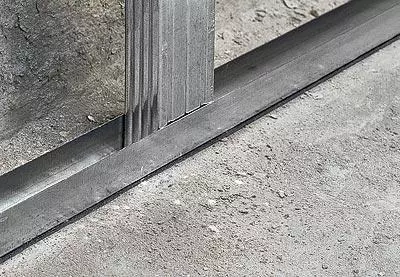
Profile guide (PN) and racking profile (PS) - for cladding on a metal frameFacing profile (software) - for facing from finishing panels
Profiles with a length of 2.5-6.0 m from rolled galvanized steel with a thickness of 0.5-0.7 mm are long elements of the channel-shaped (types of Mon, PS) and L-shaped section (type). We can also mount the framework of L-shaped, but the profiles take large sizes, so the weight of 1m2 walls increases to 25kg. Sometimes it is used to finish with panels fixed on the wall using a special glue for drywall.
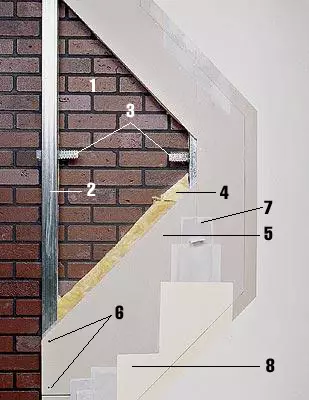
2. Fucking profile
3. Suspension
4. Heat insulator
5. Sheet of plasterboard
6. Scrup
7. Reinforcing tape
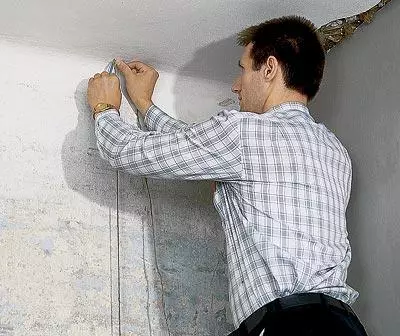
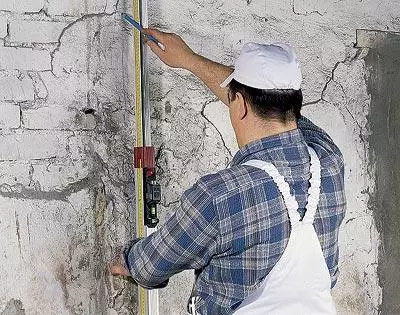
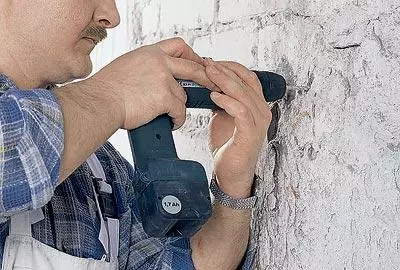
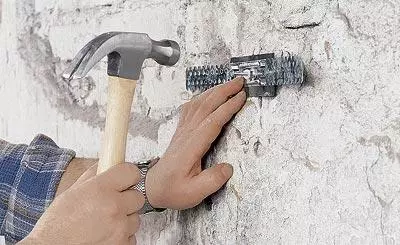
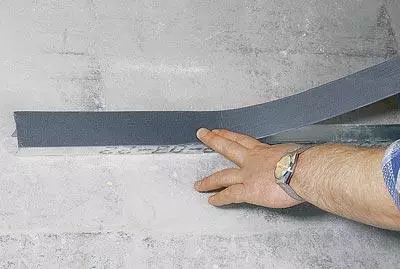
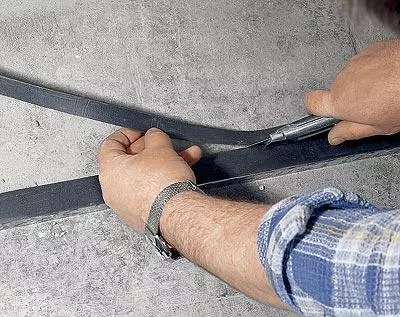
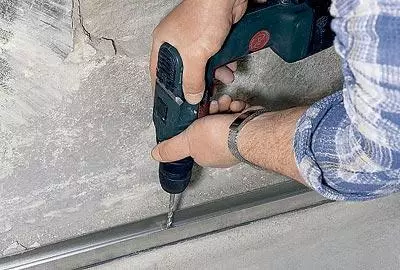
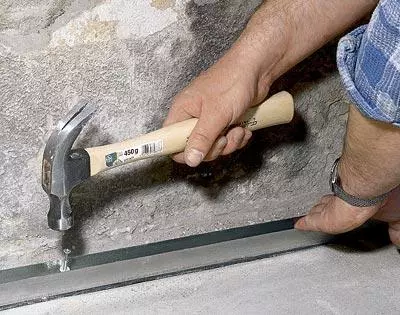
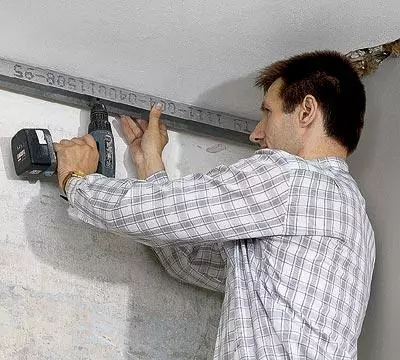
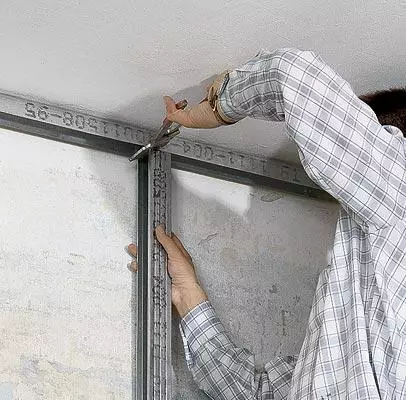
8. A layer of spacureparcipri help level (or plumbing) Make a markup on the floor and ceiling, defining the distance from the installed wall to the site of the profile fastening, and it will read (using the meter) line along which profiles will be attached. On the "sole" of the guides (PN) and rack (PS) profiles, cover the rubber strips of seals. Install and secure Mon and Ps along the markup lines. To do this, through the holes in the guides in the floor and on the ceiling, drill holes for the dowels. If necessary, this can be done directly through the walls of the profiles at the desired points. Vertical, or racking, are attached to the ceiling and floor profiles using self-tapping screws (or fell rivets) or brackets, and to wall-dowels that are driven after 600-1000mm. Note that the correct mount will provide you with a smooth surface of the walls. If the house is cold and raw, run between the racks of the frame plate from mineral fibers. The resulting "lining" reliably protect the room from temperature drops and outdoor noise. After all the frame profiles are adjacent and installed, perform a wiring of the necessary communications (pipes, wiring, etc.) using special holes in the "soles" of the PS, and start the mounting of the panels using the electrical extension and self-tapping screws. Such screws tightly attract the plasterboard panel to the profile shelf, forming a rigid design.
Plasterboard sheet thickness 12,5mm- 1m2
PN 75 / 40- 0.7M profile
PS 75 / 50- 2,2m profile
Suspension straight - 0.7m
Sealing tape - 303,2m- 1m
Sealant for partitions- 0.3 packaging
Dowel "K" 6/35- 2pcs.
Screwln 9mm- 2pcs.
Shuruptn 25mm- 14pcs.
Reinforcing ribbon- 1m
Putty "Facefuller" - 0,3kg
Primer - 0.1l
It is worth this "settlement" set 110-120 rubles.
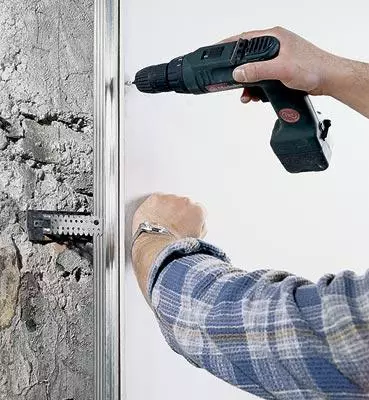
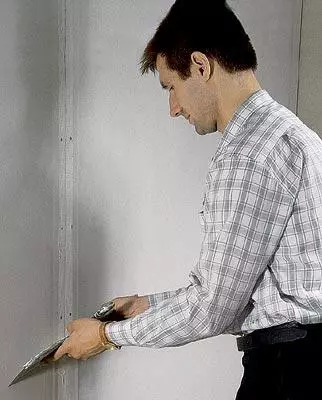
The mounting of plasterboard plates is made vertically. All side edges of the panel must be smooth and carefully adjusted in size. For quick and high-quality mounting, plasterboard sheets are preloaded and, if necessary, process (drill holes for a socket, etc.). If you need to cut the edge of the sheet, use the hacksaw, an electrolovka or a joine knife. To obtain a smooth edge of the drywall, apply the edge plans. Along the vertical edges at the joints of the panels, remove the champions at an angle 45 so that the joint is not noticeable after the shtlock. Having done all the preliminary preparations on the floor, proceed to the installation on the frame. Attach the plasterboard to the profile of screws with a spacing of 200-250 mm. Carefully pon each other edges of the plasterboard sheets, the general view of the wall will depend on it. If you need to leave a place under the door or window opening, fix profiles at the level of its edge and screw the plasterboard slabs smoothly cut along the edge.
For two or three days, you can delay the spacious room yourself, easily coping with irregularities, ledge and cracks in the walls. It will only be left to install switches, sockets, lamps, sharpening and align the joints of the panels. We advise you to use the Suniflot putty, with which the fixation is achieved without reinforcing tape.
Such walls have good sound, dust, moisture insulation. To hang the shelves, pictures, etc. on them, apply special dowels for drywall or screw screws into metal racks. Their location under the wall coating can be easily determined by magnet.
So, if you, on our advice, do repair using drywall panels, then comfort and warmth in your home will be undoubtedly a good award for work.
The editors thanks the training center of the Tigi-Knauf enterprise for help in the preparation of the material.