We tell about the advantages and cons of the suspended ceiling in the bathroom and how to independently install the suspended ceiling of drywall and plastic rails.

Choose a bathroom finish is not always easy. Ceiling surface is no exception. Increased humidity, temperature drops that are quite sharp, significantly reduce the list of possible finishing materials. Not all of them are able to maintain their own appearance and properties in such conditions. We will figure it out how to choose a finish and independently assemble a suspended ceiling in the bathroom.
All about self-installing suspended ceiling
Benefits of the systemVarieties of finishes
Two step-by-step assembly instructions
- Plasterboard design
- Ceiling from PVC panels
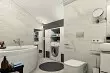
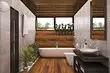
Why choose a suspended construction
Bathroom - room with a special microclimate. Therefore, there is a moisture-resistant durable finish, which is easy to clean from pollution. Experts recommend paying attention to attachments. Their feature is that the facing is attached not to the ceiling, but to the frame fixed on it. This gives a number of advantages.
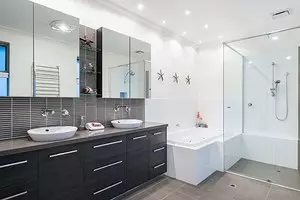
Benefits of suspended systems
- Alignment of the ceiling surface. The lamp is fixed so that the plane is perfectly smooth. Compared to alignment of plaster, it requires smaller labor and is cheaper.
- Ability to disguise any engineering communications. Under the facing, electric wires are paved, plumbing pipes, etc.
- Ability to arrange spot lighting. For bathrooms, as well as for others in the house, different lighting scenarios are relevant. And as the main can be the point light.
- Additional insulation. Those who live on the upper floors can lay additional layers of hydro and thermal insulation. It protects them from leaks, cold and heat.
- Easy installation. If desired it is performed with your own hands. Special equipment is not required.
disadvantages
- The most important ceiling becomes lower. On average, "eaten" 5-10 cm of room height. For high rooms it is not scary, but for typical shchers and they are very noticeable.
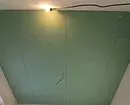
- The remaining minuses depend on which cladding is choosing the owner. So, the plastic of low quality over time turns yellow, the drywall of poor quality can be destroyed under the action of moisture, especially after leakage from above, etc.
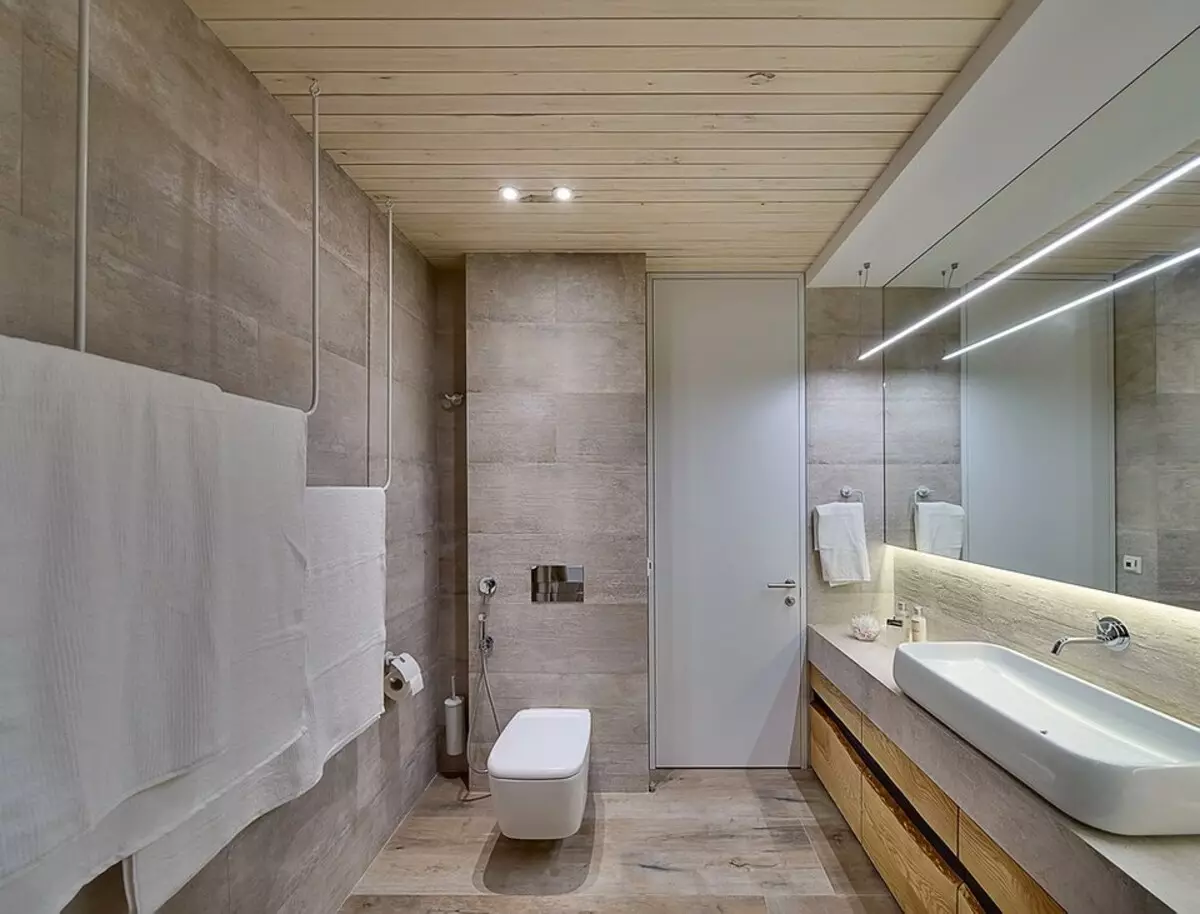
Various facing
All attachments have a frame attached to the ceiling. This is a common structural element. But the various cladding can be fixed on it. Depending on what it is will distinguish between several varieties.Panels
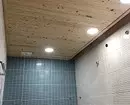
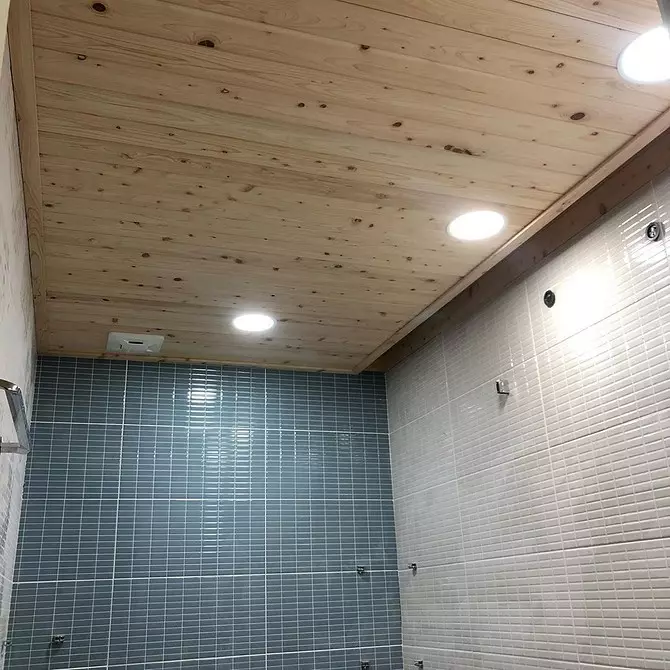
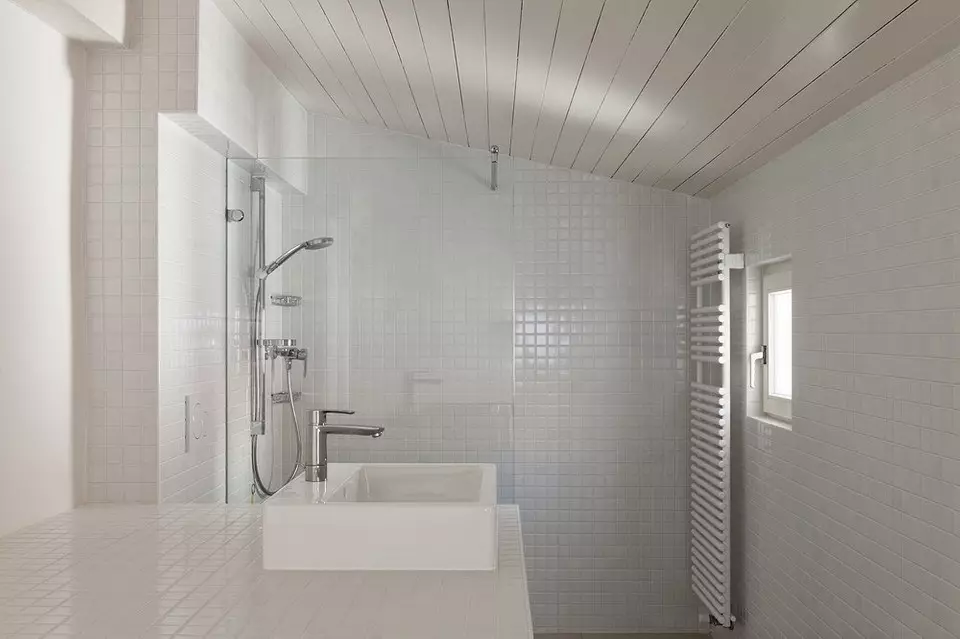
Most often these are lamellas from polyvinyl chloride. Similarly used MDF panels. But in a wet room they are undesirable: they will quickly come into disrepair. Plastic is easy to mount, it is insensitive to moisture and other adverse events, easy to care. When compliance with the rules of operation will last for a very long time. The only thing is dangerous for plastic, these are strong blows and other mechanical damage.
The PVC panels are produced with a spike-groove type locks, which facilitates their installation. After assembly, a one-piece canvas is obtained, which is easy to disassemble if necessary. For example, to replace the rented bar. A large selection of textures and colors makes it possible to realize any designer solution. Another plus is the low price of the material and the availability of installation profiles, covering the seams and joints of the cloth.
Reiki
May be different: wooden, metal, plastic. Under the conditions of the bathroom, PVC lamellas are most often used. They differ from the panels with dimensions. In addition, it is distinguished by a closed and open-type woven. In the first case, in the edges there are castles like a spike-groove, which allows you to collect a solid cloth with low-challenges. In the second case, as a result of the assembly, small gaps between the straps remain. They are closed with decorative lining. Both varieties are mounted simply enough. Narrow rails are well bent, so a curvilinear form of finishing is possible. Plastic transfers dampness, temperature drops, but is afraid of mechanical damage.
Plasterboard
Sheets are fixed on the frame, it turns out a smooth cloth. It becomes the basis for finishing design. It can be paint or wallpaper. The last option for bathrooms is undesirable. For installation, only moisture-resistant plasterboard is chosen, it is painted in green. All other varieties will quickly come into disrepair.
Installing HLC is more complicated than panels or slats. Plates are large and heavy, without assistants can not do. But the material is well cut, easily bends. It turns out of the designs of the straight and curved configuration. It is possible to install multi-level built-in lighting. The minus can be considered the need for subsequent finishing of HCL. It includes shtlocking, special attention is paid to the joints and plots of installation of fasteners, priming, painting or sticking wallpaper.
This is not all varieties of attachments. These include still cassette and stretch ceilings. In the first case, the frame-cassettes of standard sizes are attached to the frame. In the second, the synthetic cloth is stretched using special equipment. But they are usually carried in separate categories.
Instructions for installing a suspended ceiling in the bathroom
All suspension systems are mounted approximately equally. But the difference is definitely there. We will analyze two possible options in detail.How to assemble a design of plasterboard
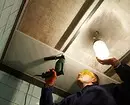
Before installation, all the necessary engineering communications are carried out. They must be collected and installed. If the built-in lighting is planned, the wiring should also be ready. It is assembled and fixed in place before the start of the frame assembly. A draft ceiling cover does not require any preparation. Only if it was covered with plaster and it hovers, it is desirable to remove large hanging pieces. Otherwise they will fall during mounting work.
We will need drywall sheets (moisture-proof), for assembling the crates, guides are needed, ceiling profiles and metal perforated suspensions. They will be needed if profiles are planned to be located at some distance from the foundation. Then in order to avoid savings they are fixed on fastening-suspensions. Self-tapping screws are used as fasteners.
We offer step-by-step instructions, how to make a suspended ceiling of plasterboard in the bathroom.
Procedure
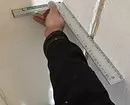
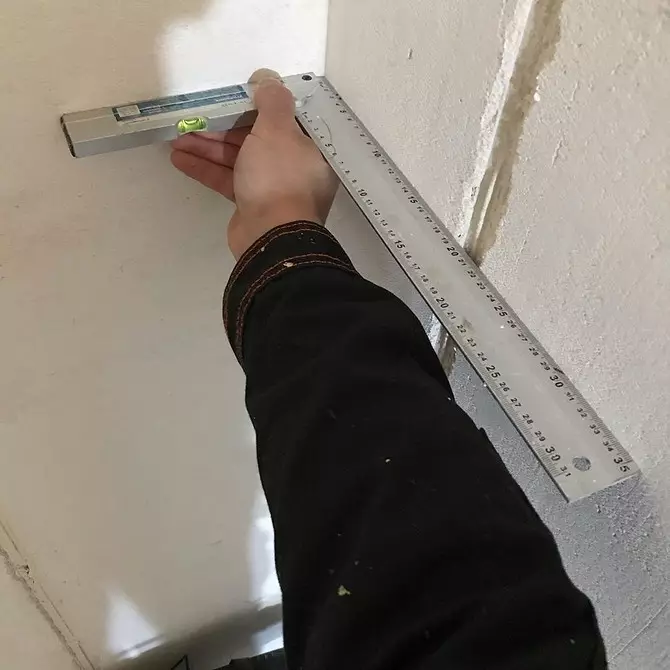
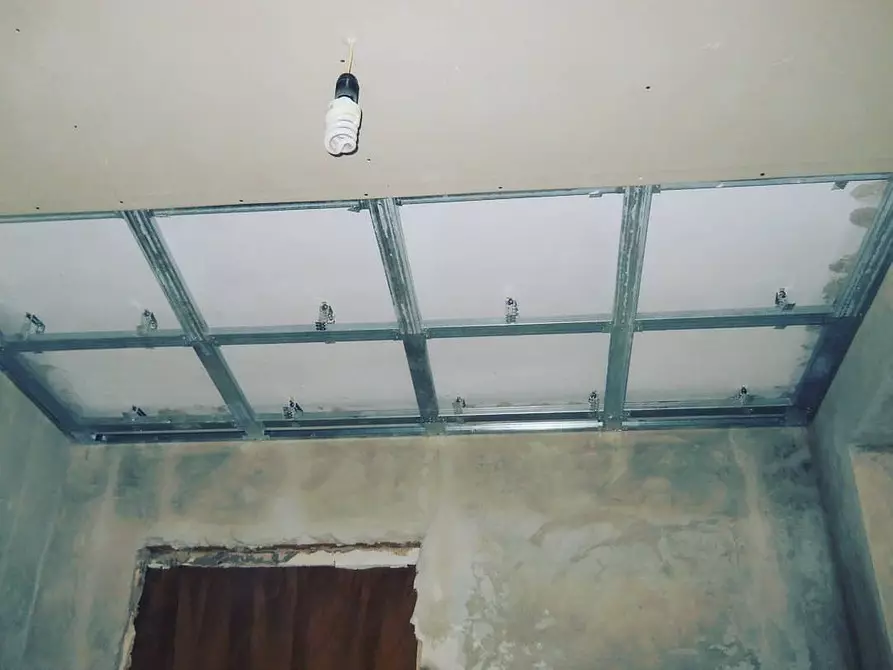
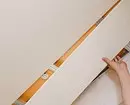
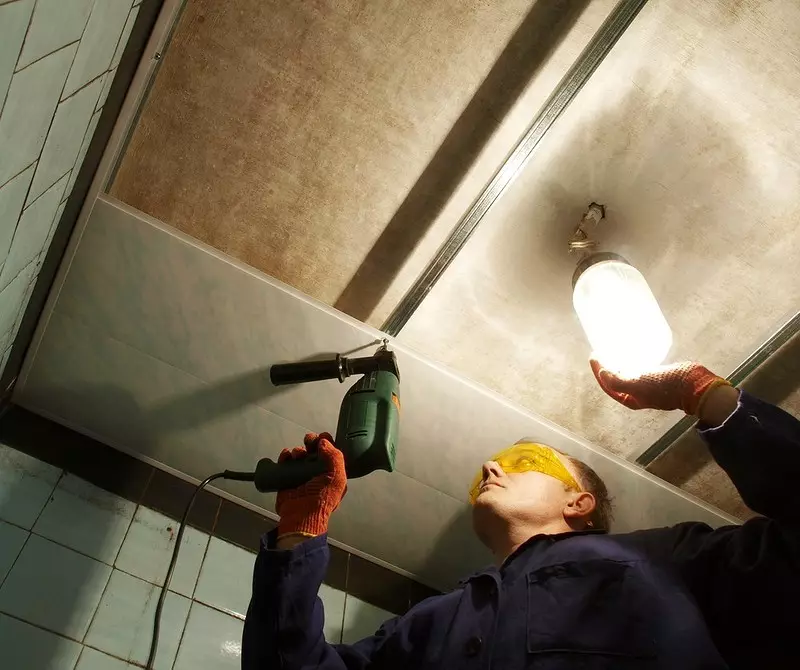
- We start with markup. We define the level on which we will mount the ceiling. We celebrate it on all the walls. Here will be attached the lower edge of the profile planks. We plan profiles location. Between them should be the same distance, not more than 0.5 m. If necessary, placing the suspension fasteners. They are located over profile elements with a step of no more than 0.4 m.
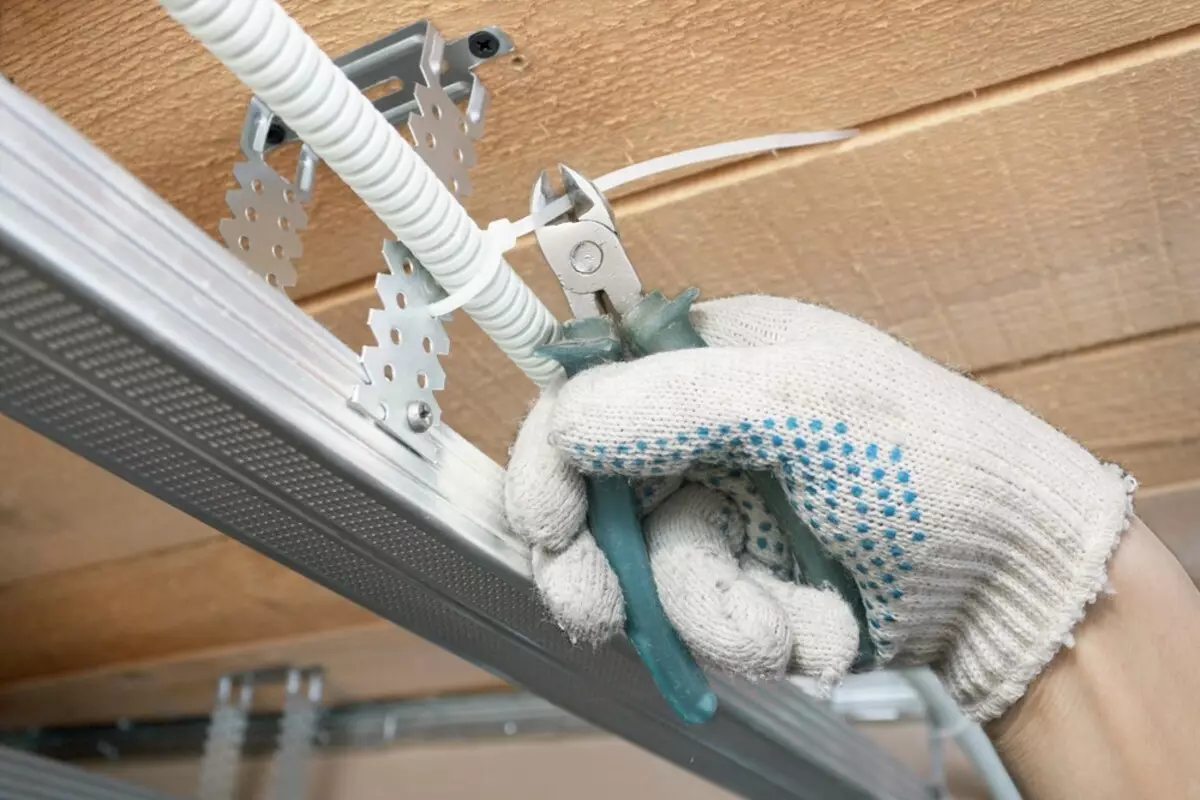
- Installing fasteners-suspensions. Drill or perforator with a suitable drill on each label we make holes. Their depth should be a little more dowel. We insert a dowel into each hole, bother with a hammer. We put the suspension in place, fix it with a self-tapping screw.
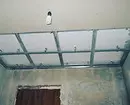
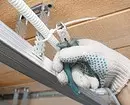
- We collect the crate. We make holes for dowels to fix profile elements. We put in place a dowel. With the help of the construction level, we set each line of the crates, fix it to the base or on the suspension. Plots crossing profiles are enhanced by mounting "crabs".
- We check how the plane of the collected crate is formed. We do it with a level. The plane must be strictly horizontal. If this is not so, correct the shortcomings.
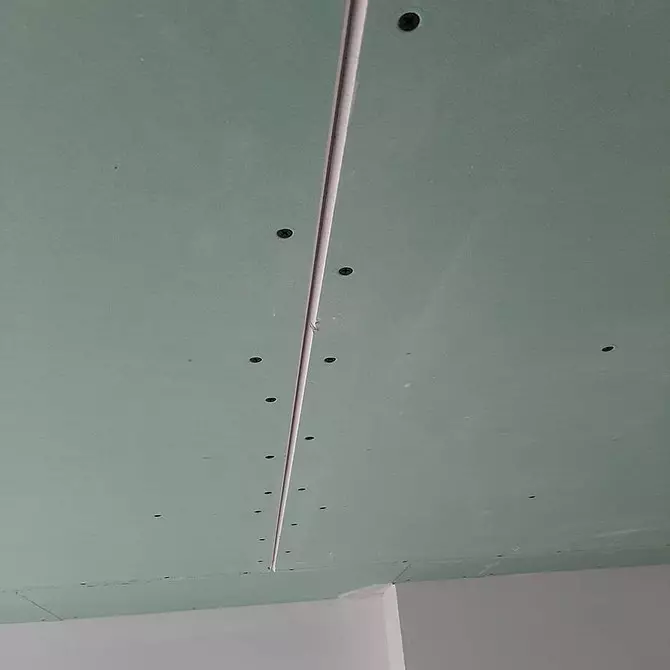
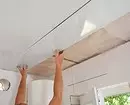
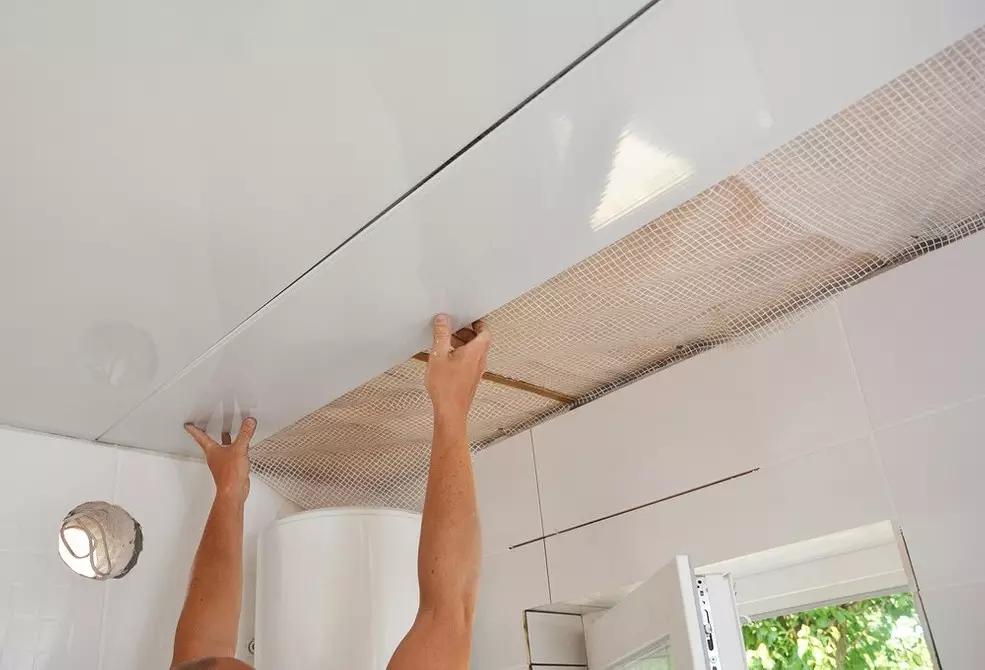
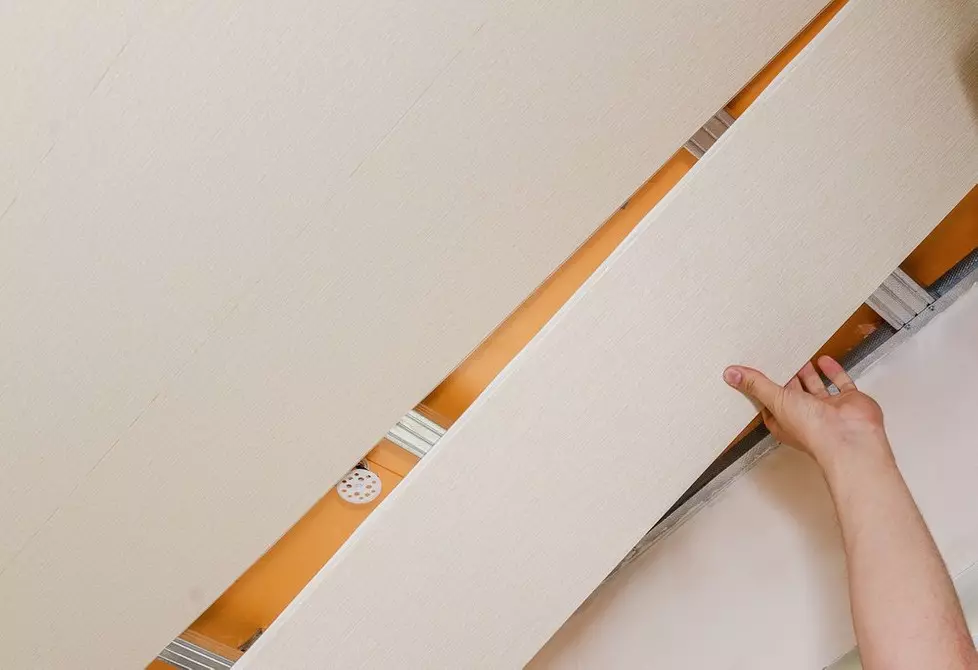
- Fix the plasterboard. Leaf raise and apply to the guides. We screw it with self-tapping heads. Step fasteners - 250-400 mm. The required trimming is best done with an electric bison with a saw for metal.
- Speed joints and depressed plots over fasteners. We divor into a suitable putty or take ready-made paste. The joints are sickling with sickle, alternately apply two to three layers of putty mass. Everyone neatly recall.
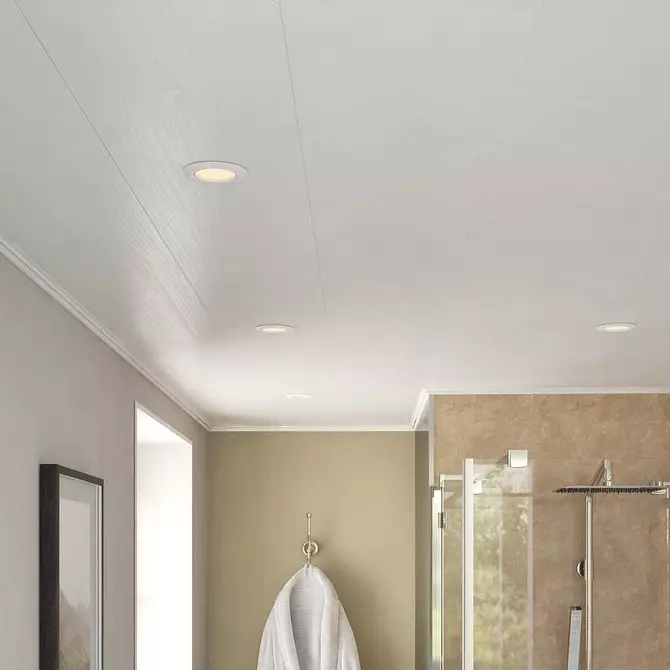
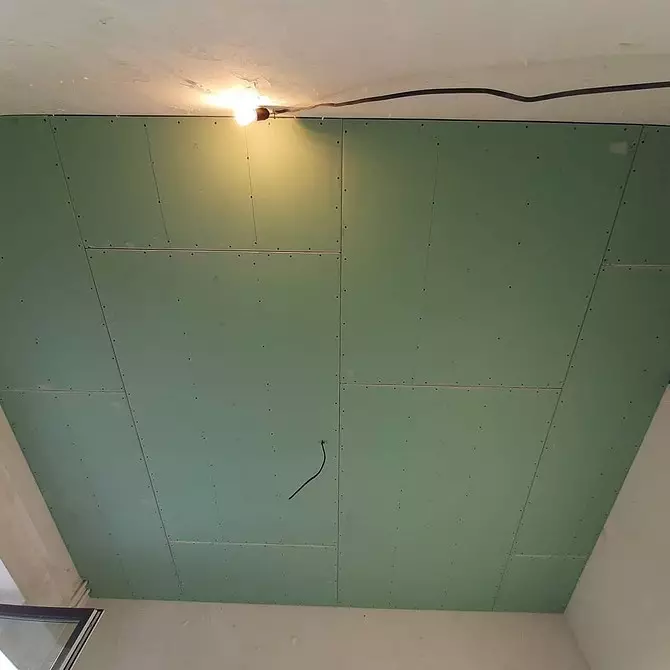
It is possible to start further finish after complete base drying. It is best to apply a layer of finishing putty on the entire surface and give it again to dry. The base prepared in this way can be painted by any moisture-resistant paint. You can stick wallpaper. But in this case, moisture-resistant canvas and special glue are selected. Sometimes it is additionally applied a protective layer of colorless varnish. The photo presents the main points of the finishing process.
How to make a ceiling of plastic panels
For the manufacture you will need metal slats on the crate, curly profile strips for installing lamellas, screws. You may need suspensions. They are needed if the rails are not fixed to a rough basis, and their length is more than 120 cm. In this case, the loose plastic cloth can be saved.Step-by-step action
- Perform markup. We celebrate on the wall where the lower edge of the panel will be. We carry out a line around the perimeter of the whole room. Check the horizontal with a level. On the line we plan holes in a step of 250-300 mm under the fasteners. If the suspensions are needed, we plan the sections of their fixing on the ceiling. Step - 400-450 mm.
- Installing fasteners-suspensions. To do this, at each mark you need to make a hole under the dowel. We carry out his drill or a perforator with a winning drill. Insert a dowel to the cavity, bearing, to get up tightly. We put the suspension in place, fix the screws. While we leave it in this form.
- On metal guides, drill holes for fasteners. Step is the same as on the wall. We are preparing cavities under the dowel on the markup. Insert plastic plugs in them. Apply the prepared guide to the wall, we combine the holes. Fix the detail by self-draws. Similarly, we put all the planks around the perimeter of the room.
- We put the racks of the crate. Perforated plates set previously suspensions flexion to the desired height. We bring the profile detail in them, fix the screws. Similarly, mount the entire crate.
- Mount the P-shaped profile element. The edges of the lamella will be inserted into it. Apply the first part in the corner to the metal guide fixed on the wall. Fix galvanized screws. Moving further, fill the entire perimeter of the bathroom.
- We put the first panel. First, neatly sharp knife cut off from one side of the spike, designed to fasten with adjacent lamella. This part will approach the wall. We bring the ends of the plate into the cavity of the P-shaped profile. Carefully move the item, tightly pressed against the wall. If there are suspensions, fix the cloth to them with special fasteners.
- The next and all other planks do not cut. We bring ends into the profile element, move the plate to the previous one. We bring the edge spike in the groove of the already laid item, tightly connect them. Similarly, we put all the rest of the slave. If necessary, in the installation process, cut the holes under the luminaires in them. You can make it a sharp knife.
- Mount the last lamella. In very rare cases, she gets up the whole, most often it has to be short. We measure how much you need to cut off. It is best to do this in several places, given the curvature of the planes. In the panel we plan a cut line, gently cut. The easiest way is to cut the electrolybik, but you can also with a sharp knife. The prepared plate put in place. She should get up tightly, without gaps.
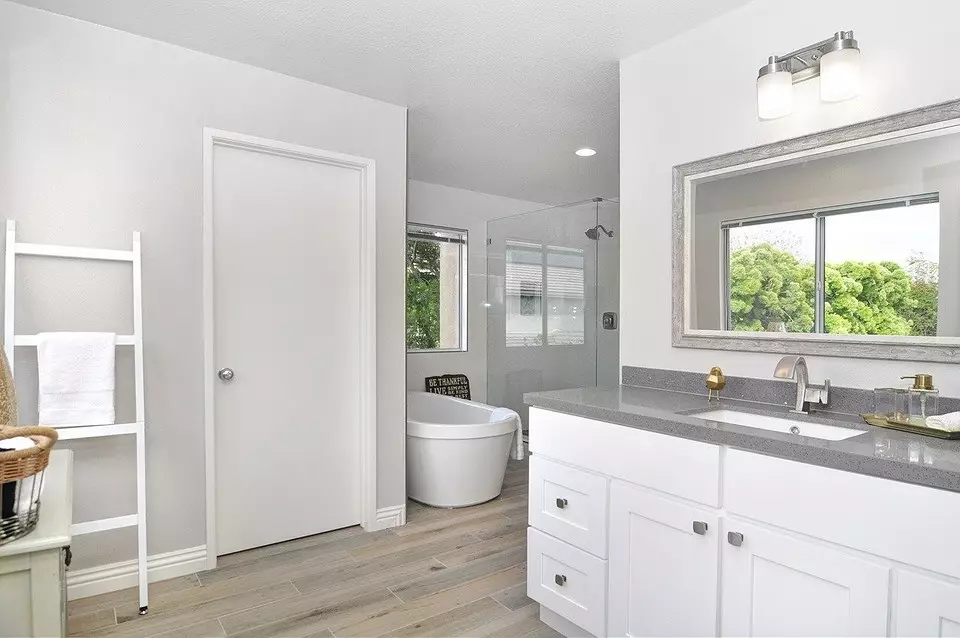
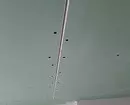
Independent installation is simple, takes some time. Usually in one day a new ceiling coating is already ready, even if you still need to put lighting devices. They are mounted simply and quickly. True, it must be remembered that some lamps are heated when working, and this is undesirable for plastic. It can be yellowed, and with long-term intense heating ignite. The photo below shows the suspended ceilings in the bathroom from PVC panels.
Installation of the suspension system may seem very difficult. But it is not. Following the instructions, even inexperienced masters collect the ceiling construction. The easiest way to install plastic panels or rails. They are lungs, well cut, the castles make it possible to easily collect a solid cloth. With drywall work harder. He is heavy, so help will need. In addition, after installation, additional finishing is needed.