
We tell about the types of balcony shelves and materials from which they can be made. And also give two assembly instructions: for mounted shelves and shelving.

There is no extra meters in the apartment. This is especially well known owners of small-sized. Therefore, every centimeter of free square must be made useful. Balcony space Many are used to store things that have no place inside the apartment. In order not to litter the room, it is important to choose a practical and functional version of the storage system, for example, the shelves on the balcony - they can be made with their own hands.
All about independent manufacture of balcony shelves
VarietiesWhat can they do them
Two manufacturing instructions
- mounted shelf
- Stellazh
Varieties of balcony shelves
When choosing a storage system, dimensions and form of the room are required. They determine the optimal design of the shelves. There are several design solutions.
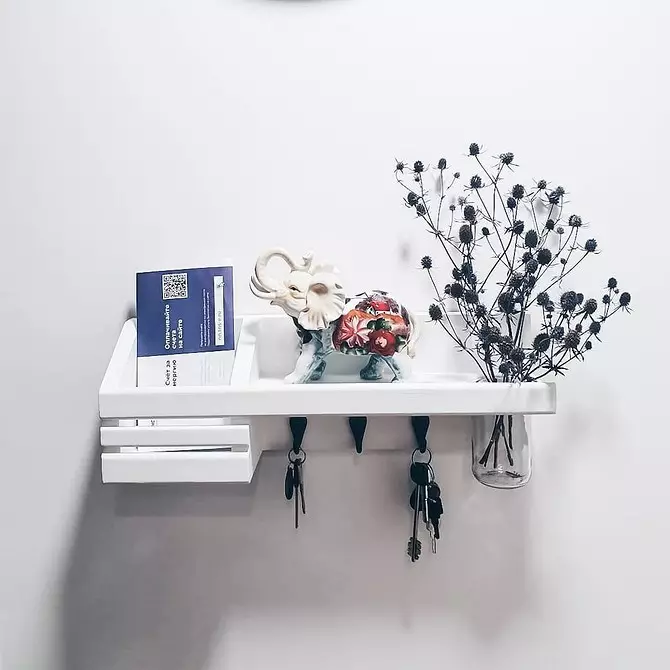
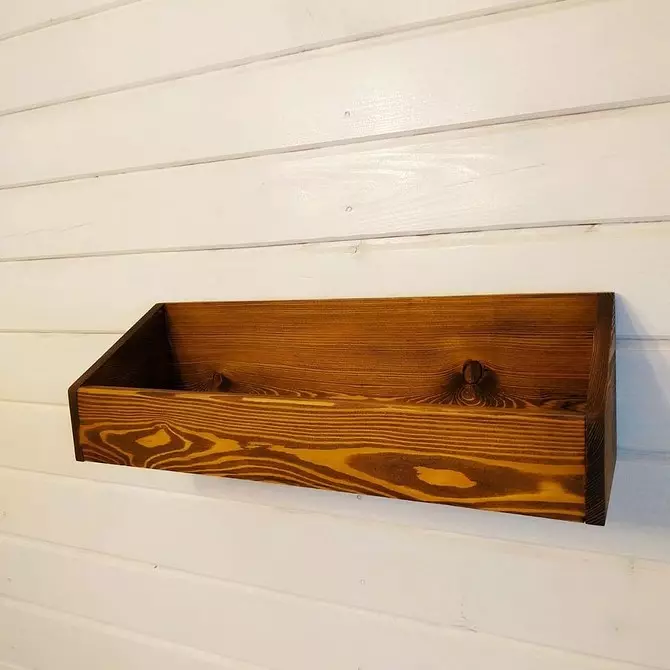
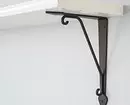
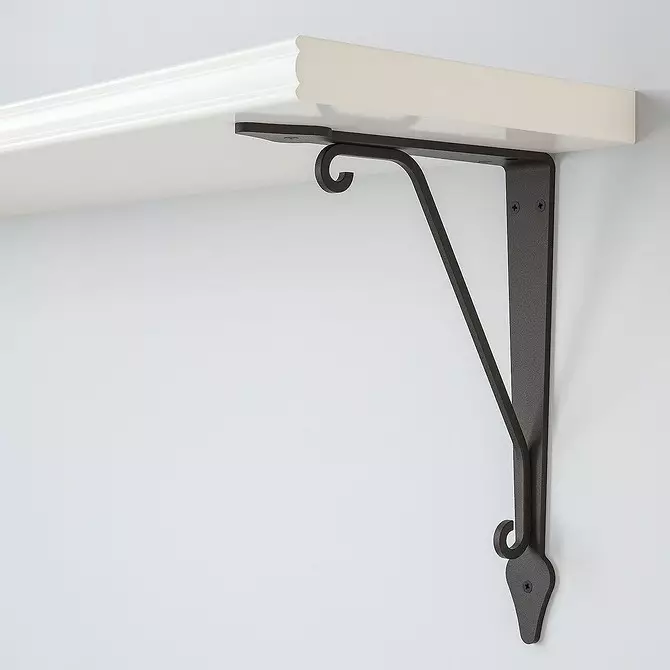
- Hinged. Installed on the holder bracket fixed on the wall. There may be different sizes and shapes.
- Removable. Mounted on special holders, with which, if necessary, are easily removed.
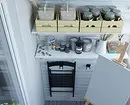
- Outdoor. Move on rack-legs by type of racks. May be single and multi-row. Installed on the floor.
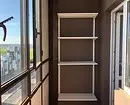
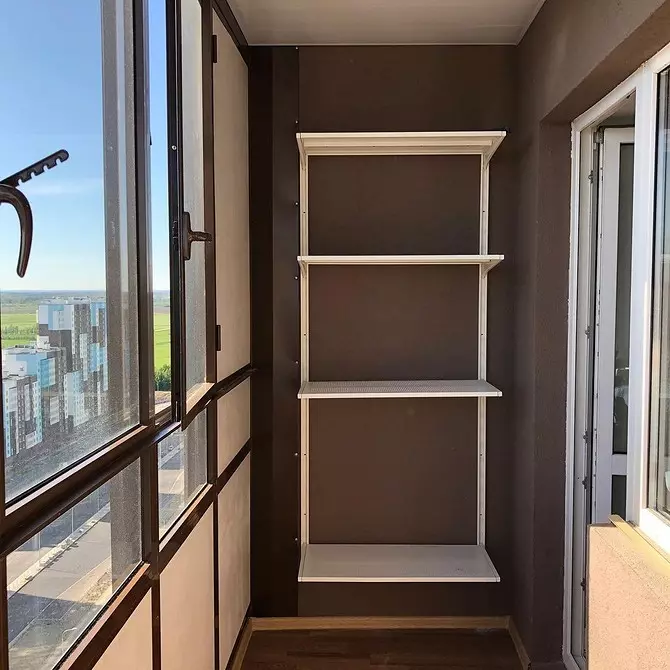
- Fixed. Racks, rigidly mounted on the wall.
- Folded. Mounted on the loop, if necessary, laid out and fixed on sliding supports. Then remove again. Folded occupy a minimum of space.
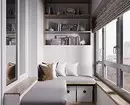
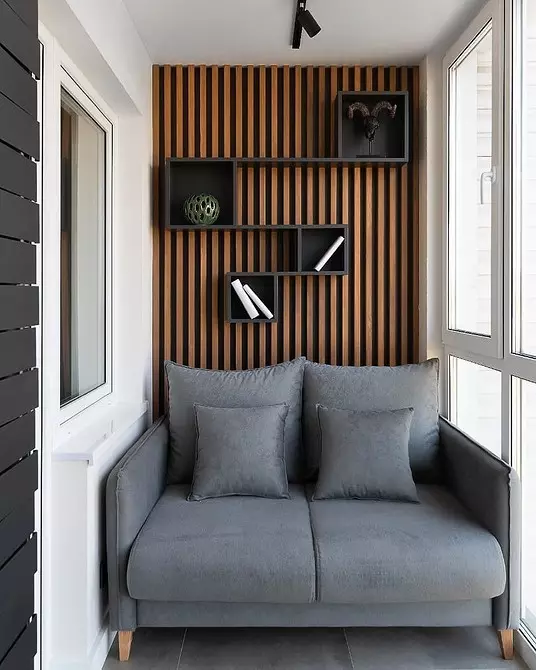
Shelves can be closed or open. In the first case, doors are installed, blinds or a curtain of dense textiles is fixed. They close the contents not only from curious eyes, but also from dust and dirt. The form differences straight and angular structures. The latter helps rationally use the corners, which is especially important for small areas.


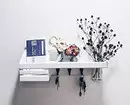
Hinged regiment
Otkidnaya
Fixed
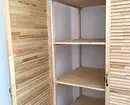
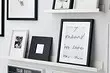
With doors
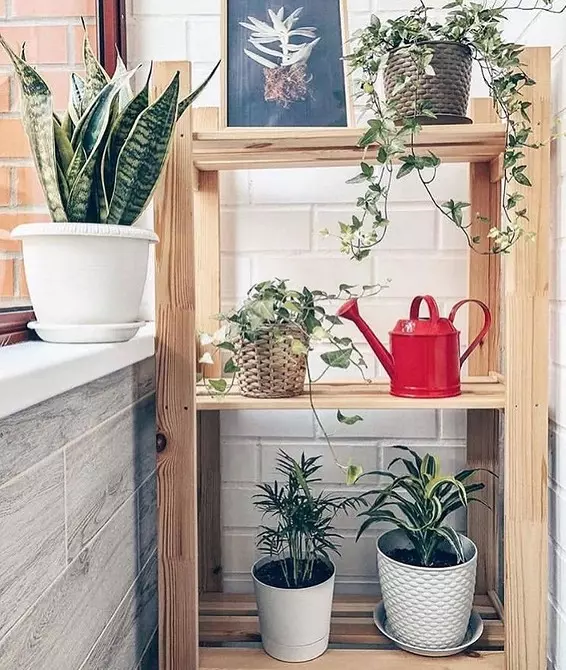
Outdoor
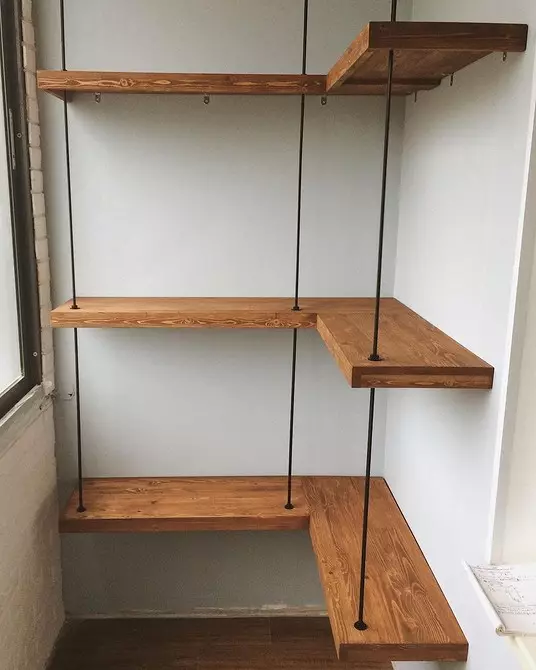
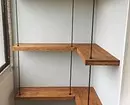
Angle
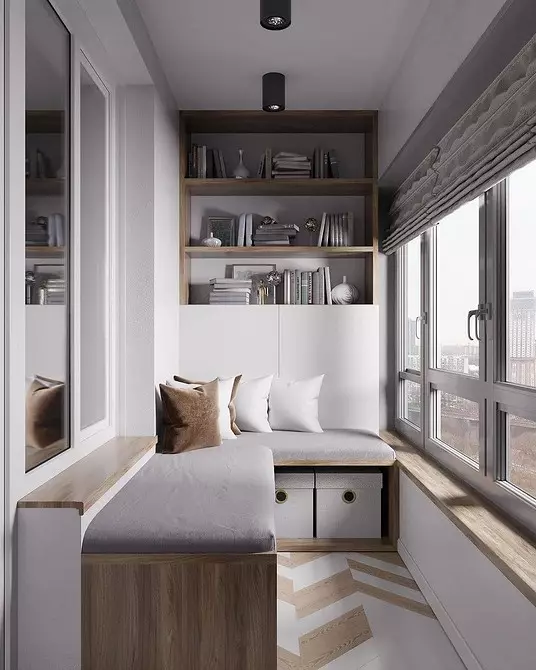
You can select one type of design or combine several. The latter usually gives the best result. So it is possible to rationally organize the space, even the most small.
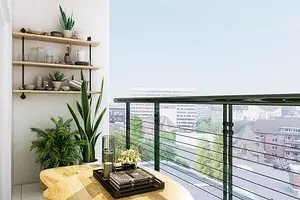
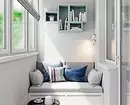
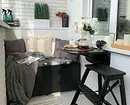
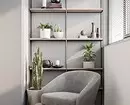
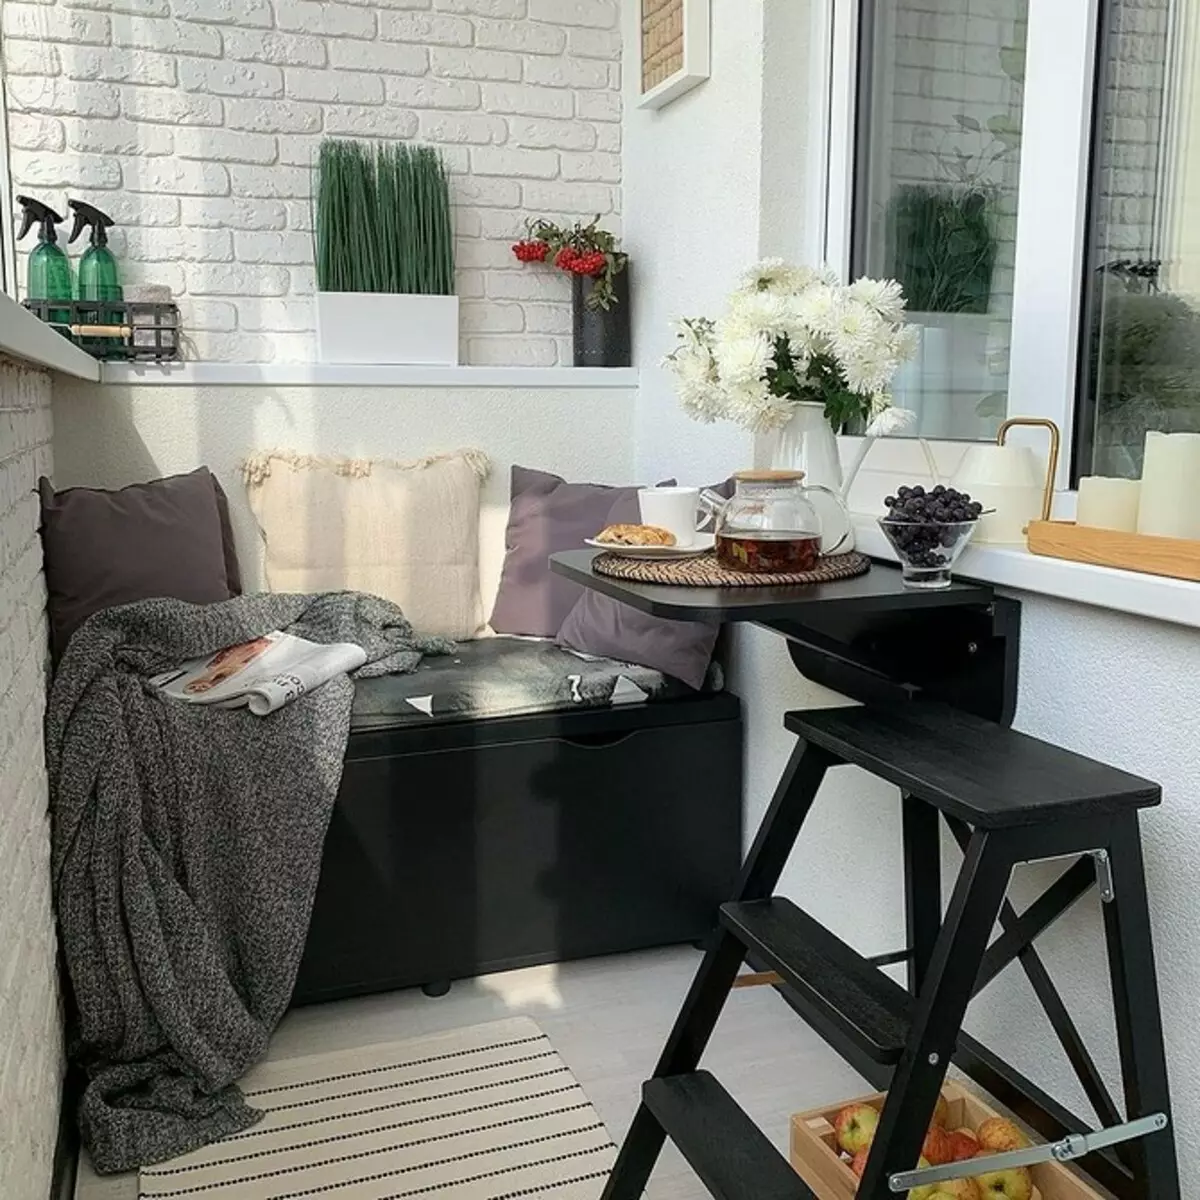
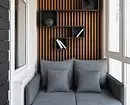
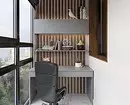
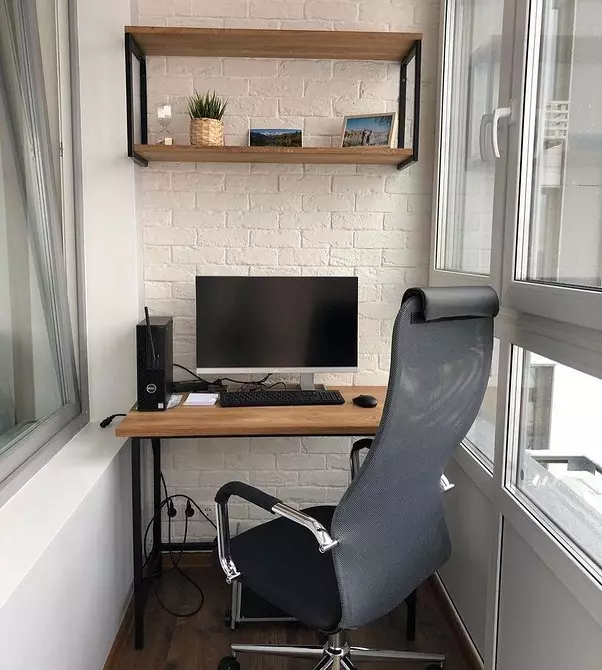
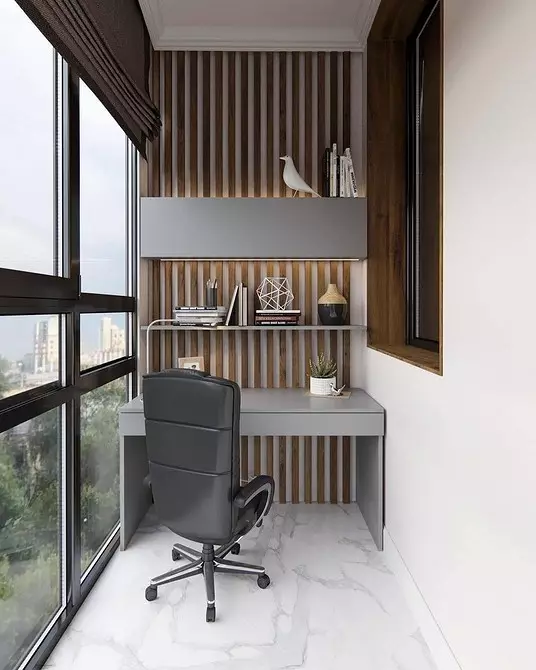
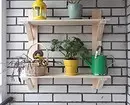
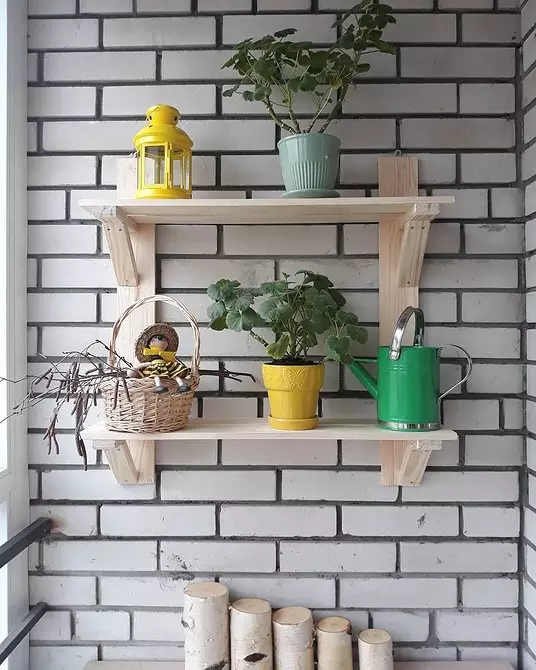
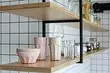
For example, in the end of the balcony places storage shelves. If the side walls are closed, they can be placed on the bottom and top. Then it is best to choose an outdoor or fixed design. The latter can be closed with doors, it will be a convenient wardrobe. On the wall near the window, small mounted shelves for flowers, books or souvenirs are usually placed. Along the balcony parapet if sizes are allowed, placed closed systems for storing blanks or any other things. All this is done on a glazed balcony, which is protected from precipitation and wind. Otherwise shelves and what lies on them, quickly come into disrepair.
We have collected some of the possible options, we offer to see the photo of the shelves on the balcony.


What makes the shelves on the balcony
Design starts from the selection of the material. This determines the weight, strength, durability and method for fastening the product. We list the most sought-after options.
- Plastic. Different types of plastics may differ from each other with durability and durability. But all of them are resistant to moisture, drops of temperature and some aggressive substances. The plastic is easy to care for, it is lightweight, easy to process and in the installation. You can find plastic sheets of different colors and textures.
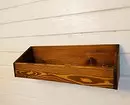
- Wood. Durable, environmentally friendly and beautiful material. With a competently selected thickness, it can withstand significant loads. Poor tolerate high humidity, absorbs water and starts to deteriorate. Therefore, it needs special processing, which is carried out at a periodicity of every two or three years.
- Chipboard. Wood slabs are strong enough, easy to process. It is undesirable to produce long products from them. There is a probability of a break. It is better to immediately put additional supports to warn inad. If there is no special processing, the protection against moisture is required.
- Metal. Strength depends on sheet thickness. Metal make parts of the frame and bases. Reliable and durable products are obtained. Metal elements are subject to corrosion, especially if there are in conditions of high humidity. To protect the metal periodically paint metal.
- Glass. Special hardened varieties have sufficient strength. With proper use, withstands significant loads. The glass is fragile, breaks away from strong blows into small sharp fragments. It is difficult to process it, it is better to do it on special equipment. For this reason, it is ordered its cutting in production. Glass elements are commonly used as a beautiful decor.


Metal

Chipboard
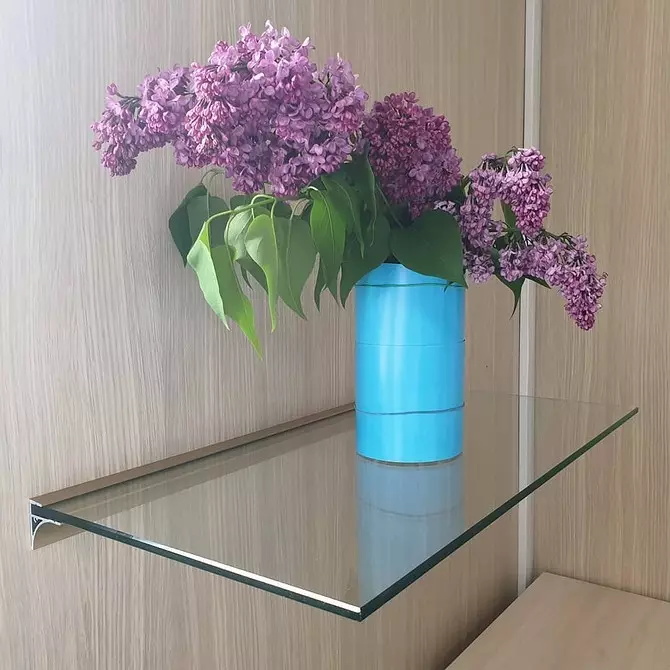
Glass
Plastic
Wood
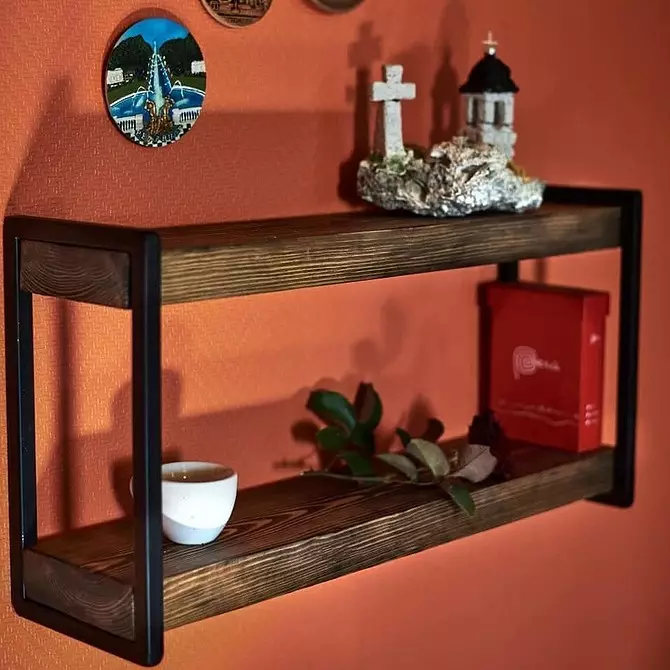
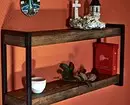
Combined model
Combined products are widging, when manufacturing which the combination of different materials is used.
Step-by-step instructions for the manufacture of shelves
The technology of manufacturing the shelves depends on their model. We will analyze the simplest options that are easy to make with your own hands.1. Make a mounted shelf
For work, you will need brackets-mounting in the form of angle. On each shelf two pieces. For the basics, pick up chipboard, phaneer, unintent wooden board or plastic plate. In addition, you will need a logby or hacksaw, a ruler and a pencil, a construction level, a screwdriver, a drill and a set of drills. We will witness how to make the shelves on the balcony with their own hands.
- We determine the place where the shelves will be installed, and their dimensions. We plan the location of parts on the wall.
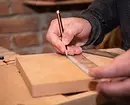
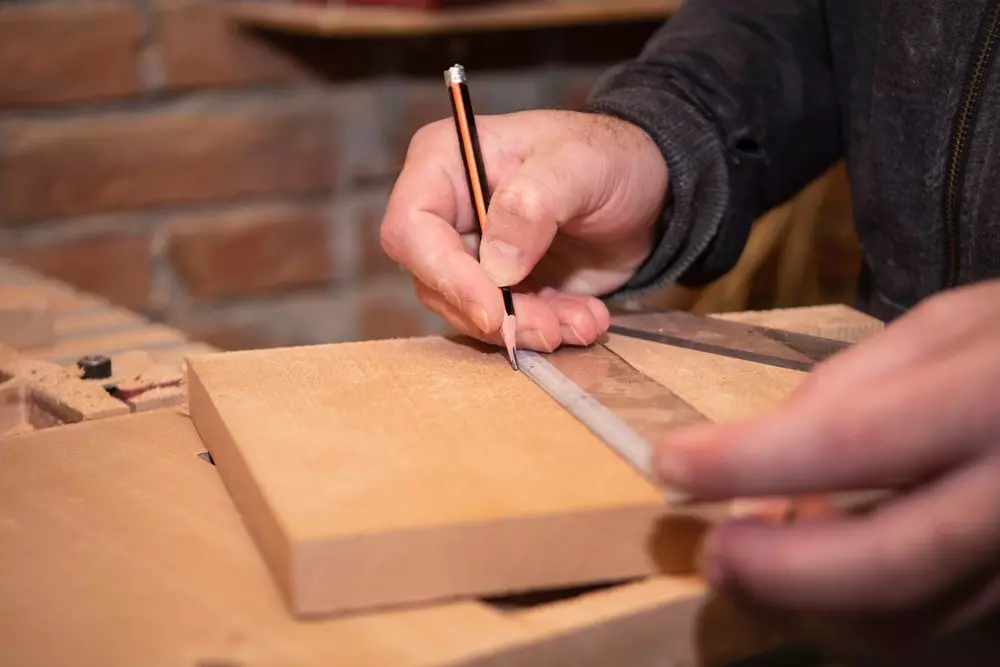
- Decitation material. We plan on the sheet of the outline of the base, gently cut it with a pubsie or hacksaw. If you work with an electroller, it should only be directed, it is impossible to apply forces. It ruins the workpiece. Processing the edge. If necessary, we can paint and cover with varnish.
- I turn over the workpiece. We plan on it the locations of the brackets. Alternately secure each of them self-drawing.
- Shelf apply to markup on the wall. Pencil outlining points under the fasteners. Drills for fastening holes. We put the design to the place. Fix fasteners.
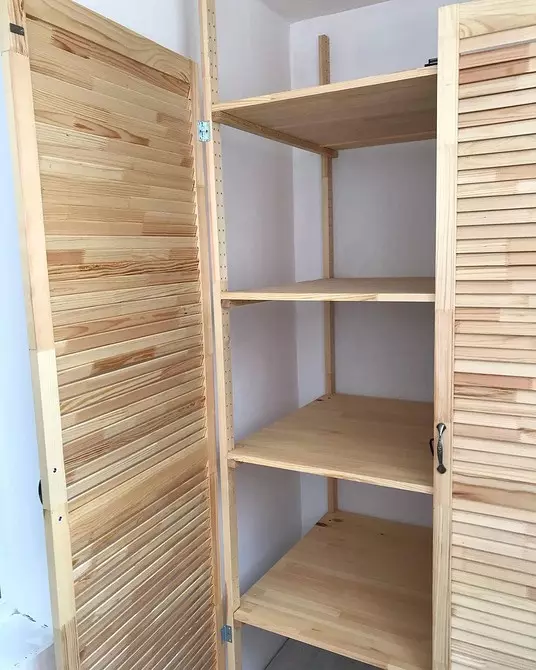
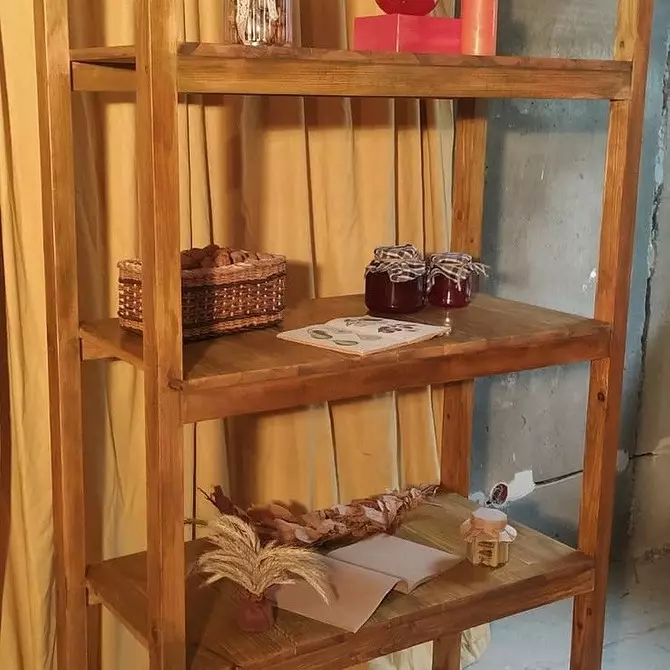
2. Collect the design of the shelves
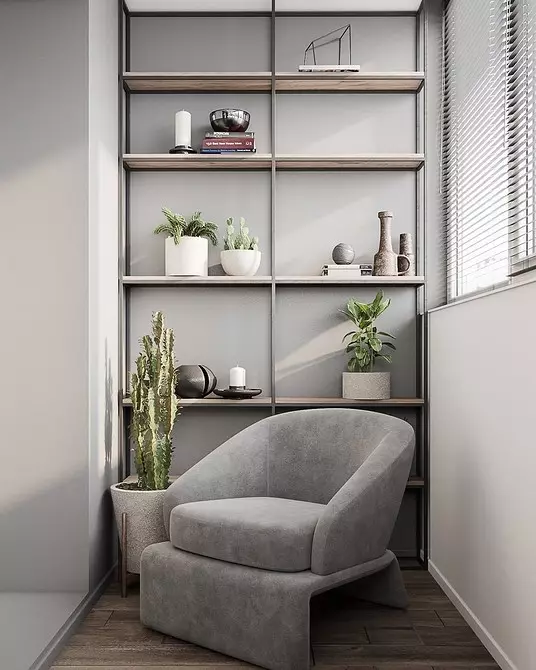
If one shelf is small, make several products and set them around each other. Or collect rack. This design with vertical supports, between which the horizontal shelves are located. May be angular or direct. We have prepared instructions, how to make the shelves on the balcony in the form of a direct rack.
- Build a plan scheme. To do this, measure the area where the rack will stand. We determine its height, depth and width. We choose the dimensions so that the design does not interfere with walking, did not hurt the windowsill and did not block the window. According to the size of the size, we build a plan, determine the amount and height of the position of the shelves.
- Cooking shelves. For this, we cut the material, guided by sizes from the scheme. Cut the desired number of blanks. We clean them, process ends.
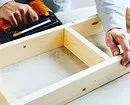
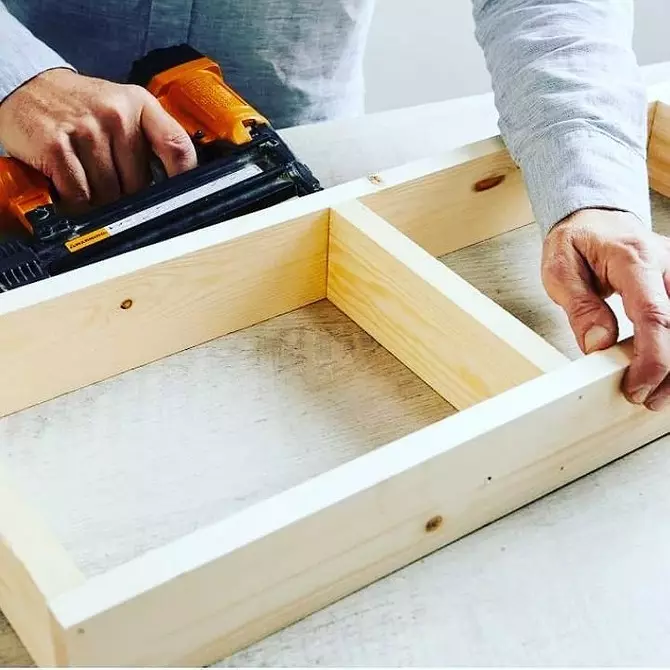
- We collect a frame. For him, they will need wooden bars of square sections. They are cut into fragments of the desired length. On the floor or on a flat surface parallel to each other, two vertical parts are placed. Between them put on and fix the transverse elements. Break them to corners or simply self-drawing. Similarly, we collect the second workpiece.
- We put the collected frame elements in place. It is best to fix them against the wall or somehow differently so that they do not fall.
- We take the prepared shelves, lay each two sides on horizontal supports. Fix in place by self-draws.
- The rack is ready. If necessary, it is covered with varnish or color. It is possible that part of its contents will want to close, then the doors are installed on the bottom or hang a dense curt.


Balcony storage systems are very much. Before planing and collecting your own, it is worth considering the premises, analyze the advantages and disadvantages. In order to fully take advantage of all its pros and try to level the minuses.
