We tell about the standards of the arrangement of the suspended toilet and give a step-by-step plan of the installation: from the parsing of the installation kit and before checking the quality of installation.

Hinged structures gradually displace their outdoor analogs from the bathrooms. This is simply explained. They are comfortable, easy to leave and look attractive. Install the equipment can be independently. All necessary details are included. To prevent an error and correctly perform work, you need to follow the instructions. We'll figure it out how to install the suspension toilet with your own hands.
All about mounting the suspension toilet
Features of equipmentNorms of accommodation
Pros and cons
Installation instructions
Features of suspended toiletzes
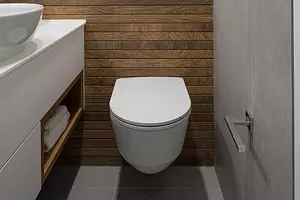
The system is a bowl and a flat drain tank. Its volume is no less than the usual. It has a small thickness, but it takes a significant area. The main elements in most cases do not come into contact with the floor and hold on metal racks. This is the main difference from the outdoor analog that relies on the floor.
The vertical part is hiding behind Fallest. As a rule, this is an aluminum frame, covered with plasterboard sheets. It easily holds the weight of the tile and massive shelves. The descent button is installed on the partition. Connection to sewage is carried out using standard pipes. The altitude of the location of the bowl provides a normal drain in a typical apartment and in a country house.
Types of embedded systems
- Block - the tank is installed on the wall, and the bowl is placed onto the overlap. The base serves as a carrier wall or a solid enhanced partition. It makes a niche or fasten the equipment to the surface. Then the vertical part of the design is closed with a screen. Standard blocks have a width of 0.44-0.53 m, a height of 0.45-1.1 cm and a depth of 0.12-0.2 cm. Such a scheme is rarely applied, since the framework does not always meet the technical requirements.
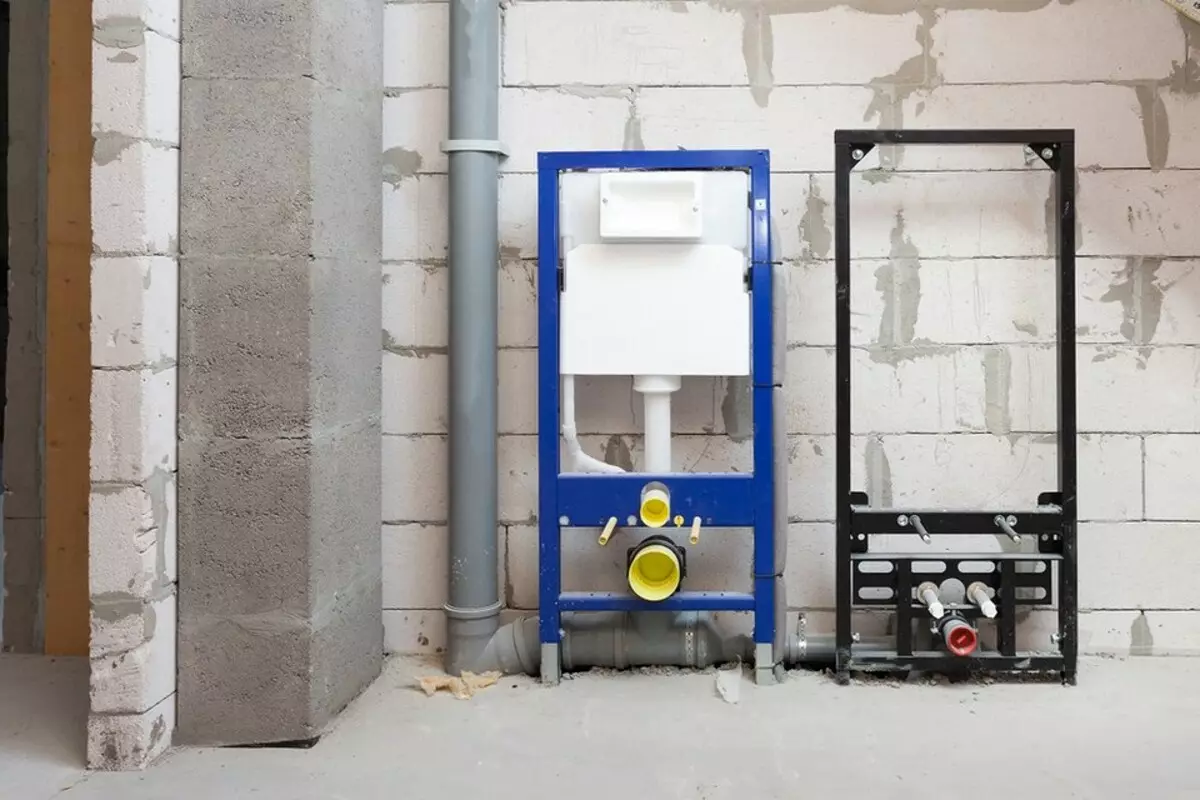
- Flat metal frame - vertical and horizontal elements are attached to it. Its bottom is fixed on the floor, the top is on the wall. The average width is 0.3 - 0.5 m, the height is 1-1.4 m, the depth is 0.12-0.31 m. There are angular framework models that are mounted into two perpendicular connecting bases.
Rules location
The norms and rules for the installation of mounted toilet are applied not only to city apartments, but also to country houses that are objects of IZH. The current GOSTS and the SNIVA introduce a number of requirements and restrictions.
- Santechpribor must be near the sewer riser. The further it stands, the longer the horizontal section of the tap tube, and the worse the water flows on it. So that it is not delayed inside, the bias of the horizontal part should be from 2 to 3 cm on the tempo notion.
- The upper edge is placed at an altitude of more than 0.4 m on the floor level, taking into account the finishing finish.
- The distance from the center of the seat to the side wall, washing, bidet and baths take at least 0.38 m. It is desirable that it is more. The recommended value is 0.45 m. From the front edge to the door should be at least 0.53 m.

Advantages and disadvantages
pros
- Compactness - a drain tank is already ordinary for several centimeters. In typical urban apartments, this difference is very significant.
- Reliability and durability - the carrying capacity of fixtures and racks is designed with a large margin.
- Easy to care - during cleaning it is not necessary to wipe hard-to-reach places. All nodes are hidden behind the screen.
- Drain occurs without noise, since the inlet valve is located behind the deciduous partition. In addition, behind it can be laid a soundproofing layer.
Minuses
- Communications are harder to get to repair them. They are hidden behind the removable partition. It should be noted that it is completely prohibited to close them. Ensure should always be provided with an accident.
- The unit can only be hung on a reliable base. For a frame it is not required.
- To use a roomy tank, sometimes you have to expand the space allotted under it. Its volume depends on the width much more than from other parameters.
How to install the suspension toilet
It is not so difficult to install a plumber yourself if you precisely follow the instructions. We will analyze the process on the example of the frame model. We divided the process to the steps and offer their detailed description.1. Required equipment and tools
Start work with checking configuration. Sometimes it happens that it is not complete. If it turns out during the installation, you will have to immediately go to the store. Therefore, it is better to check everything and buy in advance. We give a list of components.
What is included
- Metal supports.
- Flat tank.
- Inlet valve.
- Fitting.
- Brackets, self-tapping screws, screws, other fasteners.
- Buttons, keys or more complex devices that allow you to control the equipment.
- Drain nozzle.
- Knee washed.
- Tubes for entering the sewer riser. If they are not included, the hole is plugged with old rags. If this is not done, a strong smell will appear in the apartment. It is better to prepare the rag in advance. Special plastic plugs for IVTO and GVA, protect them from trash contacts.
- Elastic gasket under Santechpribor. It is needed in order to extinguish sound vibrations that are transmitted to the overlap and extending throughout the house.
- Pipes for connecting to a plumbing. Plumbing is connected not only to cold, but also to hot water.
- Bowl with fastening elements. Sometimes they are sold separately.
It will take silicone sealant - they close the joints. To seal the threaded connections from the inside, they are wrapped with a fum-ribbon.
Required tools
- Building level.
- Roulette, ruler, pencil.
- Spanners.
- Passatia.
- A hammer.
- Electric drill and set of drills on concrete.
- Screwdrivers or screwdriver.
- Bulgarian or hacksaw for metal.
- Joiner.
2. Marking
Before you install the installation for the toilet, once again check whether the requirements of construction standards are made. After that, you begin markup.
- First, the vertical line is drawn, denoting the location of the frame center. If two Santechnic is planned, there are two lines taking into account the requirements of technical standards. From the central axis of the housing to the wall, the edges of the bidet or other equipment should be at least 38 cm. The optimal distance is from 50 cm. This value is taken into account with the finish. From supports to the walls should be at least 15 mm.
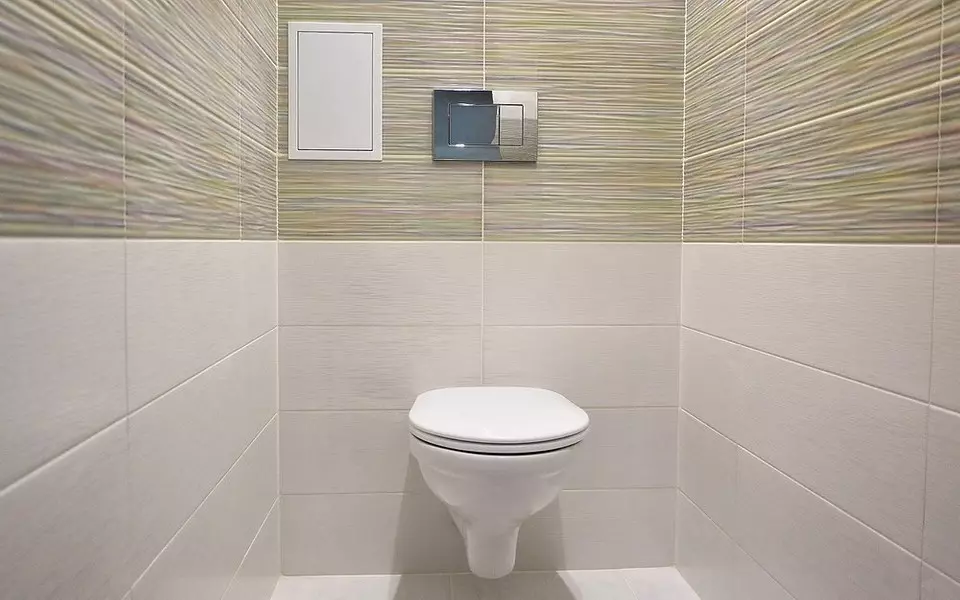
- Determine the position of the buttons. They are placed not lower than 1 m from the finished floor. It is necessary to prepare holes in the panel covering the horizontal part.
- The contour of the tank and the position of the supports are noted.
- It should also be considered, at what height is installed. The distance from the edge to the finish finish of the floor should be at least 40 cm.
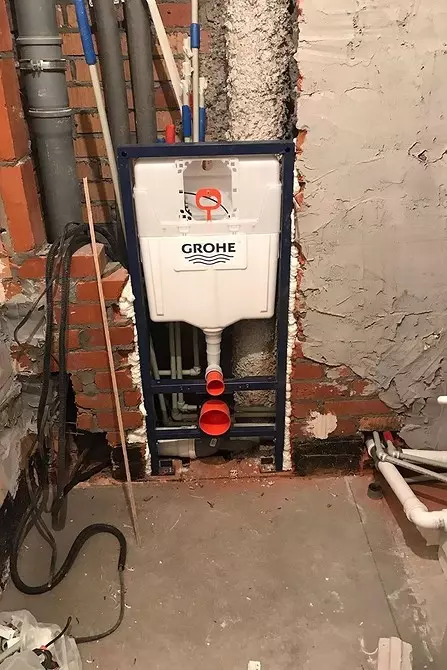
3. Installation of carcass
On the vertical and horizontal surfaces according to the markup, the holes under the dowel. They screw the adjustable bolts with nuts from the kit. Rama is exhibited using a construction level. Height is regulated by screw legs, depth - wall screws. All connections should be fixed. Otherwise, under the influence of vibration, they will weaken or come into disrepair. This will fall to the fall of the frame, a tank and damage to the whole structure.They put studs that come in the kit. When fixing the bowl, you can use purchased studs, but their strength should be taken with a margin. The console gives a large load on the base. The set can include elongated studs that pass through the frame and fastened on the wall.
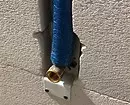
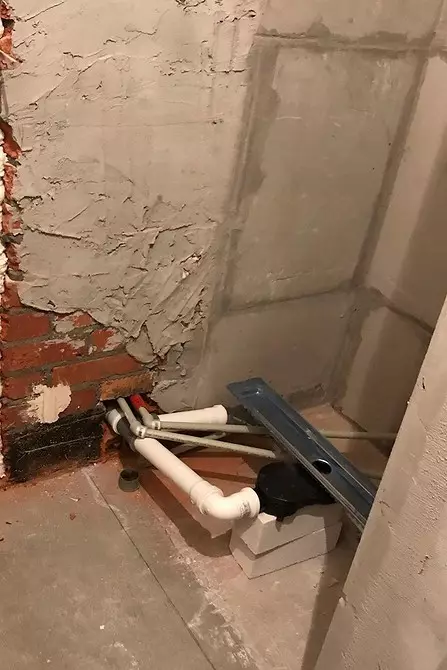
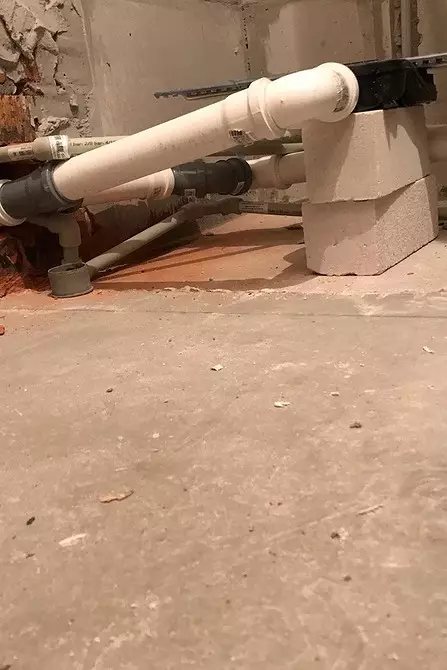
4. Side Communication
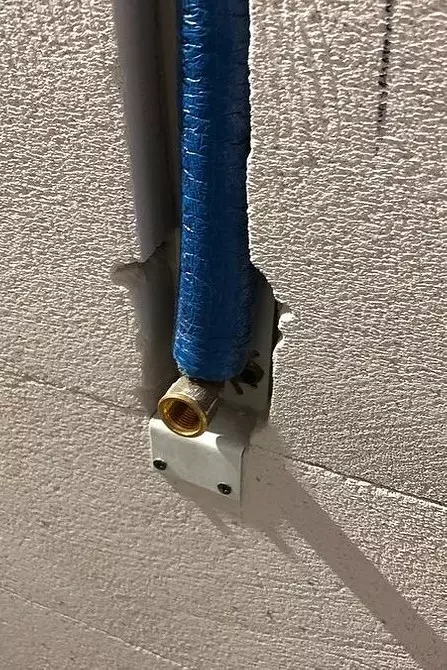
Water to the tank comes from the HVO pipes. If the toilet with the function of the bidet, hot water is also connected. If the hoses are not included, for eyeliner use standard fittings, as for ordinary plumbing. Flexible hoses are not reliable. It is better to use products from metal plastic. Connection make on top either side.
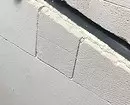
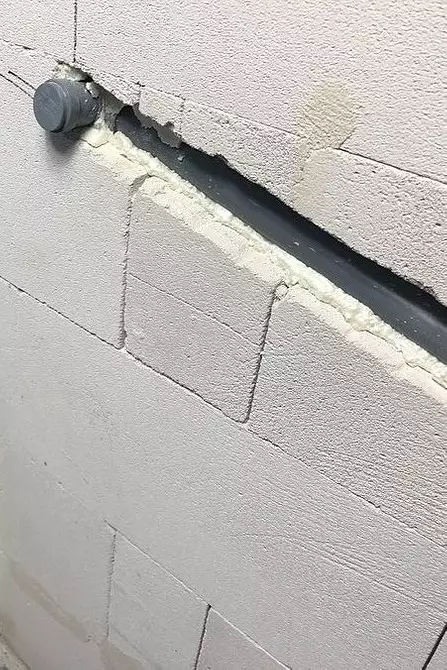
Communications are carried out in hidden channels or boxes. Stroke reinforced concrete slabs is prohibited. According to the current regulations, work is prohibited under which the carrying ability of walls and gender deteriorates, so the restriction may also be distributed on brick and monolithic structures. The gasket is allowed to be carried out in the layer of plaster or in another coating that does not affect the strength of the building.
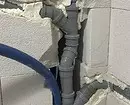

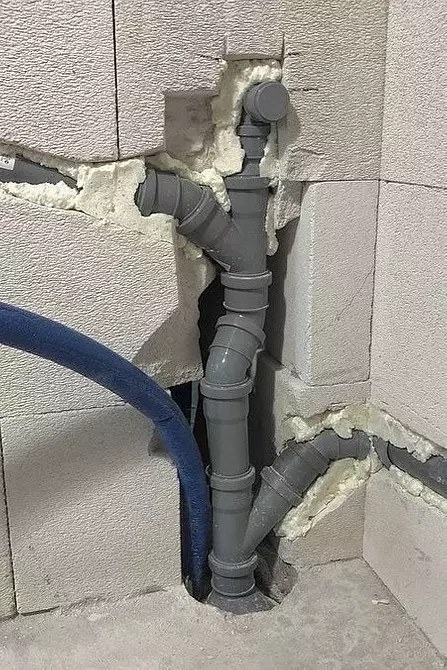
To connect to the sewer roller, it is necessary to prepare a plastic or cast-iron pipe with a diameter of 10 cm. Its far end is labeled with a sealant, connect to the inlet in the riser and fix the clamp tightened with the screw. The other part of the clamp is fastened to the frame. This part has a M-shaped form. The plumbing device connects to its horizontal top.
With a large removal, the drain will have to raise the drain so that water inside is not found. The slope must be 2-3 cm on 1 p. Sleeve hide in a removable box or channel in the overlap. In the latter case, they make a screed, leaving free space in the corner. With a significant slope, it will be too massive and high.
In typical apartments, this reception can not be used. It is better to calculate all the nuances before starting work. When installing the installation of the toilet, the installation dimensions must be known in advance. This will save time and prevent an error. When all the power elements are mounted, and the pipes are connected, the system is once again tested and closed the false panel.

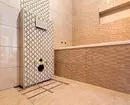
5. Installation of the partition from GLK
It is cut from a leaf of GLC in the width of the niche, after which the holes under the heels, drain, feeding water in the bowl, and the removal. When arranging the toilet bidet, it will be necessary to drill holes for the crane, feeding cold and hot water. If the buttons are located in front, the niche is made for them at an altitude of more than 1 m on the level of the floor coating.
Use drywall with green color - it easily transfers moisture effect. They are trimmed with an aluminum profile frame. His guides are attached to a dowel to the floor, walls and ceiling, then combine their rigidity ribs. Their amount depends on the mass of the wall covering and the thickness of the profile. Sheet joints should not hang. They are screwed to metallic parts and covered with putty.
If the edges are not fixed, the putty will quickly suck under the influence of vibration. After completing the trim, it is faced. By the next stage, only after the final collapse of the tile glue, plaster or other finishing material. It leaves one to several days.


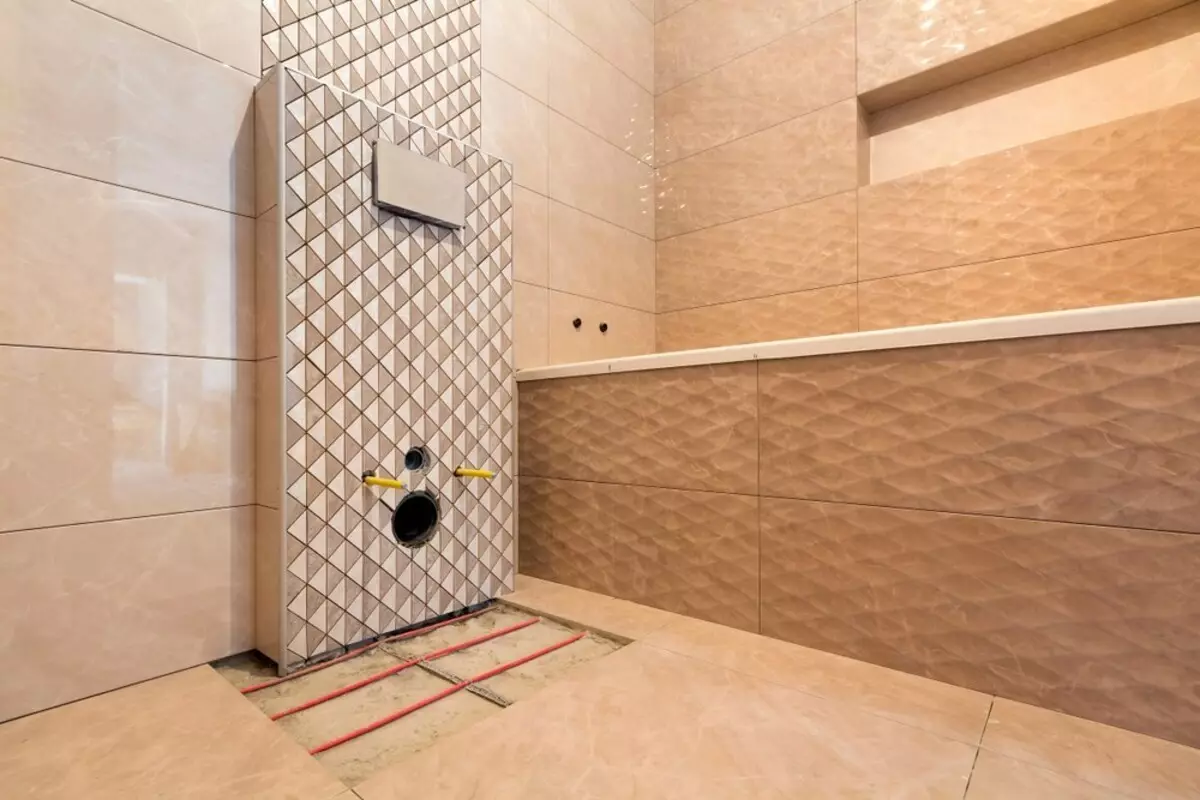
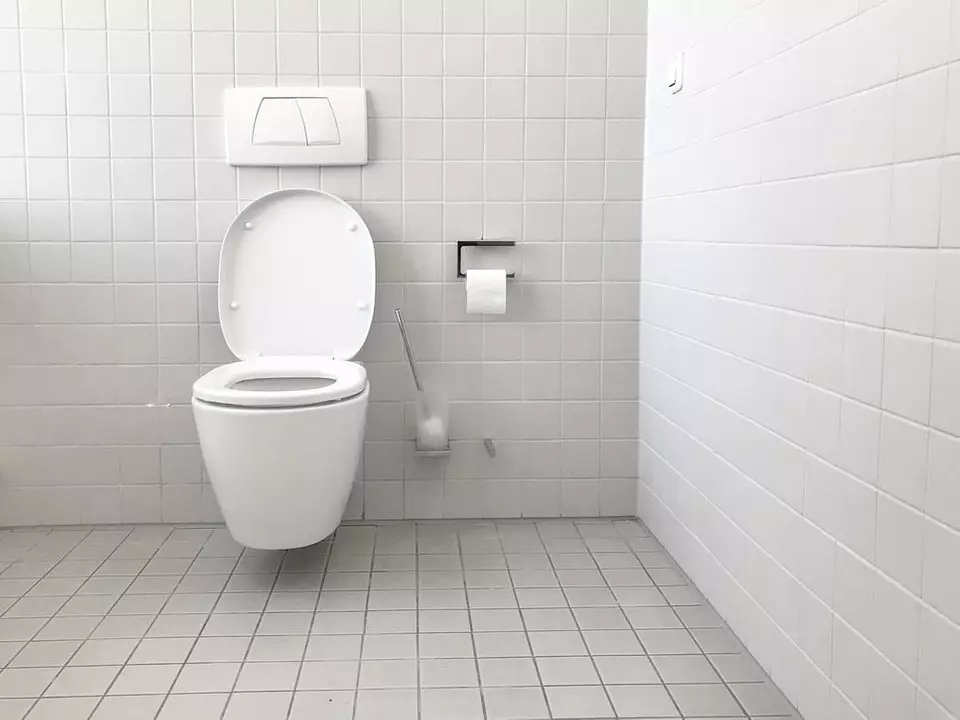
6. Fastening the suspension toilet
The toilet is fixed on the pre-prepared Falsten. We give the technology of work.- Customize the size of the pipe of the drainage container. He must perform over the surface of the wall by 50 mm.
- Similarly come with a nozzle, which is inserted into the sewage drain.
- Install the fittings in the size of the landing places intended for them.
- Take gasket under the toilet, her form resembles a pyramid. Put on the stiletts installed earlier. Their position determines the height of the suspension design.
- The bowl is carefully put on the fastening studs. Support and insert nozzles into it.
- Plastic inserts and rubber gaskets are installed.
- Put and tighten fastening nuts. Do it carefully not to damage ceramics. From excessive effort she can burst.
- The protruding parts of the rubber laying are cut off with a sharp knife.
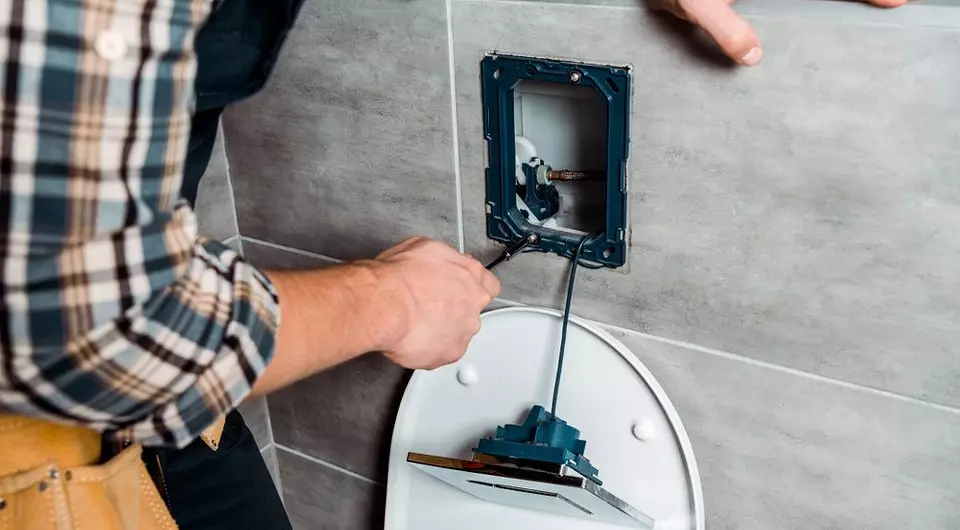
7. Installation of the wash key
Installation is completed with the installation of a flush key, one or two. It depends on the model of the suspension equipment. There are pneumatic and mechanical varieties. In any case, there are no problems with the installation, since all the nodes and connections needed to operate them are already displayed on the panel.
To install the mechanical keys, pins are used, pneumatics are fixed with small tubes. Details put on the panel are connected to the withdrawn nodes. Then, if necessary, adjust their position. Sometimes they do without them.
8. Checking the quality of work
At this stage, the strength of the compounds and their immobility are checked. Then the water is poured into the tank and make a descent. It is necessary to pay attention to the power of the pressure. If it is not sufficient, the system will have to regulate. Leaks should not. They appear at the uneven arrangement of seals on the joints. They need to be corrected by turning off the water supply and dismissed the system.
With a bad plum, the reason should be sought in the insufficiently large slope of the discharge pipe connected to the sewer riser. Perhaps the case in a too complicated trajectory. The more corners, the more obstacles flow. To correct the error, you need to raise the drain on several centimeters or smooth the corners by adapters. Instead of one adapter, 90 degrees put two to 45.