
We tell which door closers come, we give detailed instructions on how to install them and adjust.

Many mechanisms are made designed to perform routine processes. For example, the entrance doors can not try to close tightly. This will make a special device. It will fit the cloth to the seal with an effort and shut it so that the catch worked. We will figure it out how to install the closer on the door and adjust it correctly.
All about the installation and adjustments of the closer
Construction featuresHow to install the system
How to adjust
Features and types of design
The prototype of the closer is the usual spring, one edge of which was fixed on the box, the other on the canvas. She stretched and forced the door system to close. The modern mechanism has not undergone special changes. The principle of operation has not changed. Spring, but already more powerful, flooded with oil inside a reliable metal case. In such a state, it is capable of not only to close the door cloth, but also slow down in the process.
Considering the diversity of door structures, mechanisms are manufactured with different closing efforts. According to EN 1154, they were divided into seven classes: from EN1 to EN7. The first gives the weakest effort, the last is the maximum. When choosing a device, the weight of the canvas and its width is taken into account. These values are prescribed in the characteristics of each class. If the parameters of the real system relate to different classes, choose the mechanism of the class above.
The main structural element of the system is a spring. She pushes a lever that affects the cloth. This method works the adjusting system in the cabinets. According to the transmission method, the effort distinguish two types of fixtures.
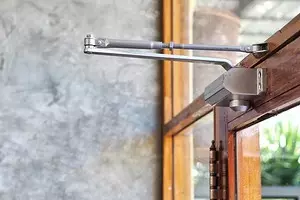
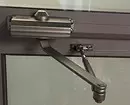
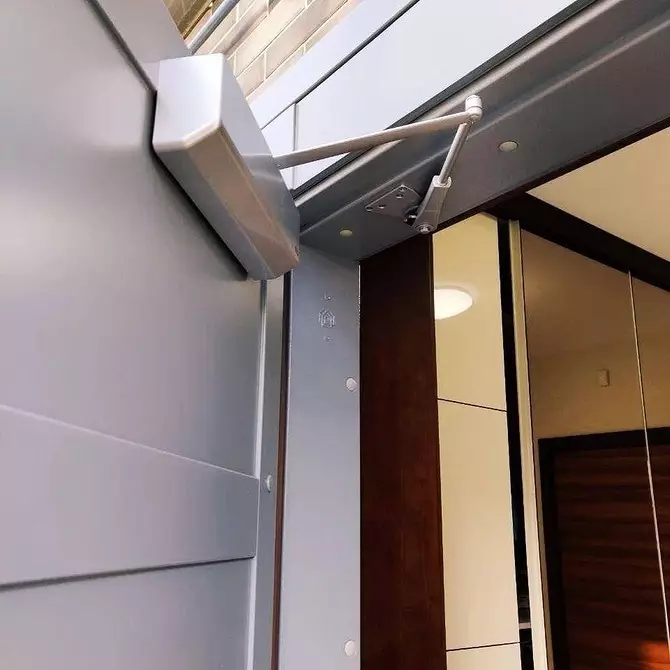
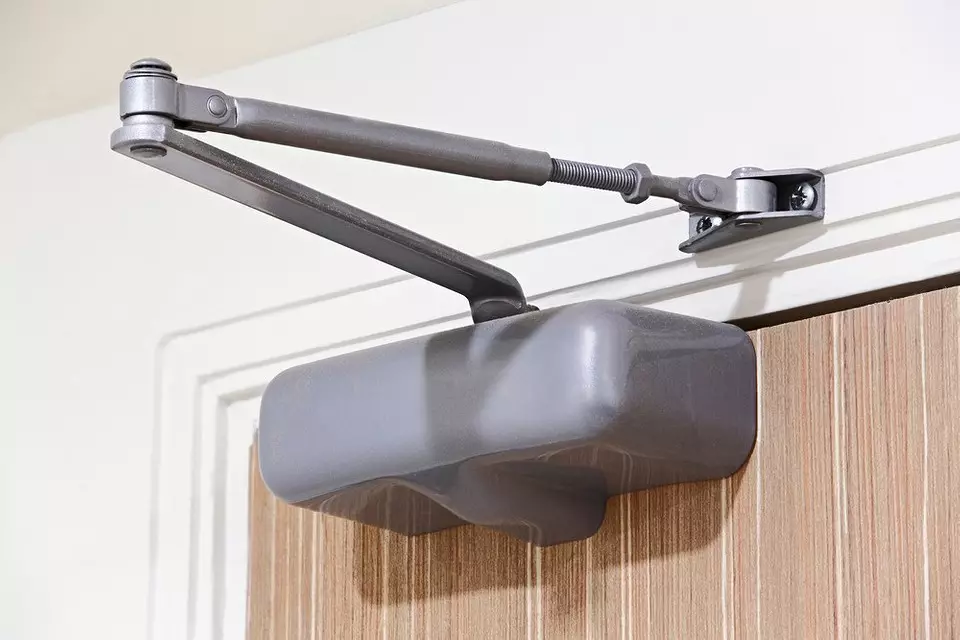
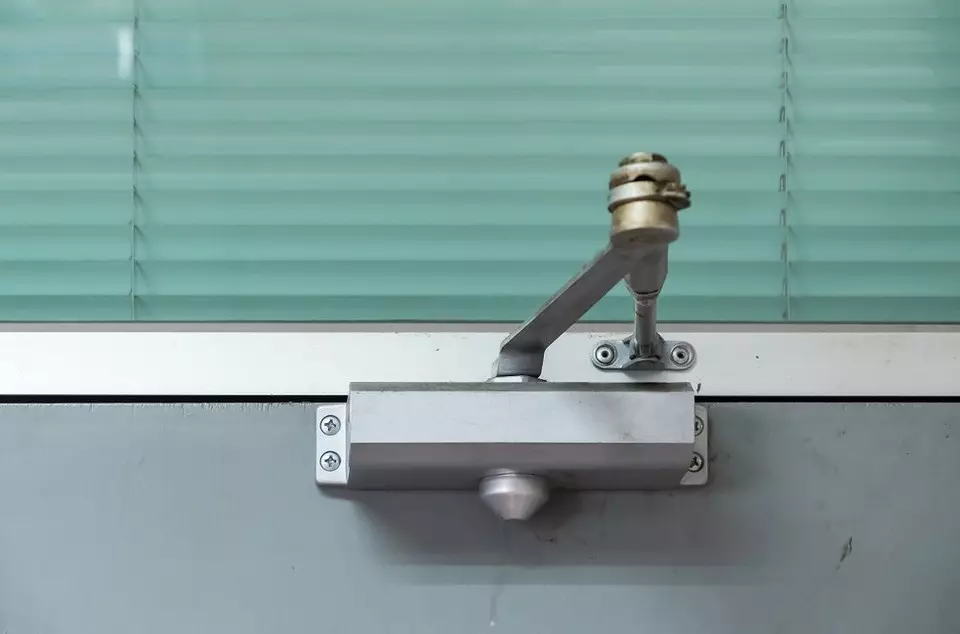
With a hinge craving
They are called a lever burden. The mechanism is easily recognizable by sticking levers. They spoil the appearance somewhat, but provide reliable and uninterrupted work. There are several disadvantages: to open doors you have to make significant efforts. In addition, sticking levers can be accidentally or deliberate.

Slide
The lever is located in parallel to the canvas, so the appearance of the design is more attractive. Open it is much easier. After opening a 30 ° sash, a smaller force must be applied to continue the process.
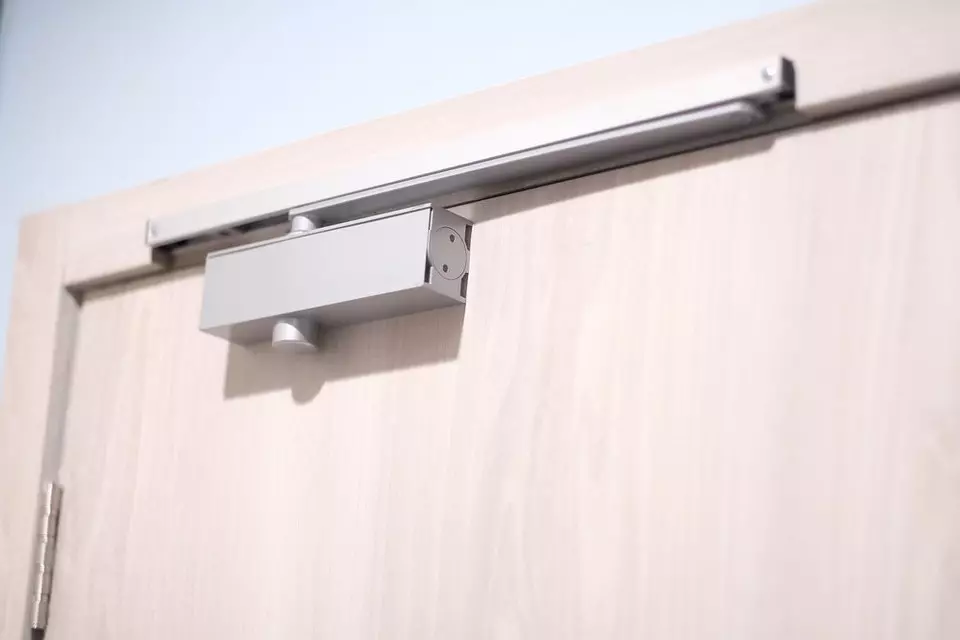
Both varieties have two main elements: lever and corps with spring. One put on the box, the other on the sash. The place on which each element is put depends on the direction of opening. If it is "from ourselves", the box is put on the box, when opening "on yourself" - lever. At the place of installation distinguish floor, upper and hidden systems. The latter are mounted in the floor or inside the box.

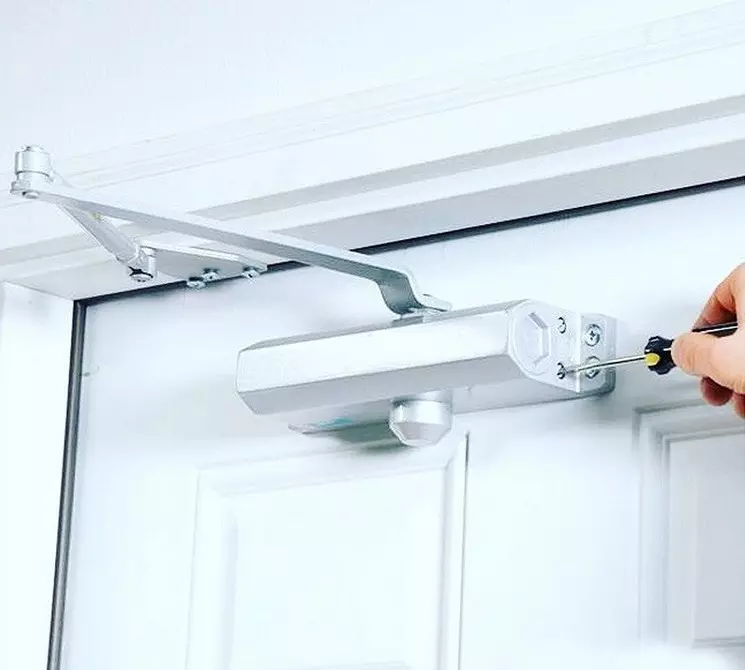
How to put a closer on the door
Before work, check the package of fixture and prepare tools. They will need a little: screwdriver and drill. The drill is most often required "Troika", but it is necessary to clarify the diameter of the fastener. In addition, there will be a ruler and pencil. The manufacturer supplies a product with an installation template. This is a cardboard or paper strip, where each constructive element is schematically applied. It also marks mounting holes.Some difficulties may arise when buying adjusting structures that are able to create efforts to close different grades. For them, there are also templates where the mounting holes of each class are indicated by their color. Added and alphabetic marking. The user chooses independently which one of them is needed. Important moment. The template scheme is located on both sides of the strip. On one markup under the opening "from myself", on the other - "on yourself". We offer step-by-step instructions, how to correctly install the closer on the door.
Step-by-step instruction
- We take the installation template, we find two strips of red. Horizontal exhibiting on the top edge of the sash.
- The vertical band we combine with the line on which the hinge axis passes. To accurately align it, it must be extended with a ruler and pencil. If you set the device from the side where no loops are measured on the opposite side. Measure the distance from the center of the loop to the edge of the panel, we carry out the line.
- We plan the mounting holes. Hold the pattern so that the lines are combined, we find a mark. Using the drill or sewn outlook the points on the details. If you can see bad, duplicate the mark with the pencil.
- In the packaging box, usually two sets of fasteners. One is intended for a metal base, another for wooden or plastic. We take the right set, select the drill. We perform holes in the outlined places.
- We disassemble the adjusting system if it was sold assembled. We unscrew the washer, take out the connecting body and the levers of the screw. Separate them from each other.
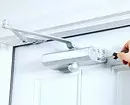
- Disassembled elements apply to the fastening holes in advance. We draw with the template as far as everything is done. Fix the knots fasteners.
- We take the traction lever, put it on a specifically for this designed protrusion at the bottom of the case. Fix the connection with the screw.
- We connect the craving and lever. To do this, we combine these details and clutch them with a slightly pressing until the click.
On this installation is completed, it remains to adjust the system, you can do it with your own hands.
How to adjust the design
Before adjusing the door closer, tell about the timing. The first time do it immediately after the node is installed. After that, on average twice a year. If the input system is operated in frequent and sharp temperature differences, it will have to regulate more often. The lubricant in which the spring is located is sensitive to the temperature, and this affects the entire design. In any case, the process of adjustments consists of three stages.Stages adjustment
- Setting the shutting speed.
- Adjusting the efforts of pressing the panels to the box or dochlop, as the masters say.
- Intermediate stroke settings.
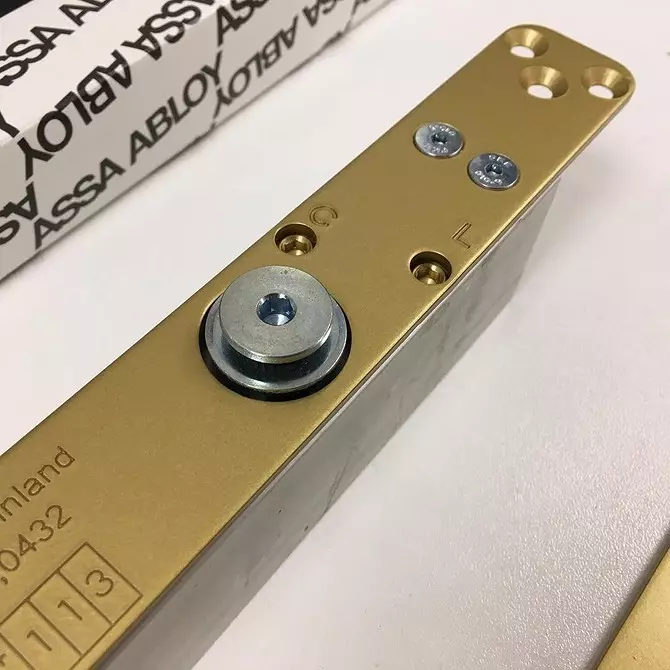
It will take only a screwdriver to work. With it, all settings are performed. The easiest way to make them after studying the manufacturer's instructions, how to adjust the door closer. We will offer a general description of the procedure, without taking into account a specific model. Start with inspection of the case. It contains adjusting screws.
Usually there are two. The first adjusts the speed with which the canvas moves. The second "replies" during Dullop. A number of models have another regulator. It adjusts the overall effort.
We will analyze step by step, how to customize the door closer.
Step-by-step adjustment
- Remove the cover from the mechanism, we find adjusting valves.
- Rotate the first screw. To speed up the course clockwise, for slowing against. Important moment. Tightening more than two turns regarding zero position, it is impossible.
- The second regulator determines the Dullop time. When it is necessary to reduce it, the screw weakens and, on the contrary, pull up if you want to increase the delay.
- Check the correctness of the settings. To do this, open and close the sash.
Most models are equipped with the Hold-Open function. It is used to the canvas remained open to an indefinite time. To activate it, the sash is revealed by 90 ° and tighten the lever retainer. Subscribe an open cloth, not allowing it to close, it is impossible. It harms the mechanism.
Sometimes the system must not only be adjusted, but also to repair. It's not hard. Most often, users face a lack of oil. It can be suspected when the mechanism of communicating behaves like an ordinary spring, slamming the doors with a deafening rumble. The reason can be a crack through which lubricant follows. When a defect is detected, it should be urgently madified with a sealant and attach a shock absorbing liquid or any motor synthetics through the mounting holes.
Details with large cracks that are not amenable to sealing, you will have to change. Very rarely, the manufacturer for any reason does not pour oil. Its deficiency must be fill in the method described above. Another common problem is the deformation of the lever rod. The iron part can corrode. It is cleaned and covered with anti-corrosion lubricant. Small deformations straighten with hammer, dorms weld and carefully cleaned the resulting seams. In non-fixed cases, a new element must be installed.
After everything is done, it is advisable to prevent breakdowns. To do this, you need to fulfill a few simple rules. No need to try to close the sash manually, not giving to work the mechanism. It is impossible to block the canvas with any object so that it remains open. Do not allow children to ride or hang on the cloth. Then the correctly installed and adjusted design will last long.