
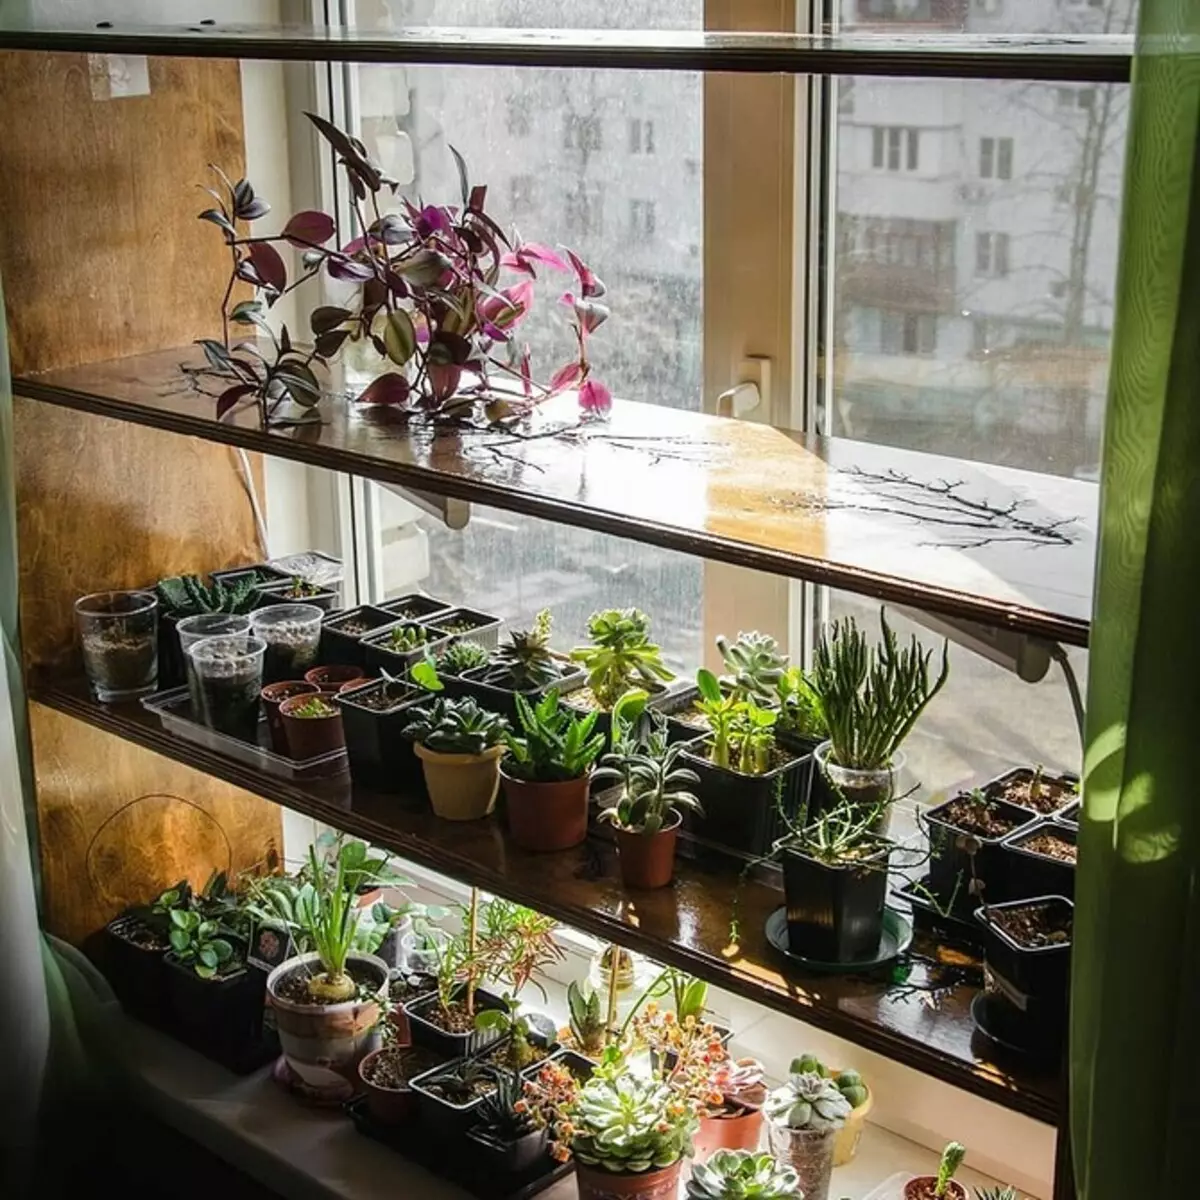
We tell about the features of the window shelving for seedlings, how to properly design and collect.
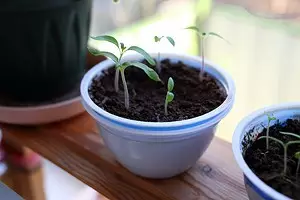

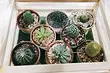
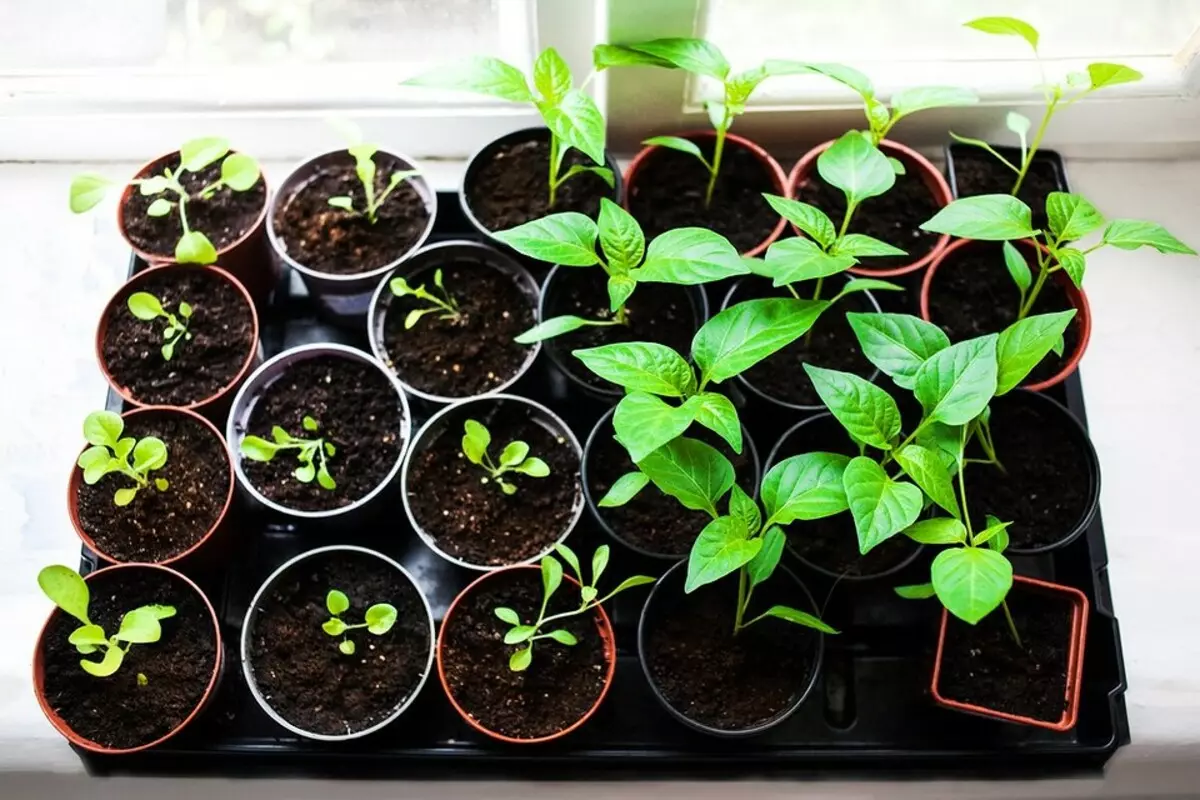
A good crop depends on the quality of seedlings. This will confirm any gardener. Of course, it can be bought on the market, but it is best to grow yourself. It is easy, it is necessary only to provide young shoots a sufficient amount of heat and light. The easiest way to do is if you place the boxes with shoots at the window. Let's wonder how to design and assemble the rack for seedlings on the windowsill.
All about how to collect rack for seedlings
System FeaturesSelection of material
Project preparation
Two assembly instructions
Design features
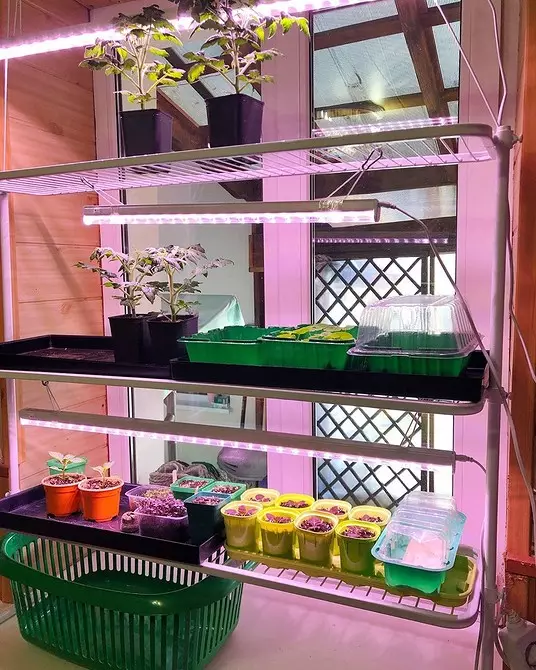
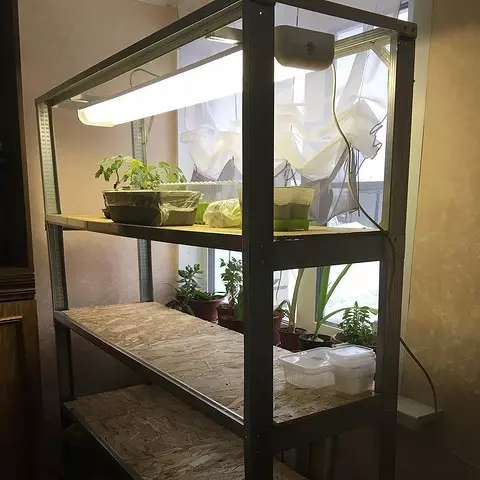
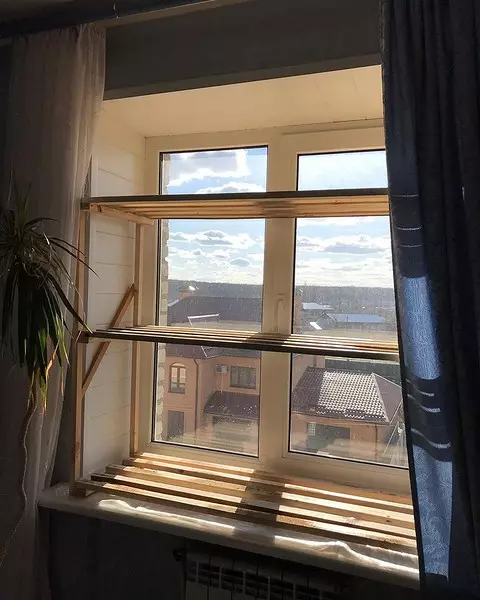
Structurally, any rack is a shelves fixed on racks. The system for the window is no exception. Its feature is that the dimensions must coincide with the window opening. It is possible to install on the windowsill without fixing or installing additional fasteners on the slopes. In some cases, the shelves are not installed on the rack, but directly to the window opening.
But if you put the fasteners on the slopes, it will spoil their appearance. When the need for the shelves disappears, traces will remain. Therefore, a more aesthetic option is considered to assemble the shelving system. To make it convenient to use, it must match the number of requirements.
What should be the system
- Reliable and durable to withstand the weight of the seedlings.
- Durable so that it could be used by several seasons.
- Moisture resistant. When watering can spill water, it should not spoil the material.
- Compact and functional. Each space of free space should be used.
- Convenient for the normal development of young plants.
It is desirable that the shellage system is attractive and did not spoil the view of the room.
Selection of material
For the manufacture of the shelving, you can use different materials.Wood
Beautiful, easy enough in processing, durable and durable material. The main disadvantage is the sensitivity to moisture. Having absorbed water, the tree begins to rot, bugs can get a bug. Therefore, you should not choose soft varieties for work. It is necessary to give preference to solid, which are more moisture resistant: ash, maple, oak. In addition, the details before assembly are necessarily soaked with protective means. The rack can be made of wood in whole or in part. For example, only shelves.
Metal
The best choice is stainless steel. It is very durable, not subject to corrosion, durable. The disadvantage is the complexity of processing and a high price. Metal can only be the support of the system. For this, the profile or even pipes is perfect. The shelves are made of metal mesh, better with small or medium cells, or from the plates of suitable size.Plastic
Cheap, resistant to moisture, light and durable material. Its main minus is insufficient strength. This disadvantage is particularly interferent if it is planned to expose large and heavy seedlings. Plastic supports are made from pipes, panels or plastics sheets are used for the shelves. It is desirable to further strengthen the construction, otherwise it may not withstand the load.
These are not all materials from which you can make shelves for seedlings on the windowsill do it yourself. For them take any wood stoves or fane. By making such a choice, it must be remembered that the material does not tolerate increased humidity. It is necessary to reliably close the end cuts of the details, otherwise, if moisture gets into moisture, they will swell and swell. Plywood will stall. Well watching the shelves from plexiglas. Color or transparent, it looks very beautiful. After all, a transparent structure does not climb the window. At the same time, the glass is durable, moisture-resistant and durable.
Project preparation
Before making the shelves on the windowsill for seedlings, you need to create a project. Skip this stage is not recommended. As a result, the drawing with the exact size and shape of each part is obtained. To begin with, determined with the height and width of the structure. They depend on the dimensions of the window opening. It is important that the product stably stood on the surface. If not, it is necessary to provide additional fasteners.
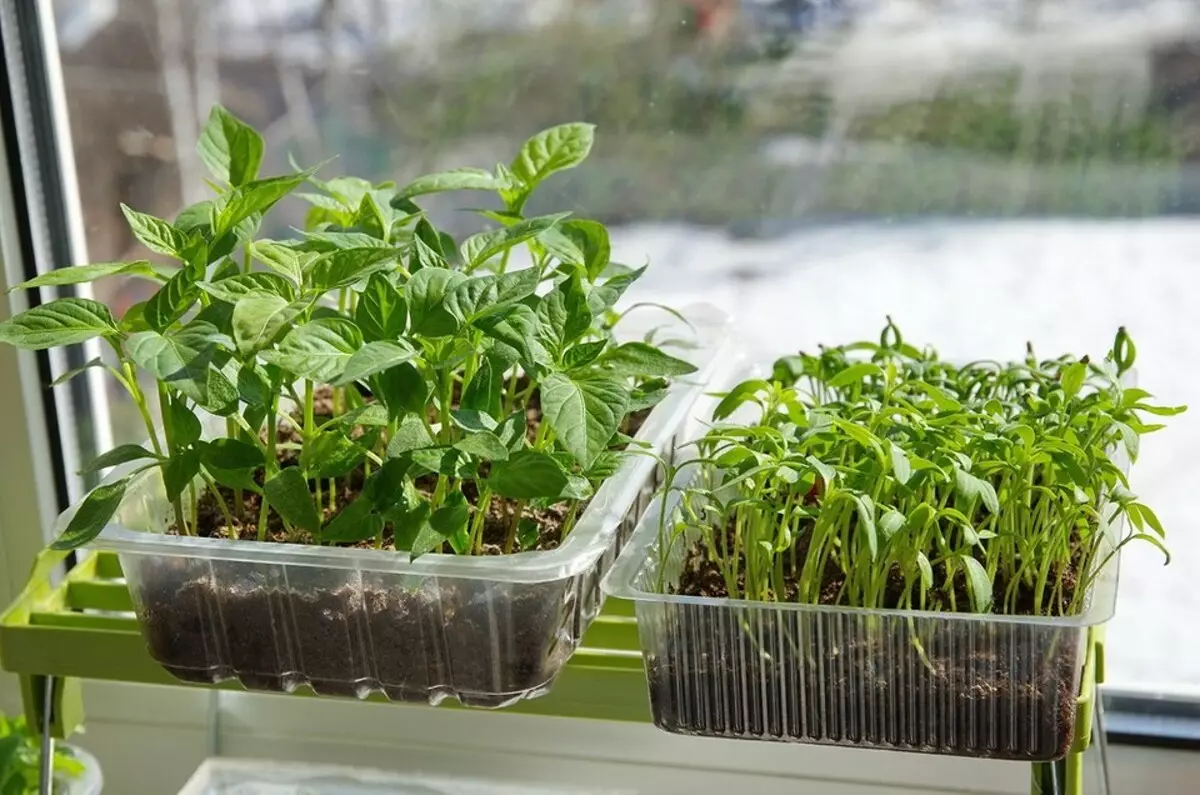
Then determine where the shelves will be located. Important moment: the distance between them should be sufficient that the plants have enough space for growth. Therefore, you should not try to have them close to each other. They will enter more, but nothing will turn out. The stones are not enough light and the space for growth. The optimal distance between the two elements is 50-55 cm. In this case, three pieces will fit standard.
The width of the shelf is determined by the dimensions of the window opening. The widest - in brick houses, there you can use the parts with a width of 40 cm, sometimes more. But it does not always happen, more often elements are much already. However, you can try to "expand" the windowsill: put a table or attach the board next to the table. Determining the dimensions of all parts, build a drawing. It indicates dimensions and material from which elements will be made. This will facilitate the assembly and purchase of components.
Step-by-step instructions for making shelves for seedlings on the windowsill
The options for making rack structures are many, we will analyze two in detail.1. Make a metal rack
In our version of metal will be supports. For them, a 350 mm profile is suitable or a 250 mm profiled tube. For the shelves, we take a boards with a thickness of 250 mm. Wooden lining or metal sheet is also suitable. The tree before installation is necessarily processed by oil or any other protective composition, well successed. Fix the parts will be on the perforated metal profile 250 mm.
Step-by-step instruction
- Perform markup. Measure the profile or pipe, we put the launchers for which we will cut.
- Cut the marked elements. We do it with the help of a grinder. If you do not want to cut the metal with your own hands, you can buy chopped profile fragments. This service provides some stores.
- Connect fragments of the frame with each other. Use point welding for this. Allowed to fasten the bolts if there is no welding machine. Be sure to check the accuracy of the assembly using the construction level. Dissolves, even small, are unacceptable.
- We collect the shelves. On the prepared boards, we note the attachment sites to the supports. Fixed in the outlined places perforated profile.
- Install wooden parts on the frame. We start with the bottom. We put it, "ignite", the level is determined by the correctness of the installation. If everything is fine, tighten the fasteners. Similarly, set the remaining elements.
- Metal parts of the frame carefully process the primer, let it dry, after that it is painting. If desired, the tree can also be painted.
If, instead of a tree, metal or mesh sheets were used, they are treated with an anti-corrosion preparation, then ground and only after that paint.
2. Wooden system
As in the previous variation of varieties can be a lot. In our case, the racks will need a ram with a cross section of 60x45 mm. For the cross, the bars of 60x20 mm will be required, for the shelves - a cross section of 100x22 mm. The surface will be a national team, from several hundred. They can be deposited closely or at some distance from each other. In the latter case, they will need less that it will be possible to save.Manufacturing process
- Place the details in accordance with the previously prepared drawing.
- Slip fragments of timber and boards. We make it a regular saw to speed up the process, use an electrolovka or circular saw.
- On the racks we plan the grooves under longitudinal crossbars. Measure the distance from the bottom of the bar, the one that will stand on the windowsill.
- According to the outlined lines, we carefully make feeders on the thickness of the transverse bar. We make grooves, take out the wood with the help of the chisels and the hammer.
- We put in the grooves of the transverse strips, scoring them with a hammer. They must be completely recessed in the support. We start from the bottom cross. To securely fix the elements, we lubricate them with carpentry glue or additionally secure self-taps.
- Similarly, we collect the second rack-support. We have two "ladies", between which the shelves will be laid.
- We put the supports on the workbench, back to do not fall. Between them put the first wooden bar. You can progress and check the level of assembly accuracy. If everything is fine, fix the plate with self-draws or clog nails.
- We put the second bar. At some distance or close, as they like more, fix. In plates lying near the racks, it is desirable to cut off the corners so that the connection is dense. In this way, we collect the entire shelf. Similarly, we make the rest.
- The finished design is covered with olphus or any other protective agent. Let me dry. You can leave in this form, but it will not be very beautiful. Covered varnish in several layers or paints. This will give extra protection and decorate the product.
If in the assembly process was not used joinery, bars were attached only by self-drawing, the design will be folded. After the seedlings are planted on the bed, it can be carefully disassembled and deposited. The glued system will be impossible to disassemble. It must be taken into account before installation.
Functional and well looks of glass shelves. Its thickness should be at least 6 mm. Adhesive glue gaskets between glass and a bar, such a connection is more reliable.
We figured out how to collect a rack for seedlings on the windowsill. Many options. Each user chooses his own, focusing on its needs and opportunities. Any product will enable young shoots to obtain a sufficient amount of light and heat. And this means that seedling will be healthy and strong, after the transplant will give a rich harvest.