
We tell what materials and tools will be needed for the construction of the arch, how to make a frame from a metal profile and wood, bend the sheets of GLC and apply the finish finish.

To make the arc from drywall do it yourself, do not need special skills and professional construction tools. One person will cope with the task. Form, dimensions and location should be thought out in advance, otherwise the risk will make a mistake. The most important detail is the foundation - a frame of wooden rails or a metal profile. It is he who sets all the technical parameters. Not only appearance depends on it, but also strength. The casing is the simplest stage of repair. Much more time and strength takes the blacks and finishing finish. If under falseland, it is planned to hide pipes or wiring, you need to act according to the law. According to sanitary and technical regulations, it is necessary to ensure permanent access.
All about how to make a plasterboard arch
Choosing installation siteForms and sizes of the structure
Step-by-step instruction
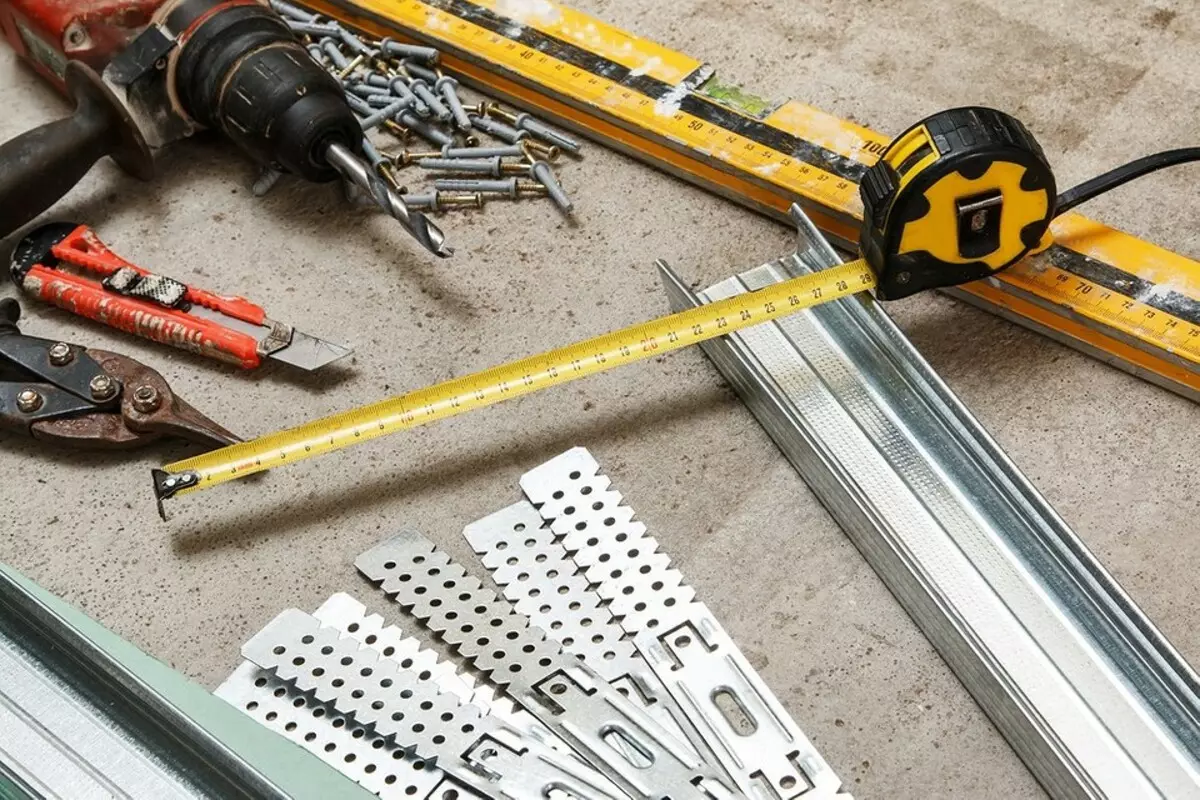
- What will take for work
- Preparation of the foundation
- Mounting upper sidewall
- Montage Karcasa
- How to bend a leaf of hlk
- Finish finish
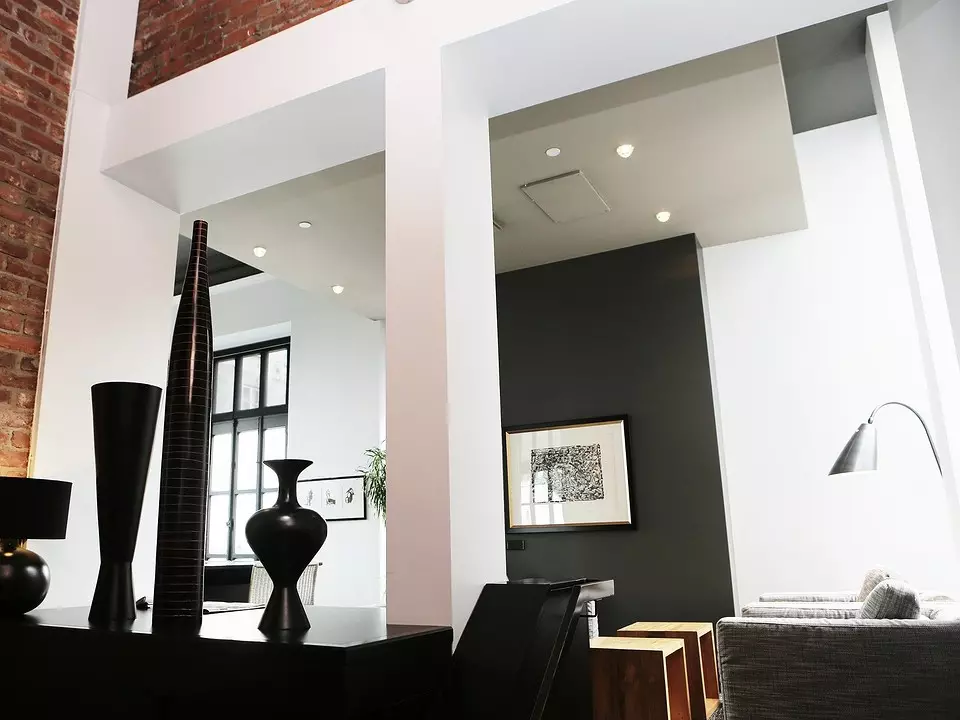
Where you can make the arch and what to think over before installing
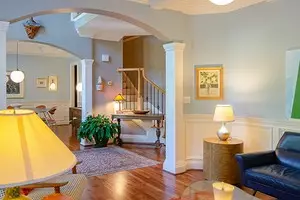
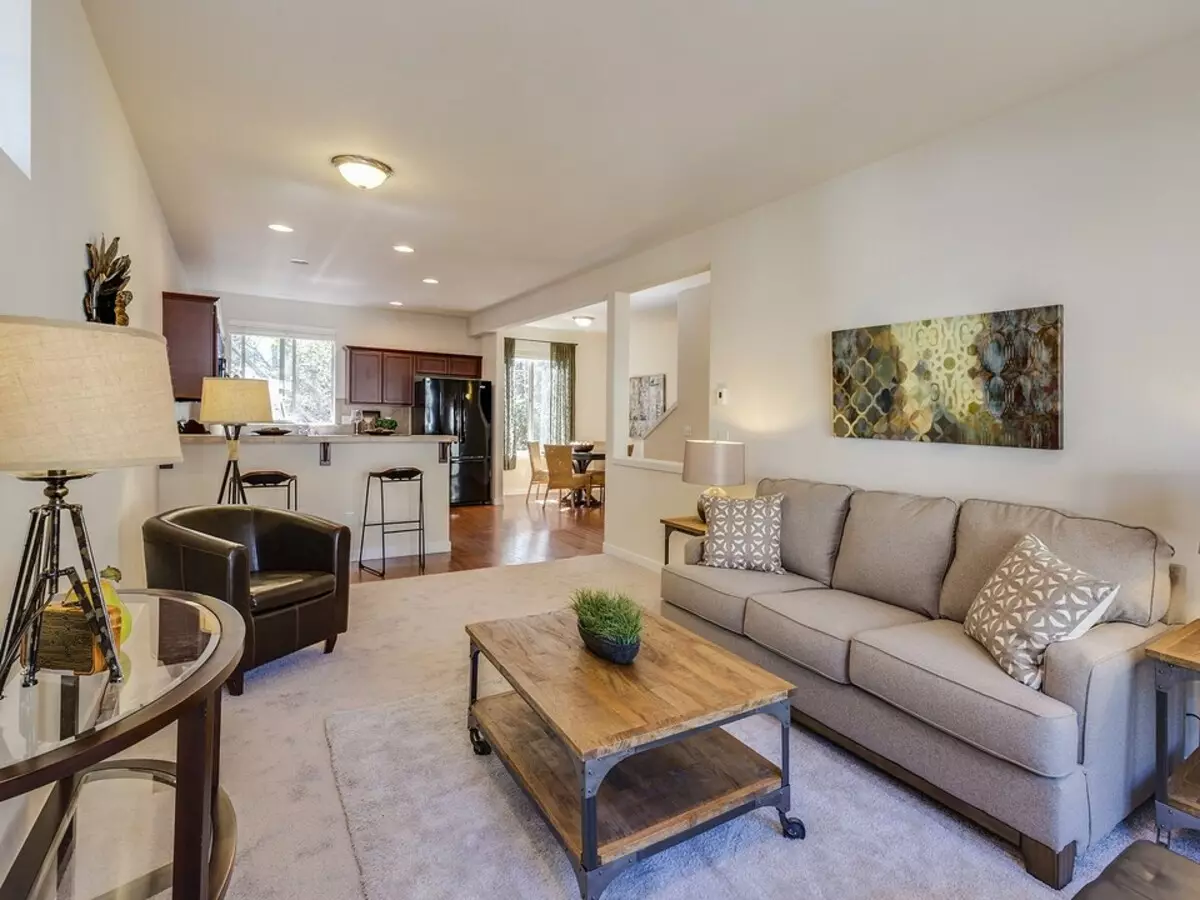
As a rule, the trimmed frame put in the doorway or in the corridor. This technique is often used in zoning a large room separated by partition. It should be noted that you can not cut or expand the passage everywhere. There are areas of bearing walls where it is prohibited. The prohibition does not apply to partitions. It is possible to remove part of the carrier wall only after a technical examination and project harmonization. It is also important to consider that the law does not always allow you to leave an open entrance. For example, the door should be equipped with a kitchen with a gas stove.
Leave the bedroom or the work office constantly openly uncomfortable if several people live in the apartment. It is necessary to close the premises equipped with workshops or laundries, otherwise the noise will interfere with all residents. You should not leave constantly open benchmarks with high humidity and storage rooms where substances are stored with a strong smell. Is it worth saying that the hermetic door is needed if there are gas cylinders and canisters with gasoline.
Installation can be carried out in the kitchen and bathroom. It should be noted that the wet environment has a devastating effect on the base of wooden bars. They must be impregnated with antiseptics and coat the layer of varnish closing the fibrous structure. Aluminum and galvanized steel are used in any environment. Damage to galvanized leads to a rapid rust. Therefore, when installing should be very careful. Paint and primer do not provide reliable protection.
The covering is not afraid of moisture if its edges are securely protected from it. Finding into the loose internal structure, the moisture is easily absorbed into it. Over time, the mold appears inside, and the walls begin to swell on the edges. Use moisture-resistant sheets with green color. Normal quickly come into disrepair.
Before making an arc from drywall with your own hands, you need to think over her finish. In raw rooms do not use coverage with open pores. For example, if the housekeeping is planned in the home sauna, the porous plaster is scheduled, from this idea will have to abandon.
Fishtenna often serve to mask pipes and electrical wiring. According to current technical regulations, such structures should be removable or opening. They are supplied with imperceptible doors and removable panels that are attached to the joints of pipes, as well as in places where the valves are located.
The inner space of the frame allows you to place point lamps. They put on top. The lateral location is possible only when there is a free space on the edges. This placement is not suitable for standard passes designed for one sash.
Switches and sockets are better to hang on the concrete base - the shears of the sheath over time are separated from constant mechanical loads. In addition, an empty box without filling is a good resonator that enhances the sound.
Selection of shape and sizes of arch
The shape of the arch can be any, but usually the arches are made rectangular or rounded. The sides and corners of rectangular sometimes give roundness, creating flexible side and smoothing corners. Smooth can be made only one of the faces by creating an interroom sevenortion.
Rectangular openings are most compact and easy to manufacture. They are suitable for typical apartments with low ceilings and narrow passages. With a small height, straight walls and rounded top are elongated or with a constant radius. Sometimes polygons are used, as well as combinations of straight and curved surfaces, but now this design is no longer relevant.
The rounded is made not only the upper part, but also the sidewalls. This solution is suitable for entry into a spacious living room or a large kitchen in the cottage. Depending on the width of the opening, the form is pulled up either to the sides.
Width and height are limited to internal space. In typical apartments, the height is usually 2 m, width - from 60 to 80 cm.
For a corridor, a width of less than 1 m is better to put a frame without sidewall.
When designing partitions, dimensions can be any. The bearing well-fortified frame will endure even wide provis.
Step-by-step construction instructions
As an example, consider step-by-step instructions for making your own semicircular arches from drywall without sidewalls. The technology of plating a metal and wooden frame does not differ. We separately analyze the process of mounting the base of aluminum and the natural array. The rest of the instructions are suitable for these two technologies.What will take for work
- Roulette, ruler and pencil.
- Screwdriver or screwdriver.
- Wooden hacksaw if a frame from a bar is used or for metal, if the base is made from the profile. In the second case, they will also need scissors for metal.
- Joiner.
- Electric drill.
- Protection tools - respirator, glasses and gloves. Instead of the respirator, it is allowed to use a wet gangway.
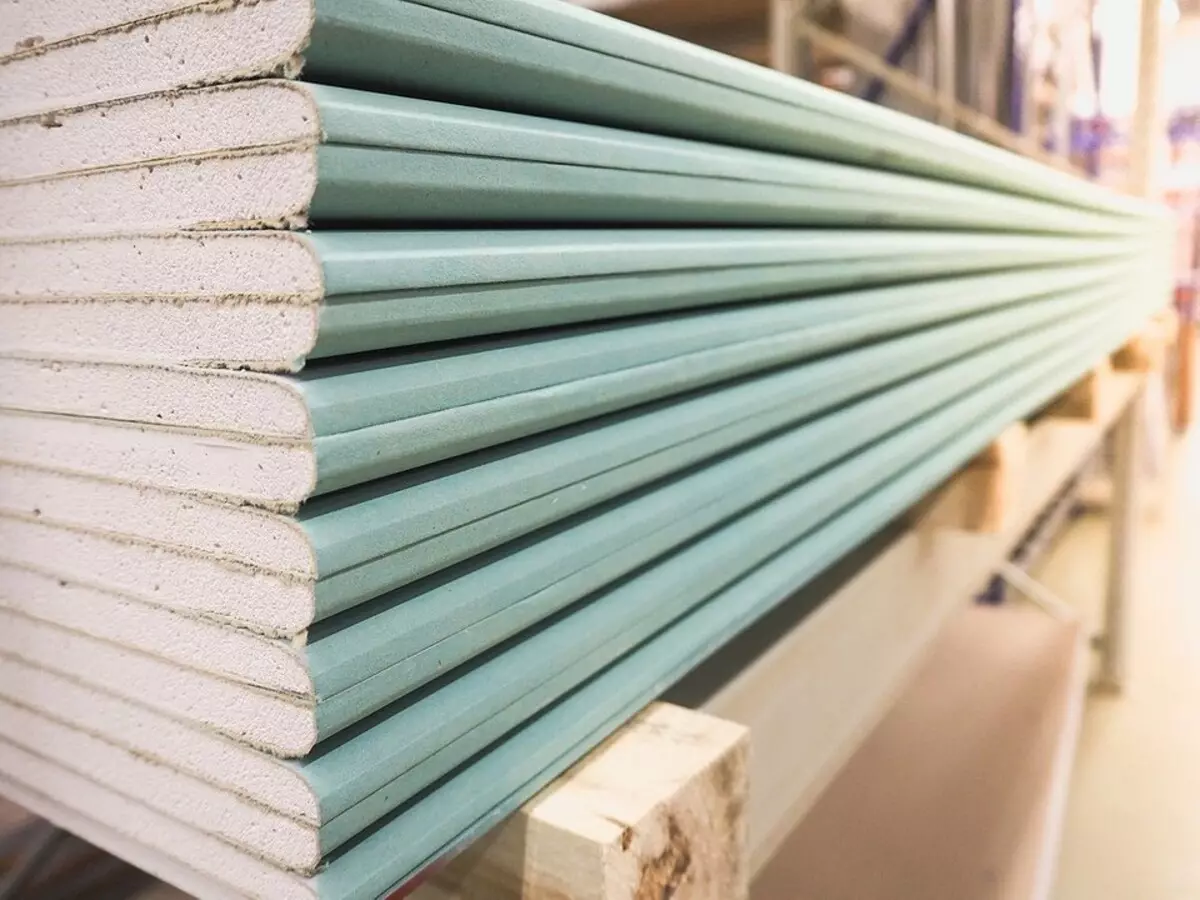
- Glkl sheets.
- Profile or rake from the array.
- Saws and dowels.
- Putclone and tools for applying it.
- Thin plastic mesh for reinforcing the spacion layer.
Preparation of the foundation
- The opening is cleaned from the old finish.
- Fat stains are removed with alcohol. Dust is erased with a damp cloth.
- Cracks are expanding with a spatula, removing sprinkled edges.
- The reinforced concrete surface is treated with an antiseptic to prevent the appearance of mold.
- Orthodiy close up with cement mortar. Align their part, hidden under the arch, not necessarily.
- If necessary, stretch the wires for point luminaires.
Mounting upper sidewall
- On the GLC applied markup. Before drawing the arch on the drywall, you need to measure the passage and add to its width of the finish thickness on each side. This will make it possible to make a smooth transition from the top semicircle to a smooth door slope.
- On the sheet, the center of the circle is celebrated and a thin nail is ripped into it. A rope or thread is tied to the nail. On it lay the radius of the Arch and tie at this distance from the center of the pencil. It is better to bind the rope to its bottom, it's easier to draw. Conducting a pencil with a stretched rope over the surface, we obtain a smooth circle of the desired size.
- Cut GLCs better specially designed for this with hacksaw. If it is not, the ordinary canvas with small teeth are suitable - large can break the edges. Before starting work, the material should be securely secured on the table. When working you need to hold a cut piece. When laying it, it can snatch several sidewall centimeters. Most two sidewalls for both sides of the opening.
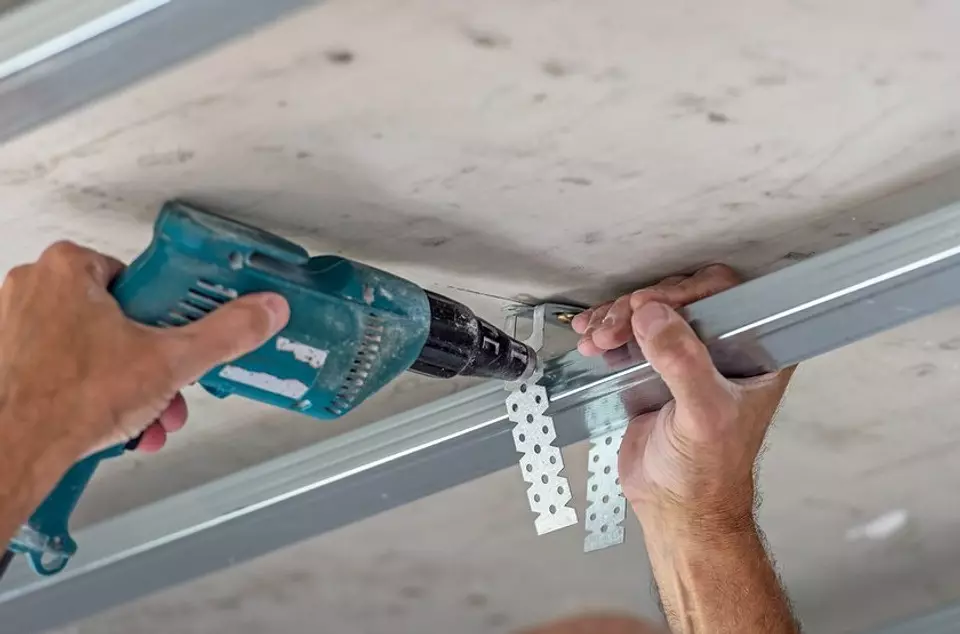
Montage Karcasa
Metal parts are easy to process and mount. They are used more often than wooden.Metal
Products from aluminum or galvanized steel are used. These can be corners or P-shaped profiles.
- Billets are cut in height and width. They must form a projection of the arch on the inner side of the passage. Before making the arch from the profile and drywall, you need to know the height of the vertical guide metal design. The horizontal is equal to the width of the intense opening.
- On the prepared reinforced concrete slab apply marking for guides. To them, if necessary, all other details are attached. They are collected using screws. Welding is not used.
- Guides are placed on the edges of the passage by the vertical side to the room. They are applied to the base and drill holes with a step of 10 cm. Dowels insert into them and screw screws. It is better to take a sabotage with a length of 5 cm. Such a frame is enough for light sidewalls about 50 cm high and 90 cm wide. For mounting more complex and heavy designs make a crate.
- Metal arch line can be made from specially designed prefabricated elements. In this case, the conventional details do not have to bend. To make an arc independently, you need to take a corner or P-shaped profile and cut the same triangles from vertical parts with a step of several centimeters. Step depends on the bend line. For this, use scissors for metal. If you bend the resulting workpiece, the sides of the triangles will connect and it turns out a smooth arc.
From wood
Measurement is made in the same way. Bruks 3x3 cm are used as a material. It is necessary to pay attention to their quality. On the surface there should be no plates of mold. Products with drop-down bitch and resin subtepters are rejected. Do not apply for assembly bars with mechanical damage. Deviations in size and form are extremely undesirable. Billets should be dry.
You can use a raw array, but it is better to dry it before mounting and impregnate with antiseptic solution. This is necessary to protect against mold. The moisture contained in the air gradually destroys the array. To close the fibrous structure from its penetration, lacquer and oil paints are used.
Make an arc forming the arch, it is impossible from the bar at home. To work, you will need a piece of plywood. It is cut around the circle after applying marking with a pencil and rope. Rakes are attached to him on the self-tapping screws. At the edges there are guides. When installing, they must be deeper by the edges of the opening of the Glk thickness. In order for the sheet to be not fed, additional bars coming up vertically from Niza to the guides are sewn to the inside on the self-tapping screw. They are put in increments of 10-15 cm. The arch will be fixed. Plywood ends for this are poorly suitable. After installing the sidewalls, it is crucified by the combined HCL.
How to bend plasterboard for arch
The ability of the material to change the form depends on the thickness of the product. What it is thinner, the easier it is to bend it. There are products with grooves, specially intended in crumular surfaces. If you cannot find them, you can use one of three ways to form an oval or round circuit.
- The material of the trim is cut into pieces of 10-15 cm, which are attracted by self-draws in 5 cm increments.
- A band is cut out of the coating, fully closing the bottom of the design, and rolled the perforated roller. Holes should be located on the outside facing the floor. Then the perforation is moistened with a brush dipped in warm water, and is withstanding for 15 minutes. During this time, the surface is impregnated, the structure becomes more plastic. After impregnation, the blank can be mounted with a predetermined radius.
- The dry method is used with a large radius. To avoid the formation of the chances when it decreases, they make transverse cuts with a sharp knife. The depth of cuts is several millimeters. When mounting the sheet is uniformly pressed with a large force. It is more convenient to carry out the work. One person presses the workpiece, the other - screws it with screws.
Finishing G.
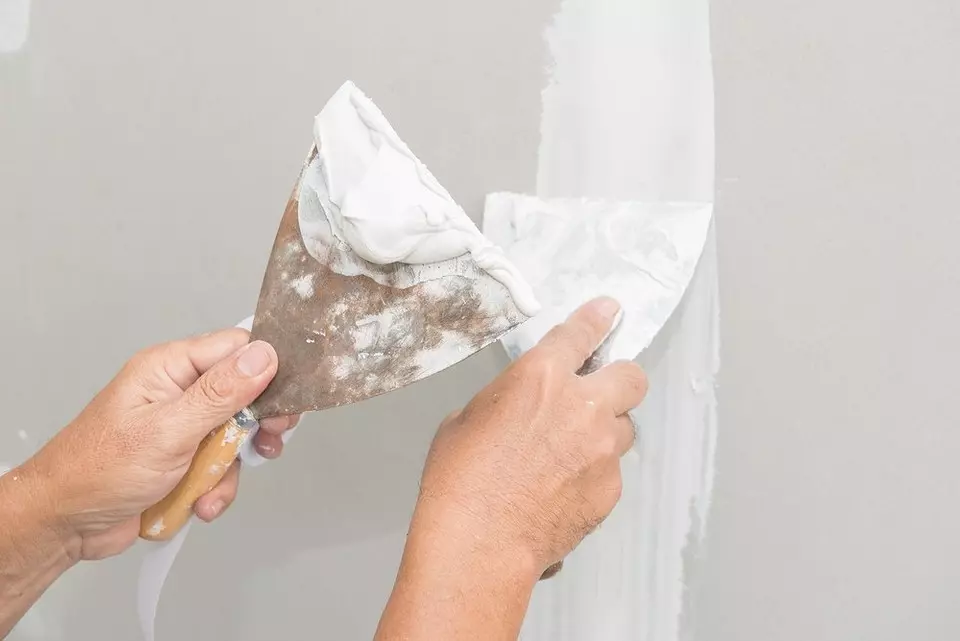
Choosing than to separate the plasterboard arch, it is better to take plastic materials. They do not crack and do not appear when it is deformed. It is possible in rare cases when the technology is broken, and mechanical loads exceed the permissible norm. Details also change the size and shape when ingested moisture. To reduce the voltage, use a putty laid on a thin polymer grid. It is placed on a thin layer of the mixture and bleed with a spatula. It is covered with another layer with a thickness of 1 mm.
The simplest solution is to punish the wallpaper from above. To paint, it will be necessary to put a layer of finishing putty and lure it with a small emery. Then the base is ground and dried for several hours. Another of the finishing options is a decorative plaster with a polymer filler.
It is possible to separate the design by any materials, provided that it is firmly installed. Plasterboard will withstand a thick layer of plaster, facing stone and tile.
See also a short video, how to make a plasterboard arch on the finished doorway.