We give step-by-step instructions for assembling the toilet table from the shelf, with backlight, console design and the classic option on the four legs.

Make a dressing table with your own hands is easy. For this, it is not necessary to be a professional in carpentry. It is enough to choose a suitable model. Show four products of a different level of complexity, among which everyone will find something for themselves.
How to assemble a dressing table yourself:
- From shelves
- Console at the wall
- Classic model
- With backlit
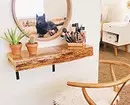
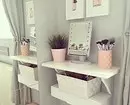
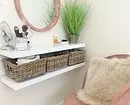
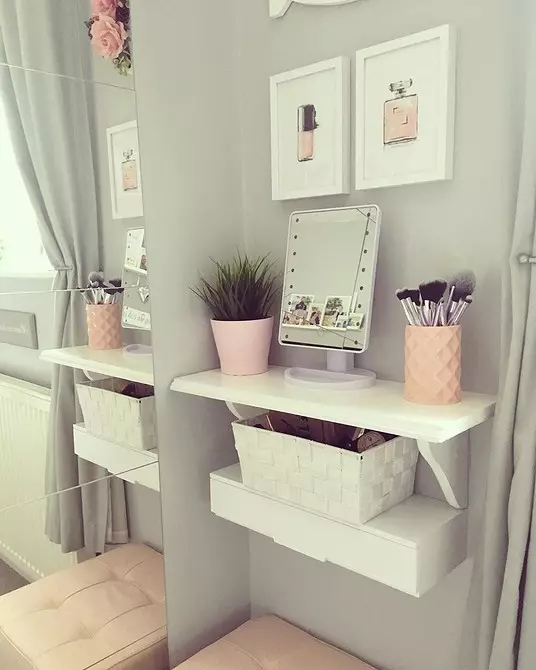
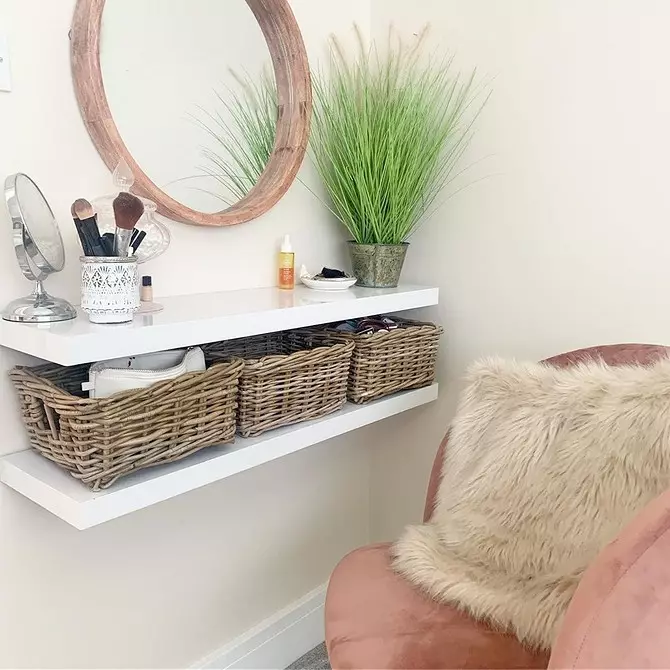
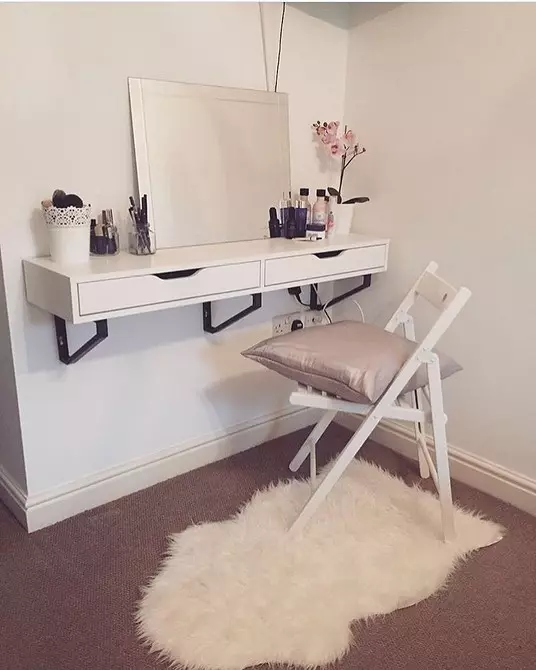
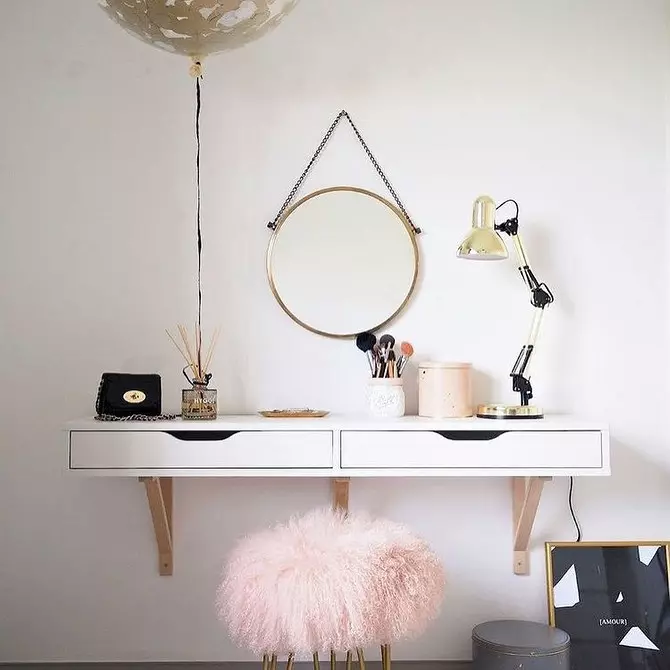
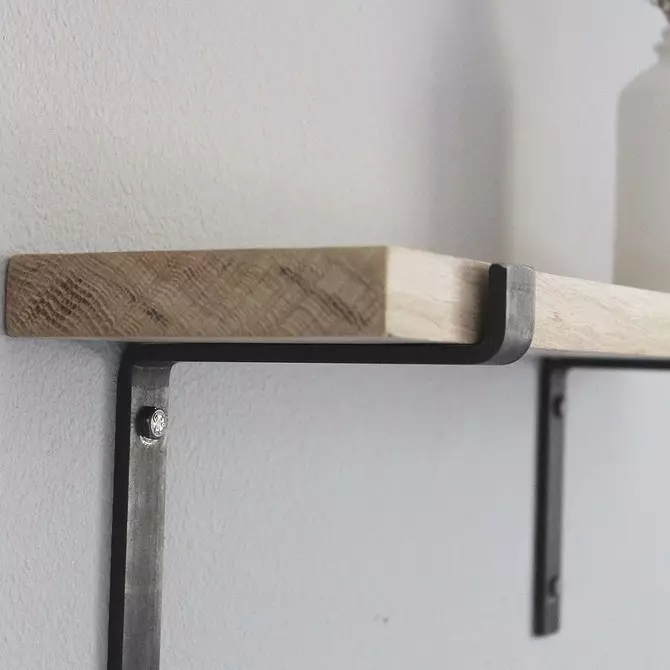
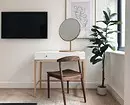
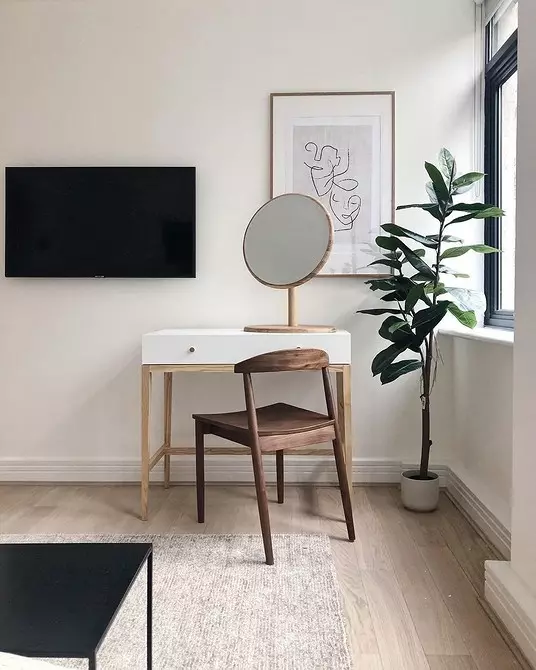
1 How to make a dressing table from shelves
This is the most simple work and inexpensive model. To assemble it, you do not need a scheme, no drawings. This option is suitable for beginner masters. The table does not occupy a lot of space, and it can be built even in the corner.
But there is a model and disadvantages: the tabletop should not be clamped, it may not withstand. For the same reason and keep a lot of things here will not work.

Necessary elements
- Shelf. If you want a model with boxes, look at "Ebbi Alex" from IKEA, but the simplest "burgult" is also suitable (they can be taken two to create a multi-tiered design). Can be replaced with a bottle of 30 mm thick.
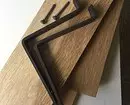
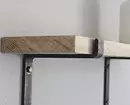
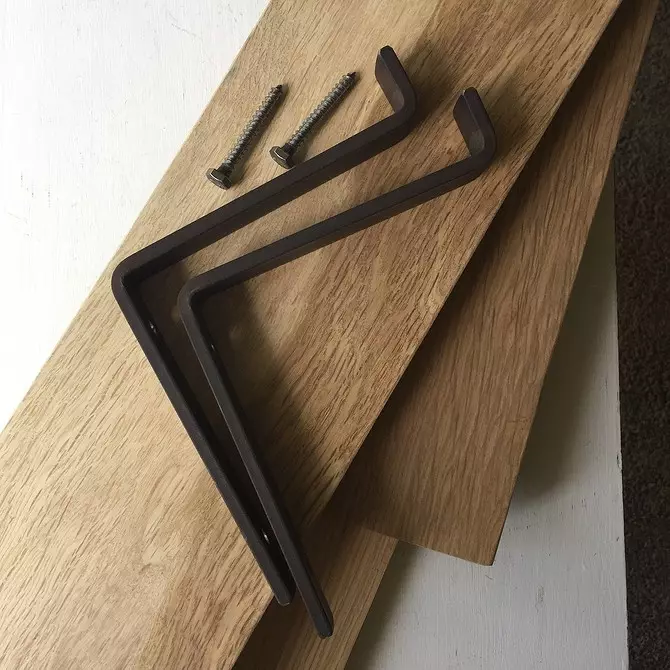
- Brackets - 2 or 4 pieces depending on the amount of shelves. It is suitable for both wooden and metal, as in the photo below.
- Paint in the tone of the walls, if you want to reorganize support. It is most convenient to use paint in the form of a spray.
- Drill or perforator.
- Dowels, selflessness.
Progress
- Color brackets in the color of the walls, if it was scheduled.
- If you purchased a shelf with drawers, then during drying the paint can be collected.
- Attach brackets to the wall, mark the place of attachment.
- Drill the wall, insert a dowel.
- Attach the brackets to the shelf, and then to the wall on the tapping screw.
If you are going to keep a lot of things and cosmetics, we recommend the base with your feet. Production and fastening of legs - as in paragraph number 2.
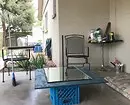
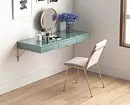
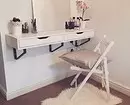
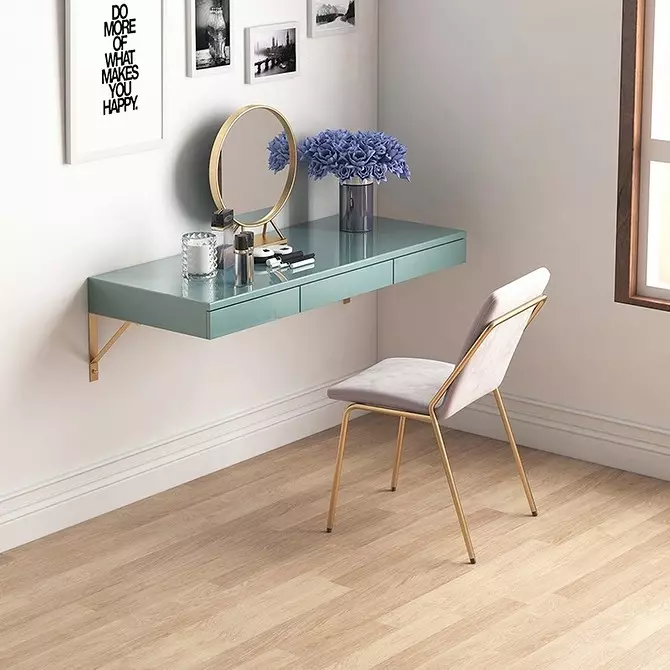
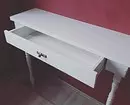
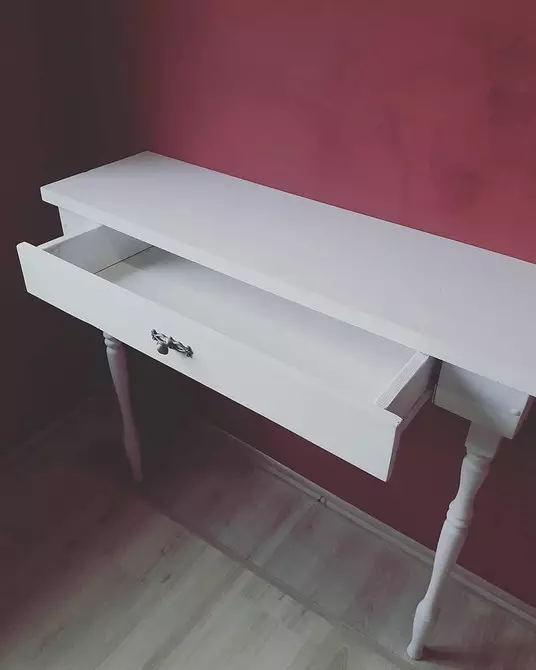
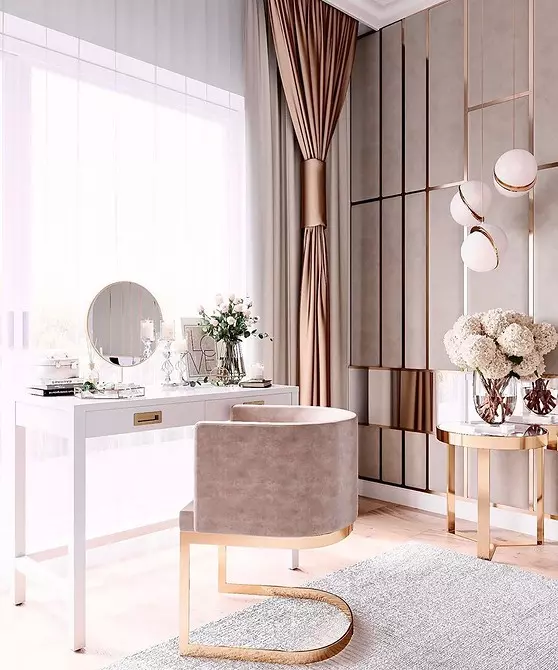
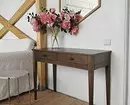
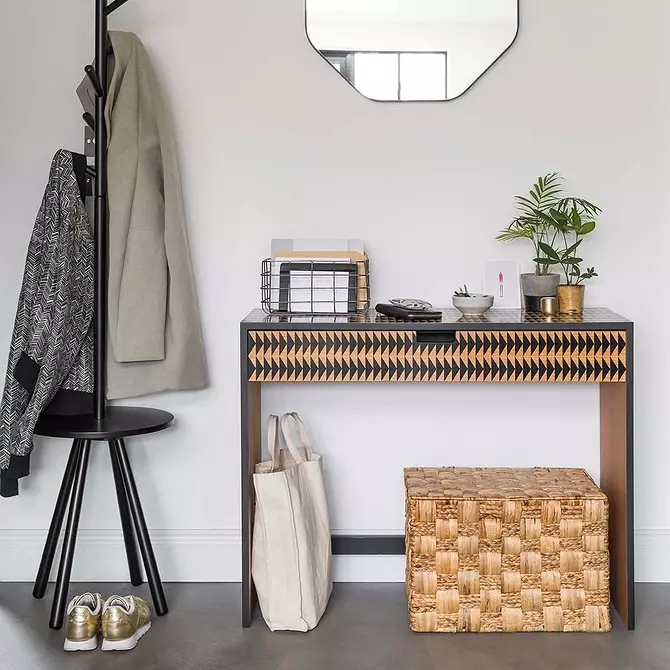
2 Console
This instruction, how to make a dressing table with your own hands, come in handy for fans of neoclassical and modern styles. The design depends on the shape of the legs and the subsequent decor.Tools and materials
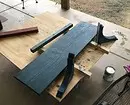
- Balyasina - 3 pieces.
- Saw.
- Countertop - a board with a thickness of about 28-30 mm.
- The board for creating side walls - a good 100 mm width.
- And for the drawer - width 80 mm.
- Guides for the opening mechanism of boxing.
- Corners for fastening composite - 8 pieces.
- Corners for fastening the legs to the tabletop and the Bouire to the wall - 4 pieces.
- Self-tapping screws are thin and thorough - 2 packs.
- Sand paper for wood processing.
- Car joinery for wood.
- Paint for decor.
In fact, two balusters will be used for the table, and the third will go to the expense. Therefore, you can take two identical, and the third is different from them.
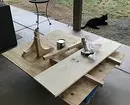
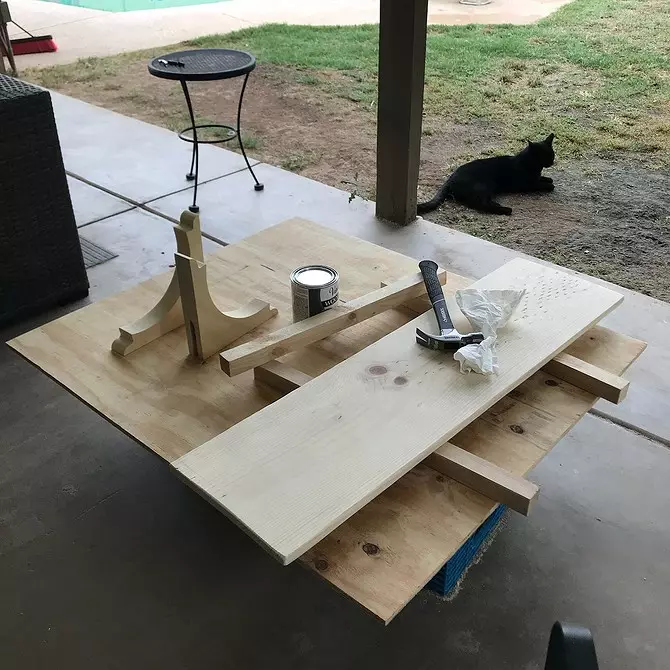
Instructions for manufacture
It all begins with the manufacture of legs. Their optimal height is about 70-75 cm.- Since the legs are narrowed to the bottom, from the balusin it is necessary to spill a wide part.
- Consumables are needed in order to replace the unnecessary part of the leg, which you have just dug on the stable - more often cone-shaped.
- You can combine the small part of the leg with the rest of the body at home with carbon black glue.
- Be sure to spare parts. You can do this, rested the table with the cargo, as shown in the video below.
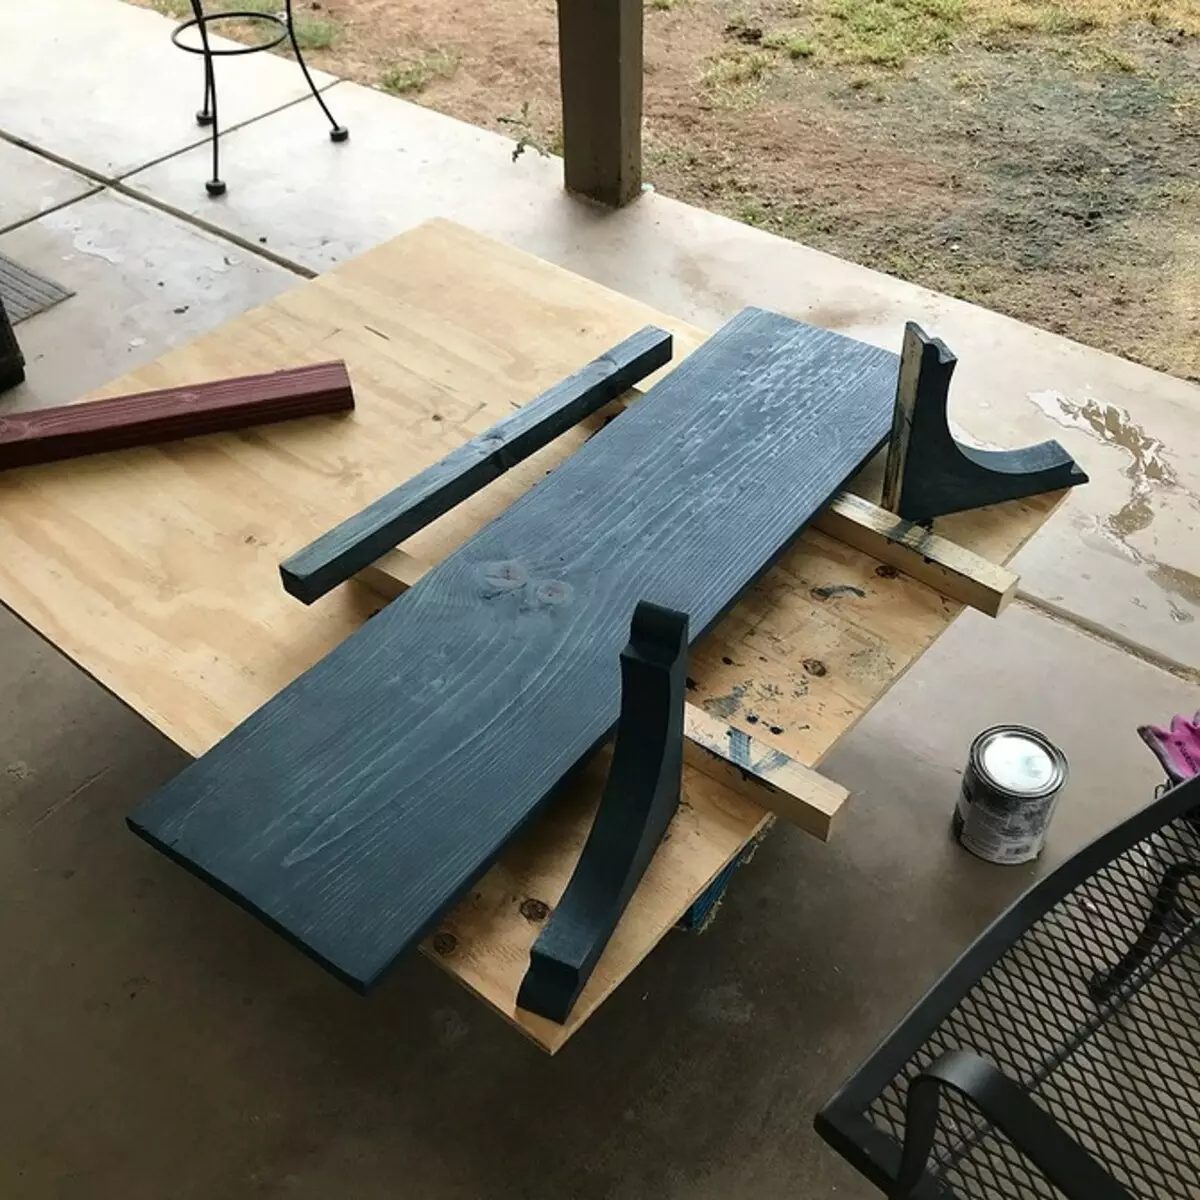
- Mark the position of the legs on the table top, connect them with thin side boards.
If the design does not imply a retractable box, you can start connecting parts using the corners and painting of the finished product.
If the task is to make a dress with a drawer with your own hands, you will have to continue working.
- The depth of the drawer is calculated on the basis of the guides - they are equal.
- Calculate the width of boxing, based on the width of the guides and the thickness of its side parts.
- Fasten the parties to Evrovintage - confirmates.
- To attach the bottom, you can use conventional nails to 20 mm and screws.
Before the painting, you should polish - it is necessary not only for security, but also for better coating. It is also desirable to progress the tree - this will provide better adhesion and increase wear resistance.
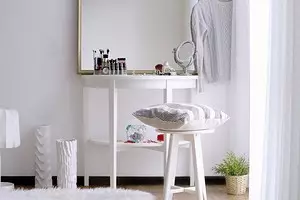
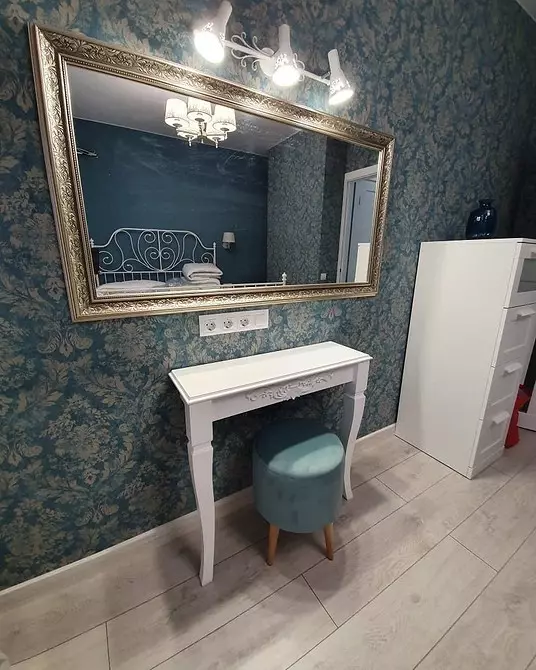
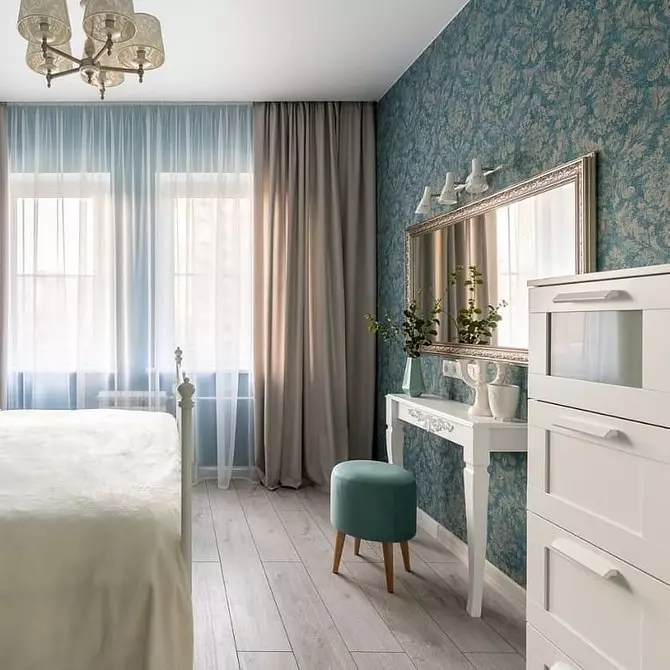
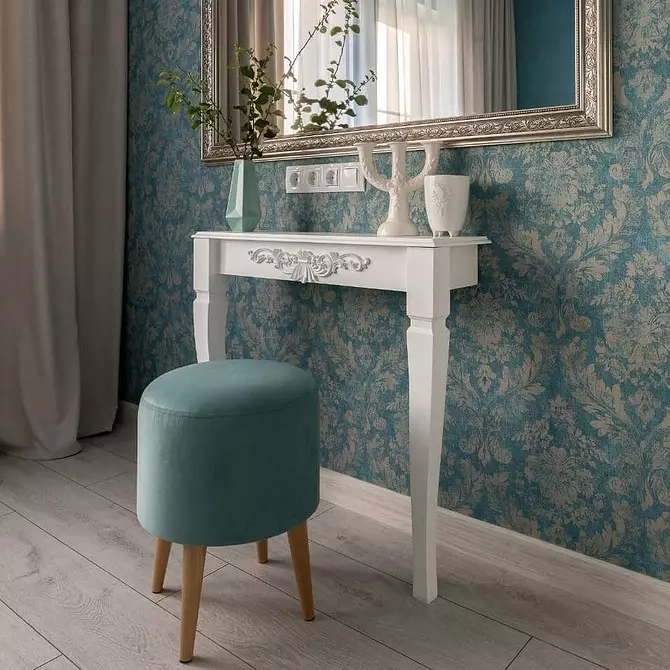
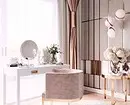
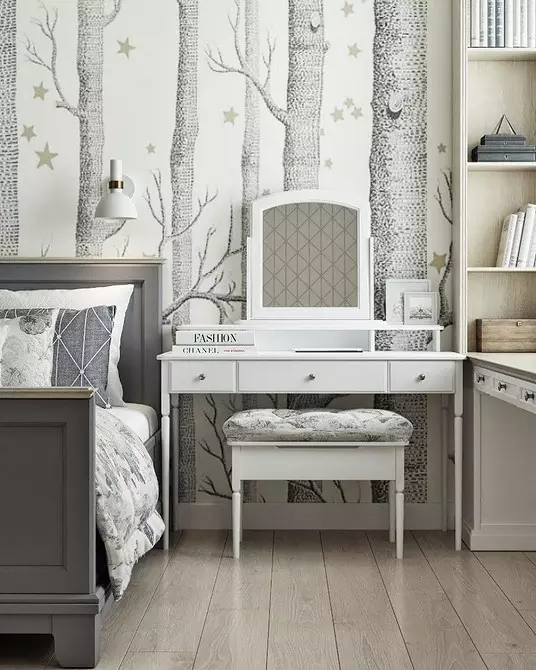
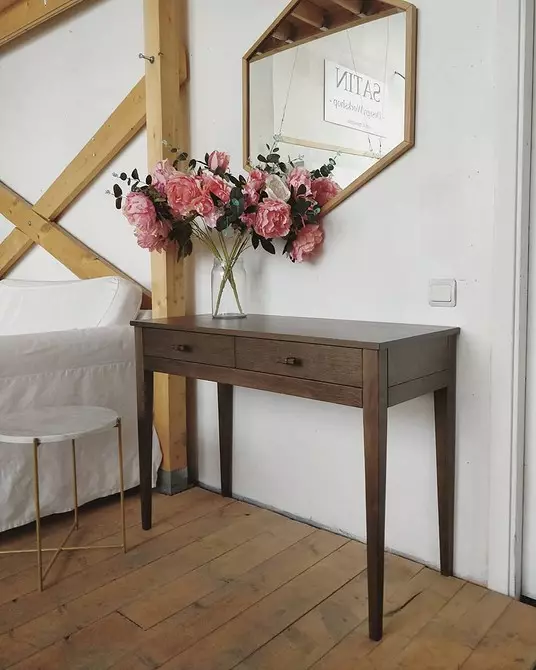
3 Classic model
This option is for more advanced in carpentry. Its manufacturing will require some skills to work with wood, accuracy and care. How to make a classic dressing table with your own hands, tell detail further.
Materials
Before proceeding with the assembly process, you need to decide which material you will design your product. Selects several options.
- Chipboard thickness 13-16 mm is the most common material for the manufacture of furniture at home. Work with it is easy and pleasant.
- MDF sheets will come out more expensive, but they are more wear-resistant and durable.
- The most difficult way to work with wood, especially with durable and hard rocks like larch.
- Plywood will be needed for the box of the box.
What else will required?
- Eurovintages are a pack and self-tapping screws (16 mm and 25 mm).
- Guides of the desired size.
- Corners for fastening.
- Drill, Lobzik.
- Sandpaper.
- Screwdriver Set.
Step-by-step instruction
If you have the opportunity to cut the items in a construction store, we recommend it to use it. Nevertheless, the edges processed on the machine will not be equal to the analogues made using the jigsaw at home.
- All components must be cleaned with sandpaper, 120 points will fit.
- The easiest way to first make holes for fixing the confirmates.
- The constituents glue together. Classic order: side racks - to the countertop, then the dividers for the shelves and the lower part of the box. After collecting legs and attach them to the frame. During sizing the design is pressed.
- After that, insert corners and check as far as the design is smooth. If everything is fine, the EuroSints twist.
- At this stage, the product can be seized, remove all irregularities, including hanging boards.
- The finished box is treated with primer.
- If chipsets were formed during the work, we recommend to pass them with a putty on the wood alignment. After drying, on these places are once again sandpaper.
You can move to the preparation of the base. Its assembly depends on the design. It can be simplified, for example, replacing thin curly legs on the wide wooden panels that are attached to the end.
After that, the frame paint. If you have chosen the paint, do not forget about the easy grinding of the tree between the layers - it will help remove fibers and pile.
At the final stage, the boxes are mounted. The principle is the same as above: the main thing is to correctly calculate the length, width and depth.
The facade of the box can be made separately. In this case, the last stage is the fastening of the facade. This is done using liquid plastics and screws. Be extremely neat with the mount, the appearance of the final product depends on it.
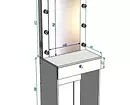
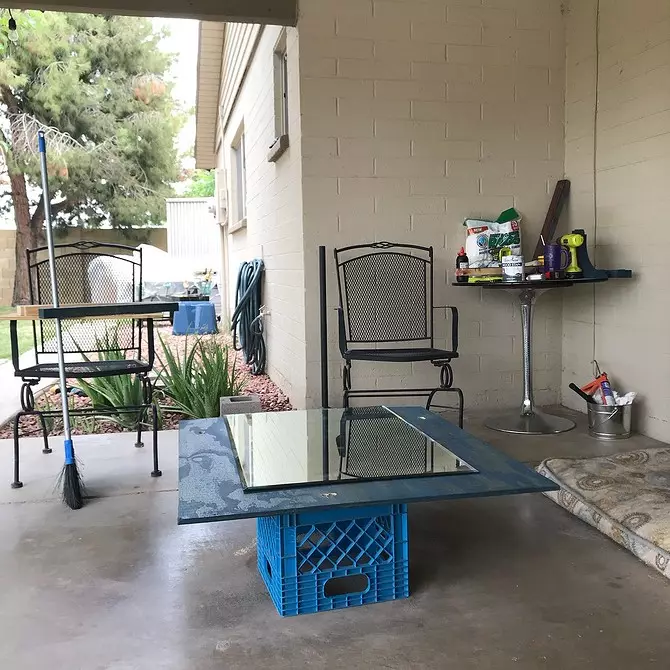
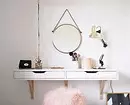
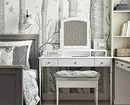
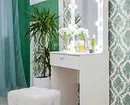
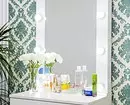
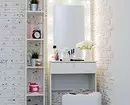
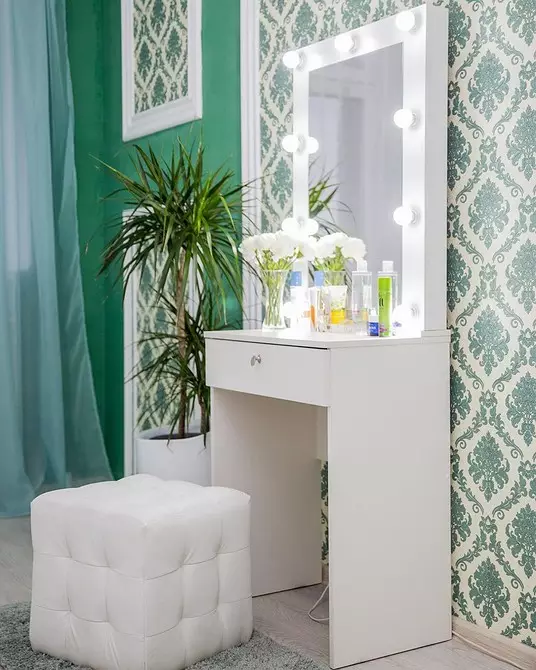
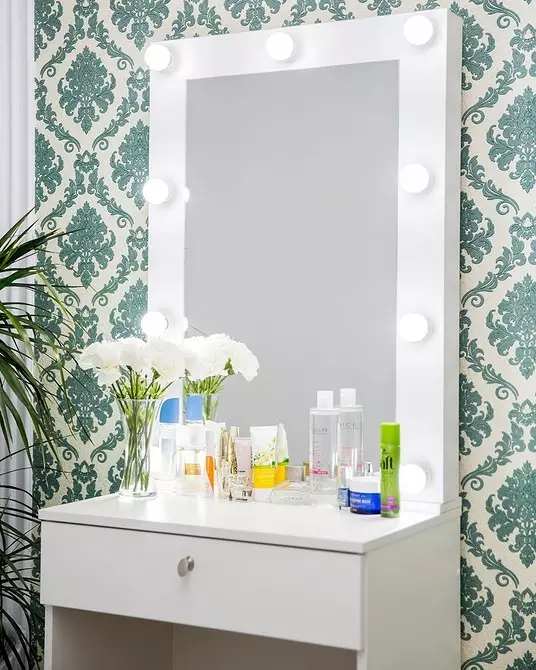
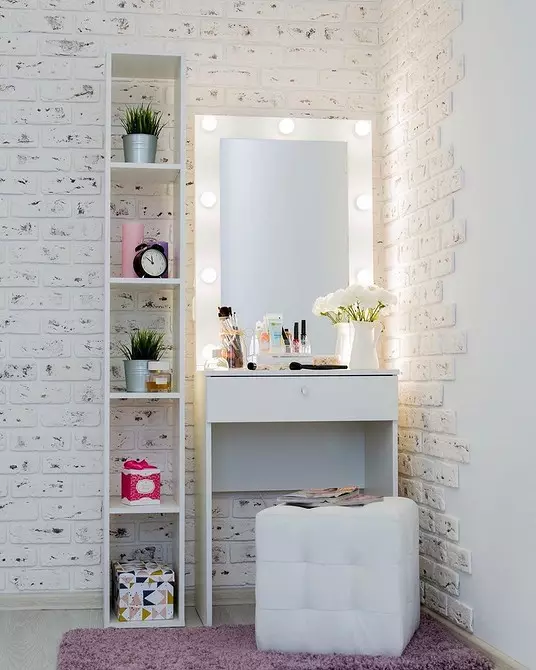
4 with backlit
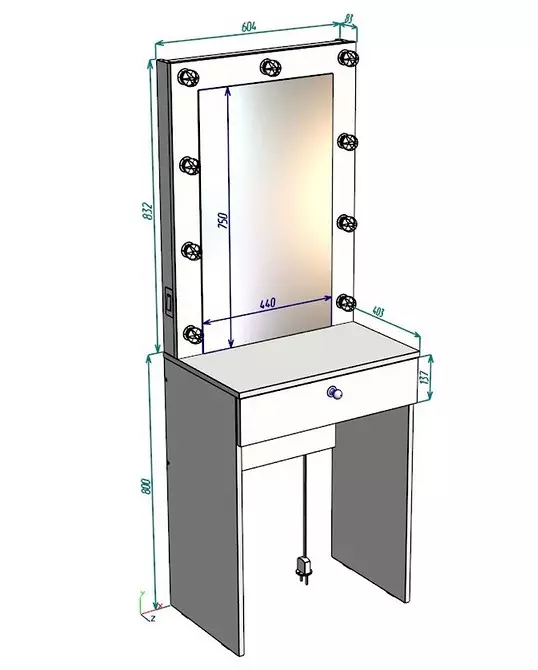
The most complex model of the toilet table with your own hands is with a mirror and illumination. You can schit and add the table to these accessories.Necessary materials
- Wide frame under the size of the table. You can find ready or construct yourself from the profiled board.
- Cartridges for light bulbs - count quantity depending on the size of the frame - optimally 10-12 pieces.
- LED light bulbs - 10-12 pieces.
- Food cable - 4 meters.
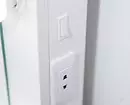
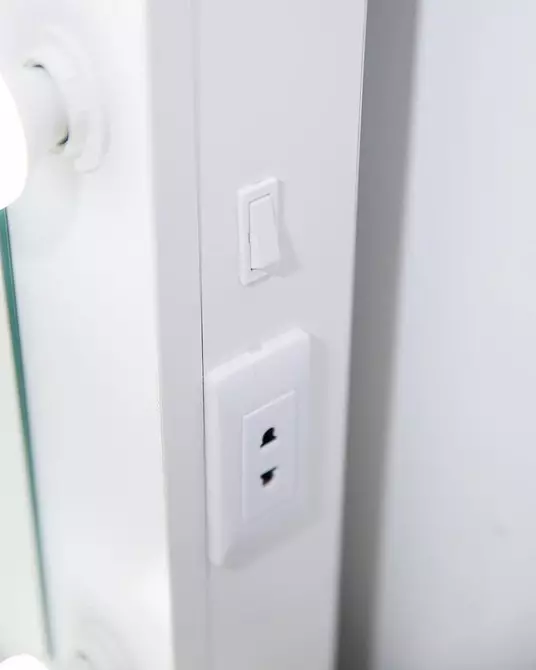
- Switch.
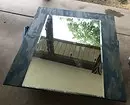
- Mirror.
The easiest way to make a square frame for the mirror. First, it is faster, and secondly, to make holes under the lamp in a flat frame easier than in the figure. Yes, and from the point of view of style, the model without abundance of the details looks better.
Step by step guide
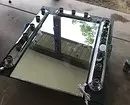
- Make in the frame of the hole under cartridges using a sweep.
- Install the cartridges themselves.
- Method of connecting lamps - parallel.
- Connect the cable with switch. To work more carefully, it is better to do a separate hole in the frame.
- So that the wire does not "hang out", press it with self-draws to the frame. Check the system.
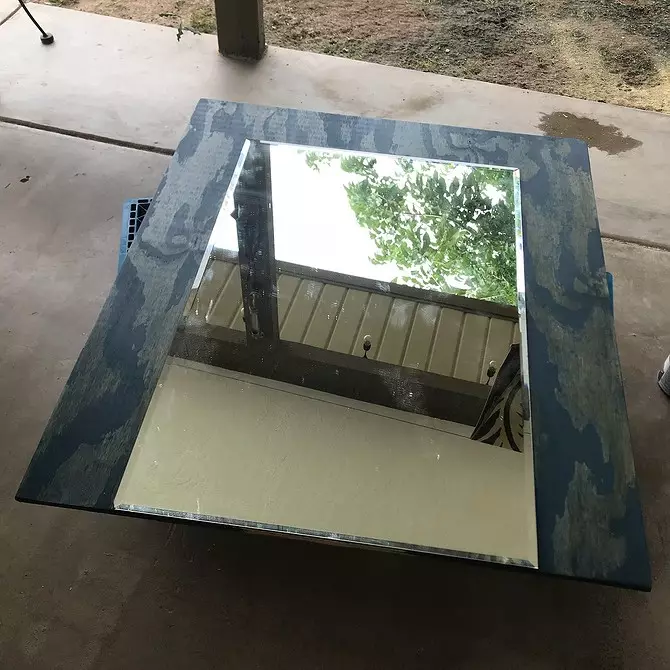
- Install the mirror in the frame.
- It is possible to secure it with small wooden robes on nails or small screws.
- In order for the mirror to stand in place and not slipped, you can also put a wide plank under it.
A simpler method for making a backlit mirror - with LED tape. It can be pasted along the perimeter of the frame. Note: LED tape is connected to the power supply.