We understand which laminate is better suitable for the ceiling and we give instructions on the installation of material in two ways: for glue and inches.

Relatively recently there is a tendency to mount the laminate on the ceiling. Despite the fact that such a solution seems ambiguous, he has its advantages. Moreover, you can realize it on your own. In the article we tell how to do it better.
All about the installation of laminate on the ceiling
Pros and cons of finishesTips for choosing
Instruments
Materials
Selection of glue
Installation instructions for glue
Installation on the frame
Pros and cons of finishes
Let's start with the advantages.
pros
- One of the main advantages of the material is its ease compared to a boardwheel. If you want to wash the ceiling with wood, glued wooden slats are suitable for this.
- Such a surface is easy to care for: sufficiently small wet cleaning.
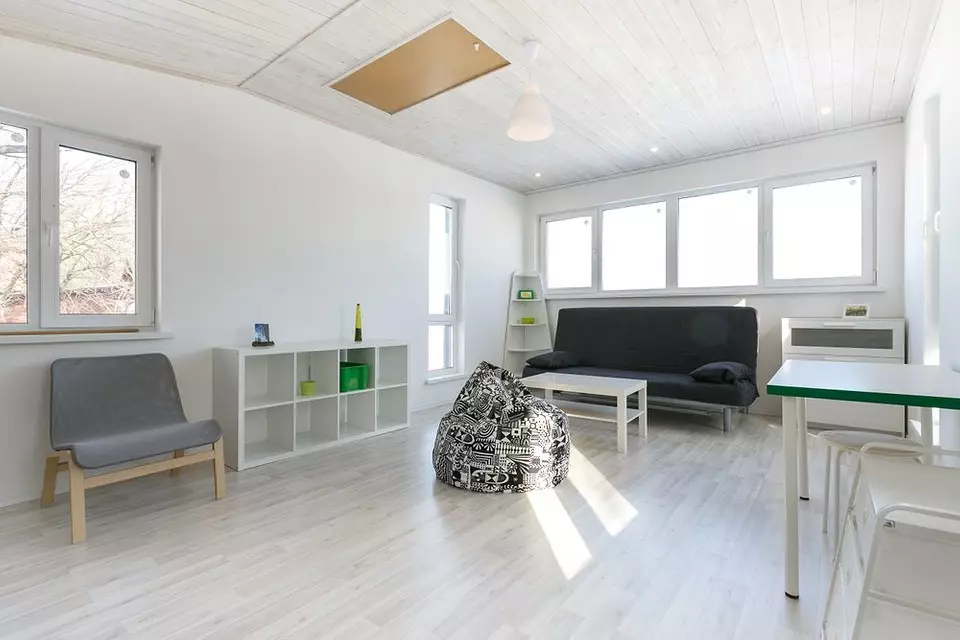
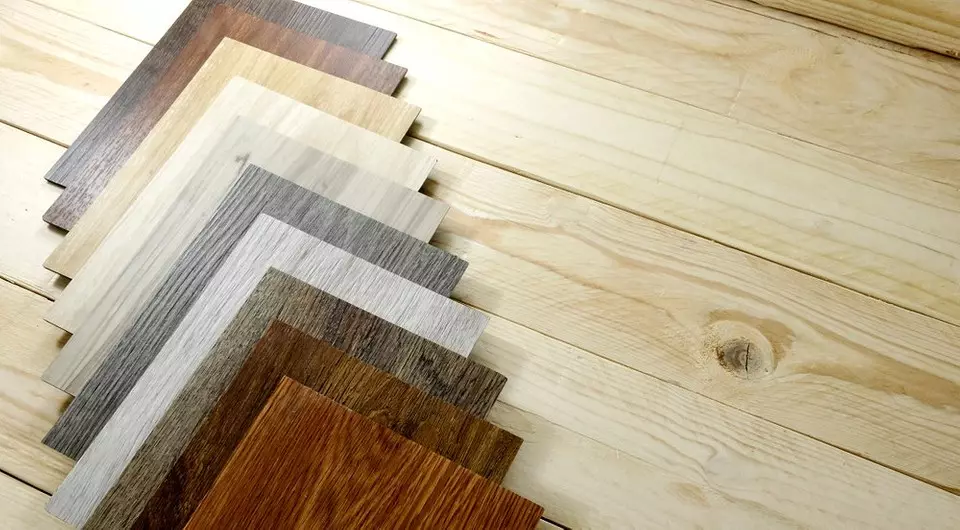
- Due to the variety of colors and textures, it is possible to easily choose the material suitable for the interior. True, the white panel is better not to take, as they quickly burn out in the sun.
- Lamels absorb the sound and maintain heat, which is explained by their dense multilayer structure. So, the coating can be used not only as a decorative element, but also as sound and thermal insulation.
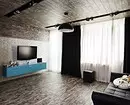
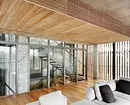
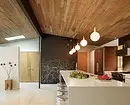
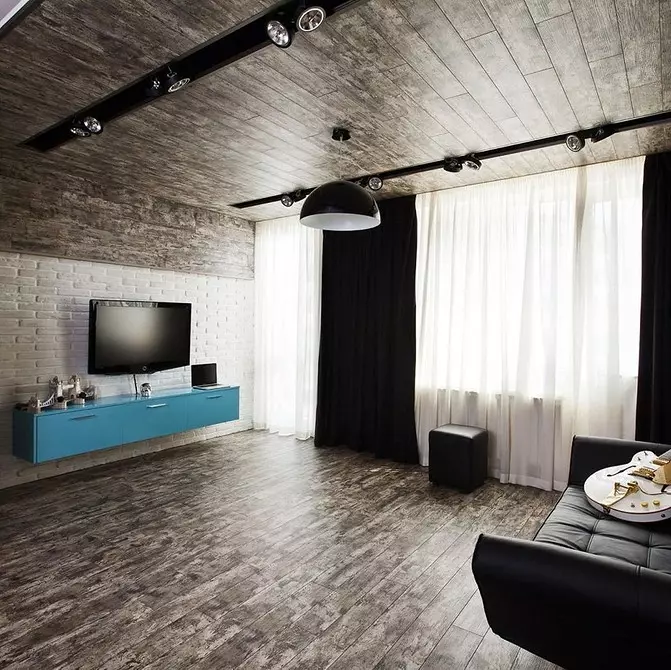
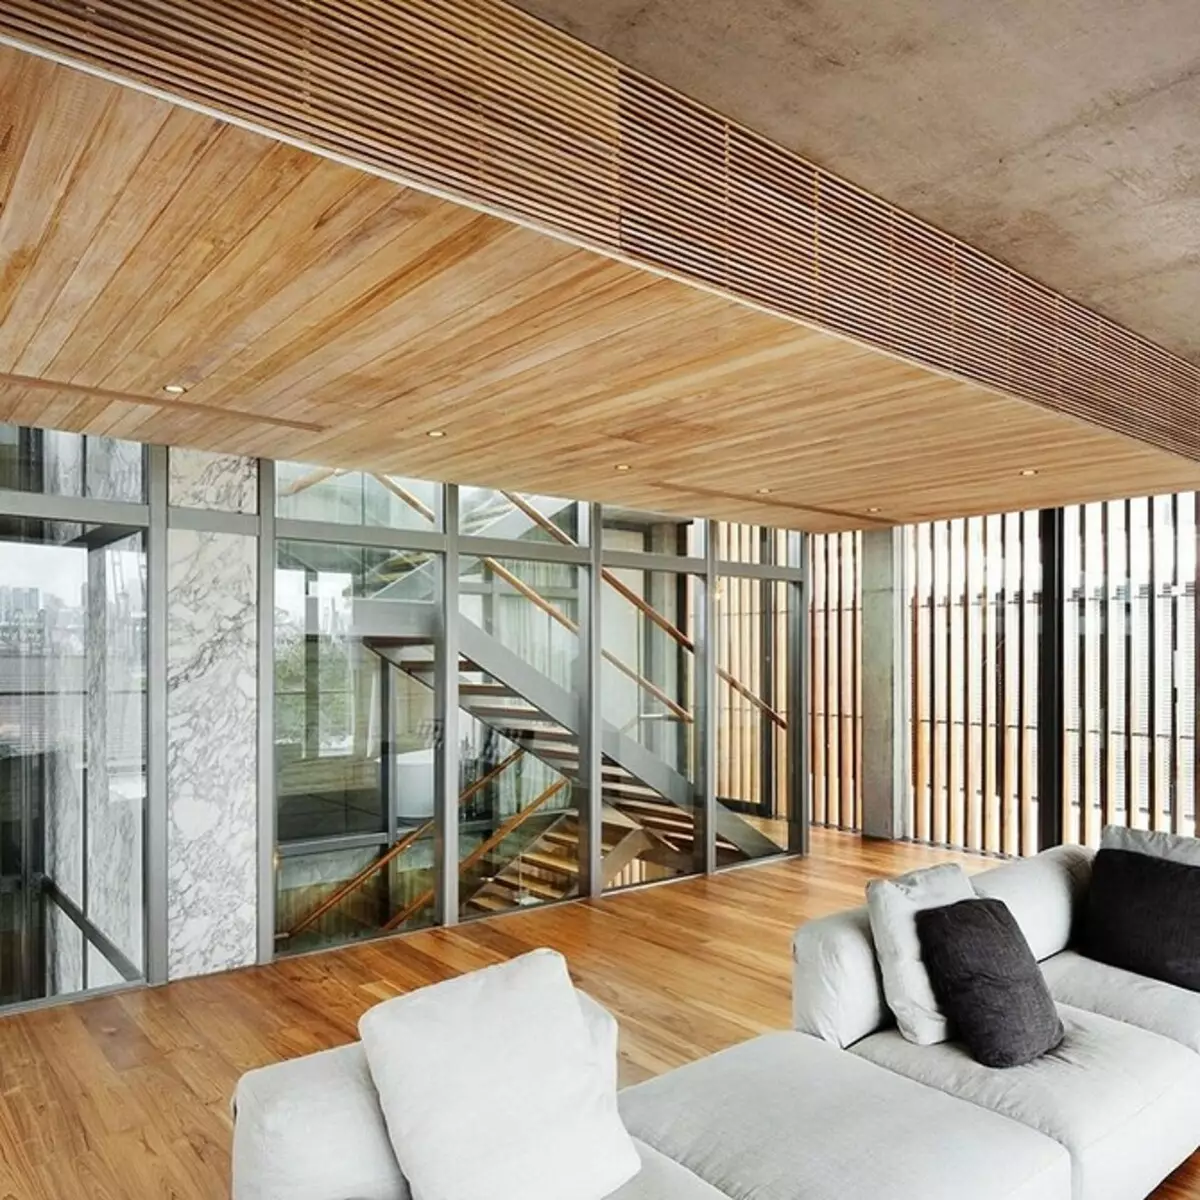
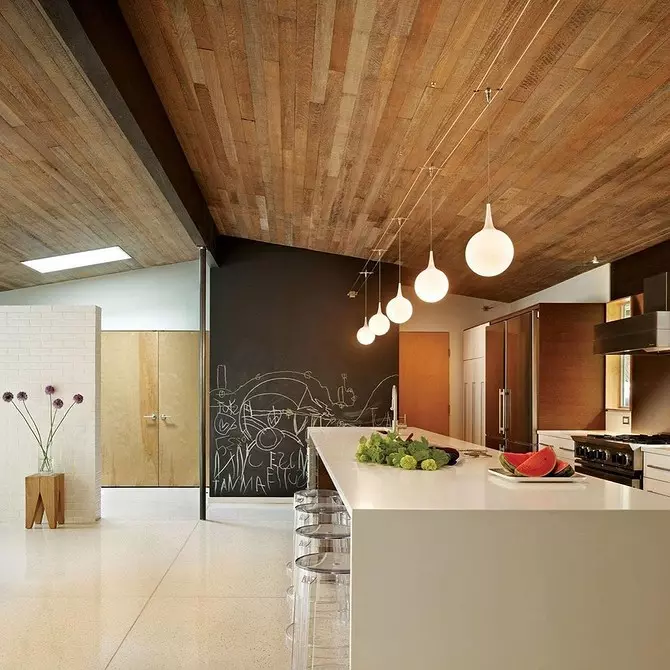
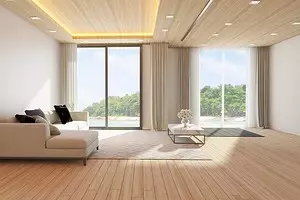
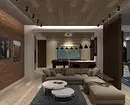
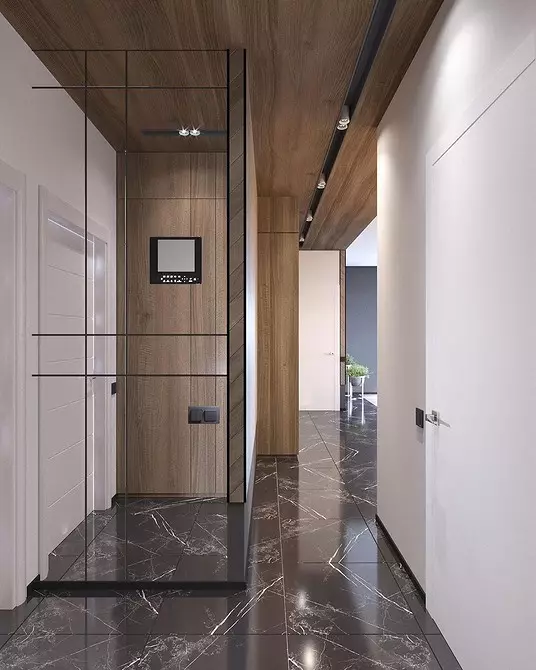
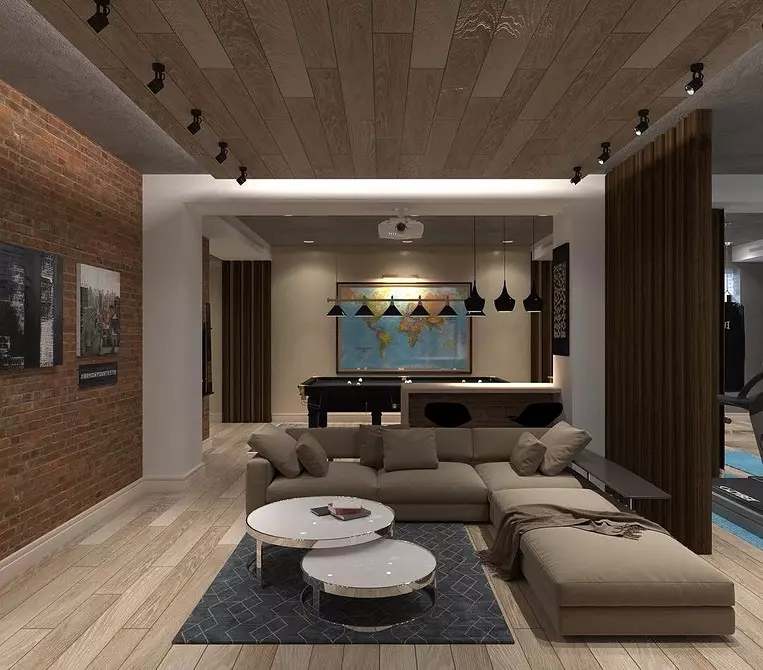
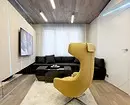
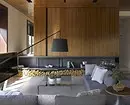
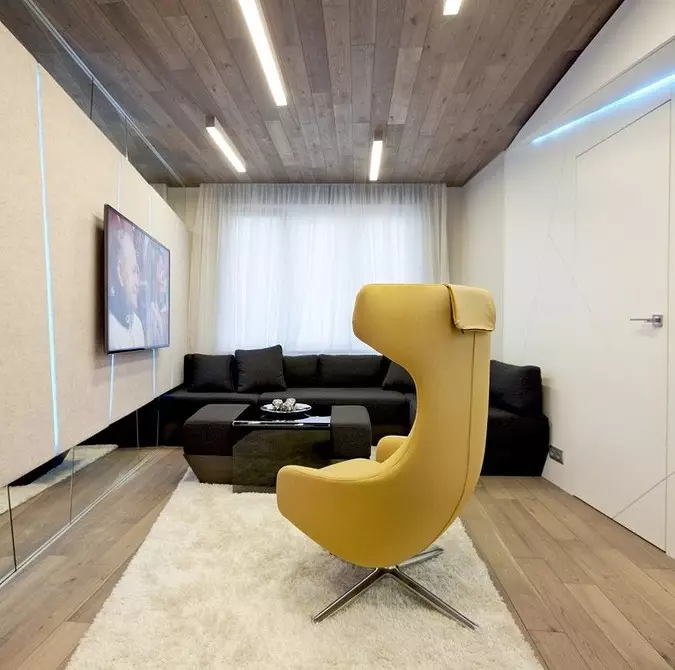
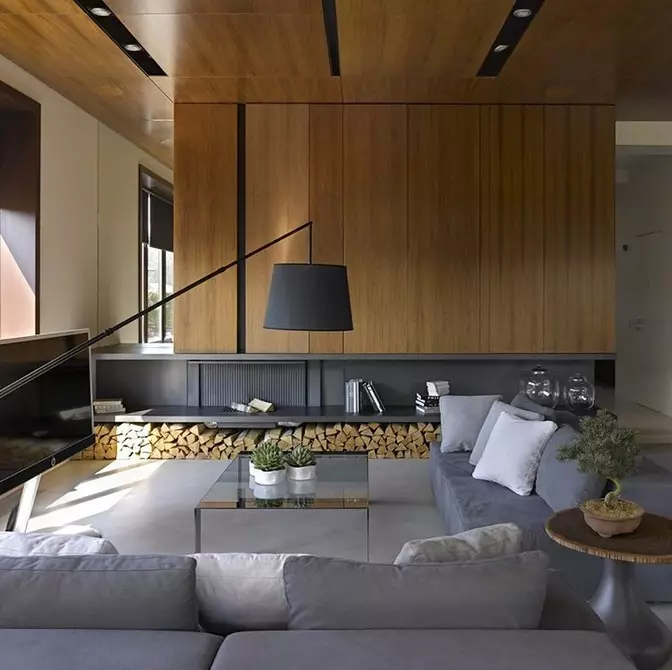
- The ceiling of laminate looks great in any interior, in what you can make sure, looking at the photo. Such universality is not characteristic of each material.
Minuses
- Wooden dies absorb moisture well, so it is not recommended to mount this trim in the bathroom or in the kitchen. Even if you buy lamellas with increased moisture resistance, there is no guarantee that they are not deformed and will not lag behind the ceiling.
- Another negative factor is use in the production of phenol resins. During the first month of operation, the premises with a decoration of laminate will have to be periodically ventilated, since the coating will be separated toxic substances.
- Like other wood-based materials, the laminate facing does not tolerate the temperature differences: it is not necessary to mount it in the rooms in which it is too hot, or vice versa, too cold.
Tips for the choice of material
Buying dies, you can not pay attention to their wear resistance, density and thickness: all this matters only for floor coatings. Another thing is moisture resistant. Despite the fact that special impregnations and reinforced layers do not protect the material from moisture by 100%, it is better to still choose moisture-resistant products. In any case, she is more durable.
Having calculated the required amount, take 15-20% of the lamellas more and make sure that all products are the same shade and from one manufacturer. Choosing a color, imagine in advance how the laminate on the ceiling will fit into the interior. Any difference between the films is instantly striking. For this reason, it is better to immediately buy the whole game so that later I did not have to order something additionally. Otherwise, it may turn out that there is no need for the desired color anywhere.
Look for sizes. Pick them so that the junctions are not very much. The longer the panel, the less junctions. At the same time, the boards must be not too wide: laying a lamella width more than 15 cm not easy.
Massive products are also better not to take. It is difficult to work with them, and you can not always apply them. So, for old wooden floors, which are unlikely to withstand additional loads, it is impossible to use them. Check out the material on flexibility: the better it is shorter, the easier it is to lay it. To laminate on the ceiling look just as beautiful as in the photo interiors, make sure that the panels do not have factory defects: chips, cracks, damage in locks.
Required tools
To carry out the fastening of the laminate on the ceiling, you will not need to apply some special devices. That's what you need to prepare.
- Roulette and a pencil with a soft blade - with their help will need to make marking.
- Electrode - for drilling holes for fasteners.
- Sharp swelling.
- Dowels, nails, self-tapping screws are needed directly for installation.
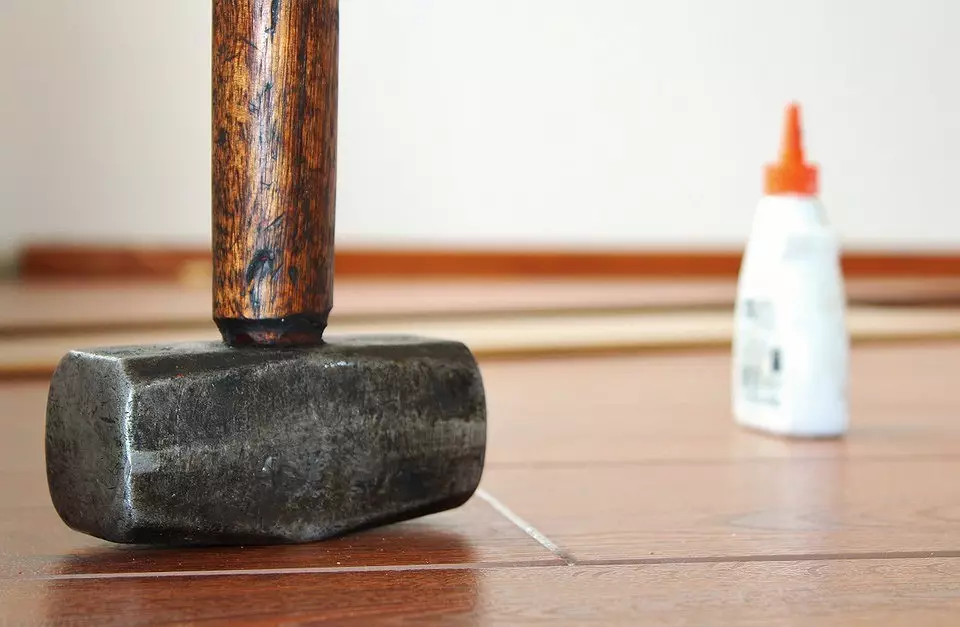
- Hammer and kiyanka, with their help you need to score nails and align the dies around the place, having sabbing them, for a more dense connection with each other.
- Building level.
- Hoven and jigsaw - without them it will not be possible to trim the material for size, and it is necessary to do it for installation in narrow places.
- Ladder. Even better if it is a building or joinery goat, from which convenient layouts can be built. It is much better to work on the metal forest.
Additional materials
- For the installation of laminate on the ceiling in a wooden house will be needed by a cross section of 40x40 mm to create a root.
- For overlap, which is aligned with plasterboard or chipboard, special mounting glue is useful.
- For the surface of concrete, most likely it will take a metal profile. But you can save, using the same wooden rails.
Selection of glue
The usual PVA for laying lamellae on the ceiling will not suit, since it is made water based. When choosing a composition, follow several important criteria.Criterias of choice
First of all, this is a water resistance. Also matter adhesion indicators. If they are too low, the risk that sooner or later the boards will begin to move away. The glue must be tightly clutching the surface of the base with facing.
Another criterion is resistance to temperature drops. For owners of country houses, this is important, because when driving a heating boiler, the temperature in the house for a while sharply decreases.
Pay attention to both environmental safety: the composition should not allocate any toxins. Ecology is particularly relevant if allergic children or elderly people live in the house.
What glue is suitable better
The best specialists recognize the two-component composition based on polyurethane. It has increased moisture resistance and includes a polyvinyl acetate, which makes the connection of the finish with the basis of very strong. The glue consists of two elements: the main composition and hardener. The only drawback is a high price. When buying, pay attention to the brand: the famous brand is a guarantee that the products are not toxic.
A single-component adhesive is suitable, made on the basis of polymers. It is also called "superclas". It does not contain water and is also characterized by a good level of adhesion. At the same time, the minuses, and the advantages can be attributed to its very rapid grasp. Only an experienced master will be able to work with such glue.
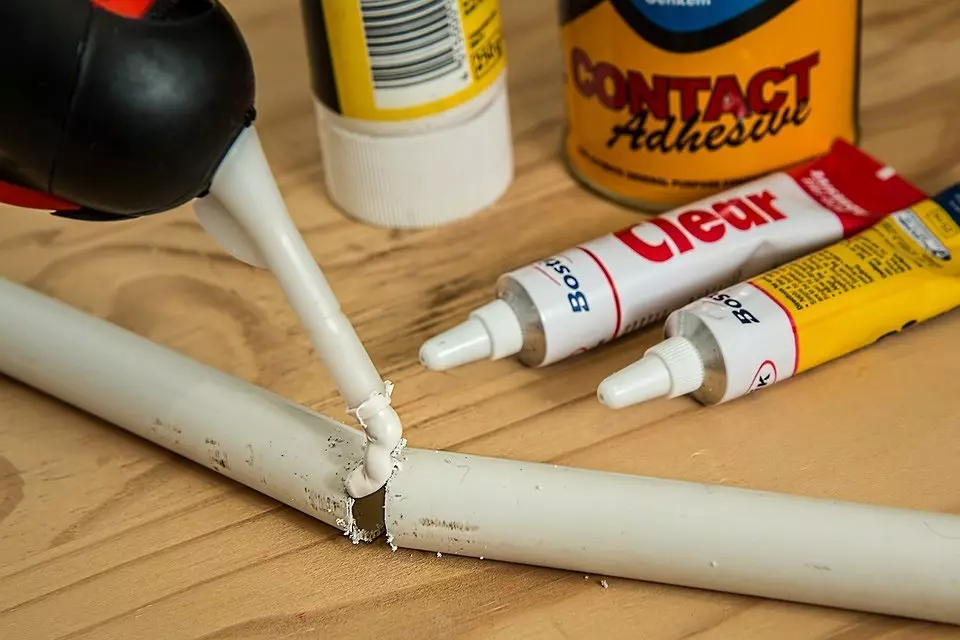
Popular liquid nails that are produced from synthetic resins provide excellent waterproof and high strength. But to apply them with panels with a thickness of less than 1.4 cm inexpedient. Such formulations are well suited for seams.
As already mentioned, the lining of the upper overlap with laminated panels can be made one of two ways: to mount the finish with glue or fix it on a predetermined frame. We tell how to fix the laminate on the ceiling with glue.
How to fix the laminate on the ceiling for glue
At first it may seem that glue the coating is easier than to mount it on the fence, but the installation process is also time-consuming: it is enough to glue one lamelters so that all subsequent rows are uneven. As a result, everything will have to be removed and stacked.Surface preparation
The adhesive method requires a perfectly smooth surface, so before installation you need to carefully prepare the base. Using the spatula, remove the old finish - the residues of the paint, whitewings or plaster. Problem places - potholes and chips - put together the putty.
Check out the smooth overlap with a long metal rack: if there are small height differences somewhere, level them with the same plaque composition.
For large drops (more than 50 mm), align the ceiling is useless: in this case, the framework must be used.
In places docking concrete slabs, suture with a perforator, fill in them with a mounting foam, cut down too much, and over again apply the putty.
After the makeup is dry, pass the surface with a fine-grained skin. Then apply acrylic primer deep penetration: first one layer, and then, when it snacks, is the second.
Instructions for sticking lamellae
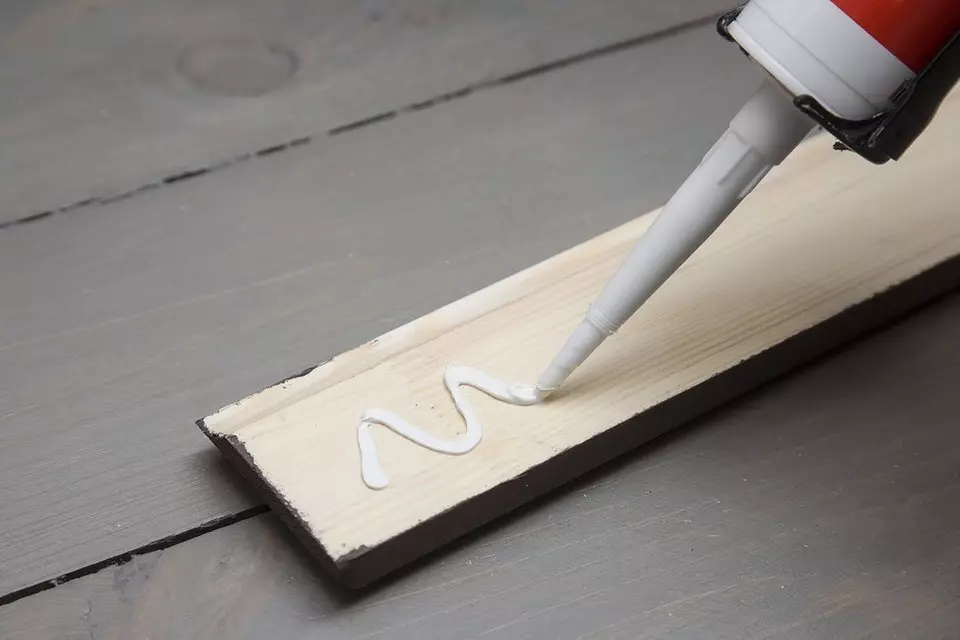
- Laminate glue from a long corner to the left of the door. Apply glue first on the base, and then on the back side of the lamella. Gently press it to the surface of the overlap, and the end part is close to the wall. Cold along the entire panel of the Cyans. Making sure that she keeps well, start mounting the next board.
- The lamella of each next row is first to join the lamella lock of the previous row, and then glue to the ceiling. Before docking the lock, it is advisable to lubricate with a sealant: this will allow you to make a joint more durable.
- In the residential room, install the panels parallel to the window, if it is a balcony or loggia - perpendicular. It is convenient to use the most short boards. Rows need to be put in disintegration - so that the end seams do not fall on each other (as in a brickwork).
How to perform installation on the frame
The bumbel can be both wooden and metal. Installation steps in both cases are approximately the same. Consider them on the example of concrete overlap and wood frame.
Preparation of doomles
First make marking for the root. Mark the location of transverse and longitudinal bars, as well as their place of attachment. The interval between lags is 40-60 cm. Drill holes and insert a dowel.
Secure the rails according to the markup: first the longitudinal, and then transverse - along the edges of the ceiling. If there are height differences, compensate them with bars of different thicknesses, prepare that need to be in advance.
Do not forget to bring the wires to where the lamps should be, and cut holes in the laminate.
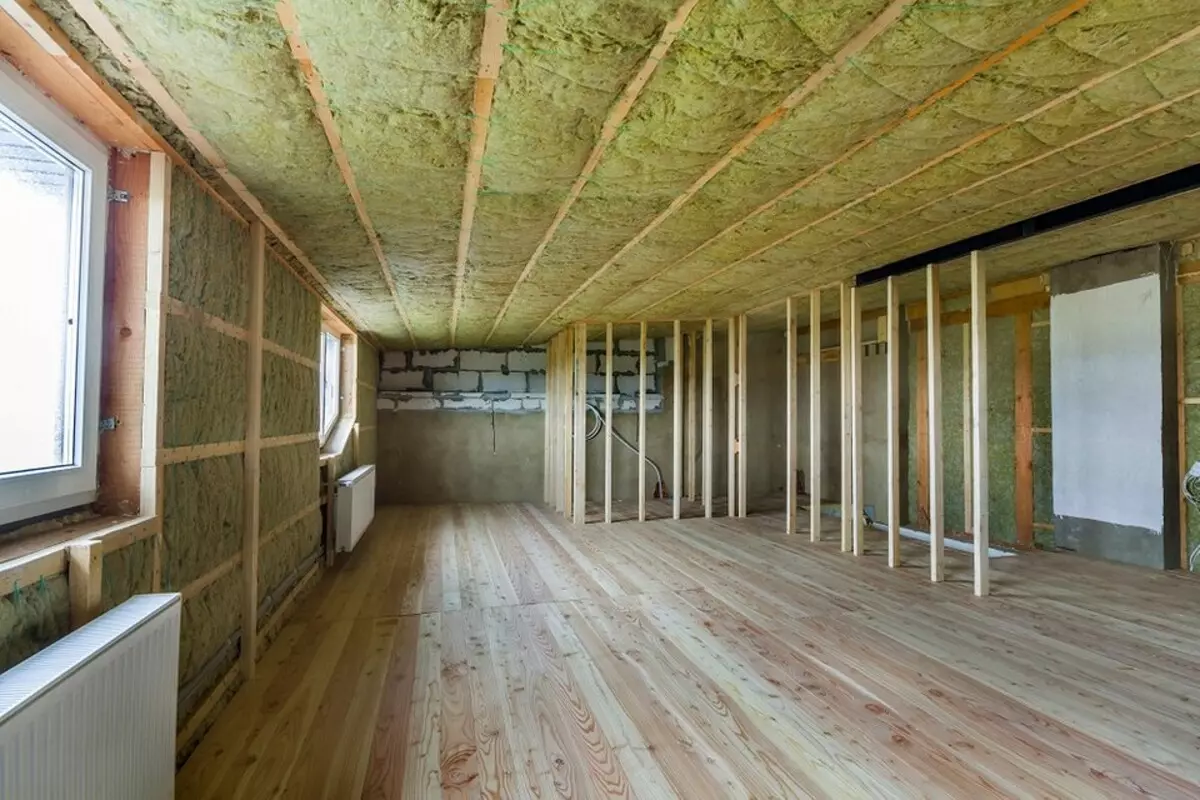
If necessary, the insulation can be laid between the rails, but in any case the hydro or vapor barrier is needed.
Installation instructions
- Installing start from the corner. Laying the lamella in the wall, leave a small distance of 10-20 mm between it and the material. Panels Possess perpendicularly, fixing them fasteners.
- Put the first row by fixing the panels along the edges and on the edge of the castle. The lamella of the following rows first join the lock, and then fasten with self-draws or nails. Before docking, lubricate the castle with adhesive composition. If necessary, cut the boards with a jigsaw.
- You can use special scaimeters as fasteners. Their use will allow you to mount the finish more accurately and practically without seams. By laying the panel, first join it with the previous one, and on the other hand, fix it on pre-installed mammakes using screws.
- The final stage is the design of gaps between laminate and walls. For this purpose, glue polyurethane plinths using liquid nails.