We tell about the advantages and minuses of wood and metal and give instructions for assembling light structures from both materials, as well as racks with a-shaped legs, which will withstand a full-fledged garden sofa.


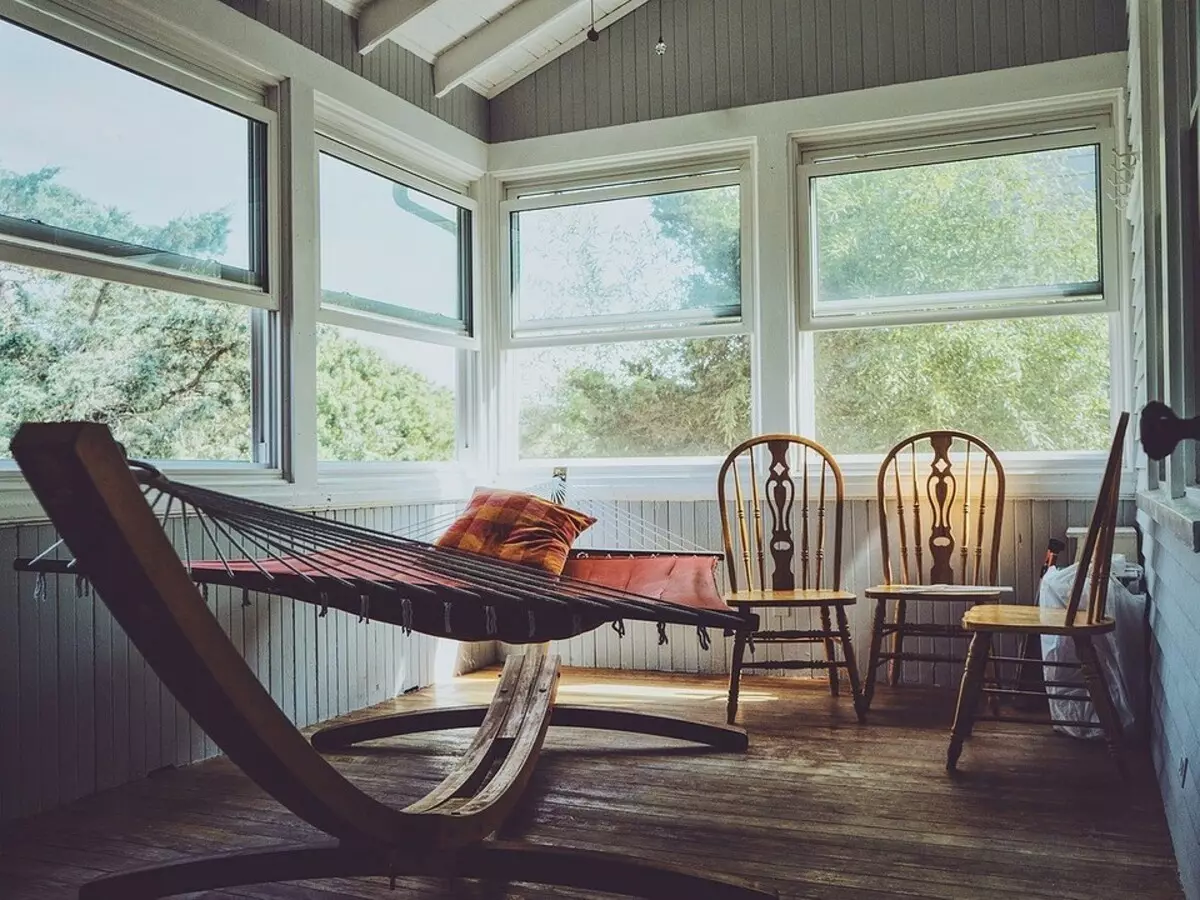
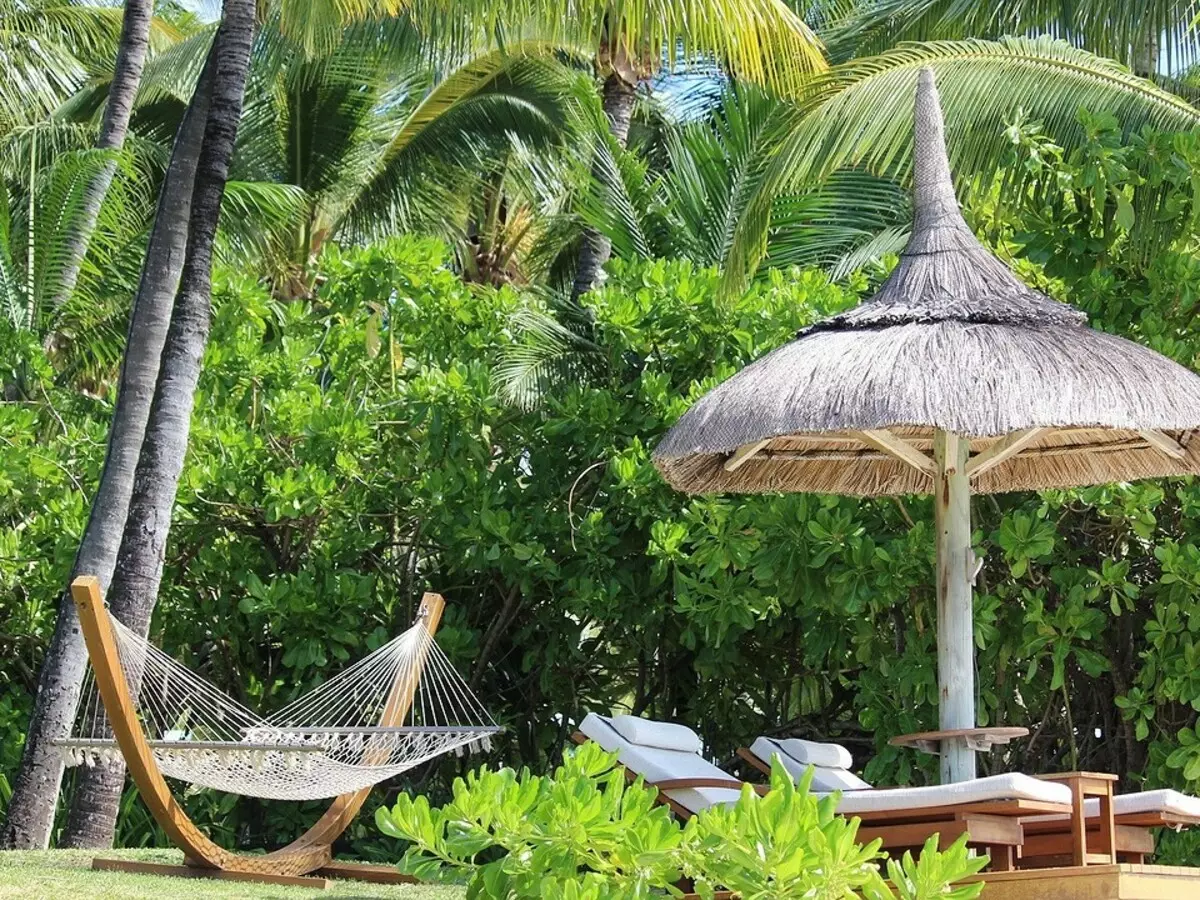
The racks for the hammock can serve as the trees or pillars pumped into the land, also the fabric is often suspended to the ceiling on the verandas and in the arbors with the help of hooks on the anchors. Such technical solutions are simple and reliable, but their disadvantage is that the design cannot be rearranged if necessary. The problem can be solved if you suspend the hammock on a slight base of a bar or profile. It is not very difficult to collect such a frame for a hammock. There are several design options suitable not only for the country area, but also for a spacious urban apartment.
Make a rack for a hammock with your own hands
Selection of materialDesign options
Instructions for assembling wood racks
- Necessary materials and tools
- Preliminary preparation
- Assembly
Metal rack assembly
As-shaped rack assembly
Selection of material
Wood and metal has their pros and cons. Their features do not have a significant impact on the technical characteristics of the structure. Frames made of them are arranged in the same principle.
Bars and array boards
The main advantage of the tree is decorativeness. Fibers create a beautiful pattern on the cut. It is not well noticeable even through the layer of paint. For strength, such a base is not inferior to a metal profile. Large breeds have the greatest strength. Oak supports will serve over a hundred years. Especially apply fir and pine. They are less reliable, but their safety stock is enough in order to withstand human weight.
The main disadvantage is that the fibers are afraid of moisture. Wooden parts need to dry and handle protective compositions before assembly even if they meet technical standards. This process takes several days.
Steel and wrought iron
Metal products are more reliable wooden. They do not experience temperature-humid deformations.
As a rule, products from steel are used to create a frame. Use better profile pipes - about corners and profile with a rectangular cross section are easy to hurt. When contacting with moisture, steel rust quickly. Effective protection provides only galvanizing and ice-wide surface. Primer and paintwork delay corrosion only for a while. Pre-processing takes only a few hours. Printing to the purified surface, give it to dry, and then produce painting with brush, roller or sprayer.
Wrought iron does not need a protective coating. It is more durable steel pipes and is not subject to corrosion. Prefabricated elements and their decor need to be ordered from the master. You can make your own sketches and prepare drawings with sizes.
Options for carcass designs
- Massive supports - the horizontal crossbar is fixed on a- or P-shaped racks, located in front and behind the head of the head of the sides. The lower angles connect jumpers forming a rectangle. Jumpers are needed to impart stability. In addition, due to them, the lower part does not fall into the ground. The canvas is tied to the upper crossbar. Sometimes it is attached to the rails, located in the legs and in the headboard. From the rails are ropes that are connected in one loop. It is hanging on the hook, located on the upper crossbar, or at the place of its adjoining racks.
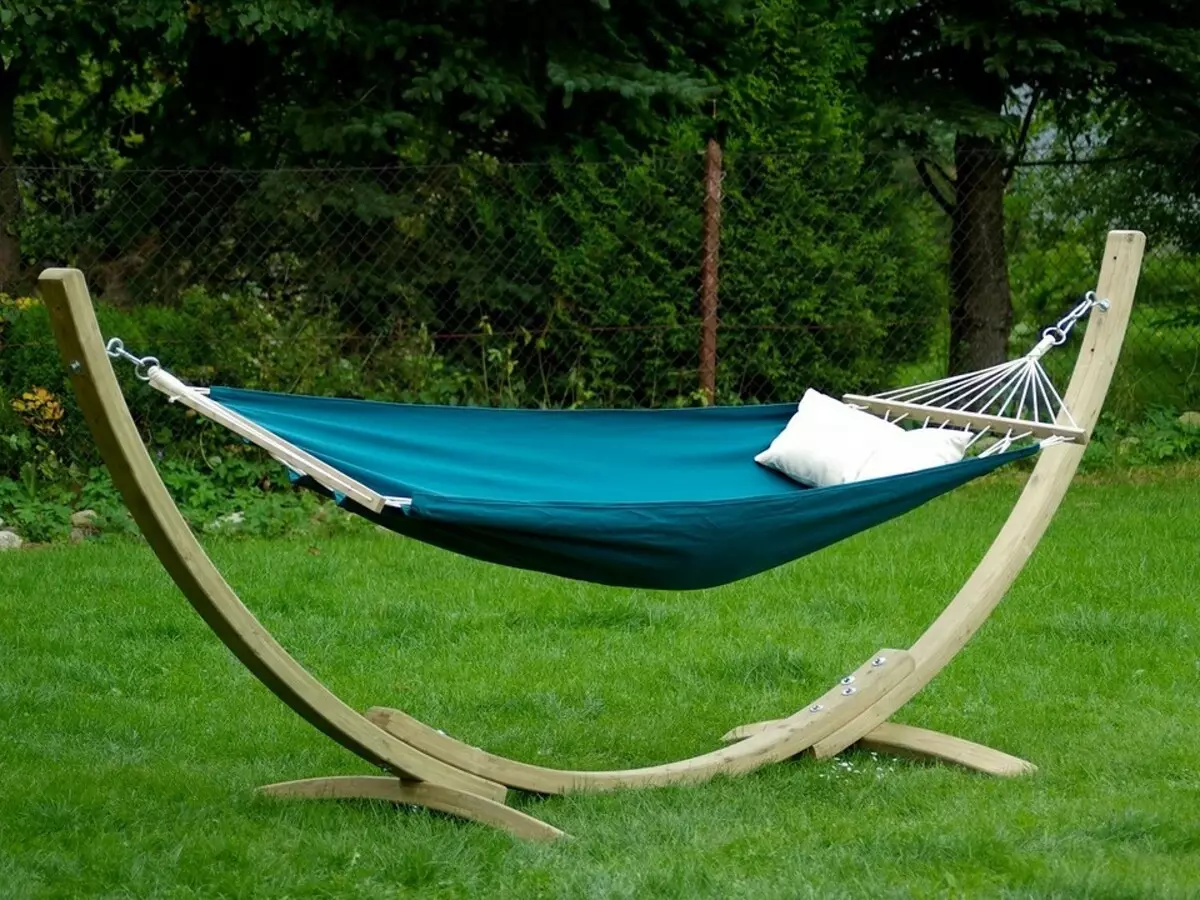
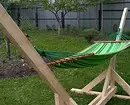
- Lightweight design - to the base standing on the ground, two bars are attached from different sides at an angle of 120 degrees. They mount the hooks holding the fabric. The stand is two boards with supports put on the edge. The beams are tightly inserted between them and are attached to the lower horizontal part inserts that do not allow them to fall. Inserts with the basis form a triangle. The longer his side, the stronger the connection. This design weighs less than the previous one. It is more compact. It is easier to transfer to another place and lead to a steady position. The stand takes a small area and it does not need a wide level platform. The carrying capacity of such a design is lower. Only a single web can be hanging on it, while the horizontal crossbind will endure even a double hanging sofa.
Instructions for assembling a wooden rack for a hammock with their own hands
This technical solution is used most often. It is more convenient and easier in performance. It requires less materials for its manufacture.What will take for work
- Roulette.
- A hammer.
- Drill and drill on wood.
- Hacksaw.
- Clamps that allow you to fix on the workbench and smoothly trim the beams at a given angle.
- Nails or screws, screws with nuts.
- Emery paper either Bulgarian with grinding circle.
- Individual protective equipment - glasses and gloves.
- Boards 10x3 cm - of them collect the base.
- Brussia 8x8 cm - They perform the function of the lower supports and beams with hooks holding the cloth.
Preliminary preparation
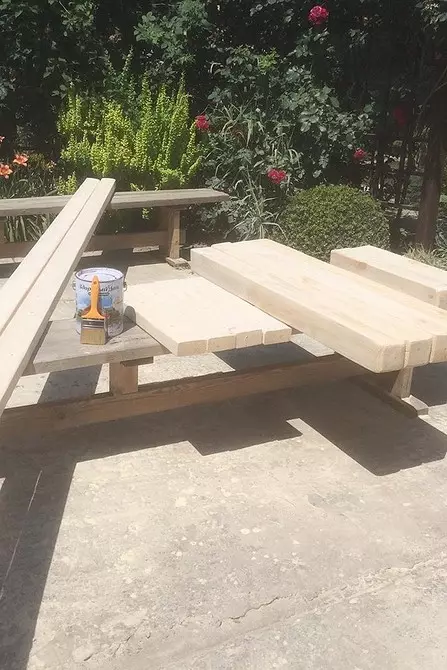
All elements are dried in the sun or with a radiator. With too intense drying, moisture is unevenly removed, which usually causes curvature of fibers. It is not always possible to straighten them in domestic conditions. The billets are stacking, setting the gaskets that ensure air circulation. Then the antiseptic treatment is carried out, which prevent the appearance of microorganisms. Without them, the spots of mold will appear on the surface. The composition is applied several times, after which drying is performed again.
The billets are grinding with sandpaper or abrasive circle installed on the grinder. It is more convenient to use the grinding machine, but for this you have to contact woodworking workshop.
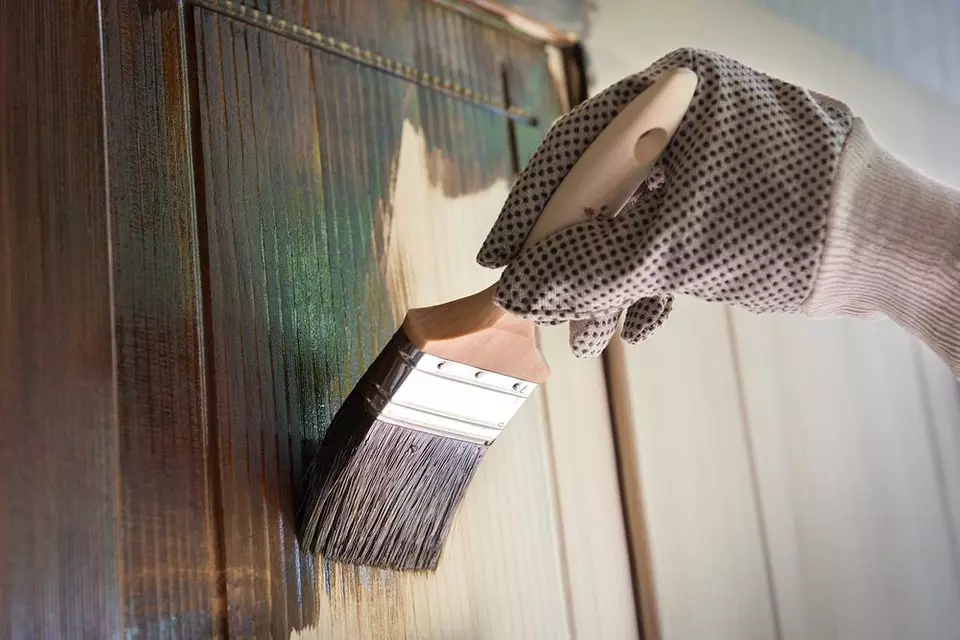
So that the water does not penetrate the structure, a protective lacquer or paint coating is required.
To give fire resistance wood, anti-epires are applied - additives that slow down the combustion process and impede flammings. After such impregnation, the product is better resisting an open flame, but still are considered fire hazard.
Assembling Rama
To make a rack for a hammock, the drawings are not needed. There is enough scheme drawn by hand, indicating all sizes. The assembly is made in several stages.
- Mount the base - on a flat surface lay two vehicles with a length of 1.5 m parallel to each other. The recommended distance between them is 2 m. On them in the center they montuate the perpendicular to the boards with a length of 3 m. These elements are installed on the edge and fix using self-tapping and metal corners. Between the boards should remain equal to 8 cm.
- We set the beams with a length of 2 m and a thickness of 8 cm - they should be tightly included in the space intended for them. The bottom side is poured so that it does not move from below, and they are fixed through the screws. Holes are better to prepare in advance. They must be at a distance of 25 cm from the edges of the base and 5 cm - from her ribs. All holes must be treated with antiseptics and cover with varnish, removing dirt and moisture.
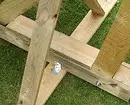
- We put the stops - their length is 1.5 m. These parts cut out from blanks 8x8. Fix them on beams and a horizontal stand using screw connections. Together they form a triangle with two sharp and one blunt angle. From above, we cut a blank at the desired angle so that it is tightly adjacent to the upper element. To do this, press its clamp to the workbench, black markings and cut off too much. The farther from the edge of the board, the stop is mounted, the stronger the connection. It is set closer to the center of another 0.5 m. From above, the bars are connected using a metal pin with thread sliced on it. Nuts wind from both sides.
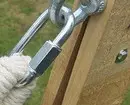
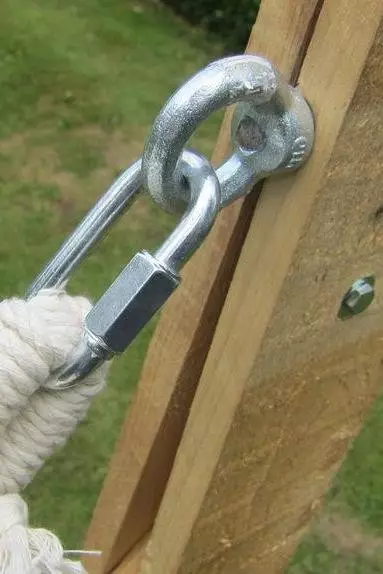
- From above, dripped the hooks on the anchors holding the canvas.
Metal rack assembly process with base in the center
It is arranged on the same principle as the previous model. The material uses steel profile pipes with a diameter of 4 to 6 cm. Create such a hammock support with your own hands is more complicated - for this you need to experience work with a welding electrode.Necessary work tools
- Welding machine.
- Metal disk saw.
- Fire or abrasive circle to cut burrows and cut sharp edges.
- Drill and drill set.
- Roulette and marker for marking.
- Primer and paint.
- Anchors with hooks.
- Round plugs of the corresponding diameter, protecting the profile from water and dirt inward.
Cutting and preparation of blanks
- 2 Bottom supports perpendicular to the central element - 1.7 m.
- The base is 1.5 m.
- 2 beams - 2 m.
Assembly instructions
- The beams weld to the lower supports mounted at a distance of 1.2 m from each other. Between them are mounted with a jumper of 1.5 m, generating angles of 120 degrees with them. The holes under the hooks should be done on top.
- The frame is cleaned from the scale with a file, wipe from dust, then covered with primer and paint.
- Instead of welding, screw connections are used. They are more cumbersome, but no less reliable. Their disadvantage is sticking threaded pins, which are easy to hurt. The jokes are mounted using corners and triangular plates. The second option is more reliable. The plates are made of a steel sheet with a thickness of several millimeters and installed on both sides of the profile. They drill holes in them, pins with double-sided threads and attract nuts. Holes are better to prepare in advance - work on the workbench with vice is much more convenient than in the "field conditions".
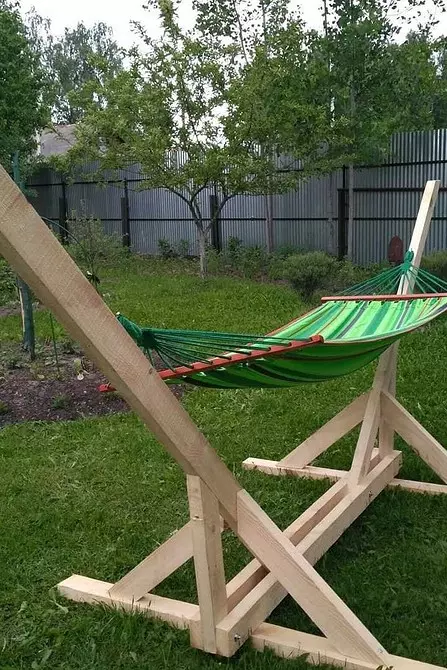
Installation Instructions for a heavy A-shaped frame for hammock
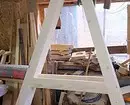
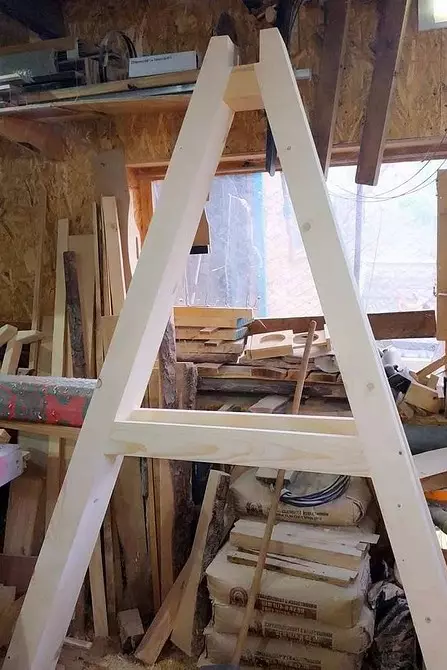
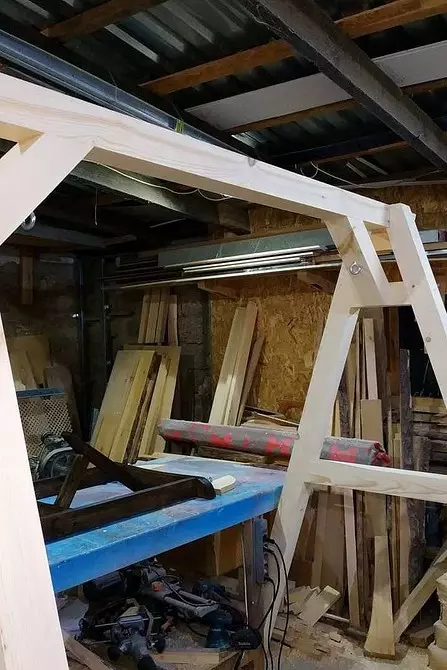
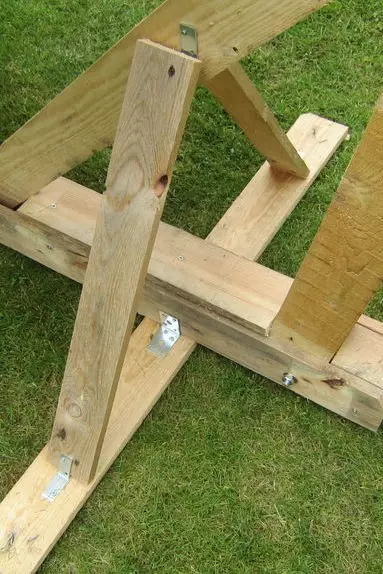
The design is two supports in the shape of the letter "A", connected by two lower jumpers and one top located on the corners. To the top mounted canvas. It hangs on the hooks with anchors located at the edges. Together, the details form a triangular prism lying on one of its parties. Its strength and stability is significantly higher than that of a light frame. It will be able to withstand a wide double hammock and other suspensions with a large mass. Not only the woven canvas is fixed to such a base, but also a wicker chair, a garden sofa, swing - both single and double. The disadvantage is a big weight. Move the frame alone will not be easy.What will take for work
All prefabricated elements are made from a bar with a cross section of 10x10 cm. Any breeds are suitable.
Assembly process
- The assembly is starting with an image sidewalls. The central crossbars in them serve as ribs. Side takes on the main burden. Their height is 2 m. From the bottom you can make another jumper. It is needed that the sidewalls do not go to the ground.
- The upper connection has a X-shaped form. When crossing the prefabricated elements form the bed for a horizontal holder to which the canvas hang. Racks are screwed with a pin with double-sided thread. So that they fit tightly and were on the same level, they do grooves in half of their thickness. For this use electric jigsaw. The grooves should be cut at a certain angle so that the prefabricated elements tightly come into each other.
- The length of the holder and horizontal lower jumpers will take 2.5 m. They are mounted with screws installed in pre-harvested holes. You can use perforated metal plates for this, which are superimposed on the joint.
- The hammock is hanging on the hooks or is attached to the upper crossbar.