We tell how to choose the right glue, prepare the surface and give detailed instructions for mounting the ceiling plinth to the wall and ceiling.

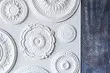
So that the wall of the wall and the ceiling was beautiful, it is closed with a decorative panel. The most budget version of this decor is made of foam. It is lightweight, plastic, rather durable, is well processing. We will deal with what and how to glue the ceiling plinth of foam.
All about labeled decorative baguette
Selection of glueInstructions for sticking
- Preparation
- Installation
Features of the design of the stretch ceiling
Possible errors and their elimination
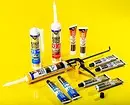
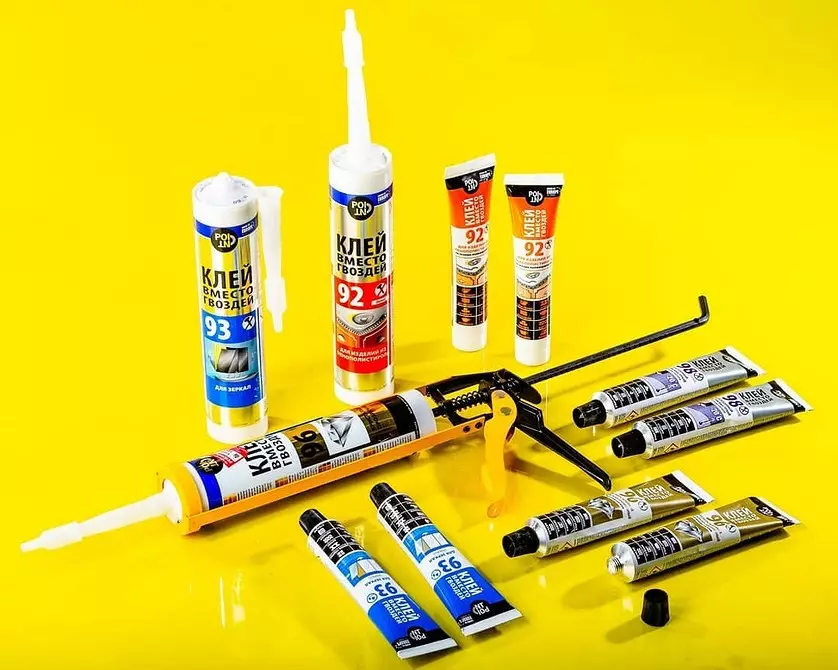
The choice of means for gluing
The most inexpensive decor looks good, provided that it is correctly fixed. It is necessary to know that the material has several drawbacks that affect the installation. Plastic grain interferes from performing a smooth cut. Some branches do not cut, and fall out. As a result, it turns out a torn edge. Therefore, it is necessary to close the corner joint with a sealant or putty.
The material is fragile, it will easily break or deform even from a small mechanical impact. The composition for the attachment is chosen carefully, since the solvents present in the adhesive can dissolve the foam decor. It is recommended to apply a little drug on the part of the quilt and see if it will be melted. If everything is fine, proceed to sticking. For installation, the means of different types are used.
Glue for ceiling base foam plinth
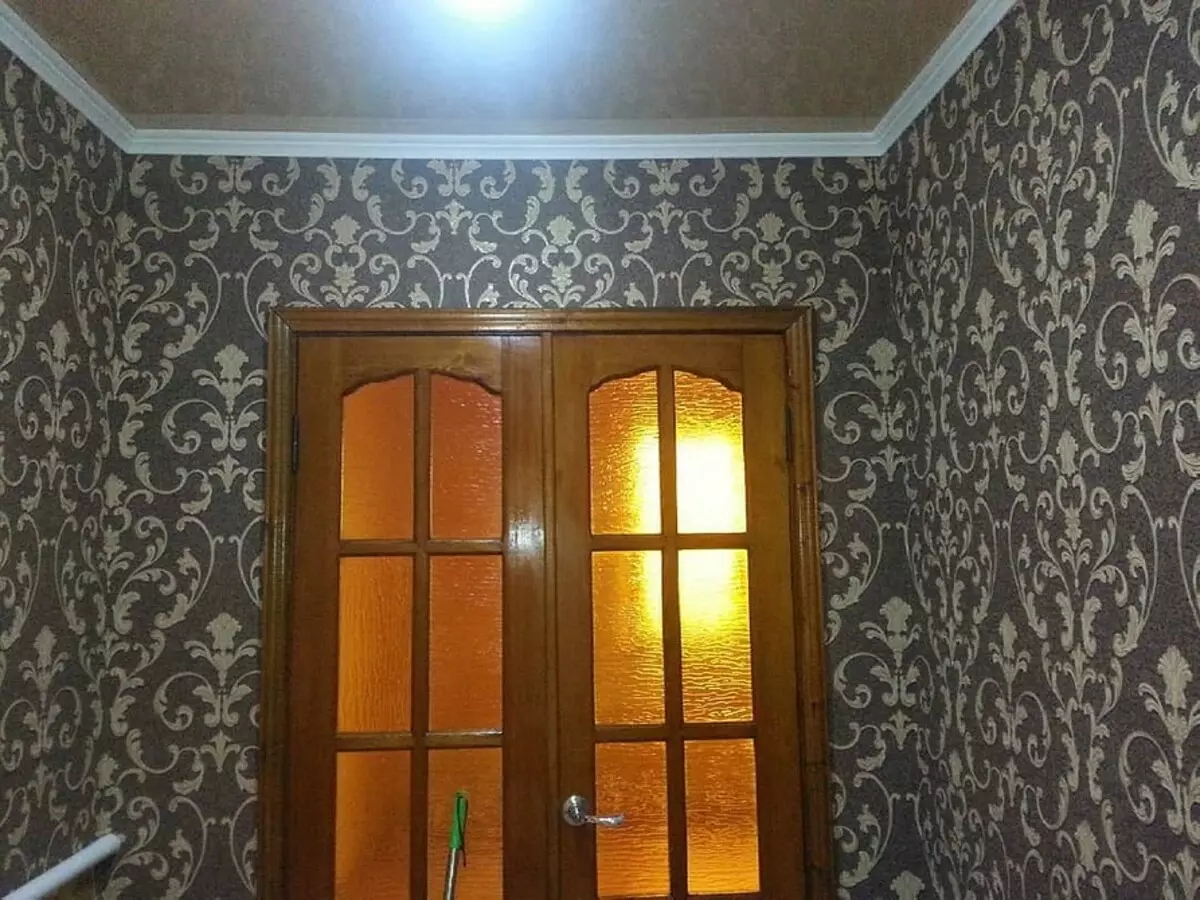
The glue is best suited for fixing the foam plinth to the wallpaper. Its composition should not have substances dissolving the storns from which the panel is manufactured. Distinguish two types of drugs.
- Instant. For setting you need a few seconds. After applying paste on the bar, you need to attach it exactly to the place and briefly press. It is necessary to align the plate immediately, then it is impossible to do it.
- Contact. To appear with the clutching properties, you need to wait 7-10 minutes. The plate was lubricated with glue apply to the wall to remain the imprint. Then lay aside. After time, which is indicated by the manufacturer in the instruction, the carter put in place.
It is important to know about different types of glue and use them right.


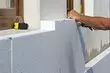
Mounting foam
Used to fasten the decor to the base without finishing. Foam grabs enough quickly, but the time for correcting the inaccurate position of the plate remains. The consumption of the drug is small, it turns out very economically. Important moment. Plinth for foam fixing must necessarily have free space from the back side so that it can fill the expanded composition. Otherwise, the quilt simply breaks off the base.Liquid Nails
Advanced paste instant action. Produced on the basis of different substances. For foam plastic, it is optimal to take mastic on a water-acrylic basis with synthetic resins. It is grasped for a few seconds and finally hardened in half an hour. It is used in a wide temperature range, has a high tile strength. Well falls on slippery plastic.
Acrylic spacure
The putty performs two functions at once: lines the basis and keeps the decor. Suitable for any reason other than wallpaper. If it is stacked on the paint, it is necessary to adhesion in two layers of the adhesive primer. Easy to use, quickly clips coated, harmless to living organisms. Simultaneously with gluing, all the slots between the baguettes and the surface are closed. Paste price is low.
You can conclude: To quickly and securely fix the foam decor, use liquid nails. True, it will cost it a bit more expensive than, for example, putty. The last cheaper, but a little more complicated in the application.
Detailed installation instructions
Before the start of work, you will need to buy all the necessary tools and materials.Required tools and materials
In addition to the ceiling decor and adhesive agents, you will need:
- Stationery or construction knife, which will give a high-quality cut.
- Sandpaper
- Roulette.
- Pencil.
- Rafting to remove the residues of the mixture.
- Line.
- Narrow spatula.
Well, if there is a stubble. This is a special device for accurate cutting strip under corner. We will describe in stages, how to stick the ceiling plinth from the foam.
Preparatory work
Start with the preparation of the room. So that the furniture does not interfere, it is shifted to the center or endure out of the room. Preparing a stepladder or any other stand, with which it will be convenient to work. Its height should be such that the work area is at the level of the eye. Then purify the area where the installation will be carried out. Mud and dust remove it, rubbing fatty spots. The painted surface is ground.
Important moment: Determination of the site began and completing work. For cartel with a smooth surface, it will be any angle. From him starts to glue the planks, moving around the perimeter of the room. Complete the process best on the wall. So it will be easier to make an angular joints. For panels with a pronounced embossed pattern, another algorithm of actions are chosen. It is important for them to docile relief.
It can be done only in three of the four corners of the room. Therefore, it is necessary to decide which one of them will be a "ugly" junction. It is desirable that this was a small place of premises. Working with relief adjustment starts from the corner, move in opposite directions. Alternatively, you can arrange all angular joints, then fill the space between them.


Mounting panel
Detailed instructions, how to properly glue the ceiling plinth of foam:- We prepare a place under the cutting panels. We breed glue or putty if necessary. We start from the most noticeable angle.
- For an accurate joint, cut the ends of the plates. The easiest way to do is if the walls are aligned. In this case, we use the stub. We put the panel into it, cutting, installing the pylon into special slots. For uneven surfaces, preliminary measurements will have to perform, then cut the ends with a sharp knife.
- We put the cropped plates on the floor, trying to join. If everything is fine, we apply the adhesive mass on the opposite side of the cartel. Contact adhesive pastes apply a zigzag line, liquid nails point, putting on a solid strip.
- We apply the element to the ceiling or wall, press. Watch that he does not shift to the side. Fix the baguette on the spot, hold your hands or fastener tailor pins.
- We are waiting until the glue is grabbing. What time is it necessary for this, indicated in the manufacturer's recommendations.
- Gently remove the adhesive paste from under the plate.
Similarly, all other foam fragments are pasted. In order for the process to be fully understood, we offer to watch a video where it is shown how to make an angle at the ceiling plinth of foam.
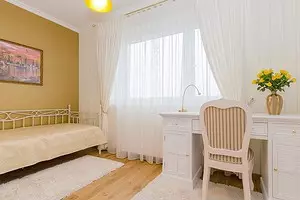
Features of installing decor under the stretch ceiling
The tensioning design is characterized by properties from rigidly fixed. Therefore, the mount cartel will be different. Its upper part should not reach the stretched panel by 2-3 mm. Therefore, glue the element will have only to the wall. To do this, select models with an elongated side plane. They are well held on the vertical surface without support on the upper part.
The installation of a baguette under the tensioning structure is carried out according to the instructions described above, how to properly glue the ceiling plinth from the foam. With the difference that glue is applied only on the side surface of the part. Some difficulties may occur when fixing on putty. Excess pastes can leave hardly removed traces on the canvas.
The mounting foam is not recommended as glue in this case.
Possible errors and ways to eliminate them
Inexperienced wizards sometimes allow mistakes that lead to the dumping of the cartoons. This happens immediately or after a while. Let us list these shortcomings and ways to eliminate them.
- Error choosing an adhesive drug. Then glue the baguette is impossible. The composition is either rolled with a smooth surface, or it is corrosive. We have to replace the tool.
- Glue is chosen correctly, but does not hold the details. It is possible that this is a contact mixture that takes time to appear the adhesive properties. You need to perform all actions strictly according to the instructions.
- Registration is pasted on a dusty or fatty surface. This worsens adhesion, the baguette is dug. In this case, the base surface is cleaned, ground. Rejection is performed.
- During installation in the room there should be no draft. A good result is obtained only with uniform drying of the adhesive paste. Drafts interfere with this. In such conditions, the part can deform or fall off over time.
Secure the ceiling carter is easy. With the installation, an inexperienced master will cope with the installation that all finishing works it will be accurate and taking into account the recommendations of the decor and glue manufacturers. Even small mistakes irreparably spoil the result.