
We tell how to independently make a hammock from the fabric, thread or sew a hammock.


Hammak, made by his own hands, hardly leave someone indifferent: and adults, and children will be happy to spend time, sitting or lying on it. Moreover, a beautiful product can decorate a private house and a city apartment. We tell in the article how to create a comfortable and stylish place to rest.
Options for creating a hammock with your own hands:
- From fabric
- Wicker
- Based on hoop
- Fabric pendant swings
- Suspended hammock chair from Macrame
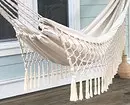
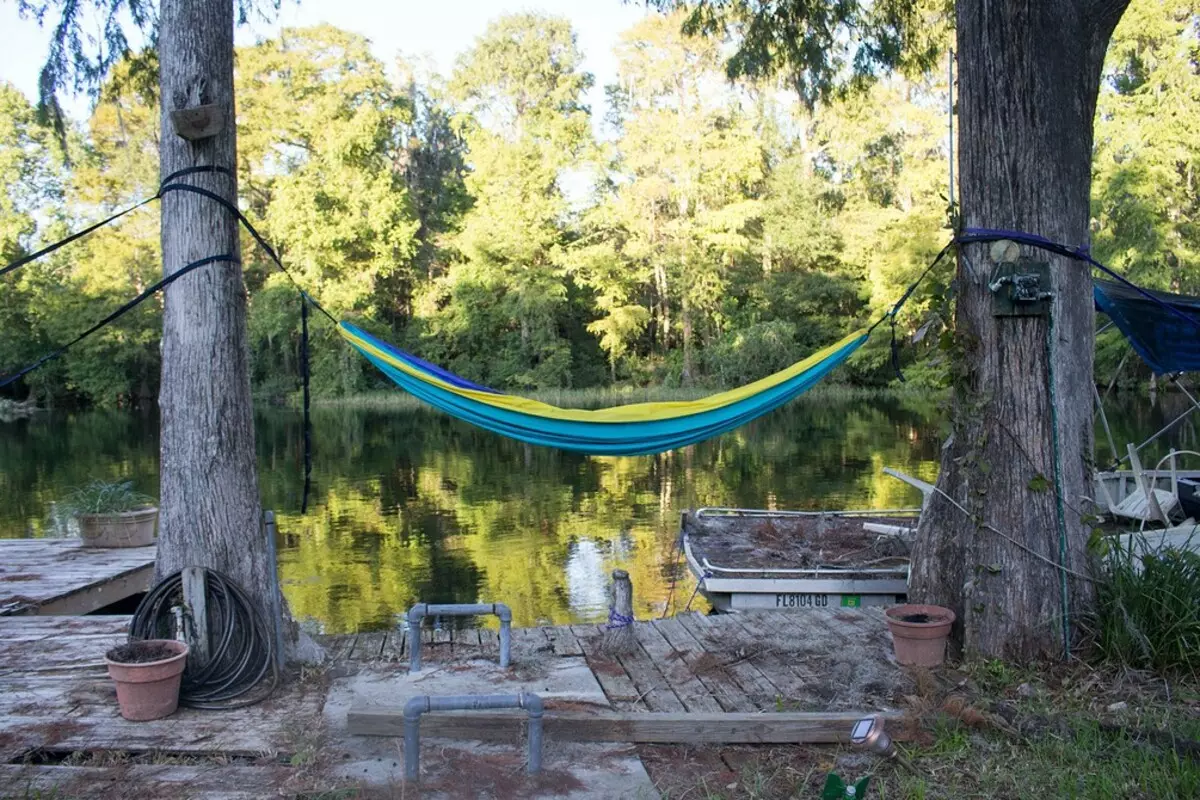
1 hammock with your hands from the fabric
The fabric model is considered classic, it is stylish and simplest. There are two ways to manufacture such a product. The first is more professional, the material will have to sew. The second is the embodiment, it weighs less than 1 kg!
What will take:
- Fabric edge 3 meters width - 2 pieces.
- Dense shoelaces for fastening (they must withstand up to 200 kg) - 3-4 meters.
- Carabins (optional).
Production options
In a hiking embodiment, the ends of single tarpaulin can be fixed without reconciliation, as in the video below.
Another way is to take a cloth around the edge and insert a lace into this opening. It is then attached to the carbine, as in the video above.
Another stylish version is on the crossbar of the tree and the lover. It takes about 30-40 rings and 2 rails with a length of about 100 cm, drill to work, durable cord 3-4 meters and 2 rings, can also be taken by carbines.
The process of manufacturing a tissue product on the crossbar
- Material at the ends need to be beaten by 5-7 cm and strain.
- Do the holes for chalks at an equal distance, insert rings in them.
- Take holes in wooden planks at the same distance as the chammetes.
- Rope through the lover, and then in the crossbar, stretch through the ring, then repeat the procedure in the next opening.
- Rings can be fixed on the carbines.


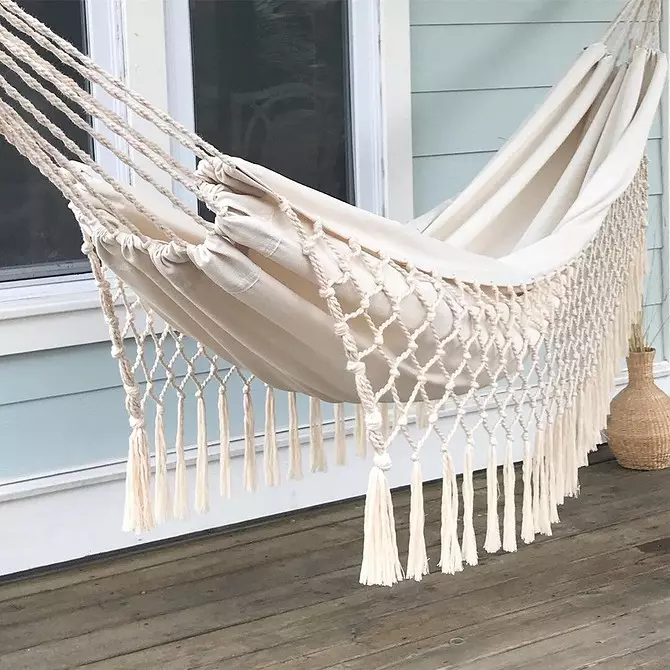

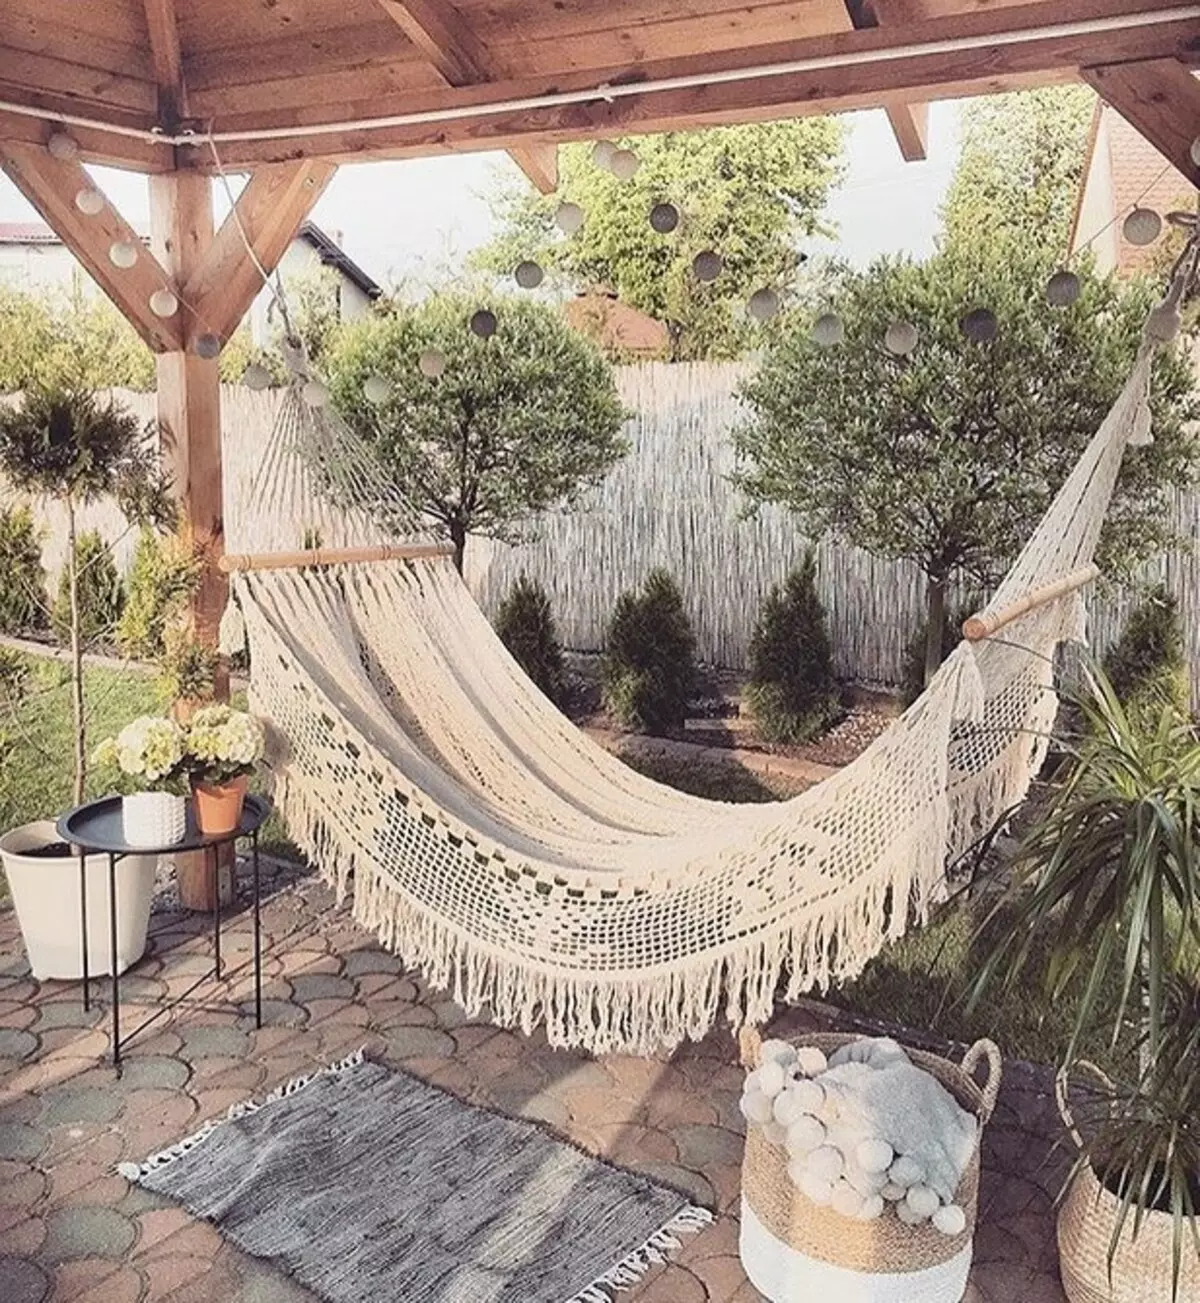
2 wicker option
Very spectacular model - from Macrame. The manufacturing process is more complicated than from camouflage, but the result is worth it. If there is enough space, you can hang it even in the apartment.Materials and tools for work
- Wooden rails with a length of 1 m - 2 pieces.
- Durable threads for weaving 8-10 m - 10 pieces.
- 2 metal rings.
- 2 carbine (optional).
- Drill.
- Rings for mounting hammock to the support.


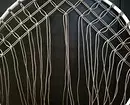
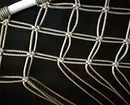
How to make a braided hammock with your own hands
In a licnant for convenience, the grid can be paved with the material, lay the plaid or throw inward decorative pillows.
- Put 20 holes in a wooden rail. If the rail is 1 m wide, they will be located at a distance of 2 cm.
- Fold the cords for weaving in half and secure them on the ring with a loop.
- To make it more convenient for you to work, hang the product on the hook: you can hinder or install it on the table.
- Turn the thread for weaving through holes in the rail, install it at a distance of about 30 cm, secure the nodes.
- Gossip network.
- The remaining ends to sell in another bar, secure on the second ring.
A detailed process of weaving hammock is presented to the video:

3 hammock based on hoop
Excellent option for cottages and urban apartment. This place to relax is quite realistic to equip in the living room or on a warmed balcony. It can be made of fabric or weave, weaving technique is the same - with a grid based on.


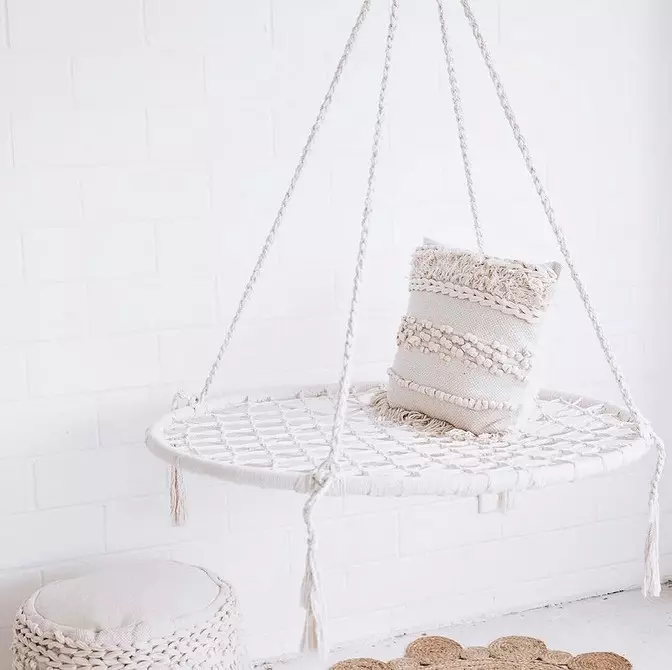
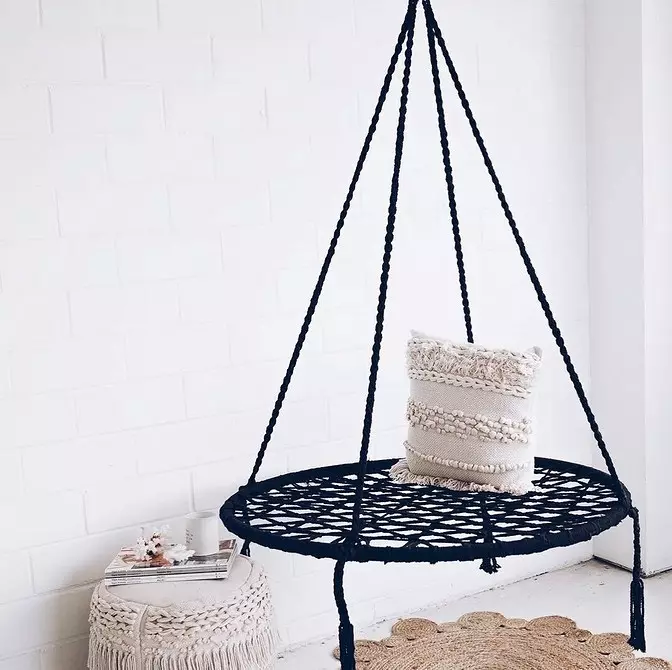
What will take:
- Steel hoop 90-100 cm in diameter.
- Sinypron: 4 strips of 20 cm wide.
- Fabric 150x150 cm - 2 pieces.
- Durable cord 220 cm - 2 pieces, 280 cm - 2 pieces.
- Zipper 90-100 cm.
- Pins, needle, threads.
- Marker or marker.
Manufacturing process
- Place the hoop into the center of the canvas.
- Measure 25-30 cm from the circle, swing the circle.
- Cut it. Repeat the process, there should be 2 circles.
- Fold one circle in half and cut it into the center. Sew holes.
- Connect two circles to the front side inside and strive in length.
- We cover the hoop by Sintepona, it is easy to fix it with simple threads.
- Cut 4 holes around the edges of the construction hanging. Stretch them so that the threads do not get out.
- Insert the hoop into the case.
- Grind the threads in holes, secure them on the hoop.
Instead of zipper, you can also make seams, but with a zipper case becomes reusable. It can be removed and washed as needed.
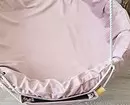


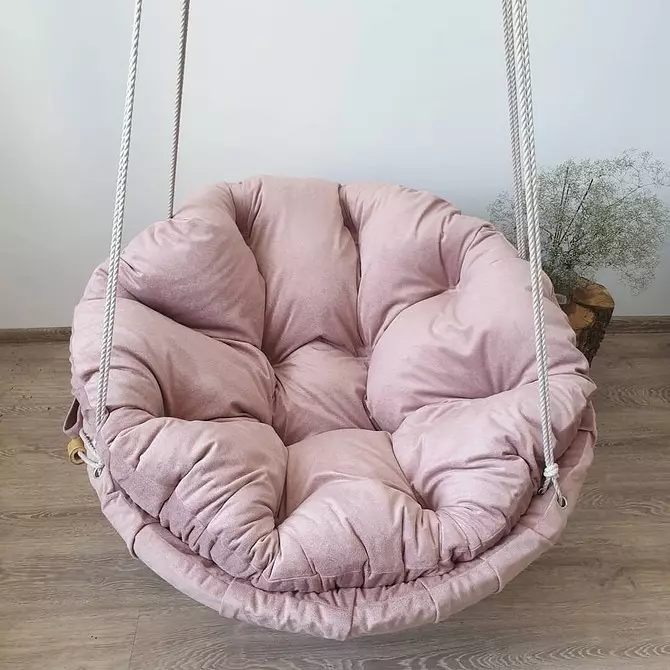
4 Suspended Fabric Chair Hammock
Another non-standard model is in the form of a chair. There are several options for its execution. The simplest is fabric.Materials and tools for work
- Wooden beam 80-100 cm wide.
- Durable thick rope 3 meters long.
- Fabric 150x150 cm - 1 piece.
- Sewing machine.
- Sand paper for wood processing.


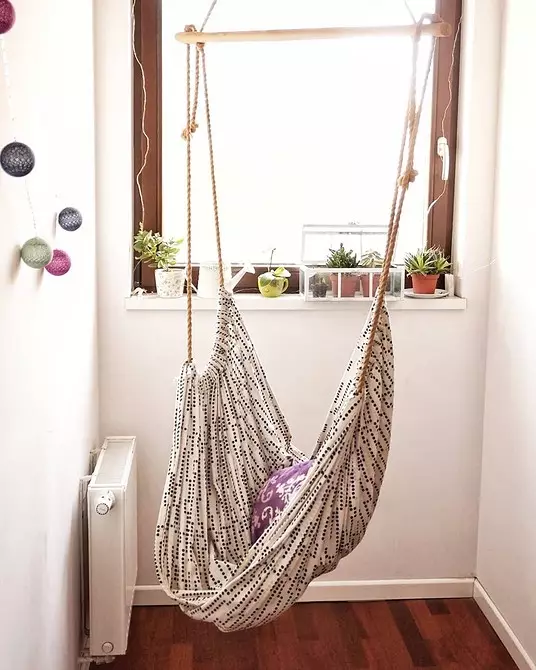
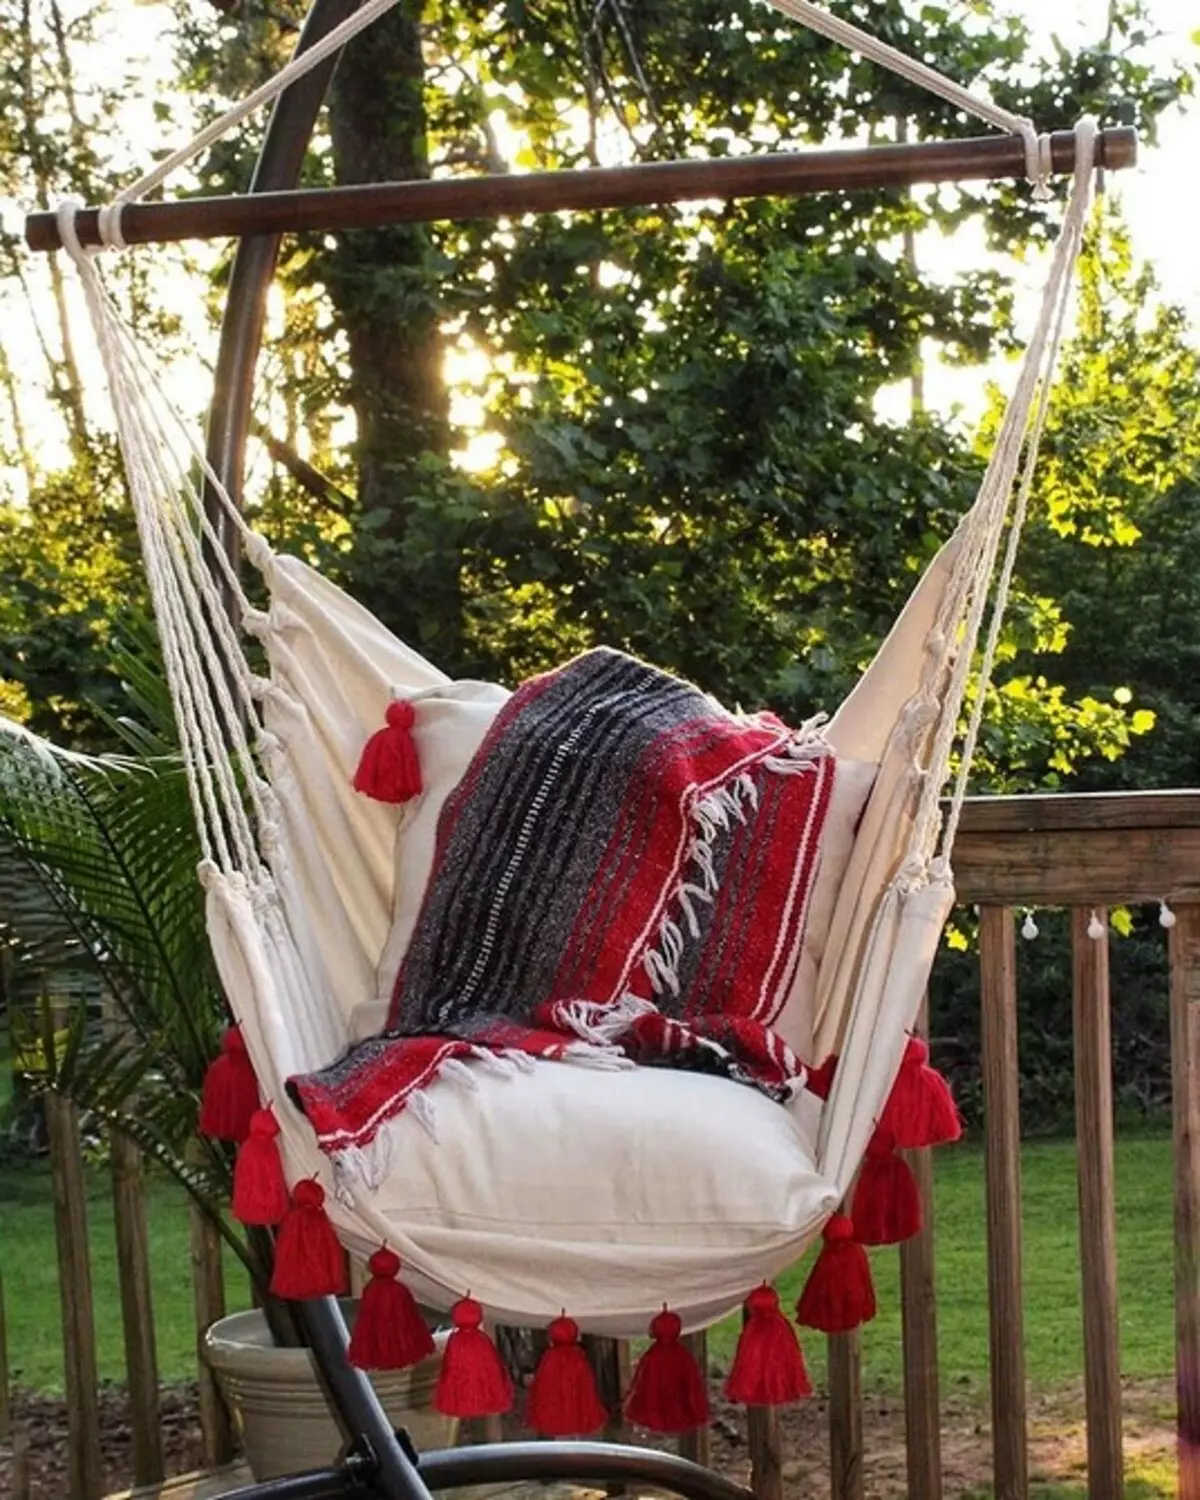
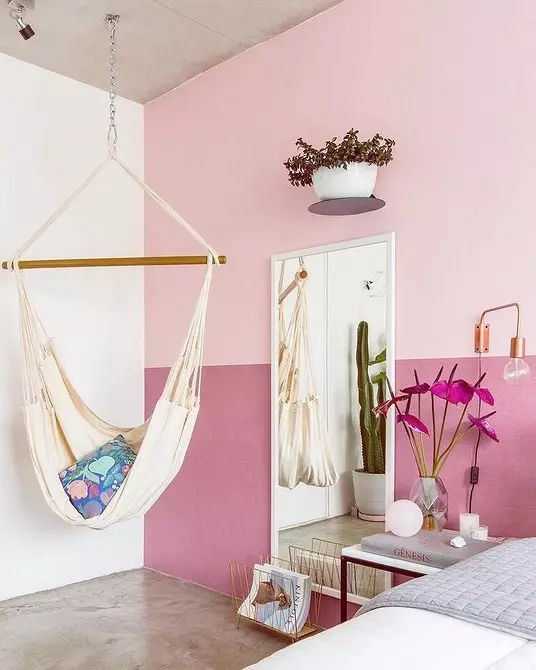
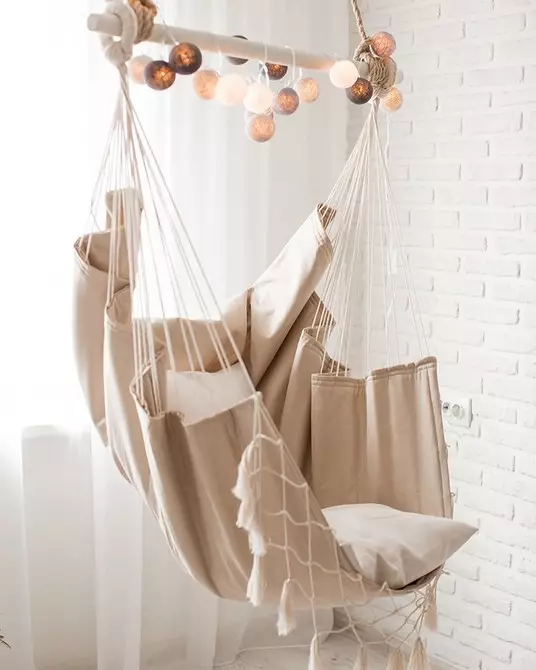
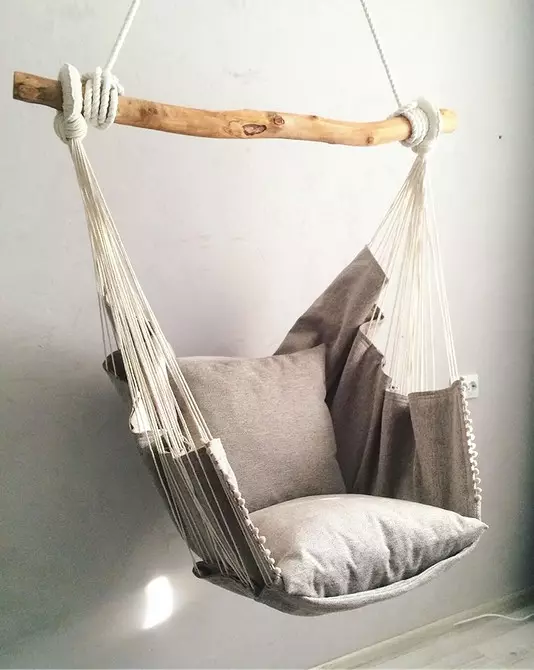
If you are planning to place a place to relax at home, you can choose more decorative fabrics, with ethnic and geometric prints. They will fit perfectly in Bocho-Style, Eco and Scand.
Instructions for the creation
- Drill holes in bars at a distance of 5-10 cm from the edge.
- Generate the material along the edge at a distance of 5-7 cm, step up.
- Treat edges on the other side so that the product looks carefully.
- Skip the rope through the resulting "tunnels" in the material.
- Insert the lace into the bar.
- To hang the rail, you can do additional holes closer to the center.
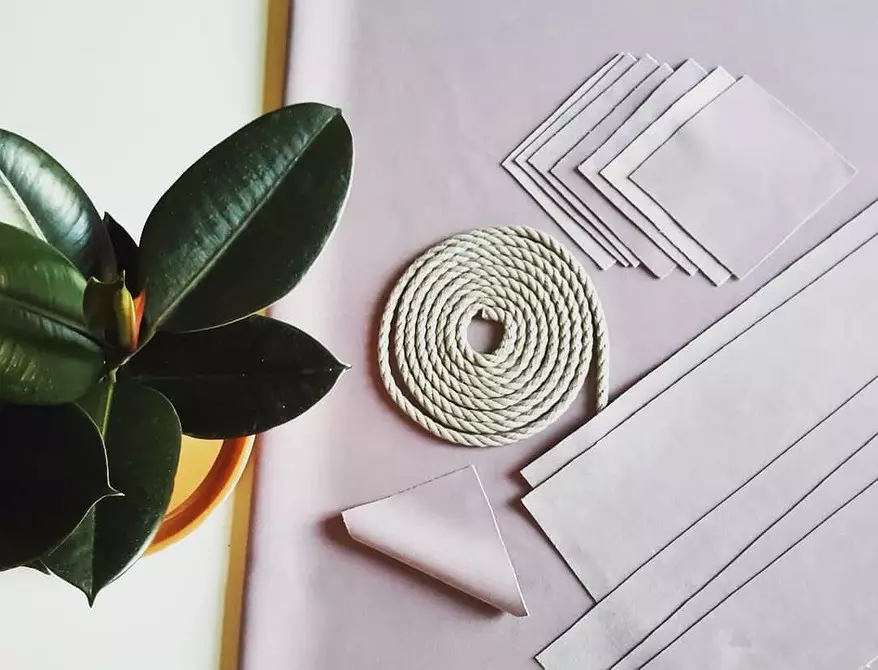
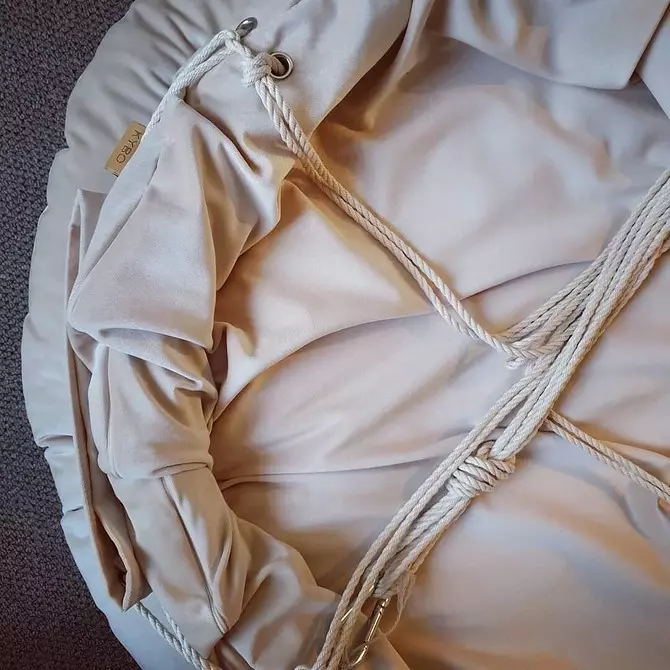
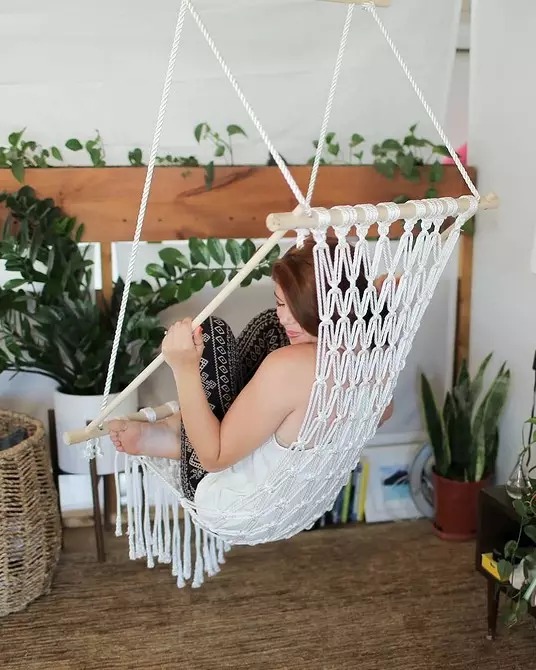
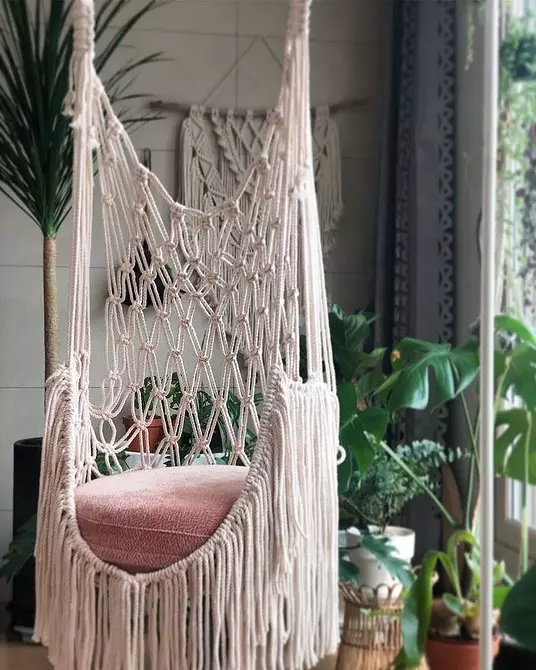
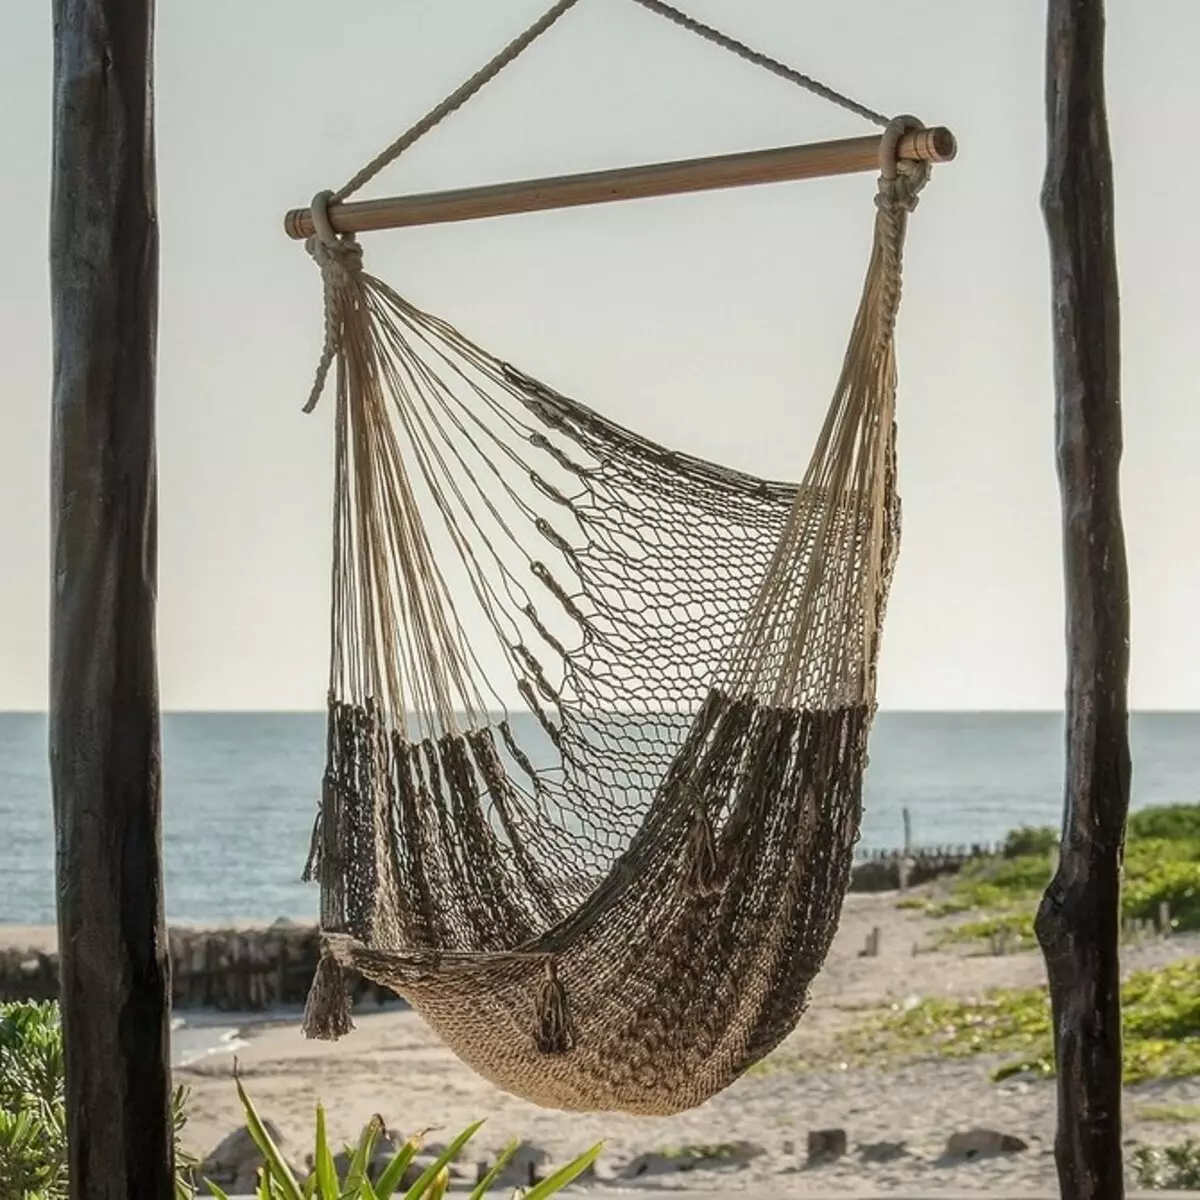
5 Suspended Hammock Chair from Macrame
Perhaps this model can be safely called the most popular on social networks. Such a chair occurs everywhere in foreign bloggers. In fact, it is very simple to make such a hammock, and drawings with dimensions will not even be useful.
It will take for work
- 2 Thin (about 1.5 cm diameter) Wooden beams 75-80 cm.
- Three thick (about 3 cm diameter) Wooden rails 75-80 cm.
- Drill.
- Thin self-tapping screws for fastening beams.
- Sand paper for wood processing.
- Pencil.
Step-by-step framework of framework
- On two thick beams from two sides to make two marks - at a distance of 5 cm and 9 cm from the edge.
- On the other thick crossbar, mark 9 cm from the edge from both sides.
- Drill holes in them using 1.5 cm drill.
- Process holes using sandpaper.
- Connect thick crossbars with thin, inserting them into holes that closer to the edge. Do not put thin crossbars too deep, let it remain at the end of about 2-3 cm.
- Thin nozzle drill the place of connecting the beams, insert the screws.
- Connect the rails in the same way on the other side.


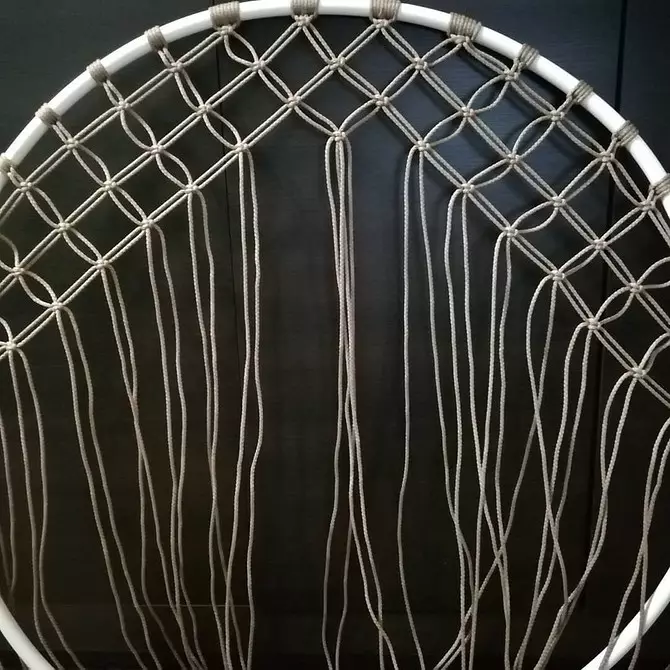
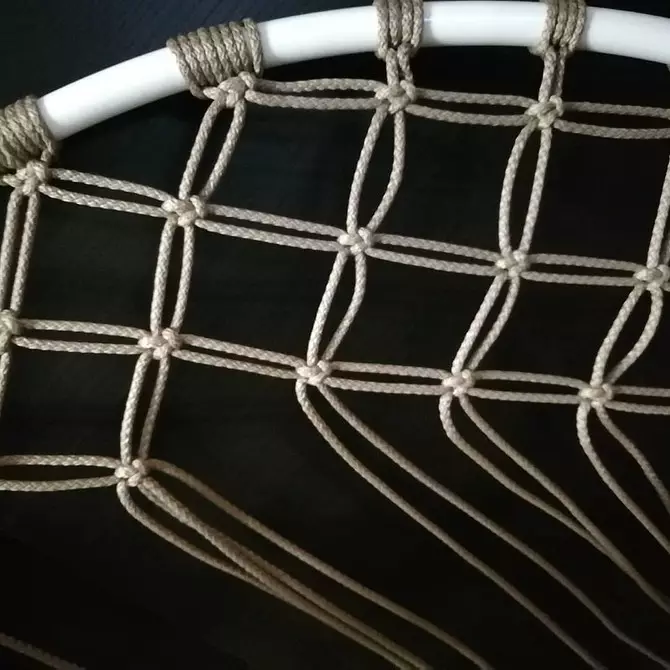
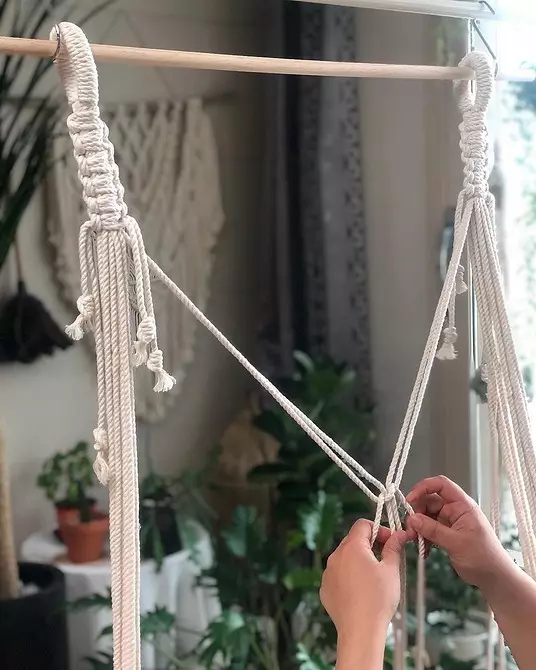
When the frame is ready, time to weave Macrame. To do this, it will be necessary about 18 meters of thread, many are used with a polystyrene with a diameter of 4-6 mm.
Seat Weaving in Macrame Technique
- Cut 16 yarns of 8 meters long.
- In the holes of the beams that are closer to the center, insert 2 cords with one and on the other hand, tie the nodes so that they do not fall out. You can use decorative wooden beads of the desired diameter. This is a fastening for tapping the seat.
- Instead of two threads, you can use one or, for example, a ring.
- Suspend the design, so weave macrame it will be easier.
- Tie with nodes 16 existing shoelaces.
- You can start weaving. Use the equipment from the previous video web video or make a double grid. This will require skill.
- To secure the cloth, use groups of 4 ropes, tie nodes at the bottom crossbar.
- The hanging ends of the threads outside the chair can also be decorated, overwritten with nodes, weave the brush - at your discretion.

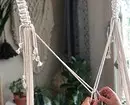

To make a fastening on the resulting chair, take a third thick beam with two holes done in it and the thread. The rope should be about 6 meters long and a thickness of about 1.5 cm.
Mounting mount
- Cut a piece of rope 3.2 meters.
- To make it easier to work with it, the end can be wrapped with a scotch.
- Make a large loop in the center of the cut cord - this is the mount.
- Grind the ends in the beam.
- There should be about 30-40 cm between the loop and the crossbar.
- Tie the knots on the laces so that the rail remains in place.
- Grind the lace to the upper armchair crossbar, tie nodes. Between them will be about 50 cm.
- Cut from thick rope 2 pieces 1 meter.
- Passe them to the bottom bar, tie nodes.
- If you wish, you can do 2 additional holes in the uppermost crossbar and stretch in them cords from the bottom plank. You can leave as it is. Then the laces from the bottom plank will be attached directly to hooks on the ceiling.
Bonus: 6 Soviets for creating and fastening
There are several important points that will help you choose a way to make a swing-hammock with your own hands.
- If you like tissue models, it should be paid to the material. The strength and durability of the product depends on it. For this, tarpaulin, hazard, tick, camouflage and canas are suitable for this.
- Synthetic materials are better not to use. First, it's more difficult to work with them. And secondly, the synthetic is uncomfortable to use in the hot season. She does not let the air, so in such a hammock hardly want to spend a lot of time.
- As for Macrame, here you can use both synthetic cords with polystyrene and special natural, manufactured for this weaving technique.
- Fix the finished product can be classically between two trees, on the pillars or on the system that can be constructed independently.
- If you decide to mount on the trees, the diameter of the poles should be at least 15 cm. In order not to damage the bark, use the tube or under the cloth for the rope.
- Instead of trees, you can use the support pillars, then they should be deepened in the ground. Or make a supporting structure with V-shaped bars like a boat. She is mobile, so you don't have to dig in the yam.