
We tell what the lining of the tree and MDF differs, which tools will be needed for work, how to make a crate and lifting the clapboard the ceiling.
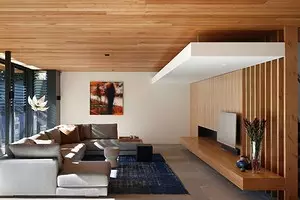

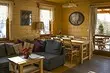
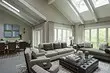
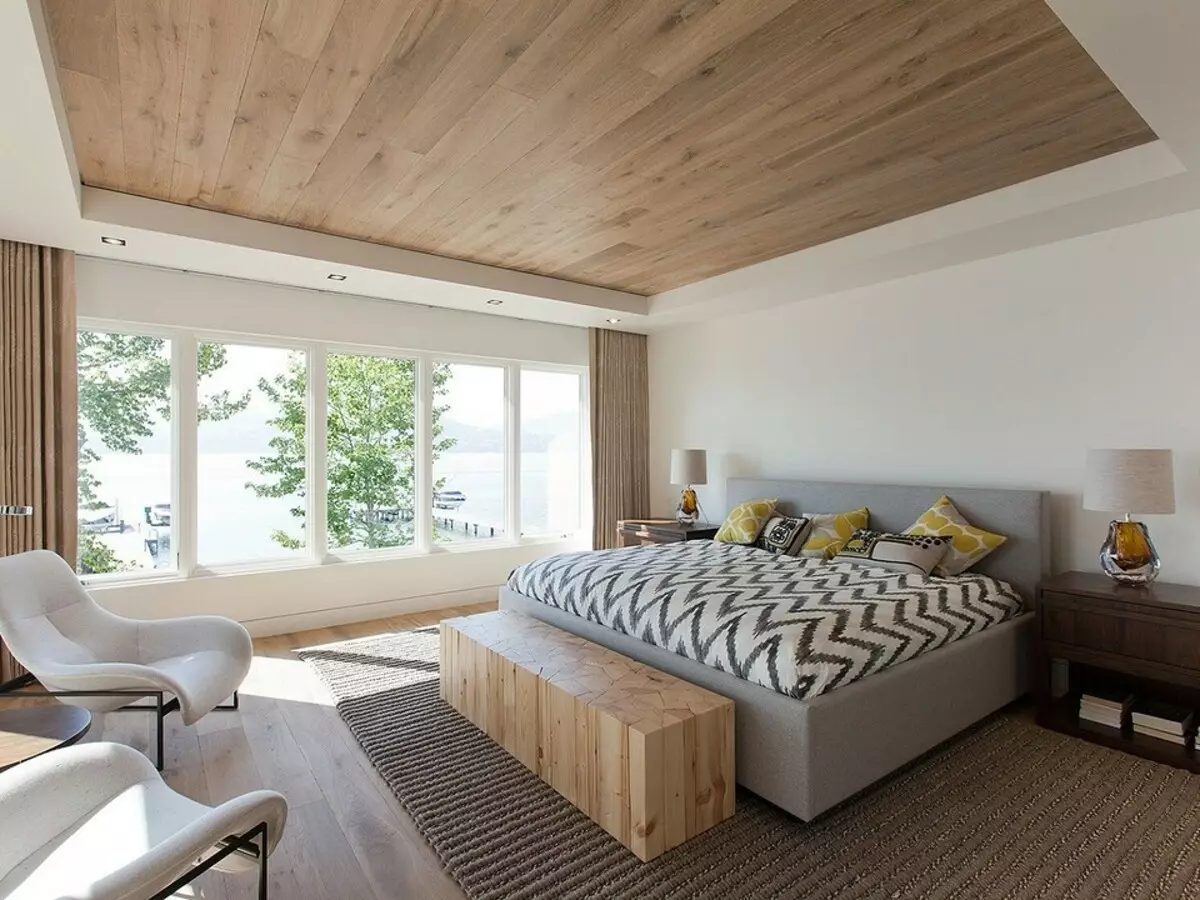
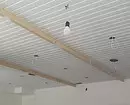
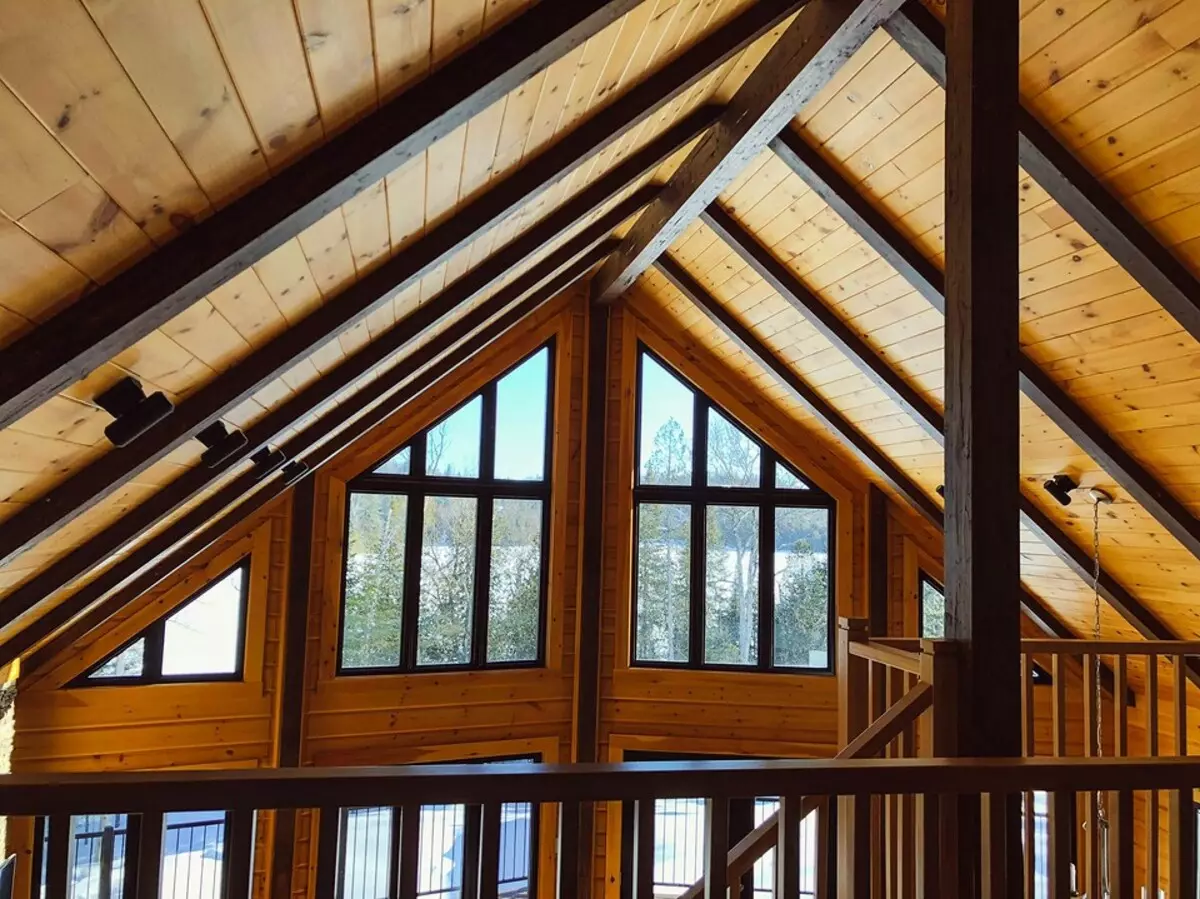
The ceiling of the lining looks good in a country house and in the apartment. Such a solution is suitable for designing the interior in the rustic style. Finishing from natural boards in urban dwelling is used, as a rule, on the balcony and in residential premises, but it can be found more often in country houses. It is perfectly combined with walls of logs, timber, natural stone. This technique is constantly used when cladding baths and saunas. Work can be done with your own hands without the involvement of specialists from repair and construction organizations. But it will be more convenient to work together, one person will be difficult to keep the bar and nail the bar. To cope with the stacking, we need ordinary working tools, no special equipment and special skills for this required.
All about the mounting of the clapboard on the ceiling
Product specificationsCalculation of the number of parts
Step-by-step installation instructions
- Preparation of overlapping
- Necessary materials and tools
- Installation of the base from the bar
- Installation of carcass
- Sheaving
Specifications of material for trim
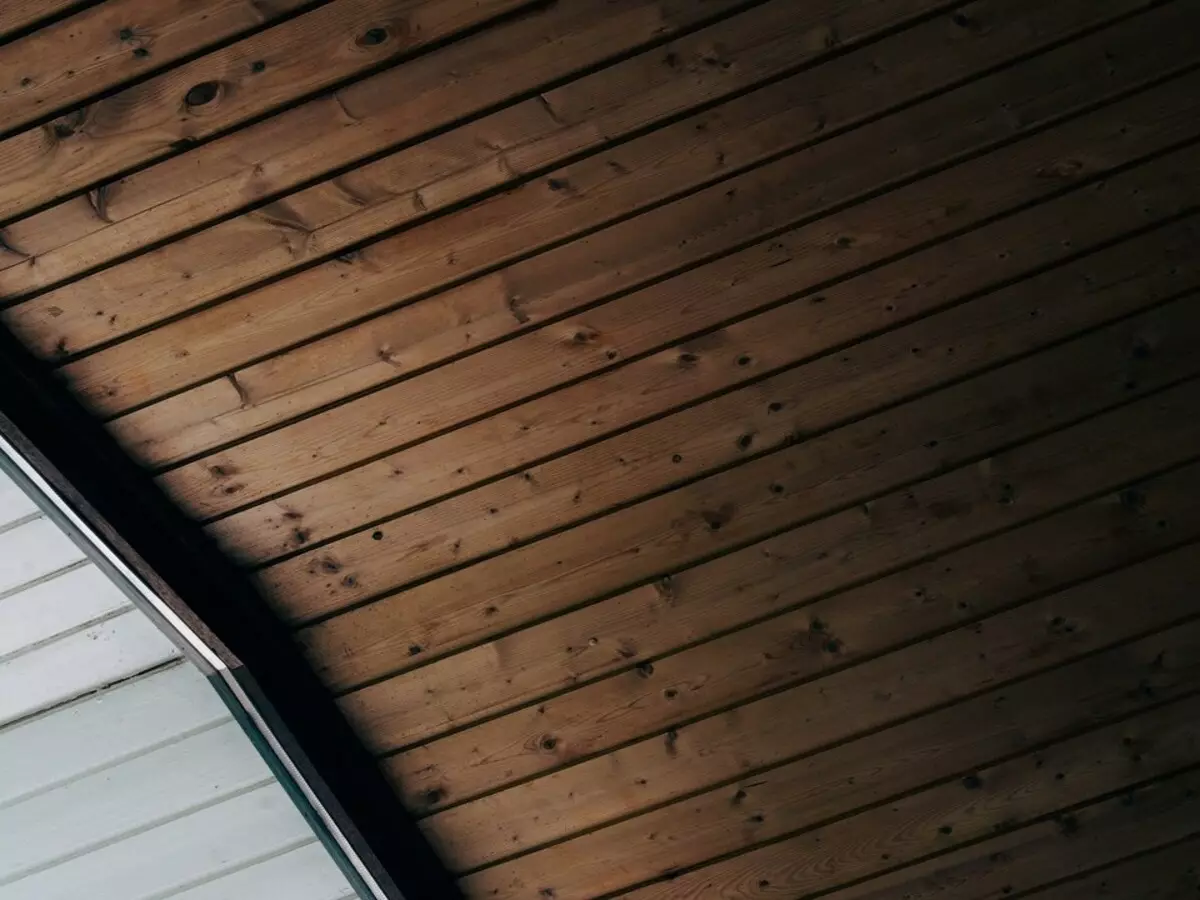
The coating is natural and artificial, imitating painted boards.
What is the basis
- Natural wood - coniferous and deciduous rocks. Most often used fir, pine and lip. The main disadvantages are temperature-humid deformations and low resistance to microorganisms. To get rid of them, products need to dry, and then process protective compositions. The coating is easily flammable. Special impregnations - antipirens - slow down the combustion process, but do not solve the fireproof problem. Positive properties are elasticity and resistance to mechanical loads. Installation is made on the frame from the bars or aluminum profile. The skin is mounted on nails, selflessness and kleimers.
- PVC is not afraid of moisture and mold, but has low strength. Panels easily break. After that, it is impossible to restore them. Plastic quickly fades in the sun. It is better to use it in the premises where there are no windows, for example in a bathroom. Subcase products are melted even at low temperatures and lose the form under the pressure of hot water. The plastic does not burn and does not release toxic substances, but even at room temperature can make an unpleasant smell. Plates are manufactured in monophonic either with a pattern. If the surface imitates the texture of a natural tree, the differences from the original are very well noticeable. Installation of cladding on the ceiling with your own hands can be spent alone without helper if the panels are simply inserted into a pre-mounted profile. Usually they are attached the same way as wooden.
- Metal plates - they are made of light alloys that are not subject to corrosion. Models are produced with a decorative film, but in appearance they are inferior to natural materials. The panels are fixed using brackets and guides.
- MDF plates - have high strength, do not change dimensions and shape with changes in humidity and temperature. But such a cladding is not suitable for the kitchen and bathroom. Finding inside, water destroys the coating structure, leading it into disrepair. For the same reason, it is not recommended to wipe the wet rag. Fix fat spots and other complex pollution will be impossible. The base consists of sawdust and is fire hazard. The panels are attached to the frame of the bars or metal profile on nails or kleimers - special clamping staples installed on the self-tapping screws. Externally products resemble laminate.

The coating happens seamless when the joints are completely closed with a protruding part of the prefabricated element, and with seams - in this case, the space between the chamfer is open.
Classification of array
Most often used natural wood. There are four categories of products from array that differ in the number of spots, bitch and other defects.
- The class "Extra" - the surface does not have defects. Products are produced by splicing - gluing ideal pieces of small and medium length. In the wet premises, cracks appear in the array, so in the kitchens and the bathrooms do not recommend such a trim.
- Class A - Allowed to the presence of small bitch. Materials of this category have the highest resistance to humidity, temperature, mechanical loads. However, before making a ceiling of wooden lining, it must be dried and handled with protective impregnations.
- Class B - suitable for balconies and country houses, as well as for interiors where high quality decor is not required.
- Class C - products possess a large number of defects. They correspond to construction standards and allowed to use. They can be separated the interior if its appearance does not matter much. Such boards usually cover non-residential premises.
Panel shape and sizes
The panel is a separate board or block in the form of several prefabricated elements.
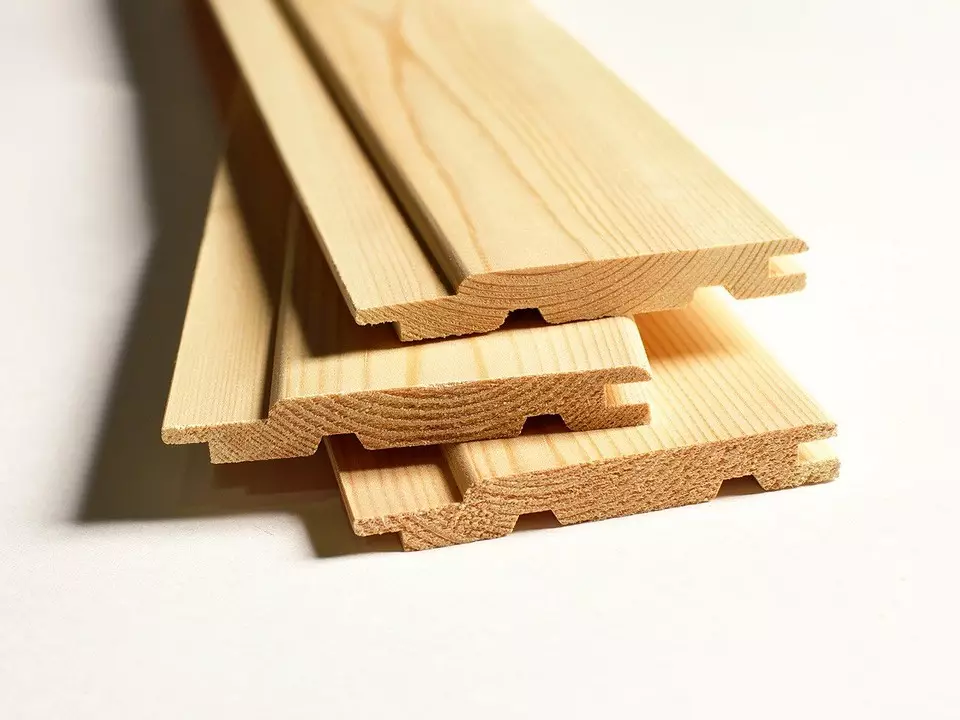
Long edges on one side have a ledge, on the other hand for the protrusion of the next part. Short edges with a smooth relief firmly fit to each other. Rear have done two grooves for ventilation and condensate. This element is only imported parts. It should be noted that their operational characteristics are higher than that of domestic.
According to the Gostas, the size of the details can be any. Russian documents do not introduce any standards. The length is 0.2-6 m, the width is 7.6-20 cm, the thickness is 1.2-4 cm, the height of the spike, inserted into the groove - 3-5 mm.
European samples are produced with a length of 0.5-6 m, width 8, 10, 11, 12 cm and a thickness of 1.3; 1.6; 1.9 cm. Spike height - 8-9 mm. Errors in size are much less. For interiors, an overclocking is used to 1.6 cm thick. Outping the ceiling of the balcony with clapboard, it is better to take the thinnest prefabricated elements. They weigh less ordinary and have a sufficient margin of strength. Large thickness is needed with a considerable length when the product can bended under its weight.
Types of coating
- Classic - the front side is smooth.
- Imitation of timber.
- Imitation logs (block house) - the facial part is rounded.
- American - the facial part is located at an angle of rear. Thus, the coating mimics the boards laid by the brass. Putting an American should be the same as the usual coating.
Calculation of the required number of parts
They should be taken with a margin. Perhaps some part will be corrupted during transportation and installation. A certain percentage of marriage is in ready-made sets. Each prefabricated element when buying must be checked.
In the calculations, the area of the visible part is used, not hidden grooves and protrusions covering the joints. To find out the required number of prefabricated elements, it is divided by the overlap area, taking into account the walls of the walls.
If the last row is cropped, you need to calculate how it corresponds to the whole. If its width is two times less than the whole, it will take two times less than its creation. Boards can be cut and use each half as a separate prefabricated element.
How to fix the clapboard on the ceiling
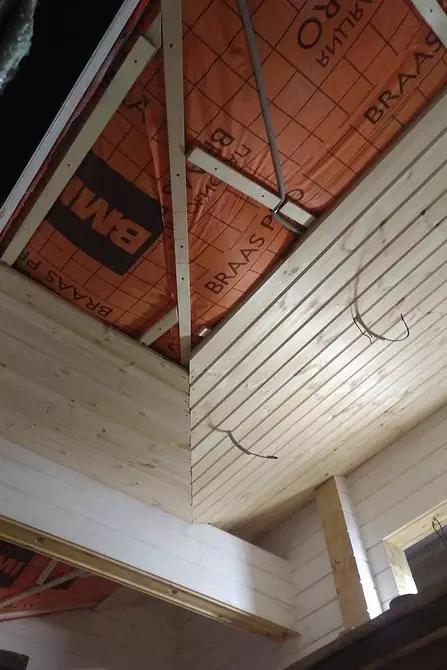
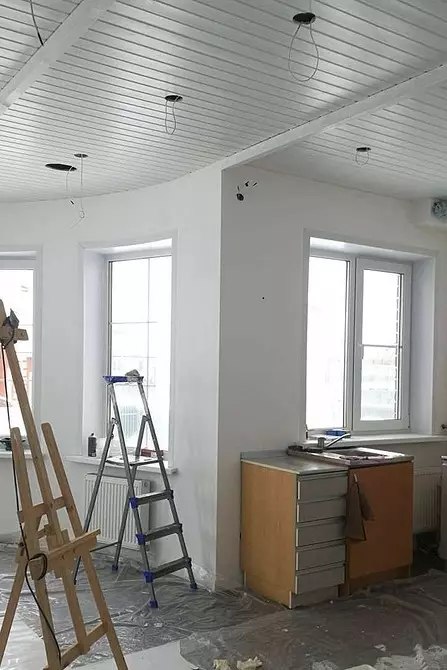
Preparation Plate of overlapping
The frame is mounted on the overlap. Before starting work, it is purified from dirt and dried, if there are sublifting. Cracks are expanded with a spatula and purify. Fat stains are removed with alcohol. Pores of the reinforced concrete plate under conditions of increased dampness can be a reproduction medium of bacteria. So that the room does not smell the mold, the overlap should be treated with expansive antibacterial compositions. After cleaning, processing and drying, the surface is sealed with a cement-sandy mixture. Small cracks, depressions and bulges are sweeping. Do not make a layer perfectly smooth. The main thing is to fill the emptiness and achieve a good clutch with the basis.Required tools
- Impact drill and drill on concrete 5-7 mm to do holes under the dowel. They are necessary for fastening the frame.
- Screwdriver or screwdriver.
- Wooden hacksaw or electrolybiz. Other rows are rarely stacked in the area being processed. More often you have to sew the shortened, located from the edge.
- Hammer and galvanized nails 3 cm.
- Construction level, ruler, roulette and pencil for marking.
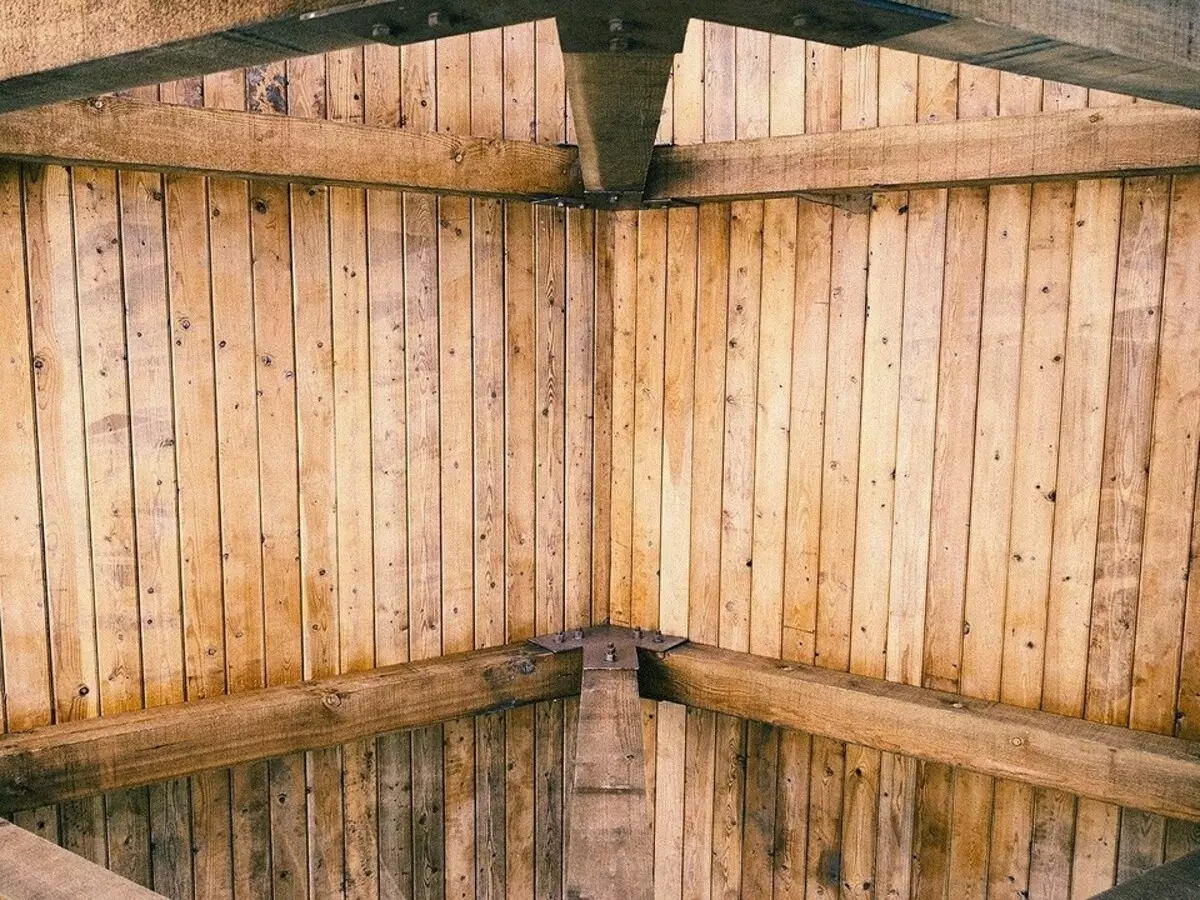
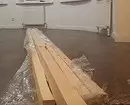
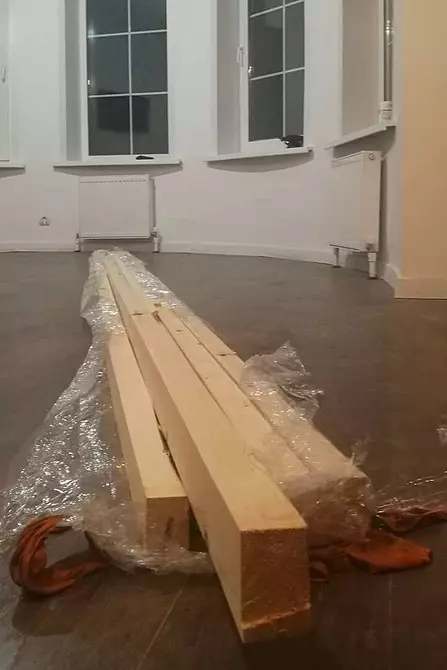
Mounting frame cutters from timber
For its creation, you will need 4x4 rails, steel corners and self-tapping screws. The design is parallel strips. The rigidity ribs perpendicular to them are not needed.
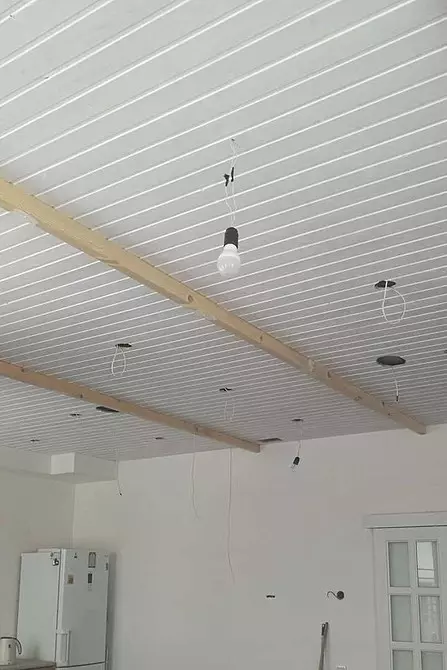
First we make markup. The step of the crate under the clap on the ceiling depends on its length. The edges of the boards should not be saved. They should be fixed on the rails. For domestic products, the step is 0.5-1 m, for euroski - 0.2 -0.25 cm. The trim is mounted perpendicular to the bars.
Wooden frame is mounted on a screw either on steel brackets. The last option is more reliable. All items must be sucked, otherwise they can change their size and form during operation. They are dried together with the trim at room temperature for two to three weeks, putting stacks and making gaskets between tiers. Do not use a construction hairdryer or electrical heater for these purposes. With intensive moisture mode will evaporate quickly and unevenly. This will lead to strain of products and the appearance of cracks in the array.
Dry racks are impregnated with antiseptic and covered with varnish, preventing moisture from entering. They are fixed in markup. Height is checked by the construction level. It should be the same in all areas. Excess millimeters cut off. There, where the depressions were formed, small wedges are put under the bar.
If you need to create a coating of a complex shape, the facing are placed at an angle to the crate. If necessary, from the rails make the grid, having them with minor gaps. They serve to compensate when expanding the material. Wet, parts are increasing in size by several millimeters. If you do not leave space between them, they will push each other. This will lead to the weakening of the fasteners and the destruction of the edge of the bars.
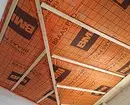
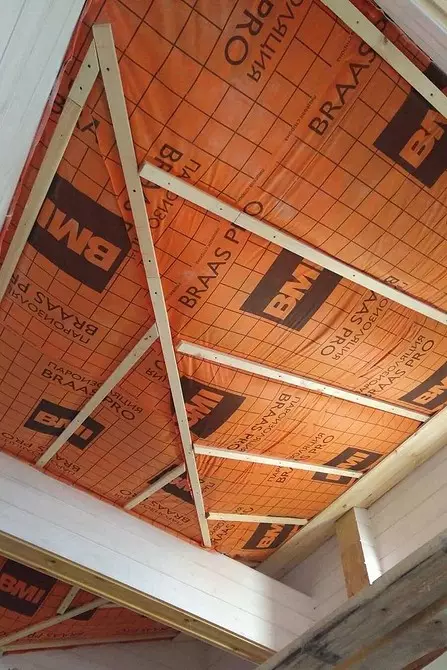
The ceiling of the lining in a wooden house must be inspired. In urban apartments, porous aggregate laid for improving sound insulation. Mineral wool possesses good properties. It is produced in the plates and in the form of shapeless fibers. The slabs without a shell can be adjusted under the desired size, cutting off an excess sharp knife. If there is a shell, the plates are not recommended. The material is placed between the rails close to them. It is impossible to leave the gaps, as cold and sound waves penetrate them.
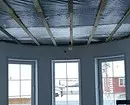
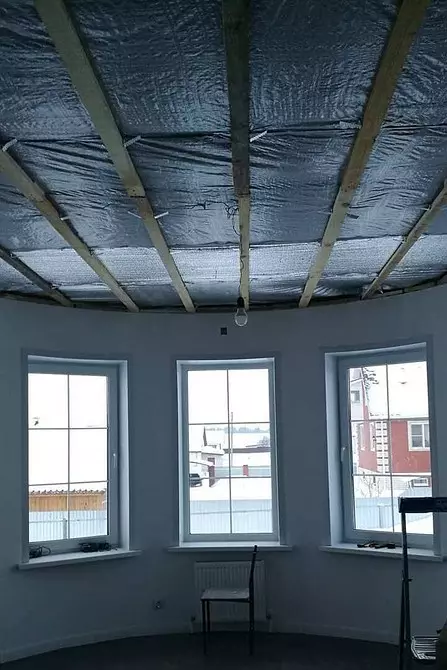
The layer of heat and sound insulation must be protected from moisture on both sides. The overlap is covered with waterproofing mastic or stretch the polyethylene film with an adhesion of 10 cm. From the side of the room it is better to use a breathable membrane. She misses couples from the inside, but delays moisture contained in the outer air. When it is styling, it is important not to confuse the front and back side, otherwise it will work in the opposite direction, taking moisture and keeping it inside.
Installation of metallic profile crates
The material for its creation is an aluminum P-shaped profile used to assemble a frame for plasterboard. It is mounted on special suspensions, which are a metal strip with holes under the dowel. Its edges are pregnant, clasped the P-shaped rail on both sides and are fixed on it with screws. The suspensions exhibit 0.5 m from each other.
Guides are placed on the markup in a step of 40-50 cm. The upper side of the letter "P" should look into the floor, her legs rest in the base. Boards are attached to the upper side of the screws. To do this, they need to be attached to the frame and drill the hole, and then fix the screw.
On the perimeter of the room on the dowel, a wall profile is fastened. It is placed on top on the wall at one level with the other parts of the crate. Screws with dowels in this case are more convenient not to twist, and clog the hammer. In the houses from a tree or aerated concrete, you can do without a dowel and screwed into the base of the screws with a length of 3 cm.
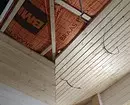
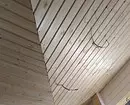
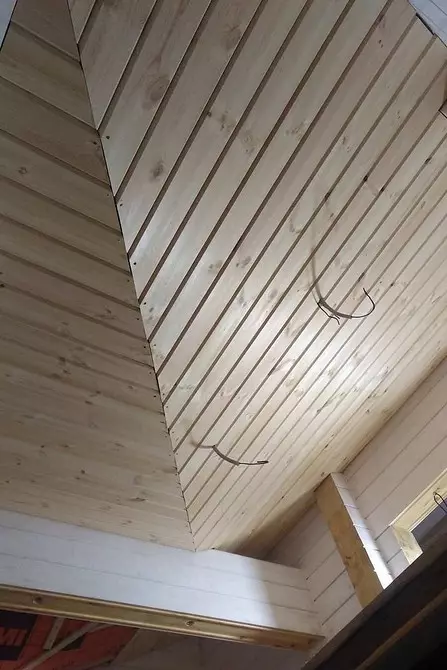
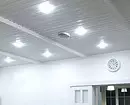
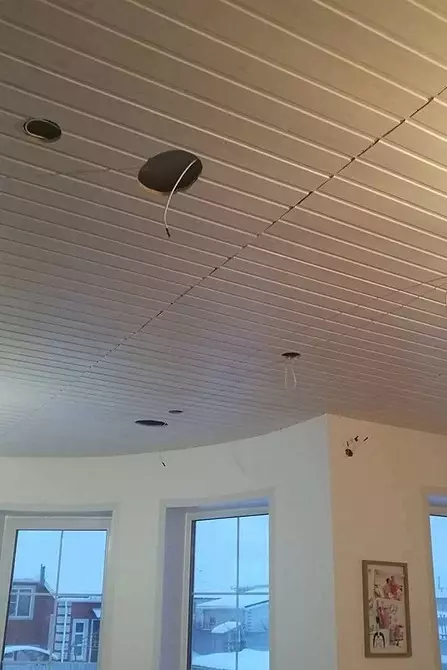
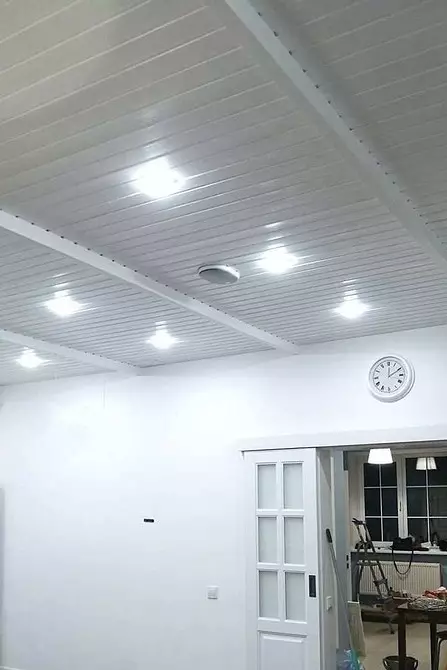
Ceiling clapboard clapboard
The board is nails perpendicular to the guide to a wooden clamp of the board. The last row has a spike to the wall, align with the building level and finally fixed with self-draws. The spike of the next panel is inserted into the grooves of the previous one, exhibit it in terms of the level, then fixed. If the last part of the opposite wall needs to be trimmed, it is better to place it in a zone that is poorly visible. For this, the space closed with curtains, or place above the cabinet. Experts advise putting incomplete rows over the entrance door - at the entrance to the room, this zone is not visible, and when you leave it usually do not look.
A coating of plastic to penetrate with nails cannot, otherwise it cracks. In the grooves drill holes, then attract the panels with screws.
If you need to hide the fasteners, you use kleimers. They are staples, clutching side of the groove, located closer to the overlap. Staples are attached to the base with the help of self-tapping screws. This method is more reliable. In addition, it does not spoil the surface and does not leave it through holes. The finish can be removed without damage and mounted in another room. When the trim is completed, the perimeter of the room is closed by plinths.
Detailed instructions, how to sew the ceiling with clapboard, also look at the video.