We select the form and size required materials and give instructions for mounting the table with two supports and from one.

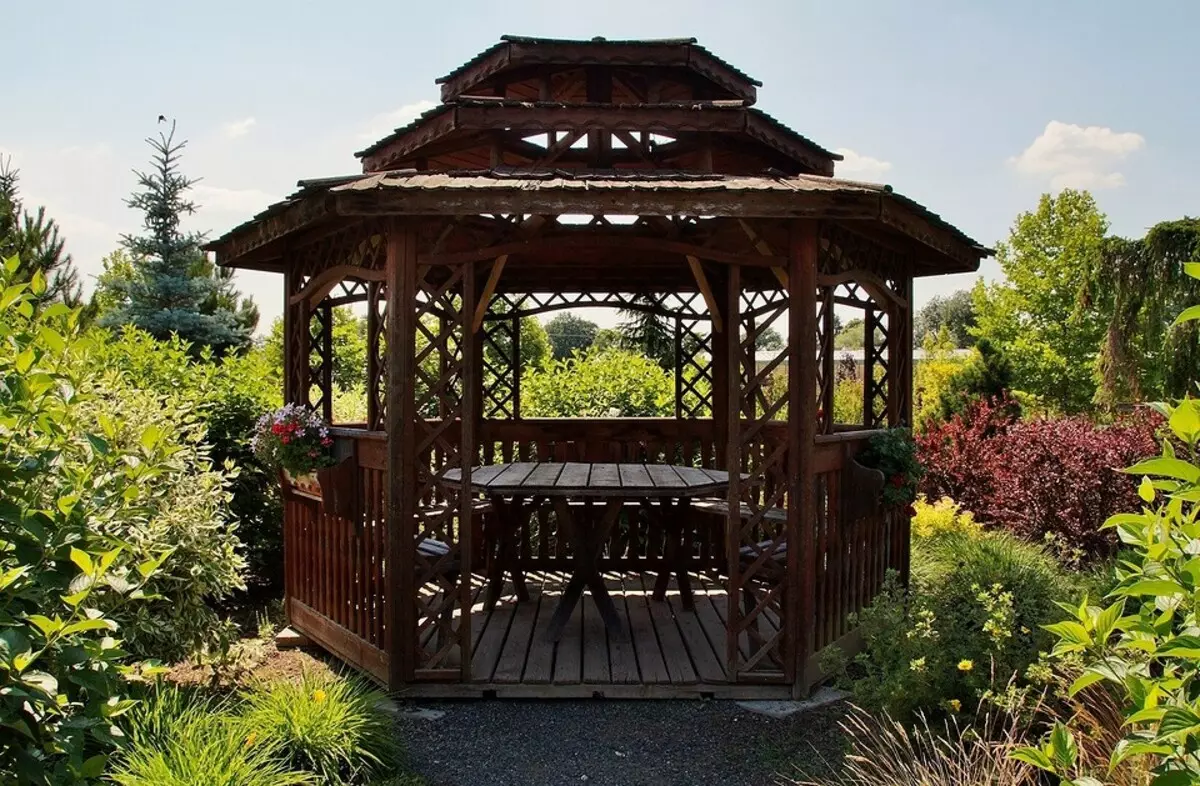
Make a table in a gazebo with your own trees from the tree is easy. Not only the master, but also a person who rarely uses joinery tools will cope with the work. A homemade design has several advantages over the factory. Factory products are available according to certain sizes. Their form is not always suitable for round or polygonal walls. They look good in the photo in the catalog, but in practice it turns out too small either too massive. The only way to solve the problem is to do everything in your own drawings. Only such a solution will allow to achieve maximum comfort. It appears the opportunity to set the necessary technical parameters - height from the floor, distance to opposite benches, form. You can choose a material with an unusual color and texture or develop a unique design that does not have analogs.
We make a wooden table in a gazebo
Form and dimensionsMaterial
How to make a double-pore table
- Planning
- Table top
- Support
How to make a table with one support
There are many unusual ways to create furniture. In order not to regret the lost time and forces, it is better to stay on standard. With all its simplicity, they allow us to implement the most bold design ideas.
Selection of shape and size
You should begin with measurements of the floor area, as well as the distances between opposite walls and benches. Even if a miniature countertop is required for a large premises, its location and dimensions must be thought out.
To simplify the task, you need to draw a scheme with the length and width of all elements. More precisely, the visualization, the less chance to allow an error. It is advisable to portray all the details on the scale. On paper, it will also be necessary to draw legs and their fastenings, taking into account its features. When planning, the material is chosen for the base - metal or wood.
If the countertop takes a small part of the space, the configuration of the walls take into account not only when it is adjacent to them closely. With a large distance between them, the repetition of the forms helps to create a feeling of symmetry of the interior.
In the circle easier to enter another circle of smaller sizes or a polygon, the faces of which are equally removed from the center. The inscribed elongated rectangle will take a lot of useful area. Rounded countertops are often used in rectangular premises, as they are comfortable and look colorfully. In order to save the useful area, in the elongated gazebo it is better to put a square or a rectangular countertop.
The legs are located in the center or around the edges. The central support is expanding at the bottom to ensure stability. The legs are vertical and cruciform intersecting in the center. They are made flat or bulk - square and round in cross section. What they are closer to the edges, the more they interfere with the legs. Than supports closer to the center, the more resistant they are. When designing, you need to choose the "Gold Mid".
Selection of material
On the Internet, it is often necessary to see photos of wooden tables and benches for a gazebo, made of waste. Such a solution reduces the time to search for blanks and the cost of their acquisition, but it is impossible to achieve good quality when using this method. Its disadvantages are not only low strength and short meal, but also the appearance of the product leaving the best.
For work, high-quality materials will be required. Most often conifer breeds - spruce and pine. High strength has deciduous trees, especially oak. They are harder to process, but they will last longer. In addition, deciduous rocks contain less resin.
Billets should not have damage. Boards with drop-down bitch and resin subtepters are not suitable for work. Gray spots on the surface must be considered. These are traces of mold, which will gradually destroy the array.
The material is treated with antiseptics that prevent the appearance of mold, and antipyrenes that slow down burning.
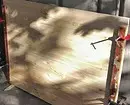
Products must be straight. Curvating in domestic conditions to straighten is quite difficult. Billets must be dried, otherwise they will change their dimensions and shape. As a result, the connection between the items will have to constantly update so that they do not fall apart. Dry products better in the sun, decomposing stacks and dividing the tiers with smooth gaskets necessary for ventilation. For the night of the stacks, shifted in a barn or covered with a film so that they are not settled dew.
Even hot summer moisture is constantly changing. In the morning dew drops, and at noon the sun dries it. Wood consists of fibers, well absorbing moisture. When it wets, the space between the fibers is expanding. In dry hot weather, this distance decreases, which leads to noticeable deformations. That this does not occur, dried parts are covered with varnish or paint in several layers. There are special hydrophobic impregnations, but only the paint coating can protect emptiness from water penetration.
Processing is especially important if the surface is a single wide board. What it is wider, the noticeable temperature and humidity deformations. It's easier and more reliably to put the shield from individual elements of the average width.
Instructions for assembling a wooden table in a gazebo do it yourself
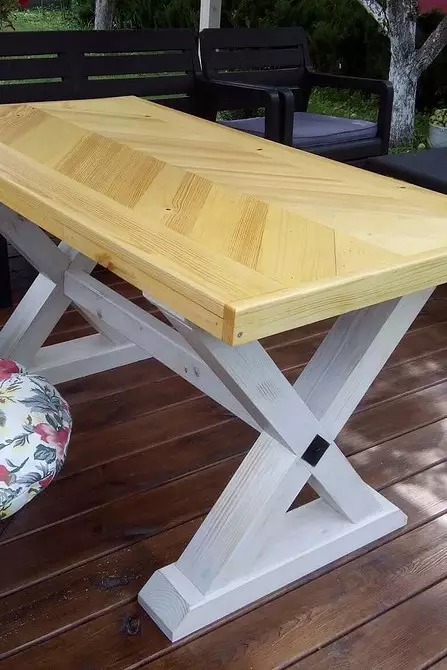
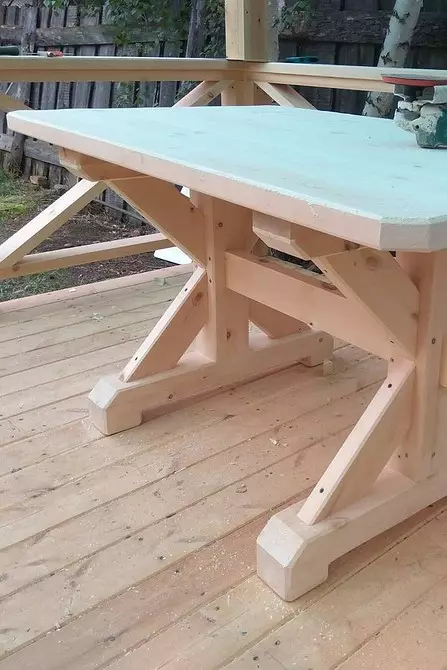
As an example, consider a rectangular wooden structure with two supports located on the edges.Planning
A universal design suitable for family lunch, along its dimensions resembles an ordinary kitchen table.
Dimensions
- Length - 2 m.
- Height - 0.7 m.
- Width - 0.75 m.
- Distance from edge to legs - 0.3 m.
Now it is necessary to calculate the amount of material.
Materials
- Board 15x5 cm with a total length of 20 m.
- Brux 5x5 cm with a total length of 5 m.
- Screws with galvanized coating.
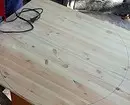
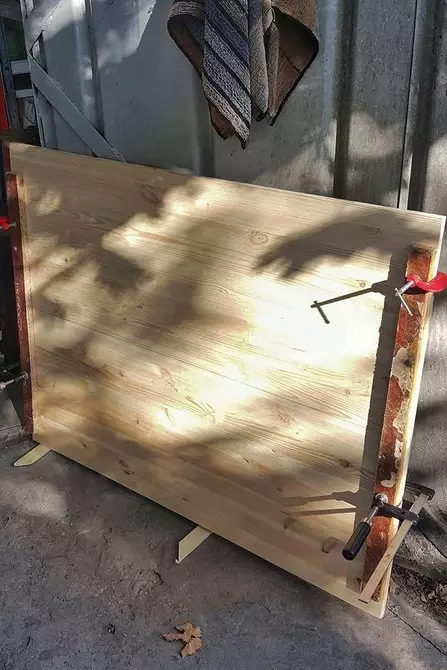
Making countertops
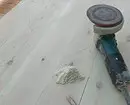
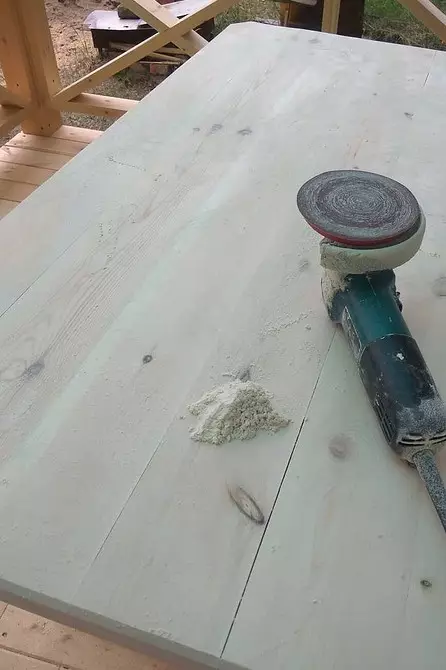
Dried details that have passed the selection are cut with a wood saw. The shield consists of five boards with a length of 2 m bonded by bars. Each side is installed two. Between them, leave the gap in which the legs removed from the edge of 0.3 m will be inserted. The center of the extreme bar is at a distance of 30 - 5/2 = 27.5 cm from the edge of the shield. The distance from one bar to another is 5 cm. The surface is grinding with a grinder with a grinding circle or emery wrapped around the handle. It can be made of pruning, which is convenient to take in hand. With the ribs take a chamfer with a rubank. The corners are better not to leave - they will constantly wear and be laid out. In addition, the protruding acute parts create a lot of inconvenience.
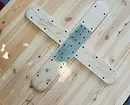
Attaching support
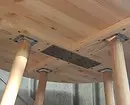
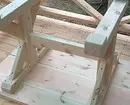
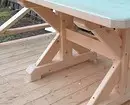
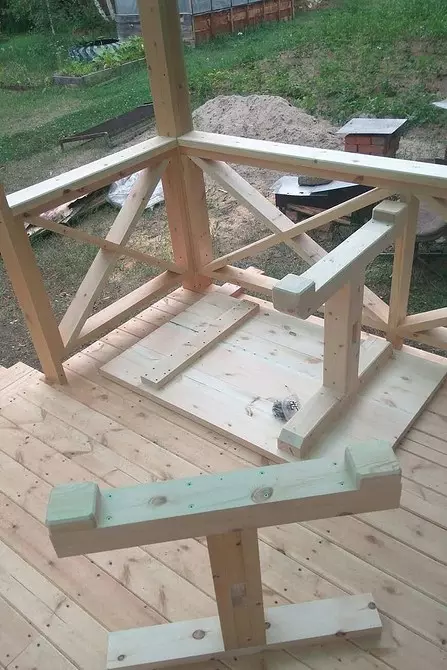
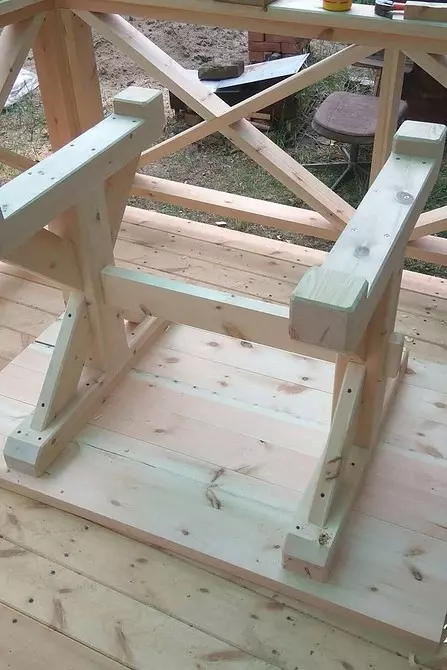
The easiest option of the support is four legs, bonded from top of rigidity ribs - boards parallel to the floor. There is a more comfortable design. Wide holders installed in the center closer to the edges do not interfere with the legs. They are mounted far from the edge, but due to their massiveness provide the table strength and stability.
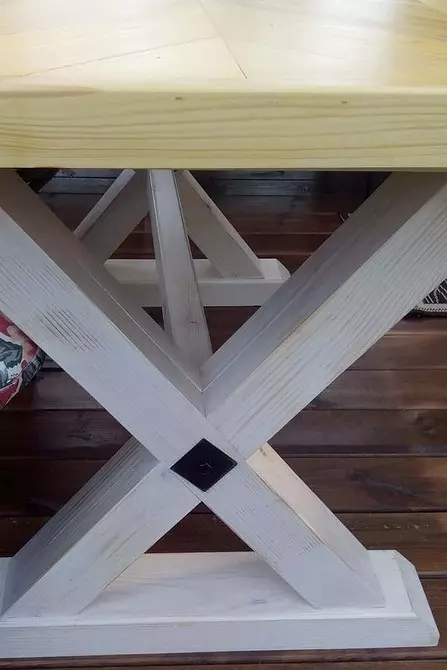
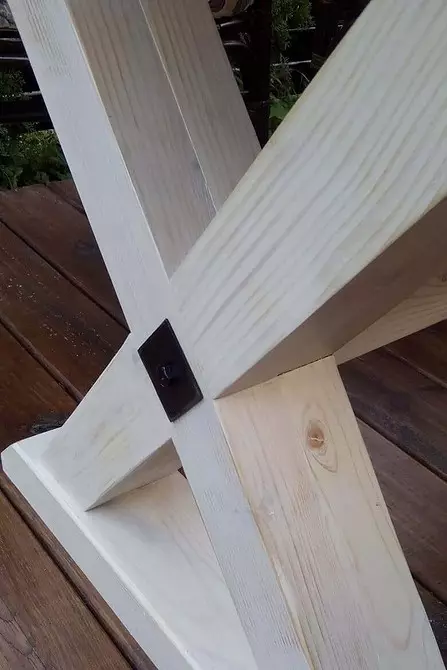
For each leg, you will need four trim 15x5x70 cm. Two of them will stand vertically. They are placed at a distance of 5 cm from each other and are connected by flat sides with perpendicular cropping. Perpendicular elements will be downstairs in a horizontal position. They are needed to impart sustainability. The vertical parts of the free side are inserted between the skills on the table top and are screwed by self-drawing.
Then in the free space formed by vertical elements, one horizontal is inserted. It serves as a strut that connects the legs and performs the function of the rigidity rib. She must perform a little beyond their limits. Excess material is cut. The edges are grinding. The strut length is about 1.7 m.
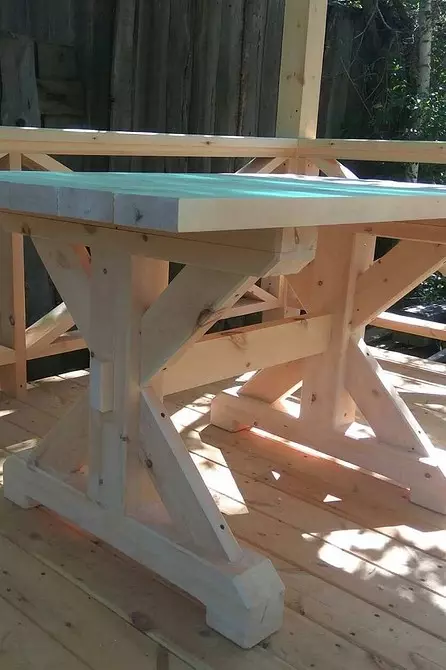
So that the legs are not risen, the bottom straighten with the plane and emery. This operation can be not done if you kill small plastic or rubber stands from below. They will help to give the design horizontal position and protect it from abrasion and exposure to moisture.
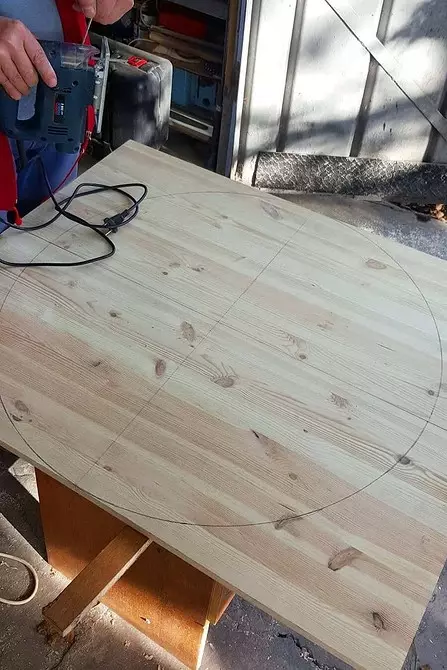
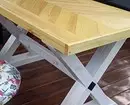
The process of assembling the round table for a gazebo with one support
First you need to mark the markup on the bonded boards. To draw a radius, a nail is driven into the center. To him bind the rope with a pencil. The rope is tensioning and spend a line around the circumference.
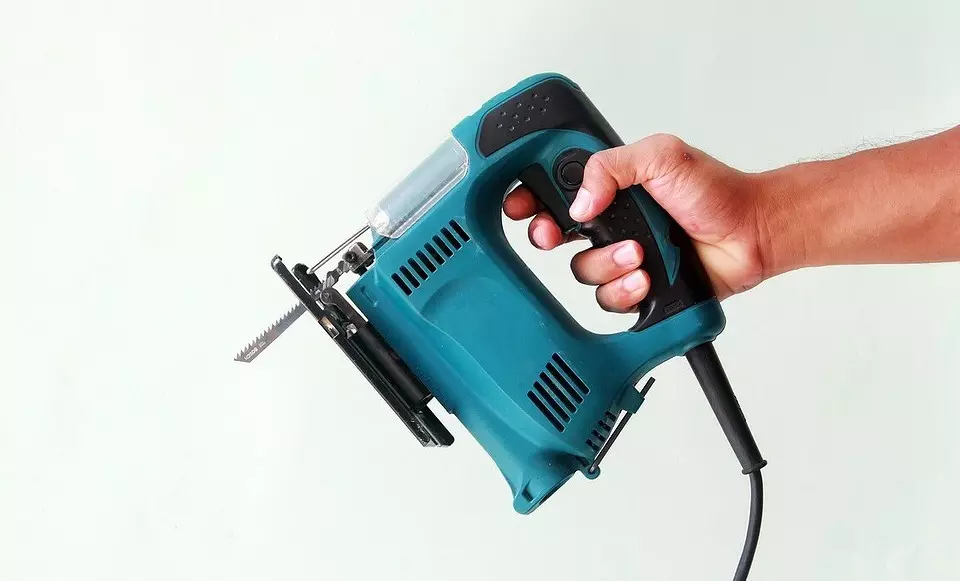
For cutting, you will need an electrolybiz or chainsaw. Lobzik allows you to make a more accurate cut. Its housing is applied to the surface and combined with markup. On his front part in the middle there is a trait that should coincide with the line we spent. The blade is moving up and down. The housing is based on the surface of the surface. The edges are poured with a planer and grinding with a grinding circle. The upper and lower corners are cut. To make such a wooden table in a gazebo with your own hands, you need to be patient. Cut, strict and grind there are many.
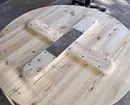
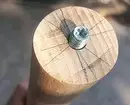
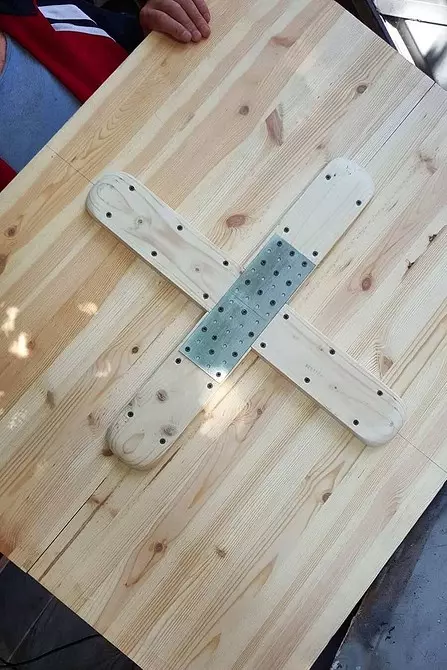
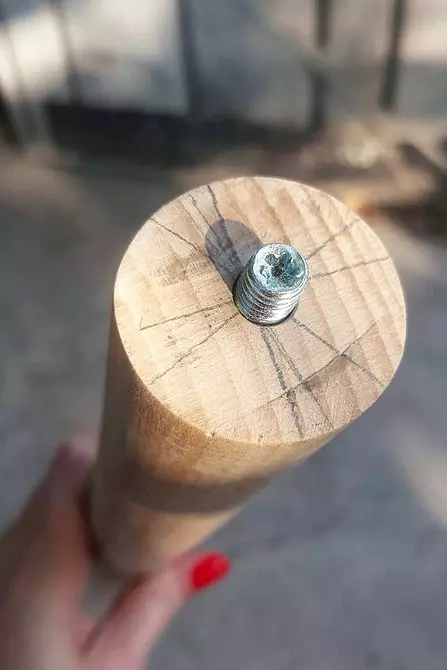
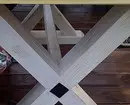
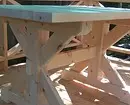
When the shield is ready, proceed to the manufacture of supports. They are made in the same way as in the previous case. The difference is that they are mounted in the center of the shield at a distance of each other, equal to the width of the legs. Both racks form one column with square cross section. In this form, the design is extremely unstable - after all, there are four parallel horizontal, the distance between which is slightly larger than their width.
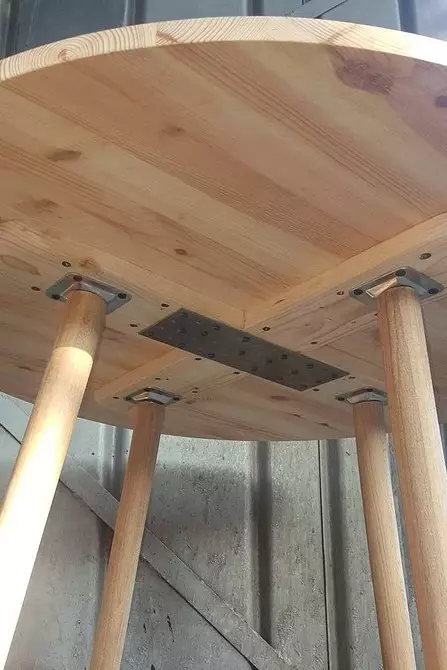
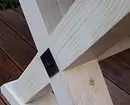
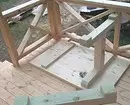
To impart stability in the lower part, two more boards are installed, perpendicular to the base and form a stand in the form of a cross. The connection is made using grooves. They are cut out by a jig in the finished base and perpendicular elements. The depth of the groove is equal to half the width of the rib. Details are fixed on the self-tapping screw. The surface is grinning.
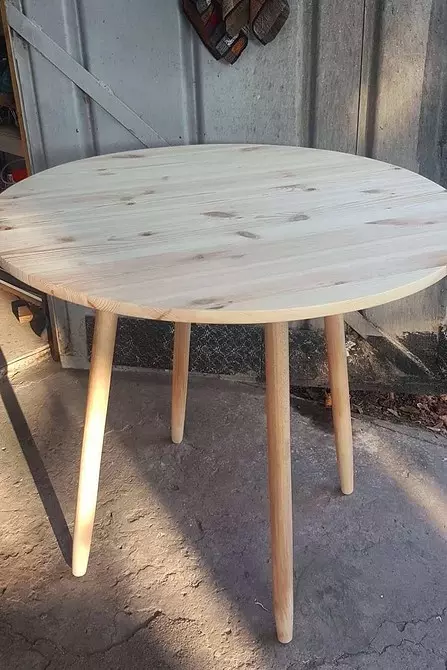
The connections will be stronger if the base looks the grooves down. The whole load falls on it, and perpendicular holders simply help maintain a table in a vertical position. Conventional legs are also suitable for round base. The installation process is shown in the photo.