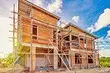
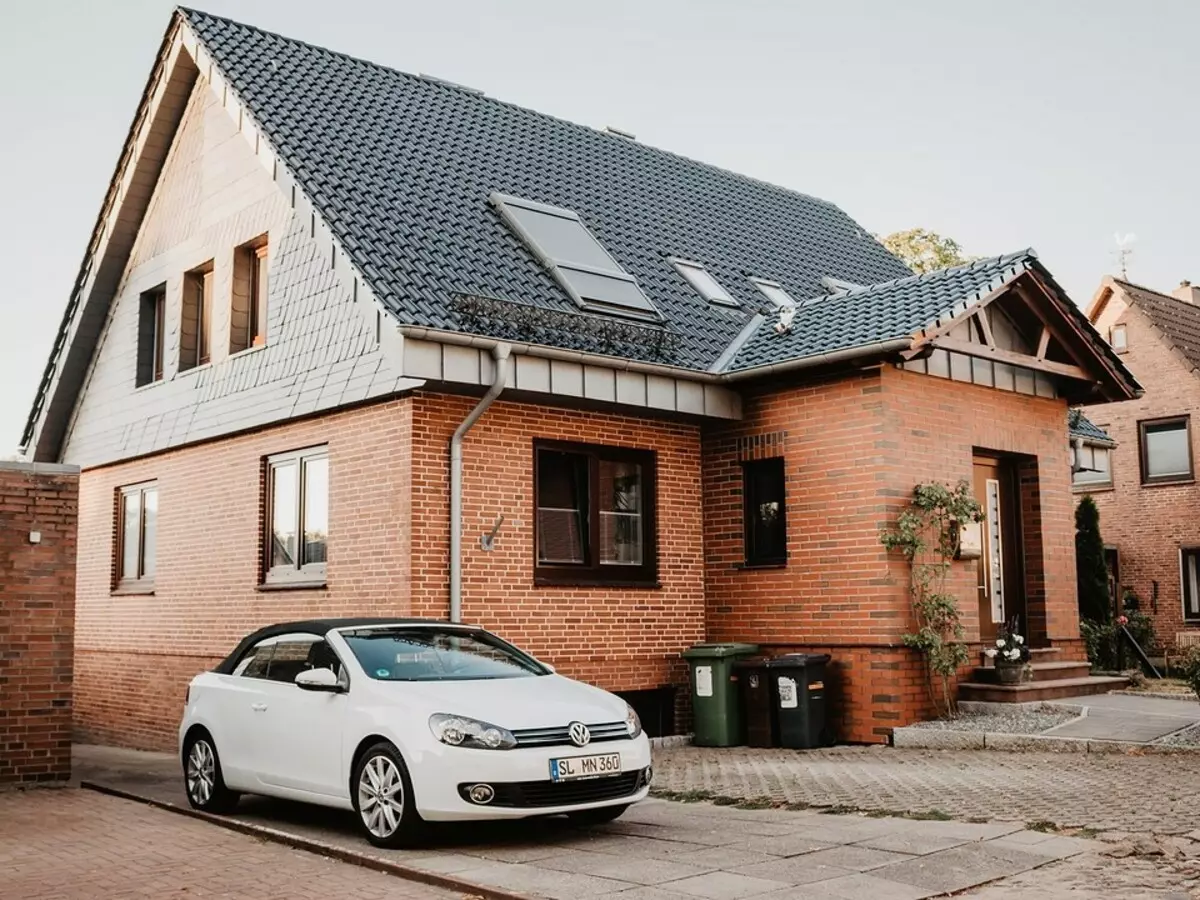
We are talking about the properties of the material for the root, the calculation of the step and give step-by-step instructions for the installation of the structure.

The design of the crate under metal tile differs from the usual. To design the base for the elements of the trim, it is necessary to take into account their size. Supports should be on their top and bottom. The distance between the boards and bars makes less than for slate or ceramic coating. They can be laid on a lightweight rafting system, since the load on it is significantly reduced. Panels that imitate classical ceramics are much smaller than their natural analog. They are two times easier slate. Plates are made of fine steel, copper and aluminum. The material resonates well. During the rain, it will be necessary to protect the roof from noise, so in the free space it is desirable to provide a place for laying a sound insulation membrane.
Make a crate for metal tile
Materials KarcasaFeatures of roofing pie
Shada calculation
Step-by-step installation instructions
- Tools for work
- Preparation of the foundation
- Ventilation device
- Mounting design
Selection of materials for frame
The base consists of wooden bars and boards. Steel and aluminum profile almost does not apply. It is easier, easier to process. The metal is not afraid of the flame and is not deformed when the moisture and temperature changes, however, the profile width makes the installation of the finish rather difficult. Support for details should have a large area. A welding or bolts are used to connect to connect, which will have to extinct and drill holes.
It is easier and cheaper to construct the wood support system. Its surface is treated with antiseptics that prevent the spread of mold, and impregnate with antipirens - additives that increase the resistance to the exposure to an open flame. Protection against moisture is varnish or paint. Without them, moisture during freezing will be expanding in the pores and destroy them, causing the appearance of cracks.
Before making a clamp under metal tile, you need to calculate the load on it. It depends on the mass of the casing, the angle and the area of the roofing slope, as well as the strength of the wind and the thickness of the snow cover.
One of the important parameters is the roof surface area. What it is more, the thicker should be prefabricated elements. The volume is needed to ensure the circulation of air between the facing and the waterproofing layer located under it. Without ventilation, even the processed wooden parts will gradually collapse.
The black coating is narrowed from a 2,5-5 cm thick boards and 10 cm wide. Crew-inches-inches 25 mm are used. Thicatles are needed for wide skates with a small angle of inclination. Conifer breeds, beech, alder are suitable for creating a frame.
Thickness must comply with the stated. Maximum deviation - 3 mm. Surface defects are not allowed - traces of mold, cracks and other damage. Before treatment with protective compositions, the batch is carefully dried, collecting in a stack with gaskets providing air circulation. From above, it is necessary to make a canopy that protects against precipitation and sun rays. With too fast and uneven drying, the fibrous structure can crack or change its shape. When laying in the stacks, they should be aligned - otherwise, when installing on rafters, the surface will be difficult to straighten.
Features of roofing pie
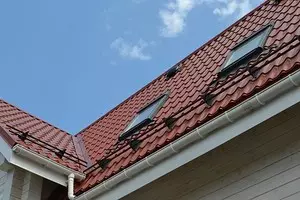
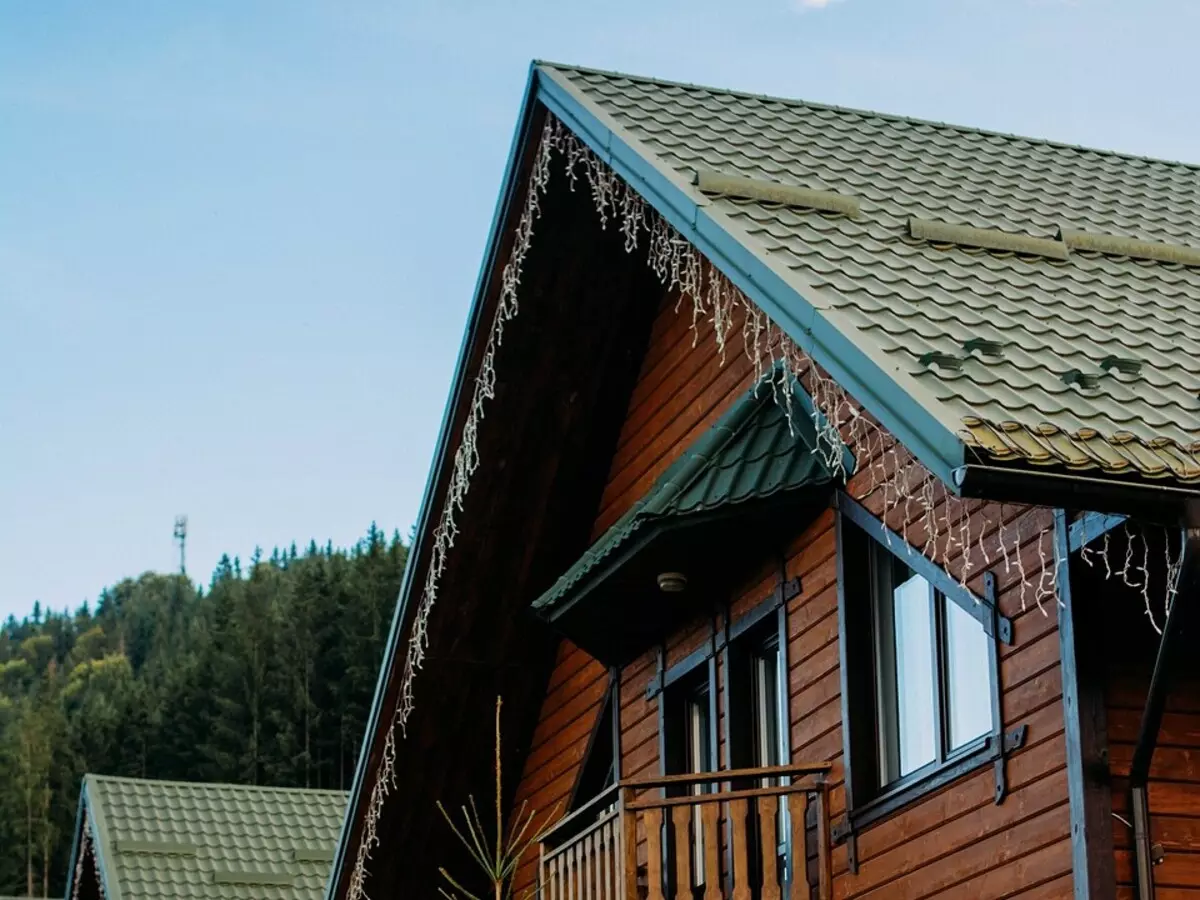
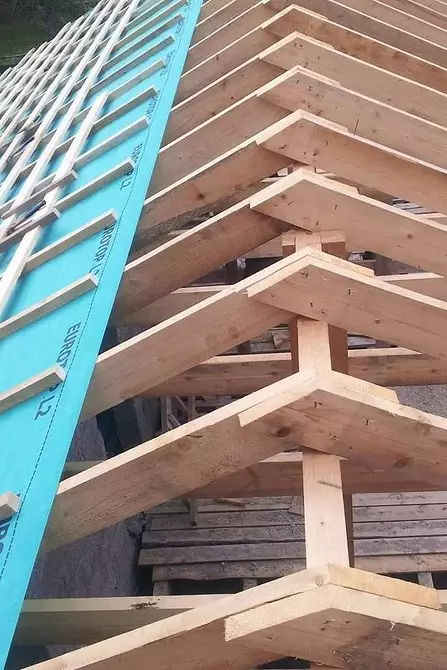
It is a multilayer coating that protects indoor rooms from cold, moisture and noise. When the roof device, different schemes are used from the metal tile on a wooden crate. The choice of construction is influenced by the natural conditions of the region where construction is underway. Wind and snow loads in the north or in the mountainous area sometimes exceed 400 kg / m2. It is important to take into account the slope of the roof. Than it is more, the smaller the snow accumulates, but the higher the load from the wind and its own weight - after all, more materials are required for steeply skates. In the south, where massive thermal insulation does not need, lightweight structures are applied.
Parts of roofing pie
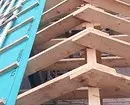
- Rafters - they rest on the walls and hold the weight of the remaining layers of the roof.
- Waterproofing. For warm attics, additional internal thermal insulation is laid.
- The 5x5 cm brucks are used to increase the strength of the design, as well as to ventilate it. Permanent ventilation allows you to get rid of dampness inside the massive cake, which occurs when the moisture condensation is in the air.
- Dooming under lining.
- Insulation, closed with waterproofing. It is placed in the framework of the frame. From above and below the steering film, impenetrable for moisture.
- External coating.
Calculation of the shade of the crate under the metal tile
Before purchasing the material and starting installation work, you must compile a framework scheme. It happens three species.Circassia schemes
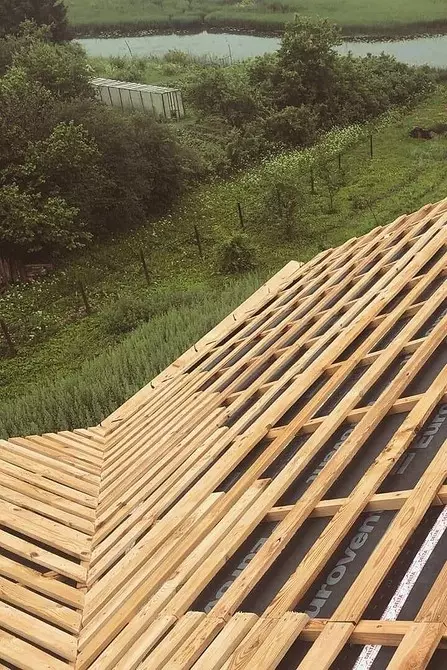
- Developed - supports are located under the edges of the plate, parallel with the skate and eaves. This species applies most frequently. It is used at an angle of inclination from 20 degrees.
- Solid - the gap between the supports is 2-3 cm. Such flooring is installed on gentle roofs. Instead of natural wood, you can sash moisture-resistant Fane or Chipboard sheets. They better carry external influences and do not lose form when the temperature and humidity changes.
- Combined - combination of solid and rarefied coating. The solid is fixed near the walls and chimneys, as well as in the inner corners, where the snow mass is especially large. It is necessary where additional loads arise on the surface - near the attic windows, stairs, railings, snowstanders, under the skate. The rest of the area occupies a rarefied skin.
Shada calculation
To correctly calculate the step, you need to know the size of one panel and the distance between its supports and fasteners. The step does not depend on the weight of the details, which, as a rule, does not exceed 7 kg / m2. The element is attached to the self-tapping screws located in its upper part. The lower has a small step, which is not fixed on the base.
Self-tapping screws are installed in the center of the middle rows and from the edge of the start-up, located around the perimeter. The lower elements of the metal cover are fixed with screws from above and below. With a width of a plate of 35 cm, the distance between the centers of the series will be equal to the same value. The starting plate with a width of 10 cm is at a distance of 30 cm from the rest, as screws are screwed into its edge, and not to the center.
To properly make the trim, you need to get acquainted with step-by-step instructions from manufacturers. Their recommendations are often different. For example, some manufacturers are recommended near the eaves to nail two boards by installing a bar on extreme on top. It serves as a support step. Near the karnis is also recommended to mount the end rows, turned edge up. They are covered with special angular details. Self-tapping screws into the side and upper side of the steel shell, fixing it on the end and on the facing.

Installation of a wooden frame for lining
Tools for work
They are better prepared in advance so as not to be distracted by their search when installing.- Construction level and roulette.
- Pencil and twine to make marking.
- A hammer.
- Saw on wood.
- Screwdriver.
- Staircase and scaffolding.
- Safety belt - it is not easy to stay on the rafters.
Preparation of the foundation
Before starting work, you must make sure that the rafting beams are mounted correctly. Fix errors allowed when creating supporting structures, better before the start of facing work. In order for the base for a long time, its as well as the framework of the framework is treated with protective compositions.
Tools processing
- Antipirens - slow down burning.
- Antiseptics - protect against mold and other microorganisms that destroy the structure of the material.
- Hydrophobic additives are enough to apply several layers of varnish or paint.
- Universal primer comprehensive action.

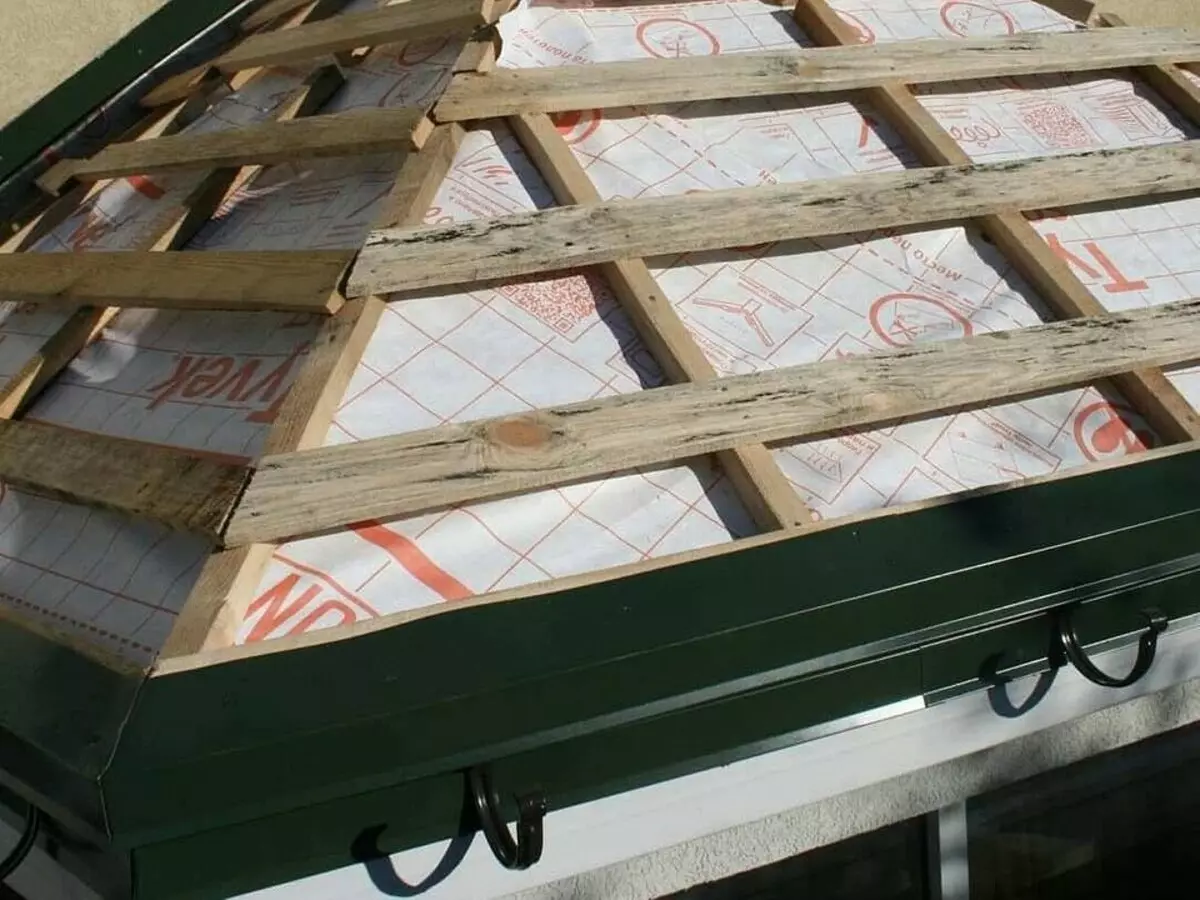
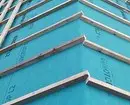
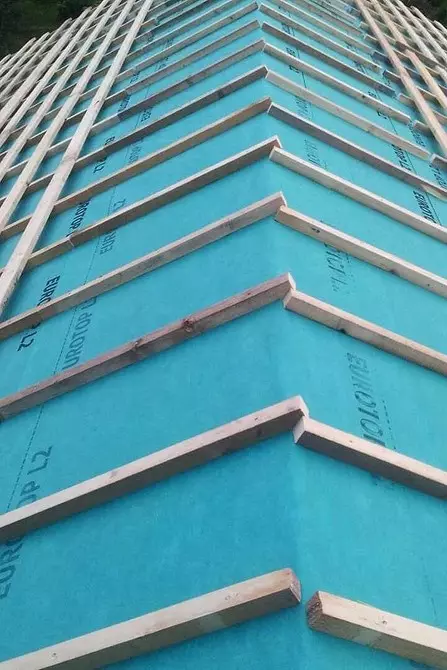
Creating a counterclaim
It is necessary to give stiffness of the structure. In addition, it presses to the rafters of the waterproofing film or diffusion "breathable" membrane. This membrane is able to skip couples going from the room. At the same time, it is completely impenetrable for moisture from the outside. Another feature of the additional grid is a device of the ventilation gap required for roofing the roofing pie. The larger the distance between the crate under metal tile and waterproofing, the better the air exchange. It does not follow it too much - this will lead to heat loss and moisture penetration inside.
As a rule, the same materials are used as for the main framework. They are nourished along the rafter. The material can also serve as a height of up to 5 cm or boards, sawed along. They must be tightly nailed to the rafting beams. Cannot leave the gaps.
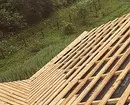
Installation of the main carcass
Start follow from marking. It is applied extremely accurately - otherwise the plate will be devoid of support, either bears crooked. The location of the prefabricated elements is denoted by the twine, stretched on nails, driven around the edges of the skate. So that it leaves the visible trail, it is covered with paint, stretch perpendicular to the surface and release. When you hit, a smooth noticeable line remains.
The trim is fixed perpendicular to the rafter beams with nails. On each side, they are folded two so that the surface does not twist. The distance from the hat to the nearest angle - 2 cm. The nail must exceed three times the thickness thickness. The optimal size is 70 cm. It is best based on a terrified type with a embossed surface. The most durable grip provides self-tapping screws, but work with them takes a lot of time. It is easier to score a nail than to tighten the screw, after preparing a hole for him.
The jokes are on the counterclaim. They must be in the center of the Lower Bar. Schedules of the edges are not allowed. Wood even after processing protective compositions can be laid and expand. In order for the parties to do not press each other, there are several millimeters among them between them.
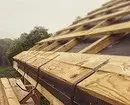
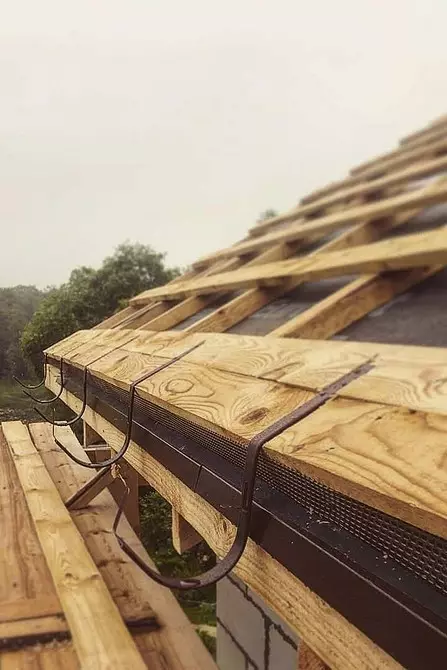
Installation of crates for metal tile begin below. First fasten the lower row, located around the perimeter of the building. As a rule, it is reinforced by an additional side, as it has to withstand the weight of the cornice and the drainage gutter. It should be remembered that the lower tier of the lining is not stacked on the middle, but to the far edge of this series. The distance to the next will be less than half the board. Next, the distance between the rows is measured from the center to the center.
Installation should be made without errors. Measuring with a roulette is not enough for this. You need to apply a metal item and watch how exactly it gets up in every new row. Vertical irregularities are eliminated by wedges and thin rails. The protrusions are cut off by the plane. For measurements, a construction level is used. Without it, detect defects will be difficult. If you miss them, after decoration they will be well noticeable. Each step laying must be carefully controlled. It is better to pay attention to control when installing, than to remove the coating to remake it.
The lip of the roof, the inner angles, the space around the chimneys, the attic windows is enhanced by a solid flooring. It will be suitable for moisture-resistant plywood, hops or chipboard. From above, they are closed by fair elements, for example, corners and separate coating for the skate.
If the flooring is done without a counterclaim, it can be stacked simultaneously with waterproofing, sinking the joints with scotch tape. The width of the allen is 10 cm. When working, it is important not to damage the film. If a ribbon hole appeared, it will be impossible to stick it with a scotch.
When the trim is ready and checking is completed, you can start finishing work.
We also recommend also to look at the installation instructions for crates and a detailed analysis of the process on video.