
We tell how to quickly collect and install a shower corner and hydrobox.
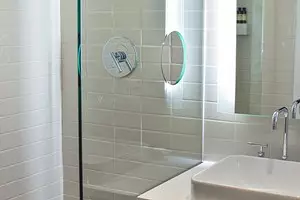

Shower corners, hydroboxes are variations of the classic soul. The assembly of the shower cabin is an urgent question that concerns usually owners of small fleets, for which it is important to save a place in a small bathroom and highlight it, for example, for storage. A still shower love those who are accustomed to everything quickly, literally on the run. In this case, shower will save not only the place, but also time on bath procedures, especially if you are not a lover lying in a foam bath.
Design options and work features with them
Types of CabinCabin Cabin
- Stone base
- How to assemble the pallet
- How to fasten legs
- Working with frame and doors
Assembling hydrobox
Start the tools and begin to build a shower in myself in the bathroom. Getting Started, it is important to determine exactly which model you need.
Types of Cabin
Collect the shower cabin with your own hands - the point is not the simplest. The configuration distinguish the following models.
- Open. They are with the finished base or without it, do not have walls, no roof.
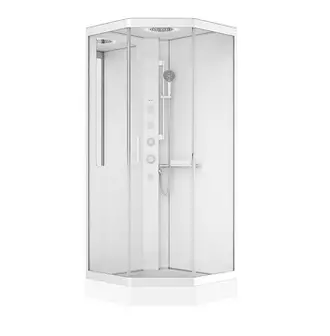
- Closed. Started with the most different options: a jet massage of several types, different soul options, a sauna and even a steam generator that makes the shower more like Hammam. The sidewalls and the tops are also provided in the closed model. Usually they are called hydrobocoxes.
Work on the assembly of the shower cabin is not so difficult to spend. You can enable online video and checked with it, but first read our article. Next, we will tell about the features of the assembly of different models and offer such a video.
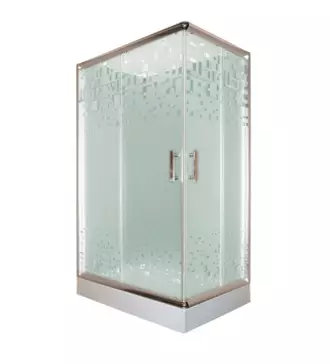
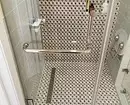
How to collect a shower cabin in the form of an corner
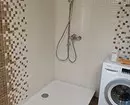
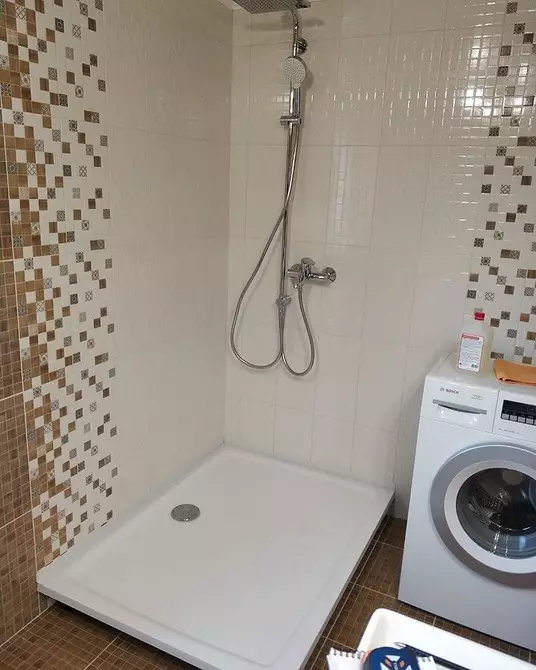
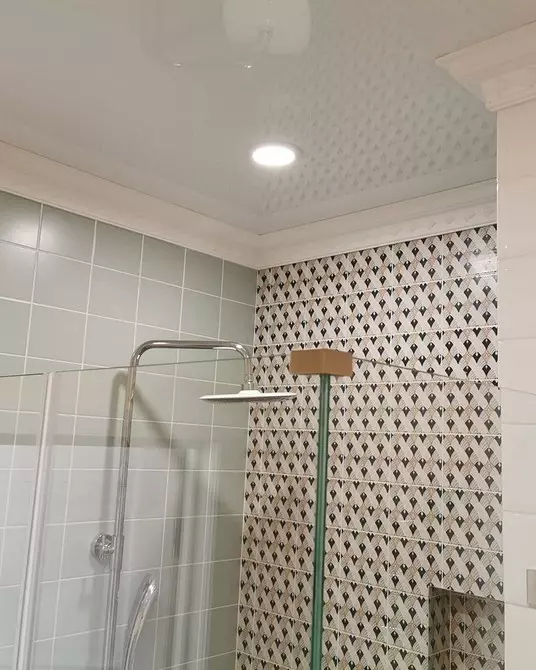
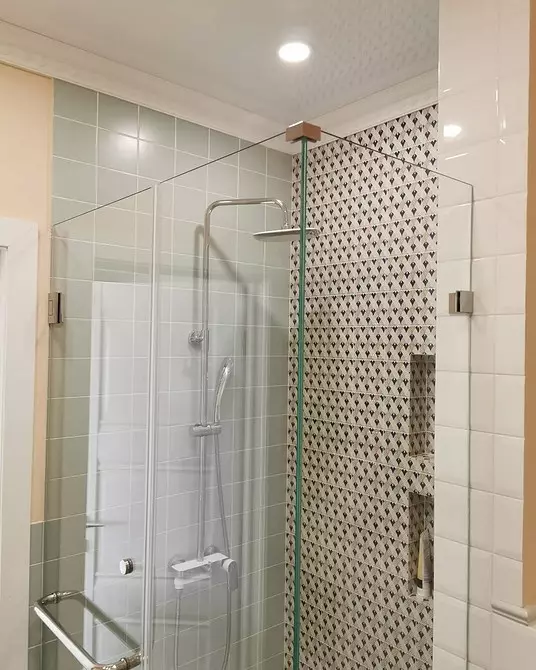
The most popular model on the market. You probably met her in the photo interiors: the usual tray, which is put in the angle, is and open, and closed. For the model, a height of 210 centimeters of the wall, on which the installation will be carried out, there should be 225 centimeters. This stock is made for pipe wiring and draining. If the height is not enough, from the cab with a plastic basis will have to refuse and make a plum in the floor.Basic assembly
It is more convenient to work with foam blocks, and not with brick. High strength foam blocks can safely withstand the required weight. They are easily cut by a regular saw and take the right shape.
First you need to lay out the base in dry form without a solution. Consider that the layer of solution and glue slightly lifted the design. For foam blocks, the glue layer must be made small - the pairs of millimeters will be quite enough. If you chose a brick, put about 8 millimeters of the solution.
River Moero Shower Cab
At this stage you can try on the pallet. The solution needs to be aligned, close the base film and put the finished design. If the design stands unevenly, add more adhesive, compact, clutching the level. You can not clean the film before assembly, it will subsequently remove the cab, without destroying the stone base.
Thought in advance the location of the communications and the replacement of the siphon if necessary, whether you will be able to do it, and if not - make adjustments to the base design. It is convenient to make a hole to get to the pipes through it. Connect the plum to the final installation. Come along the seams of water repellent. Even if there is a special gasket, no additional waterproofing will not be.


Setting the pallet
Usually, several metal pins are in the set from each cabin. Of these, they collect the foundation for the future soul so that it is stronger. You can make the basis for yourself - from a tree or stone.
Even before starting the cab assembly, it is important to deal with a decorative casing that provides some manufacturers. Immediately it is necessary to make a reservation - it will be very difficult with him to get to the plum. If you still decide to put, then simply insert it into the appropriate grooves and snap the special fasteners.
Shower Corner Parly
Assembly process
- Screw to the drilled holes of the hairpins. They just need to insert and secure bolts. It is important to fill all the holes with long or short hairpins (short need if the holes are greater). This will help in the future to avoid skew. Nuts, suitable on top, fix the frame to not damage the material.
- At the screwed nuts, set the base, especially for them in the cabin there are holes.
- Tighten the nuts on the other side.
- Tighten the bolts into special holes in the main design.
- Check if the framework and the base is calculated. After that, tighten all the bolts and nuts to the end. If the design could be stagged before this item, now everything should be fixed.
Sealing
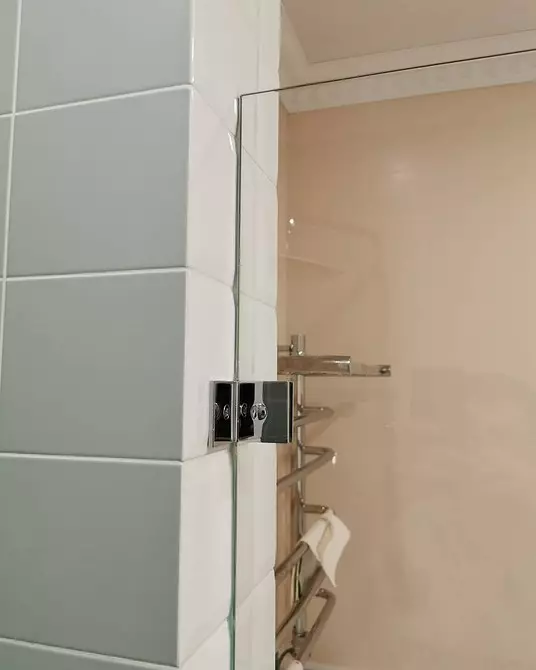
After installing the pallet, we carefully seal the seams, a better transparent sealing composition. Look for silicone, it does not yellow with time, unlike acrylic. It is better to walk along the seams and joints twice, for reliability. To apply a smooth layer, you can make marker marker. To do this, put the pallet to the place of the future junction, move the marker to the line and move the pallet. After that, you can apply the sealant along the line and firmly press the surface.
It is possible to protect the joints from moisture from a plungy of a plumbing corner imposed on the seam. In this case, the need for sealant disappears, because such corners already have a protective gum. Although, if you put a sealant and it - nothing terrible will happen.
Setting legs
The order of their assembly is next.
- Install the stops.
- Screw with screws and washers. Do not forget to put on ornamental coves.
- Screw the legs themselves.
- Get down to align. If the pallet is small, it turns it over and, aligning the plane with respect to the floor, twisted the legs. If the pallet is overall, getting to the legs will be hard. Therefore, they are spinning, exposing to the same height. You can check with a level.
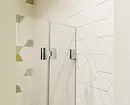

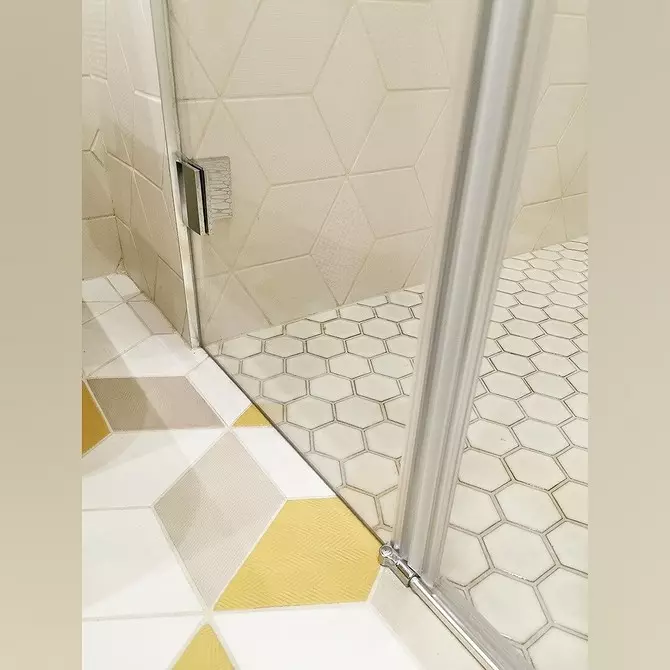
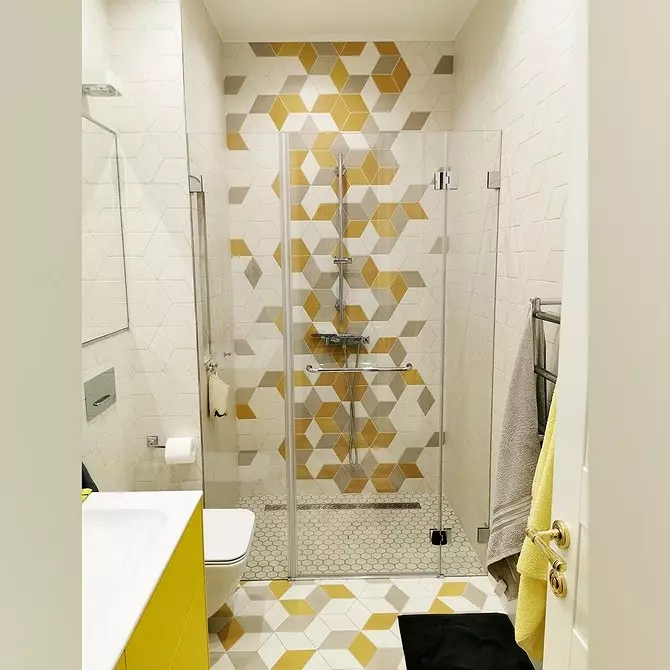
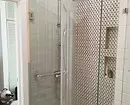
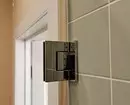
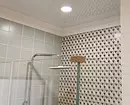
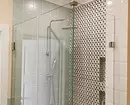
Mounting frame and doors
We put the guides. Next - the framework. It is assembled from semicircular guides and side panels. So that the design is more durable, additionally put glass doors. Immediately to the walls do not fasten, the surface is rarely perfectly smooth. Non-stalks will be noticeable when you put the frame - almost never adjacent to the walls completely, there are mostly gaps.

Shower cab Parly
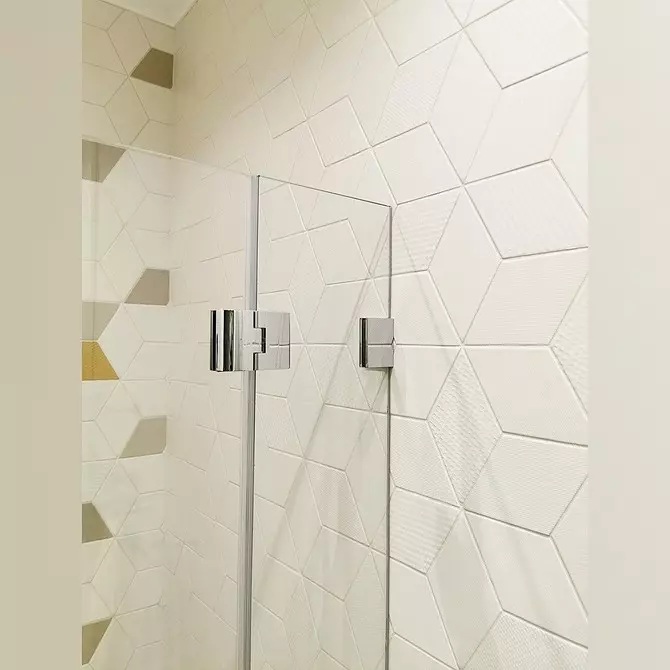
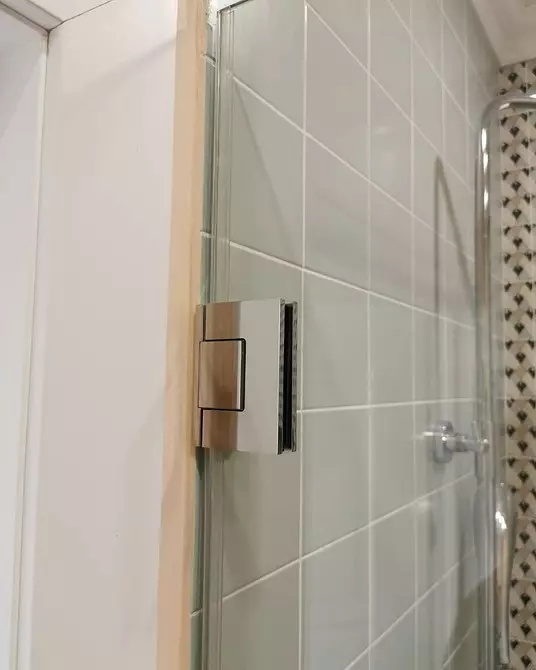
The soul frame is always the same, the design is elementary - two arcs and two racks are connected by brackets after the holes in the details are combined and fastened by the bolts. Then the glass sidewalls are placed and also fixed with brackets.
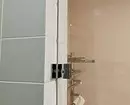
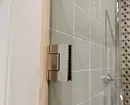
Now installing rollers for doors. They are different in size, but the principle of work is one: the stoppers are removed, the rollers are inserted into place and the tops are put on top again.
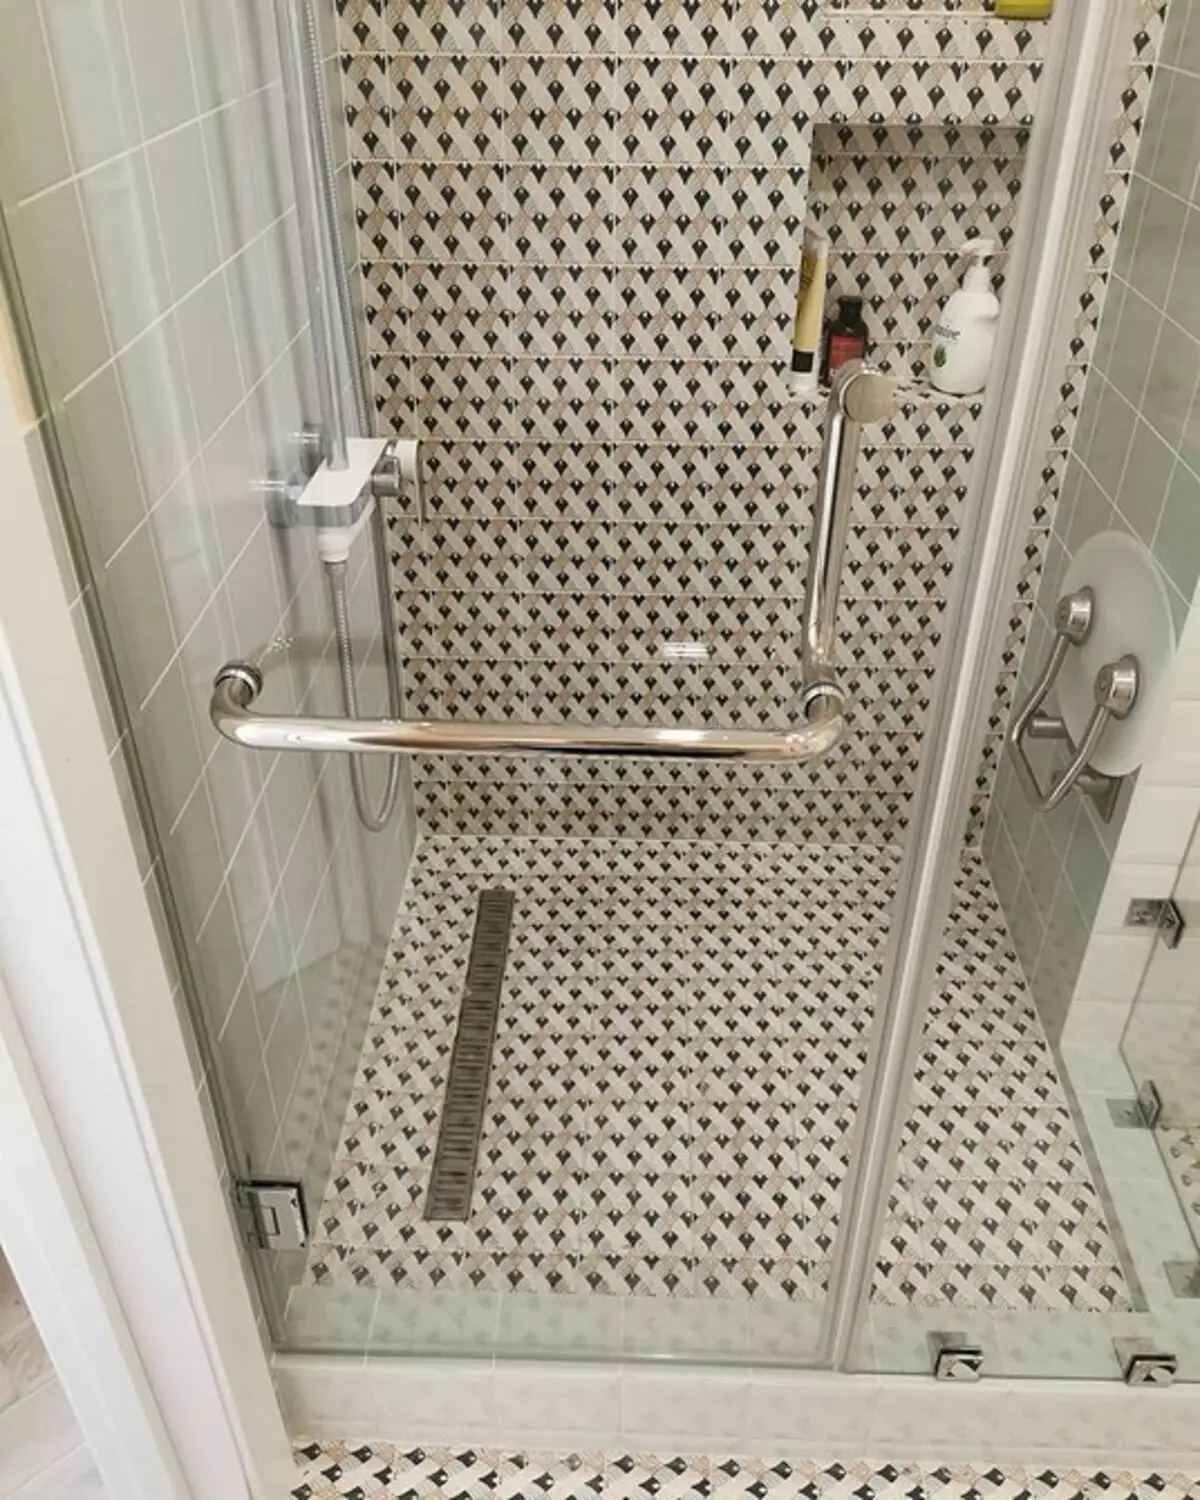
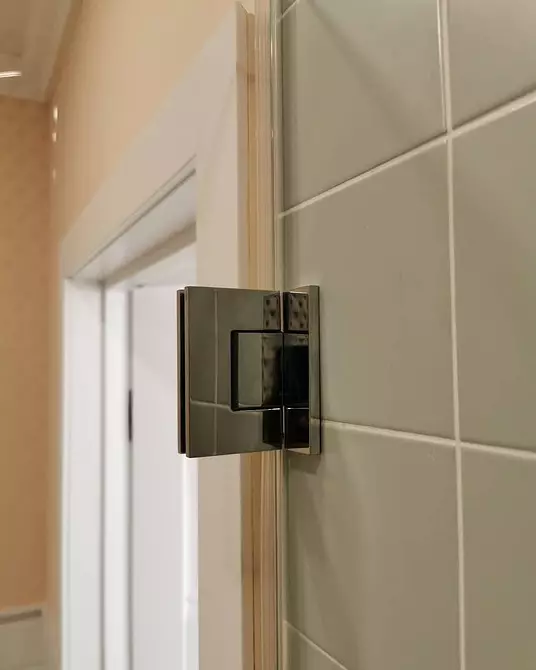
Rama is collected. It is installed on the pan, check whether it came out correctly, and mark the place for fasteners. This can be done by the usual marker. The cab is removed and start drilled holes under the dowel. When the holes are ready, they are inserted directly dowels and fill the remaining sealant. It is worth pouring more so that the water does not succeed under the dowel. Surplus can then be wiped.
Next, install the guides and fix them with bolts. The sealant is poured in the slot. The corner is ready, it remains to put gaskets and hang the doors. They are starting to hang from top to bottom. Rollers must be attached to special holes in the door below and at the top. Depending on the design of the rollers, the holes can be 2 or 4.

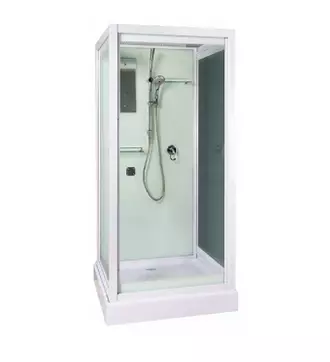
Parly TM911 Shower Cab
Now we put the seals on the rollers. The plastic gasket is shown on the screw, which is usually included in the package. Screw insert into the prepared hole, after that you put on the second gasket. Such a compacted screw is to get into the thread inside each roller. Outside, it is held with your fingers, parallel to it. In the same way come with all the rollers. Do not tighten the screws strongly until you finish work.
Doors hanged, it remains to tighten the fasteners and put the seals. They are easy to install, you just need to snap on two sides of the doors.
How to assemble a shower-hydrobox
What is the difference between the collection of a classic standard corner from a complex design with a panel - hydrobox? The frame, as we found out, is going to approximately equally from different models. Hydroboxes are equipped with a special panel with different functions. It needs to be collected after you installed the pallet.
AM.PM shower cabin
In advance, collect nozzles, speakers, holders and other additional accessories included in the kit. It is just inserted into pre-prepared holes. Errors can not be because all accessories have different size and are not suitable for other holes. To avoid leakage of water parts in the future, all the cracks after installation of the accessories should be wrapped in a sealant.
The nozzles are fixed in places and connect the hose. Check with a step-by-step panel assembly scheme. Usually it is invest in the set. Be sure to treat all the places of possible leaks with water-repellent composition. When you finish work, connect the water, run the shower. If the water pressure is good and not formed to flow, everything is connected correctly.


Set the walls and roof. It is mounted with lighting, if provided, and stationary shower. Included usually the usual or tropical shower. Secure the hose on the pipe, as you did with nozzles, tightening it tightening it.
Connect the lighting. The conclusions from the lamps need to be connected to the conductors and is very securely isolate, it can be used non-one, and several heat shrinking tubes. Set all to the places. Now the queue of the door frame. All times to handle sealant. The assembly of the shower cabin is completed.

Shower cabin Niagara.
So, summarize what has been said. Shower with its minimalist design and modest dimensions are just a find for small bathrooms. To collect a shower, you need at least a little experience with plumbing. Well, if you have consumables at home. In the process of work, be sure to use the water-repellent composition: the more carefully you will handle everything, the longer the design will last and the repairs of the neighbors will be untouched below. Purchase everything you need and proceed to work!
And in order to get acquainted with the process in more detail and clearly see each stage, we added a video structure to assemble the shower cabin.