
We tell which slopes to choose how to carry out plastering, install plastic panels and mount drywall sheets.
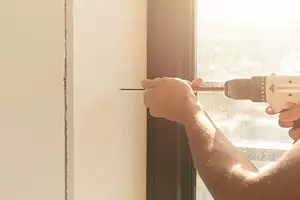

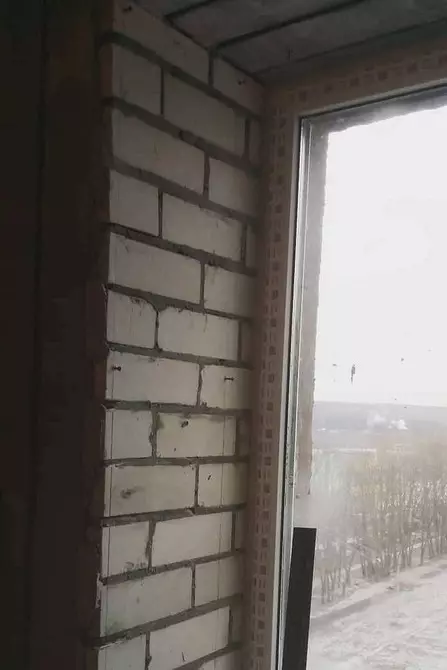
Facing the slopes with time wear out. It requires a replacement or repair. Over time, scratches appear on it, which are difficult to close up so that they are not marked later. If it is plastic, then for several years of service it is deformed and changes its color, and with wooden panels can be lacquered. The plaster is better to carry the effect of mechanical loads and ultraviolet, but it gradually loses strength with high humidity and permanent temperature drops. You can repair the box with your own hands by setting the layer of heat and sound insulation and making the surface more resistant to external influences. In the article we tell how to properly install slopes on plastic windows.
How to make slopes on the window yourself
Materials of slopesPreparation of the foundation
Plastering
- Instruments
- Materials
- Sequencing
- Heat insulation opening
PVC panels
- Instruments
- Set of details
- Step-by-step instruction
Facing of plasterboard
Materials of slopes
The technical characteristics of the product depends on what it is made.
- Plastic lining is selected under the color of the glass. Special elements of fittings are installed on the edges, which closes the place of adjoining the wall.
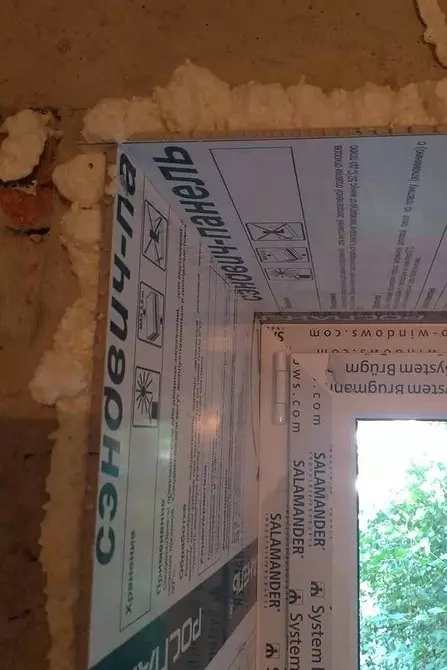
- PVC sandwich panels are plates of foamed polystyrene coated along the edges of the polymer shell. When installing, it is used less accessories than the clapboard. Polystyrene supports burning and excretes toxic substances, therefore it will be correct to use another insulation. In addition, the polystyrene cells are well conducted. Their hard walls resonate, without reducing the noise, but enhanced it. For protection from cold, mineral wool or polyurethane foam is suitable.
- Stucco - Usually it is a draft coating that runs under putty and painting. There are decorative mixtures with dyes and additives that improve decorative qualities. As such additives, particles of natural marble or other minerals can be used. Such a coating is capable of listening to an unlimited amount of time. It fireproof, not toxic and not allergenly. Playing the box yourself quite difficult. This requires special skills.
- Plasterboard is used when installing slopes more often than other materials. It is durable, durable and no moisture is afraid. Sheets do not change the form when the temperature changes. They do not burn and do not emit toxic substances. In order to cope with their installation, professional skills are required. Plasterboard serves as a rough finish. It is covered with primer and smeared with a putty.
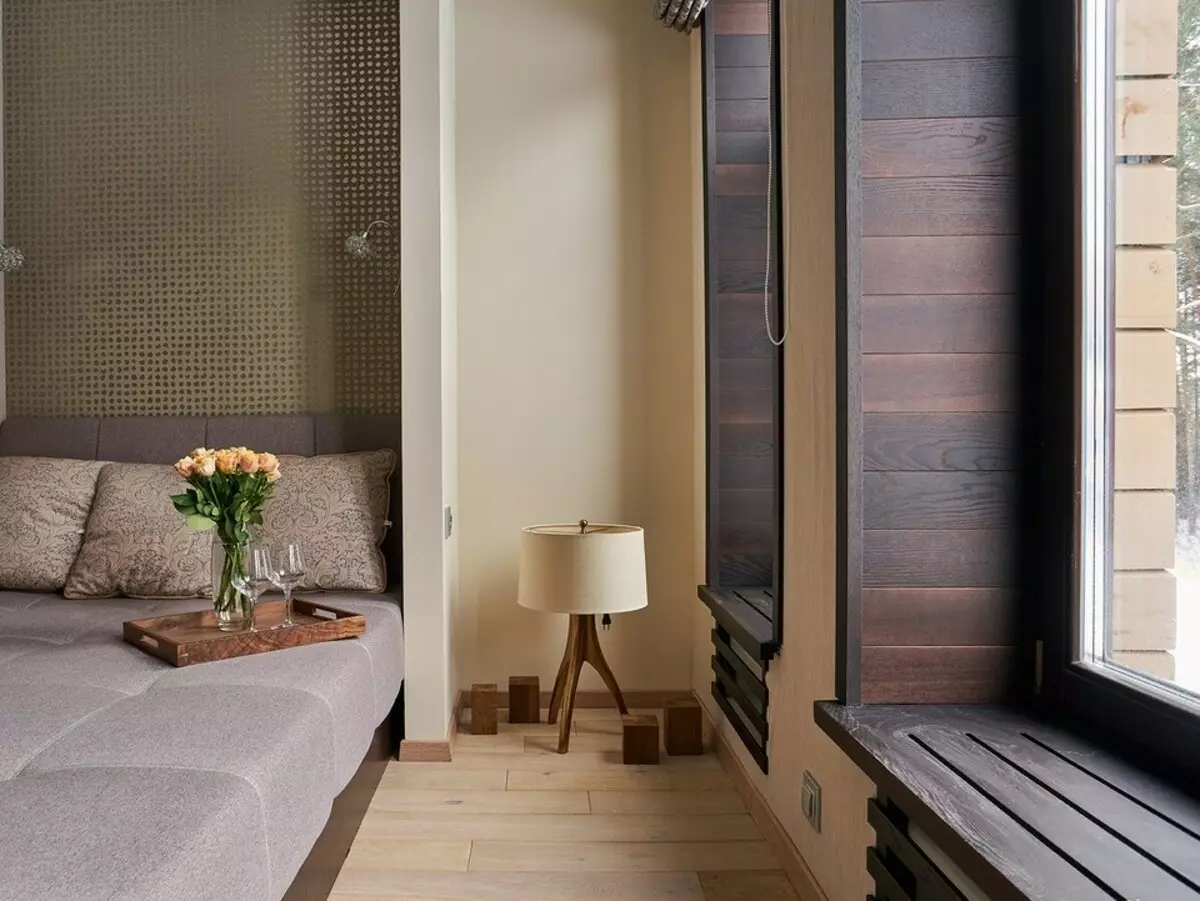
- Wooden panels are used only in cases where it is necessary to emphasize the features of the interior. Natural fibers are subject to constant deformations. To solve this problem, the box is lined with chipboard or fiberboard plates covered with veneer. They do not change the form in the process of operation and are cheaper than their natural analogues.

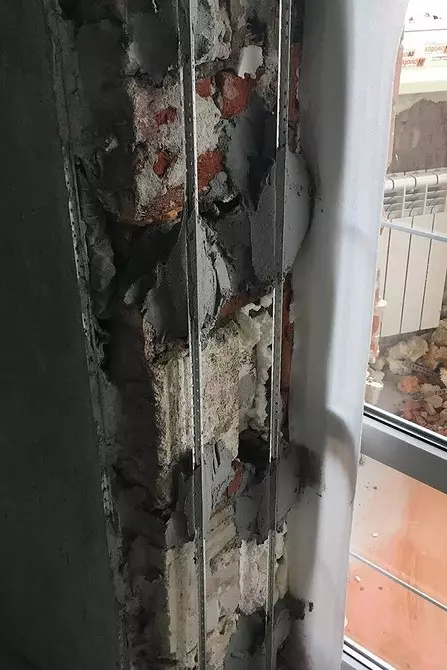
Preliminary preparation of the foundation
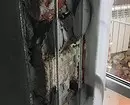
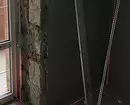
With a complete replacement of design elements, start with dismantling old parts. To do this, you will need an ax, a sledgehammer and a punch with a flat nozzle-bump. Builders this nozzle is called a chisel blade.
It is possible to order a garbage removal container. To free the place, sometimes completely remove the old window sill and layer of plaster.
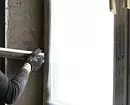
If you only need to remove the paint layer, there will be enough spatula and emery. Working emery paper is more convenient, wrapped it around a small wooden bar. Pokes and wallpapers are better away after they are swinging with water. Fat stains are removed with alcohol.
Condensate often accumulates near the glass, especially during the cold season. The new finish lies badly on the wet surface. Construction hairdryer will solve the problem.
Before installing the slopes on plastic windows, a dry base is cleaned and processed by primer with antiseptics that prevent mold appearance. It is applied in several stages after drying each layer.
How to launch a window box
The method allows you to create any forms and sizes. Its main advantages - durability and environmental coating.Instruments
In order not to engage in the search for consumables and tools in the process of performing work, it is better to prepare them in advance.
- Putty knife.
- Stretch or metal blade for solution.
- Falcon - plate on which the mixture is stacked when applied. Used as an easel. Instead of immersing the spatula in the container each time, it is placed on the falcon and remove it with it with a trowel when applied to the surface.
- Tool for leveling internal angles. It is a spatula drunk at an angle of 90 degrees.
- Grater or large grinding emery.
- Kelma - she leveled the wet mass.
- The rule is a perfectly smooth board that smoothes plastic mass.
- Building plastic pelvis and drill with a nozzle-mixer.
- Construction level and roulette.
- Scissors or Hoven for Metal - with their help cut profile.
Finishing materials:
- M400 or M500 brand cement and small-sided sand. On 1 kg of cement accounts for 2 kg of sand. To simplify the task and not to calculate how much cement and filler for sealing, it is better to use ready-made plastering and spacing mixtures. They possess all the necessary properties. For proper laying, you just follow the instructions on the package.
- Aluminum corner for creating guides.
- Putclone for finishing surface treatment.
- Primer with antiseptic.
- Metal painting perforated profile - it is installed on the corners and close with a solution.
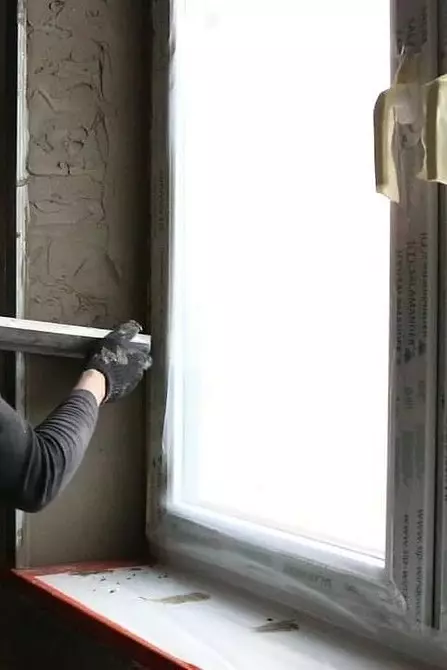
Plastering
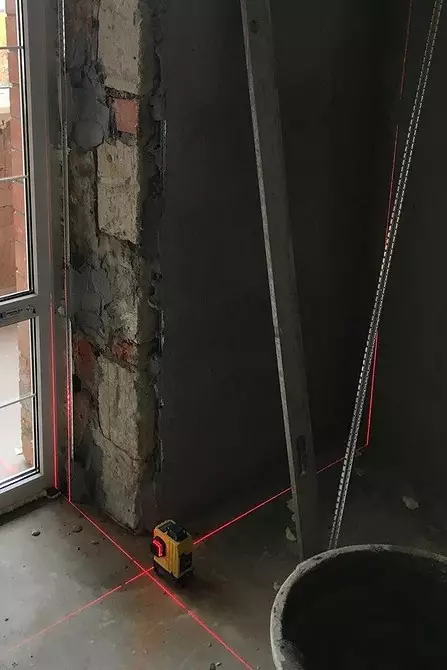
The installation of slopes on plastic windows should be made at a positive temperature. Otherwise, the solution will not be able to gain marching strength.
By perimeter, temporary guides from a metal profile are fixed on the corners. Instead, you can use smooth wooden rails. The profile is exhibited by level and installed on a dowel. The distance from it to the wall should be equal to the thickness of the plastering layer. The second profile is mounted near the window. Metal parts serve as guidelines for alignmenting the mixture. She is thrown by a trowel. When hit, it spreads and fills the voids of the base.
After laying, the solution is spilled by the rule, moving from the windowsill. The rule is applied to metal corners and slowly spend them on the surface, removing an extra array and filling the voids. When the mixture dries, the guides remove and instead of them, painted perforated corners are fixed to putty. They strengthen the surface by performing the role of fittings. From above, they are covered by another layer of plaster, the thickness of which corresponds to their height. From the outer part of the wall, the perforated edge is close to plaster with a spatula. For the creation of inner angles, a special folding spatula is used. After drying, the coating is ground and put off. Orthodiy eliminate with the help of a small emery.

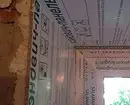
Heat insulation opening
If the opening needs to be insulated, you will need solid porous plates having a shell. Maximum thickness - 2-3 cm. For this, flat panels made of mineral wool are suitable. It does not burn and does not distinguish harmful substances. Products are attached to the glue "Liquid nails" or on the mounting foam. First, it is installed on the walls, then on the ceiling. The joints are filled with mounting foam. For deep openings, wide plates will be required. They are fixed with the help of "fungi" - dowels with wide hats that do not fall through the loose structure of the insulation. Holes are drilled through the glued panels.
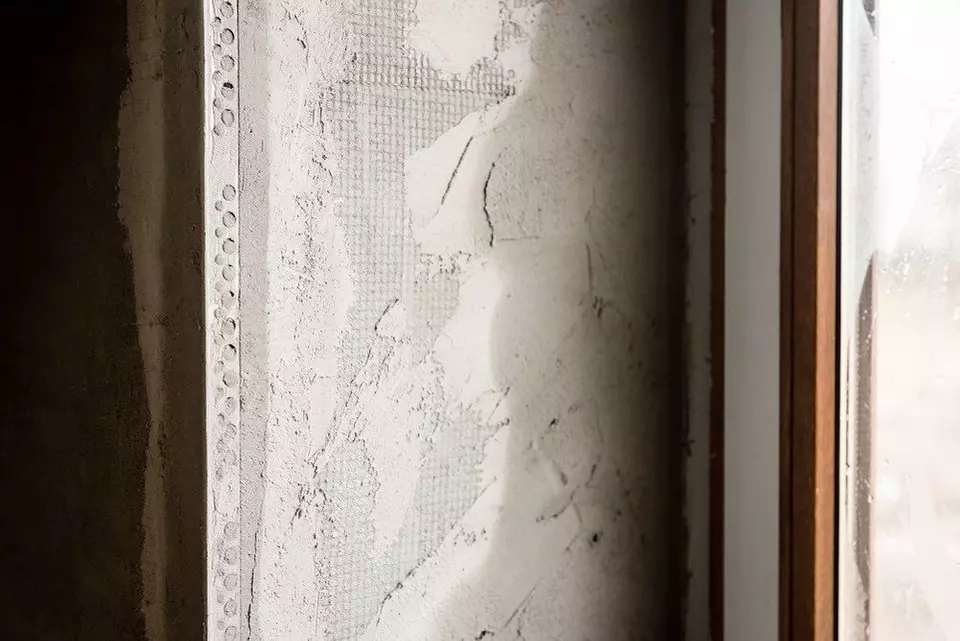
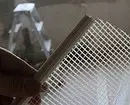
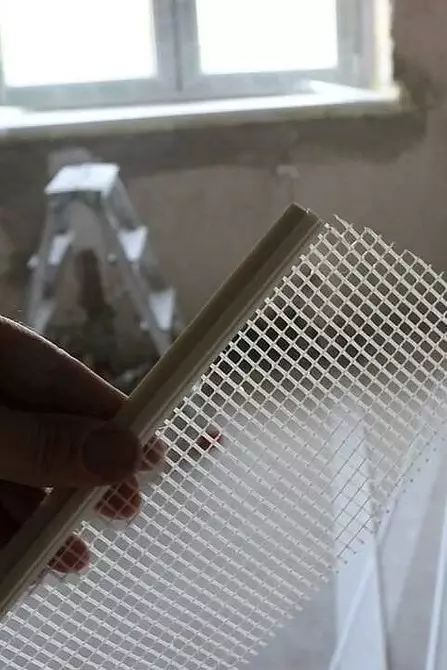
On the edges of the opening are glued with an angular profile with a painting mesh. It is pressed into the adhesive composition, the surplus is recreated or removed by the spatula. The plaster is applied on top.
Installing slopes from polymer precast details
Tools and consumables
Installation of slopes on plastic windows with their own hands begin with the preparation of the necessary materials and tools.- A sharp knife suitable for cutting PVC plates.
- A gun in which a cylinder with mounting foam is inserted.
- Roulette and ruler.
- Building level.
- Stapler with brackets.
- Wooden strap about 10 cm wide.
- Light silicone sealant - they close the seams.
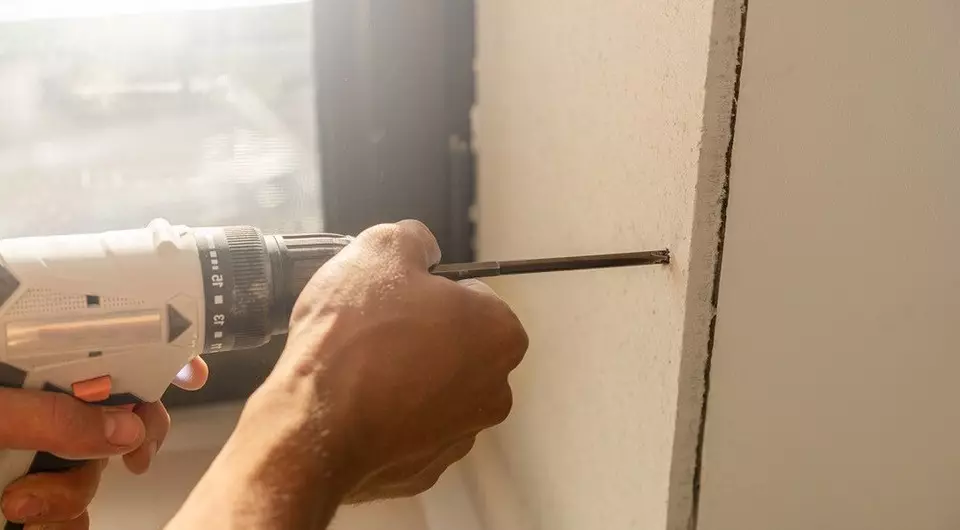
- Self-tapping screws - they are attached to the base carrying structural elements.
- Mounting foam.
- Primer with antiseptic.
Set of details
- PVC panels or lining. Their number corresponds to the area of the opening.
- Starting P-shaped rail, to which the rest of the design is attached.
- F-shaped rail.
- Corners covering the outer side perpendicular panels at the junction.
Installation of coating
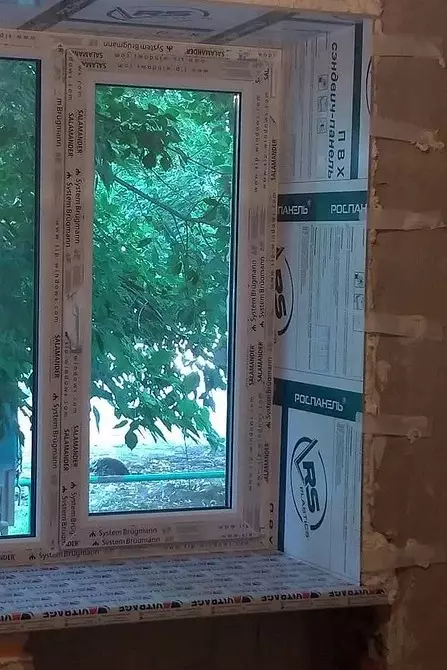
Sandwich panels with insulation inside are glued on "liquid nails" or mounting foam. The prefabricated elements are fixed by scotch until the foam is completely frozen. The tape is then removed, and the voids are filled with a solution and closed with platbands. This avoids the appearance of cold bridges transmitted by solid materials better than on loose and porous. Lining and plates without internal thermal insulation are fixed using the profile installed on the tapping screw.
To independently understand how to close the slopes after installing plastic windows or with overhaul, you must read the instructions.
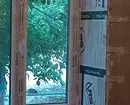
- First mark the markup. Then a wooden plank is attached to the base on the dowel. It is needed to make a connection with the wall and the ceiling more elastic and reliable. It is located on the near side removed from the glass.
- If the box is too wide, the bar of the desired sizes is installed on it.
- The starting strip is pressed against the window frame and the stapler sewn to the bruus. In the absence of a bar, the starting strip is sewn to the frame, refining it on a wooden bar.
- In places where horizontal and vertical planes are connected, the angular elements with a relief are mounted, allowing you to fix PVC plates in them.
- The F-shaped profile that holds the facing is attached to a wooden rail. So that the joints on the corners were smooth, it is cut with a stouch.
- From the coating of PVC joinery knife, parts are cut out the parts of the required size and insert into the grooves.
- To place the insulation, you need to create an additional volume with a J-profile located around the perimeter of each plane. One of his faces perpendicular to the base. The heat-insulating material is stacked between them. From above, it closes the PVC finish and snaps up with a CL-profile.
Installation of plasterboard slopes on plastic windows
The size and shape of the upper and side surface are transferred to the sheets. For cutting, a knife is used either saw with small teeth. The ends are put off to protect them from moisture. A putty is placed on the central part of the drywall and tightly apply to the installation site. To enhance the pressure, insert horizontal and vertical struts. They are removed in a day.
The edges are strengthened by painting perforated corners. They are covered with a spacion layer and smash it. After a day, the surface is processed by sandpaper.
To create a space for the insulation, the sheets are mounted on the aluminum frame.
DETAILED MANUFACTURE MANDATE UPLATION WITH GLKL View on video.