We tell how to lay a laminate with glue, doomles, kleimers and how to deal with the finished design for wall mounting.
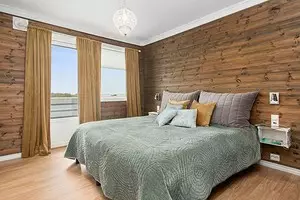

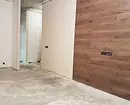
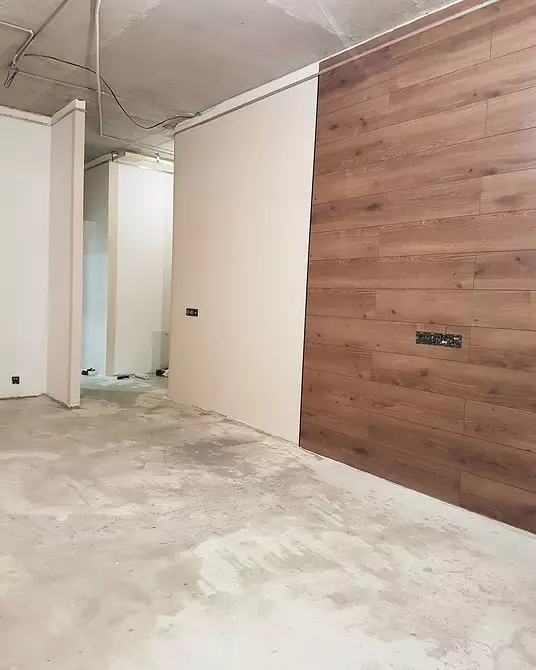
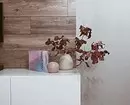
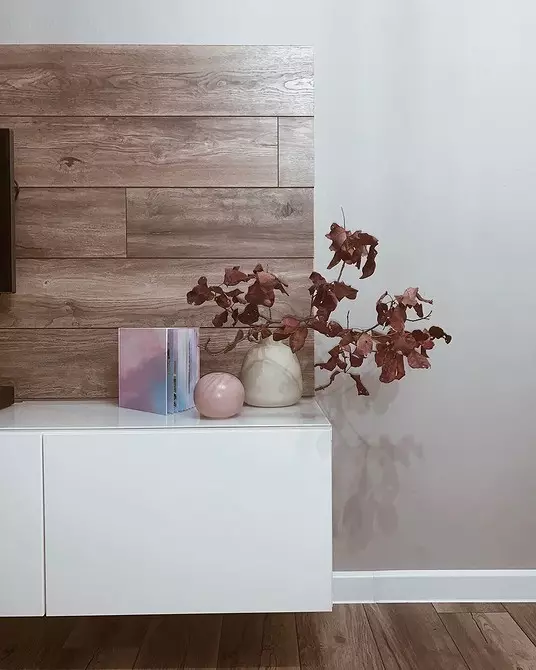
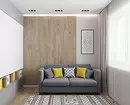
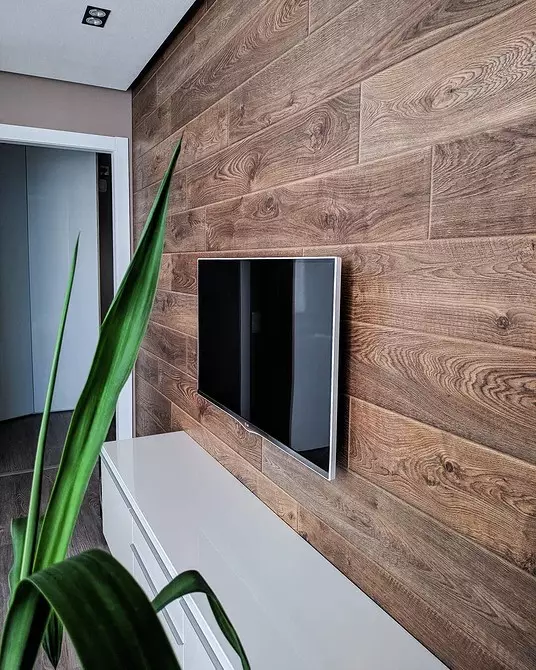
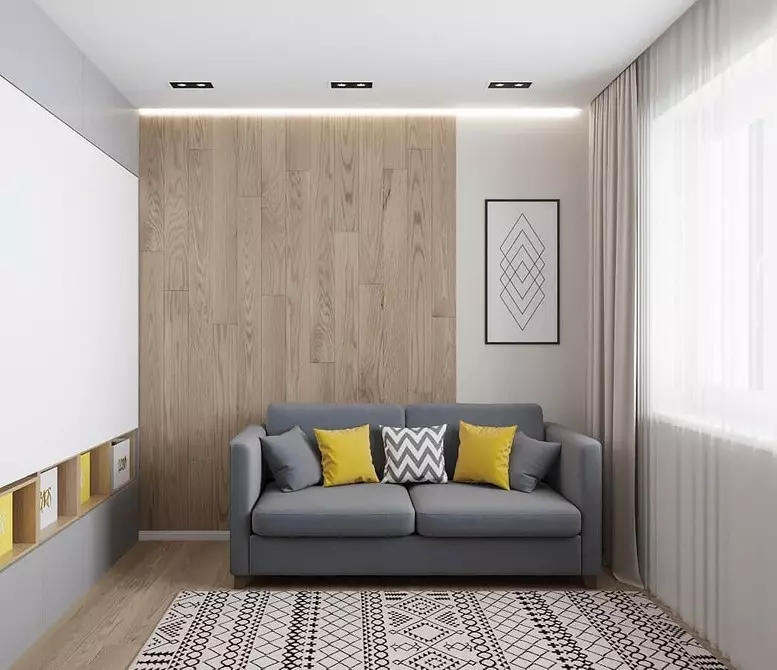
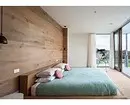
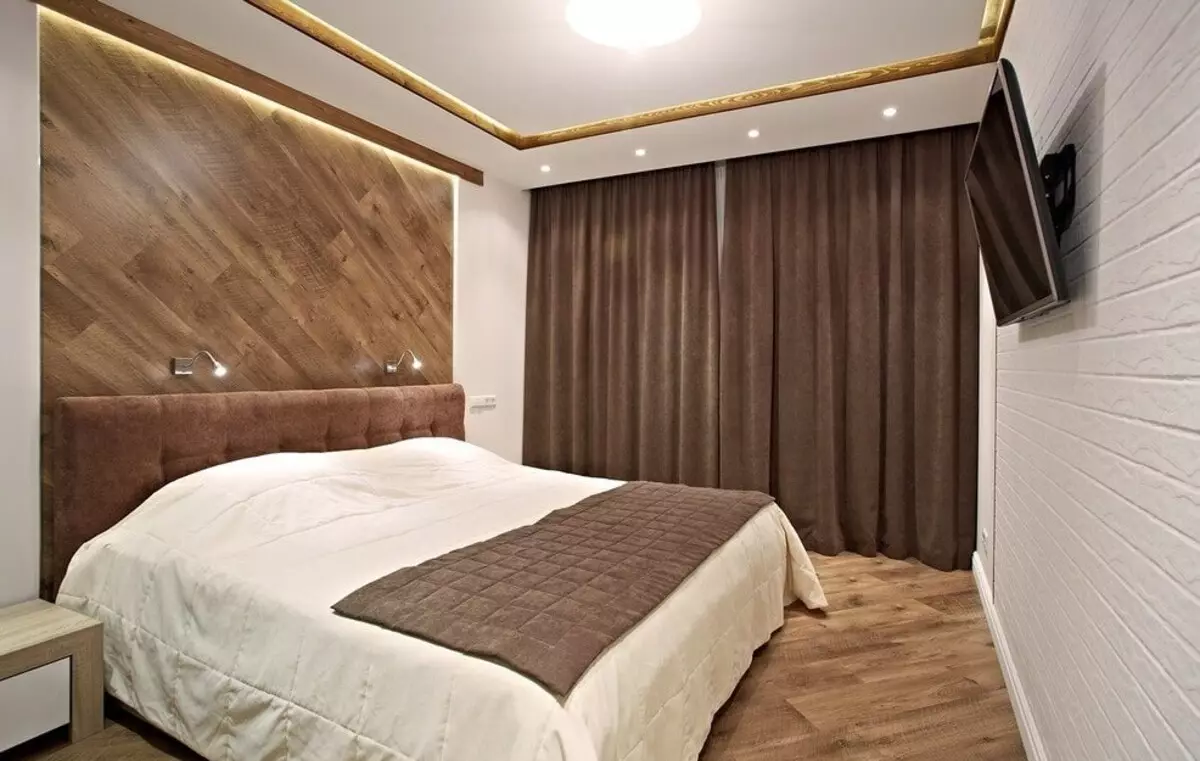
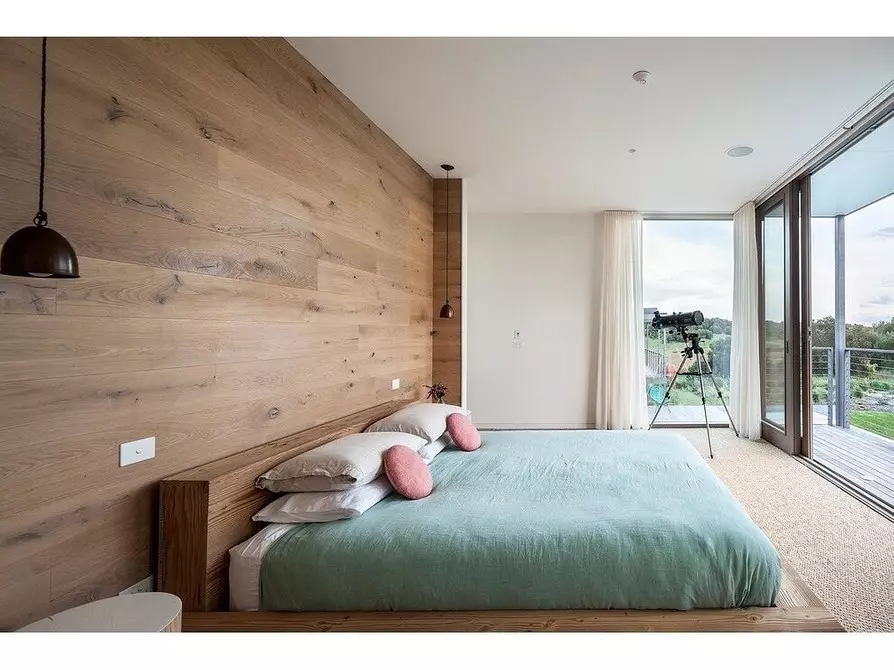
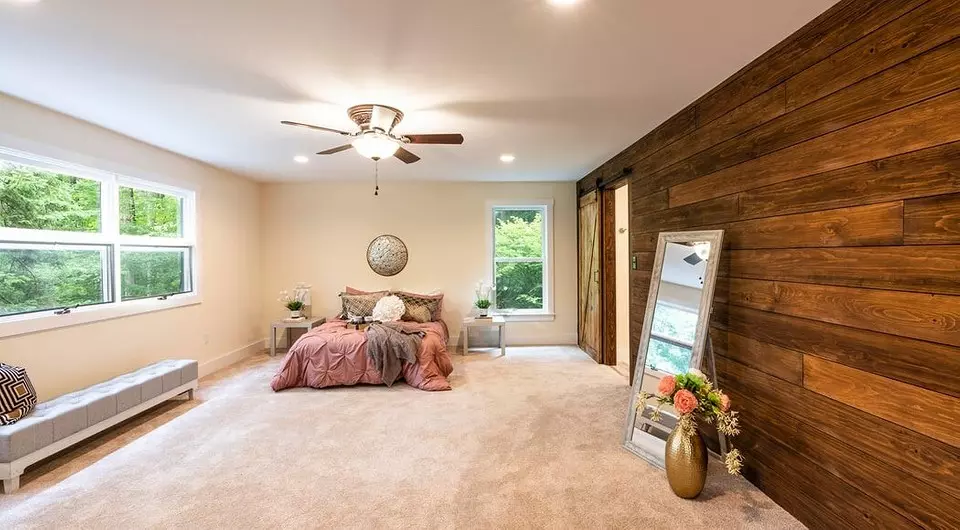
Recently, the laminated coating is used not only as a floor finish, but also as wall cladding. At the same time, its main advantages are preserved: aesthetics, practicality, durability. Consider all the ways with which laying of laminate on the wall is carried out, as well as some nuances of its choice.
All about the installation of laminate on the wall
Laminate selection- In class and manufacturer
- By type of compound
Methods of installation
- On glue
- On Cherchetku
- Using kleimers
- Installing the finished system
What a way to choose
Wall laminate selection
Class and manufacturer
Depending on the strength and level of wear resistance, laminate boards are divided into several quality classes, which can be determined by labeling.
- Figures 21-23 show that these products are designed for laying in residential areas with a small patency.
- Classes 31-33 indicate a high level of protection against abrasion, which has laminate for operation in public buildings, as well as in apartments where many people live. This coating is the most durable, and it is usually acquired for the floor finish.
When lining the wall makes sense to save, since the load on such a finish is much smaller. Accordingly, class 21-23 will suit the best. If you can not find such a product, you can choose boards with level 31.
It is believed that the dies of domestic or European production are the most reliable. But the Chinese is better not to buy, since they are characterized by a large content of harmful substances. Not bad quality of facing from the USA, but it is very expensive.

Connection type
The type of lock by which the lamellae is joined with each other, it is necessary to select depending on the installation technology.- For laying on glue, it is advisable to apply models without chamfer, that is, at all without a lock connection. On the quality of the finishes, the absence of the end mount will not affect any way, since all seams will be missed with adhesive composition. Of course, the boards with ties are stacked in this way, but they are more expensive, but there is no need for them.
- Dice with a puzzle dock (tipped) are chosen for mounting on a wooden frame. Fasten them on self-tapping screws and nails, and sometimes on self-tapping and glue. The Schip-Groove system provides dense edge adjacent, but it is desirable to work with it to have a certain experience.
- Laminate with click locks are also used when laying on guides, and more often on metal. Clone connection is the same sheets, but more complex configuration, when docking, they make a characteristic click. The use of locks of this type allows you to create an almost seamless surface. Such lamellas are fixed on the shells of cleimers and self-drawing. To better understand how these panels are fastened with each other, first try to connect several pieces on the floor.
Methods for mounting laminate on the wall
1. On the glue
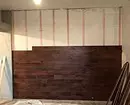
Mounting for glue is one of the most simple technologies, but it requires that the base is absolutely even. Otherwise, the glued lamellas will very quickly begin to lag behind it and eventually collapse. Therefore, it became necessary to check the surface. If there are cracks on it, potholes, chips - to make them putty, and then treat the concrete to the primer of deep penetration. In the presence of an old finish - paint or plaster - remove it, using the spatula, and only then start to align the wall. In particularly difficult cases, cover it with plasterboard, plywood or chipboard.
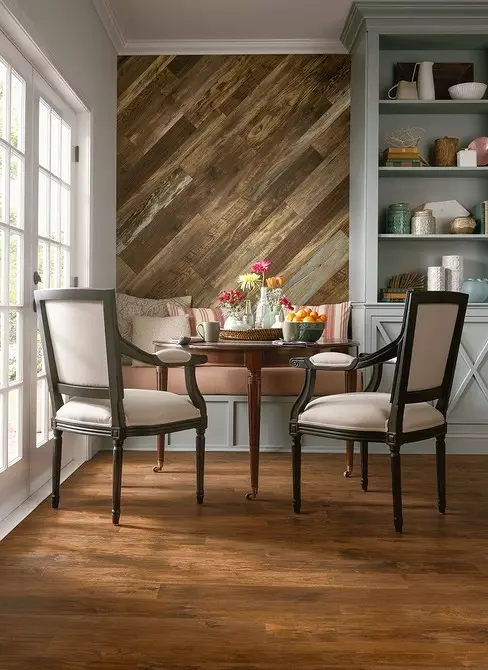
After the surface is completely ready, applying the level, apply marking lines, denoting the ranks of the future finish and space for the outlet. The adhesive method allows you to attach to leave in any order: horizontally, vertically, diagonally.
In accordance with the markup prepare and material. Cut the sheets on the one hand (if there is) on those products that will be in extreme rows, if necessary, shortened the boards. Both do with the help of a jigsaw.
For fastening the material, take polyurethane sealant or special mounting glue. Gently apply the composition on the back side of the lamella throughout the perimeter, and then in the center.
Firmly press the laminate to the base, slightly tapping with rubber xy. The extruded excess glue is removed with a rag or any other dry cloth. Similarly, glue the rest of the dies.
With horizontal installation, start laying the boards from the bottom from the floor, from left to right and further -Un. With vertical - from the upper left corner and down. If you need a diagonal drawing of the type "Christmas tree", then it is better to install, and it is very early on one side and on the other: it will be easier to control the correctness of the laying.
Working with tipped lamellas, do not forget that when installing should be preserved the possibility of their castle compound. The panel of the lower row should be fixed with the gap between them and the floor of 1-2 cm. In the future, this indentation is closed by a plinth.

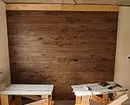
2. On the idres
If during the finish process you need to make insulation, sound insulation or pave electrical wiring, then for installation, a wooden doom is used. In addition, it will allow to align the working surface "dry" in the way, that is, without the use of liquid compositions. Build such a frame is easy.
Prepare well dried wooden bars with a width of at least 40 mm. Their quantity calculation based on the size of the wall and finishing material: the distance between two fixed rails should be half the length of the decorative dies (10-20 cm).
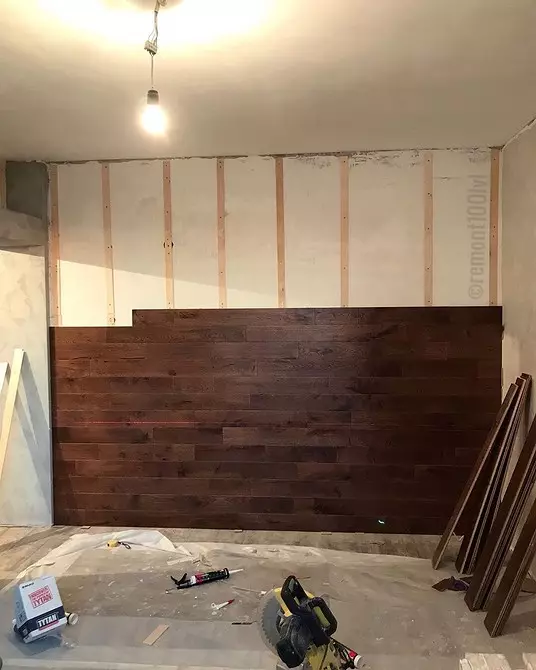
Drill the holes under the fastener, then make a markup on the wall, and then lock the bars using a dowel-nail and self-tapping screws on it. In places where the surface is not flat, to put under the wedges. When installing, check with a building level, do not allow design deviations in different directions.
It is necessary to understand in advance how to fix the laminate on the wall: horizontally or vertically. In the first case, install the guides perpendicular to the floor, in the second - in parallel to it.
For laying cladding on the frame, you will use special Self-tapping screws with a flat hat, as well as small finish nails 1.6x20 mm.
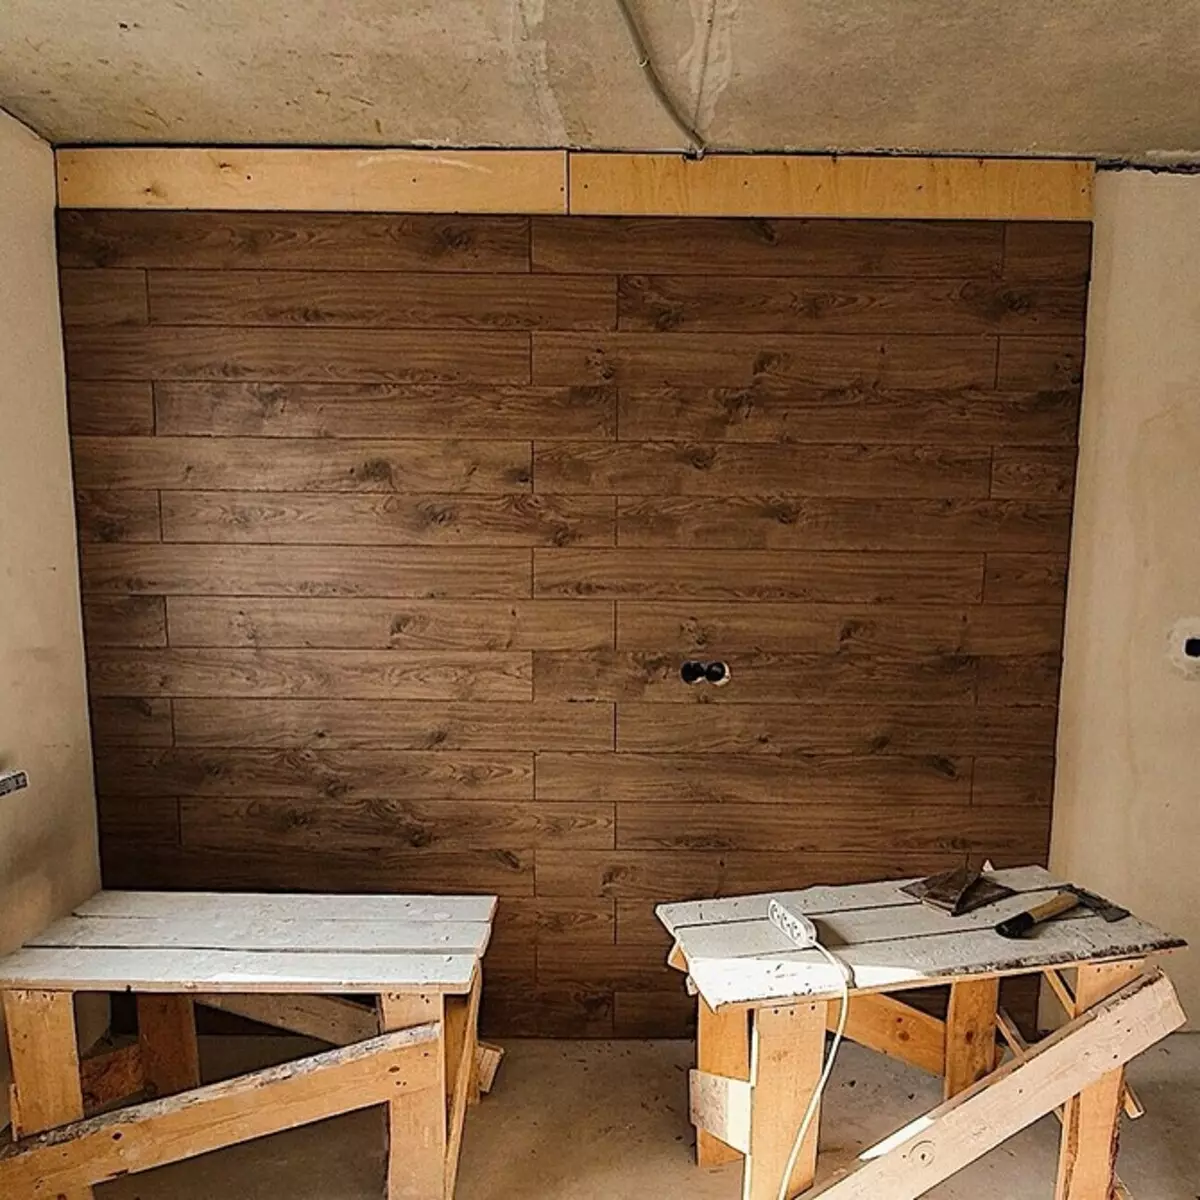
Install the lower row panel to the spacer pads up (with horizontal installation) and tighten the fastener: down - at the corners and in the center - at the very edge. Top to fix the product with cloves, scoring them into the edge of the groove at an angle of 45 degrees, similarly - along the edges and in the middle.
The next lamella is connected with just installed and securely also - self-pressing at the bottom and nails above. The dies of the top row are also poke into the lock with the bottom, and then use fasteners. You no longer need to spin the screws now, because at the bottom of the facing is kept on the lock connection.
The final stage is the design of the joints between the walls, the ceiling and trim: in these places, install plastic or aluminum moldings. Now remove the spacer wedges on the floor and attach the plinth.
3. Fastening with kleimers
Another way that allows you to mount a laminate board on the shap. Kleimer is a metal bracket with a rigid clamp and holes for fastening elements. Choosing it, look at how well he sits on the edge of the castle of your panels - it is very important that the bracket does not hang out. It happens that the kleimer cannot be fixed on the tongue due to the large thickness of the latter. In such a situation, the lock can be drifted with a chisel or a sharp knife. However, it is also impossible to overdo it in this matter, otherwise fastening just will not hold on. You can adjust the bracket, breaking it slightly with its pliers.
Planks of the first horizontal row (near the floor) to put the crest down and fix on the bottom of the self-drawing at the bottom edge. Next, put on the edge of the groove of kleimers and screw them to the rakes of the frame. In the same way, mount the following several lamellae, docked by either ends. Before final fixation, do not forget to check the evenness of a number of construction level.

Top panels Connect into the lock with the bottom and with the help of kleimers on the grooves, secure on the bruises of the root. All subsequent rows are attached similarly: the lower edge of each lamella is in the castle, and the top - on the kleimers.
A similar way is carried out and vertical laying. Start from the top left corner. Position the first swing crew to the wall. From one edge, use self-tapping screws or finishing nails, and on the other - kleimers. The next row panel is connected to the lock with the previous one and put on the brackets.
4. Installing the finished system
Some manufacturers are supplied with wall facing already ready for assembling system of fasteners, including a metal frame. Such sets are convenient because it is not necessary to separately select the elements of the root, fasteners and other materials. It is enough to explore the instructions and the question of how to put the laminate on the wall, will disappear by itself. The process of installing such solutions can be divided into several uncomplicated stages.
- Install the guides by controlling their verticality. The distance between them, as a rule, should not exceed 50 cm. The holes for fasteners are already provided, it will only be allowed to mark and drill in the deepening wall under the dowel.
- Attach the bottom board with spike down, align it on the level and fueled the cut line to remove the comb. The same operations and with other panels of the first row. Then screw the locking clamps on the back of each cropped segment in those places where the laminate is torture to the guides.
- Secure the lamella on the frame, inserting the clips into the grooves on metal slats. Hearing a ringtone, make sure the panels do not hang out. Insert the clips into the profile that are included in the kit, and press the boards from above with them.
- Dinet the top lamella with the bottom, tilting the first at an angle of about 45 degrees. Press it to the slats and also fasten with kleimers.
- Seams on vertical ends of the upper and lower segments should not coincide, otherwise the load on them will be too large. Therefore, the second row start from trimming, which remained from the first, and the following, on the contrary, with a whole panel. As a result, the joints will be located in the dispersion. Collect all the rows until the last - at the ceiling.
- The top lock on the panels of the last row is no longer useful: Cut it in the same way as it was done with the lamelters at the bottom. But the clamps for the frame will be needed again: mark their location on the back of the boards, and then screw the fastener with self-draws. Using clips, mount the panels on the guides.
- It remains to close the edges of the coating with wooden or aluminum lining. Install them from each wall and at the ceiling.
Of course, mount the system with a finished crate, whimmers and clamps is easier, but it is worth considering that the price of such a kit is much higher.
Which way to choose
Solving how to fix the laminate on the wall, you should pay attention to several criteria.
The first of them is the evenness of the wall. If the level shows that its curvature is almost equal to zero, and it is only necessary to close a few dropouts, you can safely lay the finish on glue. Surface is not perfectly smooth? In this case, it will have to plaster it (torture) or align, using a sheet material, such as plasterboard. The main thing is to mount it not to liquid nails, but on the self-tapping screw. And only after that you can mount panels on silicone. All other options imply the construction of the frame.
The second criterion is the material from which the dies are made. It is advisable to put the lining from the vinyl only on glue compositions: if you use nails or screws, the finishing surface will be significantly damaged. The same applies to the products of valuable breeds. If we put them on the tapping screw, the coating will deteriorate. A more appropriate technology - glue or kleimers.
The third important point is the presence of free time and construction skills. If you want to do everything quickly and do it yourself, and there is little experience, choose the finished wall mounting system. Even a beginner master can cope with her.