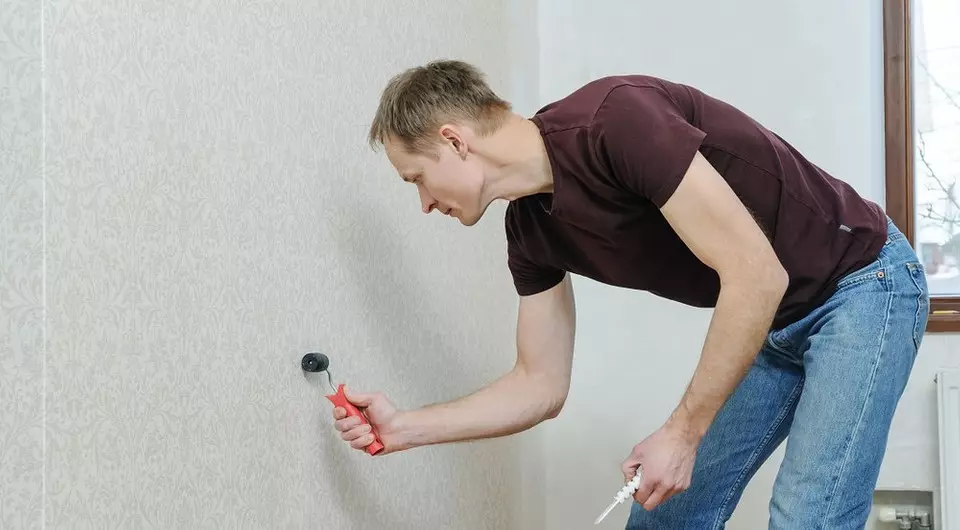
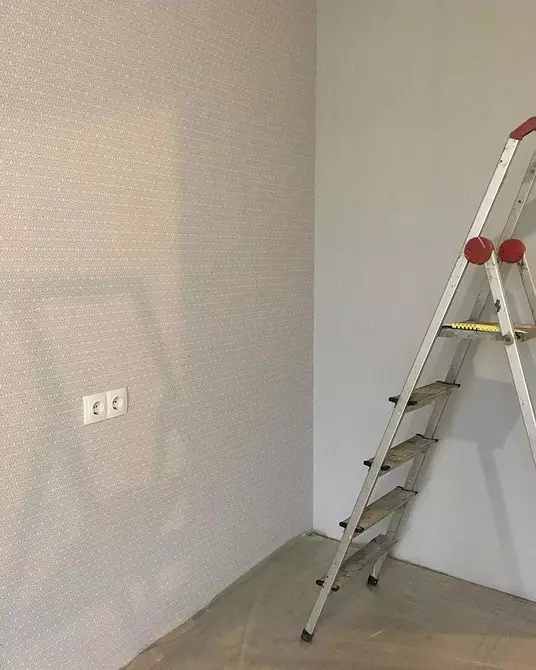
We describe in detail about the process of sticking wallpaper: from the choice of materials and tools to nuances, for example, how to punish the wallpaper of different types and shoghes them with a stretch ceiling.

Repair is troublesome and expensive business. Therefore, many are solved for independent his holding. Indeed, some finishing works are not so complex. So, if you wish, you can stick the wallpaper canvas no worse than the professionals do. We will analyze how to glue the wallpaper of different types.
All about sticking the wallpaper
What you need to cook- Instruments
- Materials
Instructions for the preparation of the foundation
- removal of old clearance
- Alignment of the surface
- Printing wall
Rules of sticking
- Where to start sticking
- glue smooth plots
- Come angles
- Windows, doors, battery
- Make imperceptible joints
Features of the gloveting of different types of materials
- paper
- Vinyl
- Fliselin
- Photo wallpaper
How new wallpaper canvases are pasted on old
Casting plasterboard
Stretch ceiling
Casting ceiling
What you need for sticking wallpaper
Before starting work, you must prepare everything you need. In fact, many special devices and means will not need. We list what is really needed.
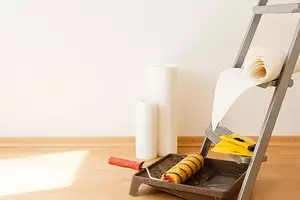
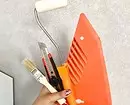
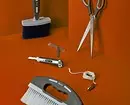
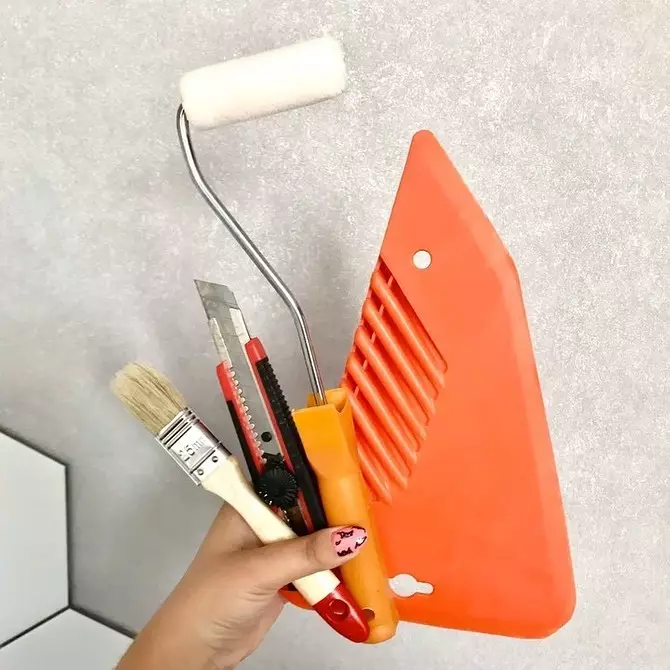
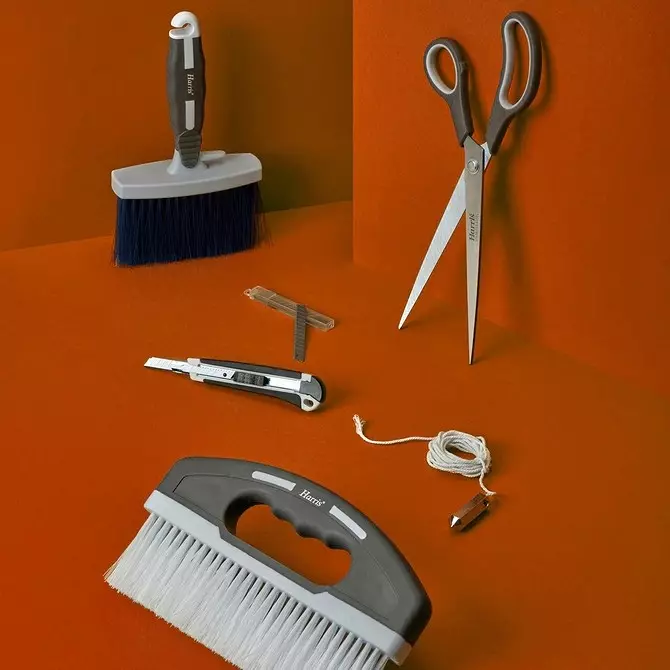
Instruments
For marking and cutting bands, a roulette or tailor centimeter will be required, a long line and pencil. Cut the material with a good sharp knife, can be kitchen or stationery. Scissors are suitable. To place the walls, a plumb will be required, an accurate vertical is determined with it. To work, a roller with an average pile for applying glue is necessary. It is possible to replace it with a brush or a large brush, as more convenient.
To smooth out the strips on the wall, different devices are used. It can be a smooth rubber roller or a plastic spatula in the form of a triangle. Both options are good, you just need to choose your own. For gluing joints, a small smooth roller is applied to which the edges of the material are pressed. It will also need a rag or a soft cloth, it is removed by excess glue and divorces from it.
Materials
We will need wallpaper canvases. There are phlizelin, paper, liquid, glassy, vinyl. They are chosen on the basis of the conditions, destination of the room where they will be. So, for bedrooms, living rooms or children's choose eco-friendly paper or fliesline. An embossed vinyl is the optimal solution in the question, what wallpaper is better glued in the kitchen or in the hallway. It is good for painting, it is appropriate in any room.
In the process of preparation, the base may require a putty or similar repair maker for climbing cracks or cracks. If the basis is uneven, you will have to put the leveling spacion layer. In this case, the gypsum mixture is usually used.
In addition, the primer needs. It improves the adhesion of the base, reduces the flow of glue. The composition is selected depending on the characteristics of the base. If necessary, choose a primer with additional properties, such as protecting against mold or fungus. The primer is produced in the form of a powder, a liquid concentrate and a solution ready for use.
To stick the finish, the adhesive composition will be required. To choose which glue is better to glue the wallpaper, it is necessary to consider the type of cloth. So, for paper, any, even the most inexpensive, composition, for vinyl need a mastic for heavy finishing. On the roll there is always a recommendation for the use of glue. It should not be ignored.
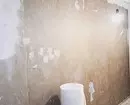
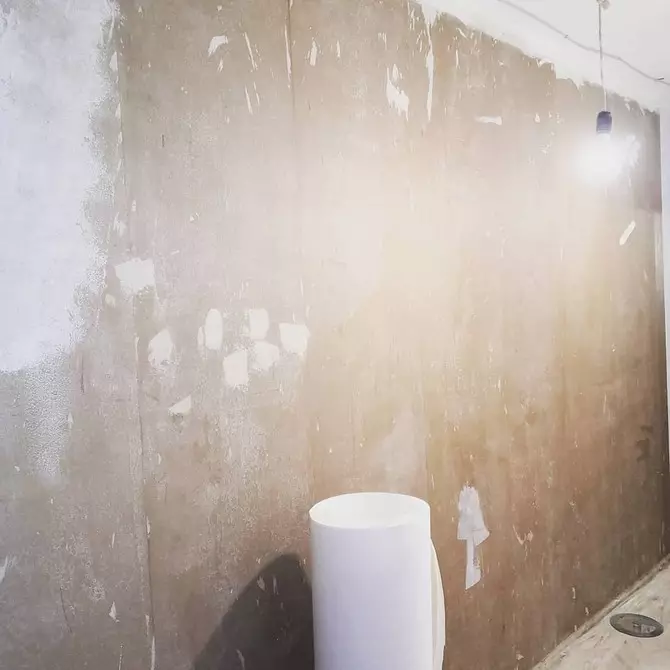
Preparation of walls to shook wallpaper: Step-by-step instruction
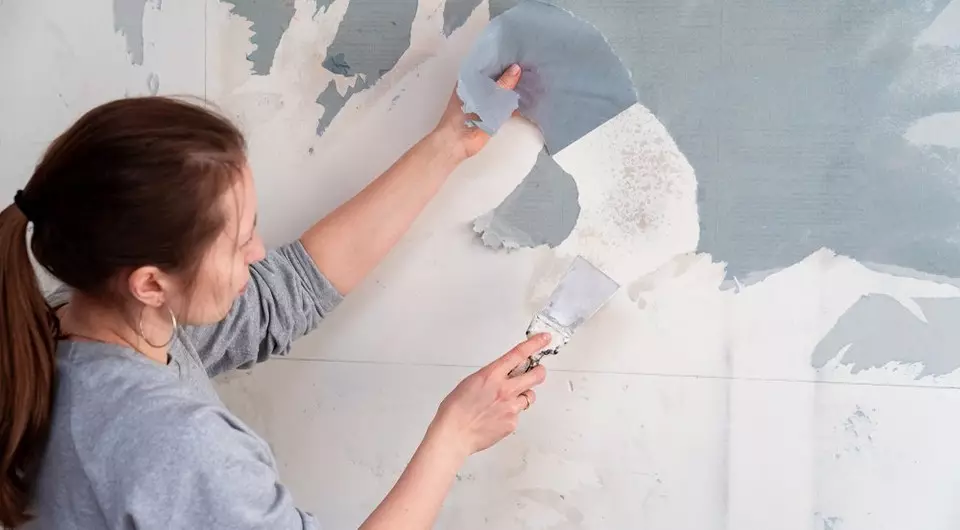
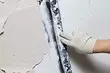
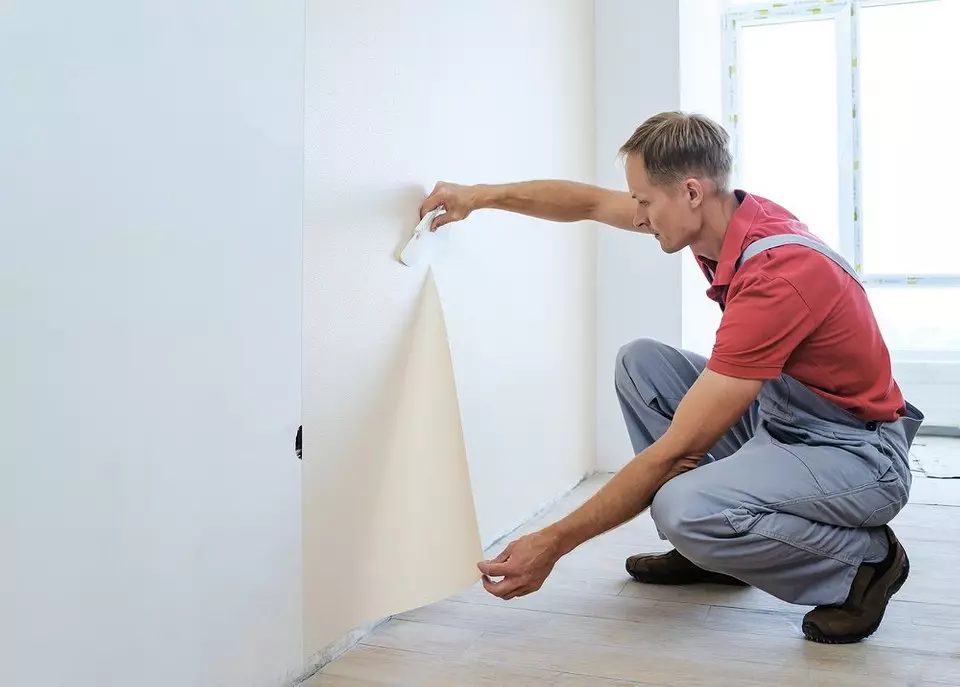
The high-quality sticking of the new finish is impossible without proper surface preparation. The wall must be aligned, clean and dry. Decorative coating will not hide large defects, they will be very noticeable. In addition, the untreated surface is worse than the finish, absorbs a large amount of adhesive solution, which increases its consumption. We gradually wonder how and what to treat the walls before sticking wallpaper.Removal of old coating
To begin with, the foundation is completely cleaned. Technology depends on the type of registration. Old decoration is completely removed. So that it was easier to do, the finish is pre-moisturized from the spray with warm water. To accelerate the process of softening the adhesive, the chips of the economic soap is added to it, 9% vinegar, linen air conditioner or special preparation. The spacious stripes are approaching the spatula and remove. The remains are swollen and removed.
Washing irons or whitewash. Oil and similar paints are cleaned with different ways. The cheapest and time-consuming is mechanical. He assumes scraping the colorful layer. Do it manually with the help of hammer and chisels or with the use of grinders, perforator or drills with special forces. You can use a special wash, which dissolves the old paint, or thermal method. In the latter case, the colorful layer is heated by a construction hairdryer, then removed from the base.
The plastered wall is carefully examined for cracks and other defects. It is desirable to catch up to identify areas with peeling coating. They must be cleaned. After all the fragments are removed, the condition of the surface is estimated. If there are many defects, the old plaster is completely cleaned.
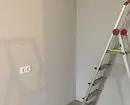
Alignment of walls
Alignment technology depends on the state of the surface. If there are cracks on it, begin with their embezzlement. Do it.
- We will expand the gap. To do this, remove the material from the edges with a screwdriver or spatula, we make them more gentle. So that a triangle has turned out in the context. For deep cracks, incision is allowed in the form of a trapezium.
- Clean the embanking gap from dust and fragments. To do this, use a vacuum cleaner or soft brush.
- We process the crack with a primer or gypsum milk. Let dry.
- We put the repair makeup in the slot, grow it, let it open.
- We apply over the seam of sulfayka, closing it with a putty, spread the spatula. We give the solution to open.
- Slifting the surface of sandpaper with grain 100-150.
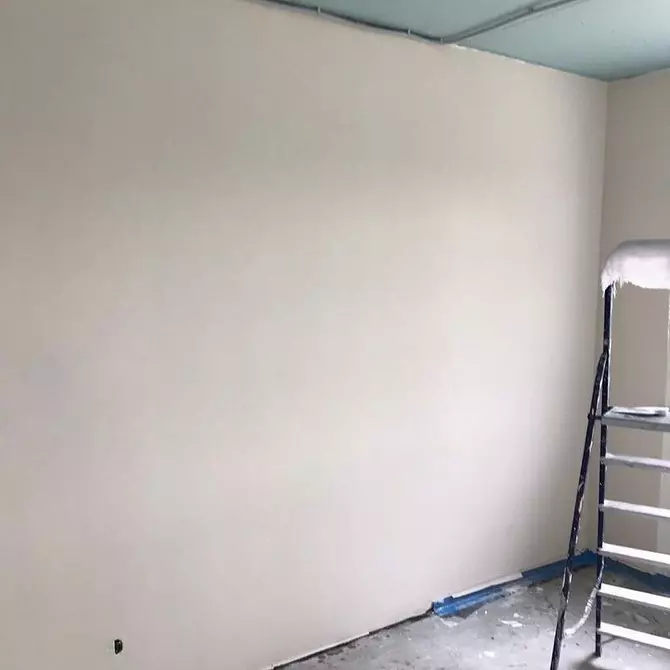
Large potholes and chips are close in the same way. After elimination of defects, it is proceeded to align. Choose than to level the walls before sticking wallpaper, it is necessary to consider the state of the base. If the irregularities are small, there will be a fairly finish putty.
If the irregularities are significant, they are corrected by the plastering mixture. For this, the beacons for which the solution is placed. After drying it, the final alignment is carried out with a putty mixture. With it, you can remove the smallest irregularities. Before applying plaster or putty, the base must be primed and let it dry.
You can smooth the walls of plasterboard sheets. With minor drops, up to 30-40 mm, GLC is glued to the base. In other cases, it is made of metal-mill, on which plasterboard is fixed. In any options, sheets are set up in order to get the right plane. The seams between the plates and dents from fasteners are sweeping. A sump is superimposed on the cakes, it is closed with a mixture, then sandwiched.

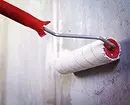
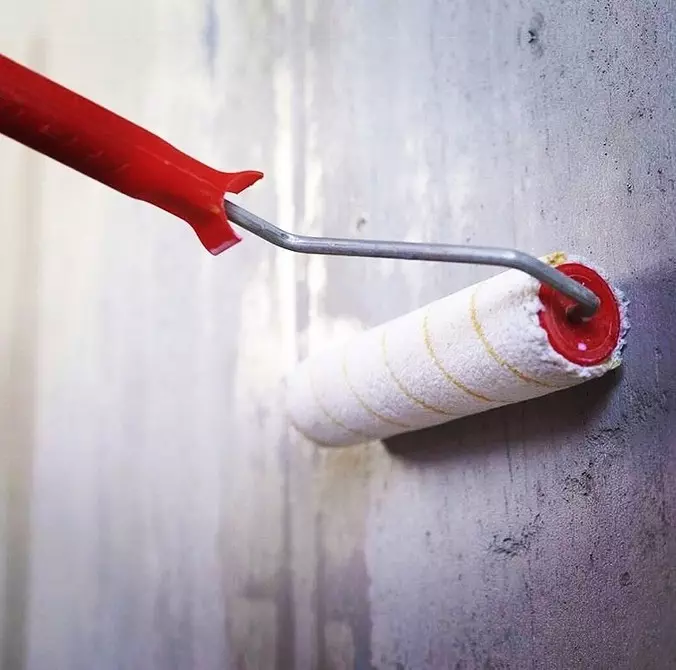
How to Priminate Walls Before Wallpaper Wallpaper
Not everyone understands whether it is necessary to grind the walls before sticking wallpaper. However, this is a necessary operation. The primer closes the pores of the base, which does not allow it to absorb the adhesive composition, significantly increasing its consumption. In addition, after drying, the primer forms a film that increases the adhesion of materials. Therefore, the adhesion and wall clutch improves. The primer improves the quality of the base, preventing the formation of cracks and other defects.The primer is selected under the type of base. For example, for concrete and for plaster putty, various compositions are needed.
Step-by-step instructions for applying primer
- Clean the base from dust and pollution.
- We are preparing primer to work. If it is a powder or concentrate that weigh water according to the manufacturer's instructions.
- We apply the first rough layer of soil. We do it with a roller with a medium pile length. In hard-to-reach places we use a brush.
- Let the rough layer completely dry.
- We apply the second layer of the soil in the same way, we leave until complete drying.
Usually two layers of primer is enough. But if the instructions for the composition says that you need more, fulfill these recommendations.

Basic Fragrance Flake Rules
Sticking wobbies, no matter what they are manufactured from which are made according to certain rules. We collected the most important. We will analyze how to glue wallpaper novice masters.Where to start sticking the wallpaper in the room
In the question, from where to start glue the wallpaper in the room, you can not act at will. It is wrong if you have to work with the simplex. This is the name of a single-layer paper finish. The joints of such strips are pretty noticeable. Therefore, sticking starts from the window, move from it in different directions. The remaining types of canvas can be glued similarly or use other schemes. For example, "circular". In this case, the strips are glued along the perimeter of the room, with returning to the place from which the work began.
The circuit scheme assumes that the first sheet can be glued almost anywhere. However, these sections are most often choosing.
- Window. This option is traditionally used.
- Angle. Choose anyone. Be sure to carry out a vertical. This is a guide guide.
- A door. Door box will serve as a vertical reference.
Sometimes come differently. Conduct vertical on any segment of the wall. From this place begins to stick. This option is good when there is confidence that the drawing exactly coincides. But it turns out not always. Therefore, the optimal solution will be sticking from the corner, windows or doors. Here, a small incompression will not be so noticeable.
Application of glue and sticking wallpapers on flat sections of the wall
Sticking technology for different types of canvas is slightly different. We have prepared a general instruction on sticking wallpapers with your own hands.
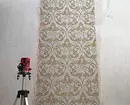
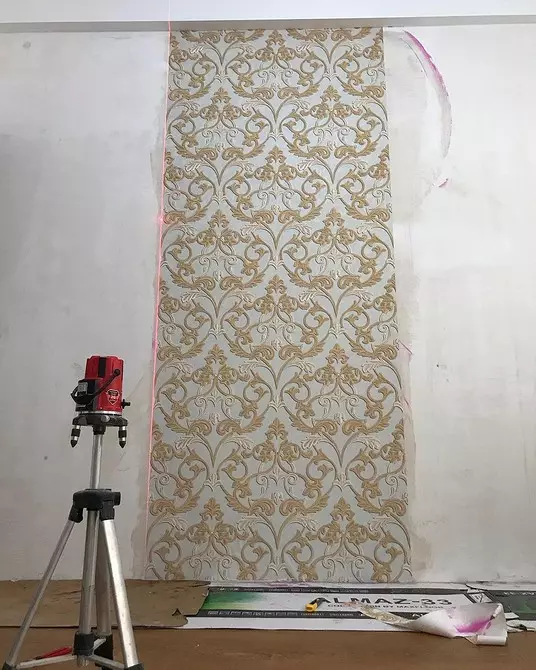
- We plan on the basis of the vertical on which we will navigate. For accurate marking use a plumb.
- Measure the height of the wall. Cut the first strip. Its height should be equal to the measurement obtained, but it is better to leave a small allowance of 5-6 cm.
- We separate the rest of the canvas, we combine the drawing, laying them on the floor.
- We prepare the glue composition. We do it exactly according to the instructions on its packaging.
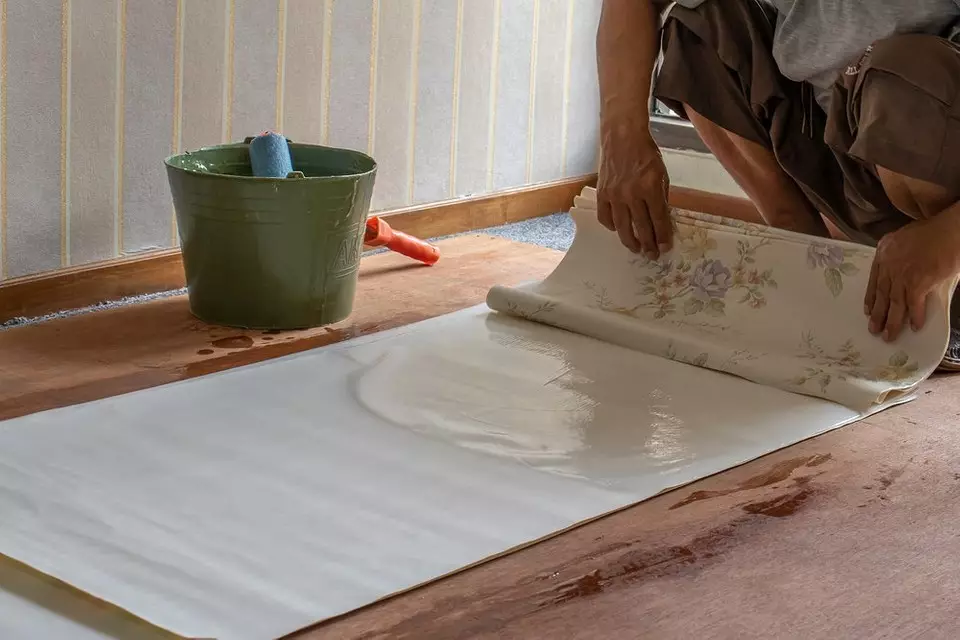
- We lay down the band on the floor. We wash the glue half of the sheet on the reverse side. It is convenient to smear the roller or a brush. Edges with a smear brush. We put the smeared strip in half, without fixing the fold. Similarly, we do with the second half of the sheet.
- We leave the intermitted material for impregnation. For different types of cloth, impregnation time is different, it must be specified on the marking on the packaging. On average, a paper single-layer simplex is soaked in 1-2 minutes, a dense duplex for 7-8 minutes, vinyl for 8-10 minutes. The glue is not applied to the fliesline, it is superimposed on the wall.
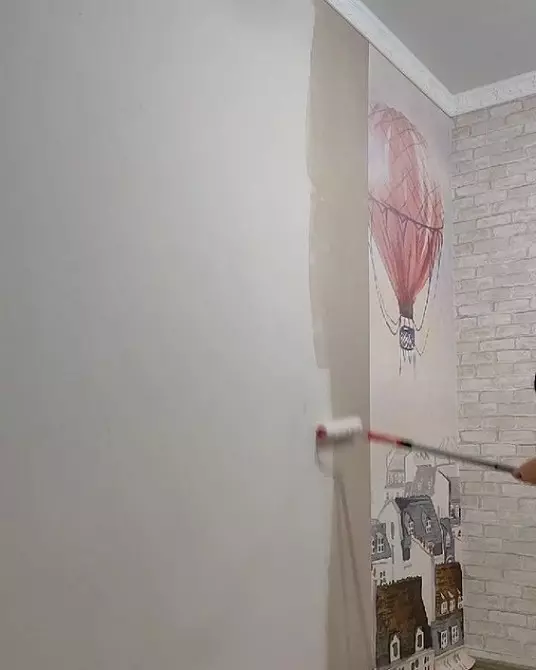
- Apply a layer of adhesive composition. The glue band should be slightly larger in size than that it is planned to glue.
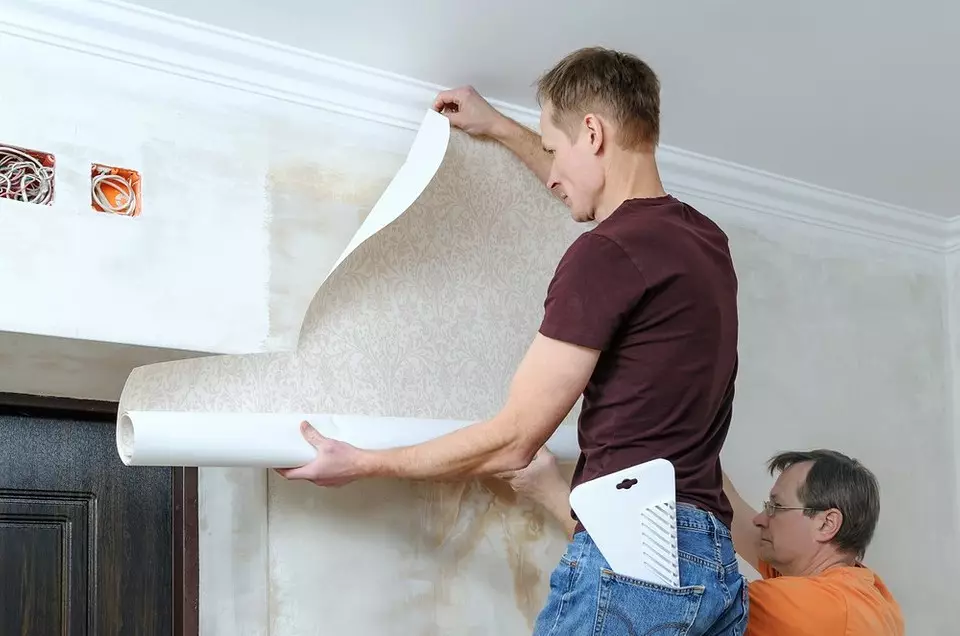
- We reveal the top half of the sheet, not touching the lowest bottom. We assign it to the base, applying one edge to the vertical markup. Click the strip to the wall so that it keeps on the spot.
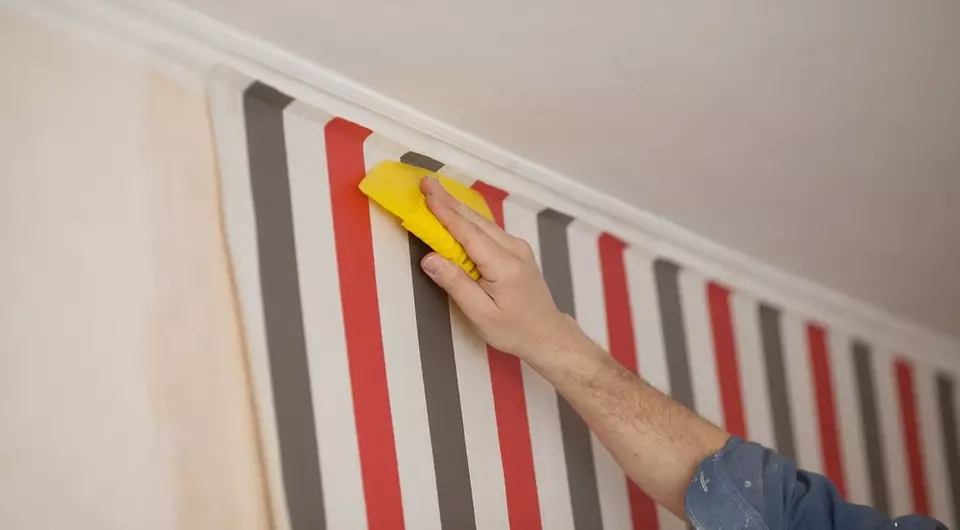
- We grind the lower part. Check that it does not shift. We smooth the web with a spatula or roller movements in the direction from the middle to the edges or from top to bottom. There should be no air bubbles. A sharp knife cut the excess material from above and below.
The remaining strips are glued similarly. Important moment. Before starting the room, the windows are closed so that there is no draft. Otherwise, the decor will break down. The way, however, it is impossible to open windows after sticking wallpapers, depends on the state of the finish. When it is completely dry and placed, you can ventilate the room. On average, it should remain closed day.
How to stick the wallpaper in the corners
The first rule cannot be accompanied by an angle of a whole strip. The curvature of the angle disrupts its geometry, it turns out the chances and dies. Correctly make a joint. Cutting is carried out so that a sheet of 20-30 mm per angle of 20-30 mm accounted for one wall, on the second without such an allowance. First passes a strip with a switch, then the second is superimposed on it. Blinds glued.
Starting under trimming. Take a long metal ruler, apply it to the middle of the seam, pressed. The sharp knife is performed by a solid incision along the entire length. Gently remove trimming from below and on top. Rolled the resulting joint roller. If it is poorly glued, carefully woven with an adhesive composition. According to this technology, external, and internal angles are saved.

How to glue the wallpaper near the windows, doors and batteries
These are the most problematic sections when sticking. The greatest difficulty is the design of window and door-bodies. We give the instruction how to do everything right.
- Glue canvas above the opening.
- I kill it with a nearby strip.
- Tightly press the strip to the base.
- Cut the wallpaper sheet diagonally towards the corner of the platband.
- Cut the protruding part of the wallpaper.
- The remainder of the material is filled with a subtle metal spatula. Sometimes it is not possible to start the material under the platband. Then it is simply cut.
Qualitatively accumulate space behind the battery is quite difficult. It is necessary to start with measurements to carve out the fragment exactly in size. Studies are scheduled, where radiator fasteners are located. Vertical cuts are performed. Then the pattern and wall are flawed. The impregnated canvas is applied to the base, spread all the folds, pressed the rag.
How to make joints between wallpaper imperceptible
High-quality finishes are invisible. It is not easy to achieve this, but you can. For this, sheets are gluing close to each other. So that there was not even a small adhesion. It should be remembered that the wet strips are stretched. After drying, they are compressed, the visible seam is obtained. Therefore, they need to be slightly stretched so that the dried finish is not separated. If, despite all the efforts, the base is still visible in the seam, it can be filled with adjusting paint to the tone of the design.
If the canvas glued with the allen, it is cut on the junction. For this, there are 8-10 hours waiting for the canvas to dealt with, but not yet dry. Then they take a metal ruler, apply on the seam. A sharp knife cuts over both layers from top to bottom, cutting trimming.
Another reason for the visible joint is the poor global quality. In severe vinyl or duplex, glue the edges difficult. There are even special adhesive compounds for such sites. They are missing the edges, then pressed them to the base and rolled the small roller.
Technology sticking wallpaper of different types
We have described the overall technology of sticking of woeful cloths. It will be somewhat different depending on the type of design. We will analyze the nuances of working with each of them.How to glue paper wallpaper
Paper called different materials. This is a single-layer simplex and multi-layer duplex. When sticking, they behave differently. Simplex is very thin. It easily turns, stretches and spreads. Therefore, it is given to impregnation of quite a bit of time, no more than 2-3 minutes. You can stick immediately. The thin material cannot be glued. After drying, he will disappear. Therefore, he is glued with a small overlay.
Duplex is tight, it does not spread and does not break. It is necessarily impregnated with adhesive mass, otherwise it will be bad for the basis. The splashing duplex plastic, stretches slightly, is well superimposed on the base. It is glued only to jack, without adhesion. Otherwise, the plots of connections will be very noticeable.
Poking vinyl wallpaper
Vinyl gluing technology determines the composition of the substrate. This layer may be paper or phliselin. First we will analyze how to glue vinyl wallpaper on a paper basis. First you need to choose the right glue. For heavy finishing, choose one composition for easy. In the process of gluing, the material behaves just like a duplex. It does not twist, it does not break, stretches a little. It is necessarily impregnated with adhesive weight for 7-10 minutes. Glue strips of jack.
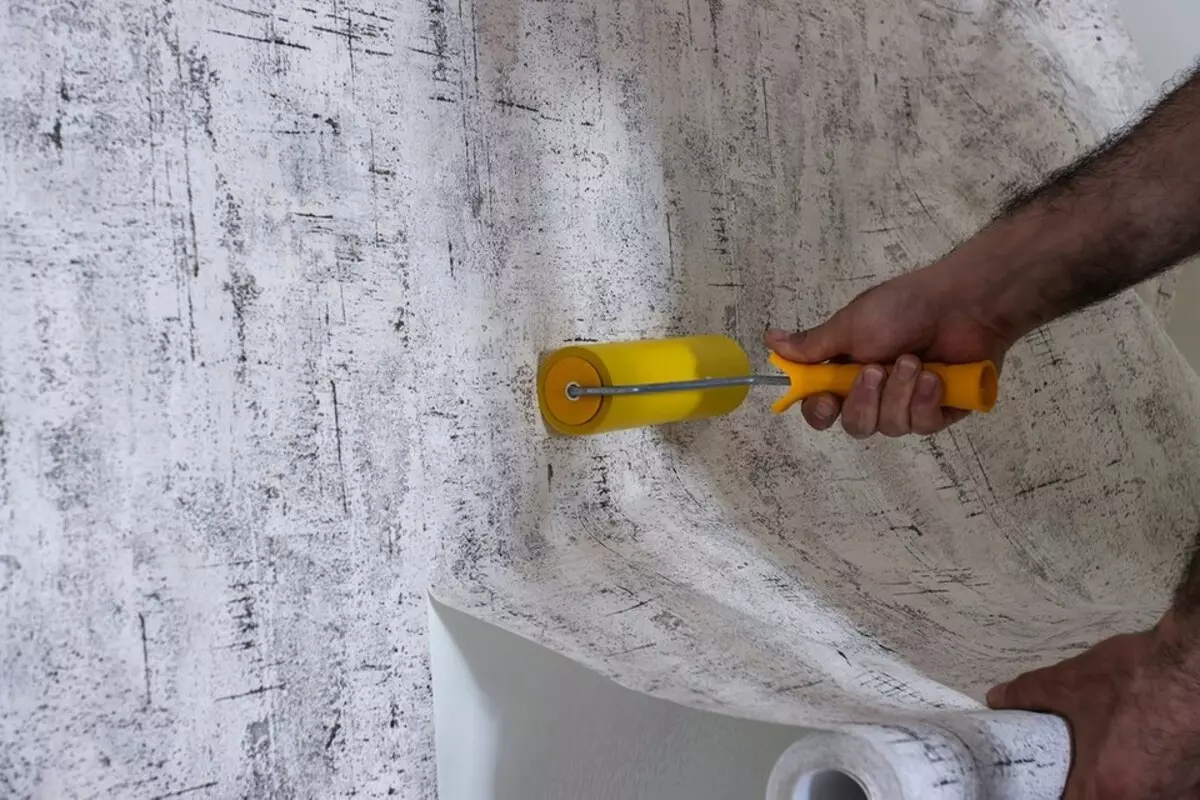
Vinyl on the phlizelin substrate is glued differently. It is also light and heavy that affects the choice of glue. Wet flieseline stretches very well, and after drying it is stretched. Therefore, it is capable of hiding small base defects. The glue is applied only on the wall. The material is applied to the base, pressed and straightens. Special attention is paid to the joints. They are quite difficult to lay out exactly, since the material is stretched. Fall is unacceptable.
How to beat flieslinic wallpaper
For work, only special glue is chosen. Distinguish heavy and light fluiseline canvas. This is also taken into account when choosing a composition. It is impossible to use drugs where there is no mark "for Fliselina". This is due to the fact that the mass is applied only on the wall. The dry material is applied to the base, pressed and straightens.
Flizelin design is most often produced in the form of wide bands, and 100 cm. We will specify how to glue such meter wallpaper. It is better to do this with an assistant, because it is uncomfortable to hold and straighten a wide decor. Otherwise, everything is similar to working with narrow material. File Fliselin - High Plasticity. Wet it stretches greatly. Therefore, making the joints, it is necessary to monitor that the stretched leaf does not enter the next one.
Glue photo wallpaper
To properly glue photo wallpapers, it is necessary to determine what type they relate. Paper and fliseline varieties are produced. All the features of their sticking are the same as the usual materials of this type. Before sticking, markup is required. It is necessary to accurately determine the location of the photo wallpaper on the ground, then outline the vertical and horizontal, where the finish will begin.
Wall murals can consist of one fragment or several elements. Usually their number is multiple of four. If the contour of the elements has a white kant, it is cut before starting work. Glue from the outlined angle, accurately combining it with a fragment of the decor. The following elements are glued with accurate pattern combination. The seams should not be seen.
The preparation of the wall under the photo wall should be very high quality. Especially if it is planned to glue paper clearance. It is very subtle, does not hide even the slightest defects of the foundation. However, the question is, it is possible to glue the photo wallpaper on the wallpaper, sometimes give an affirmative answer. It is possible if light fliseline is glued. It is less demanding on the quality of the foundation. But at the same time, the old finish should be well held in place, not to lag behind and not peel. Another important point is its coloring. Bright colors can be noticeable through new design.
How to break the wallpaper on the wallpaper
This is not the best solution, however, in some cases it is possible. So, if the old strips are thin and well glued to the base, you can glue new on top of them. But then you need to choose the right glue. It should be high-quality and prepared exactly according to the instructions. This depends on the reliability of fixing the new decor. And another advice. In order not to spoil the coating with color divorces, you need to test the dyes of the old canvas.
For this, the wet sponge is spent several times on it. If the pigment is unstable, color stripes will appear. Then before sticking, it is necessary to wash and dry the base or process with a special composition that prevents the appearance of spots. Do not try to stick the decor over vinyl or any relief coverage. In the first case, the glue is not absorbed into a dense film, in the second, all the irregularities of the foundation commemorate on the new design.
How to glue wallpaper on plasterboard
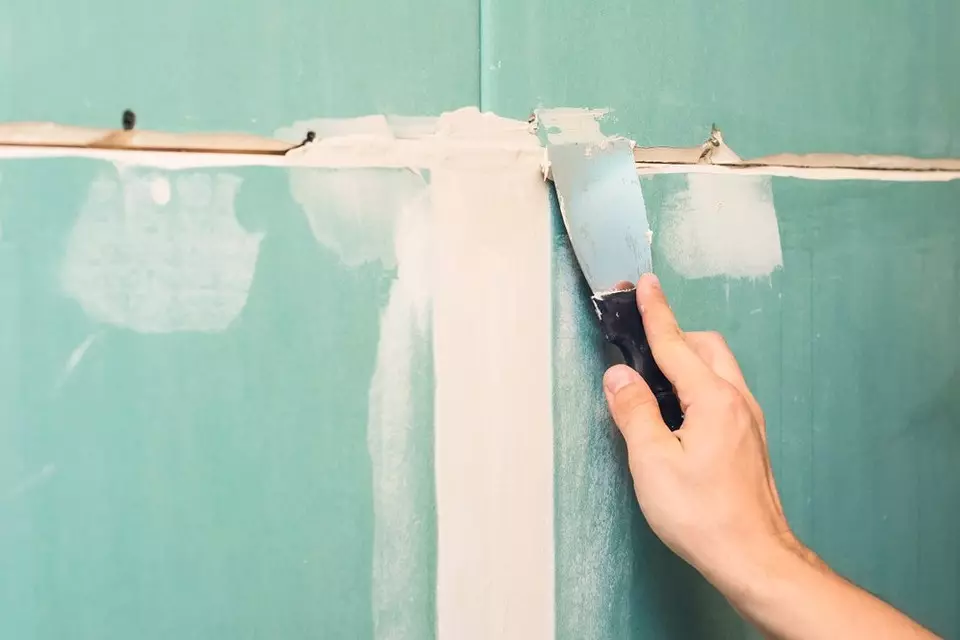
GLC is a good basis for any type of woeful cloths. They are glued without any problems. There are several nuances in the preparation of plasterboard to pasting. Committed to seal all seams between the plates. They are scrupped with putty, they put the sickle, align and are cleaned after the hole. In addition, all dents from fasteners are closed. It should not be twisted or not completely recessed screws.
The first takes and put a new fastener at a distance of 50 mm. The second is completely twisted. Only after that we close dents with putty, they give to open and cleaned. So get a perfectly smooth surface. Therefore, this technology is usually used in the instructions, how to glue the wallpaper for painting, where it is especially important to get a flat base.
Plasterboard is preferably sharpened to prevent cardboard bonding and wall cloth. Otherwise, with the subsequent removal of the design it will not be possible to remove without partial destruction of HCL. The finish putty is superimposed by one layer. Alternatively, you can use several layers of primer. But it does not "work" for fluiseline or vinyl, only for thin paper.
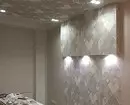
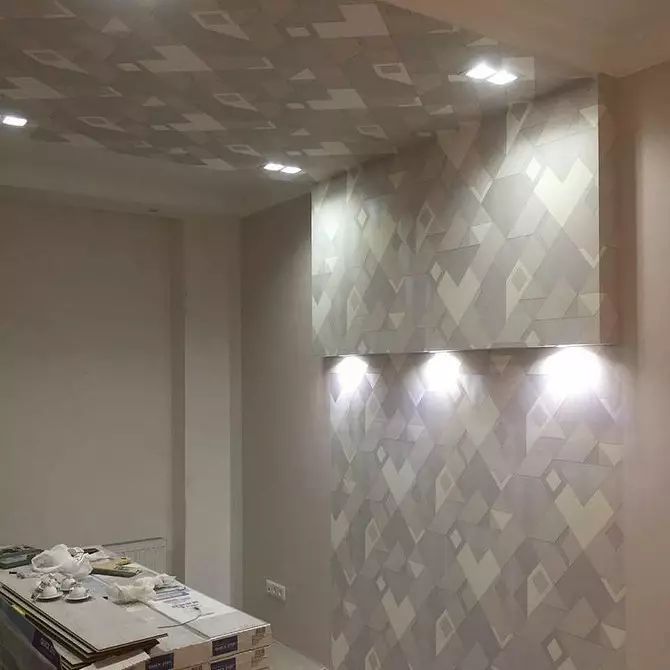
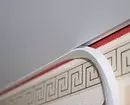
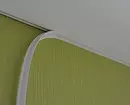
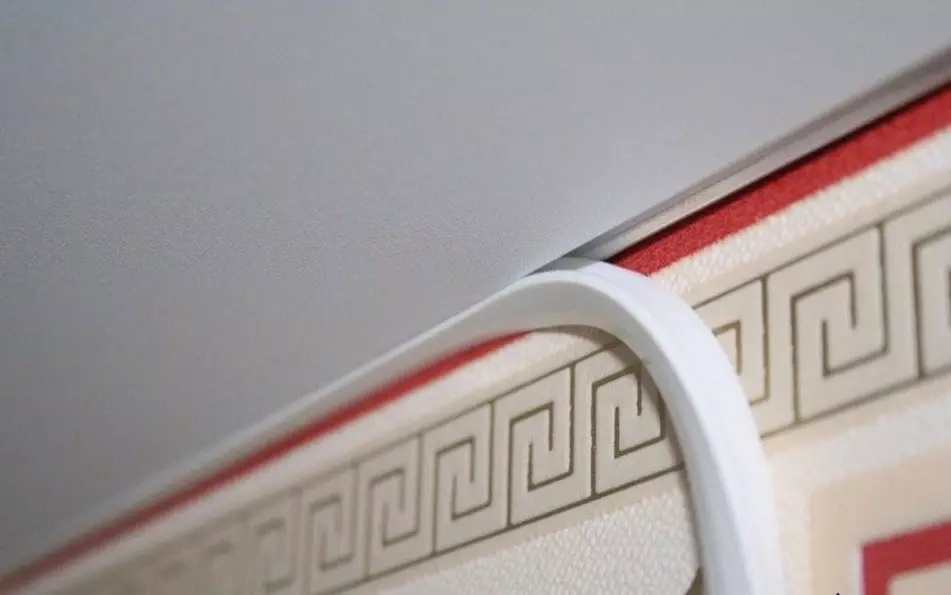
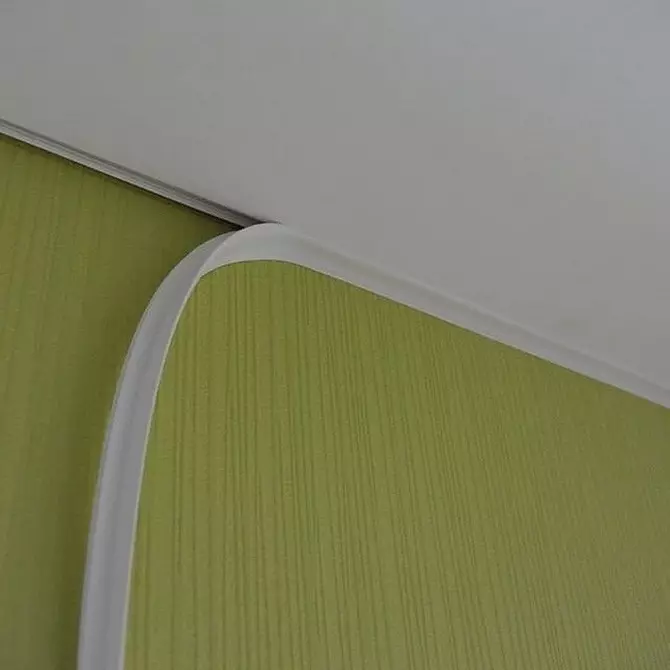
How to glue wallpaper with stretch ceiling
The main difficulty is to maintain the integrity of the stretched film. Considering that this is a rather thin material, all work should be done very carefully. Start from dismantling the plinth closing the mounting seams of the ceiling. It is pushed by a flat tool and removed from the grooves. Then it will be possible to make a bulk coating for fastening and close the ugly seam plinth.
At the edges of the stretch ceiling pasted with greasy tape to protect the surface from random ingress of primer or glue. The blending technology is selected in accordance with the type of material. In any case, it is undesirable to trim the top of the canvas, to avoid damage and cuts on the ceiling. Therefore, the strips are adjusted in the drawing and accurately clip on the floor. After the pasteled sheets are dried, remove the greasy tape and put the plinths in place. If there are no, you can buy and install special cartel for stretch ceilings. They mask seams well.
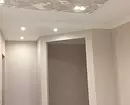
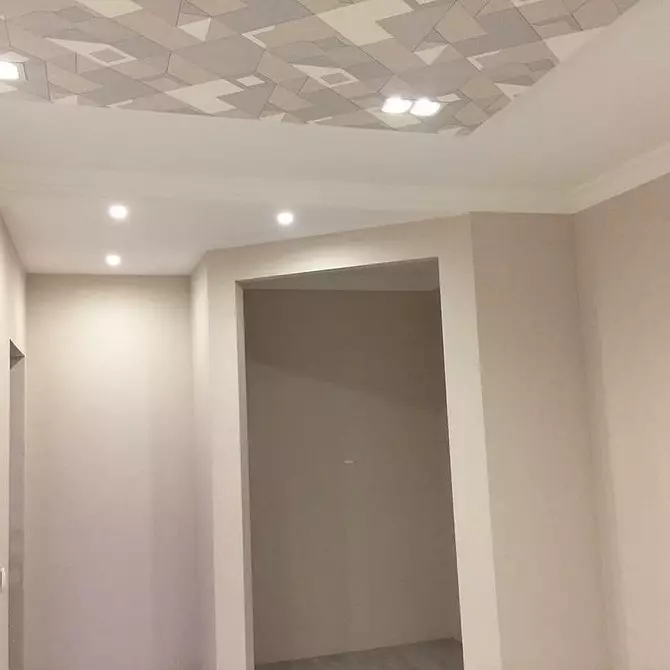
Stowing wallpaper on the ceiling
There are no restrictions on the basis of the base, you can hurt any surface, provided that it is well prepared. Preparation is carried out similarly to the walls. An important point is the selection of glue. He must accurately match the type of finishing. Start work with marking. The lubricated paint cord is chopped off the line on which the first strip will be glued. Its direction depends on the selected laying scheme. There may be two them.
The first assumes sticking the cliffs parallel to the direction of light flow emanating from the window. Then to start gluitive from the wall. In this case, the markup is applied parallel to the wall at a distance of equal roll width, minus 150 mm. This is a battlefield.
According to the second scheme, start gluing from the center of the ceiling. The direction of glipping is perpendicular to the window. In this case, the center is first determined. From this point in both sides, half the roll width is postponed. On these marks are guided landmarks. Sheets are cut and glued. The technology is similar to the one that is described for the walls. The room is closed, it will be possible to open it no earlier than a day after the finish dries.