We tell about the types of plinths for stretch ceilings, choose the glue composition and give step-by-step instructions for installation.

Before gluing the plinth to the stretch ceiling, you need to figure out what its feature is suitable for it ordinary adhesive compositions. There are special products with protrusions for technological gaps between the wall and baguette, but it is quite difficult to find them. They are simply inserted into the mounting profiles. More often have to deal with conventional planks that have no protrusions from behind. They are made of light polymeric materials - foam or polyurethane. Gypsum and other minerals are almost not used. The ceiling surface can have any drawing, dimensions and color. White borders are easy to paint, so pick up the cartel in style is easy. It is more difficult to prevent a mistake when installing. If the prefabricated elements are fixed correctly, they will last long, without losing the form and not peeling from the surface.
How to choose a plinth and glue it to the stretch ceiling
Types of plinthsCalculation of the number of material
Selection of glue
Calculation of the amount of glue
Installation
- Set of tools
- Preparation of the foundation
- Marking
- Mounting work
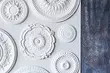
Types of plinths
The material serve polystyrene foam, polyurethane or elastic elastic plastic. Less often used wood, MDF, gypsum. They differ from polymers with a large mass and are needed only in the case when natural finish is required.
Plastic Planks for Baguette
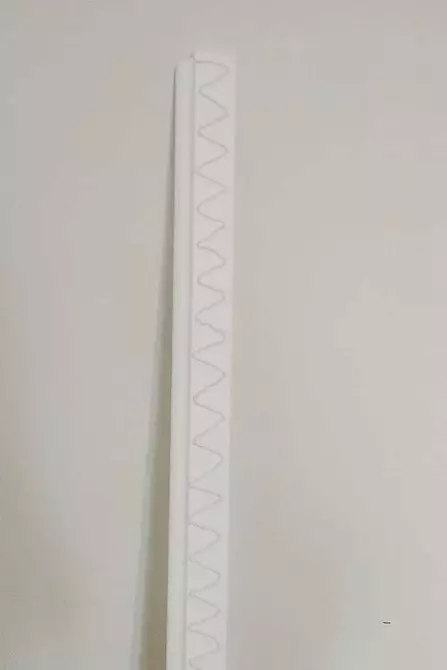
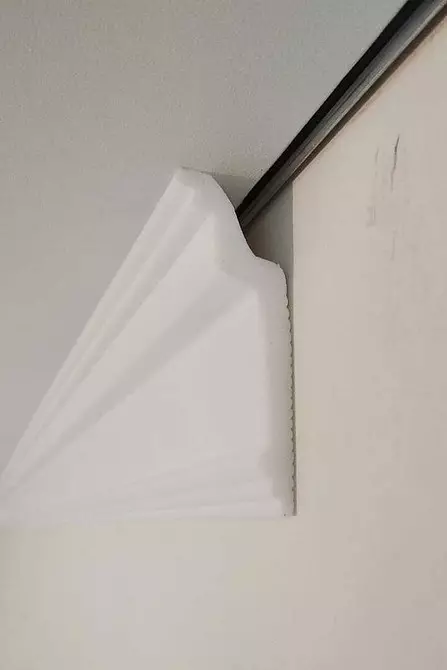
Most often, ordinary plinths are installed with a smooth rear surface, but if you are lucky, you can find special plastic profiles for technological gaps between the baguette and the wall. Planks are attached to the glue or held with the help of locks. Self-tapping screws and dowels for fastening on the stretch ceiling are rarely applied. On the back, they have a groove castle. It is designed to work with harpoon fasteners. The walls of the grooves are refueling into a bagent profile with jar. The connection is reliable. It does not require additional tools that improve the grip.
Benefits:
- Plastic is favorably different from foam, polyurethane and natural analogues of high strength.
- It is most durable and not experiencing temperature and humid deformations as, for example, wood.
- The surface is moisture-proof, which allows you to wipe it with a wet rag.
- The plank is easy to install - no need to wait for the glue.
- It does not need a final finish.
- Details deliver with challenges for corners. They are not necessarily cut to get a beautiful butt. It is this part of the work that causes most difficulties.
Disadvantages:
- Paint does not lie on plastics. If desired, it will be impossible to change its color.
- Only white products are available.
- They are suitable only for harpoon systems. But there are other methods for mounting the PVC cloth.
- Before inserting the plinth in the stretch ceiling, it is necessary to align the base. The wall should be perfectly smooth, otherwise the slots will remain in places where it begins inside.


Correspondies from foam
Foam elements are universal moldings with a smooth rear side. They have no devices for docking with a baguette, they are installed on glue. Details are white. If necessary, they can be painted.Benefits:
- Easyness - the array consists mainly of gas.
- Durability - service life up to 20 years.
- Moisture resistance - the material consists of impenetrable bubbles with thin walls that do not transmit steam and water drops. This property allows it to apply it in kitchens and bathrooms.
- Easy to care. Wipe the eaves should be wrapped - when pressed, they deform.
Disadvantages:
- Low resistance to chemically active substances.
- Fragility - products are badly bent. They are easy to break.
- Polystyrene over time yellowing under the influence of sunlight.
- When burning, poisonous substances are distinguished (however, the plank is not so high so that their content is critical).
- Polyfoam does not withstand the effects of high temperatures. It can be placed near the heating riser, but he will not take the heat from the lamp. According to the standard, point lamps are installed at a distance from 10 cm from the wall.

Polyurethane products
Installation of polyurethane ceiling plinth on the stretch ceiling is performed using glue. The material externally resembles plaster, but has the flexibility inherent in polymers. The surface is usually smooth, but can be decorated with a relief pattern.Benefits:
- Strength - it is much higher than that of polystyrene.
- Flexibility is a property allows you to separate complex angles and curvilinear bases. Polyurethane is perfect for columns and erkers.
- Not afraid of high humidity and temperature differences. They do not lose form when heating and cooling.
- This finish does not absorb smells and is easily washed with a wet rag. It can be used in the kitchen and bathroom.
Disadvantages:
- A big mass - to attach the plinth, you need a special glue, because the usual may not cope with the task. For heavy parts, self-tapping screws are used that spoils their appearance slightly.
- Planks with difficulty are cutting. For this, an ending saw that allows you to cut off the edge of the workpiece exactly at a given angle.
Calculation of the number of operators of the plinth
First calculate the perimeter of the entire room. For this we fold the length of its walls. If a gap is planned in the circuit, it is necessary to subtract its value. I find out how many parts and crosses we will need. Accepted how many entire profiles fit on each side of the room, and what is the length of the trimming.
Suppose the perimeter is 20 m. Added to the corners, add 15 cm. If there are only four of them, add 15 x 4 = 60 cm or 0.6 m. The total length will be 20 + 0.6 = 20.6 m. Suppose The length of one rail is 2 meters. Calculate the number of two-meter rails will be easy: 20.6 / 2 = 10.3 pcs. or 11 whole rails.
Usually there is a stock of two moldings for unforeseen circumstances. Total: 11 + 2 = 13 pcs.
Selection of adhesive composition for foam and polyurethane
For light products, you can use any means.
- "Liquid nails" - for light porous materials, a special composition has been developed - "Installation Express Decor". It is grasped as quickly as the usual "moment."
- Polymer compositions - some of them are designed for expanded polystyrene. Class longer, so molding will need to press for a few seconds during the installation process.
- PVA - has high strength, but dries long. To do this, he will need three minutes.
- Acrylic putty solution - dries instantly, has good adhesion that allows you to withstand significant loads.
Is it possible to glue the plinth on the stretch ceiling using these compositions for parts with a large mass? It is better to use special means for polyurethane, gypsum or wood. Information is always indicated on the package.
Glue Mass Pins Options
- Polymeric solutions.
- Specialized putty.
- Mounting glue, for example, Titan.
- Docking agents melting polyurethane at the joints and creating a monolithic hermetic compound.
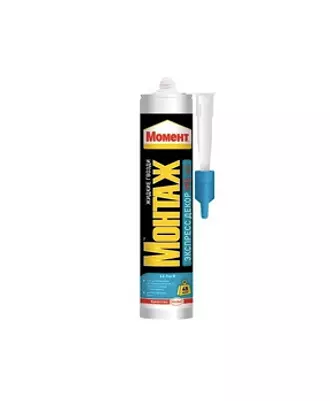
Mounting Glue Moment Installation Express Decor MV-45
Calculation of the amount of glue
For this you need to know the perimeter of the room. It is also necessary to find out whether the gaps will be. Then you will need to calculate the area of the rear surface of all moldings. Stick them should be on the wall. If you attach them to the PVC film, it is deformed, folds will appear on it. In addition, all the prefabricated elements over time are distinguished from the wall, since the coating is gradually stretched. To calculate the area, we fold the total length of the planks and multiply it on their height. Then you need to look at the packaging, how quantity is spent on one square meter.
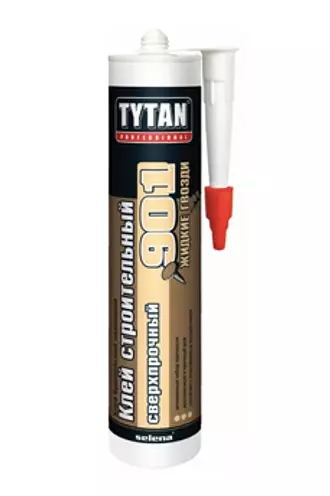
TYTAN PROFESSIONAL 901 Ultra-Duty Mounting Glue
Installing the plinth on the stretch ceiling
Instruments
- Reliable stepladder, table, stool.
- Pencil or marker for marking.
- Roulette, ruler.
- Stationery knife, hacksaw, as well as a stubble or tracing saw for cutting corners.
- Brush, spatula or special gun for glue. Putty is more convenient to shoot with a wide blade.
- Sealant or composition for finishing finish. They close the slots on the joints and other voids.
- Napkins or newspaper sheets to wipe the evaporated areas.
- Polyethylene - they are closed by PVC film.
Preparation of the foundation
You should start with cleaning and primer walls. Sticking the plinths on the ceiling coating can not - otherwise it will be in disrepair. Rakes will be shifted to the center, since the film is experiencing a constant voltage leading to its deformation.It is possible to mount foam parts on the wallpaper, but heavier products will be detached over time. The basis for them should be absolutely reliable.
Marking
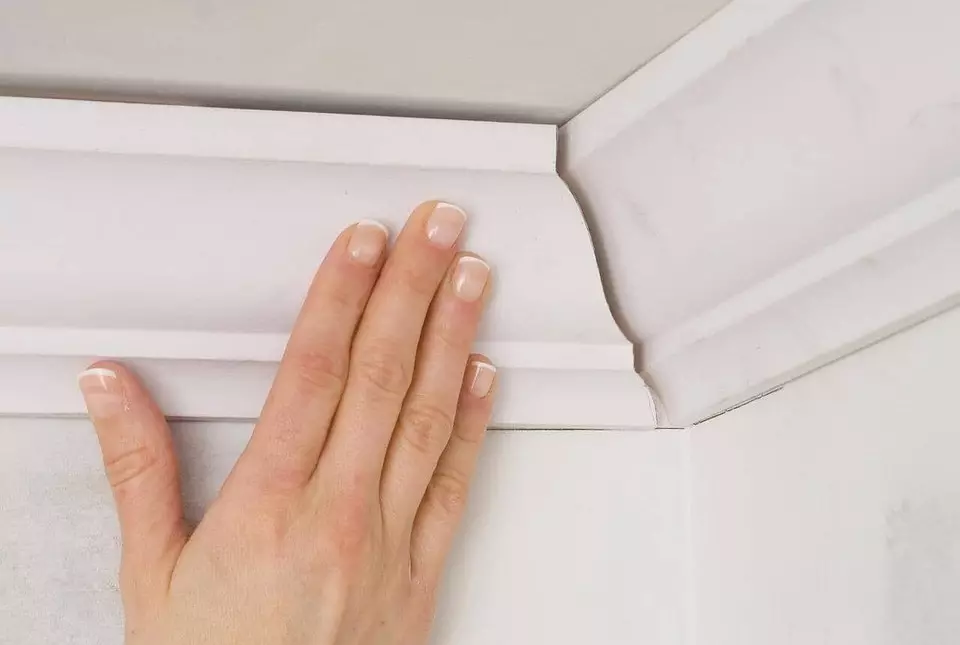
The frieze is applied to the place where it will be located, and denote the pencil of its lower contour. It is more convenient to use a short length of 10-20 cm long. Marks are applied throughout the perimeter, after which they are combined. For these purposes, a long ruler or a greasy cord is suitable. It is covered with paint so that it does not drip down, stretch perpendicular to the base, and then release. When you hit the cord, leave a noticeable smooth mark.
Sticker Moldings
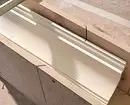
First you need to make even face. The cornice is placed horizontally and stuck the transverse line. The distance from it to the edge of the product should be equal to its width. Then rear from the line to the edge draw the diagonal and cut the face with a knife or saw. Also cut the adjacent element.

Work more convenient with stupid. It is easy to assemble from two or three short boards, building a tray from them and cutting holes for a knife or saws in the side walls. These holes are located so that you can install the blade at an angle of 45 degrees. The frieze rolls into the tray, pressed against the wall so that he takes the right position, and then insert the blade into the grooves and produce a cut.
When two details are ready, they are applied to the place where they will be. If they are fitted bad, remove excess material.
Installation of the plinth for the stretch ceiling starts off the corner. A glue is applied on the back, guided by the instructions. Its surplus is removed by the spatula and fill them with emptiness, resulting in places of pairing with the wall. Dirt and residues of the solution are removed with a wet sponge. After that, go to the next element. The mixture is applied to the back side and on the end. Surplus carefully removed. They fill the remaining emptiness, paying special attention to the joints.


There are sets in which special angular elements are included. In this case, installation is greatly simplified.
Detailed instructions also look at the video.