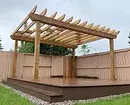
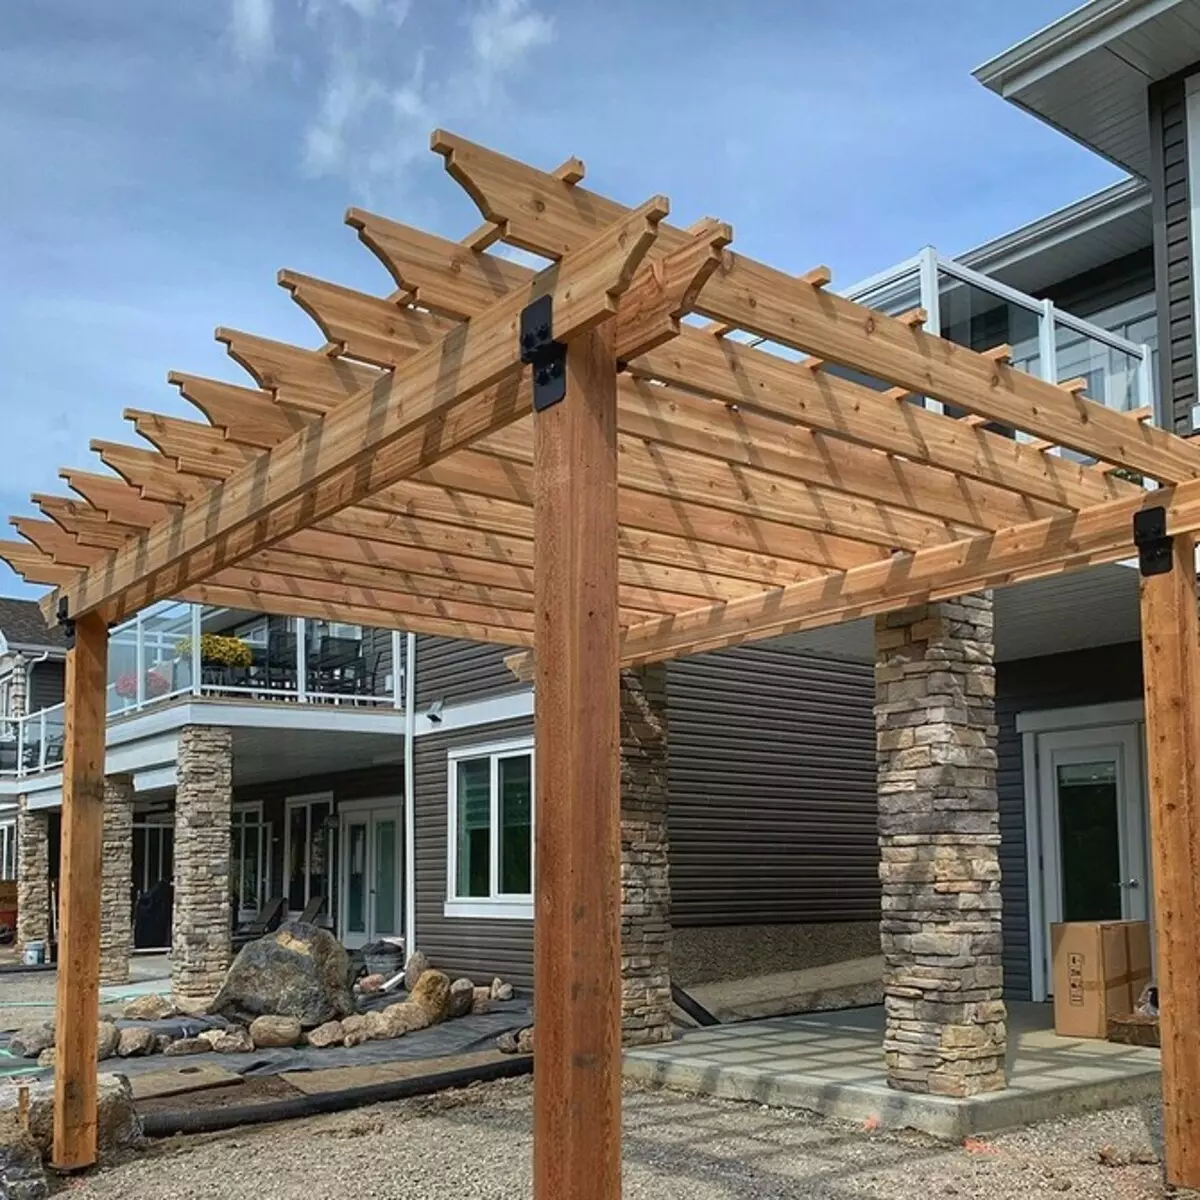
We give step-by-step instructions for the construction of pergola: from the set of necessary tools before mounting the drawers with the colors and the care of the structure.


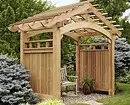
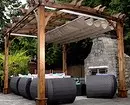
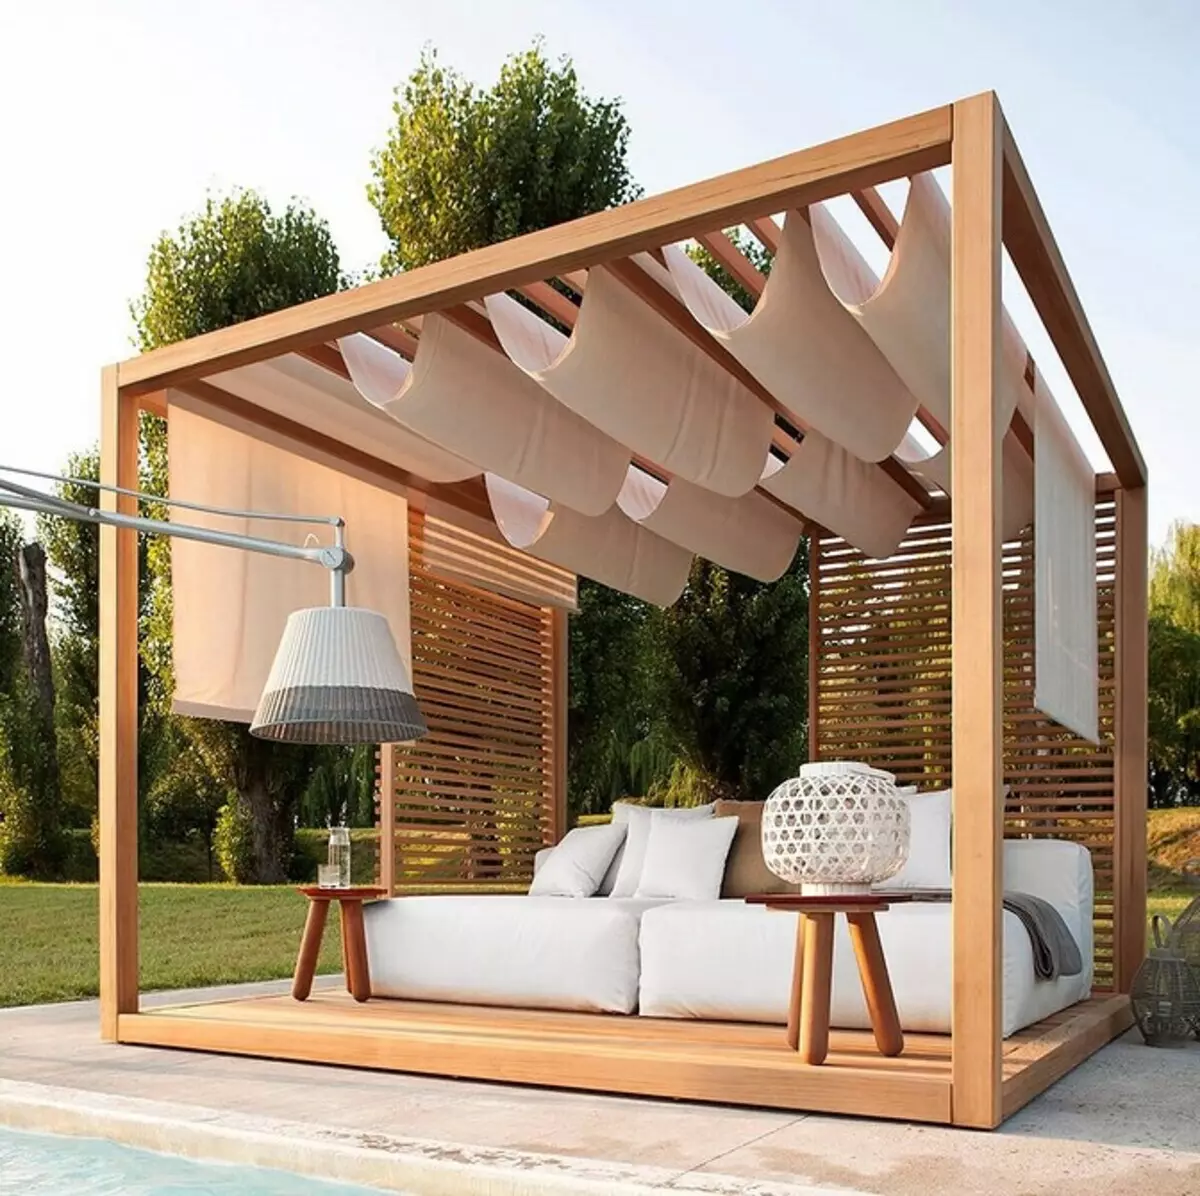
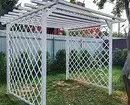
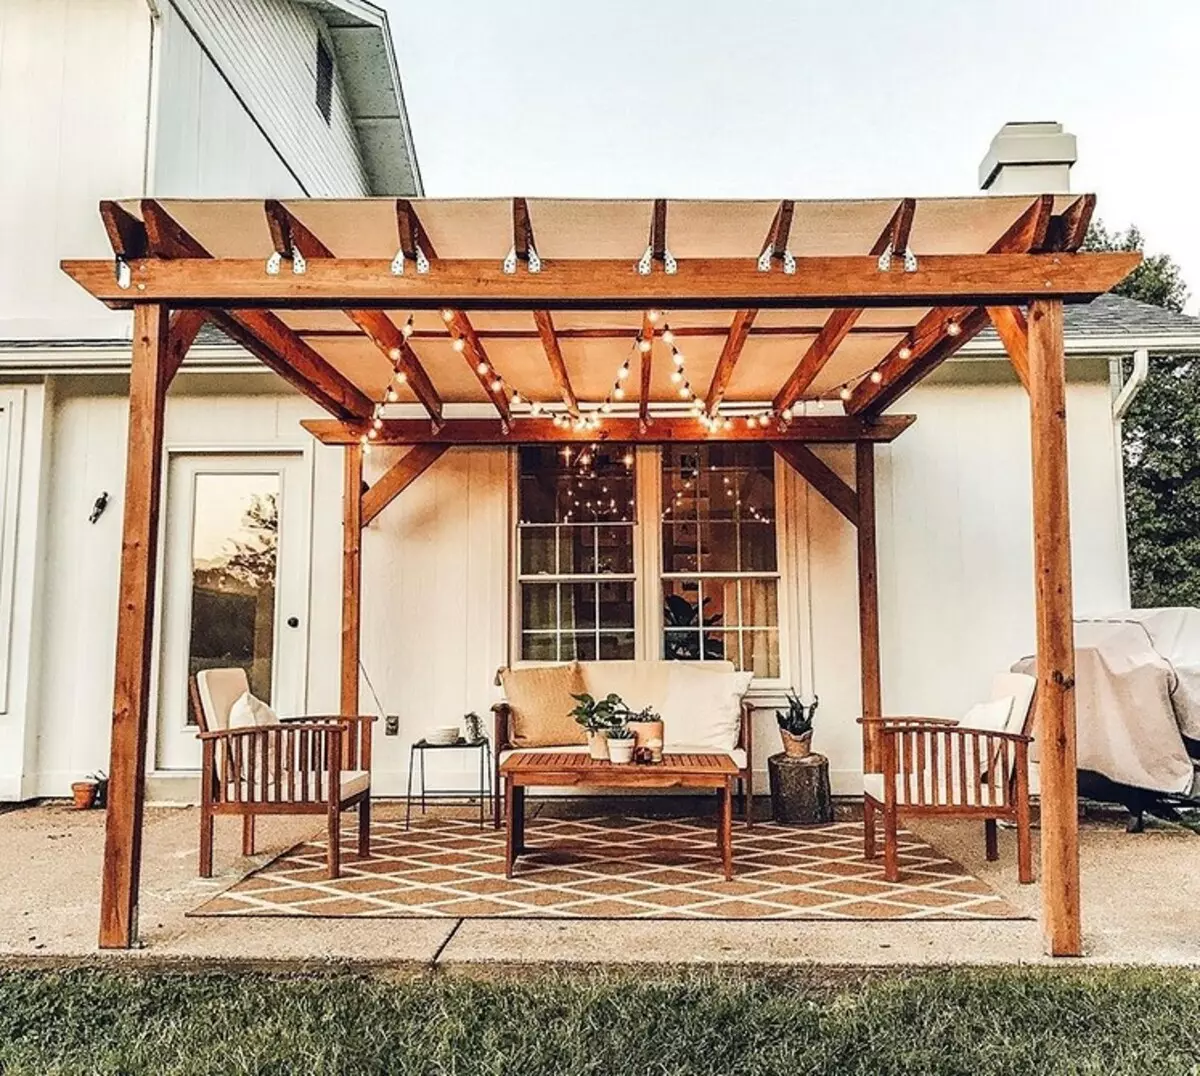
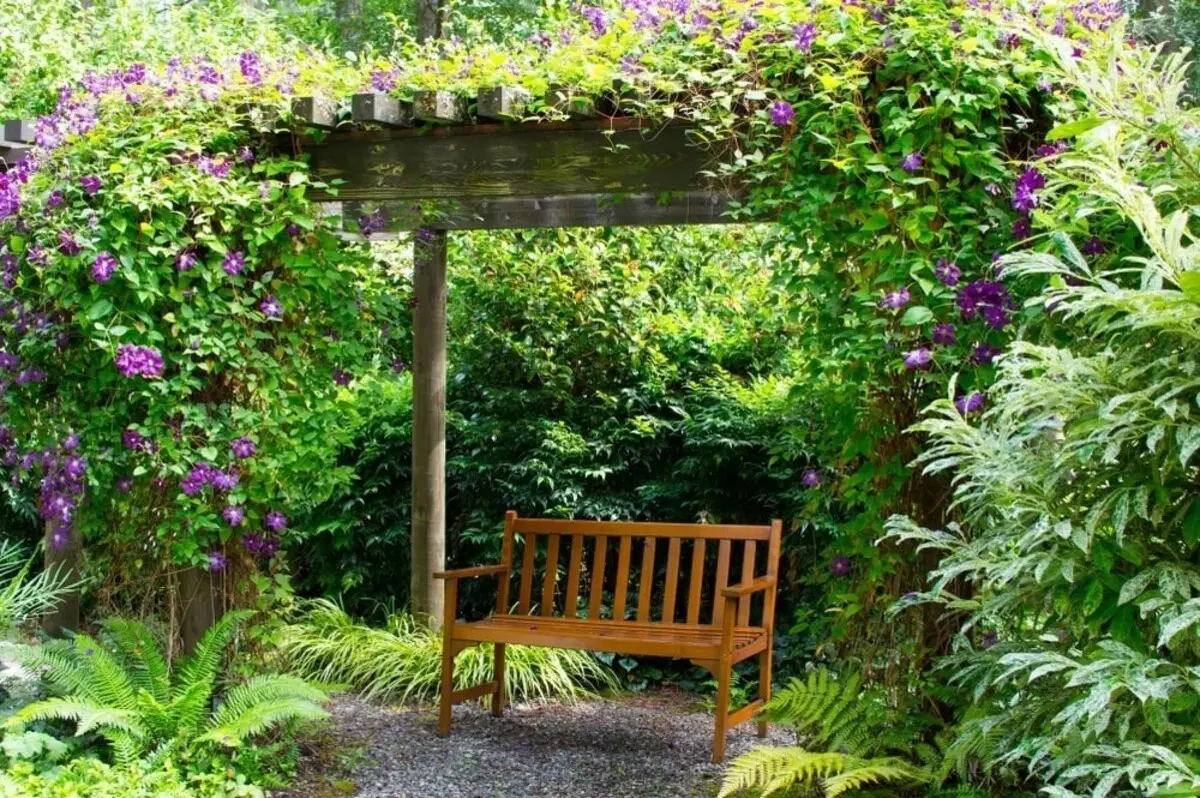
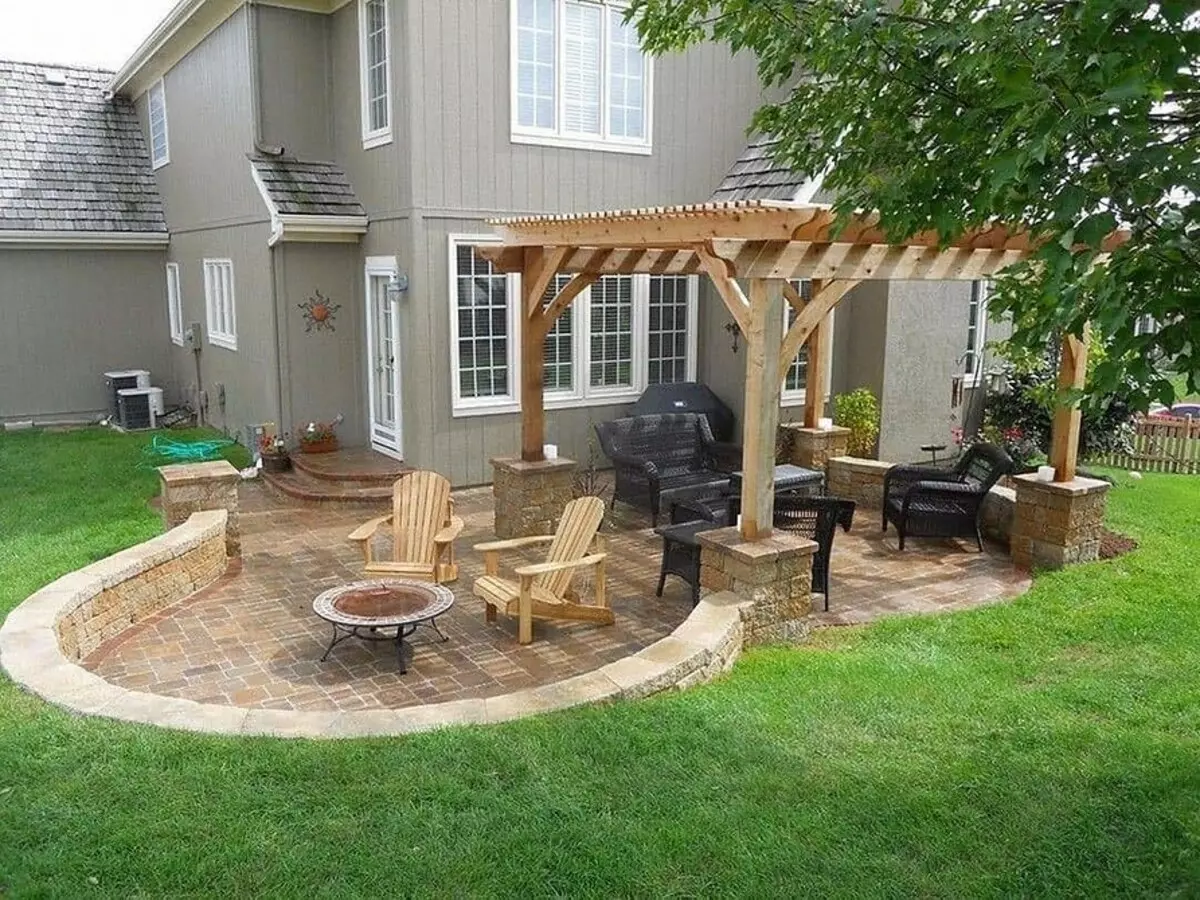
The arbor is characteristic of the English gardens of the nineteenth century again becomes a common element of dacha decoration and private houses. She can successfully revive the gate or a gate, sharing the paved platform or give originality and color in the inexpressive space in the depths of the garden. Wooden pergola can be made with their own hands from coniferous or exotic tree species: northern pine or red cedar, having time and power tools. Even easier - buy in the store for gardeners ready set of details for the assembly.
How to independently build garden pergola:
Necessary materials
Assembly
- Preparation of the foundation
- Fastening support
- Registration of the upper beams
- Installation of flooring
- Flower boxes
Caring for a product
Decor
Flowers for decoration
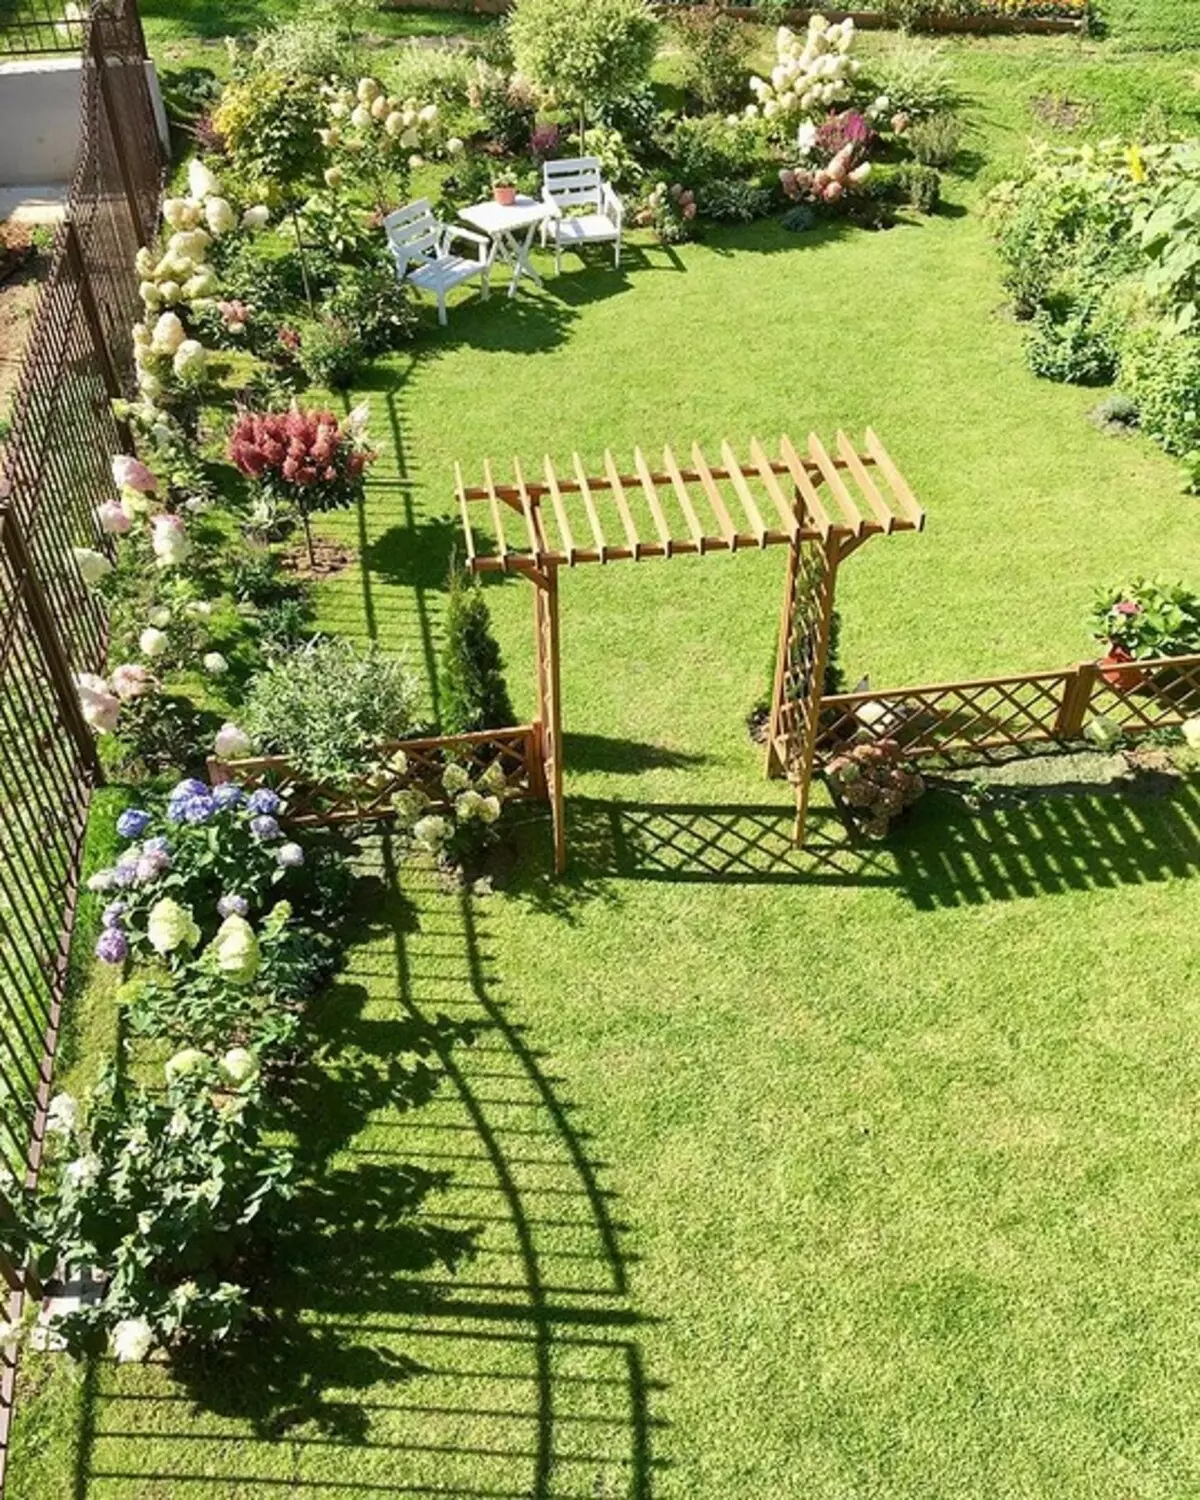
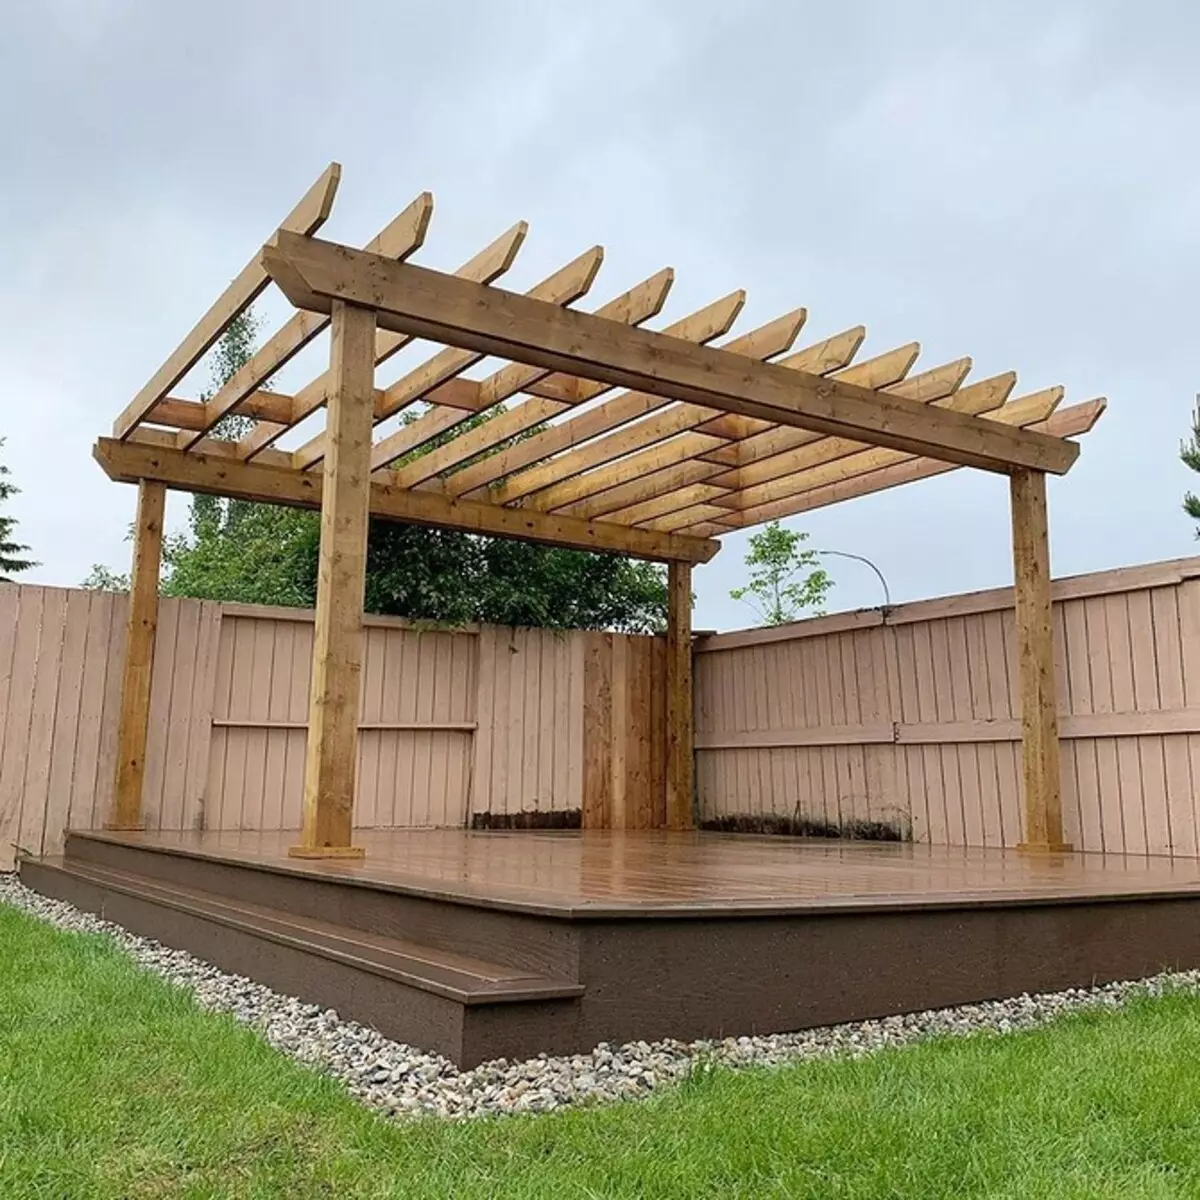
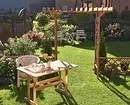
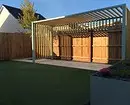
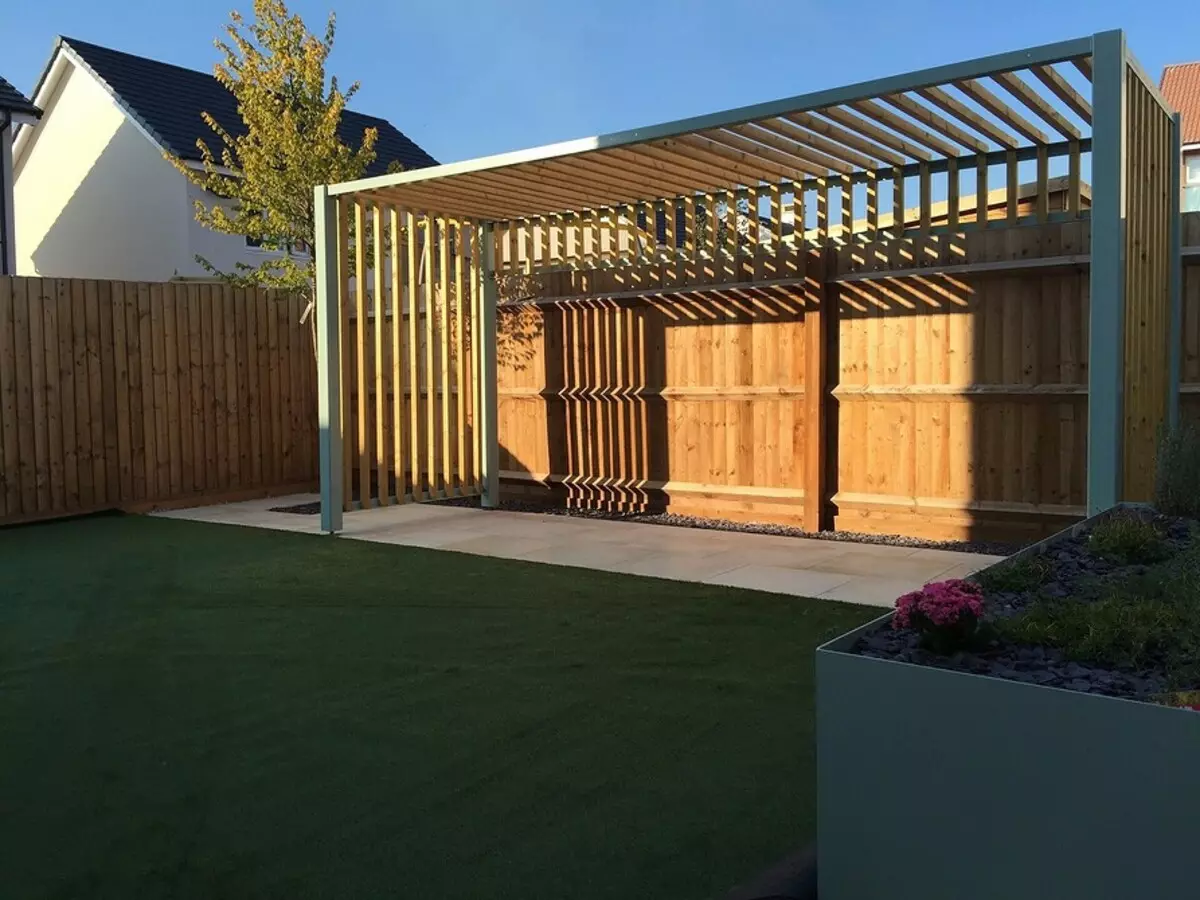
Let you not scare the scale of work. Actually make pergola easier than, for example, a classic gazebo. And even one person can cope with it. Such a structure does not require bookmark the foundation or manufacturer of the foundation. If you wish, you can not even mount the flooring, but to put it simply on an artificial lawn or the rammed platform.
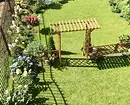
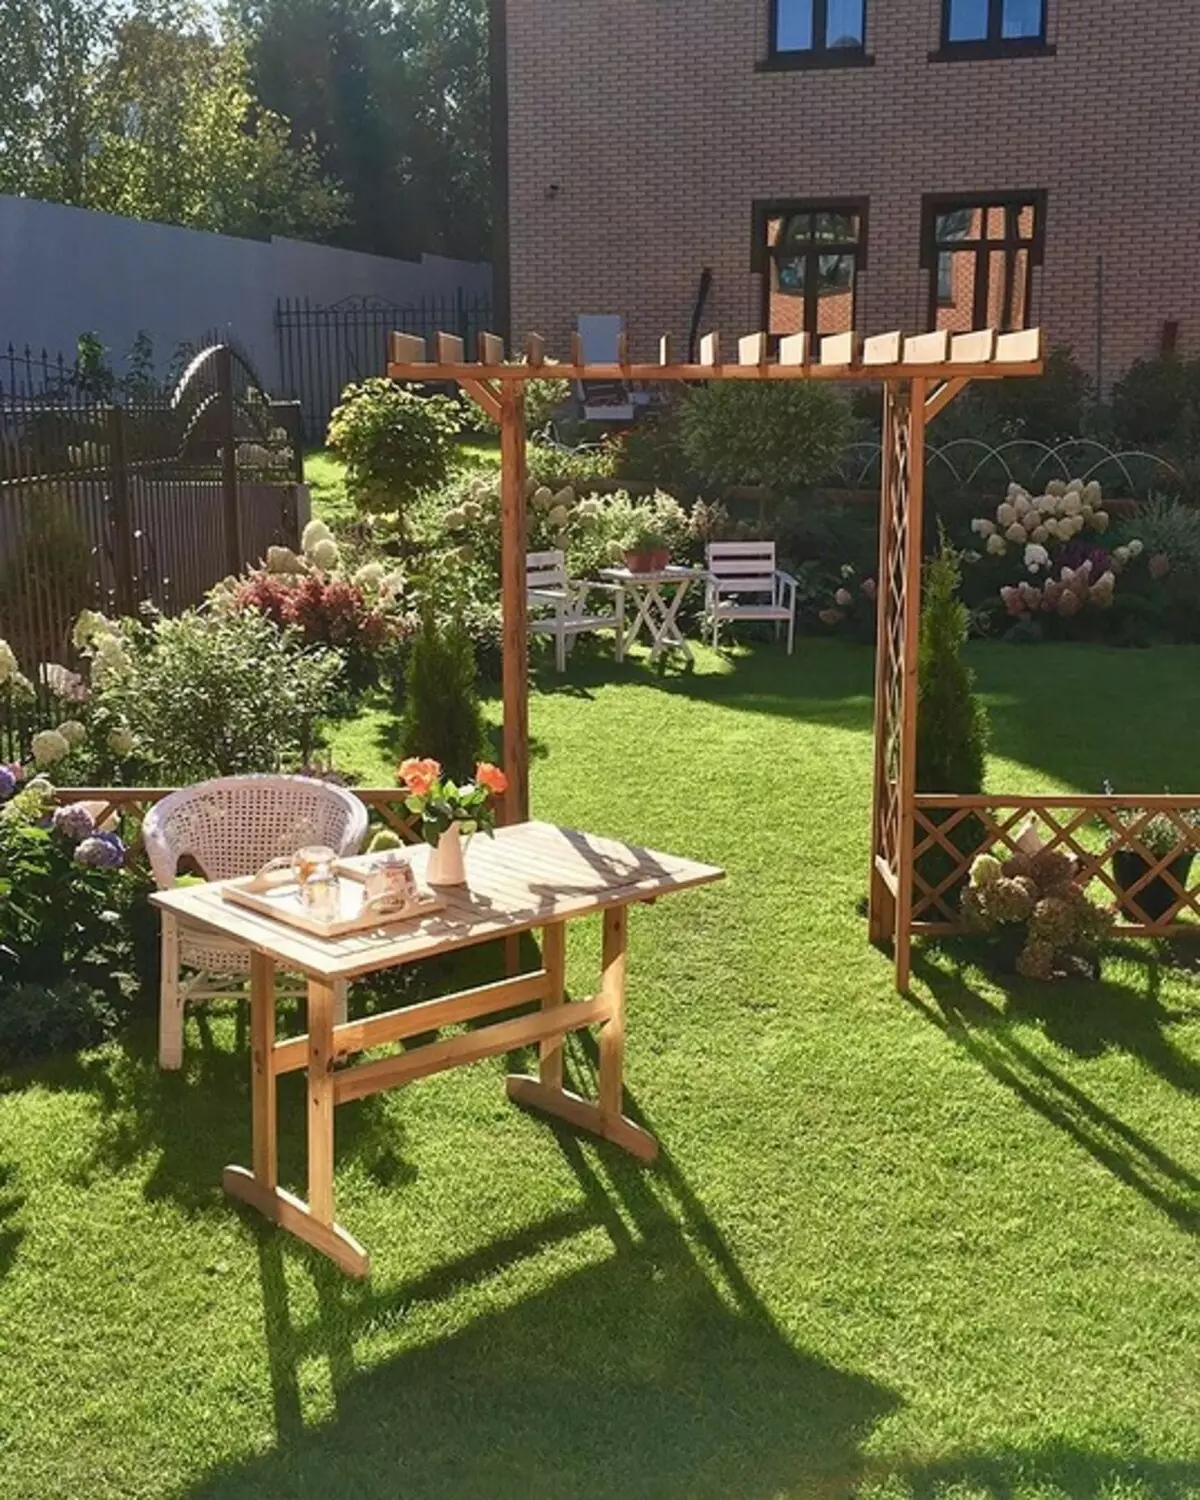
If you decide to reflect the garden with such a construction, be sure to count how it will look at this place. Even a simple drawing will help. Please note that pergola, if there is no extended option, rarely reaches the length of more than 3 meters. To proportions were harmonious, its height also should not be made more than 3 meters.
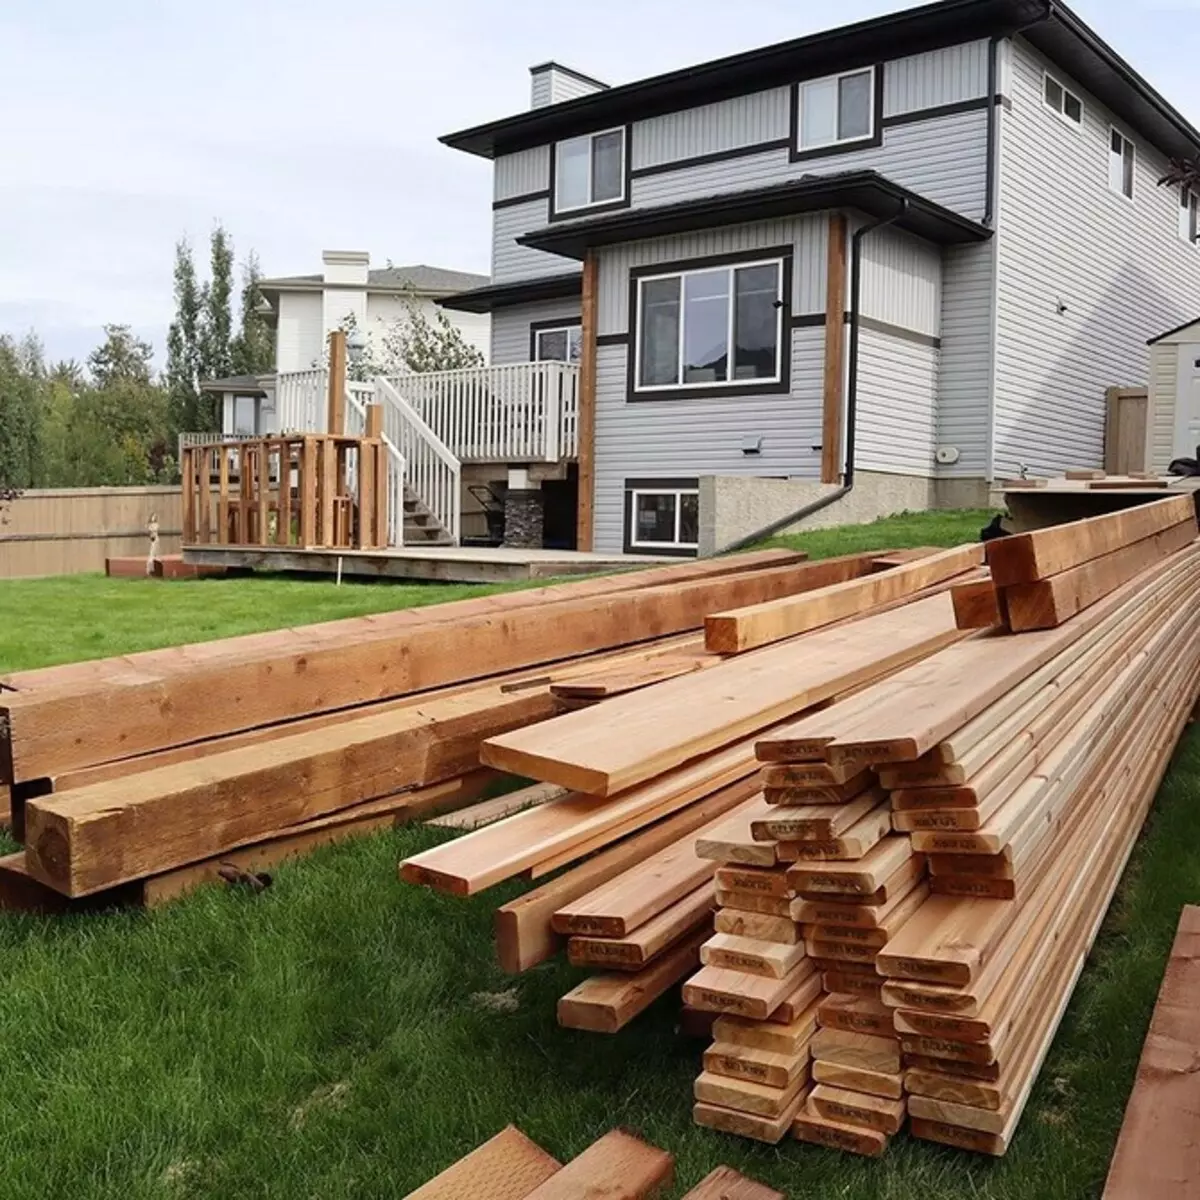
Necessary materials
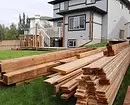
For the manufacture of pergolas for curly plants, the following materials will be needed with your own hands.
- 4 bars with a size of 70x70 mm or 100x100 mm, length - 3 meters.
- Dry planed board 150x30x3000 mm - 4 pieces.
- Dry planed boards 100x20x3000 mm - 10 pieces.
- Bar dry planed 30x50x3000 mm - 9 pieces.
- Supports - "glasses".
- Formwork plastic or wooden.
- Self-tapping screws: 4 cm - mounting of a bar 70x70 to "glasses", 8 cm - fastening of 30x50 bars to beam 100x20; 10 cm - mounting boards 100x20 to 150x30; 12 cm - fastening of the stops.
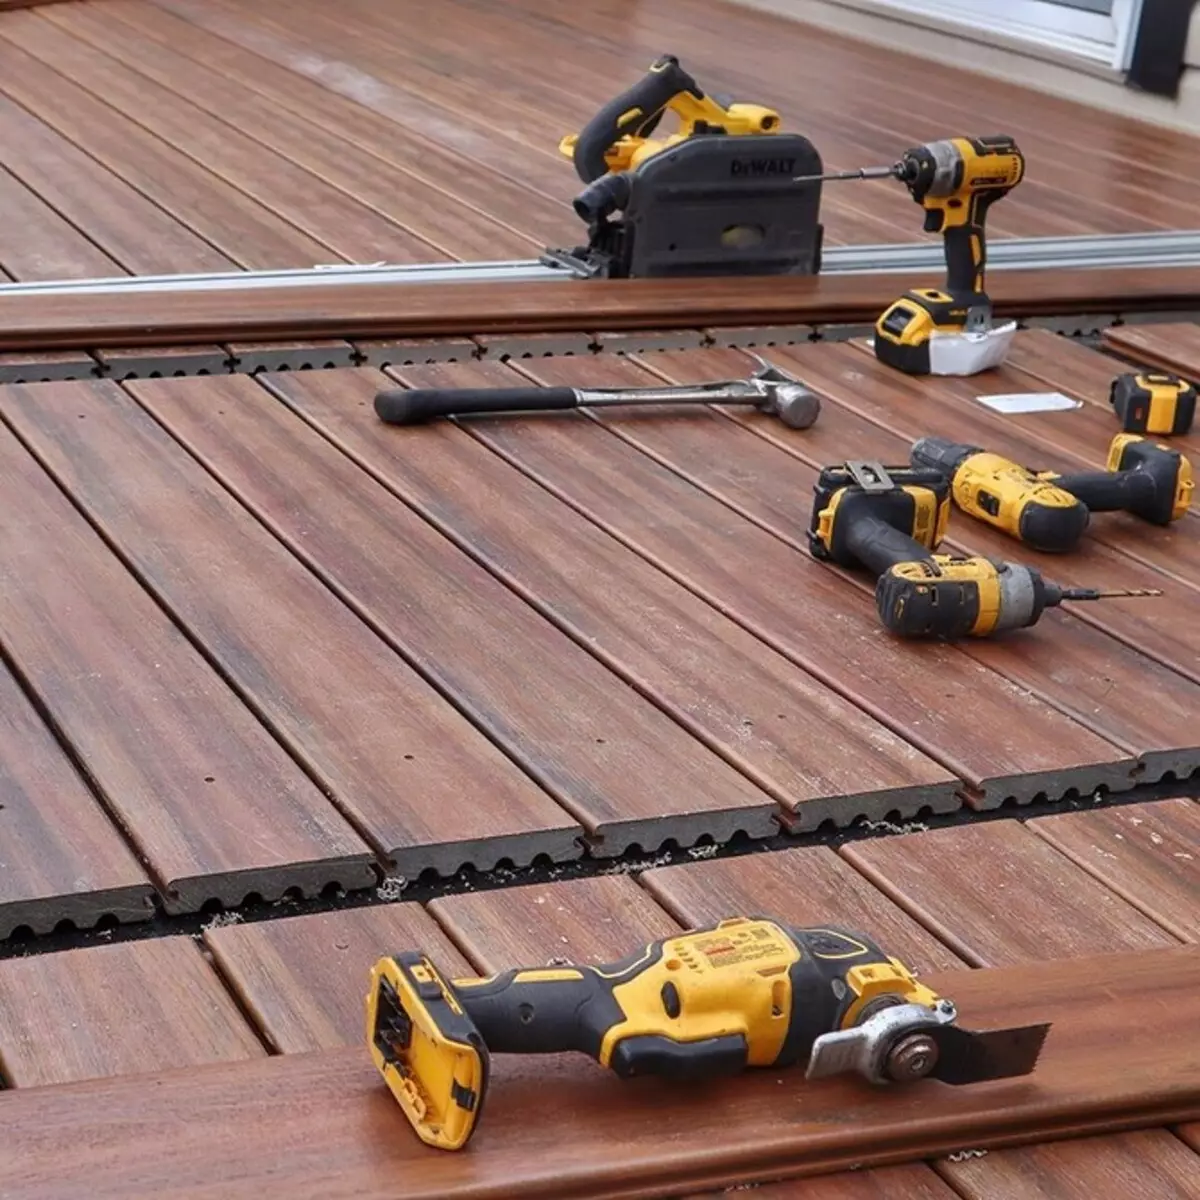
- Screwdriver.
- Cement.
- Boer.
- Lobzik.
Made of pine and treated in the autoclave board are not rotated and will not be damaged by insect at least ten years.
If you want to fasten the floor, you need board panels (600x600x40mm) and the bars of the square section 70x70 mm.
If you wish, you can build both drawers for colors at the base of support from BRUSEV, they are attached to the self-tapping screw. Below we consider a more detailed manufacturing process.

Step-by-step instructions for the assembly of pergola do it yourself with a photo
To install pergola, choose the most even place: this will largely facilitate the markup of the supporting structures scored in the land.Preparation of the basis
- For marking and leveling bases, the construction level and cord are used during installation.
- To designate the location of the design of the design, use small bars.
- Before starting drilling, remove the top layer by manually with a shovel. So drilling the earth will be easier and faster.
- To strengthen the wells, pipes with a diameter of 10-15 cm are used, 50 cm long - formwork for pouring support with cement. You can use ready-made products from a construction store.
- If the diameter of the well was larger than the diameter of the formwork, it is fixed with the mound. For this prepare a mixture of sand, cement, broken brick or gravel. Fall asleep, be sure to add water into the mixture so that a uniform shrinkage occurs.
Check the horizontality of the plane formed by the bases, the level by placing the rack under it. If one of them is drunk deeper than others, put a little rubble inside. It raises a rack to the desired level.
Fastening support
There are two ways to attach support to formwork with cement.
- The formworks are poured with a mixture, roll up and remove the surplus, the height of the pipes must be checked by the construction level: you can simply put a flat board on them. Cement must be frozen. At this time, the four brusches that will serve as a support are fixing glasses. And then the supports with glasses are attached to the concrete bases on the Self-Glukhari 6-8 cm long.
- The second way is to use fittings or plates - formwork for a pillar. It is attached to a small pin of supports on the self-tapping screw. After pouring the pipe with cement, the shell with a metal formwork is lowered into the solution, fix and align. Cement remains are removed. When he froze, hemps are unscrewed. It turns out a glass, already fixed at the base.
An important step that should not be overlooked - the coupling of cement by tapping so that there are no air bubbles in the mass.
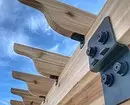
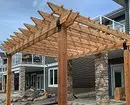
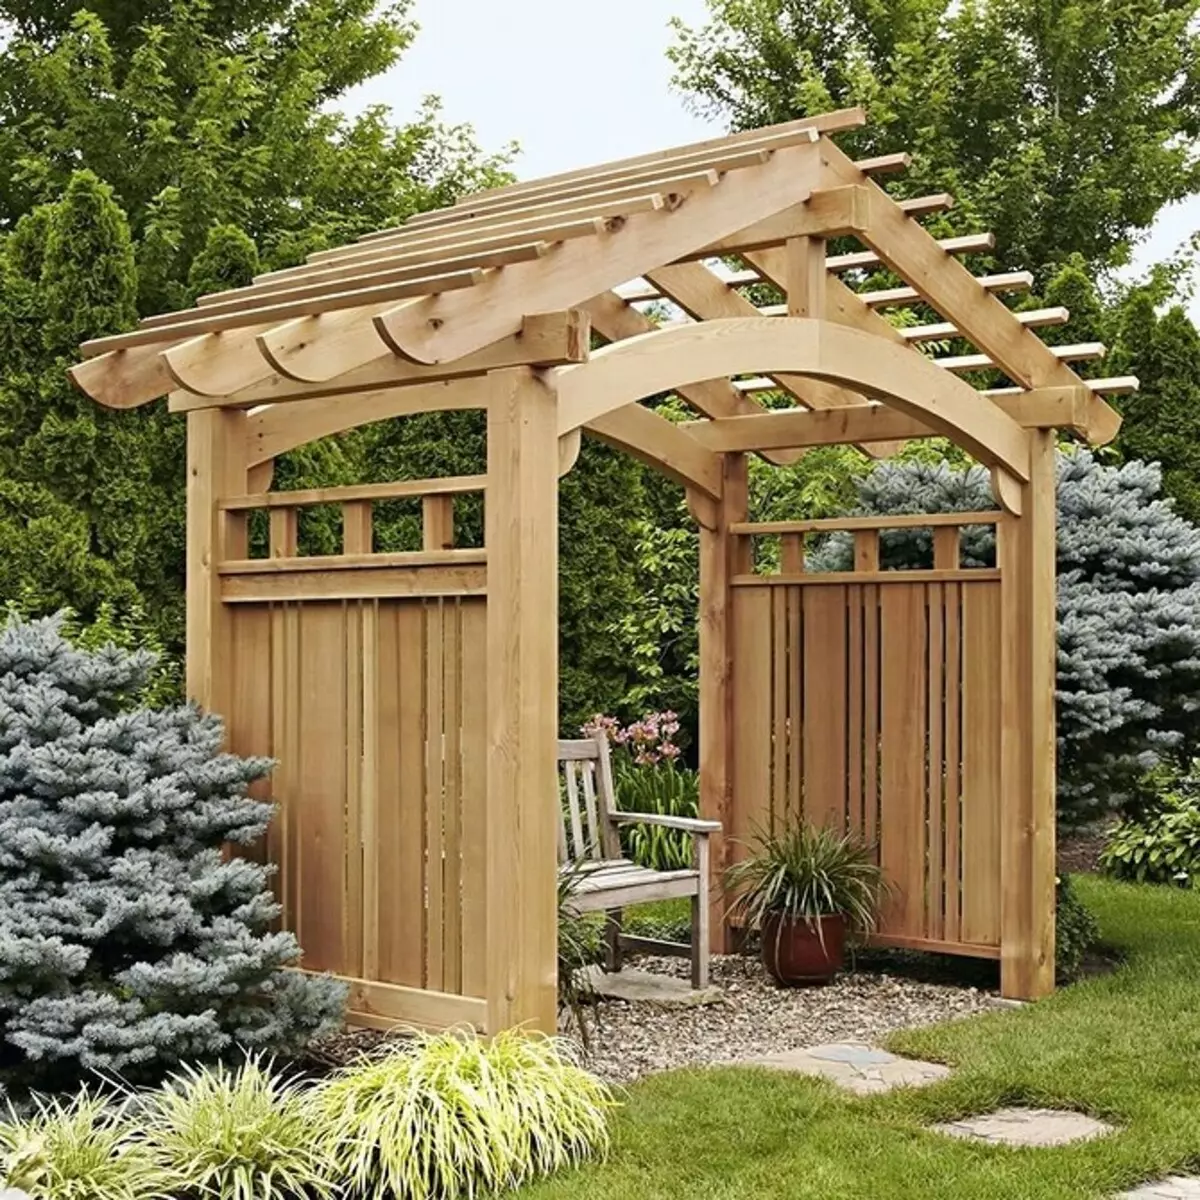
Registration of the edges of the upper beams
For registration of the edges of the upper beams, you will need tracing, plywood and jig.- Draw a template in full size - how you want to arrange the edge. It can be a rounded bar, beveled or twofold curvature, the latter meets most often.
- Translate the drawing to a piece of plywood with a tracing or just selling a sketch.
- Cut the shape.
- Cock the Phaneur on the edge, carefully cut the tree with the jigsaw.
- Sand irregularity and protruding fibers.
The process of design of beams is presented on video:
Thus, you can make all the upper beams or only the supporting - at your discretion.
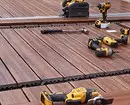
Installation of flooring
The floor is assembled from board panels (600x600x40 mm), laying them in a checkerboard on the bars of the square section (70x70 mm). To equalize horizontally, we bask a few short wooden bars of different heights, as the garden lawn rarely happens quite smooth.
The connection of the "WSHIP" shields provides a simple and durable floor mount.
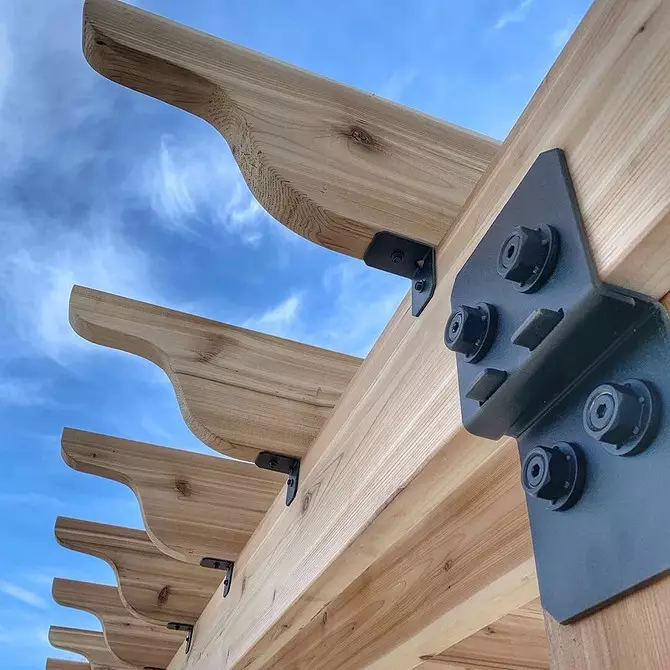
Fastening board
The upper boards are attached to each column base from two sides to the self-tapping screw. First make holes using a long drill, and then inserting the bolt, fix it with a nut.Cross boards 10 cm wide are fixed from above.
- Using the building level, make markup on the crossar - it needs to burst half.
- Distribute materials along the entire length.
- They are attached to the self-tapping screw, pre-drumped.
- Can be installed on metal corners, which are screwed from both sides.
The last barcode is the mounting spacer from the residues of bars in the corners. For this use selflessness.
The video below shows a step-by-step instruction, how to make a pergola with your own hands.
Assembling drawers for flowers
Boxes are collected from bars, the ends of which are cropped at an angle of 45. The choice of their quantity is the question of purely aesthetic. The easiest way to install two boxes on each side.
- Using the level, put shields on the bars of the floor to determine the lower support timber. Since it lies on metal bases, drill in them holes of a suitable diameter. Then secure the boxes with screws 350 mm.
- Now you can place pots in boxes with annual plants. We recommend planted flowers after the treated tree wet and dreamed to avoid the inxication of the roots.
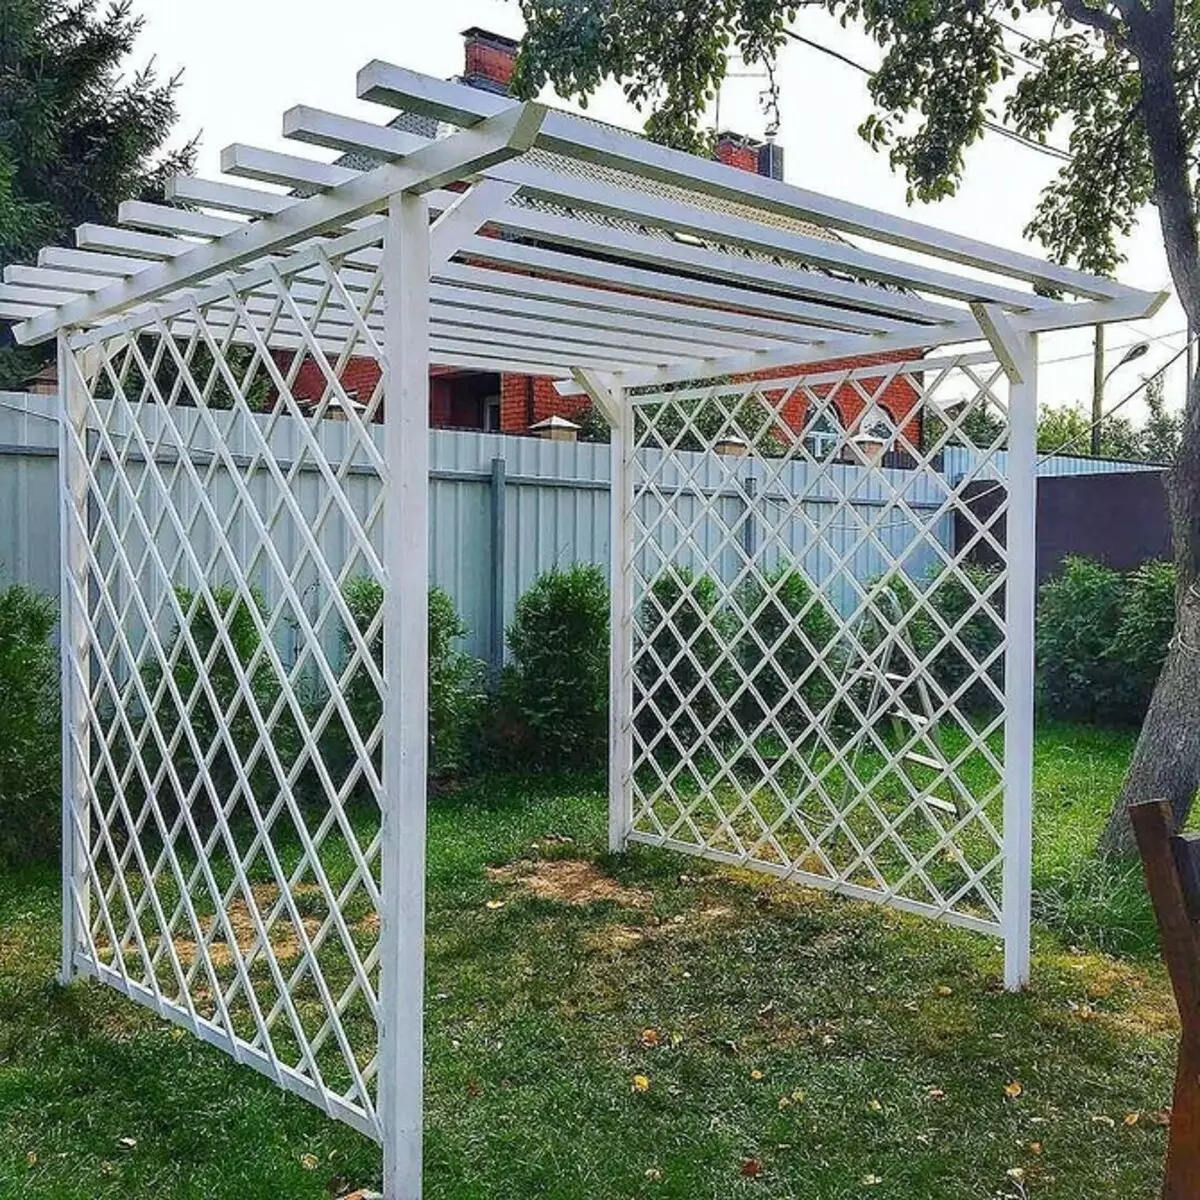
For the creation of a decorative grid-grille on the sides, thin rails will be needed. After installing the first box, determine the necessary height of the lattices, which are attached to three or four screws 23 mm on both sides. Make sure that when screwing the screws did not pass through.
Care
Even the treated tree can darken due to bad weather. In order to preserve its original color for a long time, cover the design with two layers of colorless varnish and repeat the processing every two or three years.
If when assembling you make transverse cuts on the details, take care of their processing. You can cover the bitumen ends of each rack before inserting it into the base, as well as fill the gap between the base and the rack acrylic mastic so that their edges are not exposed to rainwater.
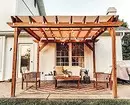
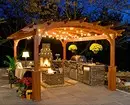


Decor
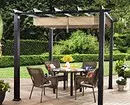
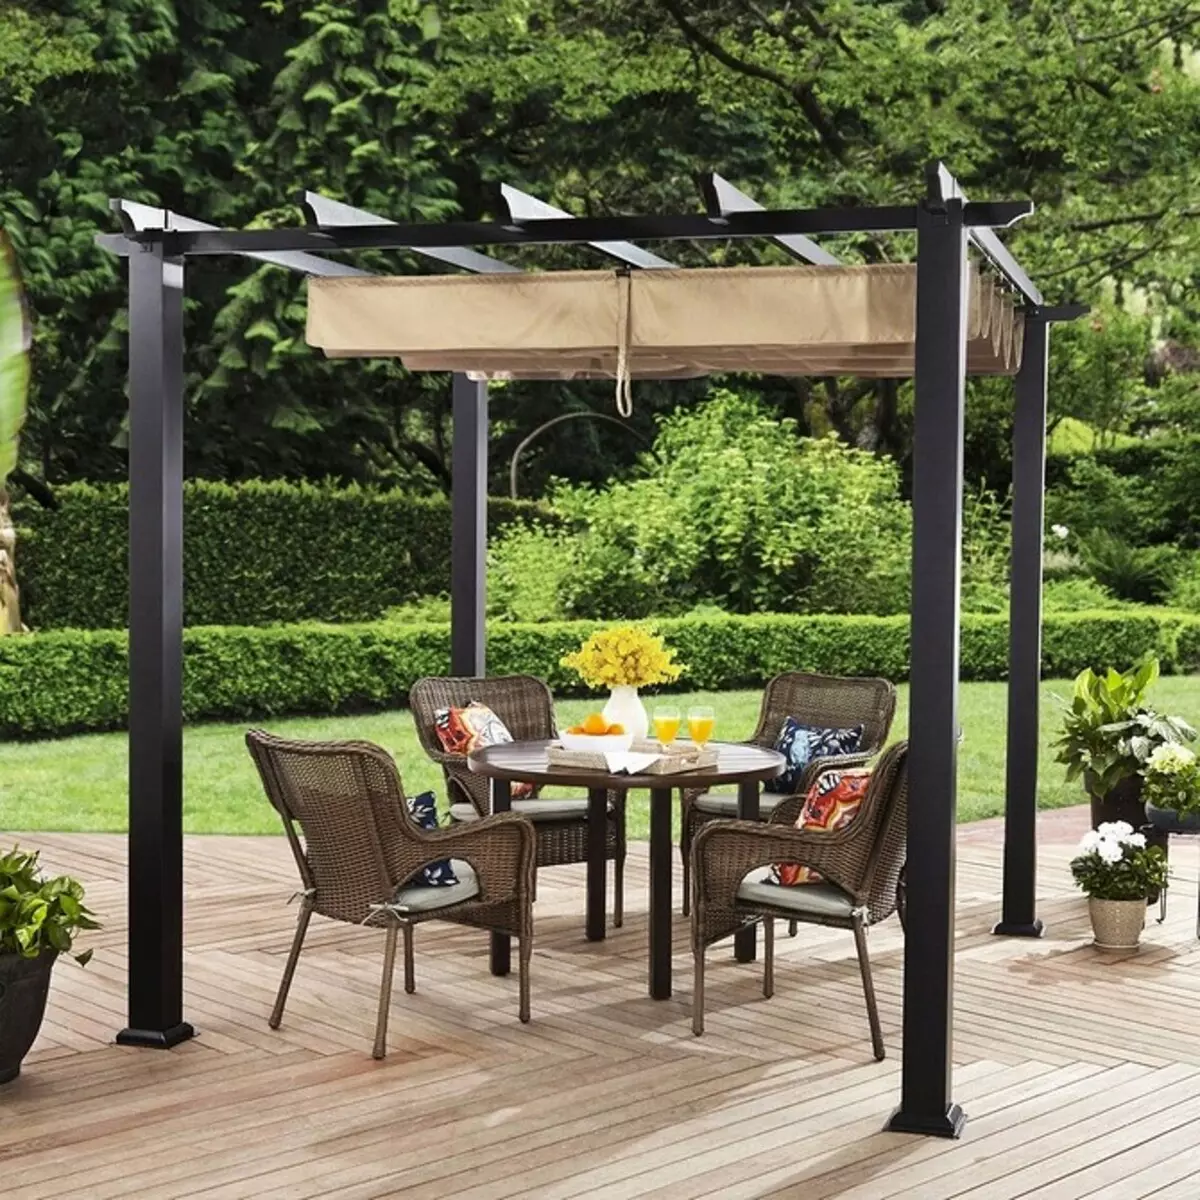
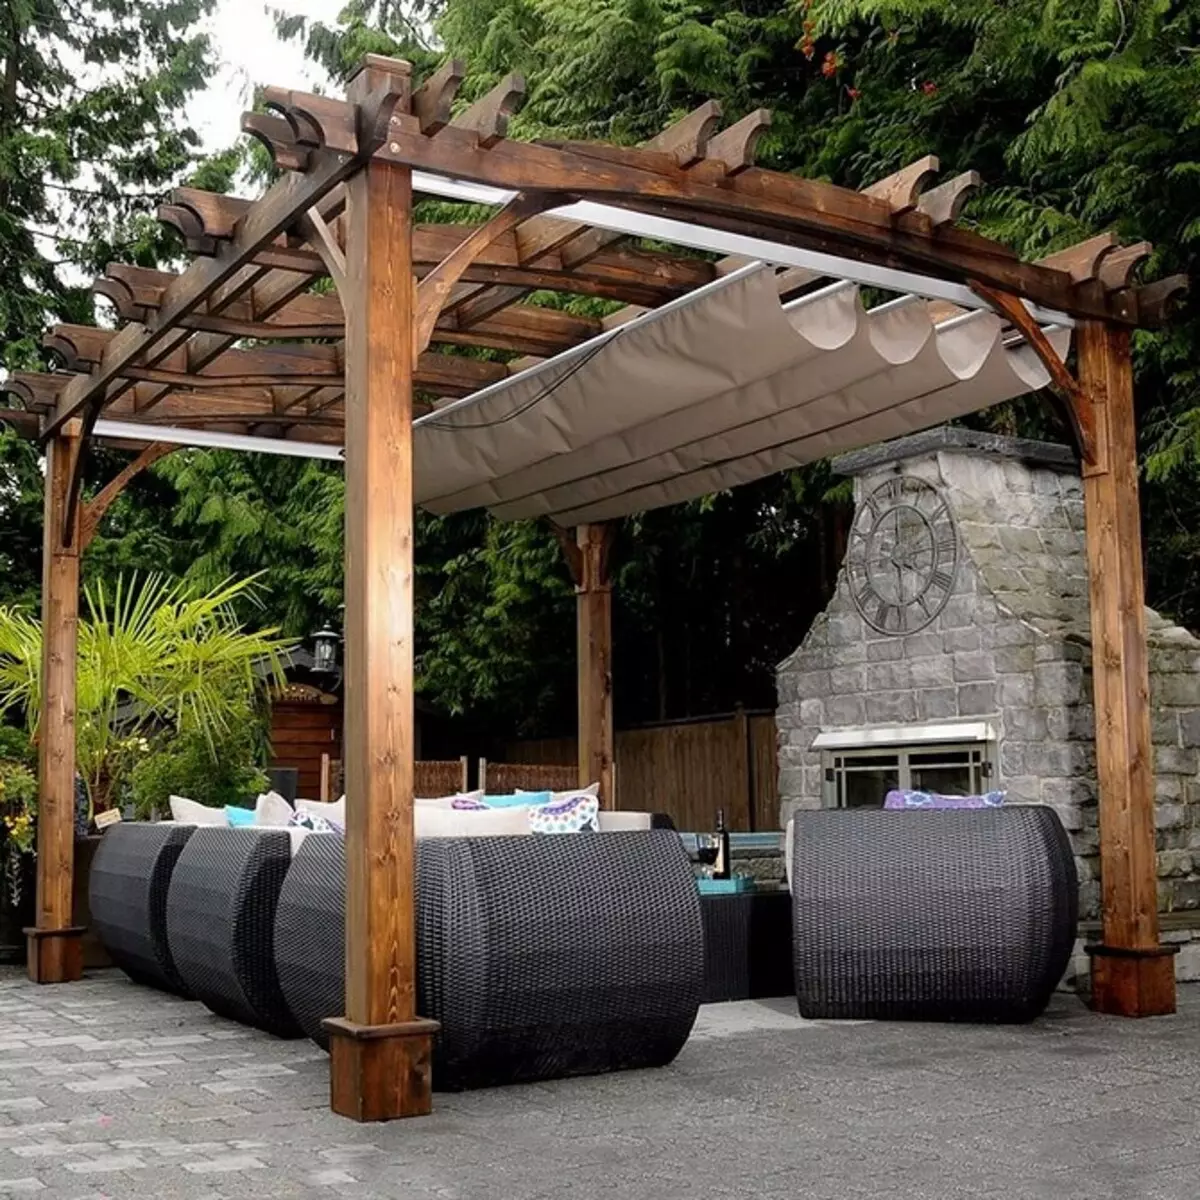
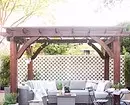
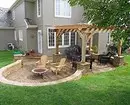
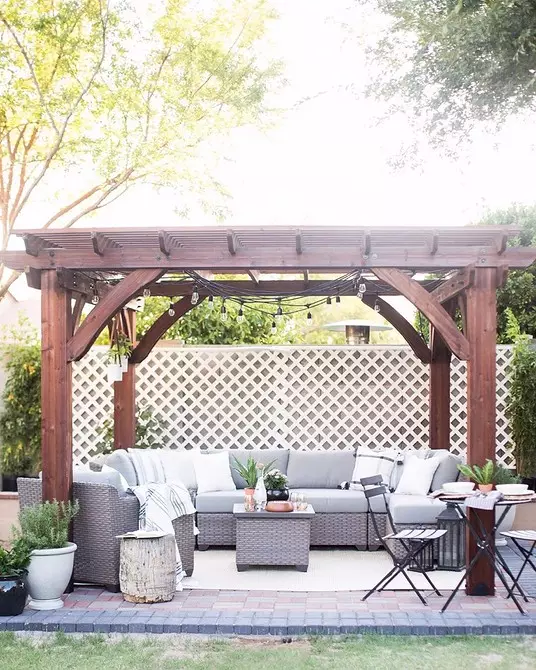
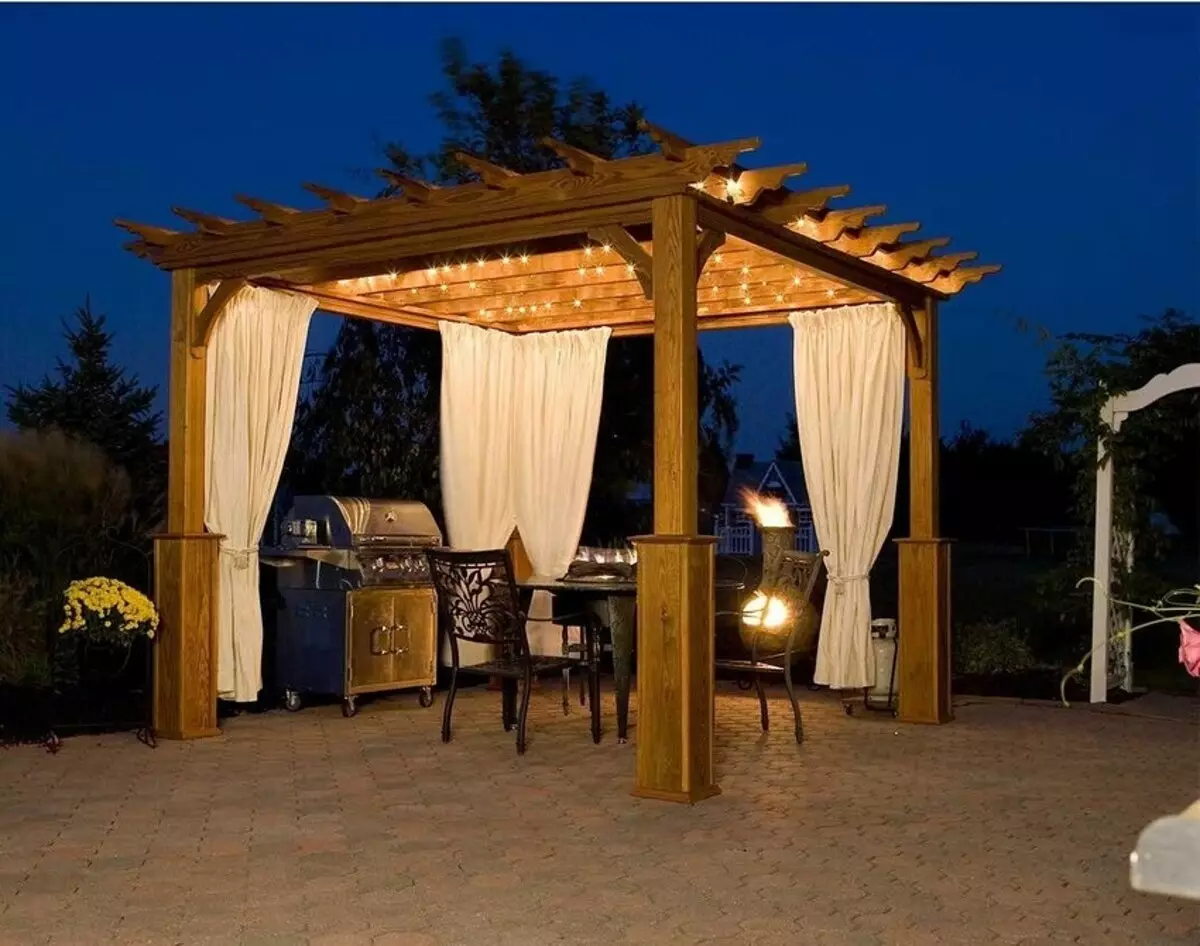
Since Pergola is a lightweight gazebos, it is logical to place a street table and chairs in this area of recreation. Another option is a bench, it is put between two floral boxes and are fixed with screws. More relaxed atmosphere will help create pufas for the street and low tables, especially if you purchase rustic patterns from wood.
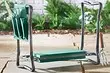
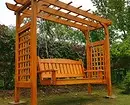
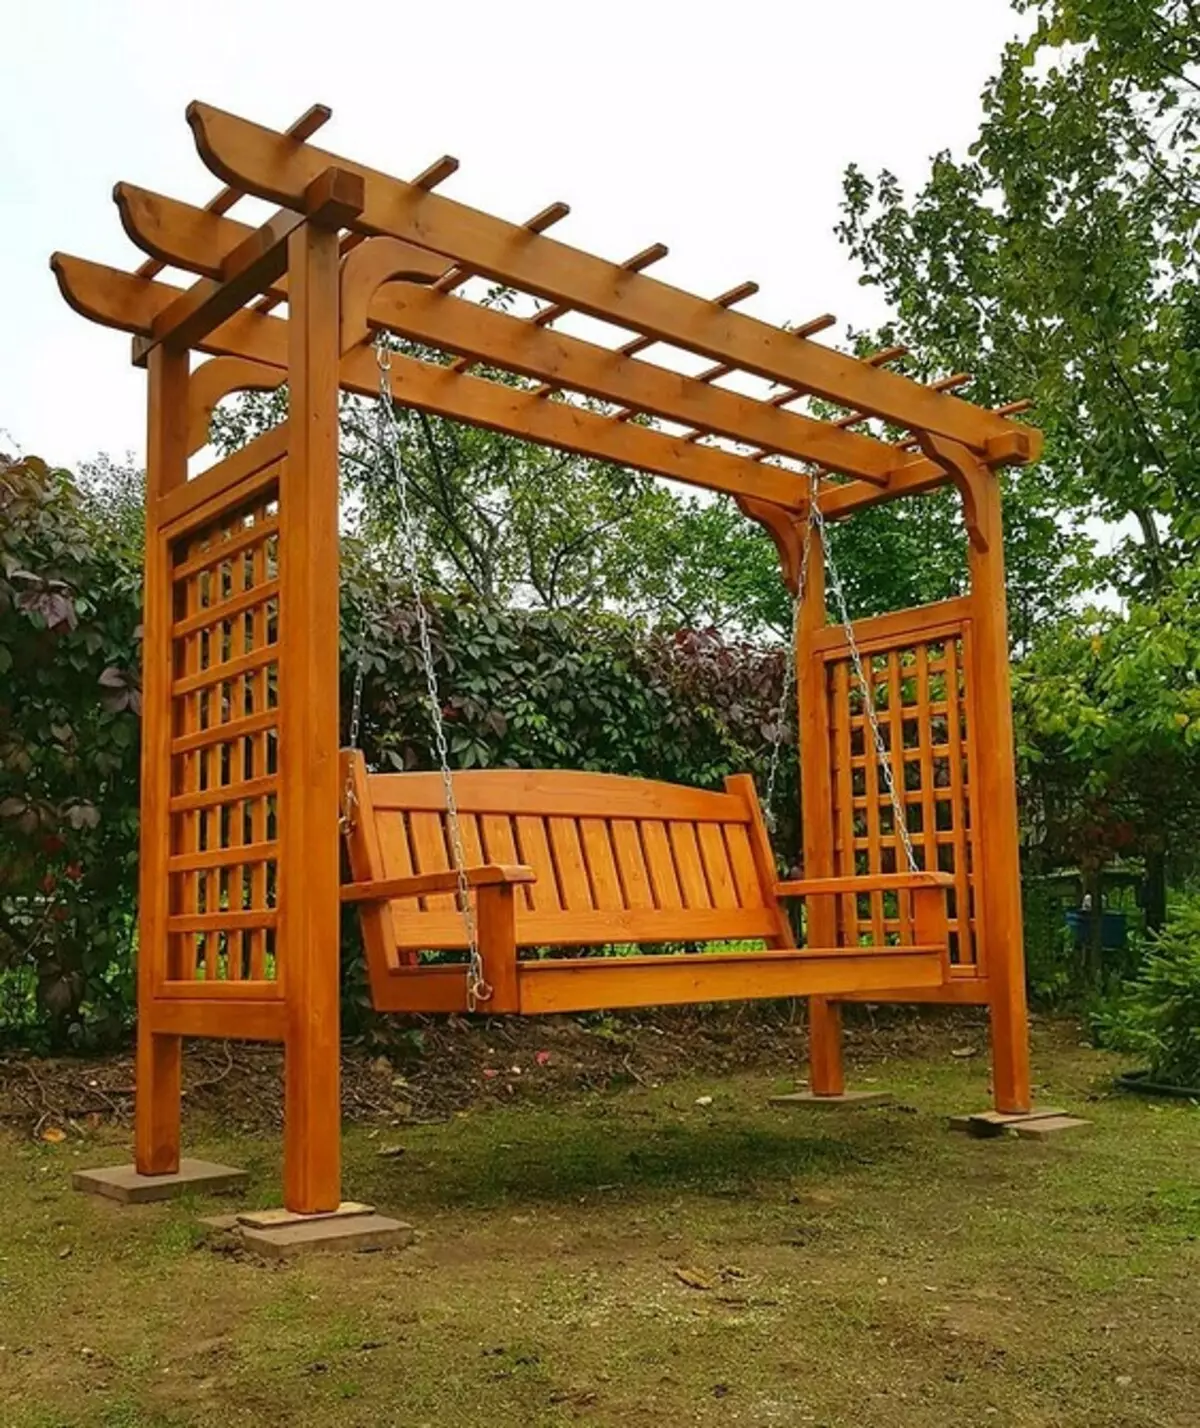
There are facilities and swing. It is attached to chains that are pulled through the transverse beams. But in this case, it is better to take thicker boards for the construction of the roof.
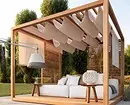
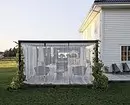
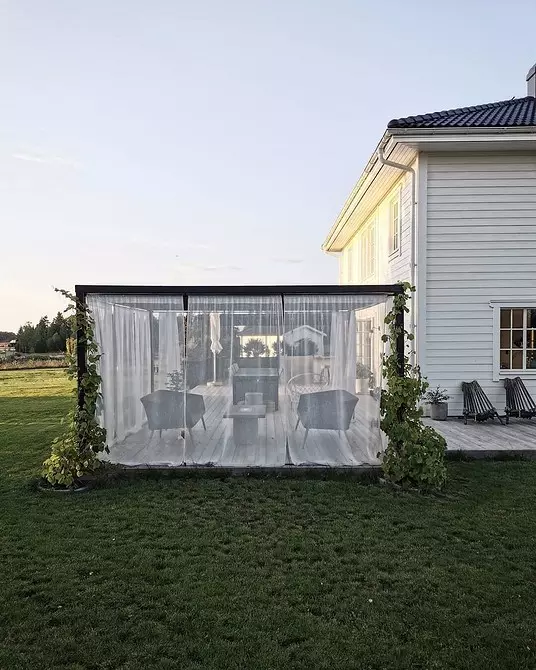
Want to protect against prying eyes? Under the roof, secure the longitudinal beams - it will be a cornice for dense curtains or lighter curtains. This is not only a functional, but also a very pretty solution.

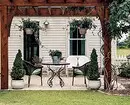
Flowers for decoration
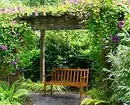
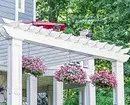
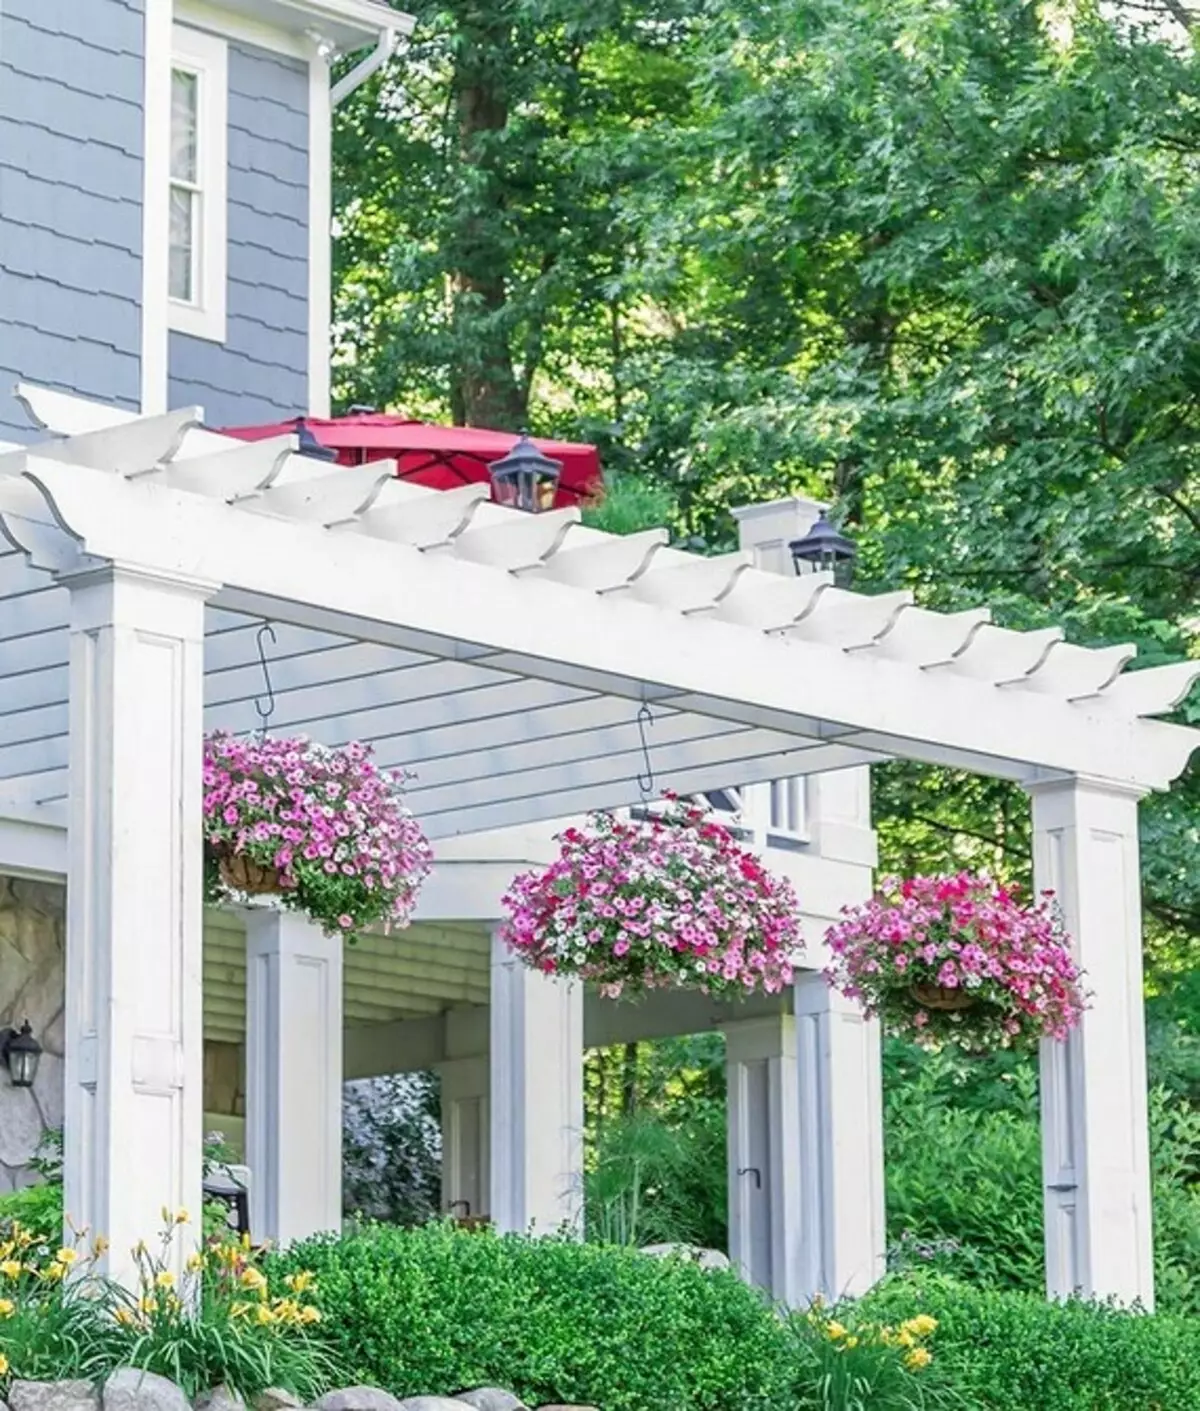
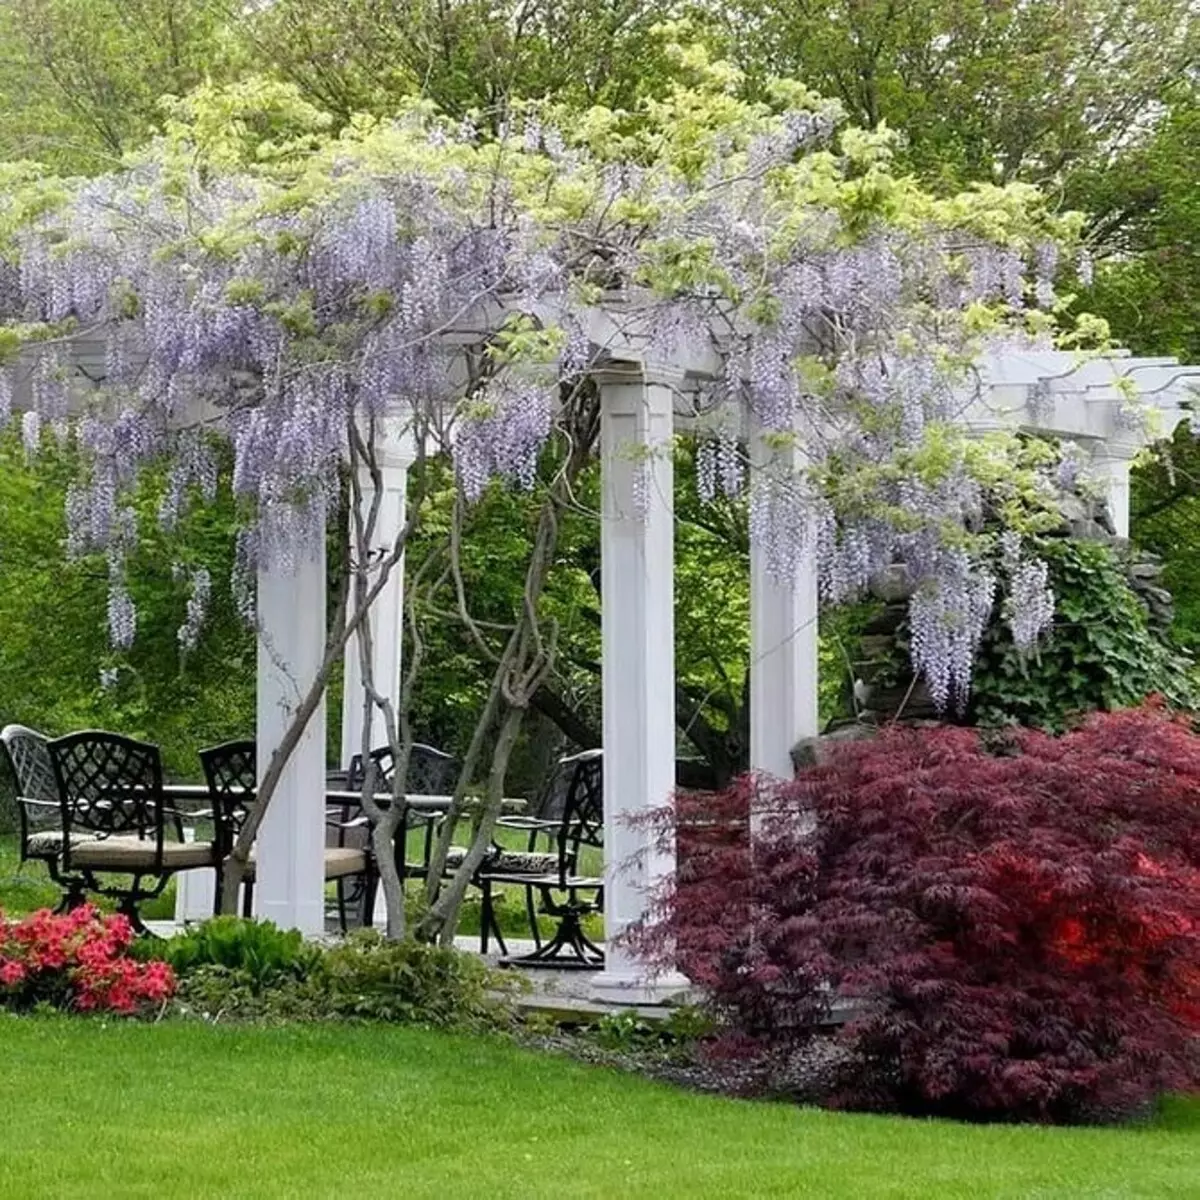
Like a garden arch, an improvised gazebo is decorated with colors, thus sealing the roof or wall structures.
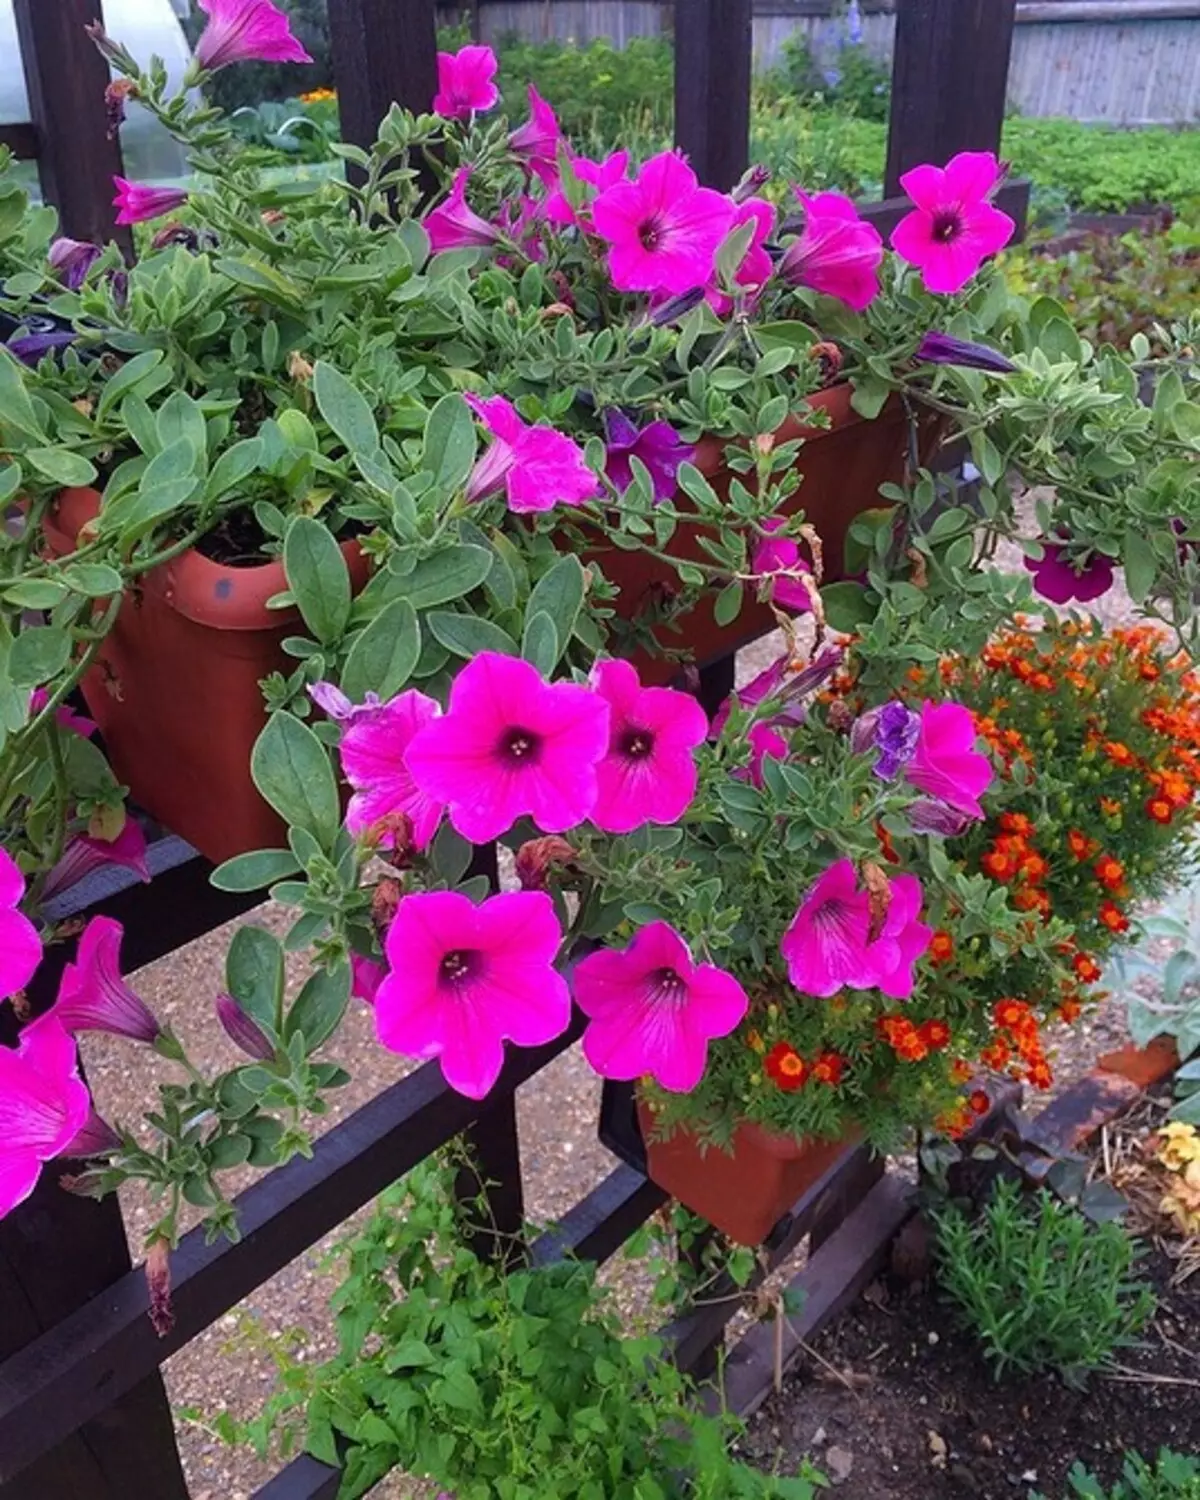
In drawers for flowers, you can land any annual plants, it all depends only on your personal preferences. For example, if you like bright yellow flowers or orange, velvets are suitable; Lovers of blue and purple shades will pay attention to petunia or salvium, and the lion zev or anti-rhyerium will give an unusual shape and shades of the warm gamma.
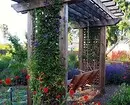

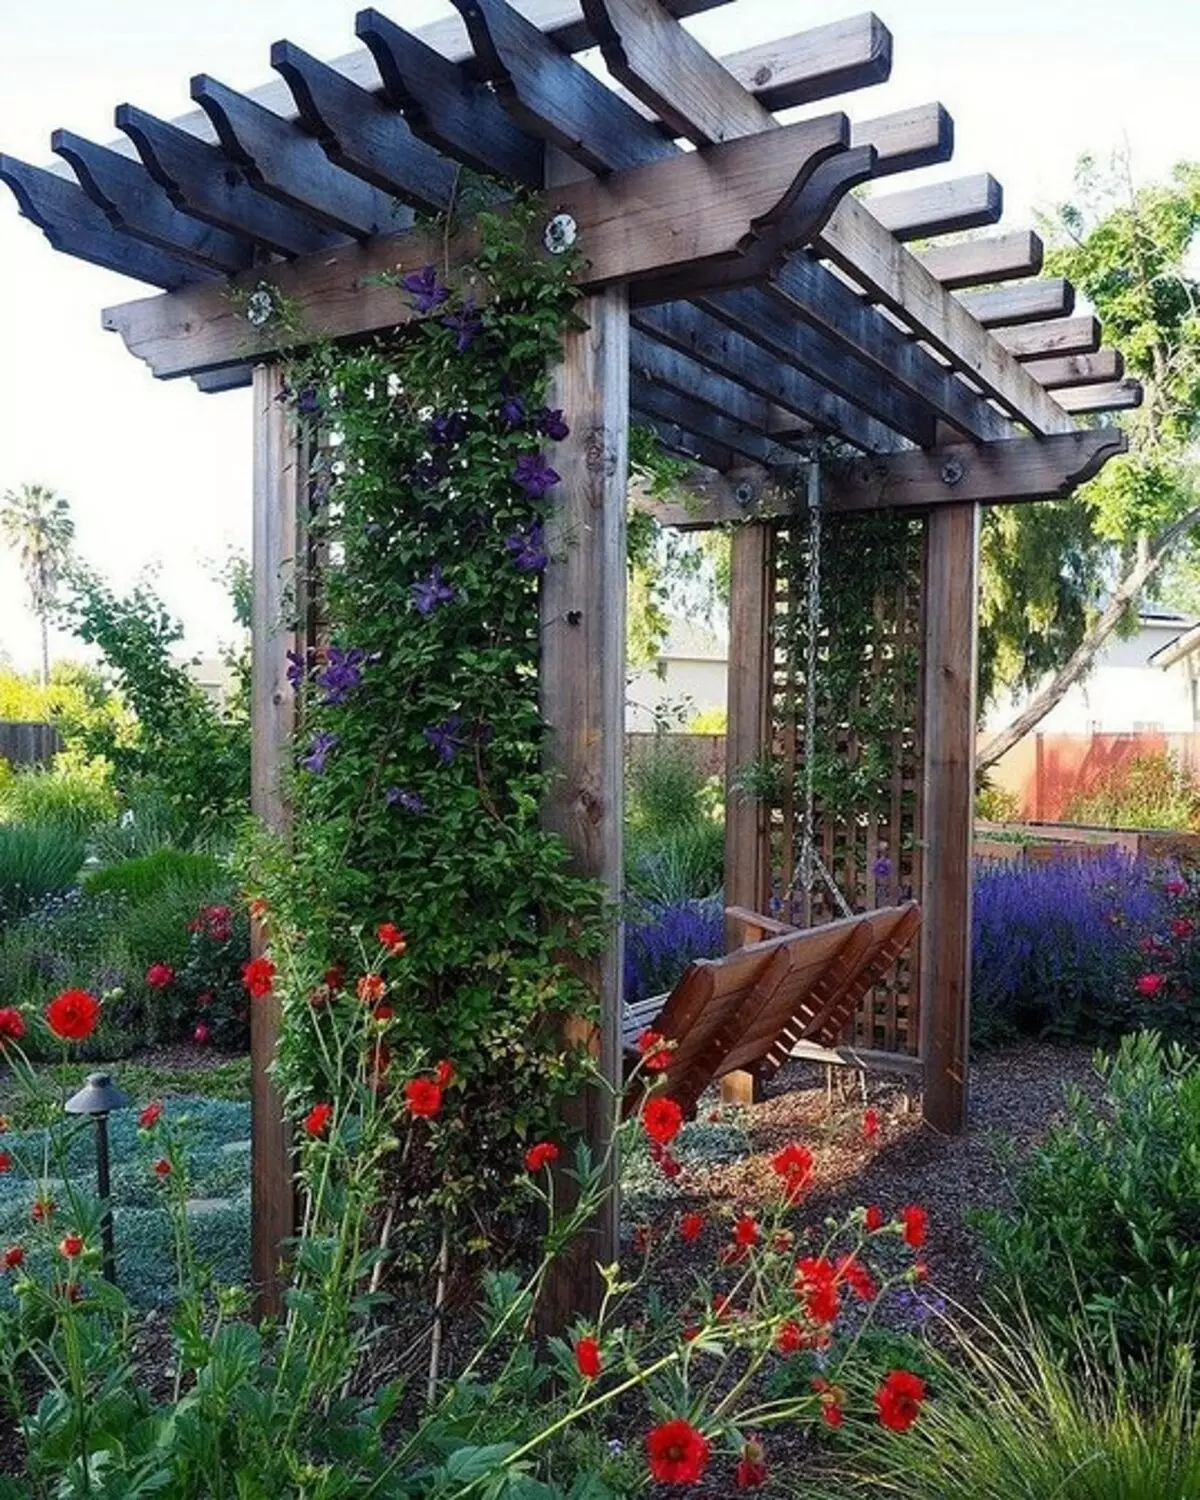
The following types are suitable as curly plants: IPOMEY, KOBE, fragrant peas or a presence. The absolute favorites of any gazebo or arch is considered Clematis and, of course, a garden rose. But with the latter careful - not all the varieties are capable of falling down the fence, some grow up a bush.
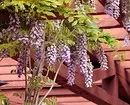
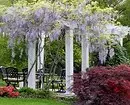
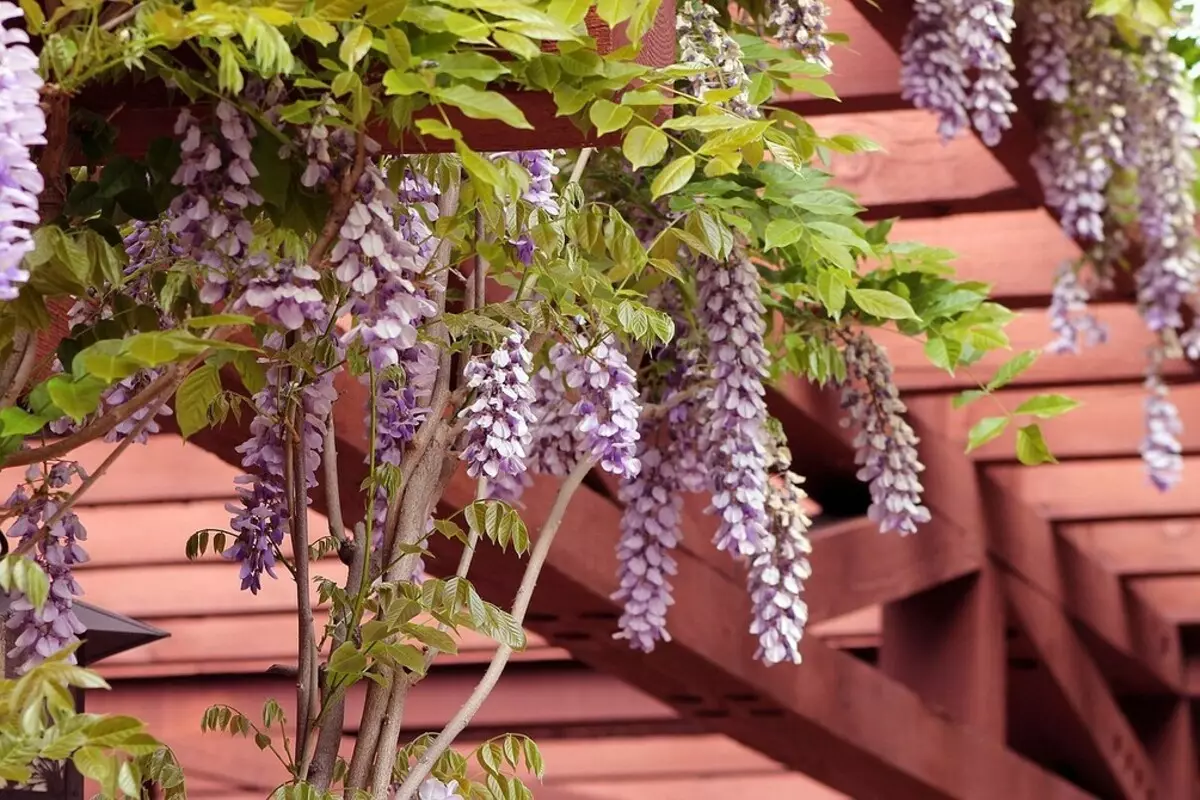
On the roof you can put out falling flowers or lianas: this is, for example, the girl's Wingrad, Highlander or Ivy. Particularly decoratively, the hanging light-lilac cases of Wisteria or Visteria. She definitely will not leave anyone indifferent. At the same time, some varieties of this plant can withstand the most resistant frosts up to -30 degrees.