We give step-by-step instructions for the preparation and installation of an acrylic bath for different supports.

Tell how to install an acrylic bath with your own hands on legs, frame and bricks (aeratedeton). The first stage of installation is preparatory. He is the same for all cases.
How to mount a bath from acrylic:
Preparation- Dismantling old plumbing
- Preparation of place
- Wall covering
Installation methods
- Installation on legs
- Installation on the frame
- Installation on blocks
Finishing work
Preliminary work
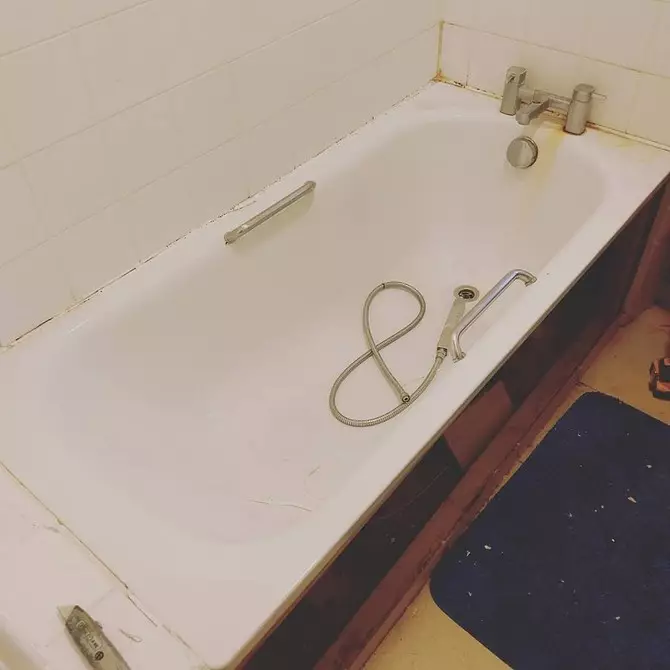
Dismantling of an old bath
Do not forget to overlap the water supply.
- If there is a screen, disassemble it first.
- Disconnect the siphon and draining water.
- Remove the faucet, mixer, shower.
- Knife or trowel carefully remove the sealant.
- Framework structures are usually attached along the corners on the self-tapping screw. Unscrew them and disconnect the bowl from the wall.
- Products standing on the podium are separated by neat swinging.
- Cast iron or steel font can be cut to alleviate its removal. In some cases, the locations of the fasteners will have to be lubricated with a solution that destroys rust.
- The design embedded in the wall is dismantled first from the outside. Then put a soft tissue under it and "drop" to the floor. The second side is removed by scrap or mount.

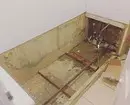
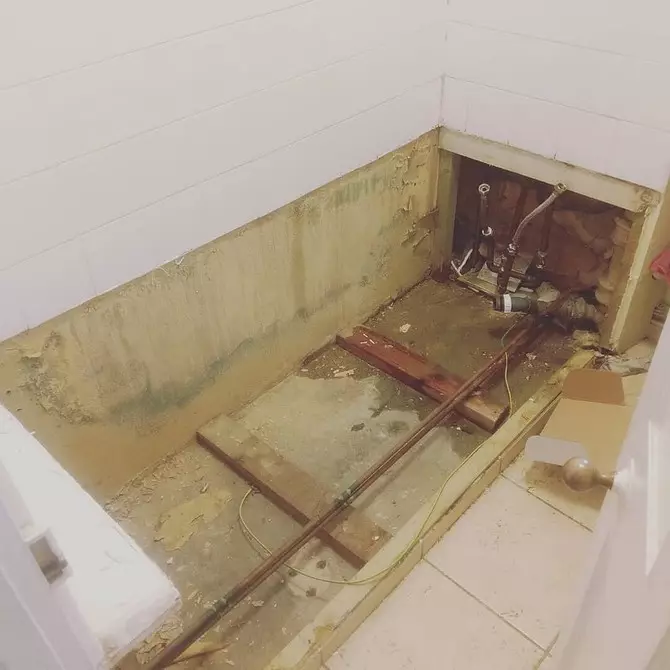
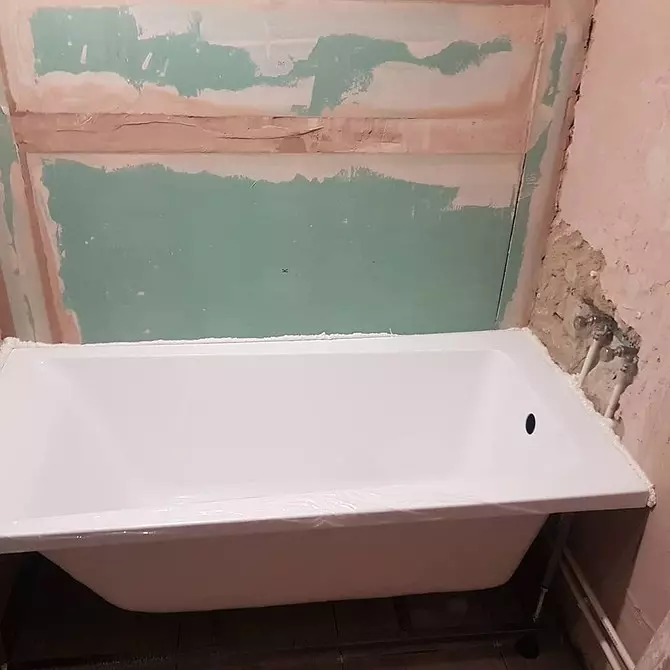
Preparation of place
Take the basis of the bathroom in which you need to make a comprehensive repair. You can skip those items that you do not fit - because sometimes it is only required to replace the plumbing.
- Remove all extra things out of the room. Even if they won't interfere with you, there is a risk of strongly staining them.
- Discharge the water supply and dismantle the old equipment.
- Clean the plot from the garbage to which you will install the font. If the finish was removed - spending corners and floor joints with walls from construction dust.
- Align the floor so that the differences are not more than one centimeter.
- If the corner bowl, align the corner well. It must be 90 ° so that the sides fit tightly to the wall. Otherwise, fasteners and acrylic will quickly ruin.
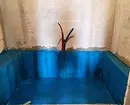
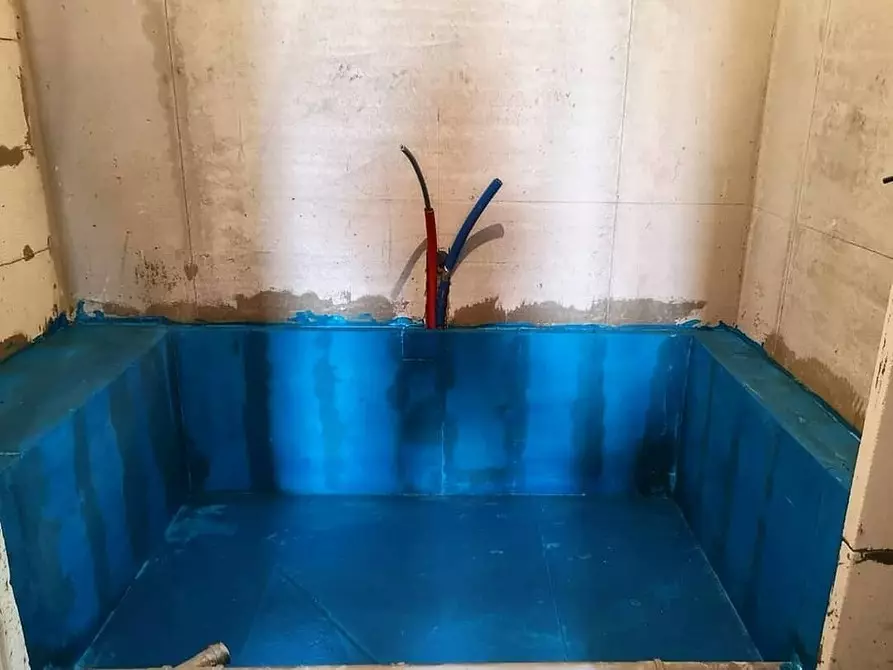
- Waterproof walls and floor. The walls are usually covered with a coating or impregnation by 20 cm above the level of shower watering can. Floor - on the site where the font will stand.
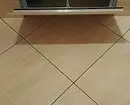
- Put on the floor tile.
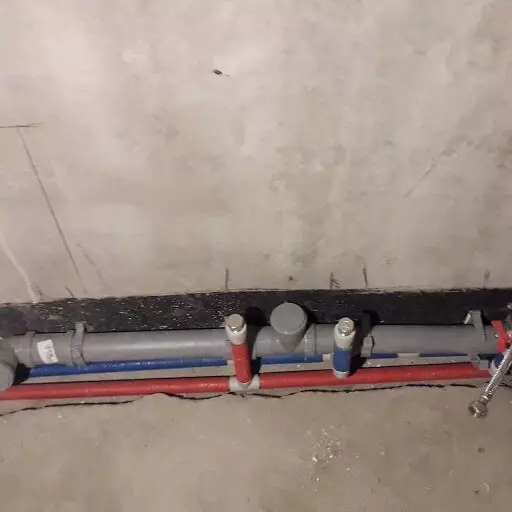
- Spend communication. The height difference of sewage pipes should be at least 1.5 cm for P50 and 3 cm pipes for F110. Otherwise, water will go slowly, blocks will appear. To connect with a siphon, use only rigid pipes, without straight corners and corrugations.
- Look all the places of connections to sealant.
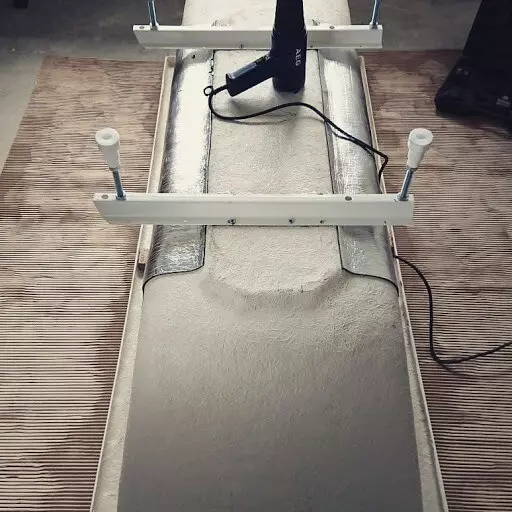
- Make noise and thermal insulation bottom. It can be covered with mounting foam or isolon.
- Take the edge of the walls by mounting film so as not to damage them when transferring plumbing from the room to the room.

This preparatory work is completed.
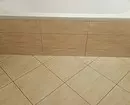
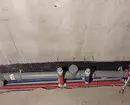
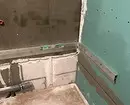
Wall covering
Facing tile can be made before the installation of the product, and can after. In the first case, it takes all the floor to the floor. The junction with plumbing is closed with silicone sealant. In the second case, the tile laid over the side - it turns out a little recessed in the wall. You can start such a finish and before installing the bowl, but then you need to remove the distance. It cannot be said that it is only one of the options to use correctly. It all depends on the specific situation.
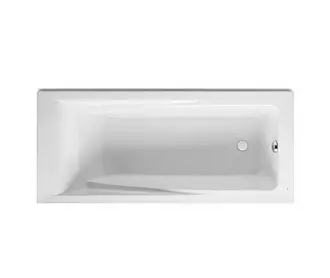
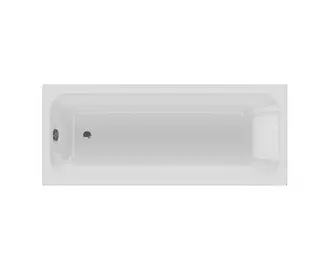
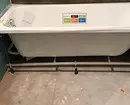
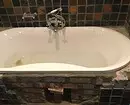
Embedded Roca Hall 170x75
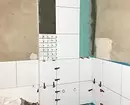
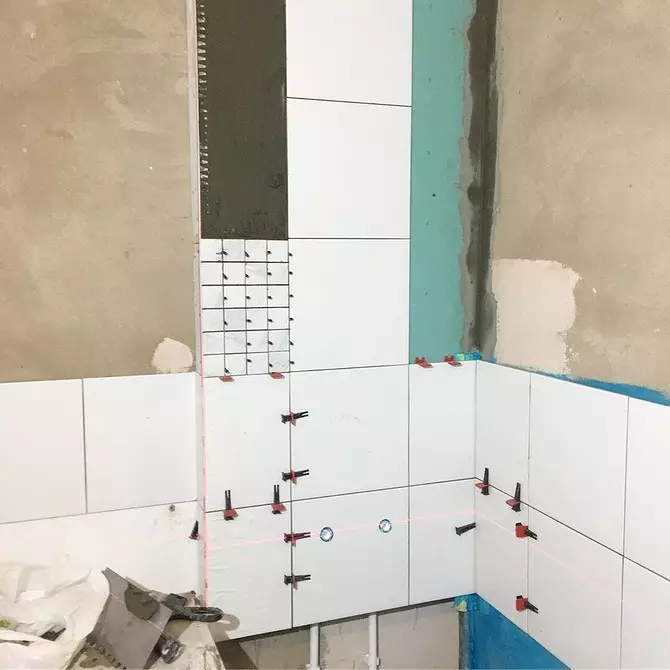
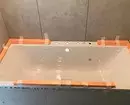
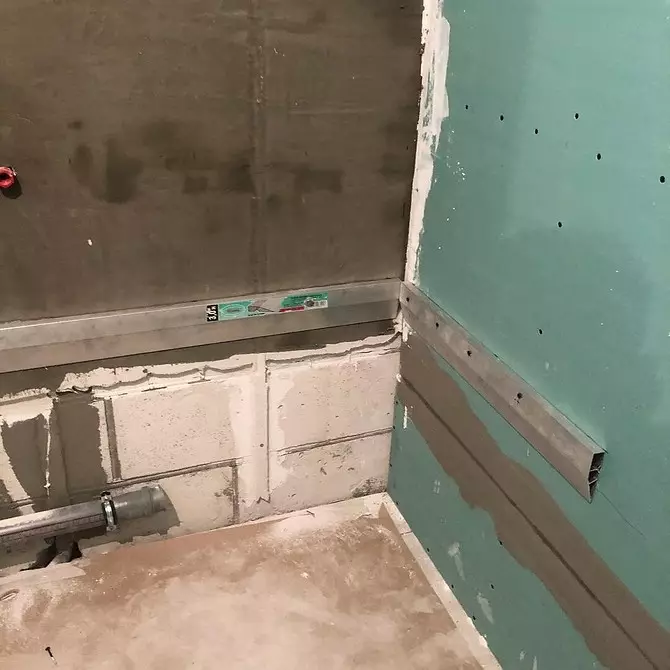
The installation of acrylic fonts of the masters is recommended to start with tile wall cladding. Such a sequence is caused by the fragility of acrylic. In addition, the construction of this material is replaced more often than others, which means to make a mortise board in the wall impractically. After all, it will be more difficult to remove the bowl.
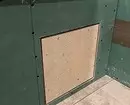
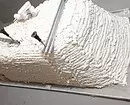
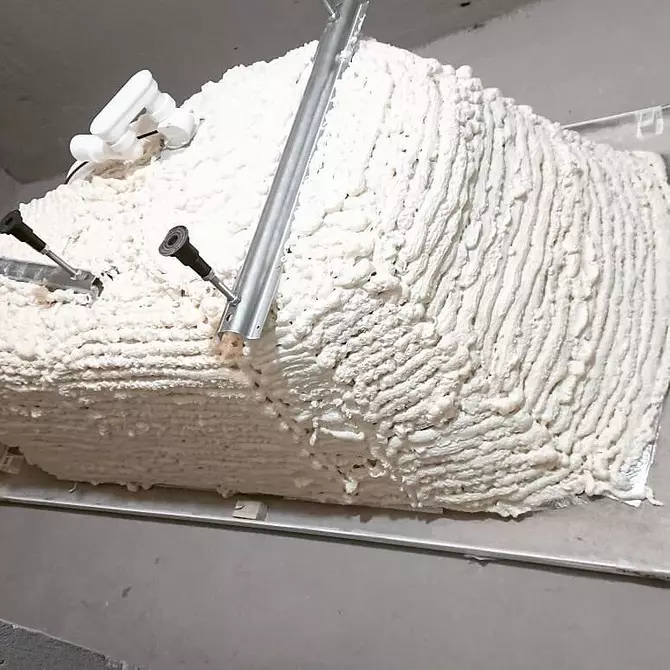
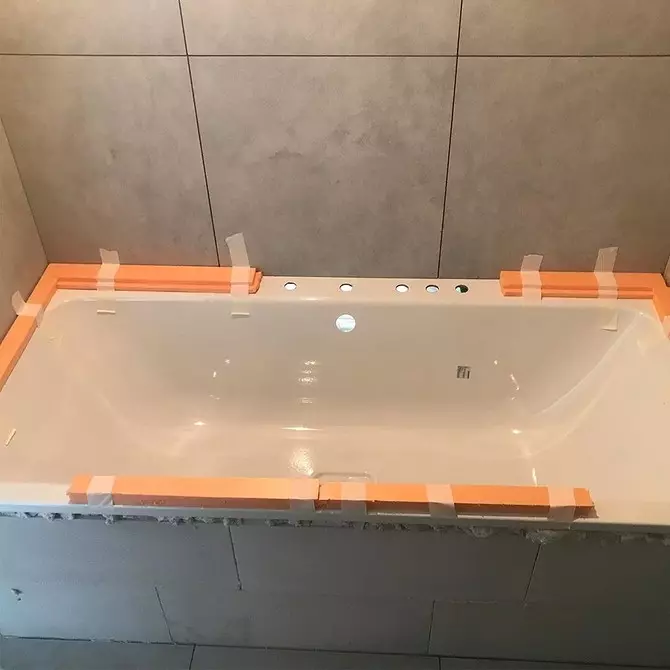
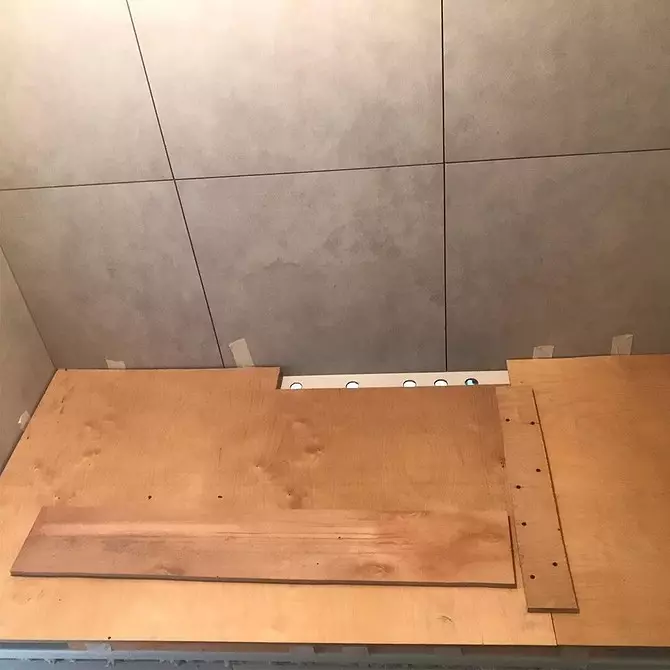
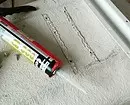
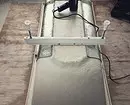
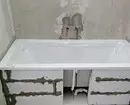
If you had to install it later, protect acrylic from damage and pollution as shown in the photo. For flights, be sure to attach the shock absorbing material, and on top of the plywood sheet.

When the selected area is cleared, waterproof and dried, start collecting the design by one of the three ways that we listed. Be sure to learn the instruction - usually it is specified as it is better to fix the support for the product. Let's start with the simplest option.
Be careful. Acrylic is easily damaged. Squares and scratches may appear from a heavy tool thrown onto the bottom and from a small fall. Pit under the product soft material while it lies on the floor.
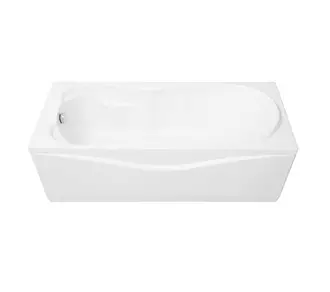
Bath Akvatek Miya
3 ways to mount
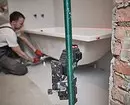
1. Installation of acrylic bath on legs
Such a stand is considered the most unstable and short-lived, but it can be improved if you combine with another support. For example, with bricks. If you need a drilling of the surface, use a tree drill on slow revolutions. The depth of the holes should be no more than 6 mm, and the diameter is not more than 3 mm. In order not to make a mistake, some masters are glued to the tape drill to designate the level.
The instructions are usually indicated, in what places you need to fasten the legs. These are small sites protruding over the bottom. If they are not, select the sections themselves, taking into account the fact that the self-tapping screws must be fixed at least 17 cm from the drain and sides.
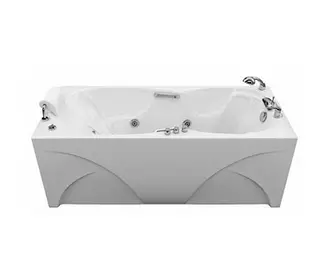
Triton Caesar Bath 180x80
Step-by-step instruction
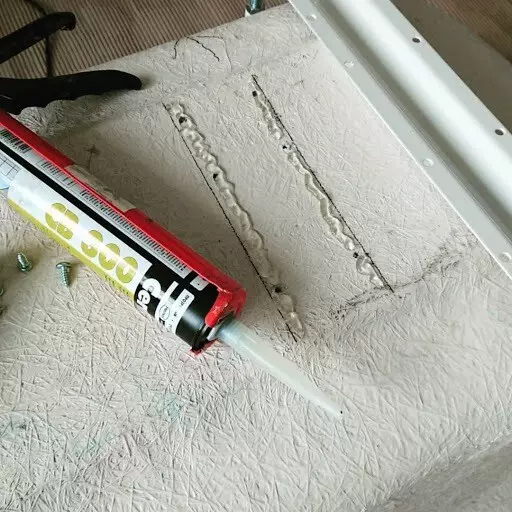
- Turn the font and stick to it with glue or screws to it.
- Screw legs on them.
- Place the top edge of the font in the level and adjust its position. Usually the product already has a bias towards plum, so you do not need an additional difference.
- Attach the plates or hooks wall to fix ports (usually included). After filling with water, the font sinks, so attach them a little lower (by 3-5 mm).
- Install the mixer and shower.
- Cut the bath to the wall and alone it diagonally and on sides.
- Attach the siphon. Its device is described in detail in the instructions. All parts of the parts must be wrapped in sealant.
- Seat the joints with the wall or glue plastic corners on them.
- Wait for the glue drying on the siphon and the nozzle and skip the water under strong pressure to check the tightness.
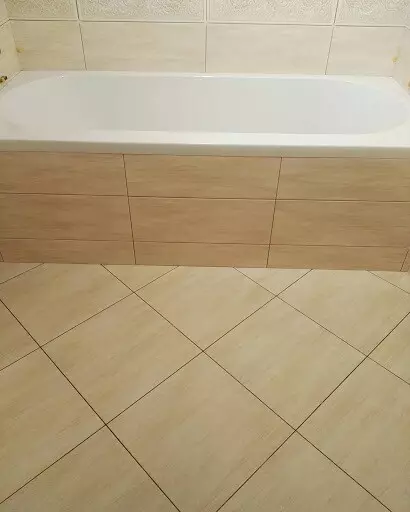
- Eliminate leaks and make a decorative screen.

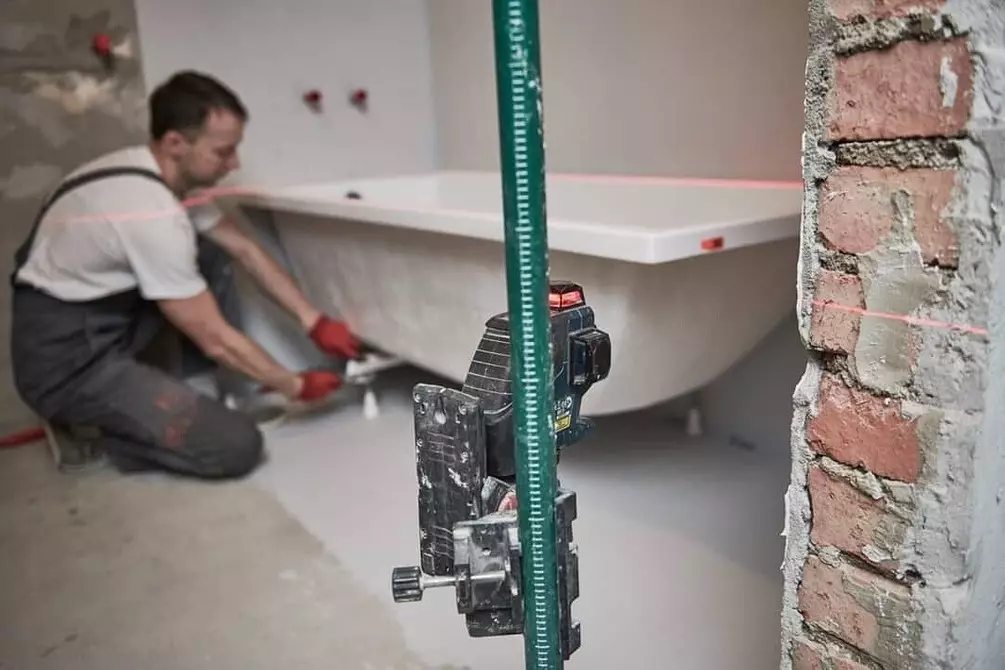
How to use a building level
- Raise one of the corners to the desired height and twist the leg.
- Set the level to the adjacent angle and align its position.
- Also do with the rest of the corners.
- Check the location of the font diagonally.
- Correct the flaws, if any.
2. Installation on the frame
It is best to mount the bowl of exactly this way - the metal support will not get to bend thin bottom. In general, the design will be more stable, but at the same time. The frame is usually sold separately. The kit includes a frame and elements that are attached to it. It is desirable to install all the details already in the bathroom, as it may later have problems with a lack of space in the doorway.Step-by-step instruction
- Turn over the product upside down and mark the sections on which the framework will be fixed.
- Drill holes at a depth of no more than 6 mm.
- Put the frame from above and screw the racks on it.
- Align the frame and screw it with self-draws to the bottom.
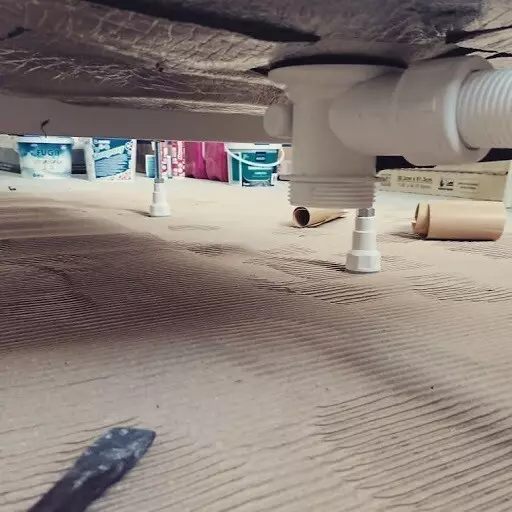
- Screw legs.
- Set the product to the place and adjust it to the level.
- Make marking on the wall for a corner or fasteners.
- Install the bath, connect the drain holes and assemble the siphon.
- Attach the mixer, shower.
- Look all the joints and connections to sealant, pre-protein and degreased the surface.
- Turn on the water and check whether there are leaks. Eliminate shortcomings.
- Install the decorative screen.


Use only those details that are included. If you want to additionally secure the design, use the combined support - add brick columns or podium.

Bath Jacob Delafon Sofa
Check out the video about the installation of an acrylic bath on the frame with your own hands.3. Installation on blocks
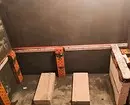
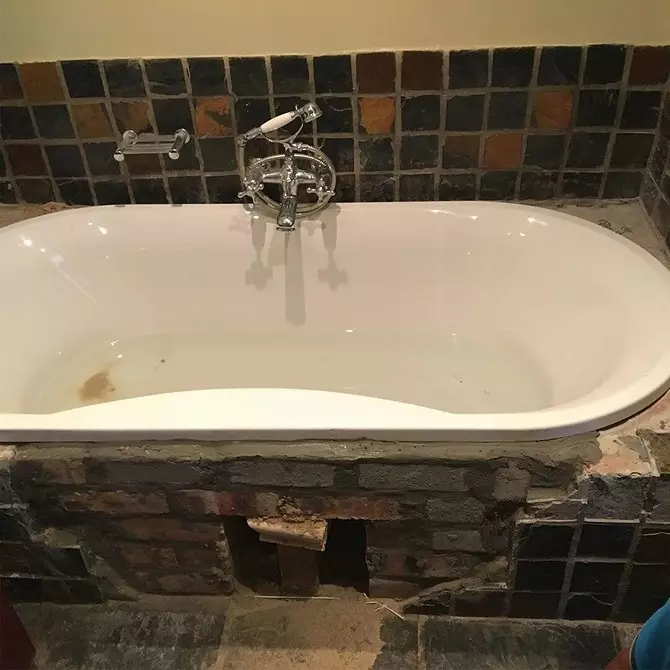
Such a support will also be durable and moisture-resistant, but make it with your own hands longer and more difficult. In addition, it must be borne in mind that it increases the load on the overlap. For the manufacture of podium, you can use both ordinary bricks and aerated concrete. The podium can be solid, located only around the perimeter and in the middle or on both sides.
The last option is preferable. So the design will be stable, but at the same time easy. The consumption of material and time to work will be reduced. In a rectangular and solid frame, you must necessarily provide access to communications. Close blocks can be glued by conventional cement mortar. Let's tell you how to install an acrylic bath on the podium.
Bath Aquanet Viola 180x75
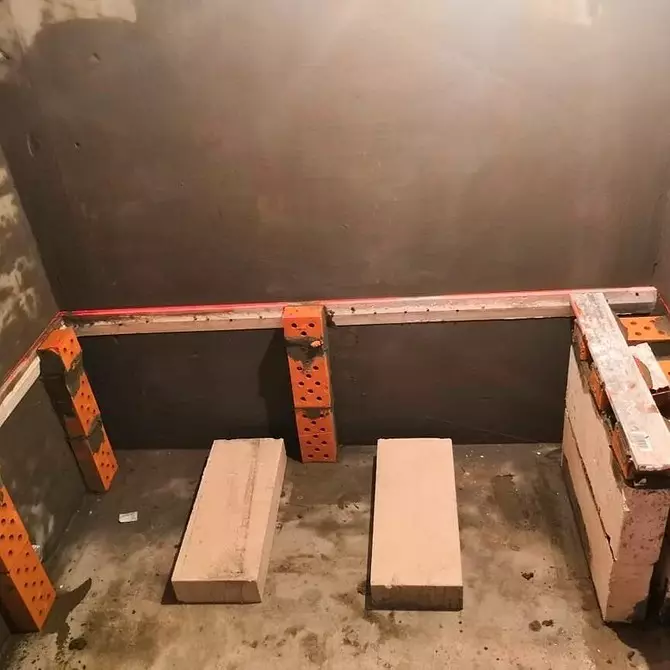
Step-by-step instruction
- Mark on the floor where the columns will be located.
- Prepare a cement-sand solution in a ratio of 1: 3.
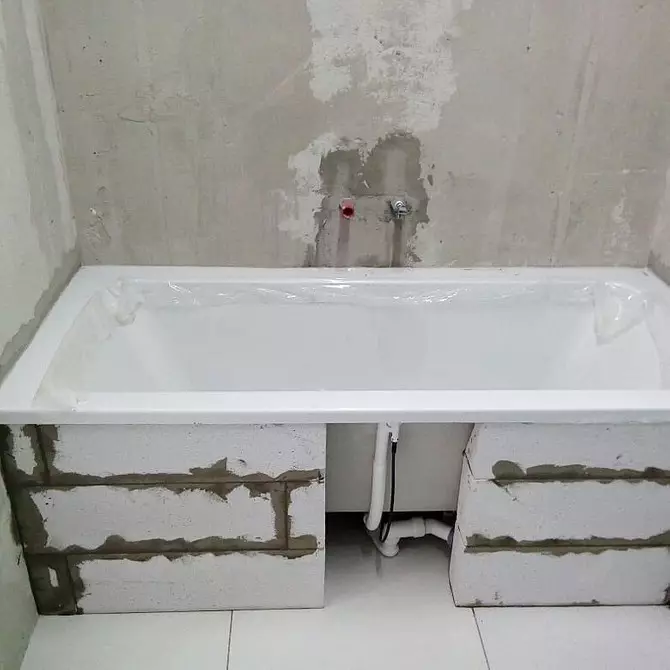
- Make cloth bricks or aerated concrete.
- Gently put the bath on them, but so far do not fix it.
- Mark the position of the lower edge of the side on the wall.
- Drill several holes at this level.
- Attach the metal corner or mounting hooks.
- Wait for the cement on the masonry dry. This will take 12-14 hours.
- Install the bath, align it.
- Connect the siphon, mixer and shower, cover with silicone compounds.
- Turn the water and check the leaks.
- Wipe and degrease the location of the junction with the wall.
- Mad them with sealant.
- Install the decorative screen.
If the font is mounted simultaneously on the legs or frame and blocks, 2-3 cm should be left between the bottom and the support. After installation and alignment of the structure, it is placed by mounting foam. At the time of drying, the foam is recommended to fill the bath with water so that the layer turns out to be smooth.
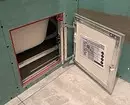
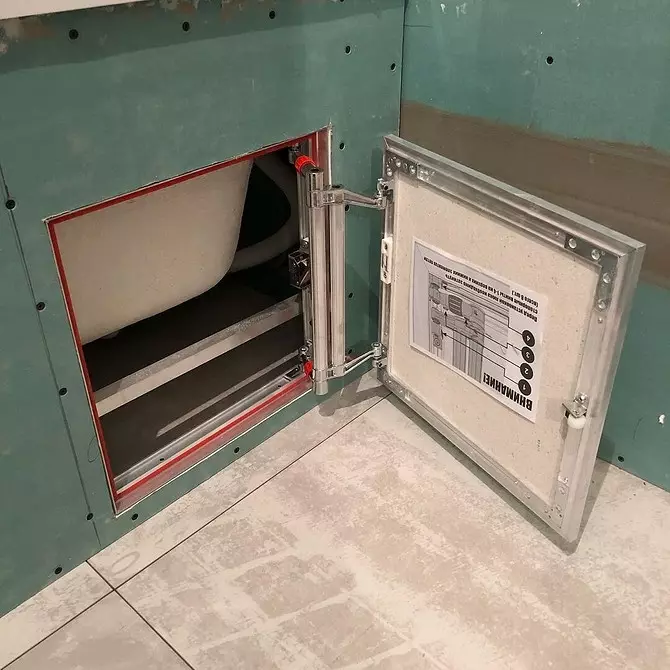
Final works
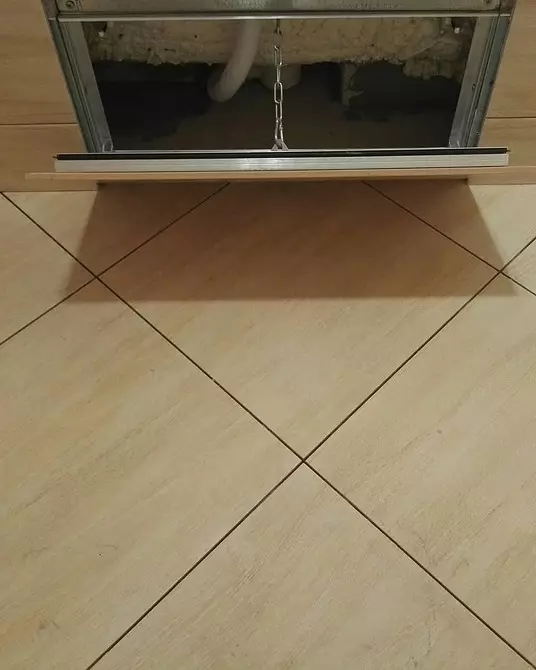
The space below is often closed with a screen. It can be done independently - from moisture-resistant drywall, MDF, plastic panels or bricks. From above, the materials are painted, we are lined with tiles, mosaic, are covered with a film, covered with decorative plaster. If the monolithic screen, not sliding, it is necessary to provide technical hatch in it - in case you need to clean the siphon. In the photo - an example of such linings.