
We tell about the types of screeds for warm water floors, methods of their laying and give step-by-step instructions for each type.

Screed under warm water floor is a simple cement fill. It is called black and make to align the surface, prevent heat loss, pipe deficits. In addition, it affects the durability of the piston layer, which is poured on top of the heating system. It can be placed in three ways. Tell me first about them.
All about water floor tie:
Views:- Dry
- Wet
- Semi-dry
Requirements:
- To materials
- To thickness
Chernobone Device Technology
Methods for laying a fixed coating
Types of chistoys
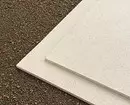
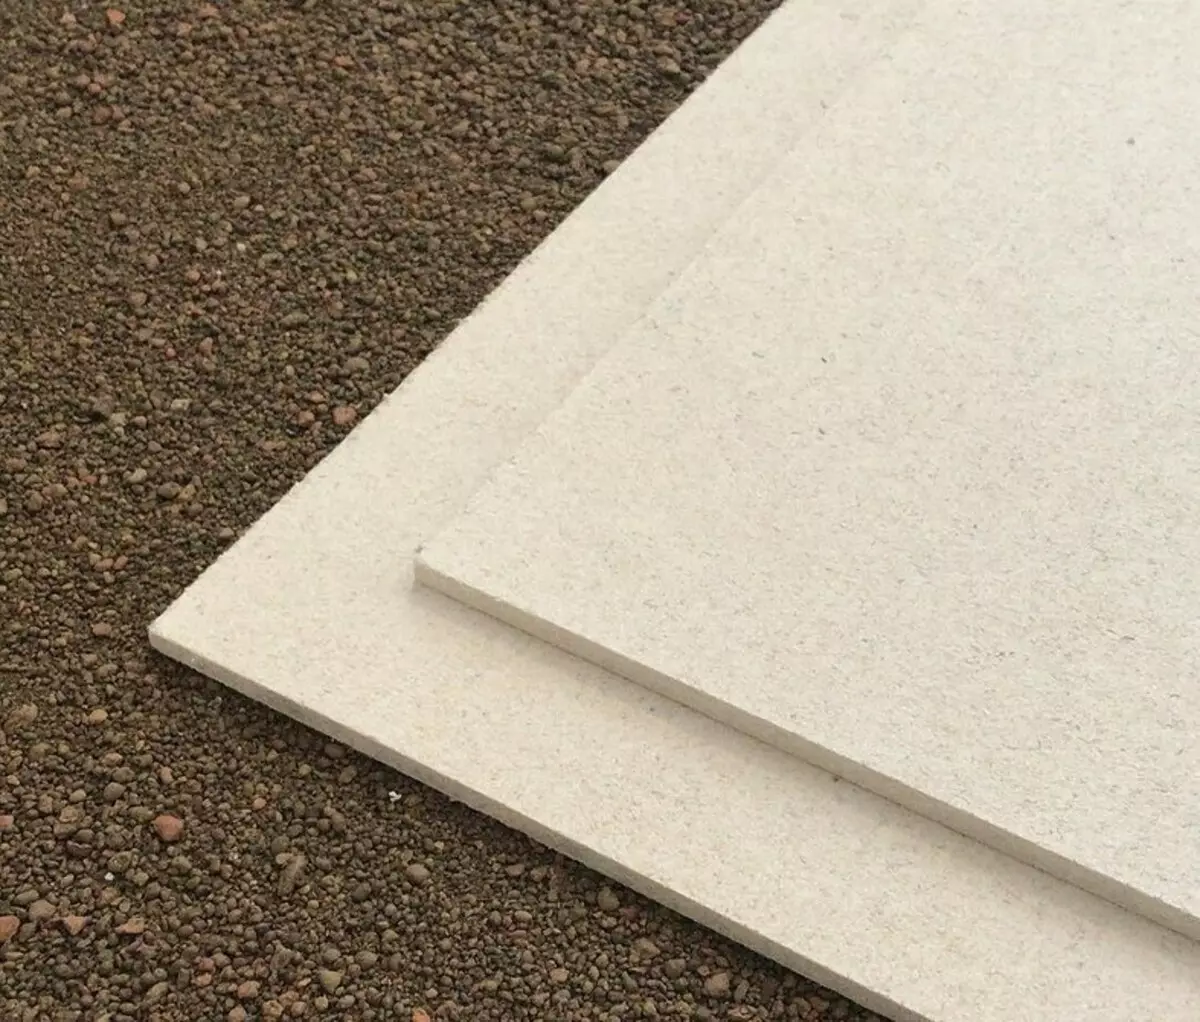
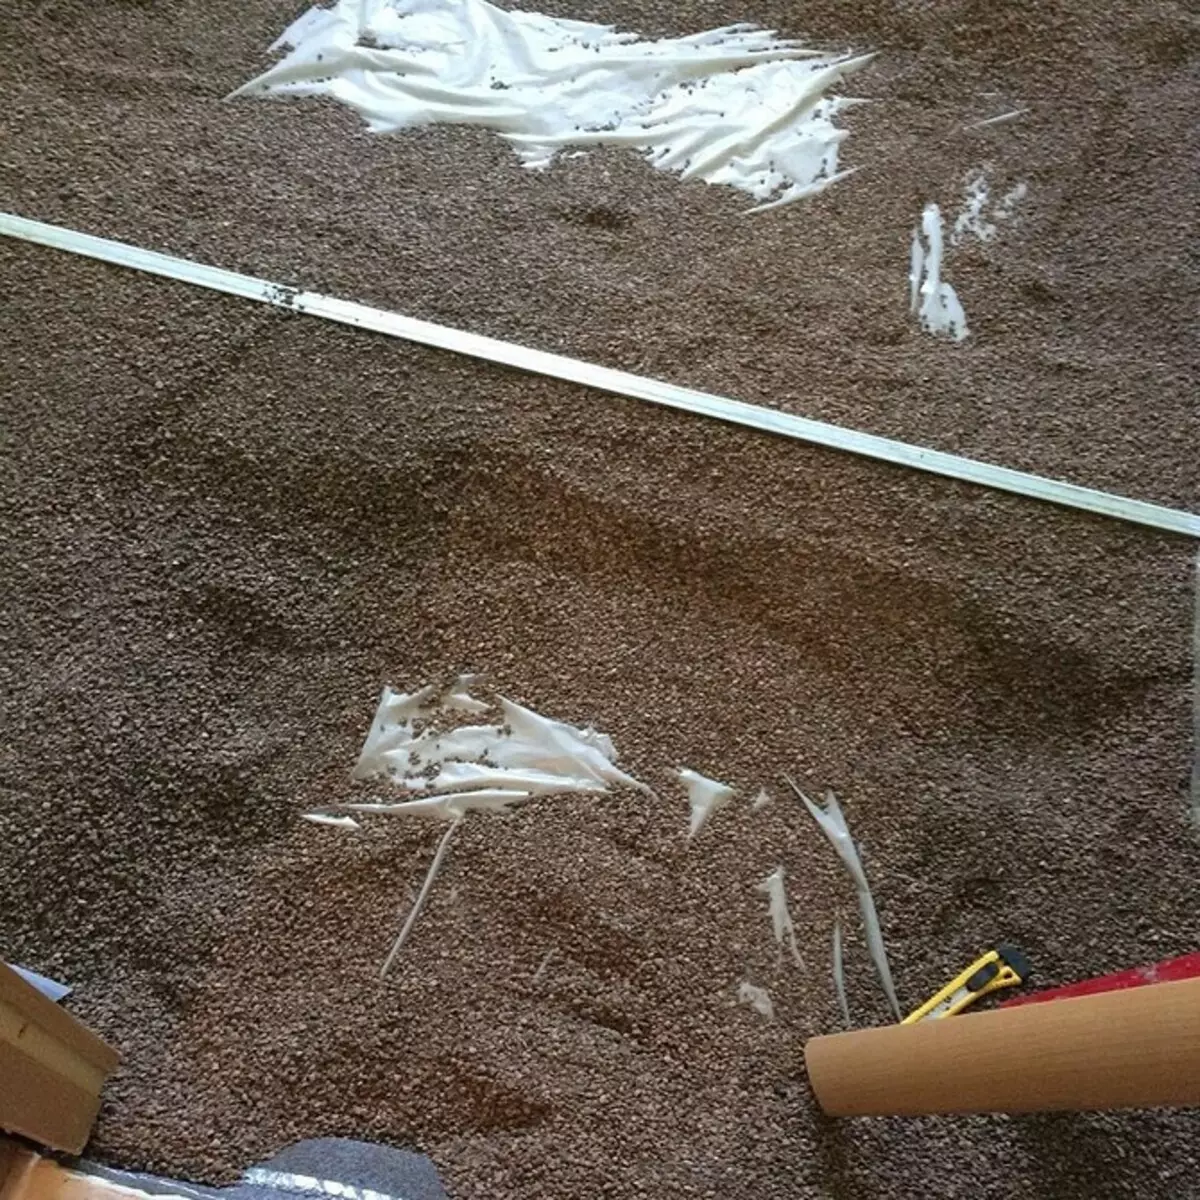
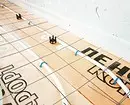
Dry
It consists of a ceramisite foamed vermiculite, polystyrene foam or perlite. Granules are covered with moisture-resistant plasterboard or chipboard. All this is pretty just to put - work will perform any person.pros
- High laying speed. Even in a large room you can handle the day.
- You can mount a pure floor covering the next day.
- The load on the overlap is three times less than in the case of wet fill.
- Simple installation.
- Excellent sound, thermal insulation.
Minuses
- If water falls inside the floor, mold will appear, you will have to disassemble the entire design. Need a waterproof finish.
- HCL plates, chipboard may not withstand additional heavy partitions.
- Some time after the completion of the repair, the rustling sounds will be heard when walking.

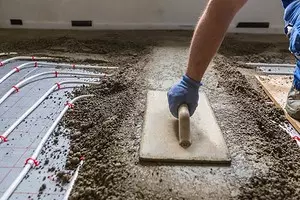
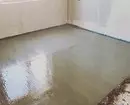
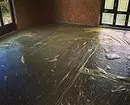
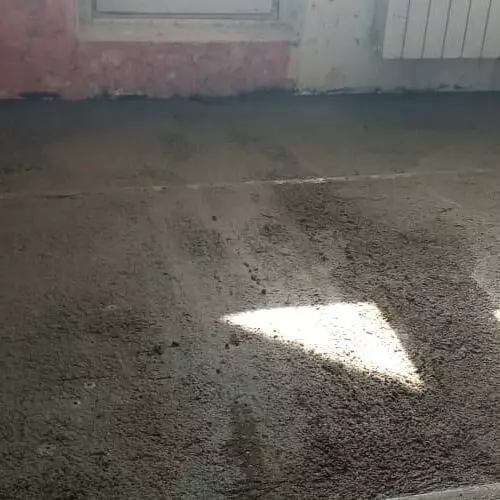
Wet
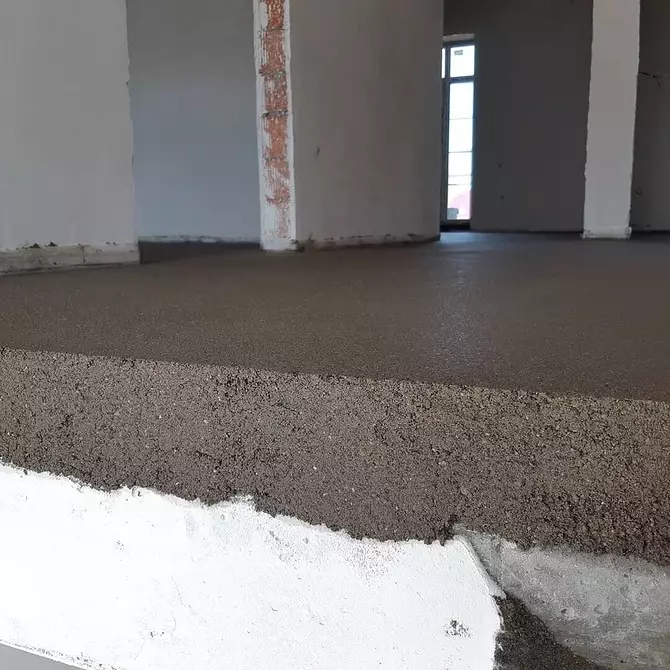
It is usually a cement-sandy solution or a concrete mix. Make everything yourself will be a little more complicated than in the case of dry backfill, but quite real. Ideal for floors with ceramic, stone finish.pros
- Strength. He will withstand new, heavy partitions.
- The dried layer can be left as a final finish, just paint it.
- Excellent sound, thermal insulation.
Minuses
- Labor-intensive process. Liquid solutions, but pour and align them without skills can be difficult.
- Large weight. If the overlaps are weak, this fill will not fit.
- Long time to frozen. A few weeks must pass to the final finish.
- It will be necessary to mix equipment - a building mixer or a drill with a nozzle.

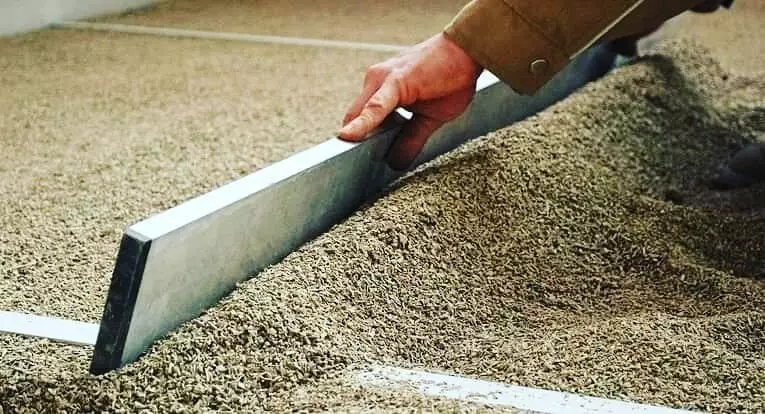
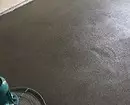
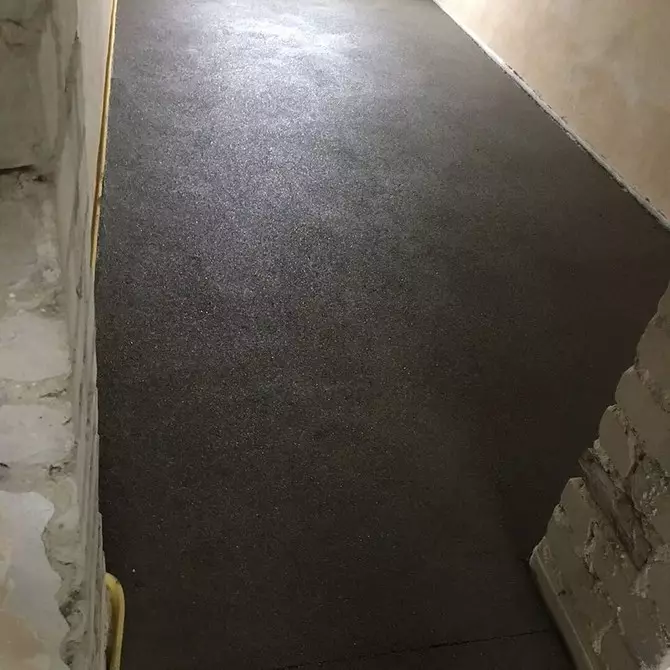
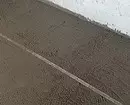
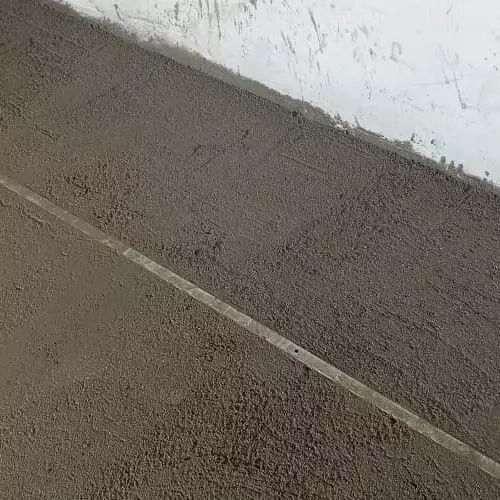
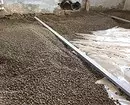
Semi-dry
Such a coating is difficult to make with your own hands - this requires a pneumatic pump mixing, as well as a grinding machine. On a small area, you can try to do everything without equipment, but it will be more difficult. The material is not easy to align yourself, as it is a solid sandy-cement mixture. Plasticizers add to it and a small amount of water.pros
- Tile finish can be started already after two or three days. For other coatings, the timing is greater, as the moisture will stand out within a month.
- Small weight.
- Good sound, thermal insulation.
- Relatively pure working conditions.
- There is practically no shrinkage.
- Moisture resistance.
Minus
- The need for equipment. It is hired in a construction company, but these are additional costs.
What to choose what is better
It is difficult to definitely reply, which screed is better for water warm floor. If we proceed from weight, the optimal version is dry mixtures. They are much easier, the load on the overlap is not so strong. In addition, they can get cheaper if the repair makes in a small apartment. In the speed of laying, they won two other options. You can do everything for a couple of days. But such gender is not recommended to do in the bathroom.For large-scale work, when there is a reserve of time before settling in housing and need a large batch of material, it makes sense to purchase a wet concrete or cement-sand tie. Also this option is suitable for those who need a durable coating, which is not terrible moisture.
A compromise could become a semi-dry mix - it is durable, dries faster wet. But it requires the equipment or the workflow will be time consuming.
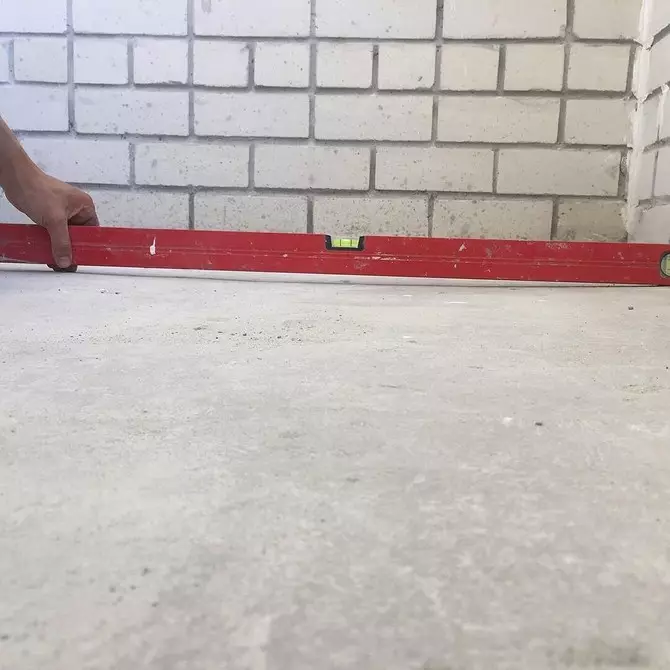
Requirements for screeds
First of all, we note that the coating should be smooth and horizontal. Delta is allowed in 5 mm. Otherwise, the upper finish can crack, the devices will appear, the heat will not be distributed evenly. We will tell you more about other requirements.
What material to choose
For warm water systems in residential buildings, a brand of concrete M150 is recommended or self-leveling compositions for the creation of warm floors. For a mortar from the cement-sand mixture, cement M500 or M400 grade and sand fraction is not more than 3 mm. If you need to make a layer of thinner recommended values, plasticizers, fibrovolok or PVA glue add to the solution or concrete.
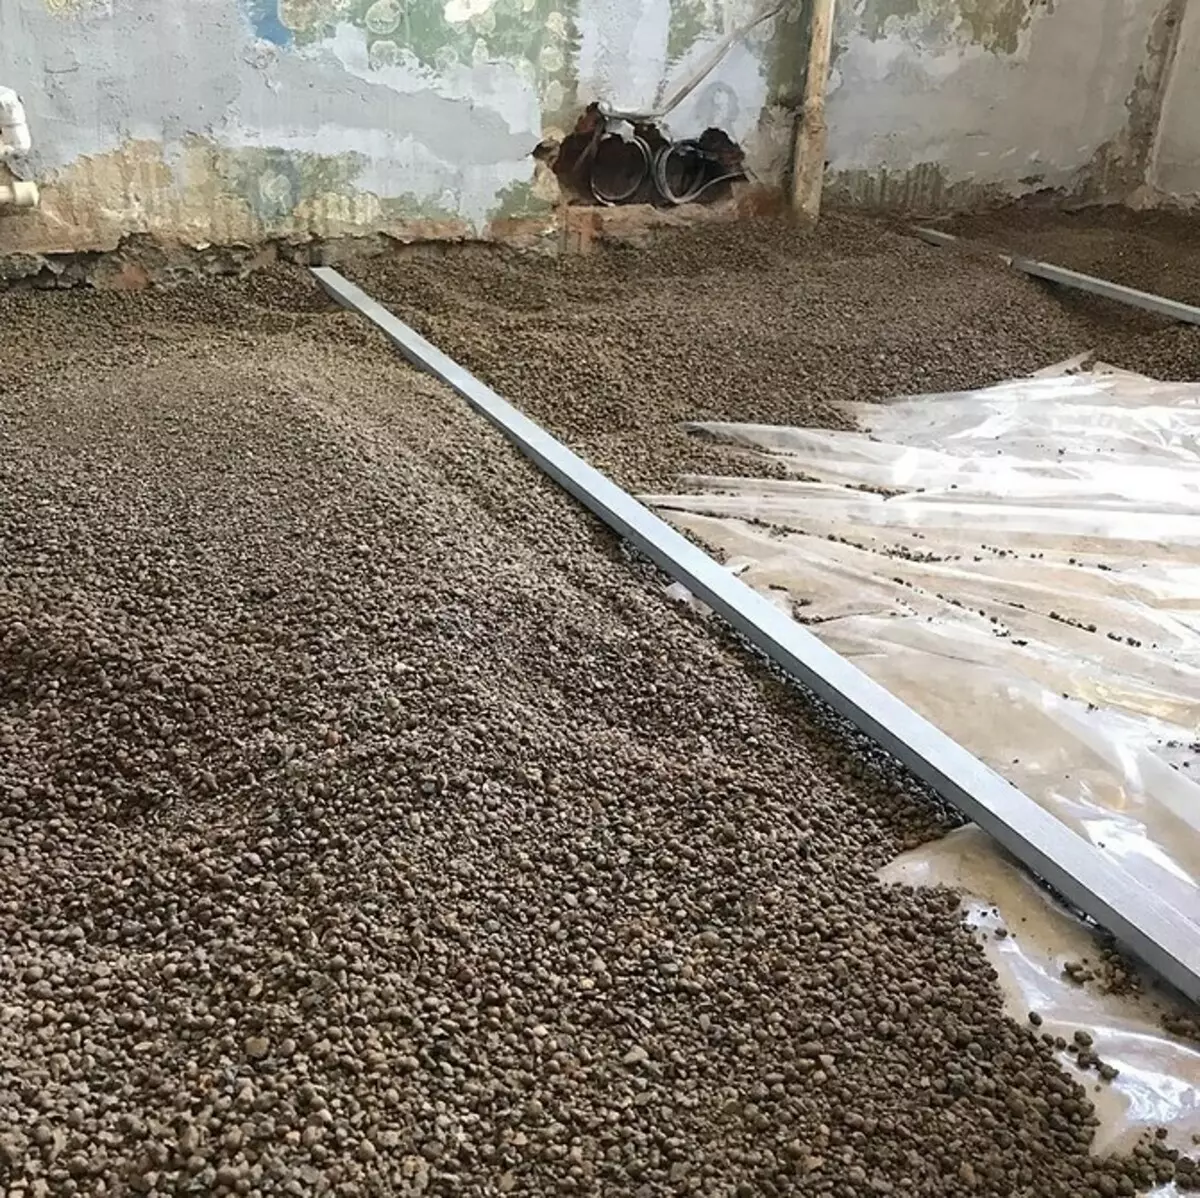
The recommended particle size in the dry backfill is 5 mm. As for the filler, the foamed vermiculite, polystyrene foam or perlite is considered a more preferred option. They are easier clay.

Optimal screed thickness under warm water floor
The indicator is important for any coating. It depends not only by the quality of warming up, but also the strength of the system as a whole. The thickness is chosen depending on several factors.- Ceiling height.
- Diameter of pipes.
- Type of laying mixture.
- The strength of overlaps.
The minimum height for residential premises is 3-3.5 cm. Maximum - 5-10 cm. Too high layers, especially the top, prevent the room rapid warm-up and eat the distance to the ceiling. In some apartments it will be very noticeable. If you make the coating too thin - the structure will become less durable, it will save the heat less. On average, the best option is considered the thickness of the patch layer 7-8 cm, where 4-5 cm falls on the space above the pipes. For the draft fill, 3-3.5 cm is sufficient.
The thickness of the dry coating should be such that there is no empty space between the backbone and sheets, and the heating outlines were at a depth of at least 2 cm from the surface.
In the video - more detailed recommendations for the choice of the maximum and minimum thickness.
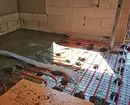
Black screed device technology
You will need a mixer tank, a building mixer or a drill with a nozzle, beams, level, rule, spatula, cement, sand and water. Before the pouring of the draft layer, you need to finish the installation of all communications, window slopes.
Step-by-step instruction
- Pre-plastered the walls and the ceiling so that the solution does not fall from them.
- Close the drain holes, fix the cables in a semi-lagging state, creek all the accessories that can be in contact with the cement.
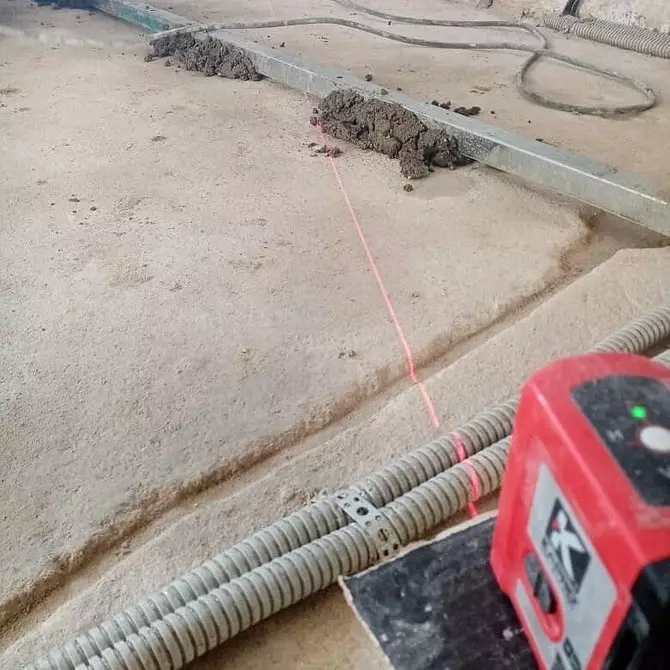
- Remove the entire garbage from the surface, determine the level of height differences, make markup.
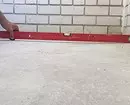
- Install metal beacons, secure them with alabaster (it will quickly dries) at a distance equal to the length of the rule.
- Connect the cement and sand in the 3: 1 proportion, add water and plasticizer (or liter of PVA glue). A large amount of water will lead to cracking, so do not make the mixture too liquid.
- The finished solution is immediately filled between the beacons, at the same time the rambling it. It is necessary to release air bubbles.
- Align the part of the rule. Move it with wave-like movements towards yourself.
- Close the room from sunlight and draft.
- On the second day, cover the cement film and leave under it until the surface drying.
Such technology minimizes the risk of cracks. Even if you have chosen the minimum thickness of the screed for water heat, the coating will be durable. For drying can take several weeks (3-4). After that, you can lay the heating system.


Methods for laying a finishing screed
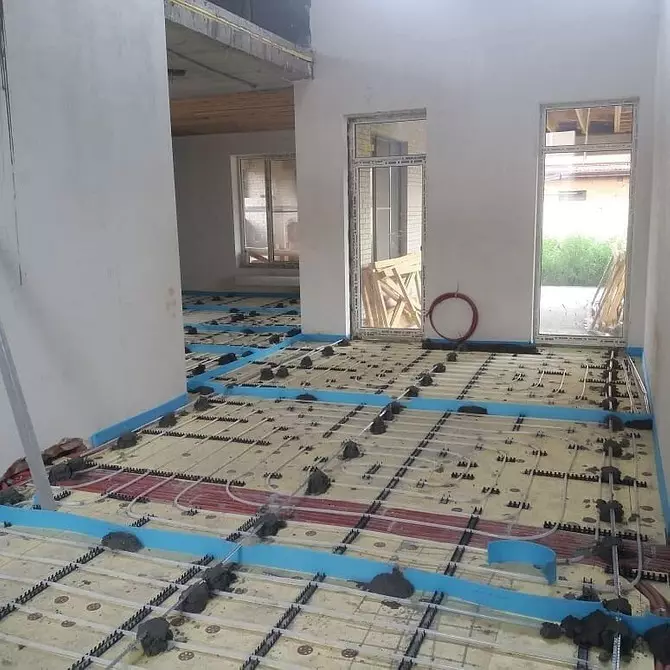
There are two general rules for all material laying options. Before pouring or fall asleep the top layer, builders are recommended to draw the location of all system elements, as well as check its performance. It can be tested in two ways.Testing elements of a warm floor
- With operating temperature. Start displaying the system to operating temperatures from 20 ° C. Raise 5 ° C after three to four hours. Drain the coolant if leaks appeared and eliminate them. Then make start again. Leave for 2-3 days. If everything is fine - you can make a finishing finish, having cooled the system.
- With high pressure. Run the coolant into the system and create a pressure of 2-3 times exceeding the working one. Leave one day. If the pressure drop is not more than 1.5 bar - go to the fill.
During the fill, the screed in the pipes should be a coolant heated to 25 ° C.
When testing pressure, it is recommended to further fasten the pipes. After a successful trial launch, you can follow. We give step-by-step instructions for each laying method.
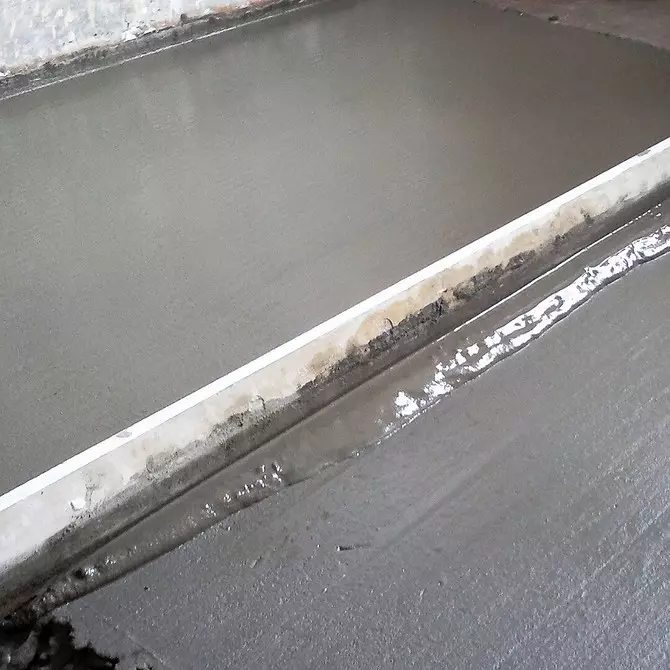
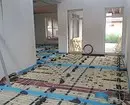
How to pour a wet tie
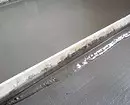
Fill in one room you need to do for one day, and breaks in work must be minimal. Exception is a surface separated by a damper ribbon. In this case, the plots can be poured with a break.
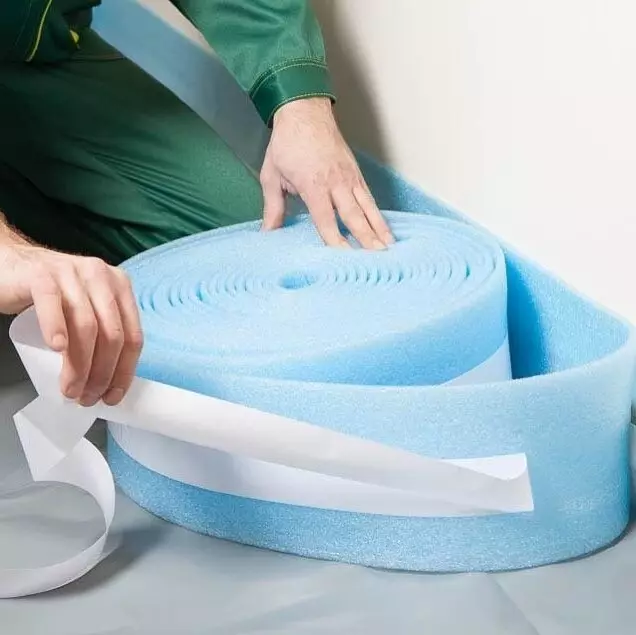
- Secure the damping tape at the perimeter. It is needed that the frozen gender does not ripped at temperature skames.
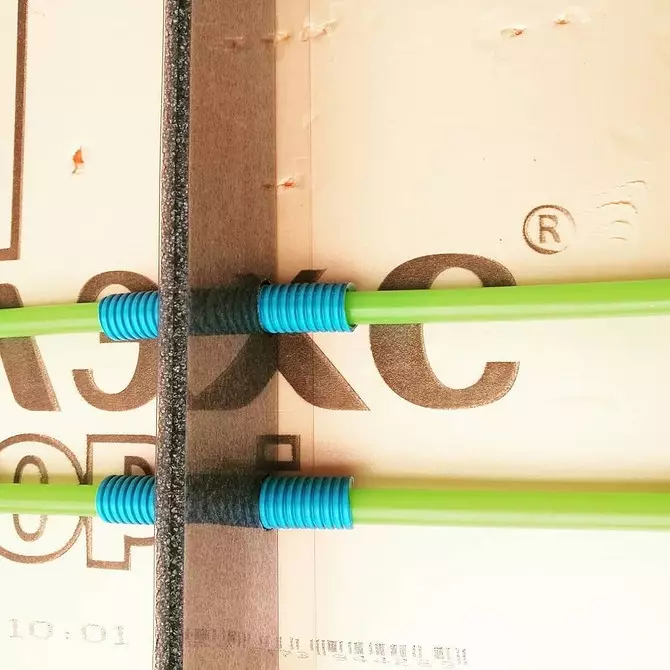
- In a large room, lock it every 20 m2, between adjacent contours. The pipe at the same time passes through it and in the place of the passage is enclosed in corrugation. You can use instead of t-shaped strips.
- Locked water floors protect from mechanical damage to boards.
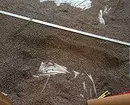
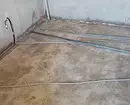
- Pipes, bringing water to the collector heat insulating. If they are plastic - hide them in the strokes made in the heat insulation of the floor.
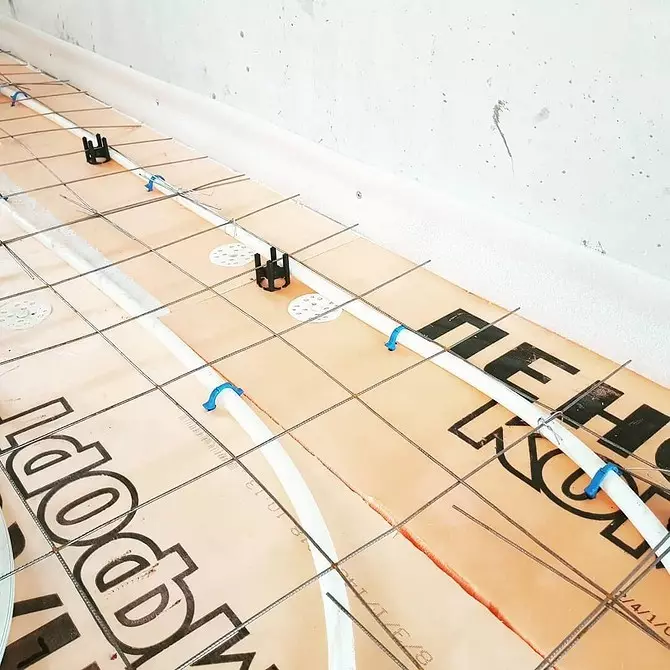
- Place a metal mesh with cells 10x10 cm on the heating system.
- Using the level, install metal lighthouses with a height of the layer thickness. First fix at a distance of 20-30 cm from the wall. The following - with a step less than the length of the rule by 20 cm.
- Secure them with alabaster, wait until it grab.
- Prepare a sand-cement solution in proportion 3: 1 or split the ready-made water.
- Distribute material on the surface, while at the same time the tampering it to remove air bubbles.
- Schedule the mixture by rule.
- Cover it with film the next day.


Drying usually takes 20-28 days. During this period, one can not be laid on top of the finish.
The damper tape should not cross the thermal contours themselves. It is always located between them.
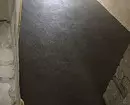
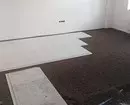
How to mount a dry tie
All components of the composition and the surface on which they will fall asleep should be perfectly dry.
- Fix around the perimeter of the room and between the heating contours of the damper tape to compensate for the expansion of the material.
- Using level, set lighthouses. They must be equal to the thickness of the mixture.
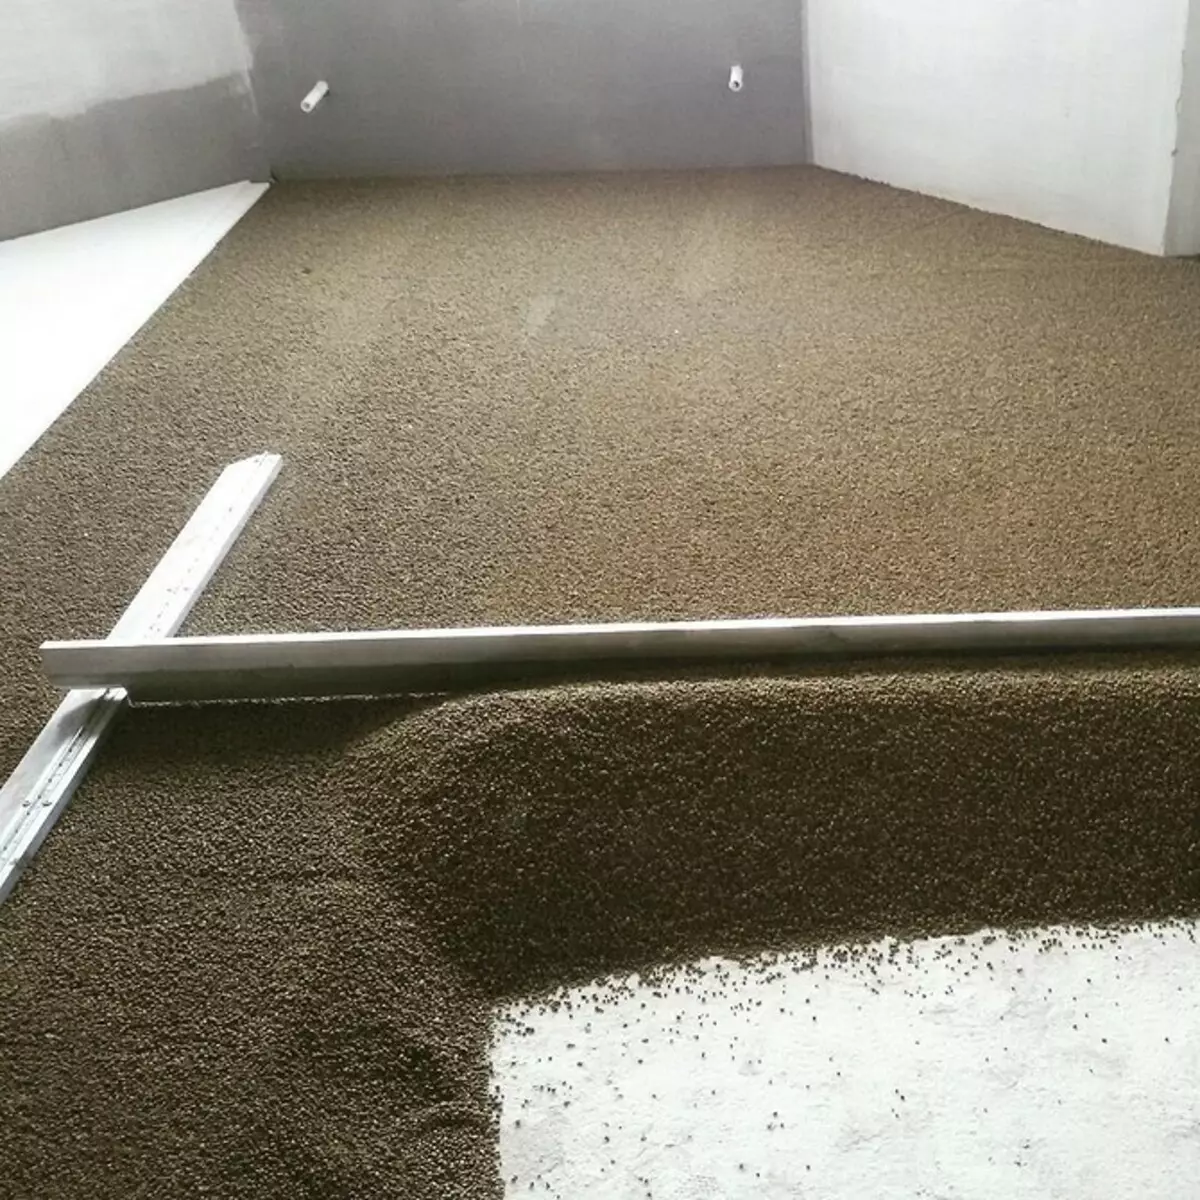
- Place two guide rails parallel to each other. Extreme - at a distance of 25 cm from the walls. The gap between the rails should be less than the length of the rule.
- Put the rule to the guides and start the alignment from the far wall to the output.
- Reiki can be left or removed. In the second case, the furrows from them align with a wide spatula.
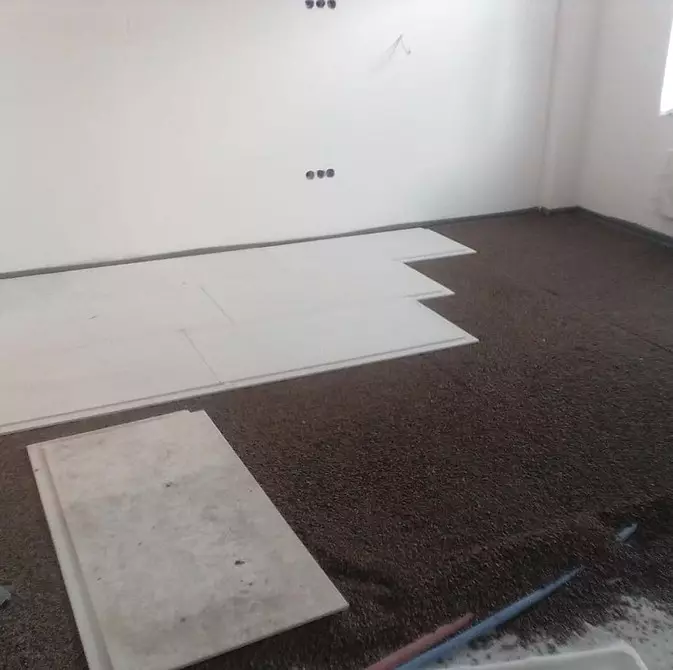
- On the plot where the work was completed, secure the first sheet of plasterboard or chipboard. The recommended gap between it and the wall is 10-15 mm.
- Leaf edges spread glue, carefully put the next sheet.
- Build them with self-draws. Thus, squeeze the entire floor.
- Wall cleaners fill in the mounting foam.
The final finish can be mounted the next day - when the glue is dry.

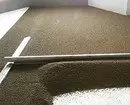
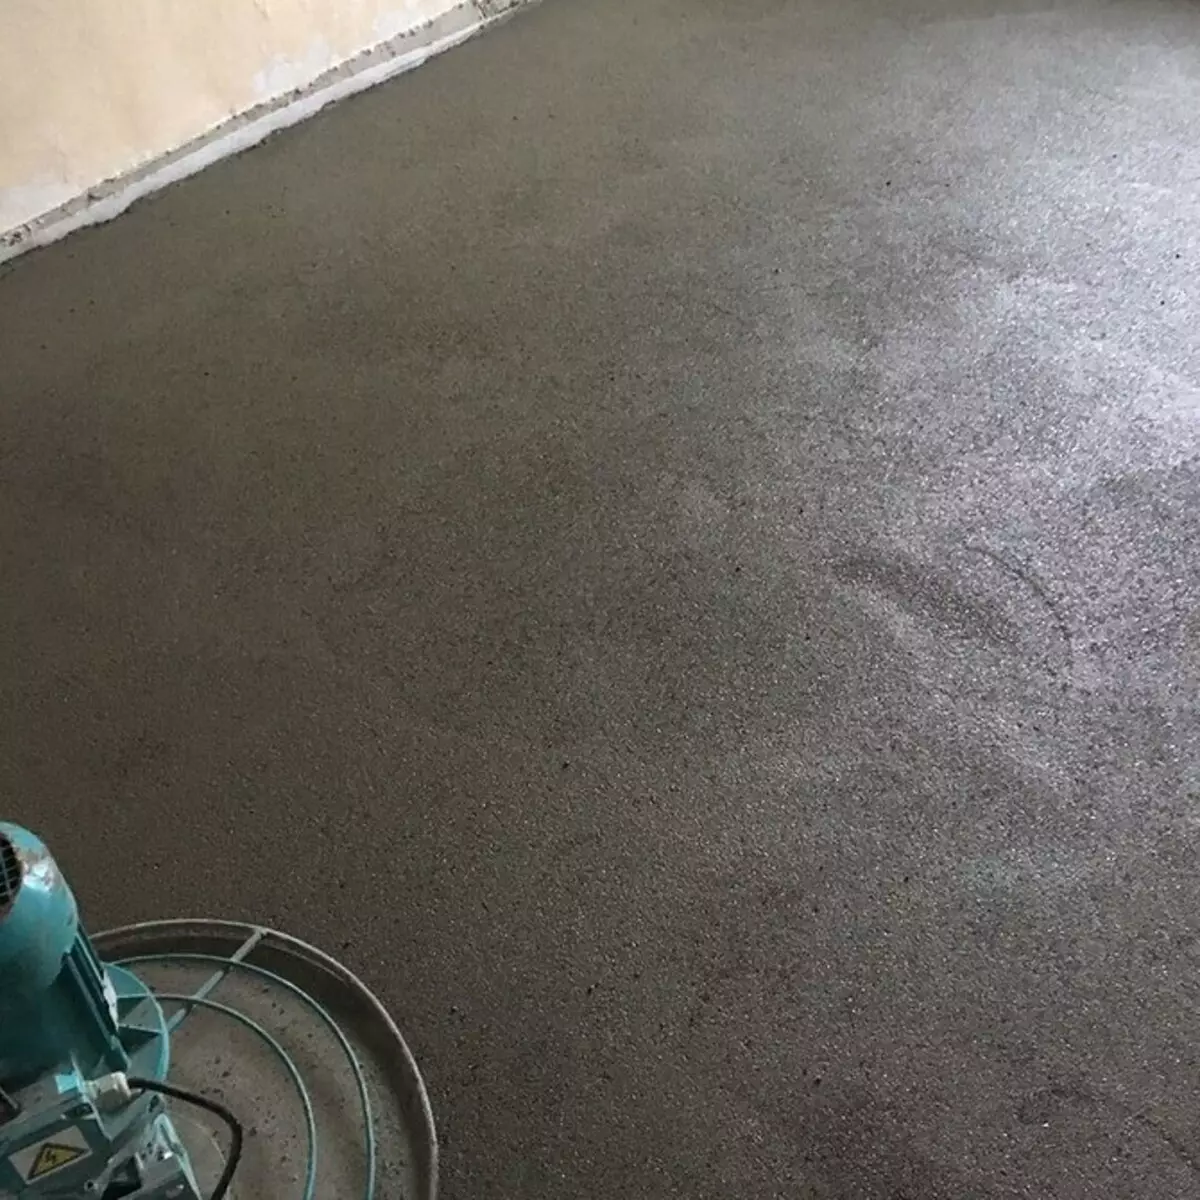
How to put a semi-dry tie
- Install the damping tape along the perimeter of the room and between the thermal circuits.
- Place the reinforcing grid with cells 10x10cm over the heat system.
- Mix the shovel cement with sand in a 1: 3 ratio. You can add fibrovolok, plasticizer or PVA glue.
- Set aside the part of the resulting composition near and pour some water on it.
- Repeat so with the whole slide, leave it for half an hour.
- Then two-three times mix the material with a shovel.
- Check your readiness. The finished material is easily sticking in a lump, it remains wet, but the water does not flow out of it.
- Arrange the beacons and falling asleep the mixture.
- Rim up the grid so that the composition is evenly distributed inside the thermal contours.
- Failure material and align the surface of the floor by the rule.
- Fresh the grooves from the lighthouse the next day in the same way, but add a little more water.
- If you do not have time to fill in one day the whole room, cut the edge at right angles.
- Cover the floor with a film for two weeks so that water does not evaporate. Air should not fall under the film.
Check out the video with a visual presentation of this instruction.