
We tell how and how to hydroize the floor, walls and ceiling in the bathroom.

Even moisture-resistant ceramic tile does not guarantee protection against mold and other impacts of wet air. Microscopic seams, chips, cracks perfectly pass steam with splashes. In addition, the plumbing can be suspended at any time and water will be on the floor. Therefore, the additional surface treatment is necessarily needed. The first thing to start - the choice of good waterproofing for the bathroom.
Waterproofing bathroom:
Types of materials- Caution formulations
- Oklayka
- Penetrating solutions
- What to choose what is better
Features of working with each zone
- Walls
- Ceiling
- Floor
Application technique
- Preparation of the foundation
- Mastics and solutions
- Impact
- Oklayka
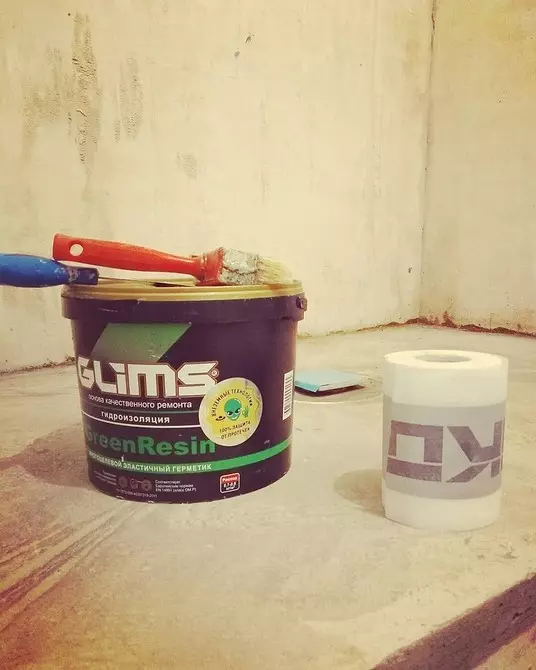
What to hydroize the bathroom
Building stores sells many materials suitable for such purposes. In order not to get involved in them, read a brief overview of the main categories.
Caution mixes
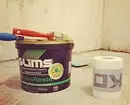
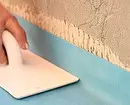
Dry formulations, mastic, sand-based paste, cement, bitumen, rubber or polymers. Powders are bred by clean water room temperature or polymer emulsion. Usually their expiration date is greater than that of ready-made mixtures. They hardly harden and work with them will move faster. The coating compositions are applied with a brush, a spatula or roller, depending on their consistency.The thickness of the layer of liquid mixtures is approximately 1 mm. For reliability you need to make three such layers. Mastics and pastes are more dense material. They fall with strokes with a thickness of at least 3 mm, which makes it possible to speed up the repair. Various acrylic, bituminous and cement coats with the same result can be used on the walls, floor, ceiling.
Pros:
- Simplicity of application.
- Large selection of compounds at different prices.
Minus:
- Duration of repair.
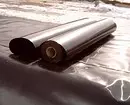
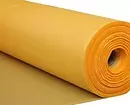
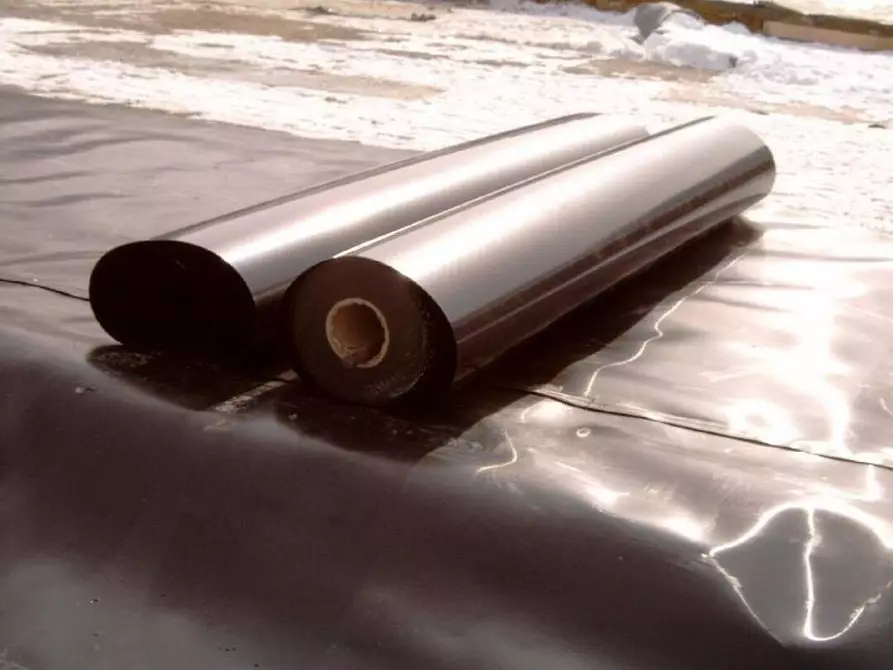
Three (rolled) materials
Usually used for floor-insulation. Fasten the coating on the ceiling and the walls are problematic, moreover, the specific preparation of these surfaces will be required. The basis of such canvases can be fiberglass, bitumen, polymers. They easily spread and take the right form. They can be mounted in three ways.Methods of installation
- Samores. Such an attachment is used to be less likely, as it is time consuming and unreliable. On the insulated, drilled base is placed, and then fix it.
- Silave. The lower part of the canvas is floating the gas torch or construction hairdryer, and then evenly distribute it along the concrete plate. The minus method is that the heated material is easy to break or dilute too much. In addition, the reverse side can become toxic when heated - after repairing the smell is felt for several days.
- Gluing. Modern coatings often occur the adhesive reverse side. If it is not - use glue or mastic.
It is convenient to work the third way, although it can be difficult without appropriate skills. The fabric is firmly fixed on the floor, it does not break. In general, pasting is a good way of moisture protection for shower.
Pros:
- High vapor permeability.
- Elasticity. The canvases are well transferring the bases.
- No need to wait until the previous layer is dry.
Minuses:
- Labor-intensity styling. Often to do everything with your own hands is difficult, in some cases you will have to remove the screed.
- The height difference is not allowed more than 2 cm - alignment will be required.
- If the room is an unusual form or very small, it will also be difficult to work.
- It is convenient to stick only under the floor covering.

Small solutions
These are sandy cement mixtures with the addition of special substances that penetrate the depth of 12 cm even in very small cracks. After drying, the substance is frozen and turn into crystals. Thus, these solutions strengthen concrete, completely closed it from moisture penetration.The impregnations are applied as coating solutions - brush or roller, as they are sufficiently liquid. The surface is pre-moisturized to increase the clutch.
Pros:
- Mixtures do not peel and do not crumble.
- The material under them "breathes."
- They simply apply them.
- Suitable for finishing the ceiling, floor, walls.
Minuses:
- High price.
- Not suitable for brick, cement, plaster, limestone plaster, FBS with low waterproof, as well as for bases with 3 levels of crack resistance.
What is better to choose: coating, impregnation or pasting
Definitely answer this question will not work. The choice depends on the time allocated to repair, budget, construction skills, room planning. The easiest all the beginners cope with the coating compositions. They are easily distributed based on the ground, they are well protected from steam and moisture. But you need to put time in advance for drying each layer.At the same time, polymer and cement mastic is considered the best option for indoors. Bituminous is convenient to use, available at a price, but is toxic - especially when heated. For wood, the best option is the pasting. It is not recommended to use polyethylene-based cloths as rolled materials, since they have low vapor permeability.
Features of processing each zone
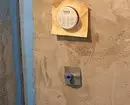
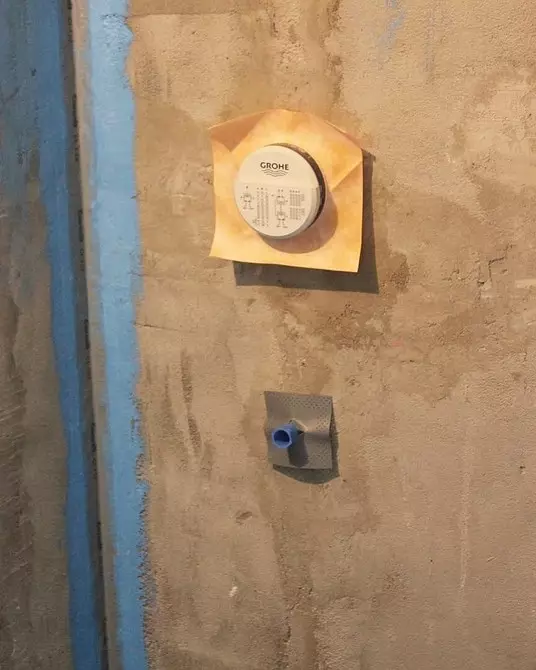
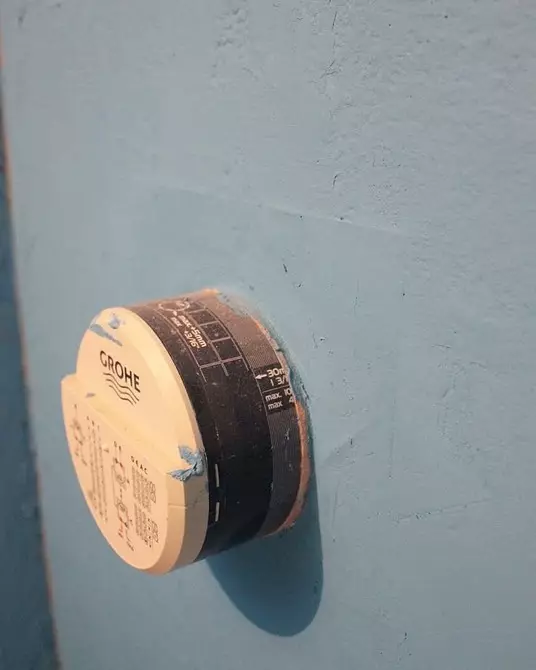
Waterproofing walls in the bathroom
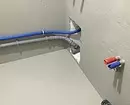
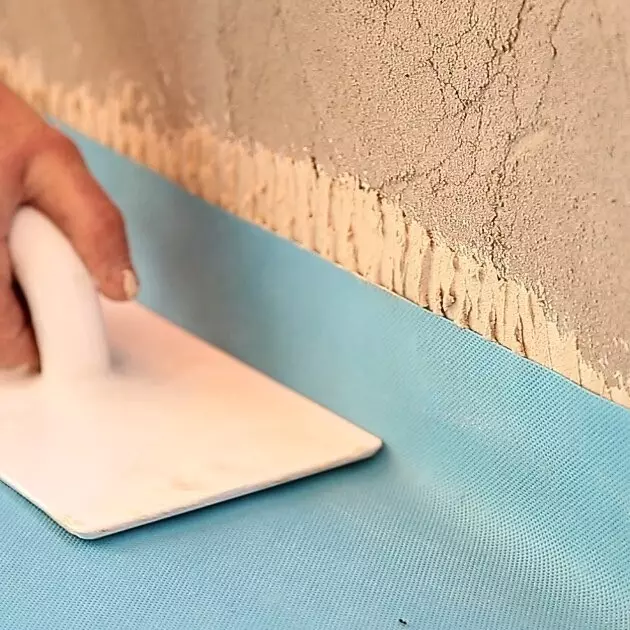
Usually it is done only on individual, most dangerous areas: in the corners, sink, pipes, bathtubs, shower, near other plumbing equipment. Typically, it is used for this polymer and cement based compound. The bitumen is not suitable, as it is too fluid, quickly flaps. Of course, if you wish, you can mount the water-repellent canvas on the walls. In this case, you will have to remove all the finishing from them and, if possible, plumbing to stick the coating is evenly.Ceiling insulation
The ceiling is recommended to hydroize in multi-storey buildings, when there are apartments or an attic on top. From a strong poured, the insulating coating of the bathroom will not save, but will help protect the wiring and lining from small leaks. In addition, additional water protection will be needed if there is bad ventilation in shower. The polymer or cement mixture is applied to all overlap. Exception - Wooden ceiling in the bathroom. It is also isolated by rolled materials.
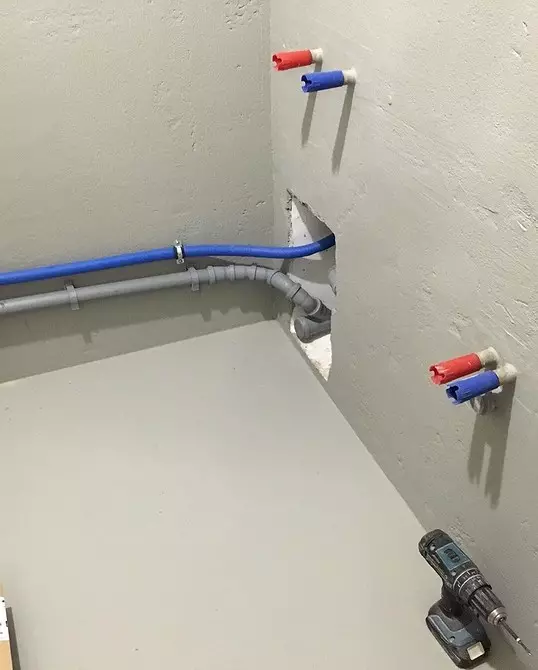
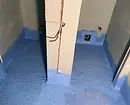
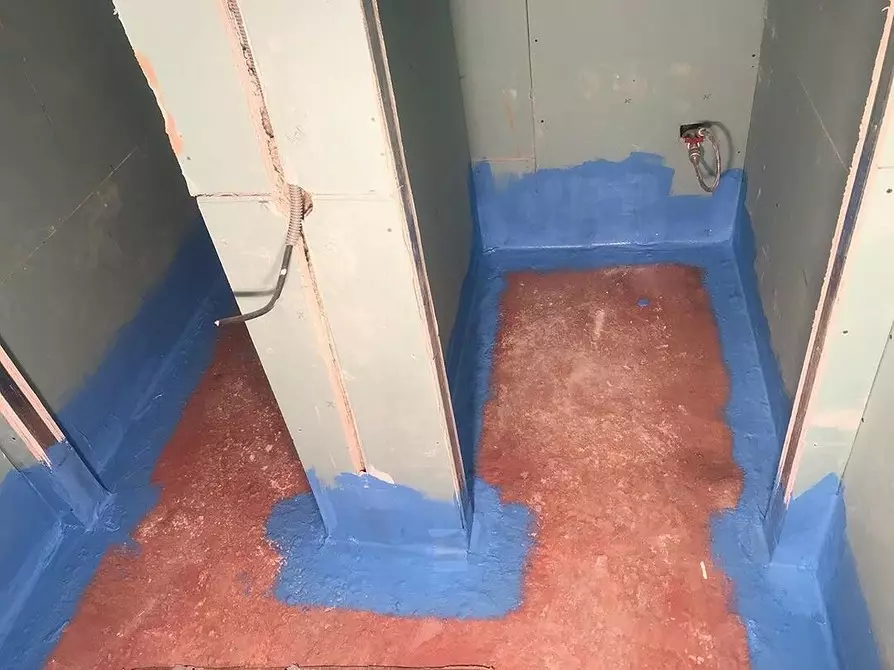
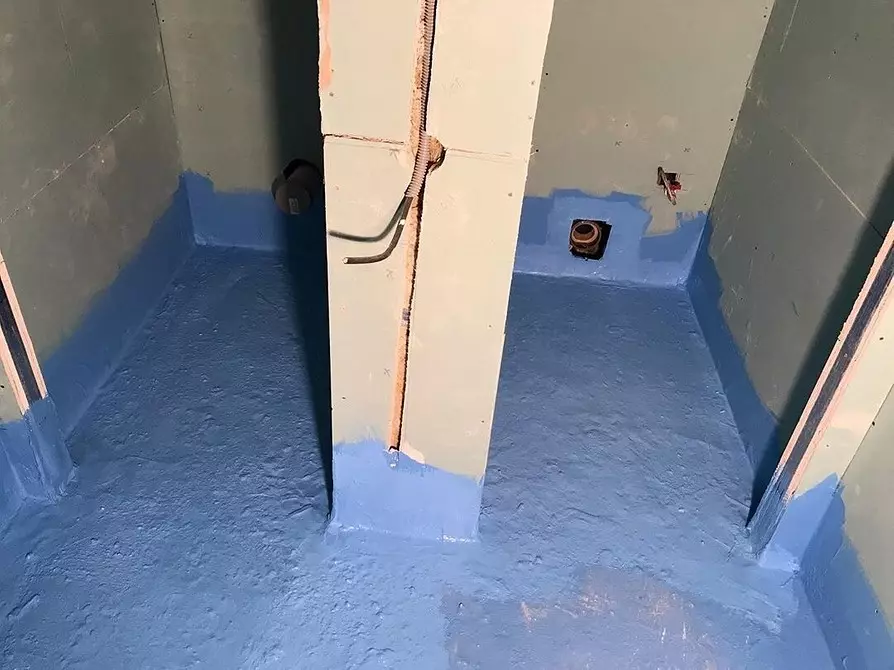
Waterproofing floor in the bathroom
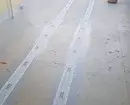
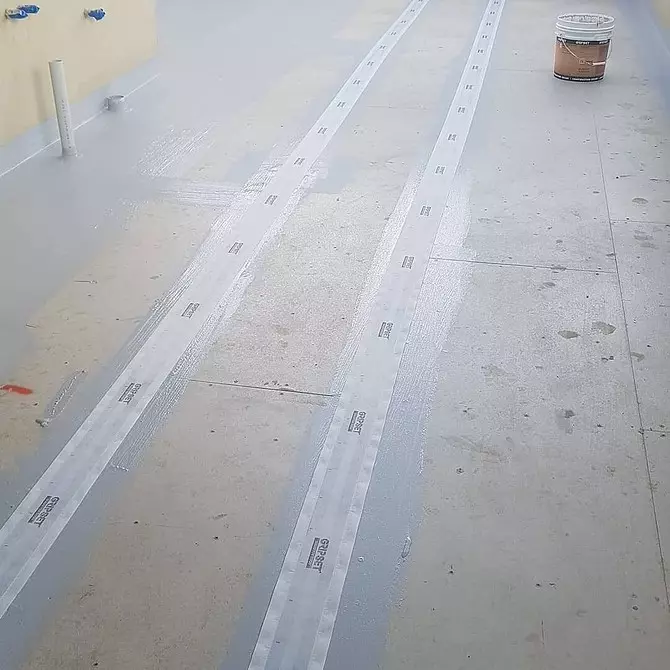
The floor is covered with a mixture completely - with a screwed at least ten centimeters on the joints with the walls. If it consists of several stoves - the joints between them are sealed with a water-repellent ribbon and also shuffle with mastic. Or cut the fiberglass of the desired size and put the segments on each other with the adhesive.
Sequence of work
Any surface before applying a protective finish must be cleaned and degreased.Preparatory stage
First of all, you will have to get rid of the finish. If you are planning to make the flooding of the floor, the old tie will also have to be removed. She probably contaminated and crackdown and to align it difficult. When trying to do this, you can raise the floor level that is not recommended by the construction standards. He should always be lower than the rest of the apartment to avoid water from entering other rooms at a flood.
Step-by-step instruction
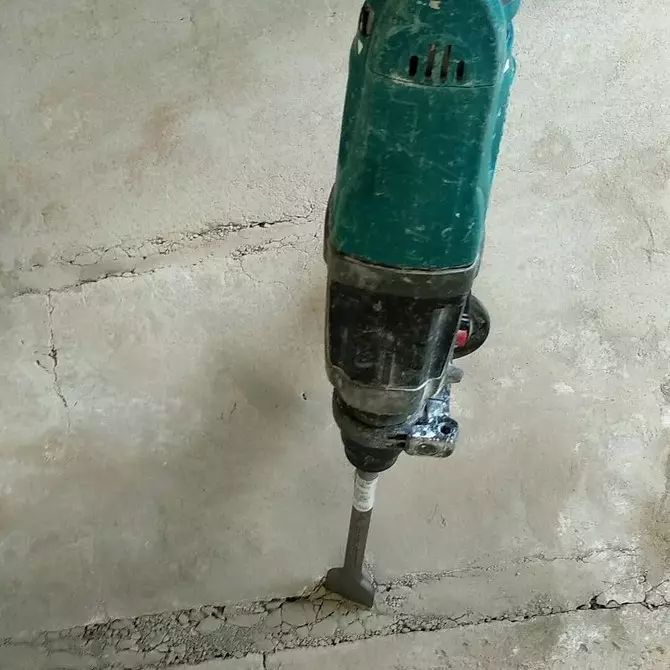
- Remove the screed with a perforator, a grinder or a jackhammer. Less noisy and dusty methods - cutting or drilling.
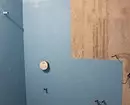
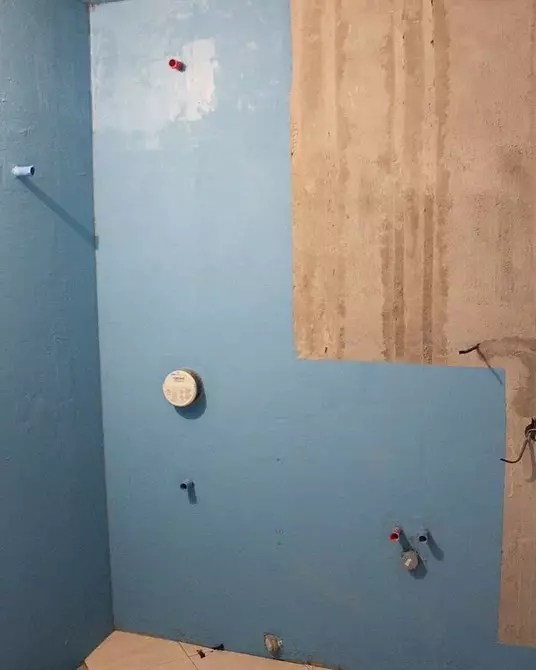
- Note the contours of wet areas on the walls from which you need to remove the finish. Next to the sink is 50 cm above the mixer. In the shower cabin, the bath is 20 cm above the level on which the watering can be during water procedures.
- Clean these sections and ceiling (if necessary).
- Pay special attention to the seams. If there is an opportunity, stamp them by 2.5 cm deep and width. Treat sealant, dry. After drying the main layer of isolation, fill in the stroke with the repair solution.
- Large sandpaper or spatula sweep the remaining roughness, fragments, fat stains.
- Remove all dust from the corners, mold. Perform a fungicidal impregnation processing.
- Calculate irregularities, and then boot 2-3 times the entire surface. Any primer of deep penetration is suitable. It improves adhesion, reduces the flow of liquid compositions.
- If only the floor is to be processed - clean and load the lower part of the wall (approximately 20 cm) so that you can make the allowance.
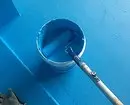
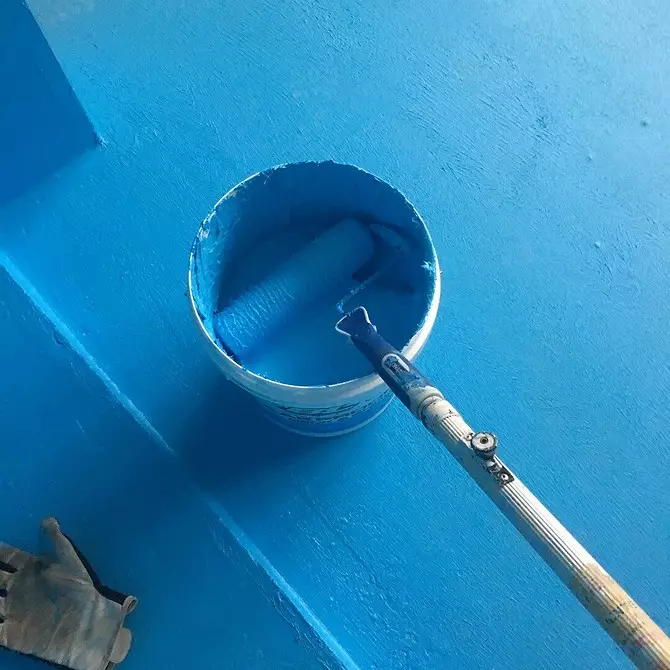
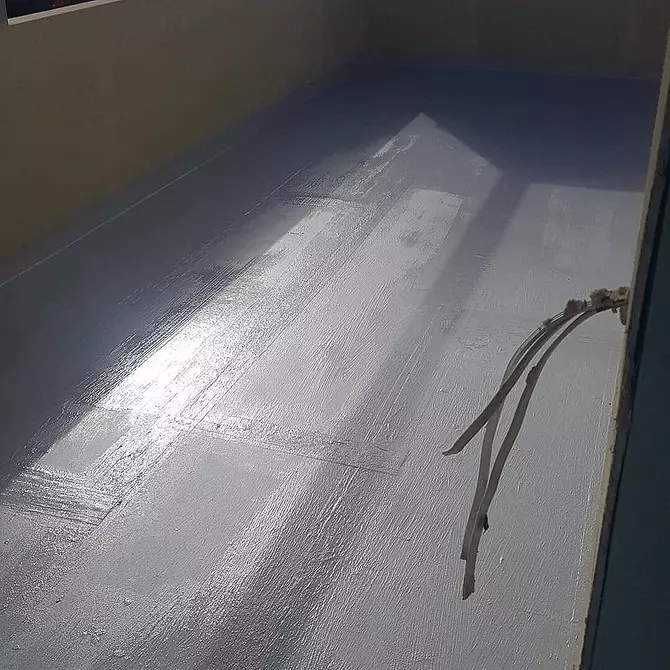
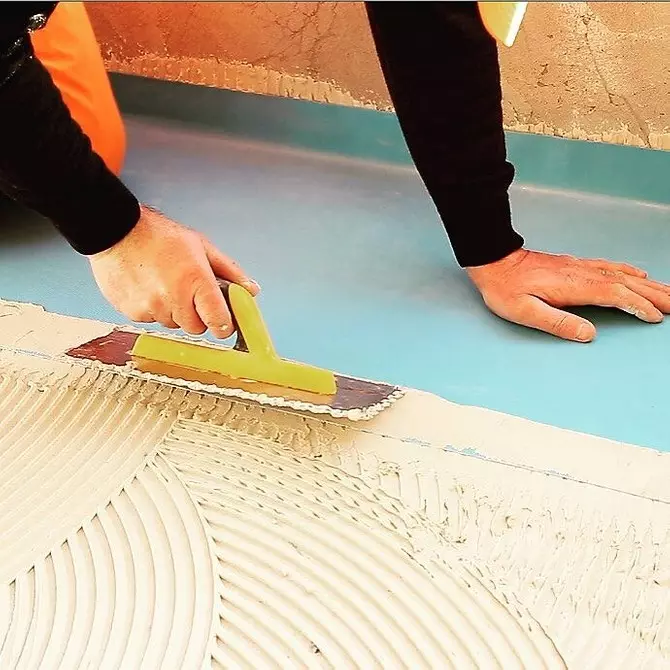
Application of coating
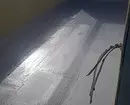
- Prepare the surface. It should be perfectly clean and slightly wet.
- Close the film all household items that remained indoors. As well as pipes and heated towel rail.
- Mix the mastic or dig powder as indicated in the instructions. In the latter case, remember that the solution quickly solidifies. Prepare it in small portions.
- Apply a mixture with a tassel or spatula. Gently wake all the sections next to the pipes. Move in the same direction.
- Wait for drying or immediately stick the reinforcing grid - for greater reliability.
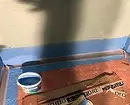
- Stoves stove with a wide waterproof ribbon so that there are no air under it. Spend on it several times tightly pressed with a spatula or brush. You can stay the edge of the coating.
- After drying, you will immediately distribute the second part of the composition - perpendicular to the first.
- Fence the room from dust and dirt - they will worsen the water protection effect.
Some pastes must be periodically sprayed in the drying process so that they do not crack. This requirement is indicated in the instructions from the manufacturer.

How to lay a solution with a reinforcing mesh under a wall finish
- Attach the mesh in the roll on the wall of the screw and clog it.
- Start applying the first part of the coating.
- Split the grid, press it to the surface and wake the second layer.
Impregnation
The principle of operation is the same as with conventional solutions. There are only small differences. We continue to comply with the principle with the screwdriver on the adjacent plates, but do not use the reinforcing grid and do not wait until the first portion of the impregnation is dry.Step-by-step instruction
- Prepare the base. You must have clean slabs of the overlap.
- Close the film and communications film if they stayed in the bathroom.
- Moisten the concrete carefully with a broom or sprayer.
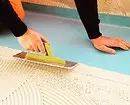
- Tassel or toothed spatula evenly distribute the first layer of impregnation.
- When it grabs, but it will not have time to dry, again moisturize the plates and apply the second layer - perpendicular to the first one.
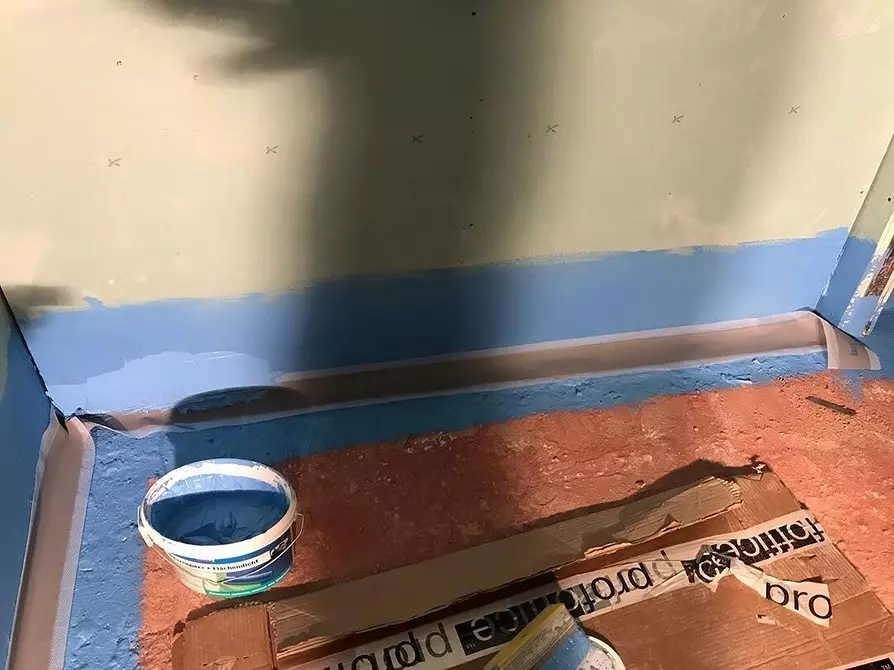
- Corners Clay the waterproofing ribbon until the impregnation did not have time to dry. Under the ribbon should not be bubbles. Enclose it with a tassel or spatula.
- After drying, proceed to laying the tile or other cladding. If the finish must be postponed - insulace the room from dust as much as possible.
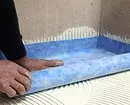
Look at how the sizing of joints and corners in practice looks like.
Two coarse usually grabs, but it is better to follow the manufacturer's instructions. The estimated consumption of the mixture is 0.8-1 kg per square meter, depending on the smoothness of the base.
Oklayka
- Prepare the base. Clean it and dry it well.
- Check with a level, there is no drops more than two cm. If there is - align them.
- If possible, round the joints between the plates so that the fabric does not break through the installation process.
- Remove the cloth in the size of the room with the assurance of the mandatory admission to the joints at least 10 cm. Cutting sections should also go to each other, taking into account these 10 cm.
- If there are pipes on the site - cut the holes slightly smaller than their diameter so that the fabric felt tightly.
- Roll off the roll and leave for a day or at night so that it straightened a little.
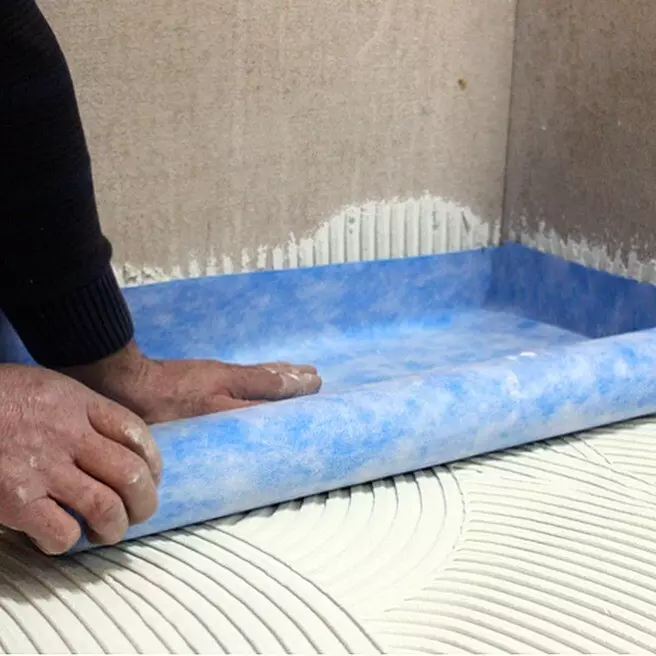
- Lift the edge of the canvas to the height of the allowance and start slowly removing the adhesive film. At the same time press the roll to the surface. Do not hurry, act neatly.
- If this is not self-kept - pre-mark the opposite direction and the base with glue or mastic.
- Make sure that below does not remain bubbles. They are comfortable to straighten with a roller or a big brush.
- All joints are well wrapped with mastic and ride the roller. Bad plenty of canvas can be slightly warm the construction hairdryer.
- Enclose the adolescent by removing the protective film. Or apply glue, mastic. Press the tissue with a skid and wait for gluing.
- Loom to the coating zone next to the communications.
- Make a screed and tiled clamp.
If a solid floor isolation is needed, two material can be laid.
Sequence of work with two materials
- Purification of the surface, alignment primer.
- Cutting, fixing rolled insulation.
- Creating a screed.
- The impregnation of concrete penetrating solutions or coating with coating mixtures.
- Facing with tiles, linoleum, laminate.
Such protection will not miss moisture and serves several decades, but the screed over the pasting should be done. Read more The first part of this method is considered in the video instructions for applying bitumen-polymer rolled insulation.
The decoration of a wooden ceiling can be facilitated if you attach the fabric by a construction stapler.
- Fix the roll on one side of the ceiling with screws or long mop, boards.
- Stretch it to the other end of the room, secure the stapler.
- On top Set the crate for the final finish.
Any of these methods will create a reliable waterproofing of the bathroom with their own hands. It will protect the facing from excessive moisture even with poor ventilation.