
We are talking about choosing the right model, the rules for installing conventional models, suspended and with a hidden tank.

The complexity of installation depends on the design and especially how the draining is arranged. The product may be easy or heavy. Not only sizes, but also material affect the mass. To achieve good stability, you will have to prepare a reliable basis that will surely affect the height. If the transfer relative to communications is not planned, the height can be left for the same. With increasing distance to the sewer pipe, the release should be lifted so that the water is not stuffed and can flow freely. There are other nuances associated with the method of fastening, the tank position, the angle of the drain hole. Recommendations, how to install the toilet, often contradict each other, but all the advisers converge in one - this event requires careful preparation.
Tips on the installation of toilet bowl do it yourself
Stages
Select model
Height over floor
Tools and components
Dismantling of the old device
Preparation of the foundation
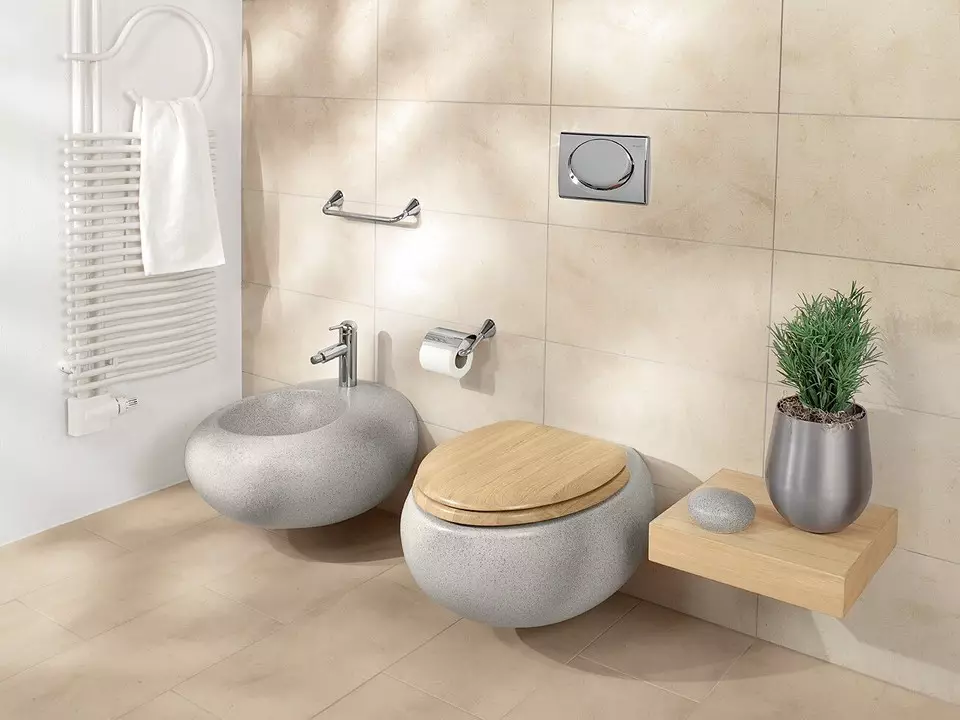
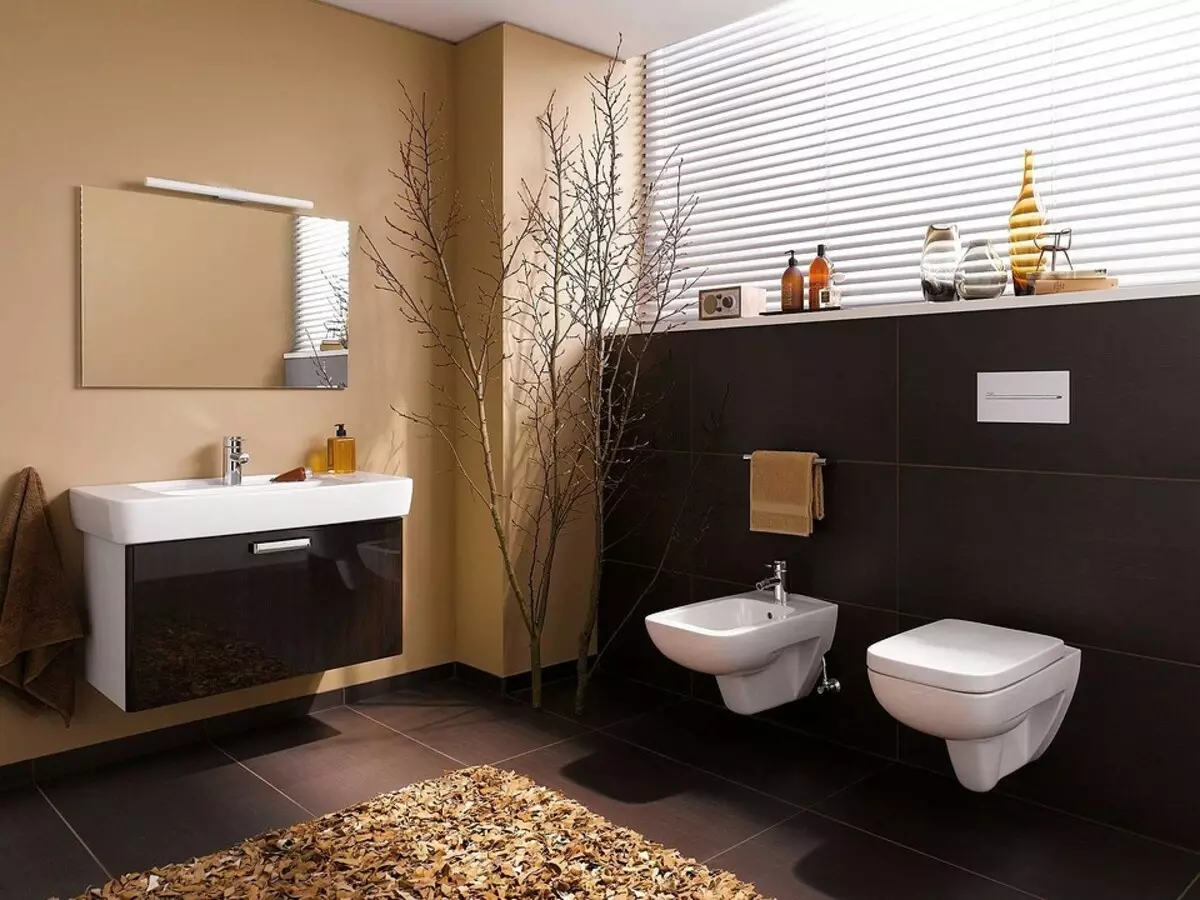
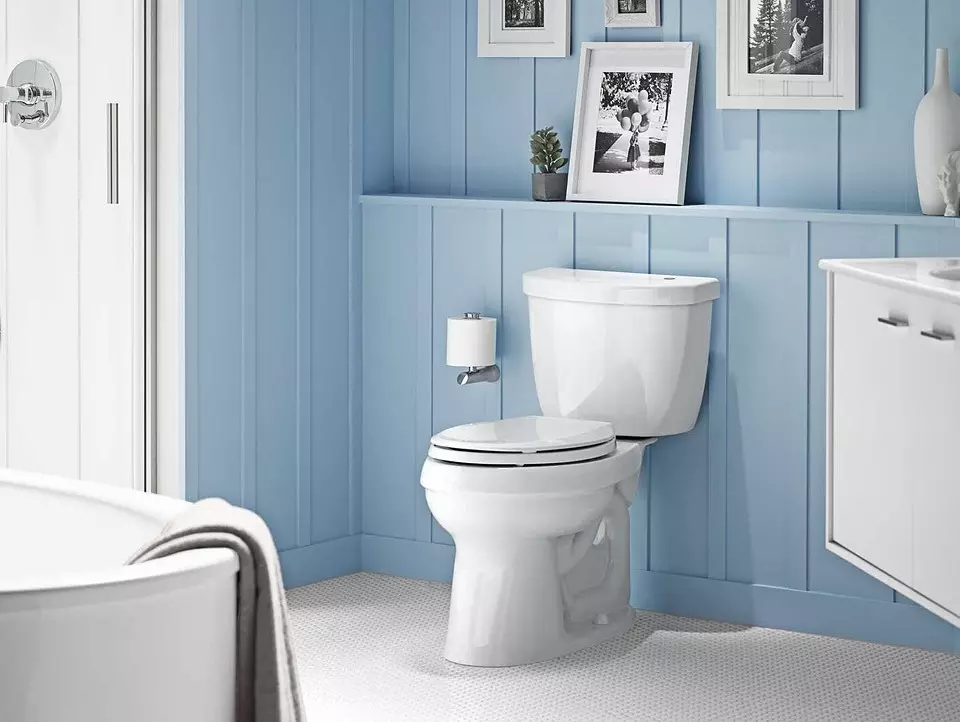
Outdoor models
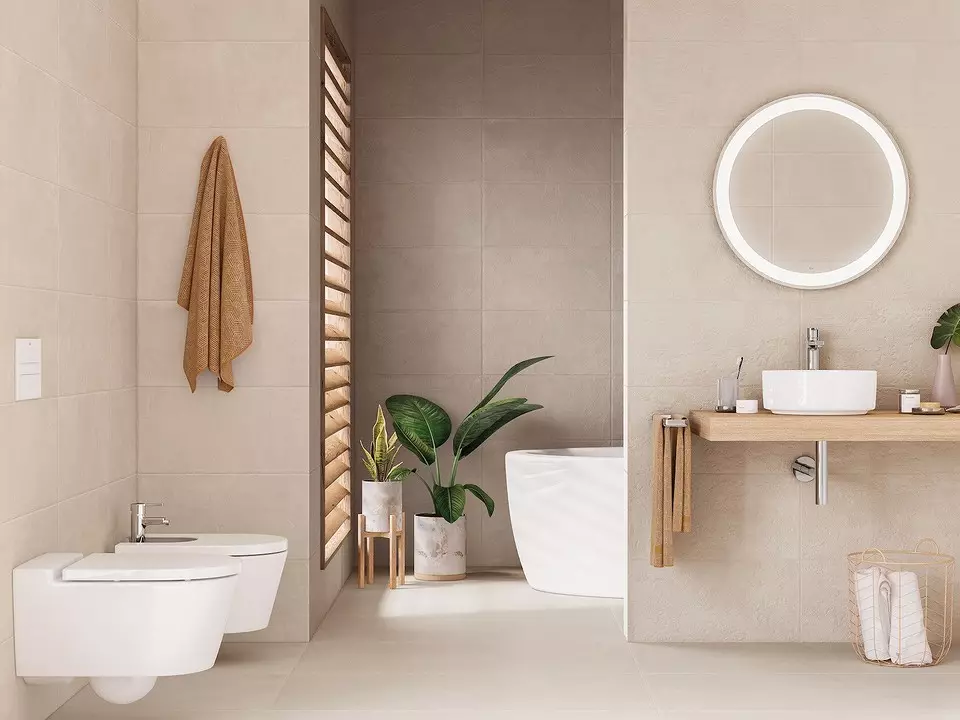
Suspended hidden installations
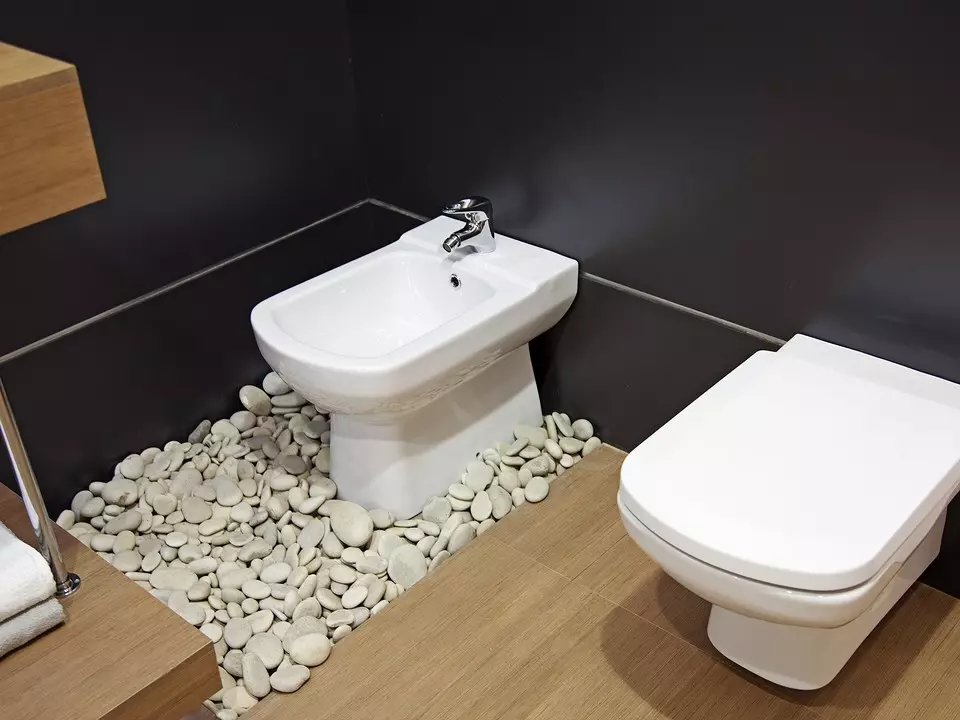
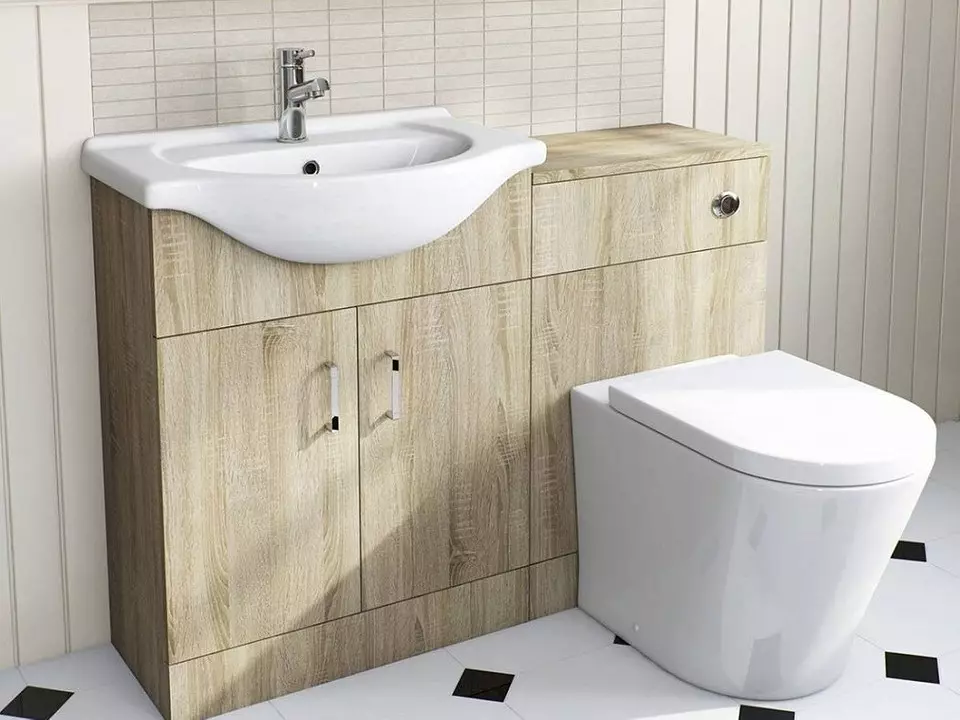
Floor Hidden Installations
Do not start working at once. Even when replacing the device for a similar non-transfer it to another place, you must make sure that all the works were carried out correctly, and that it is not necessary to redo anything. It is possible that it will take replacing the old pipe to a new or repairs of the base that serves as a support.
Stages of mounting
- The selection of the model is desirable that it coincides with its parameters with the old appliance. Then you do not have to change the eyeliner and put adapters. You can make a choice in parallel with other works, but it is better to determine in advance by calculating all the parameters at the design stage.
- Dismantling of an old device - you should not hold it before purchasing a new one. It is more convenient to replace immediately within one day.
- Check and repair communications - they must be fully working. Errors made by past installation must be eliminated. If equipment is installed with other parameters, you will need preparatory work on laying new pipes and changing the floor level. As a rule, it is also connected with finishing work. It will take a certain amount of tiles or other materials that were lined with a bathroom. In the absence of necessary reserves, you will have to do the original design using new materials.
- Installing the toilet with your own hands or with the involvement of professionals. Even the unprofessional can cope with her, but in difficult cases will take help from a specialist.
In case of major repairs, the toilet establish last. It is easy to damage when finishing, replacing communications or installation of a heated towel rail.
Consider each other.
Selecting a device
The models differ in the method of connecting, fastening, on the shape of the bowl and the location of the drain barrel.
The drain can be arranged in parallel or perpendicular to the floor, or at an angle of 45 °. Two or four fasteners are used for installation. Installation can also be made on special corners. The tank is screwed to the porcelain base or hanging on the wall. The foundations are divided into plate, visors and funnel-shaped.
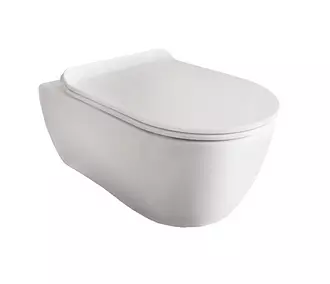
Toilet CERSANIT PARVA CLEAN
Types of reasons toilet bowl
- Tarbed have a horizontal shelf with a deepening. Some models are missing, and the rear wall is made with a slight bias.
- At the visors, this bias is much stronger. It simplifies the drain, but makes the seat above.
- The funnel-shaped feature that the hole is in the middle, and not from the edge, like two previous varieties. They are pretty high, but they can have small sizes, which is very important for standard bathrooms.
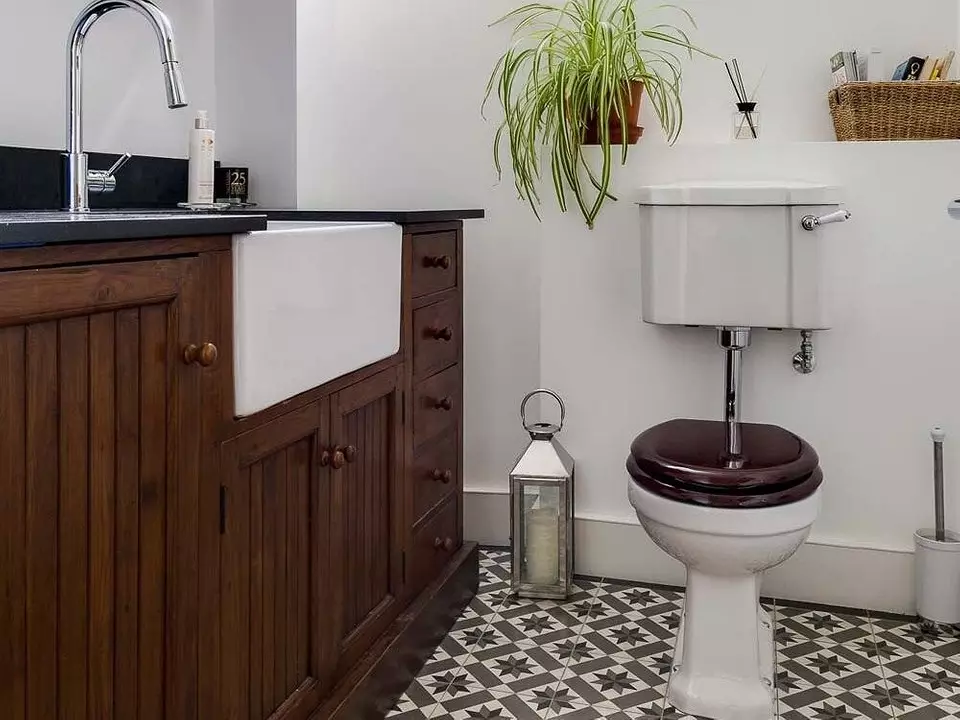
The height of the installation of the toilet bowl
The parameter is very important if the device is transferred from sewage. The more distance to it, the more important should be a pedestal. Pipe leading to sewage is at an angle. Than this angle is more, the better the plums passes. You can achieve the necessary inclination when lengthening communications, you can only raise the issue.
With overhaul, it is much easier to solve this problem, because it is possible to raise the floor level or beautifully to issue a pedestal. If the bowl is too far, it is better to construct it so that the legs are placed on it. After all, one of the main principles is convenience.
When transferring equipment, a longer tank liner may be required. It is also necessary to correctly calculate the distance to the door to the bathroom or the toilet. It should not be more than 0.6 m. The distance to the side walls, baths or sinks should be more than 0.25 m.
In typical apartments, as a rule, you do not need to mount the toilet high. According to current standards, expand the bathroom at the expense of residential premises is prohibited. Shoot it to the side does not allow space. When redeveloping a bathroom and toilet sometimes combine with a corridor, but its width is only one meter. If such changes in the houses are not planned, it is not necessary to make a screed or erect a pedestal.
Tools and components
In order not to spend time on their search, you should prepare in advance.You need
- Perforator or drill capable of working in perforator mode.
- Construction level (level).
- Roulette.
- Set of wrenches, as well as adjustable key.
- Sealant - Silicone Sanitary Sanitary.
- Flexible plumbing hose.
- Sealing fum-tape.
- Bolts for mounting to the floor, if they are not included.
For models whose tank is hanging on the wall, special fasteners are provided. They are mounted on the wall with screws and dowels.
Dismantling of the old device
First, it is necessary to overlap cold water and completely empty the drain tank, then remove the underwater hose and the tank itself. After that, you can remove the toilet. To unscrew rusty nuts, you have to make an effort. If they do not succumb to the kerosene compress.
Now you need to disconnect the drain from the sewage. In old houses, he can be cemented. To destroy the shell, use the hammer and chisel. First you need to make several cracks in the cement layer, then it is necessary to break the pipe. It must be trying to keep at an angle, allowing water to go into the sewer.
To the smell did not spread around the apartment, the hole must be plugged with an old rag or a wooden plug - gases inside, toxic and easily flammable.
Preparation of the foundation
Before installing the device, it is necessary to make sure that its base has no deviations in height. If the floor cover is not yet, the communications check is carried out. The release is purified from dirt from the inside and outside and repairable if necessary. The walls do not have strong pressure capable of destroying them, but it is better to replace them with new ones. The cast iron has a limited service life and destroys corrosion. At the inner part of cast iron walls accumulate deposits, worsening throughput. Plastic, despite its flexibility and low strength, more reliable.
After the revision of the pipeline poured the screed and the tile is stacked. In the case when the tile is laid uneven, it is optional to shift it. The problem can be solved with the help of choppers - wooden rods that perform the role of traffic jams. For them, wide holes are drilled, drive them and screw the screws into them.
It is necessary to put a separate crane for the drain tank. In old houses, it is usually absent.
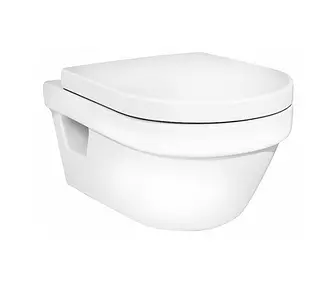
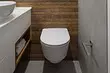
Toilet Gustavsberg Hygienic Flush
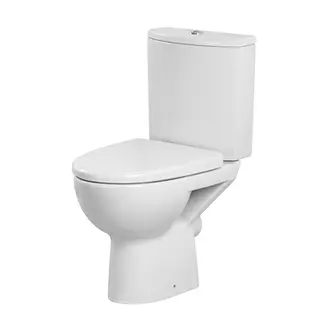
The installation process of the usual toilet
New bowl and tank are usually disconnected. Armature inside is most often installed. The compounds inside need to tighten, and the silicone gasket on the junction with a porcelain base is marked with a sealant. Armature details in most cases are made of plastic. When tightening the connections, it is better not to diverge so as not to thread the thread. Bolts for the attachment of the tank are also labeled sealant. They wear conical rubber washers and are tightened with nuts. The first bolt is slightly dragging to the design to be tamed by 2 cm. After that, the second is spinning until the system is aligned.
The upper part is mounted immediately, but it can be done after fixing the bottom at its base.
The product is mounted on the markup. To do this, the device is connected to sewage and drive it out, taking holes for anchors. Compounds are treated with silicone.
When the markup is ready, the device is cleaned, and the hole is drilled under anchors. Plastic gaskets are used for attachment. They are needed not to damage the coating. From above they are closed with plugs. It is not necessary to tighten the thread too much. To figure out how to install the toilet properly, it is necessary to assimilate the Golden Plumbing Rule:
In no case cannot drag the threaded connections. It is dangerous for ceramics, and for metal.
Installation quality is checked by level. When the device is aligned and securely fixed, it is connected to the sewage using corrugations. Additional seals will not need. A layer of sealant will be quite enough.
Most often, the release is made in the wall. If the joint coincides, the cuff-sealant is used for the compound. When offset, use corrugations.
The release may be in the floor. In this case, the flange with the retainer is put on it. The sewer pipe is entered into the flange hole. The seal serves a special wax ring. The lower part of the porcelain base is put on top of the flange cuff.
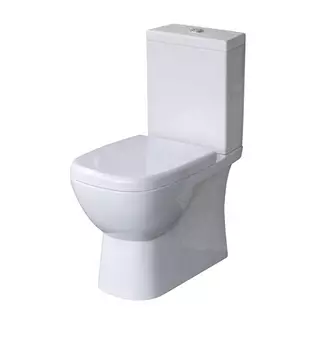
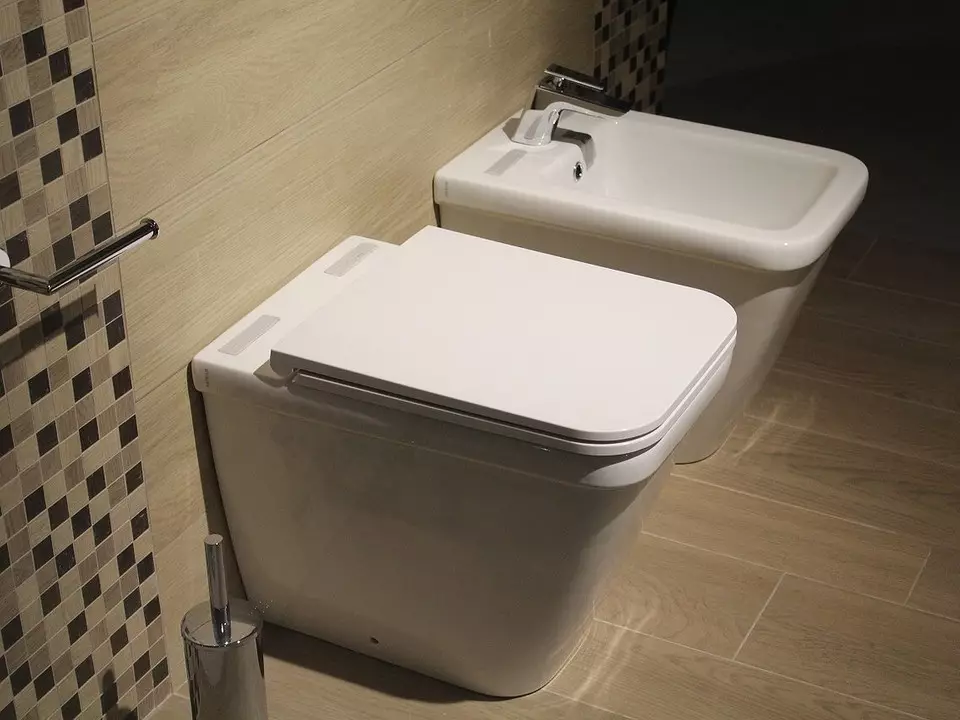
Unitaz Sanita Luxe Quadro
The tank connects to the flexible hose water supply. On metal threads should be stamped a bit of packle, otherwise there will be a possibility of leakage.
When everything is ready, the faucet opens onto the KNSO HVO. With a small leakage, the connection is tightened. The water level in the tank is adjusted using a plastic float. It can be done above or lower. Making sure that there is no leakage, the tap on the riser is open at full capacity.
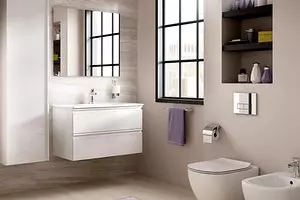
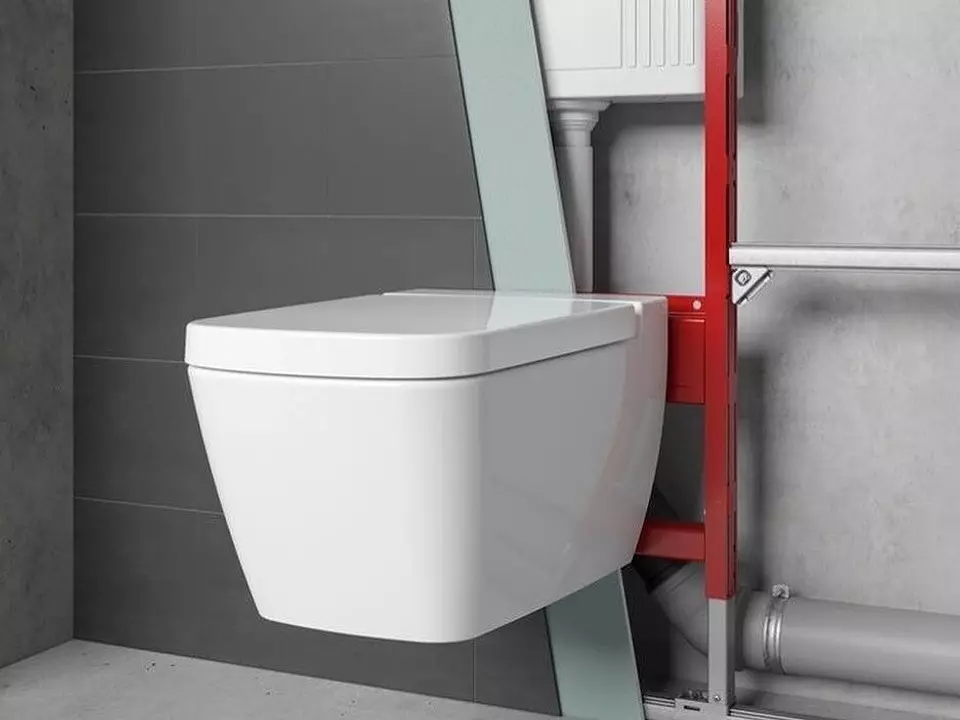
Installation of suspended installation with hidden tank
The drain mechanism in this case is located in the wall behind the falsefall, decorated, like the entire interior of the bathroom. It holds a metal frame with special fasteners. They allow you to adjust its position. Prefabricated elements can be purchased separately in the store plumbing.

The mark is drawn on the wall. The position of the guides and points for the dowels is noted. To prevent an error, you must use a plumb and a construction level. The height of the frame is from 1 to 1.5 m. The distance from the tank to the wall should not be more than 15 mm. Installation on the partition is not allowed. The wall should be carrier.
The design is kept on adjustable anchors. A perforator is used for drilling. The desired mechanism is set by level and fixed using devices included in the installation package.
Unitaz SSWW NC2038.
Connection in the sewage and water supply is performed in the same way as in the case of an outdoor device. The intake valve may be on top or side. For eyeliner, plastic products are used. They are more durable than a flexible hose.
The rawpanel is a metal frame, covered with plasterboard. In the sheets they do holes for the drain button, communications and fasteners.
Pins are used to connect to the bowl. For them, holes are done in the metal frame with a drill. The tile or other wall covering in places of contact with the porcelain part is wicked by a sealant or closed with an elastic gasket.
Installing outdoor models with hidden tank
First, the bottom is mounted. The release is connected to sewage. The joints are carefully disassembled. Then the markings are made on the floor. It includes fasteners included in the kit. The release is connected to the fan tube, the screws are delayed in the corners.
The tank holds on the frame. Fakespace is manufactured in the same way as in the case of suspended models.
To figure out how to install the toilet with your own hands in the apartment, you need to get acquainted with the instruction included in the kit. Designs may have a lot of differences, but the principle of operation is the same.
UNITAZ SFA SANICOMPACT LC
For detailed installation guide, see the video.