
We tell about the necessary tools, preparatory work, the process of fill and care for the updated surface.
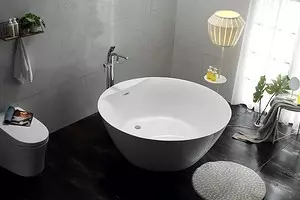

Over time, any baths inevitably lose their attractiveness: red traces from rust, yellowing, cracks and even chips appear. As a result, it is possible to use the bowl, but I do not want. You don't want to change the plumbing too, but you can upgrade the bowl. We will examine how to cover the bath with acrylic.
Create acrylic coating in the bath
Benefits of materialRequired tools
detailed instructions
- Cooking the foundation
- Pour paste
- Such coverage
Advantages of repair acrylic
Liquid acrylic is produced in the form of a two-component composition. Immediately before work, it is stirred, then applied on the walls of the container. The process is quite simple and fast. After the rejection on the basis, a dense layer of acrylate is formed, a height of 3-5 mm. Provided proper preliminary preparation, it will completely hide all cosmetic flaws.
Pluses of bulk restoration
- No need to dismantle or move plumbing. All work is carried out at home.
- All the advantages of the bowl are saved. It is added to them more from the "heat" and attractiveness of the acrylic surface.
- If there is a desire, the repair is core. You can paint it in almost any desired shade.
- The service life of renovated enamel is at least ten years, subject to compliance with uncomplicated rules.
- Restoration is possible.
Minuses
There are no special flaws from the bulk technique, but you need to know about several negative points.
- Acrylic has an unpleasant sharp smell, which is preserved when it is applied and curing. Therefore, it is better to work in the respirator.
- Drying the tool requires time. On average, it is 36 hours, but options are possible depending on the composition.
- The renewed surface is shown gentle care. Abrasives, acids and alkali are strictly prohibited.

Required tools
Before covering the bath acrylic, you should buy or cook everything you need. Let's start with a restoration solution. It is sold in the form of a set of two substances. The package indicates the size of the bowl for which this amount of the mixture is intended. Standard size of domestic plumbing 1.4 or 1.7 m. Among European there are models up to 1.8 m long. When buying, you need to make sure that the selected means will be enough.Choose it carefully. For sale there are fakes. With their help, it is impossible to carry out an effective restoration.
List of instruments
- Emery paper type P60 or 25-N. Choose a waterproof product on a tissue basis. It will take for stripping the foundation.
- Solvent. 647 or 646 are suitable. With its help, degreasing is carried out. It is possible to replace another tool with a similar effect. Sometimes applied food soda.
- Cross and straight screwdriver. They unscrew the fastenings of overflowing and draining.
- The shovel for mixing the solution. Take a solid plate of plastic or wood with a width of 40-60 mm sufficient length.
- Spatula with a width of about 100 mm. Suitable plastic or metallic. The latter should be without rust so as not to spoil the new coating.
- Scotch, fastener and greasy. The width is about 50 mm.
If re-restoration is planned, for high-quality stripping, the bowls will need Bulgarian or drill with grinding devices. For a drill, a velcro nozzle with emery circles of the brand 40-H or P40 is prepared. For the grinder, similar brands of grinding. Prepare protective clothing, respirator, gloves and a large amount of newspapers or plastic film. They will protect the interior from splashes and dust.
How to cover the bath acrylic at home
The quality of the new coating is completely dependent on the accuracy of the instructions. Even small liberty will cost the owner. Acrylic composition is demanding and capricious. In detail we will examine the process of applying it.Preparation of the foundation
From the room is all unnecessary. The bath is released and the space adjacent to it. This is necessary for enameling. The employee must have some freedom of maneuver. In addition, in the process of rejection of the composition, dust or garbage should not get on it, and even more so nothing should fall. If the wall of the wall and tanks are covered with a special plinth or tile, it is desirable to dismantle them.
The ventilation grille is closed with plastic to dust, and it will be much, it does not penetrate other rooms. For the same reason, all items that cannot be made are covered with film or newspapers. In order for plastic or paper does not fall, they are securely fixed with scotch.

Acrylate is good only for a carefully prepared plane. You can prepare it with your own hands. To begin with, they determine in what condition enamel is. If this is a solid factory coating, albeit with defects, the preparation is minimal.
Bath preparation instructions
- We clean the surface of the sandpaper. Especially carefully process the bottom, the sections of the transition of sides in the bottom, all the bends. We move the skirt in different directions. To make it more convenient, fix it on a suitable bar. The last stage we pass the entire surface with non-chipped circular motions. As a result, the enamel will appear shallow notches, which will ensure the most good clutch of the foundation with a new coating.
- Wash the foundation from dust. Heat dust particles, watering the tank and the wall with hot water from the shower. We try to remove all dust so that they do not raise the draft. Otherwise, they may be on dry acrylic coating. Carefully launder enamel from dirt. We use any liquid tool for this, better without abrasives.
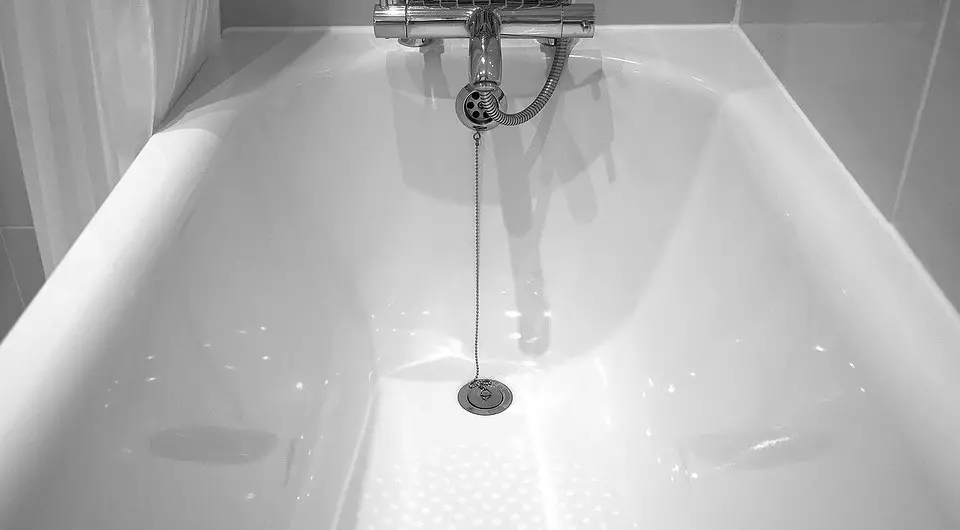
- Remove overflow. If we do not plan to change, do it very carefully. We clean the holes, wash them away from dirt. By draining, we put a small container for excessive repair solutions. Remove the shower watering can, we put on the tap of the plastic bag, fix. No drop of water should fall from it.
- Dry the surface. We wipe the container and the walls with a soft cloth. It should not be a pile, otherwise it will remain on the basis. If there is such an opportunity, we use a construction hairdryer. He significantly accelerates work.
- Close the floor and adjacent to the surface of the surface. The junction of the wall is sick by painting tape. In the process of applying the composition, splashes, drums are possible. Remove the hardened preparation is very difficult. The plastic screen is dismantling, closed with a film or paper.
- If there are chips, put on them quickly hardening auto email. We are waiting until it drys, sanding the shallow sandpaper.
- Degrease the base. We abundantly wet a lounge rag with a solvent, wipe it with a container.
- Finally purify the bowl. We carry out a clean dry palm on the sides and the bottom, discard the villi and dust into the drain.
Repair of the bath with acrylic implies more complex training. In this case, you will have to completely remove the entire previously made restoration enamel. The easiest way to use a drill with a nozzle or grinding with a grinding circle. With their help, enamel is very accurate. Then the container is washed, dried and degreased.
Pouring bath acrylic
The most responsible stage. Start it from the preparation of the working mixture. First carefully read the instructions, act strictly on it. Usually the hardener is poured into a bucket with the drug. After that, the liquid is intensively stirled. Plots near the walls of the bucket are especially thoroughly. Then the mixture is allowed to stand a little, literally three minutes. If necessary, the fluid is corolor and proceed to work.Instruction
- Take a small plastic container. Mixed in it prepared means, it is more convenient to cover the surface.
- We begin the fill from the far side. Thin flowing fluid, leading the container aside in a circle. So that in the end the entire perimeter of the bowl is flooded. Well, if for the first stage the repair makeup will cover the wall to half. If non-filled fragments remained, we spread them with a spatula.
- Pour the walls. We route the jet to the area where the bending of the side goes into the vertical plane. Carefully, moving in a circle. The mixture should go down to the bottom where the surplus will be gather. Empty areas fill out collected from the bottom to the spatula composition. Drive the tool to the fragment, we give acrylic paste to drain it.
- Residues merge on the bottom. Gently distribute them to the spatula so that it is completely closed. We try so that the splashes do not fall on the already flooded plane. Otherwise, the drums will remain. Surplus send to the plum. For complete alignment, we draw a spatula on the bottom of the grille, we leave everything for 10-15 minutes. The coating itself is aligned. Gently remove the drops from the edge of the plum.

Final works
Pasta hardened long enough. On average, preliminary polymerization ends after 48 hours. During this time, it is better not to approach. Otherwise, the dust lifts lifted in the air, Vilki. Sometimes at this moment small defects are noticed, they are trying to correct them, which is strictly prohibited. The faster pasta will not give it to do it only worse. We will have to wait for a screwdriver, after which it is possible to use Remkomplekt.
How many surface will dry after repair, clarify on the packaging of the drug. Waving the required time, put the strapping. If necessary, the gaskets are replaced, lubricate them with a sealant. Clean the plastic from the crane, put the shower watering can. The work has been successfully completed. In conclusion, we propose to watch a video that tells in detail about the process of painting the bath with acrylic.