
From the installation of the base to the attachment of the antennas and ventilation pipes - we tell about the independent installation of flexible tiles.
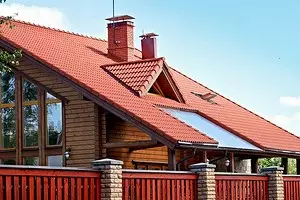

The roof of the flexible tile is distinguished by aesthetic appearance and durability. However, not to achieve any other if the installation technology is broken. We offer to familiarize yourself with the step-by-step instructions for laying flexible tiles.
Montage tiles
- Base
- Cornis
- Choosing a lining carpet
- Laying carpet
- Fronton Svez
- Endowa
- Tile
- Tiled Endowa
- Installation of skate
- Laying Gonzov
- Coating aerator
- Adjoint
- Fastening of penets
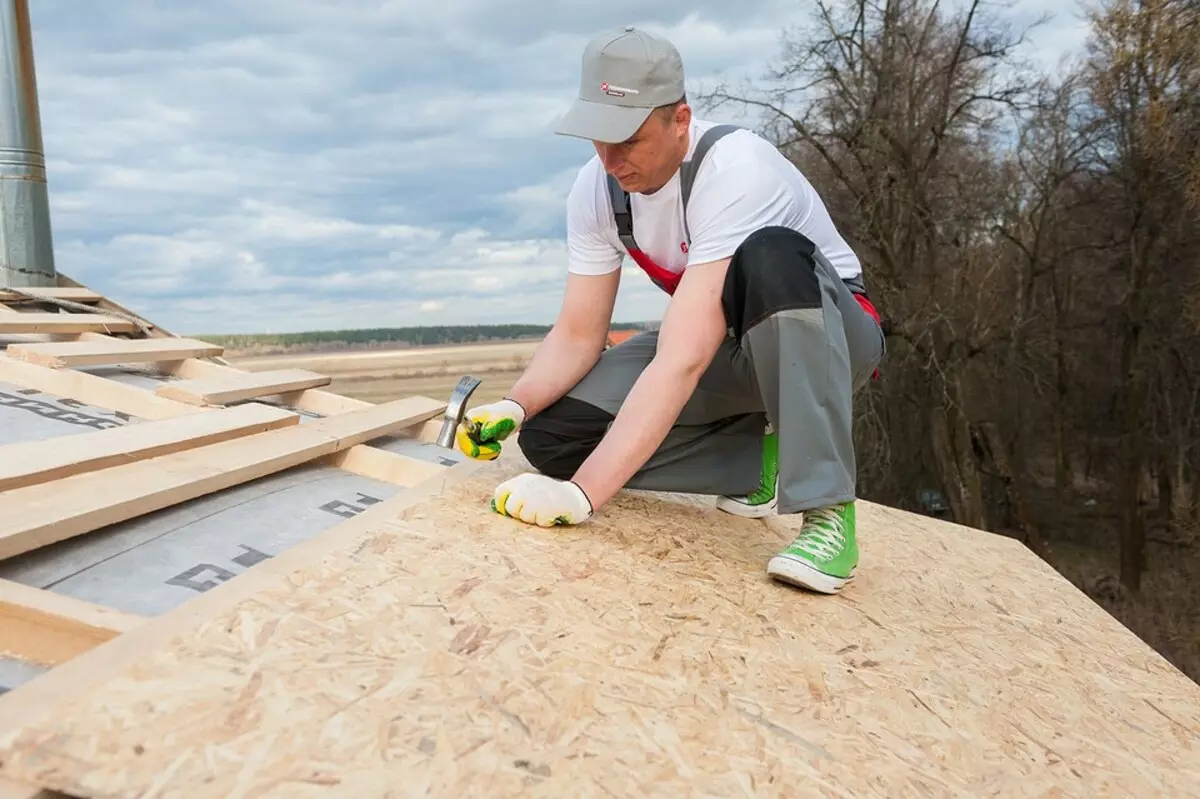
1 Installation of the base
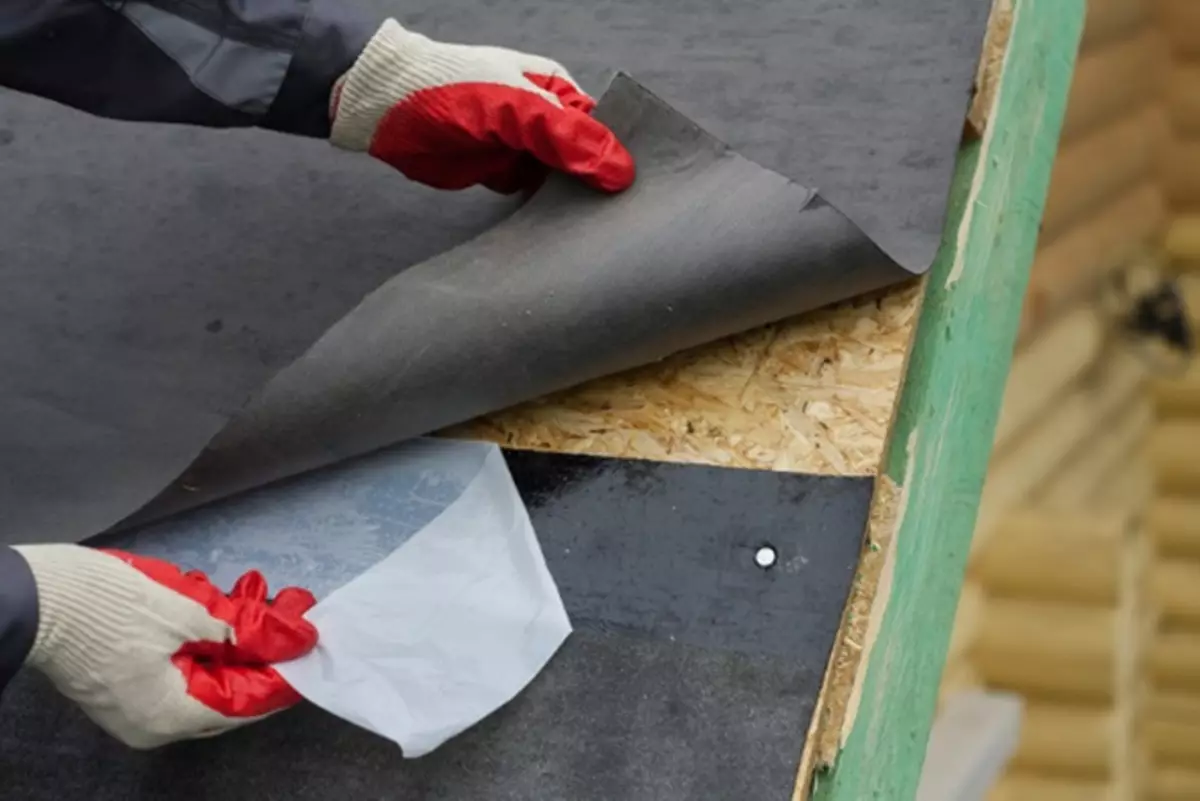
Flexible tile requires a smooth and durable basis. The boardwalk of roofing structures should be durable, dry, smooth and well ventilated from the inside. It can be made from moisture-resistant plywood or sheets of oriented chipboard (OSP-3). The flooring can also be made of 25 mm thick cut-danted towards each other, but it is better to use moisture-resistant oriented chipboard (OSP-3) or FSF FSF phane for a frequent doom. In both cases, there are 3-5 mm thick gaps between sheets to compensate for wood deformations. The thickness of the sheet material is chosen, based on the step of the drying boards, the slopes of the rods, but in any case it should be at least 9 mm.
Pay attention to the shade - it can differ slightly in different packs, so that the roof is to create a color balance, gents from 4-7 packs are mixed with each other. The roof is better carried out in dry weather with the minimum ambient air temperature to + 5 degrees. If there is no such possibility, the roof under flexible tile is prepared in advance: the tiled gears hold in the warm room for about a day, after transportation. And at the stage of fastening the tutu shingles, it is also best to serve from a warm room, about 5-6 packs, and in the process of fastening the shingles, the adhesive layer is better to warm the construction hairdryer.

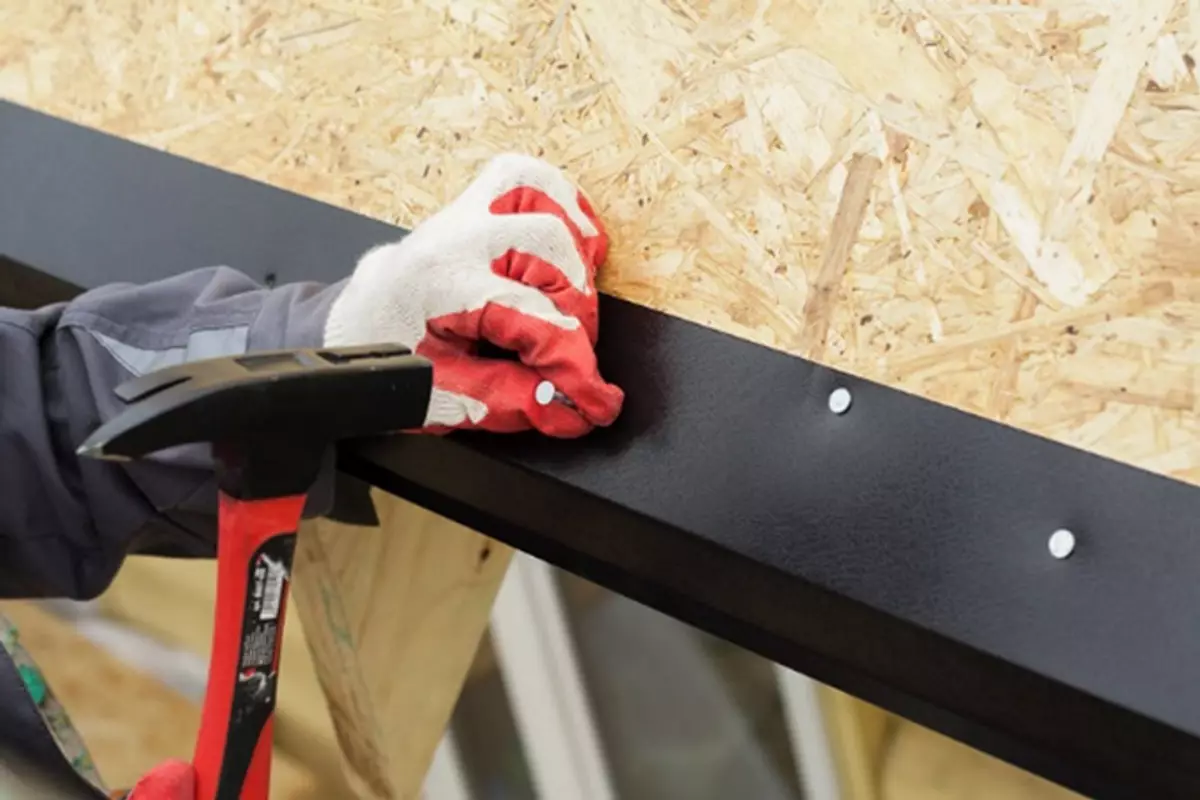
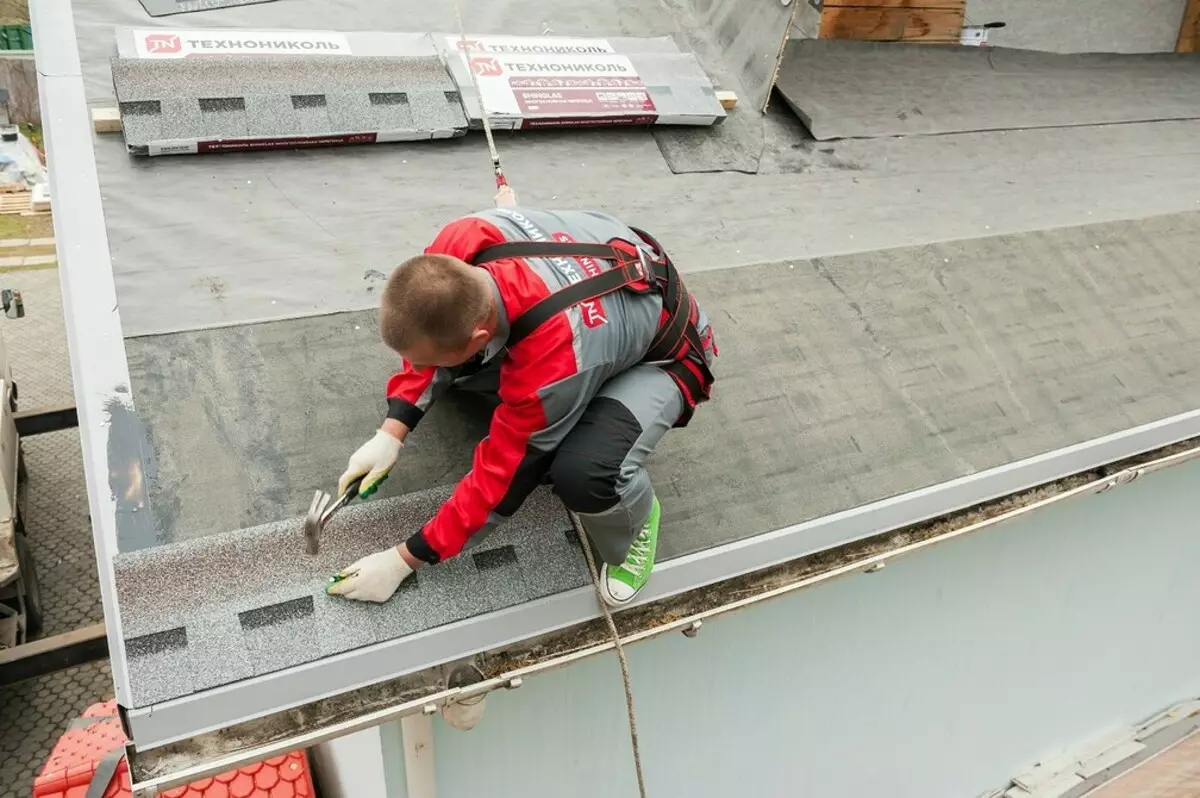
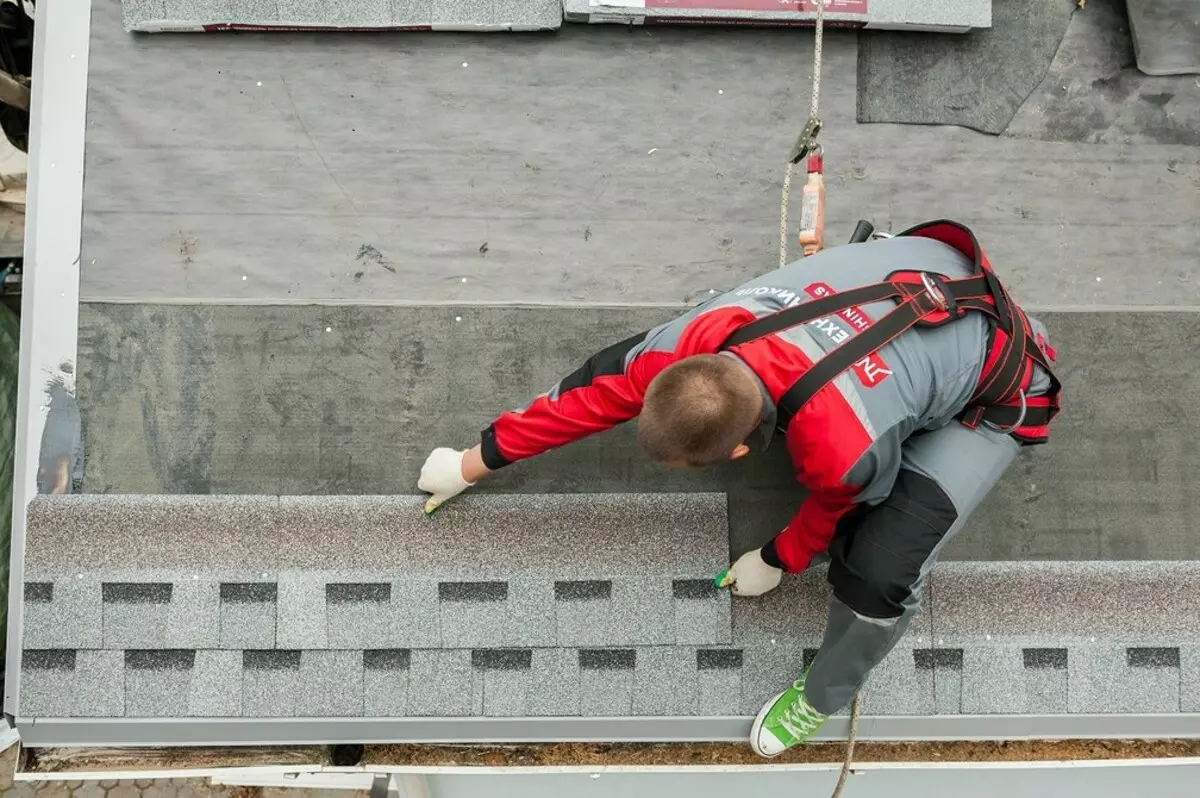
2 Fastening of Eaves
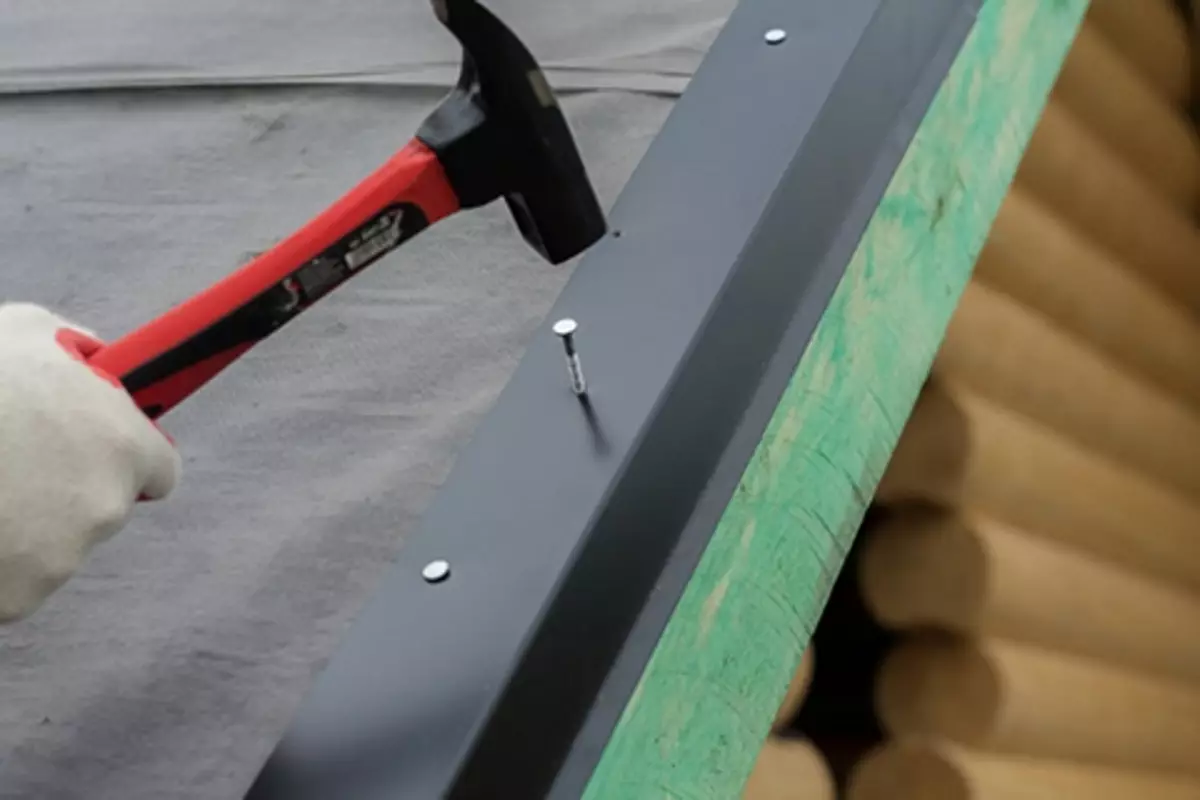
Farmers suffer from moisture exposure, and meanwhile the drainage gutter is usually fixed. Strengthen and protect the eaves with a special metal plate. The cornice is enhanced by painted metal eaves. They are attached to the boardwalk flooring with special roofing nails in a checker manner - with a pitch of 12-15 cm. The backstage of the slats should be 30-50 mm.
3 Choosing a lining carpet
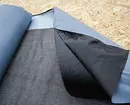
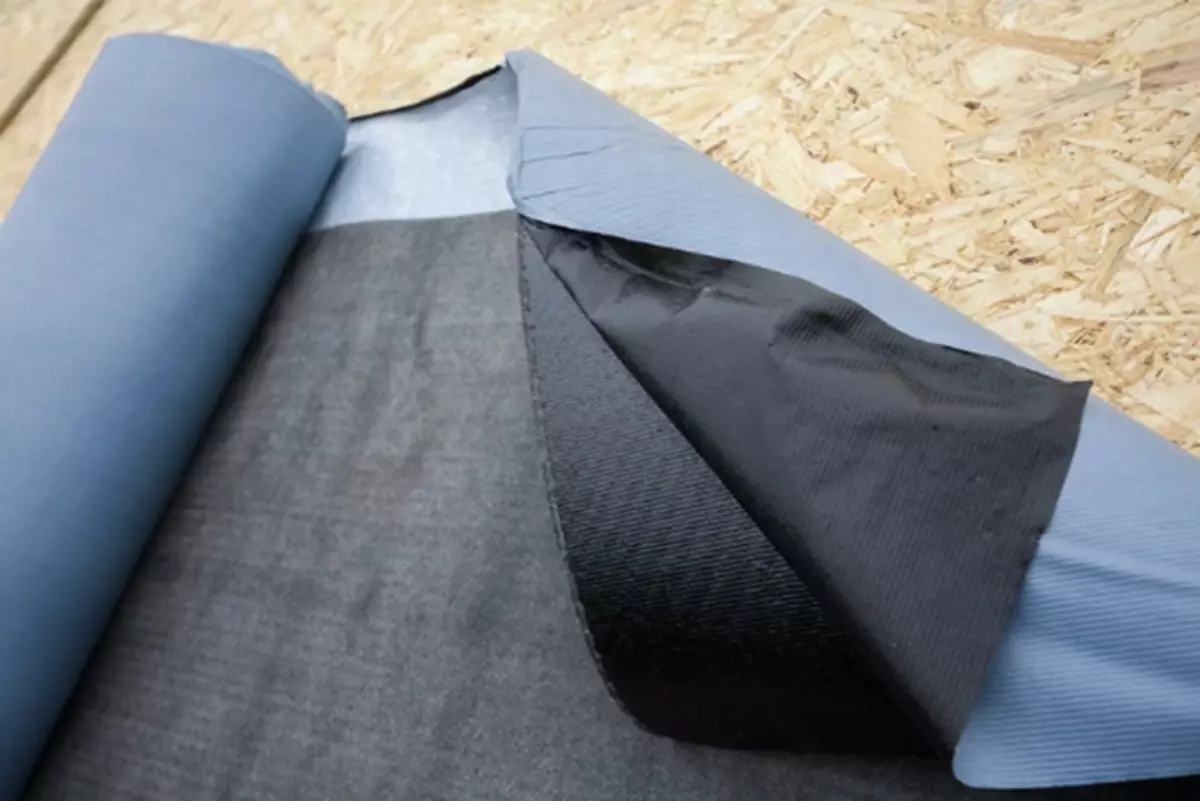
The carpet is made of two types of material. In endowes and on the cornices, a self-adhesive lining carpet is used with a very strong polyester non-aging base and fine-grained sandy sputting of the upper layer.
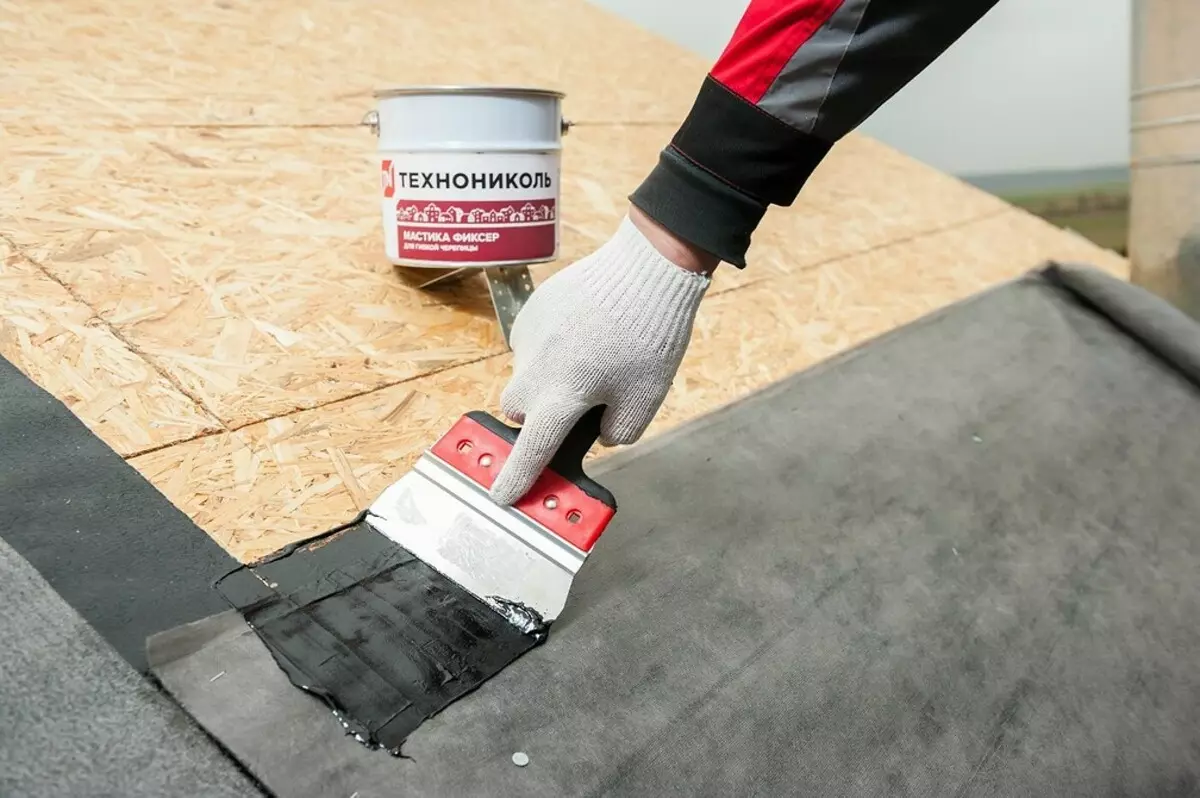
Along the internal fractures of the roof (endands), over the lining carpet should be laid the omene carpet; From the back of the edge, it is required to lack the width on a width of about 10 cm.
On the rest of the area, it is possible to include a lightweight lining material with a base of non-drug polyester and non-slip polypropylene coating or a material with a glass of glass cholester and double-sided with a mechanical fixation and a glue layer in the places of horizontal adhesion.
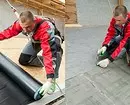
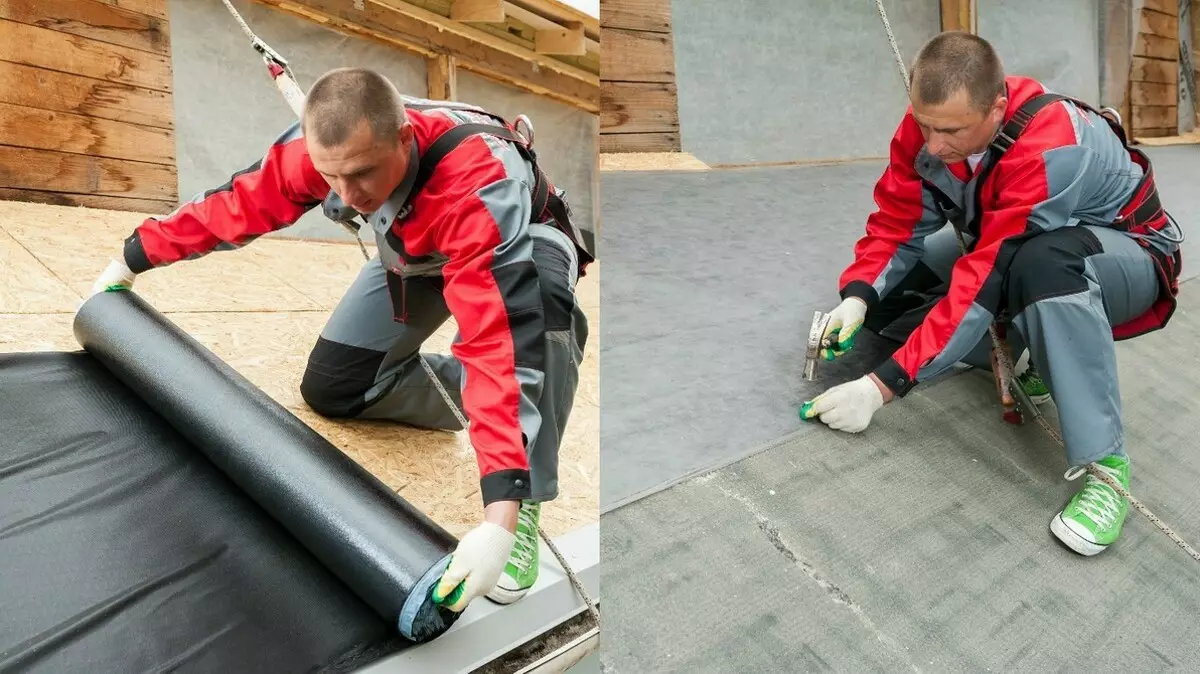
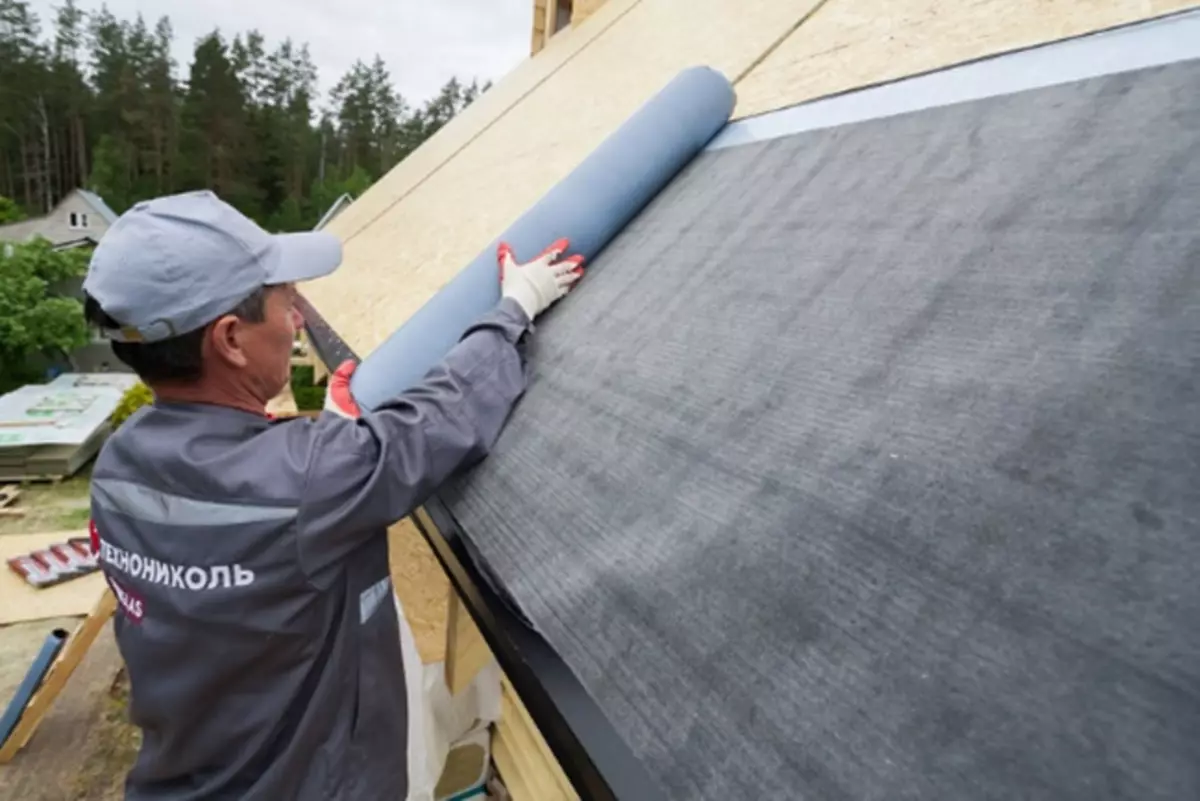
4 laying of lining carpets
Due to the capillary effect and under the influence of wind winds, the moisture can be seeded. For additional sealing, self-adhesive (in the cornese sinks) and fixed nails (on the rest of the roof area) lining carpets are used.
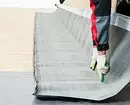
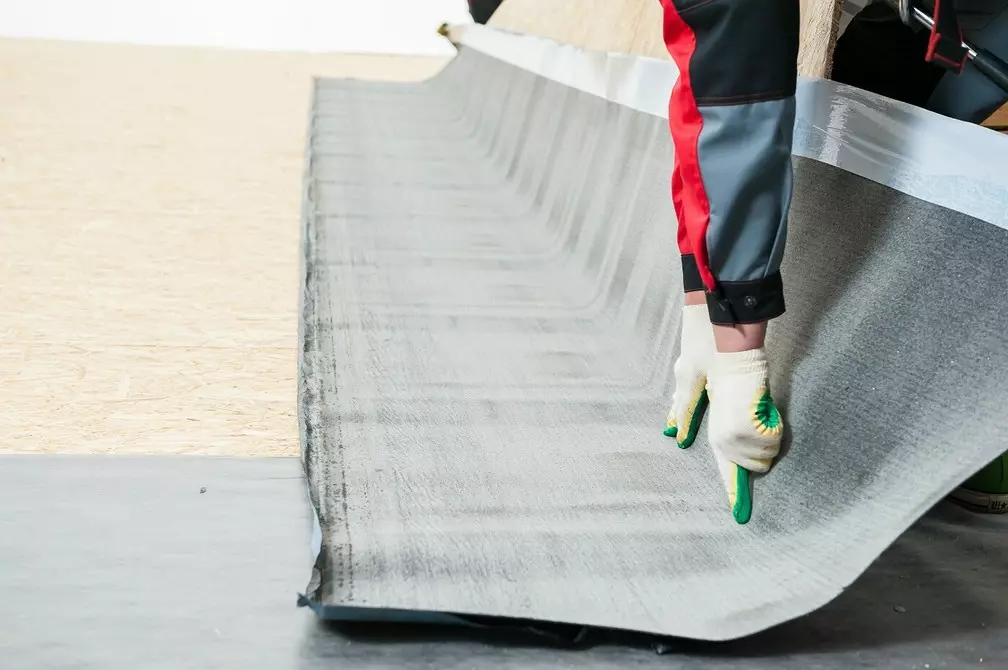
The lining carpet is made from a special rolled material. It makes the roof more sealed and will be better if it is put on the whole roof area. The rolling of the carpet is horizontally, from the cornice with horizontal adhesives at least 10 cm. It is important to consider that on this stage the material must retreat from the inflection by 1-2 cm. (For the average roof). The width of the deposit depends on the length and angle of the slope of the ride itself.
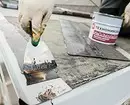
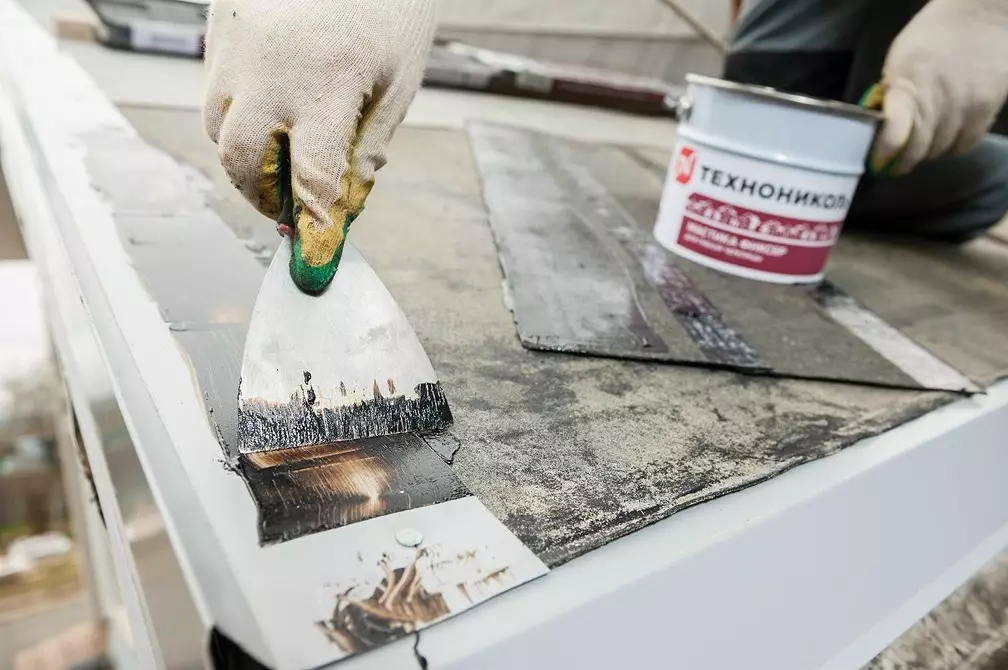
Nights on the eaves and the frontoth, as well as the places of the adhesive, are labeled with bitumen mastic with a spatula. Mastic thickness - no more than 1 mm. At the end of the installation, the rolled material is neatly fixed along the edges of roofing nails with a wide hat. Step - 20-25 cm.

5 Strengthening of the Fronton Sve
The frontal part of the roof needs to protect against ultraviolet, moisture, wind, mechanical impact.
For this purpose, painted metal end slats are attached to the front-bottom sinks, over the lining carpet, which in the process of laying the tile itself are assessed with bitumen mastic. To the supporting structure of the roof, the plank is fastened with roofing nails in a step of 10-15 cm in a checkerboard order.
6 Endovma device
Endow, as is known, has a concave angle, collecting the most amount of moisture, therefore the correct installation of roofing pie is in many ways to ensure reliable operation of the building.
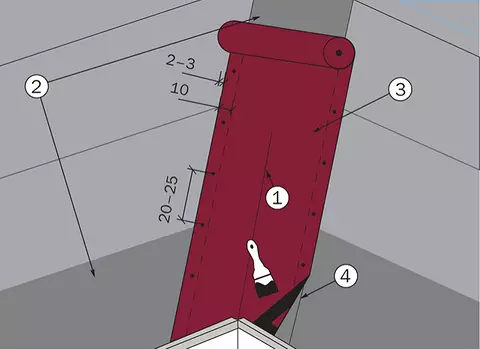
Consider the so-called "open" method of installing endanda. On top of the lining carpet, along the Entrad axis, a special roofing material is laid - oman carpet, for example, from TechnoNIKOL. In the perimeter of the back side, it is launched by bitumen mastic on a width of 10-12 cm.
On the front side, the carpet is nailed with roofing nails with an indentation from the edge of 2-3 cm. Mounting step: 20-25 cm.
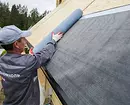
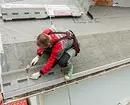
7 Laying Tiles
For convenience, before making the roof mounting from flexible tile and excerpts of the necessary geometry on the lining carpet make the markup horizontally and vertical.
In this case, the vertical lines must correspond to the width of one sheet, horizontal - about 80 cm, it is about five rows of flexible tiles. Note that the markup is simply a guideline, not a fastener scheme.
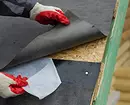
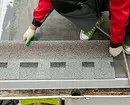
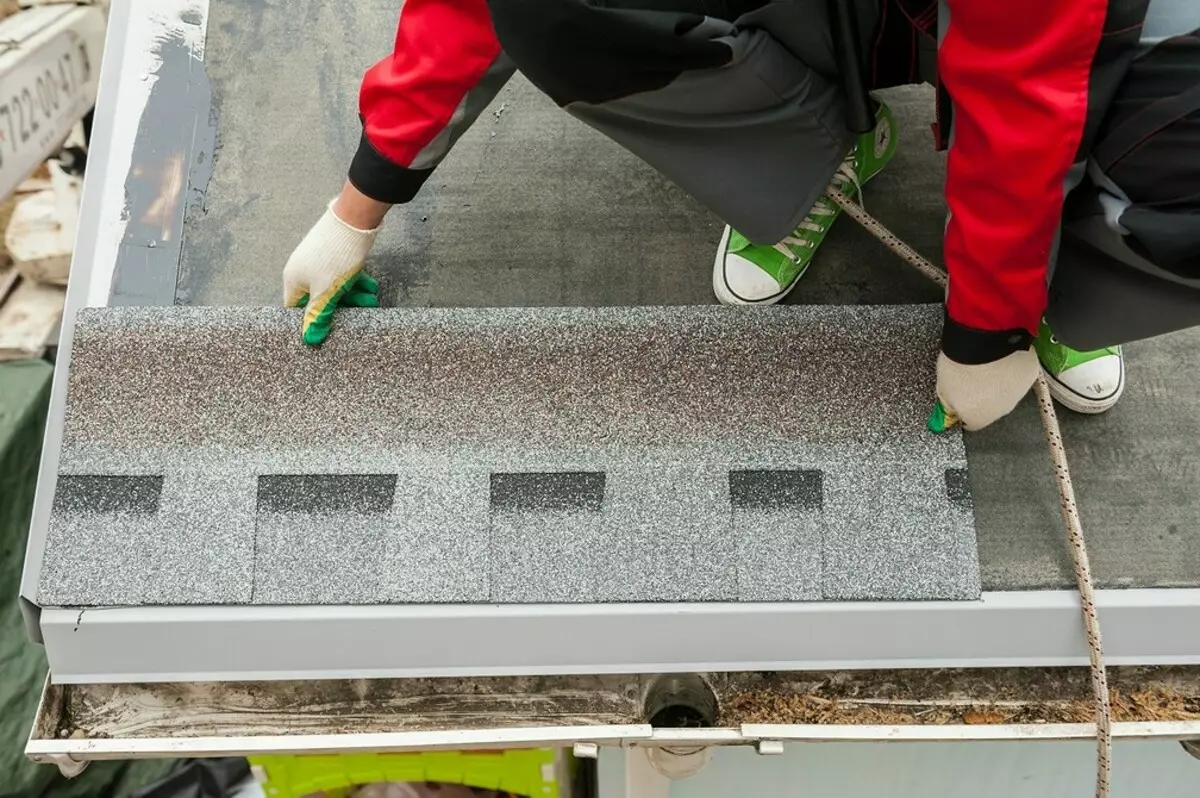
- Laying begins horizontally along the eaves. The first strip is made using universal skate-carnice tiles. You can also use an ordinary selected collection, but it will be necessary to cut off the tile "petals".
- The sheets are pasted from the turbidity of the cornice of 1-2 cm, and is additionally nailed. If an ordinary cropped version is used as a "start", the back side of the shingle must be wrapped in mastic where there is no adhesive layer.
- The second row is mounted from the center of the skate - with a displacement to the left or right on half the "petal".
- Next, the installation is diagonally from the center of the skate in the form of a strip or pyramid. The elements of the tiles are stacked with an adhesive at least 15 cm adhesive layer. It is located on the back of the shingles. Additionally, the triggers are attached to the base of the roof using special galvanized nails with wide hats.
- From the front of the front-bottom sink, it is necessary to cut off the top corner of the shingle for the end of the rainwater. Himself the shingle relative to the sink should be moved to 2 cm. It is necessary for the free drain of water. Also to protect against oblique rain it is necessary to wash in the zone of the front of the mastic, at a depth of 10 cm.

8 Laying Tiled Nenda
When the stacking process came to Enda, then on this node, the flexible tile shings are stacked in a chaotic order to the top of a fundamental carpet, after which they are trimmed in such a way that the central axis of endanda has become an open, 5-15 cm wide (see figure below).
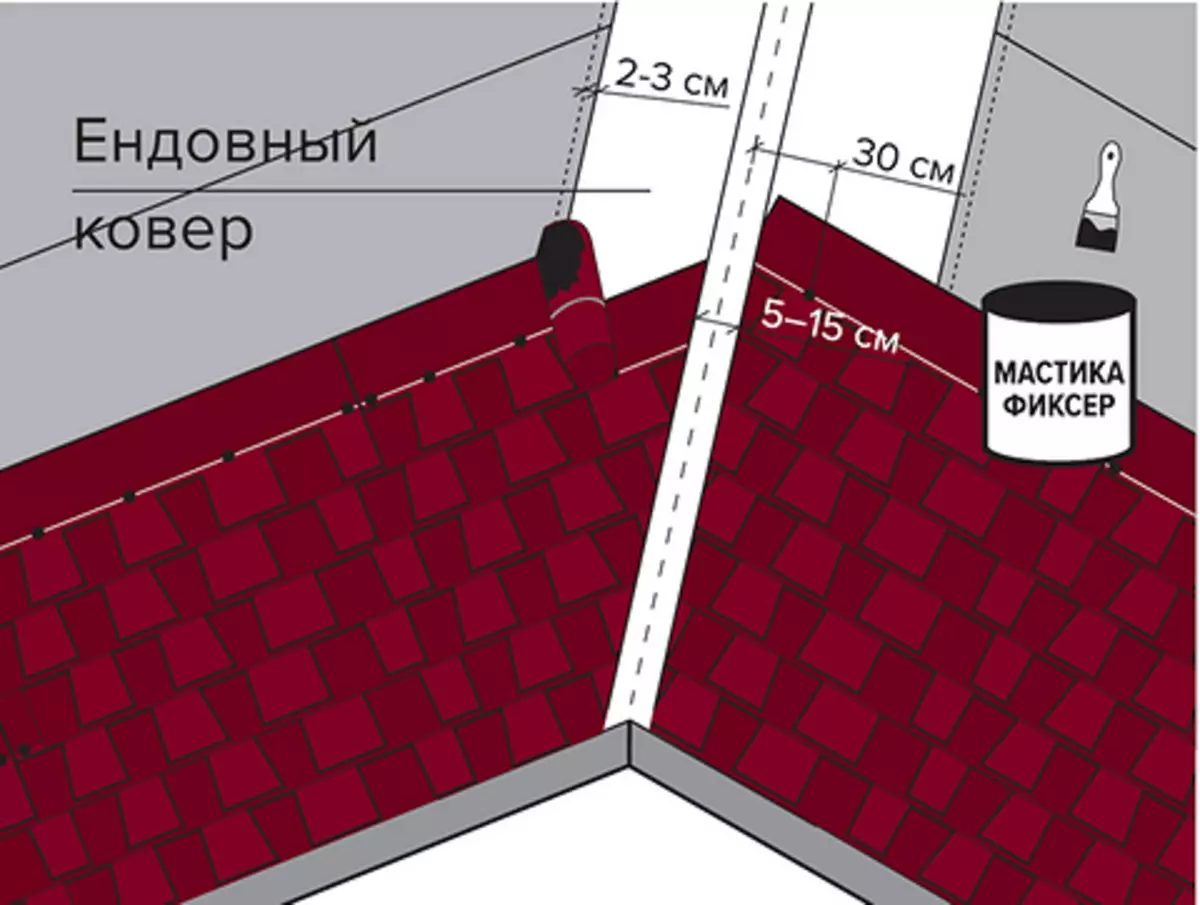
When cutting under the truncations should be put on a plank so as not to damage the underlying insulating materials. After that, the rear places of sheets of flexible tiles that do not have an adhesive layer in places of the adhesion to the end of the adhesive layer. Each shingle is fixed with roofing nails at the top no closer than 30 cm from the Endowa axis.
9 Installation of ribs ribs
The ribs of the ribs are formed by genthes with special skate-cornice tiles. Laying is based on the bottom, and is attached to the base with four nails - two for each side.
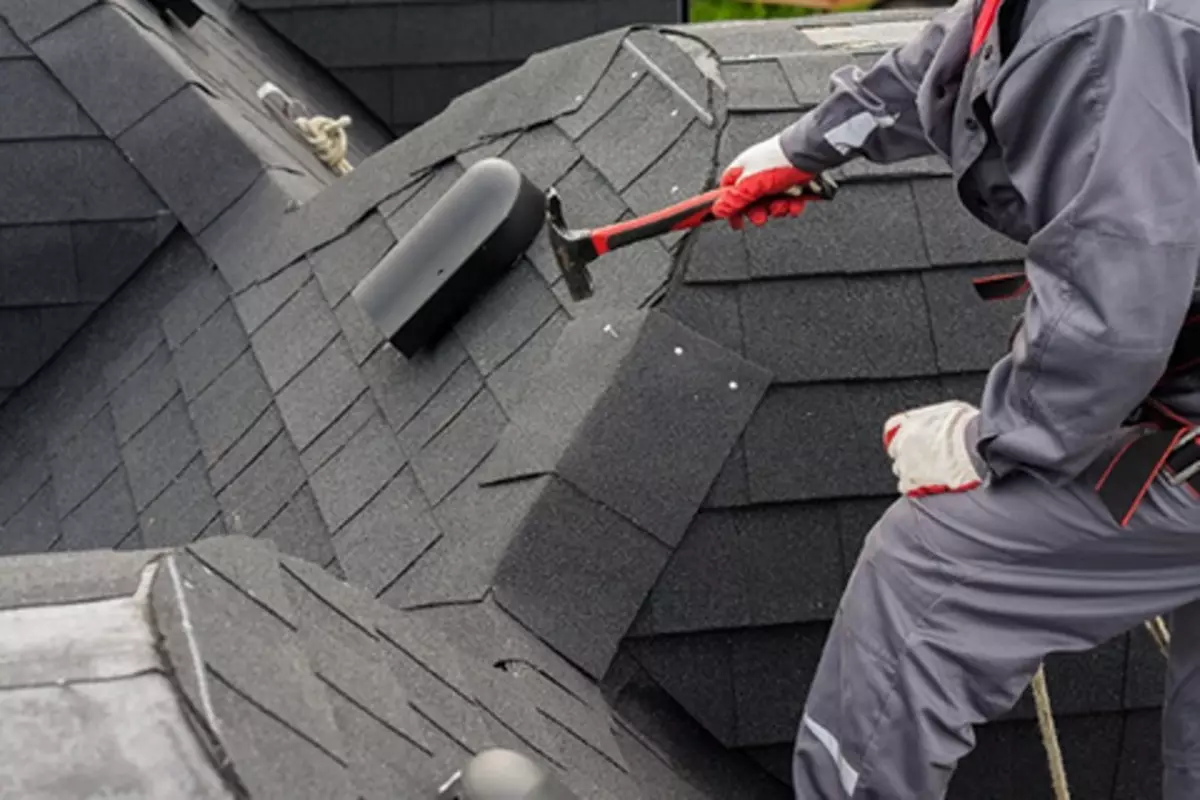
These places are subsequently closed with adhesives with a length of 3-5 cm from the upper trunks. The back of the skunk tiles in the absence of a self-adhesive layer is missing by mastic.
10 Laying Gonzov
The shings of the overlying row must be shifted relative to the underlying row shingle. No less than 15 cm. Gonns forming the joint of the roof. Then there is a slot of a lining carpet and the roofing design for air passage - with a certain interval and indentation from the edge of the roof.
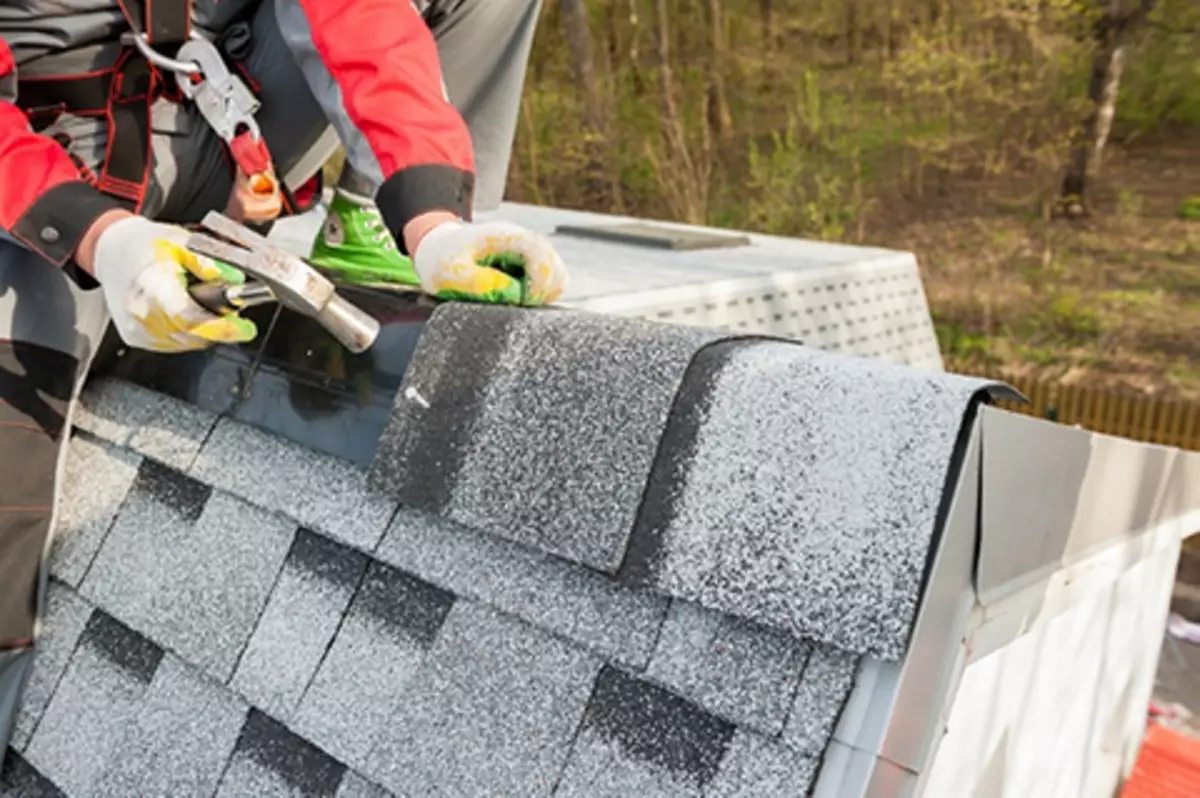
A solid plastic aerator is placed on top along the axis. After that, it is closed by a skate-earthen tile on technology similar to the roof slide device.
11 Coating aerator
In the case of a warmed roof, the cone is covered with plastic roofing aerator. It will allow excess moisture to freely leave the underpants space. The aerator is closed with a skate-carnica tile; Each element is fixed with two nails. Stacking should be held by the opposite of the predominant direction of the wind.
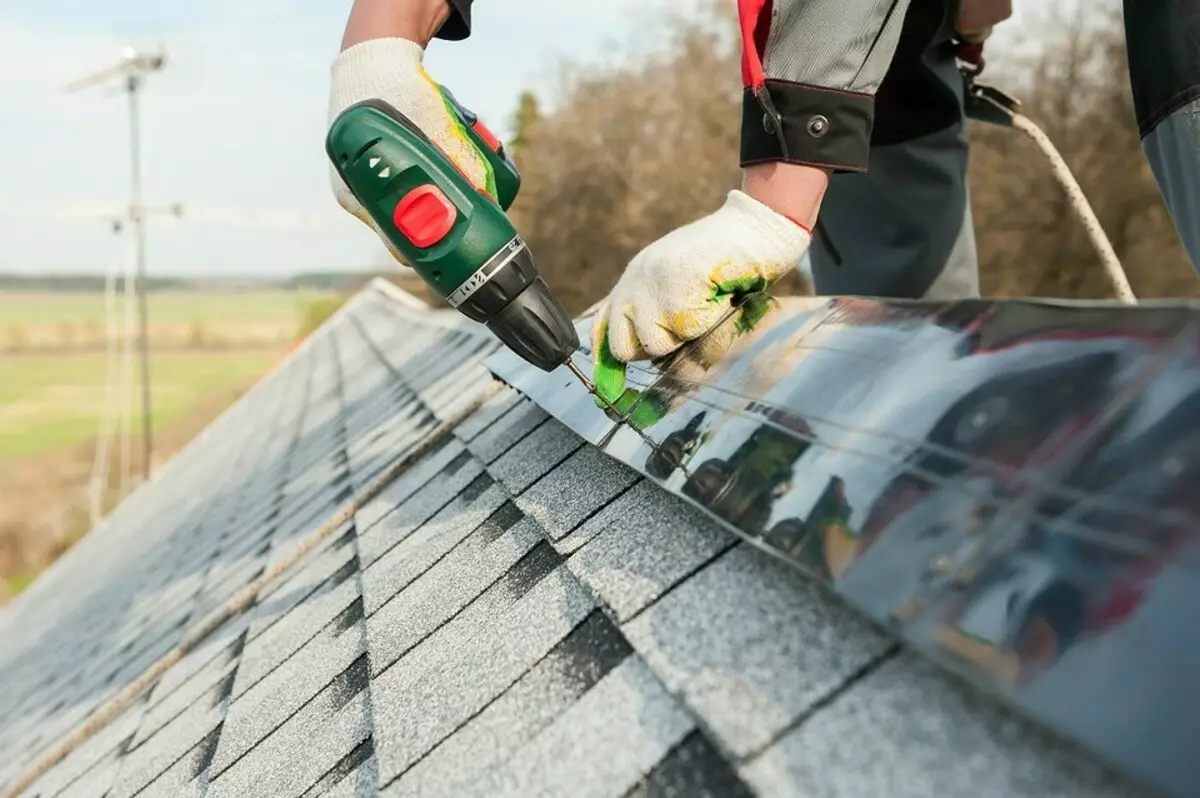
12 Installation of adjoins
The adjunctions, mostly include the joints of the roofing rogue with horizontal and inclined walls, as well as smoke trumpets. On the junction of the skate and walls, a wooden triangular rail is nailed to which the adjoining element is started. If the wall is brick, it must be placed, and covered with a bitumen primer, because the omene carpet is stacked on the walls and on top of the flexible tiling - 30-50 cm. All the rear area is covered with mastic. Sealing chimneys and ventilation pipes are made from the pattern of the omene carpet. The upper part of the carpet is started in a bar, and is closed with a metal apron, followed by sealing.
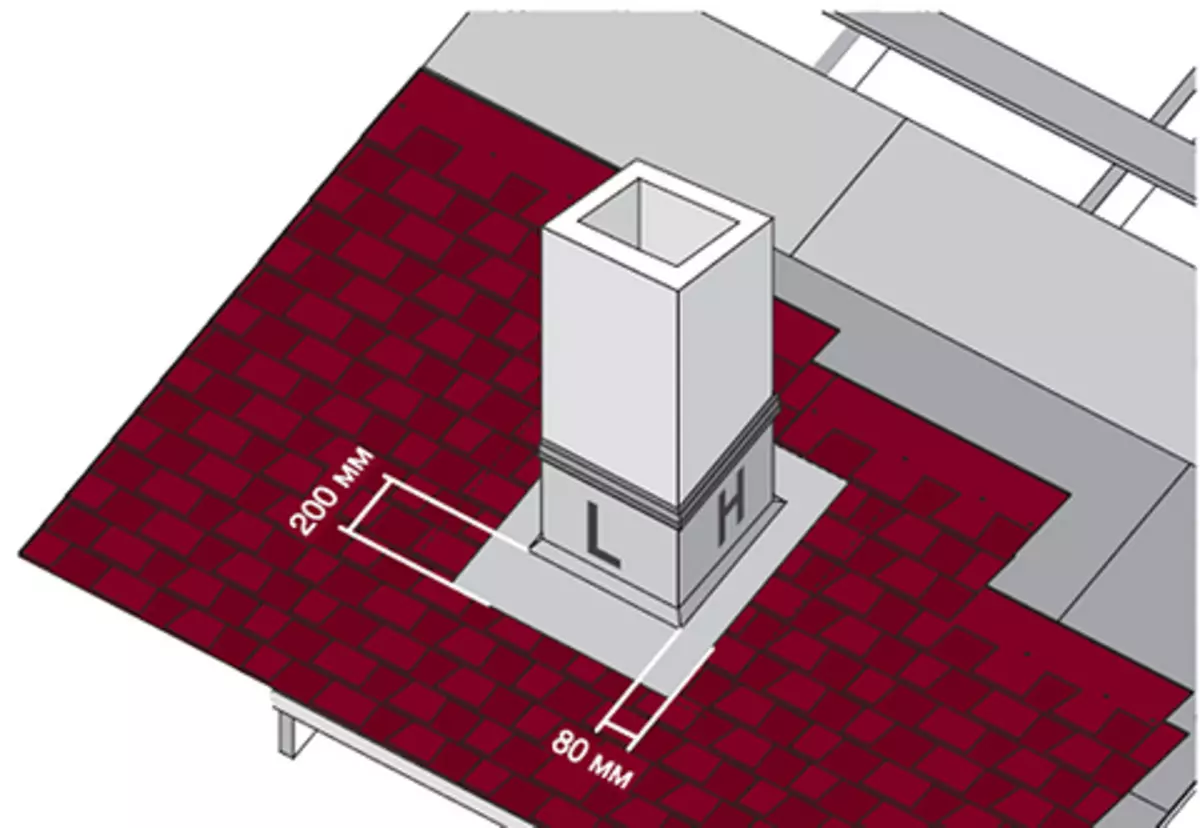
There is one nuance - the installation of the pattern should take into account the cascade of water. Therefore, first mounted the front part of the pattern, it enters the ordinary tile by 20 cm. The left, right and rear parts "go" under the tile. The rear pattern is mounted last.
The back of the pipe on the side and rear is about 8 cm. All pairing places where there is no self-adhesive layer, be sure to be sick with mastic. If the pipe is wide - more than 50 cm, then there is a rash.
13 Fastening the penets
Antennas, ventilation pipes and other roofing elements are sealed with special passing elements resembling apron, whose lower edge is stacked on top of a suitable leaf. Everything else is closed with gears using mastic. Note that the passage element is pre-attached to the roofing base with nails.
If there are any questions before installation, we recommend watching the video instruction on the installation of the Multilayer Tiling Technonikol Shinglas.