We tell when the walls need to be sanded, how to choose the material correctly and spend the work.

Before starting the finishing finish, it is necessary to remove from the surface of the irregularities - the depressions, protrusions, volumetric bands remaining after negligent laying. If you leave them, they will definitely come through the wallpaper or a layer of paint, no matter how thick it is. It can work the gain effect. An imperceptible bulge covered with glossy composition will seem much more than it really is. The same thing happens with wallpaper. Thick vinyl canvas are able to hide small errors, but with paper everything is strictly opposed. In addition, emptiness and air bubbles, which they form, weaken the adhesion with the base, which leads to the peeling of the coating. That this does not happen, the grinding of walls is required after putty.
How to bulk the walls after putty
Selection of toolsAlgorithm of action
How to finish the defects to minimize
- The right choice of material
- How to lay a mixture
When the alignment is not required
With what to open the walls
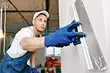
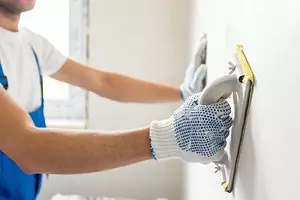
Skuring the walls after putty can be performed using a healthy agent or tools specifically designed for this purpose.
- Grinding unit or nipper. It is a working plane 5 to 20 cm and a handle attached to it. It is made of wood, plastic and light metal;
- Abrasive sponge with rounded edges - well suited for corners;
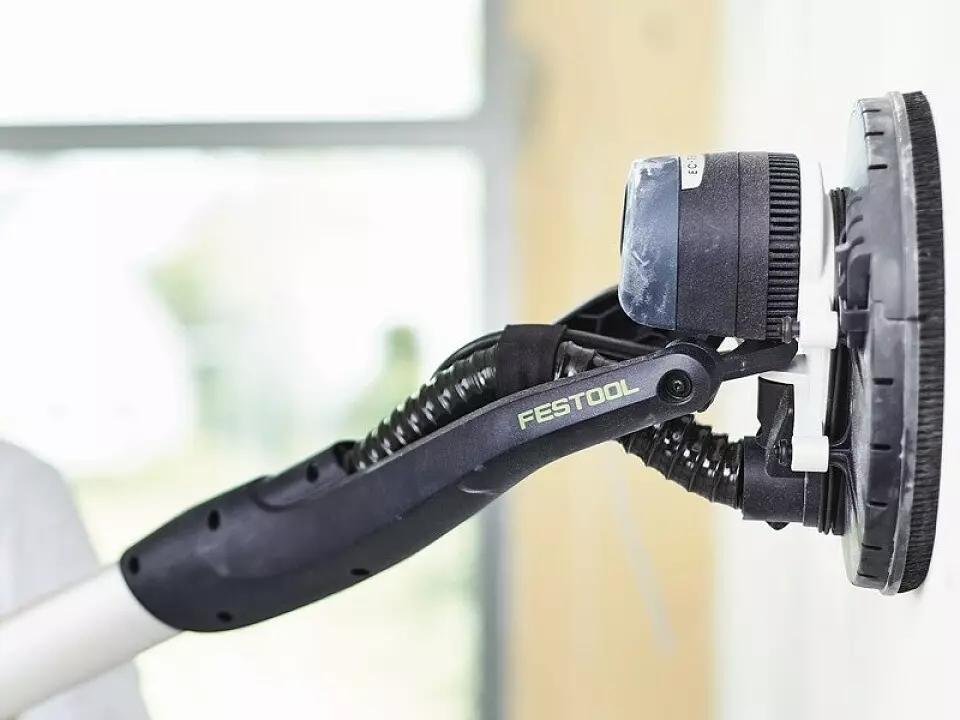
- Schlifmashinka - noticeably speeds up the process and is used with overhaul when it is necessary to quickly prepare a large area.
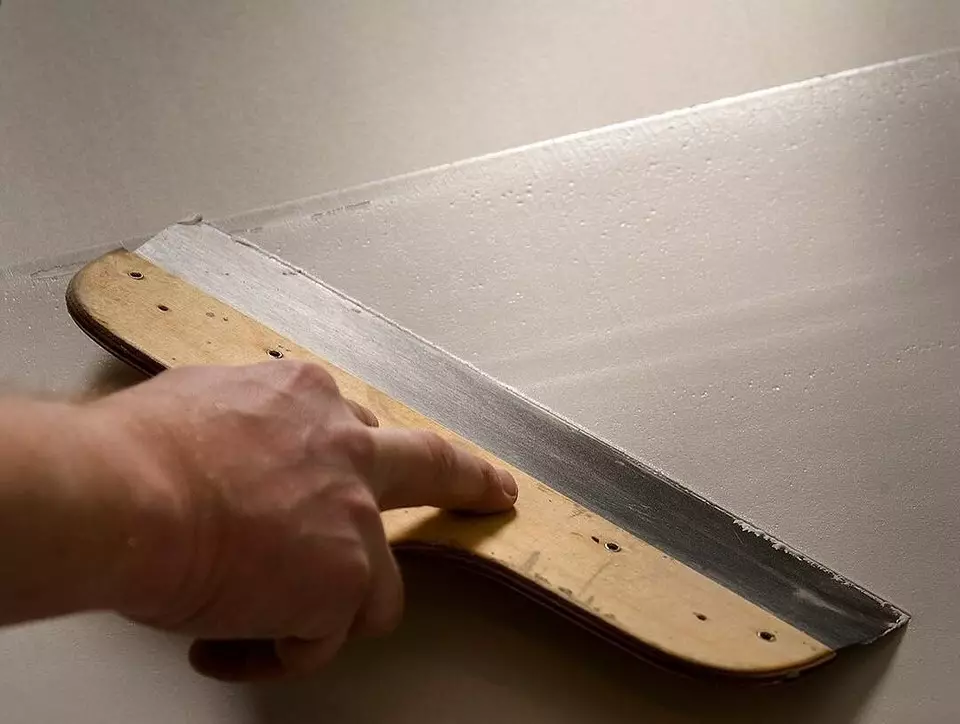
- Small sandpaper with grain grain from P150 and a small bar length with palm. The strip cuts out of the paper and turns around the bar. Its size should be such that it can be wrapped up, leaving small pisces on the side face. Thus, a piece of tree wrapped well in his hand. It is convenient to work, so the professionals are also widely used, and those who are repaired for the first time. When one of the sides clog into dust or erased, the tool can be rotated by another edge or change the working surface, moving fresh emery outward.
Step-by-step manual for wall slices
Skashing the wall is better in the respirator or a bandage that protects the face. Dust from putty does not contain toxic substances, but its quantity does an extremely uncomfortable stay. Breathing without protective funds will be difficult. We also need glasses and clothes that do not feel sorry to dump.
It is advisable to prepare a ladder. The ceiling and the upper part of the wall can be processed, putting on a chair or stool, but in this case you have to constantly reach to hard-to-reach areas at the very top. Hand in this position quickly tired.
So that all irregularities are clearly visible, side lighting will be required. A table lamp or a night light, located in the corner, will be consolidated. In this position, it will create a stream of oblique rays that make the shadows discard the shadows. If you shine directly, they may be invisible. The shadow creates the necessary contrast and even identifies small defects.
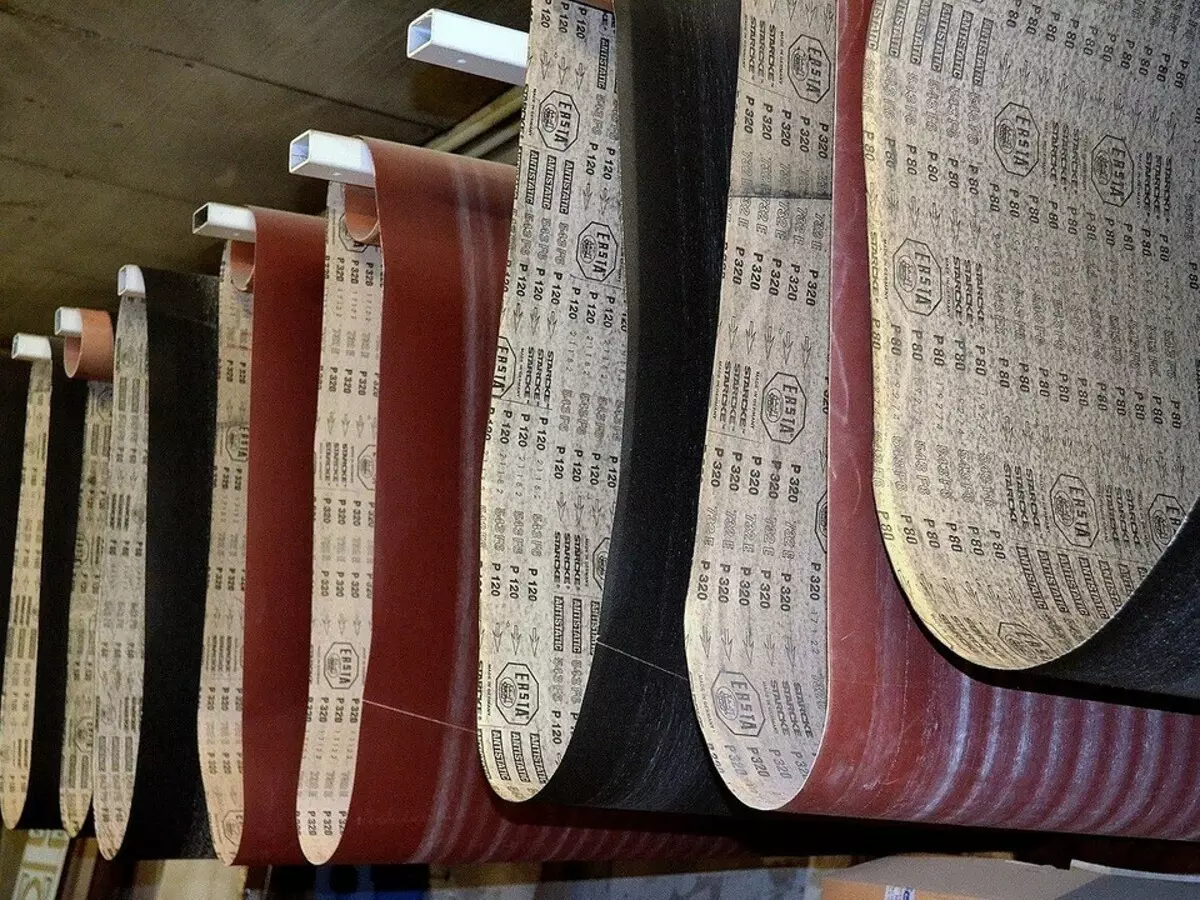
If you work emery, it is better to use sheets with different graininess. For the finishing finish, it is not desirable to apply paper larger than P150 - it will leave traces. Large irregularities remaining after drying, it is more convenient to remove the spatula. Material, depending on the composition behaves differently. To figure out what paper should be used, you need to try it on a small area. It is possible that the scratch will remain even under R220 grain. In this case, you need to go to P240.
In any case, it is impossible to put pressure on the tool in any way - otherwise it will leave the mark in the soft coating. If large recesses were formed, they are no longer possible to align in a dry way. We will have to fill them with a plastic mass, wait for it to dry and start everything from the beginning.
In the corners it is more convenient to work with an abrasive sponge in the form of a trapezoid. Aligning one face, it will be impossible to damage the other. For hard-to-reach places, emery sweeping, wound on a pencil or finger, or a special grid. Its advantageous difference is that it is easier to clean it.
How to sand wall after putty without dust
When grilled seams between sheets of plasterboard, you can use a wet tool. For a large area, this method is not suitable, since the grains will immediately convert a wet mass. There are grinders with electric pumps and dust collectors. This device perfectly filters particles, but a small amount remains in the air, so it is better to work in the respirator.How to minimize defects
It is possible to completely get rid of them only by the method of sanding, but there are solutions to significantly reduce their number. Moreover, these solutions make the alignment possible in principle. Consider them in more detail.
Pepperly choose the material
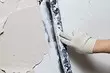
To get rid of shortcomings, a universal or finishing putty should be applied. Universal can be put in one layer on plaster or other prepared base, finishing - only on the base layer. They differ in composition affecting their properties.
- Polymer. Possess the greatest plasticity and durability. They are easy to handle the skin, while over time the coating does not lose its qualities. Acrylic is used as the main material.
- Water dispersion. It is well held on the surface, elastic, they are easy to grind. They are less elastic than polymeric, so they are easier to process.
- Oil-glue based on olifa. Different perfect adhesion. Ideal fit for painting.
- Cement. When drying, give shrinkage, which reduces their strength and grip. To get rid of this disadvantage, manufacturers are injected into a solution of plasticizing additives, which leads to its rise. In this case, the price can serve as one of the benchmarks when choosing.
- Gypsum. They are easiest to process them, while they have the smallest reliability compared to other species. Suitable only for dry rooms.
The determining factor when choosing is not only material, but also the manufacturer. It is better to use a good gypsum mixture than bad cement.
Properly laying the mixture
To work, I do not have to redo or for a long time to correct, it's better to do everything right from the very beginning. Schucition wall after putty - the lesson is quite tedious. In the process of grinding, a lot of dust is formed, so better the main efforts to send to high-quality laying of the solution.
It is necessary to choose the instrument correctly. Professionals work as a wide spatula with a blade from 30 cm and more, imposing a mass on it narrower. Hold it in hand is quite difficult. From unevenly distributed efforts, the mixture will go waves, and one of the edges will definitely leave a deep furrow at the most inappropriate moment when everything is ready. It is more convenient to load the mixture to the mixture on a wide blade, and to remove it with narrow it. This will save time and achieve good quality. In order for the angles to be smooth, you can use a special corner spatula.
It should be moving from the bottom up, laying the strips with a width of 1 m and making the allen at about 5 cm. To increase the elasticity of the layer, you can put a thin reinforcing mesh of plastic in it. Error needs to be corrected in place until the solution froze. Before you start it, you need to give him dry. Usually a layer of a thickness of several millimeters dries during the day.
In what cases does not require alignment
An ideal smooth base for finishing is not always required. There is no need if there is a tile or plasterboard sheets from above. It must be flawless in three cases.
- The finish coating repeats the contour of irregularities. They are well noticeable after painting, especially with lateral light, when the protrusions and depressions begin to discard the shadows. Paper will be able to hide them only thanks to the motley drawing. Smooth shades will only strengthen the effect.
- The canvases should be founded tightly. Vinyl wallpaper will hide small pits and tubercles, but these minor defects will still be felt anyway. The massive canvas with a large thickness will not be able to fill them or cover them, as a result air bubbles will be formed. It is possible that part of the sheets will break down, and work will have to start first.
- High-quality finish is not needed in all rooms. For example, in the storeroom it is usually not done.