
We tell about the advantages and disadvantages of the tile laying on the wooden floors and we advise how to do it right.

The first coating in a private house or urban apartment is placed on a concrete base or on lags - essentially a frame made from a bar. The second option is more suitable for parquet, boards, laminate or linoleum. The finish must be flexible, as wood structures are very mobile. Under the influence of moisture and temperature drops, the timber changes its dimensions. He can dry or on the contrary to swell. With a rapid drying, it can "Tale". Products from ceramics or cement are usually attached to the screed, otherwise there is a risk of cracking. However, it is not always possible to use this method. There are cases when the question arises - how to put a tile on the wooden floor. We answer it today in the article.
Rules laying tiles on wooden floor
Pros and consChoosing materials
Step-by-step instruction
- Lagi
- Sheaving
- Facing work
Is it possible to put a tile on the wooden floor
Consider the pros and cons of the solution to make the right choice.
Benefits
Laying tiles on a wooden floor is a huge risk, but this method has advantages.
- Saving funds in case the lags are in satisfactory condition.
- Saving time - to grab a screed, she needs not one day.
- Plate of overlap can have a significant drop in the level. To fix it, you will have to spend a huge amount of concrete aligning mixture. With a large distortion, it will not be able to put in one layer - otherwise it will crack due to the uneven shrinkage in the process of grabbing and drying. Consequently, you will have to wait for the first first, then the second coating. The problem can be solved for one or more days, collecting the leveling structure of the tree. In order for the surface to be strictly horizontal, the bars will have to be cut down, checking them in terms of the level.
- Concrete solution weighs several times more than wood. In old buildings, where walls and overlaps are very worn, lagows will unload them. Such a technology will provide an opportunity to not create loads over the permissible limit.
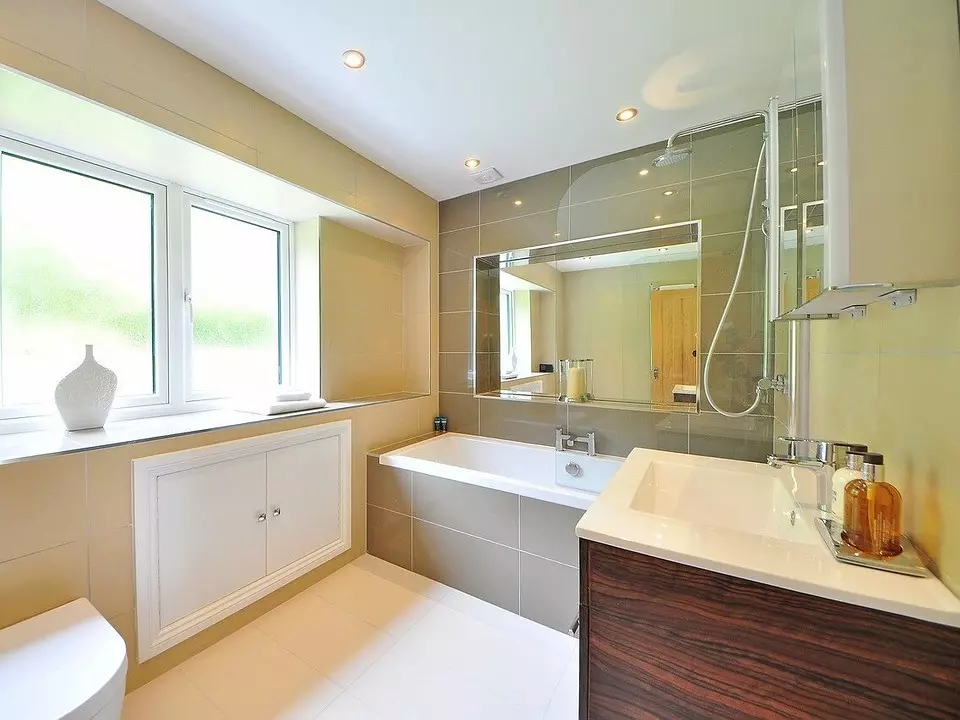
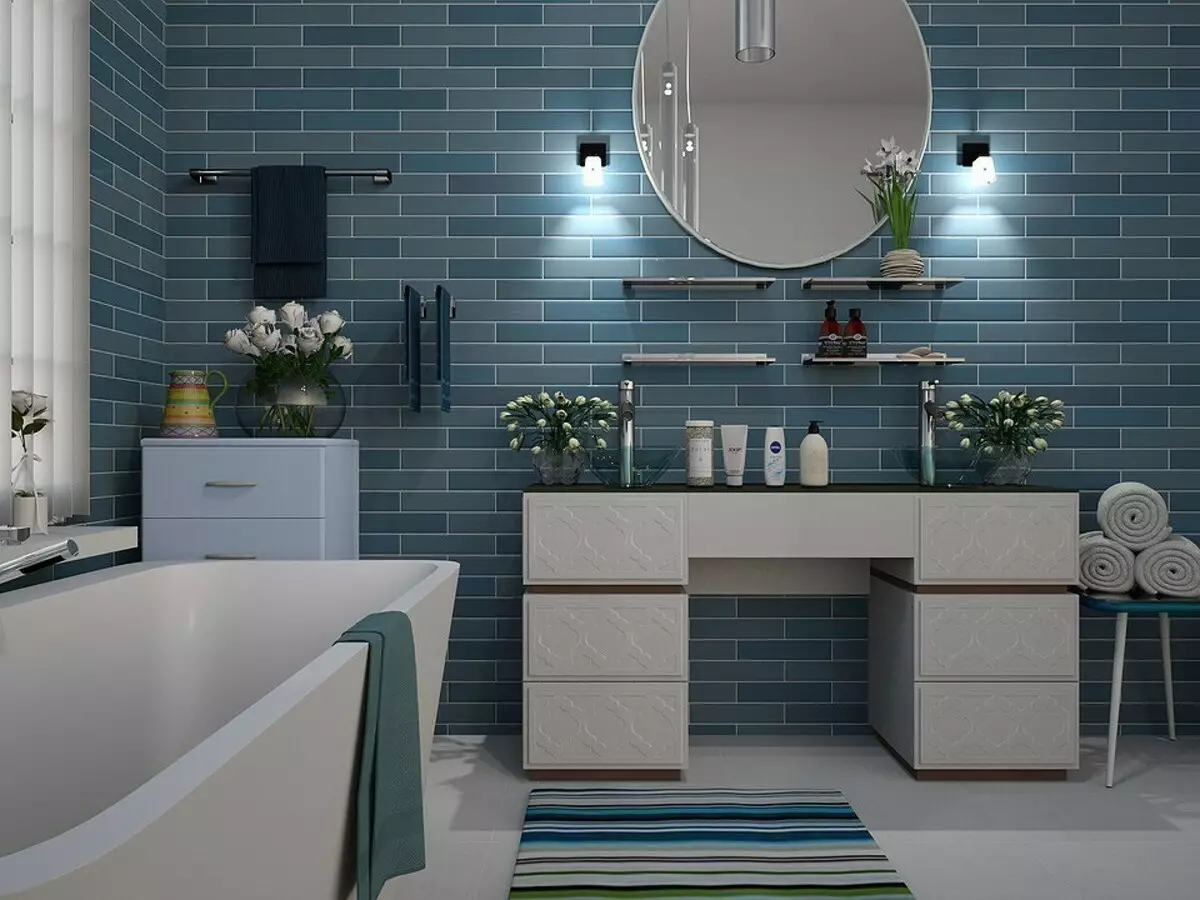
- Tile, cement and mineral tiles are usually used in kitchens, corridors and bathrooms. These rooms, in contrast to residential rooms, have a small area and an elongated form, which reduces the load on the frame.
- In houses with wooden floors, for example, in fires, this method is the most appropriate. Logs must breathe. When applying, they will accumulate moisture, which will lead to their gradual destruction. The only output is the creation of a ventilated base for finishing. Ceramics and cement mortar do not pass air. It should penetrate inside the edges of the plinths. This space is better to make free, leaving near the walls of small gaps in the facing, closing them with a grid. The owners of cottages that believe that a good waterproofing is needed in the bathroom, often missed the fact that the overlap is also required.
Disadvantages of solutions
If you can not resort to such a technical solution, it should be used. So that the finish extends at least ten years, all the work must be performed flawlessly. The highest requirements are presented to the collection elements of the frame and draft coating. Otherwise, cracks, chips, detacies are inevitably the appearance of cracks.
- The mobility of the base as a result of temperature-humid deformations.
- To make the tile, products from natural stone, cement, as well as a masonry solution did not give a crack, they are allowed to put on the lags that served for about two years. Brussia should dry and fly away under the influence of a large mass. This will make their structure more stable. When repairing, execute such a condition is not always possible. The necessary properties have high-quality solid wood, but it's not easy to find it.
- Forestness of materials.
- Less strength of the supporting structure compared with the screed.
- Wood not only deformed under the influence of moisture, but also collapses.
- The porous structure with high humidity can be a medium for the appearance of fungi, mold and bacteria. The problem is solved if you provide a frame ventilation and not cover it with a tight coating that does not transmit air. In this case, normal waterproofing is excluded.
- Works can be performed with your own hands if you have carpentry skills. Without them, make and fit the prefabricated elements will be difficult. In this case, it is better to call the masters.
Choosing materials
Tile
The unique requirement is presented to the finish - it should be easy. Products from cement and natural stone have too large mass. The optimal option is a thin ceramic coating. It is necessary to buy it with a margin in case of if some products are defective or several tiles will break.
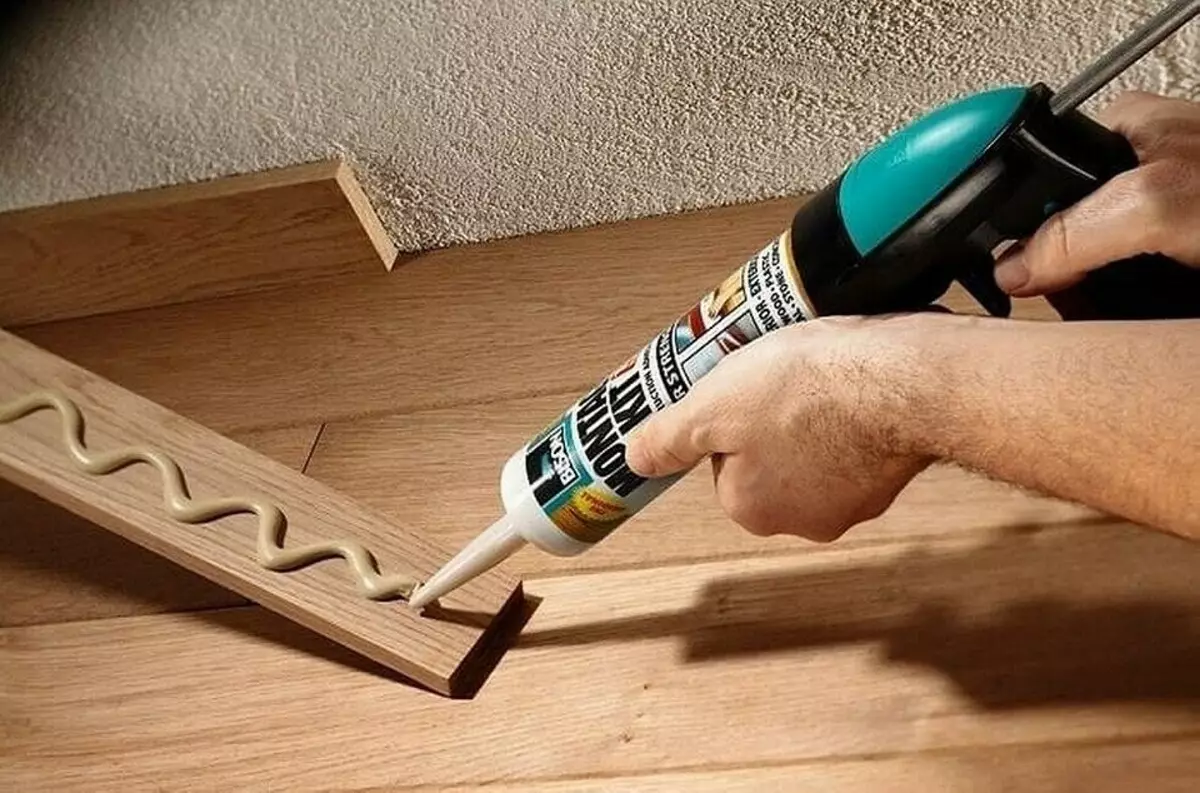
Glue
The glue based on the construction solution weighs more than PVA or "Liquid nails". Differences by mass may seem insignificant, but this factor should not be neglected.
Lagi
In apartments, as a rule, old lags are used. If they are in good condition, it is better to leave them. In a dry environment, the temperature-humid deformation is no longer threatened. In the case when new details are needed, the bar is better to buy in construction stores. If he stayed in the open-air market and soaked in damp, it is not worth using it even if there is a quality certificate. Humidity should not exceed 12%.
A spruce, fir, pine, most often used as raw materials. Larch has the greatest hardness, but it is more expensive.
With a high height of the design, the cross section is desirable to take more - 200 x 150 or 220 x 180 mm. Otherwise, the elements will have to glue vertically. The wider the cross section, the greater the deformations will give the base.
To create a frame, the best or second varieties are best suited. The third grade is distinguished by a large number of bitch, irregularities in the structure making its density uneven. These defects will lead to the fact that in some places the coating will see, cracks will appear in the decoration.
To protect against the effects of fungi and bacteria, antiseptic impregnation will be required, for example, "pyrilax". The tool is not only struggling with microorganisms, but also increases fire resistance.
Flooring
The flooring can be made of plasterboard, plywood, GVL and OSB plates. Masters also advise using moisture-resistant GVV plates. The optimal thickness is 5 cm. With a thickness of less than 4 cm, a deflection will appear. Too much mass will bring more harm than good.Step-by-step instructions for laying
There are several ways to lay a tile on the wooden floor. The choice depends on what state is the bar and flooring. It should also be considered, in which room are planned repair work. It is important to correctly calculate the load on the design, and how uniform it will be distributed. It is possible that a separate pedestal will have to build a bath.
How to repair old lags and make new
Work in the unheated room is better to spend in the warm season. The material is very capricious and can prevent many surprises in the form of cracks and distortions at temperature-humid deformations.
If the frame is in order, it needs to be cleaned and processed by an antiseptic, if necessary, pulling and strengthened with nails. The distance between adjacent elements should not be greater than half a meter. Otherwise, the load on them will be excessive. With too much step, you will have to put additional parts that serve to enhance. So that the fibers are ventilated, you need a gap with a wall. One centimeter is quite enough to create air circulation. In addition, due to the additional space, the extension will not squeeze the elements.
It is not necessary to follow the Council to close the cracks in the ceiling to improve waterproofing and protection against noise. It will need from above, and below the material should breathe. In this case, it is advisable to do without mastic.
If the surfaces of mold are noticeable on the surface, they must be eliminated and handled by the product with a protective composition. With deep penetration, the part will have to throw out and install a new one in its place. The masters are advised to pour the screed, but in buildings with wooden floors it is better to put a framework - so there will be less loads on the supporting structures. Weight screeds they may not withstand.
New bars are attached to the overlap on the self-tapping screw. Additional strength to the connection is provided by metal corners. For mounting to logs allowed to use nails. Elements are easier to keep in principle, but real professionals recommend trimming the ends in such a way that they form the castle when the connection is connected. This advice is unlikely to be useful for those who have never worked on the tree. Turn the details on your own and fake them to each other only the experienced joiner.
If the overlap is at an angle, and it must be aligned, the bars need to be turned on the planer so that they compensate for the height difference in different corners of the room.
The docks are enhanced by trimming. They are fixed from the side with the help of nails.
Mineral wool, stoves made of foamed polystyrene or other products, which are improving the insulation of the room and preventing the penetration of noise from the neighbors from the bottom. In addition, materials are quenched by sound waves appearing when walking or falling items. So that the insulation is smaller contact with the stove, it is possible to make shelves from thin plywood - so it will retain its properties longer.
How to make flooring
When the frame is ready, it is covered with moisture-resistant sheets. Use old boards is undesirable. They can be left if they do not bend under load and are in good condition.
The lining can have one or more layers. It depends on the thickness of the plates, sheets or panels, of which it consists. Fastening is made using self-tapping screws. They should be placed close to each other. Usually takes a step from 15 to 20 cm. Additional stiffness will provide adhesive compound. The glue is applied along the edges. The joints should coincide with the lags, and it is impossible to allow them to impose on each other. The maximum width of the seams is 3 mm. For ventilation between the wall and the coating, it is necessary to leave the gaps of 1 cm width or do small holes. This space can be filled with a damping ribbon with a cross section of 1 to 10 cm or install an appropriate board with the same dimensions.
In wet rooms - kitchen and bathroom - joints need to be missed by special waterproofing mastic. You can use membrane waterproofing. In order not to give water to lean inside, the walls are made to the walls with a height of 3 to 5 cm. The waterproofing is placed on the flooring, but sometimes it is placed between two layers of plywood or other material used during the trim. It will be optimal from the bottom to be the moisture-resistant Faneru, and from above - plasterboard sheets. They are attached with two-component polyurethane glue. The composition is very elastic, which allows him to compensate for the deformation of the frame. Similar properties have silicone sealant.
If overlapping is allowed, you can close the waterproofing layer with a reinforced concrete tie with a thickness of 1 to 3 cm. With such a thickness, it will weigh a little. It will not allow the reinforcing grid to crack. The advantage of this method is high strength. There are liquid polymer compositions. They are easier than cement mortar. Raced, they evenly cover the entire area, creating a perfectly smooth surface without drops in height. They grab faster concrete.
How to lay a tile on the wooden floor with a flooring or tie
Facing is carried out in the same way as under normal conditions, when the base is a reinforced concrete plate or a screed. The base should give shrinkage, so it is better not to rush with the finish finish and proceed to it a week after the completion of draft works. You can start from the far edge, because the look falls primarily on this part of the room. Some masters advise to go from the center, since it is he who, in their opinion, is a visual reference point.
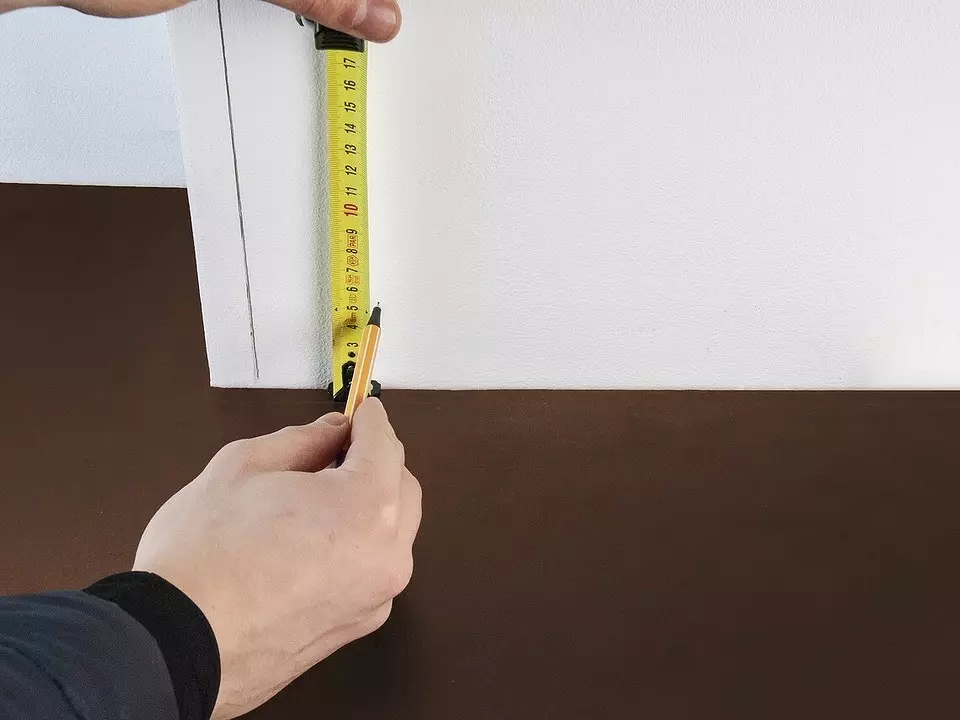
You need to start with preliminary layout. It is easier to calculate how much the edges are needed, adjacent to the walls. Oddly enough, it is not rarely discrepancies with theoretical calculations.
To drill a hole for the pipeline, and apply diamond round crowns or annular nozzles that can be used with a drill.
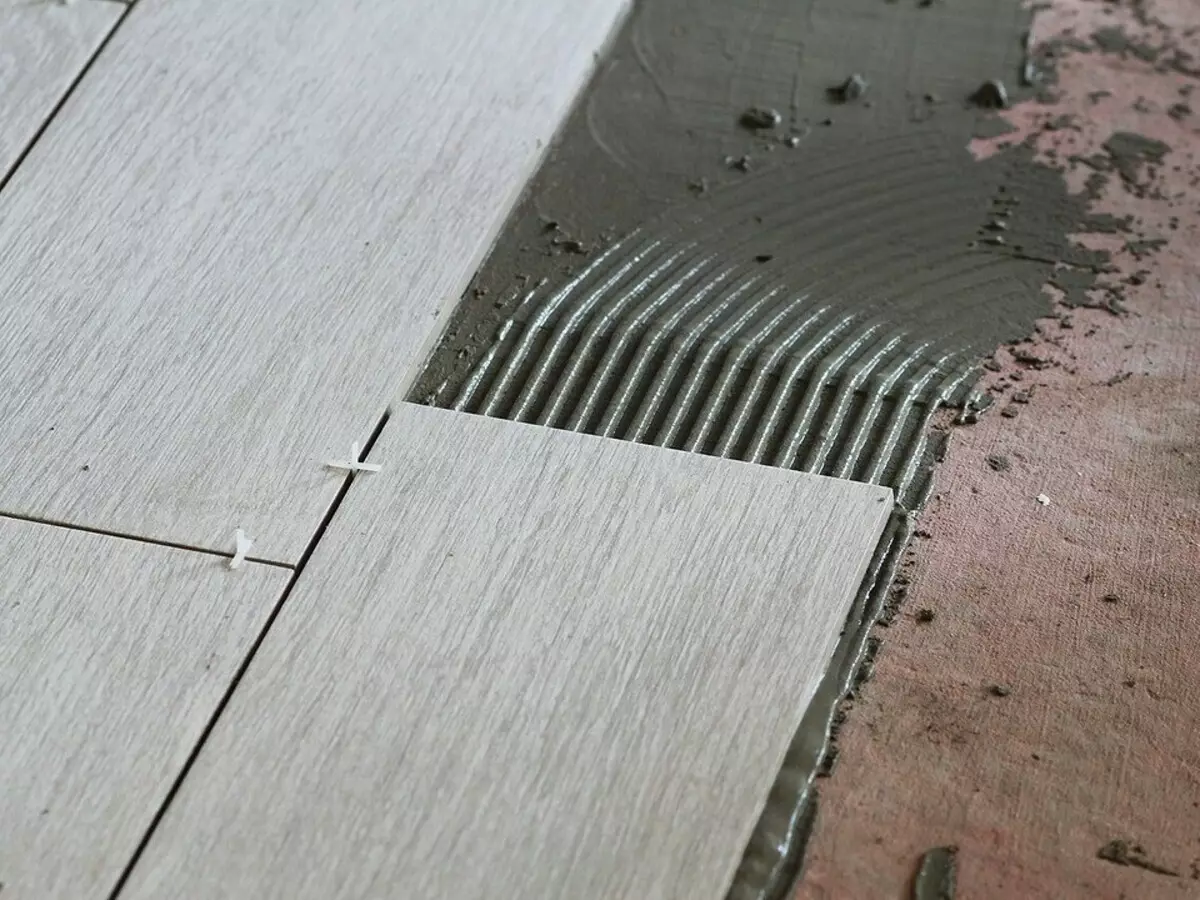
After all measurements are made, a glue solution is prepared. It is applied with a spatula on the base. Tile presses it. It is impossible to put it on it - she can break. It should not be twisted and moving on the solution. In the joints, cross-shaped plastic separators are put. An ordinary adhesive solution will dry during the day. Liquid nails are grabbed faster.
For grouting, seams use special cement based compounds. The seams are filled with them with a spatula. The mixture is pushed with such a calculation so that no emptiness remains. After that, grout is made. Use a better special grater with a rubber surface. At the end of work, the surface is wiping with a wet sponge or soft cloth.
Check video about the styling process.