
We tell how to choose the material, calculate the desired amount and install it on glue or crate.
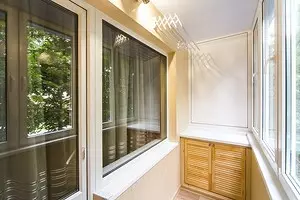

If you want to use a balcony not only for landfills buckets and vacuum cleaners, you need to do at least cosmetic repairs. The decoration of the balcony by plastic panels will help save time and avoid bulk draft work.
Separate the balcony PVC panels
Pros and Cons PVCInstallation instructions
Important nuances
Pros and Cons PVC
Now in the building materials market you can see a wide variety of finishing materials that can be approached for walls. However, choosing precisely plastic, it is better to find out what advantages he carries in himself.
pros
- Wear resistance. Modern PVC strips are made from special polymers who do not fade and will not be pale with time on the sunlight, do not breathe and do not rot, and also perfectly carry an aggressive chemical environment.
- Durability. The stated service life of such products is from 20 to 50 years.
- Easy to install. Special tools and special skills will be useful for fastening parts.
- Large selection of colors.
- Unpretentious to use. To clean this material, hard sponges and brushes are not needed, it is enough to wipe it with a damp cloth.
- Price availability.
Minuses
- The material does not withstand point pressure, it bursts or holes are formed.
- Quickly flammable.
- If you compare the decoration of plastic with decorative plaster or laminate, then PVC will lose them, as it looks cheaper.
How to choose the material
In order to make the internal finish of the balcony panels of PVC with their own hands, you need to correctly choose the material.
Excel from that, there is a glazing and insulation in the room. If reliable double-glazed windows are in repaired, and the walls are already decolating the walls in advance, then the panels of any width are suitable.
But there are cases when the surfaces are not prepared at all. Then it is better to choose narrow parts, as they better tolerate temperature differences, which is particularly relevant in Russia.
Pay attention to the elasticity of the product. For decoration, plastic should be solid and elastic, so that with the slightest flexion or shock it does not burst.
When buying, check the ribs of stiffness. To do this, take the product and squeeze your fingers. Look carefully if the inner planks have broken. If they burst, then this material was made with obvious violations and long it will not last.
When buying, check the ribs of stiffness. To do this, take the product and squeeze your fingers. Look carefully if the inner planks have broken. If they burst, then this material was made with obvious violations and long it will not last.
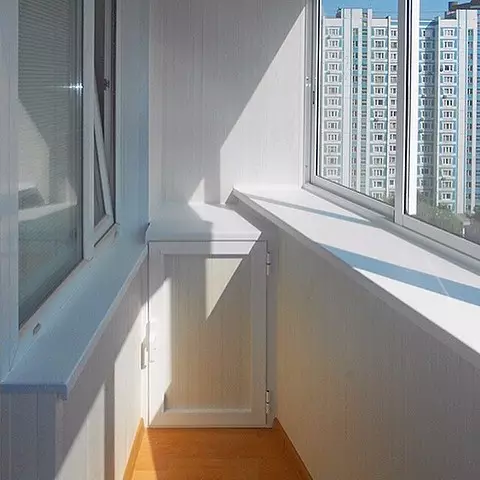
When choosing wall panels for the balcony, it is important to correctly pick up the color. The choice of building materials of this type is very diverse, so you can find exactly what you have to taste. However, we do not advise you to buy panels of dark shades, as they are able to visually reduce the space. Make a choice in favor of bright shades that refresh the view of the room and make it easier.
When purchasing a large number of wall parts, make sure that they are from one batch. So you will definitely avoid trouble with multicolored products.
How to separate the balcony plastic: step by step instructions
1. Counting the quantity
Calculate the desired number of building materials is very easy. To do this, it is necessary to divide the perimeter on the width of the plank. We advise you to buy with a stock in case of damage.In addition, you will need metal or wooden attachments of the desired length.
You can mount the lamella in two ways: on glue or crate. The first option will greatly save time, but it also has cons. For example, you will not be able to replace one item if it accidentally damage. Or with such a cladding method, no additional insulation is implied. In addition, if there is any irregularity on the surface, it will immediately affect the appearance of plastic, which, in the best case, simply will not stick. Therefore, we advise you to make a crate under the plastic panels on the balcony.
2. Mounting Karcasa
Prepare the base. If there are contamination or mold on the surface, it is necessary to clean it well. With high humidity, it is better to walk along the walls of the primer and an antiseptic, which will not allow fungus and insect to spread under the attached elements.
Levels Measure the surface evenness. It is necessary so that the frame and the coating itself are tightly lossed and left no gaps. The barrel to the balcony under the plastic panels can be metallic and wooden.
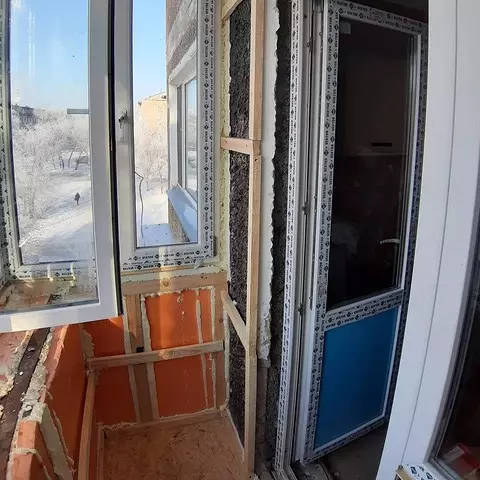
It is better to choose the first option, because due to temperature and humidity, the tree can be strongly deformed, thereby spoiling the overall picture of the repair. If the tree is preferable for you, then the planks need to be treated with a protective solution and give it well to absorb.
With vertical mounting of the frame, plastic strips will also be located vertically, with horizontal - respectively. Diagonal installation is possible, however, they need special skills here, so it is better to entrust it to experts.
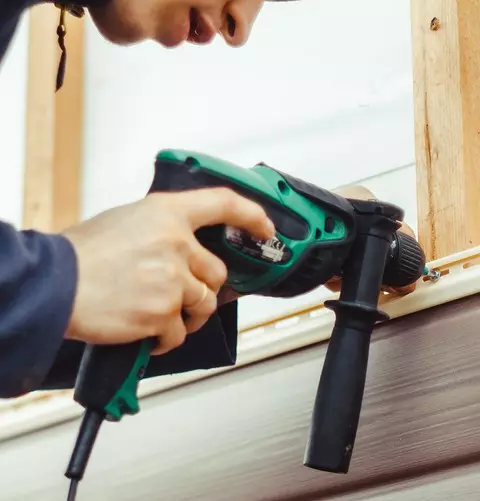
The finish is best started from the ceiling, placing the bar across the room. Fix the main profile in the corners with a drill and dowels. Then, at a distance of 40-50 centimeters, fasten the remaining parts of the frame.
After that, you can proceed to work on the walls. Guides are attached at the same distance from each other as on the ceiling. Make sure that the floor respected an indent to 3-5 centimeters. Near the carcass window can be fixed with self-draws.
Before the trim, you can carry out an electrician or pave between the header guides.
We advise you to pay special attention to warming. It is suitable or foam, extruded polystyrene foam. Mineral wool can only be used if you have provided the floor and wall waterproofing in advance. If it is not, then when moisture gets into moisture, the insulation loses all its properties.
Then proceed to the trim. Start with the angle of the room. By installing the bar, check how much exactly it costs about the frame, and then attach the bar with a stapler or self-tapping screw. Insert the next element to click the previous one. Carefully see the products from PVC tightly come into contact with each other.
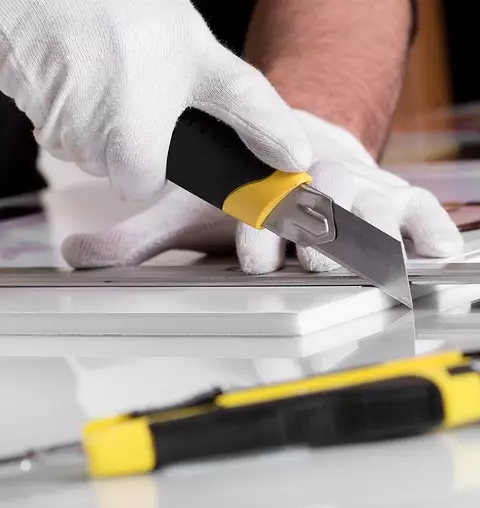
The most recent product is cut in size. To make a cut along, the usual stationery knife is suitable, it is better to use hacksaw for a transverse section.
The suspended ceiling of plastic panels on the balcony is made similarly. The extreme part is precisely measured, if necessary, clipped and tightly docked with the rest of the planks. All formed gaps in the corners can be closed with an angular plastic plinth.
3. Wall sheat under the windows
Additionally, it is worth considering the decoration of the wall under the window. In order to fix it from PVC items on it, it is pre-consolidated on it two profiles: one by the floor, the second soda window sill.
After that, the main profile is attached between them, which will hold a facing. The rest of the installation principle is preserved, as on all the walls.
4. Registration of openings
This stage can be called the most difficult. Here you need to take into account that space over the opening and under it is recently separated. Therefore, it is important to calculate the width and length of the details, to make a smooth cut and tightly install them to each other.
Detailed installation can be viewed on the video.
To work done carefully, all the corners advise to separate PVC Plintus. It is easy to fix on glue.
The junctions between can be additionally treated with transparent silicone so that the whole design becomes peculiar monolith. You will need a rubber spatula and cloth to remove excess material. Thoroughly clean the surface from silicone, otherwise it will turn into shiny stains in the frozen form.