
We disassemble the variants of the draft floor from the new screed and dohes and find out what better and easier to perform.
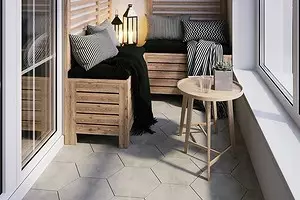

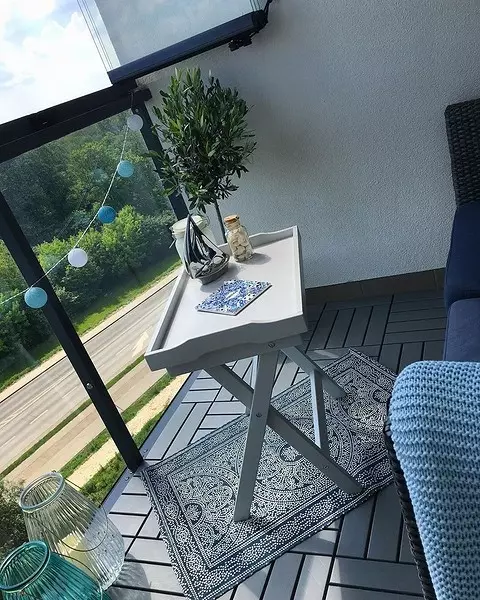
Most of the owners of balcony premises turn them into full-fledged residential rooms or equip the recreation areas on open spaces. It is not surprising: in small apartments on the account every square centimeter. High-quality glazing and good finishes are necessary, but it will be clearly not enough. It is necessary to start with a rough floor on the balcony: what to do about it, how to organize work properly, we will tell today.
All about floor arrangement on the balcony
How can I do thisInstructions for the fill
- Preparation
- Fill
Make the crate
Calcular flooring options
Initially, you need to determine which design I want to get as a result. She may be:
- Cold. The plate is decorated with floorpad.
- Heated. The heat insulator is placed between the base and finishing material.
- Warm. The warming floor system is mounted on the base, the finish is put on top.
All three types, if desired, are simply simply equipped independently. It is only important to choose the right system correctly. So, for example, heating loses any meaning if the design is not glazed.
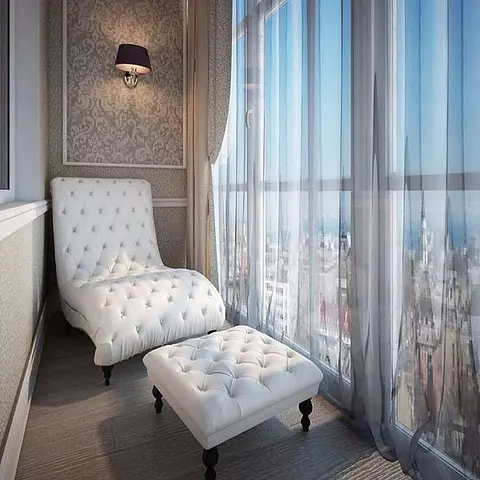
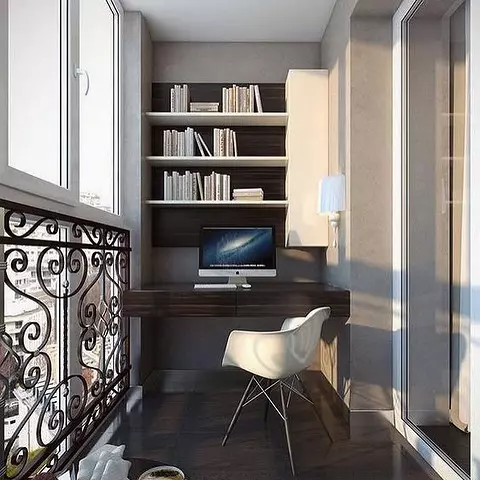
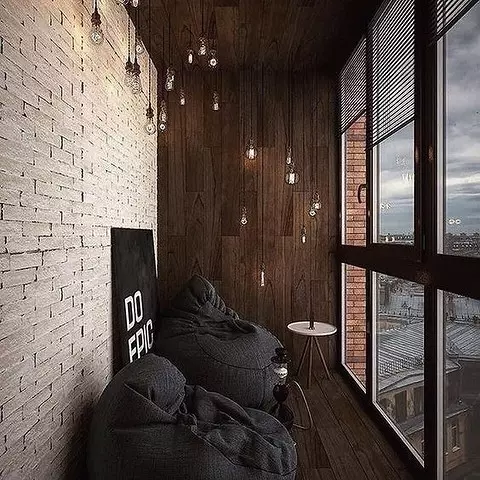
In high-quality glazing, heating turns the balcony to another living room. You can realize your idea in different ways. Practice shows that most often choose such options.
Warm base arrangements
- Alignment with a cement screed without a warming layer or with it. In the latter case, polystyrene foam, minvatu, ceramzit, etc. are laid as an insulator.
- Alignment of the foundation by semi-dry tie with insulation or without it.
- Installation of wooden lags with the installation of the heat insulator or without. Subsequent installation of a draft base from boards or wood plates, laying of finishing type of linoleum, laminate, etc.
- Installation of extrusion polystyrene foam as a heat insulator without lag. Subsequent laying of OSP as a base for finishing coating.
- Arrangement of a concrete screed for laminate, linoleum, tile.
- Installation of heating floor of any type: electric or water.
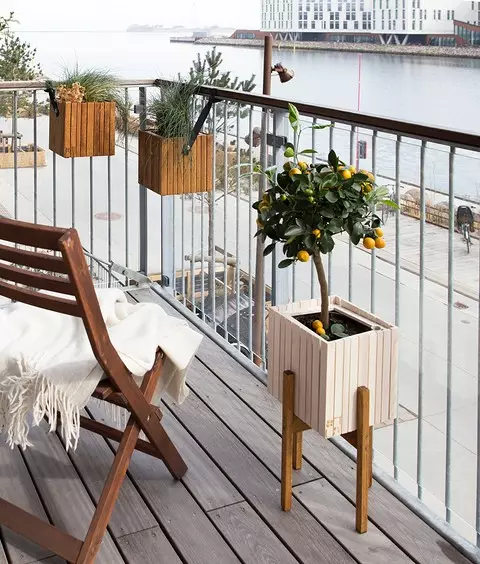
For open spaces, ceramic tiles fitted on a tie. For glazed systems, heating structures are chosen, insulated structures on lags or without them. Outdoor coating can be any.
How to make a fill
New Filling Floor - Durable, durable and at the same time a budget option. If it is chosen, you need to remember that it will give a significant load on the basis. If she is old, may not withstand and collapse. Another nuance. Concrete is considered cold material. Warming is desirable, but it will only prevent heat leakage. Even with insulation, the coverage will be cool. Tell me how to fill the floor on the balcony.
Preparatory work
To begin with completely free space, we endure furniture, all interfering items. Clean the released base from garbage, dust. Carefully inspect it. All discovered slots and cracks need to neatly close. Especially carefully filled slots between the wall and stove. To do this, it is possible to use a repair solution, but it is easier to take the construction foam or an acrylic sealant.
All empties are qualitatively filled, after which the mixture must completely operate. Then proceed to waterproofing. It is necessary in any embodiment. Moisture, which slate inevitably "pulls", by capillars, it comes to a screed. Here it will accumulate, gradually destroying the concrete. Therefore, lay insulation layer. It can be different. The easiest way to put the film. It can be a special canvas or ordinary dense polyethylene.
We put waterproofing with a small occasion on the walls, forming a kind of "trough." The bands impose a mustache, fasten the scotch. If it is planned to do the insulation of the structure, then it is performed after isolation. Ceramzite falls asleep or another heat insulator is stacked. The reinforcing grid is stacked on top. It is made of steel wire with a cross section of 3 mm. Dimensions of cells 100x100 or 50x50. The first mesh will significantly increase the strength of the screed, will extend its life. Before laying, garbage and contamination with the heat insulating layer are removed. The reinforcement is tightly pressed to the base, put the brass in 1-2 cells. Next, start installing beacons. So builders call the guidelines for which the solution will be laid. Metal guides are usually installed as beacons.
Each item is exposed exactly in terms of the level, firmly fixing it on the solution. The longer the beacon, the greater the points of the consolidation of it should be. In the process of filling, the part will move, which is reflected in the quality of work. You can only get a flat surface when all the guidelines are set strictly in the same plane.
Pouring coating
Pull the screed starts with a kneading solution. You can purchase a ready-made mixture and only breed it with water or to mix the ingredients yourself. Important moment: For the so-called semi-dry system, fewer water takes. It hits much faster, but prone to the appearance of cracks. In order to avoid cracking, it must be additionally lost the day after laying. The fill is carried out in this way:
- Portion of the mixture pour between the beacons.
- We take the rule, put it on two sites located nearby, carefully recall the solution.
- We put and recall the next portion of the composition.
So gradually fill the whole area. So that the floor screed on the balcony did not crack, it should dry uniformly. Therefore, in too dry or hot weather, the fastened structure is covered with a wet burlap or film. When the mixture clarifies enough, two or two, if necessary, remove the beacons. Paste the resulting irregularities. If the guides are made of high-quality metal, they can be left in concrete.
It remains to wait for a complete rejection of the composition. It may take up to 3-4 weeks.
Much depends on the type of screed, air temperature, humidity, etc. Do not hurry. The concrete did not last long. A completely dried base is laid by any coating: linoleum, laminate, tile, etc.
How to make a laminate flooring on the balcony and put it right
With all its advantages, the cement-sand mixture gives too much load on the base. Yes, and put it with your own hands without the experience of such works may be difficult. Therefore, many choose a design of wood. She is very simple. It is a durable lag from a bar, which put the flooring. It can be a board or wood plates. On top, if necessary, the decorative coating is stacked. Many people believe that it is impossible to mount the heating systems. But it is not. Infrared film falls on any even base. A good option will be OSB plates or something like that. Water heating is also possible. Pipes are placed in special cells, on top of the wooden coating. In any case, it is very important to handle lumber before installation.

The tree is necessarily labeled by an antiseptic, dry well. Without such treatment, the tree will last long. This stage can not be carried out if you buy already processed material. True, the price will be higher.
Step-by-step instruction on the floor crate on the balcony with their own hands
- Preparing the basis. Clean the stove from pollution, carefully inspect. All detected defects, especially the gaps between the base and the wall, are carefully close. The easiest way to be used.
- Put waterproofing. It will prevent moisture from entering wooden details, to the insulation. Custom materials can be used. The most accessible version is a film. We put it with the bands of the mustache so that the gaps do not appear. Krepim Scotch tape. We make small, order of 20 cm. Suns on the walls. As a result, we get a hermetic "trough."
- We are preparing lags. These are supporting bars, on top of which flooring is stacked. We take the detail with a cross section of 50x70 or 50x100 mm. We cut them into segments of the desired length. Do not forget that the timber must be processed by an antiseptic.
- We put lagows. The first bar is put on the edge in the center of the base parallel to the wall. Check the level of the horizontal, fastened to the stove. It is possible to fix with the help of metal corners or on the self-tapping screw with anchor mounts. Similarly, set the remaining elements at a distance of 500 mm one from the other.
- Warm design, if necessary. We take a suitable slab or rolled insulator, cut it into fragments, slightly large in size than the space between lags. So the insulation will fall tightly, without gaps. We lay insulator into place, cover it with a film. There should be a small gap for ventilation between the flooring and insulation.
- Put the flooring. Depending on the further finish, it can be from boards, plywood or wood plates. In any case, the material lies in the size of the base, stacked on the bar, attached to the lags.
If the flooring is made of genital boards, it is painted or covered with varnish. Laminate, linoleum, carpet is well located on Faneru or OSB. It all depends on the desire of the owner.
It should be remembered that wooden systems, even after conducting special processing, are sensitive to high humidity. They should not be chosen to decorate the room without glazing. Wood will quickly come into disrepair.
We disassembled the important points of the balcony floor. There are a lot of possible options for further options. The owner will easily select the most suitable for himself. In any case, work can be performed independently and save on the services of professionals. The technology is simple, but self-identity is unacceptable. To please the result, you will need accuracy, patience and accurate instructions.