
We are talking about the properties of PVC panels, as well as a step-by-step assembly of such a ceiling: from creating a frame and before installing panels.
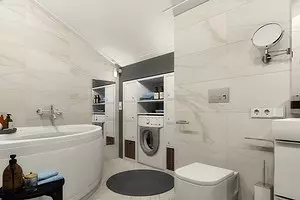

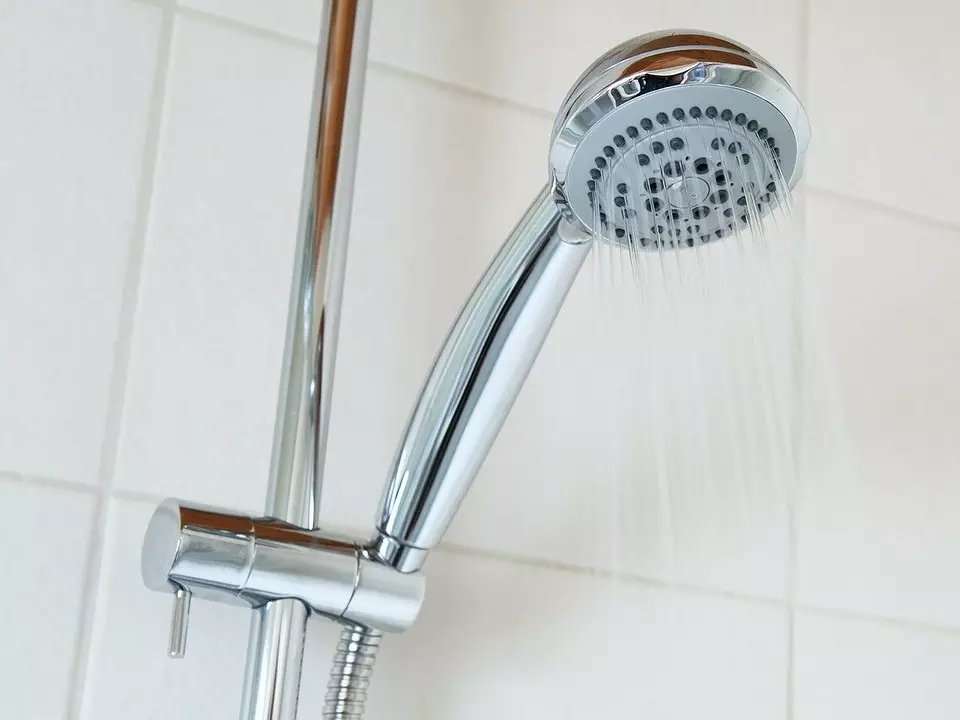
Finishing the bathroom must comply with special requirements. They are dictated not so much design as technical considerations. There are not so many finishing materials capable of withstanding the constant humidity and high temperature. Plasterboard and plywood sheets in such a medium quickly absorb moisture, swell and lose shape. PVC film is able to withstand temperatures up to 60 degrees. If a jet hit the hot water, it begins to melt, as a result of which irregularities are formed on its surface. Recently, expensive metal coatings became popular, but they remain traces from the drops, which spoils their appearance strongly. Perhaps one of the most successful solutions will be the ceiling in the bathroom from plastic panels.
Confirm plastic panels on the ceiling in the bathroom
Benefits and disadvantages of materialTips for choosing parts for skin
Order of installation work
- Preparation
- Metal carcass
- Install the coating
Properties of material
Polyvinyl chloride from which the coating is made is perfect for kitchens and bathrooms. It looks not so luxurious as expensive moisture-resistant facing, however, preference is often given to him.

Plastic has a number of benefits:
- PVC is not afraid of moisture and direct water from entering. It is not deformed and does not lose his qualities, even if it is directed a hot stream. This property allows you to create a hermetic trim, which you can hide the wiring and other communications.
- Due to the absence of pores and micropusts of the panel, dampness is not held, and therefore the appearance of fungi is excluded, as well as the reproduction of malicious microorganisms.
- No special skills are required for mounting work. The material easily cuts and carries out in size.
- When choosing, there should be no difficulties. Find details for a long time do not have to. Products can be found in many building stores.
- A small mass does not require the creation of a large heavy frame.
- Another advantage is characteristic of all suspended systems. Installing an aluminum frame with a trim makes it possible to avoid preparatory finishing works required for surface leveling. In most cases, the overlap has irregularities that you have to eliminate with the help of plaster and putty. In our case, there is no such need.
The material has almost no deficiencies except low strength, but from such a coating and no need to withstand serious loads.
How to choose a panel on the ceiling in the bathroom
If you need a cheap product from China, it will not be difficult to find it. When buying in this case, caution should be taken. The correct answer will prompt the smell - low-quality plastic can make a characteristic smell, to get rid of which will not succeed. Moreover, in the room it will become even more noticeable. Some defects are visible to the naked eye, but there is a hidden marriage. He will make himself felt when installing or during the operation of the coating.

To avoid possible trouble, it is better to contact well-known manufacturers. It is advisable to read that they write about them on the forums on the Internet.
The surface may be matte or glossy. On PVC, you can apply any drawing and give it any color. There are no restrictions here. Figure is applied in two ways: the picture or ornament is imprinted with rolling shaft. Or for applying the thermal film. The paint fit at high temperature, which provides a more reliable clutch with the base.
The coating can be suture and seamless. In the first case, the joints are noticeable, in the second items adjacent so tightly to each other that the seams are not visible.
Step-by-step assembly instructions
The design is an aluminum frame, covered by PVC. Collect the ceiling in the bathroom from plastic panels with your own hands.Preparation
Before starting work, it is necessary to determine the surface area and calculate the amount of material. Products can correspond to the size of the bathroom in the usual panel house. If you need non-standard sizes, the slab can be easily trimmed with a well-hot joinery knife.
It is necessary to pave communication in advance, calculating the location of the lamps. When using them, it will be necessary to retreat from the overlap of at least 10 cm. If the overlap has an inclination and traces of mold, it should be cleaned, if necessary, melt a sealant and treat the rehabilitation composition destroying microorganisms.
Plastic parts require careful handling during storage and transportation. They are rather fragile and easily break.
Creating a carcass
When the preparation is completed and materials are purchased, metal parts are installed. Start follows from marking for fasteners. The design is attached to the walls around the perimeter or to the ceiling. The second option is most preferable, especially if the walls are lined with a tile. Drilling tile is quite dangerous. In this case, the holes for the screws are better to do in intercutric seams. The risk will be minimal if plastic crosses are installed in them. If you do the holes in the solution, the finish may suffer.
The frame can be made from ordinary aluminum corners, but there are special sets for suspended ceiling systems. They consist of two types of profiles - guides (UD) and rigid ribs (CD). The mount is made with screws and dowels.
If the bathroom has a small area, it is enough to install the guides around the perimeter. Panels have sufficient rigidity, so as not to bend by their own mass. The weight of lamps and ventilation grids is small, but the wiring and other communications are better fixed on the wall or overlap, so as not to create an excess load.
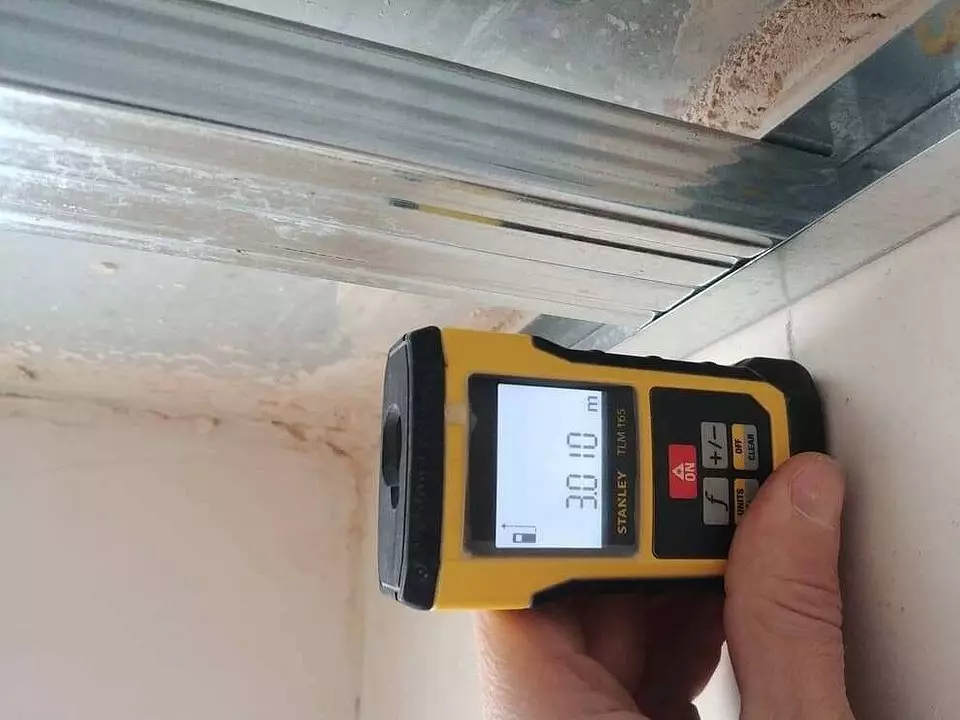
Works begin with marking. To apply it to the surface, you will need a construction level, roulette and marker. If the apartment recently carried out repair and all surfaces are aligned, the required distance from the ceiling can be deposited on the eye using a ruler or roulette. With a slight distortion, a tile can be used as a reference. The surface of the ceiling must be parallel to horizontal seams, otherwise the irregularities will be noticeable. Professional builders for marking use a rope stretched along the wall, covered with a coloring matter. If it is tightened and release it, it will leave a clear even mark, which can serve as a guideline.
At the ceiling attachment, P-shaped suspensions are used. They are attached at a distance of meters from each other. The overlap can have emptiness. In order for the suspension to be securely fixed, you should use a shock dowel or a dowel-dowel. They have a special hat on the hull, which improves the adhesion with the base.
When labels on the walls are applied, guide profiles are attached around the perimeter. They have mounting holes. With their absence, you will have to take advantage of the drill. Drilling more convenient by applying a profile to the wall markup. The holes are usually placed in 50 cm increments. The tile does not tolerate the drilling, but if necessary, you can do the hole in it. You need to start with a thin drill on concrete. The resulting hole is expanding wider. While the drill has not passed the tile, in no case can you switch the drill to the shock mode.
The bathroom area can be more than 6 m2. In this case, in addition to the guides, ribs will be required. They are inserted into UD profiles and are screwed to them, or fixed on P-shaped suspensions. Their protruding parts are coated under the level of the coating. Before starting to sampling, it must be checked by level or wall finish, if it has a clear geometric pattern.
In addition to metal, a tree and plastic is used for the frame for the frame. The use of wooden plates is preferably. Under the influence of moisture, they change the dimensions. Because of this attachment weaken, and the material itself gradually collapses. Plastic weighs less and is not afraid of water. It is less reliable than aluminum, but its safety reserve is enough to withstand weight of light suspended design. Details have a L-shaped shape in cross section. Guides are mounted with screws and dowels.
Ceiling cover from PVC panels in the bathroom
If the area of the room is not large and the L-shaped profile is installed around the perimeter, the parts are cut under the desired size and inserted into it. For trimming, a joinery well-sharpened knife or hacksaw on plasterboard is suitable. Self-tapping screws with press-washers are used as fasteners. The holes are more convenient to drill in the process of trimming so that they look like symmetrically with the joints. For wooden frames it is better to use brackets. They are clogged with a stapler.
Special edges are made to connect elements among themselves. When installing the panel, one to another is inserted, which allows them to firmly fix and makes the junction more sealed. To put extreme elements in the baguette, the edges will have to trim. To insert the last one, it should take another half centimeter from it - otherwise it may not fit. The material is rather fragile, and it is better not to mive it and not bend. Insert the last element is needed from the side of the connecting edge so that it can be coated and turn it properly there.
If the frame is mounted on the ceiling, screws with press-washers are used for fastening. Drill panels are not necessary. PVC has sufficient softness to screw the screw in it.
The fastening process is also displayed on this video. We are confident, after it is viewed, there is practically no questions.