
We are preparing tools, we understand the technology of application and find out how liquid wallpaper can be applied to which surface.

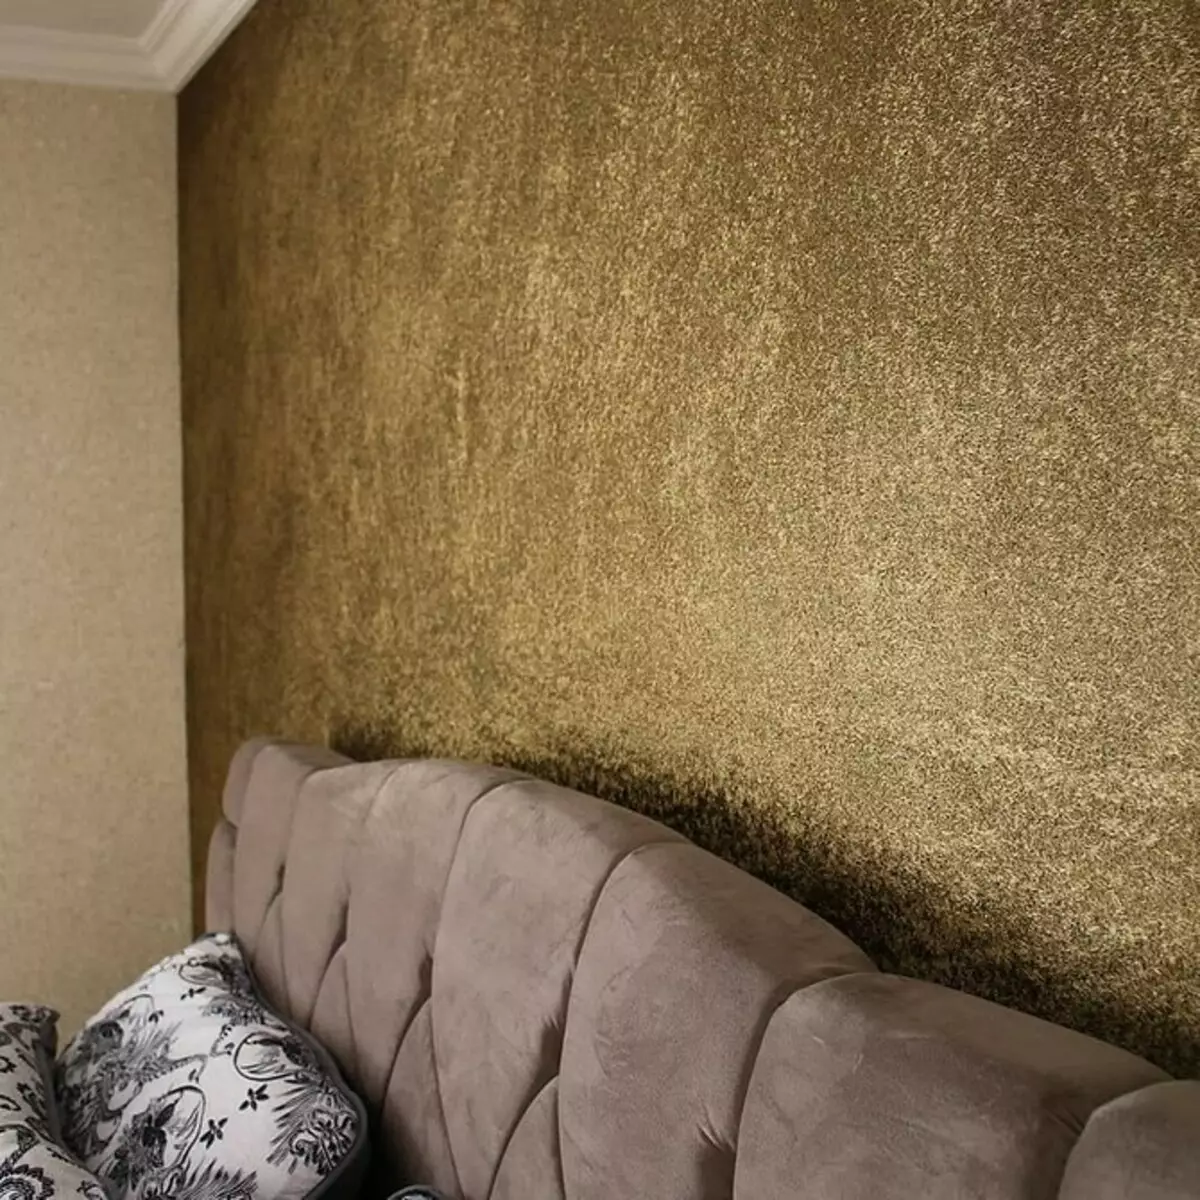
In the article we tell about the liquid wallpaper, how to apply them on the wall than and in what sequence. Externally, this coating can be confused with decorative plaster. There are similarities between them, but they are different. Mainly in composition. The wallpaper mixture includes silk, cotton or cellulose fibers, dye, glue and glitter (sparkles, mica, pearl, thread, wood crumb). Plastering also produce from lime, cement, polymers.
All about applying liquid wallpaper:
Instruments
What can be finished
Sequence of work
- Preparation of the Wall
- Kneading material
- Stowing
- Decoration
Protection against water
How to eliminate stains
This surface can be painted several times right on the old color, it is easy to repair, as it is in most cases removed with water. Material is used only for internal work.
Tools for work
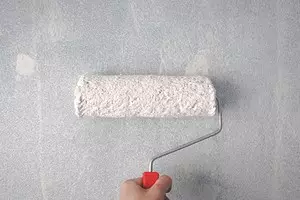
Prepare in advance all the necessary tools for applying liquid wallpaper. You may need:
- Plastic Kelma, roller with a pile of 3-4 mm thick or sprayer. Select something one of the list.
- Large spatula.
- Smolder.
- A spatula with teeth, paper tape or sickle (if there are seams on the wall).
- Large container in which you can breed dry powder.
- Putty and primer deep penetration or white paint.
- Gloves. The composition of the powder is not dangerous to health, but for convenience you can knead it in gloves.

On which surface can be applied liquid wallpaper
- Clean concrete without decoration.
- Plastered brick.
- Shasphawn (or painted) and primed wall, including plasterboard.
- Tree, plywood.
Fiberboard, chipboard, OSB are suitable for such work only with pre-processing. Direct contact with moisture is contraindicated. Laminated plates are covered with abrasive primer to increase grip.
The ceiling can also be separated by this material. In this case, it is inconvenient to distribute rollers and spatulas, so a special spray gun is used. Strong fibers and irregularities are easily cleaned with a spatula.
Plaster has good adhesive properties and therefore the wallpaper mixture perfectly "sticks" to it. Warring coating builders recommend priming.
But on the blotch, such a composition does not fall, as the lime absorbs moisture from it and swells. As a result, yellow spots appear, the finishing layer crepts. If this is your case - to read the base, and then boot it.
The main rule is that any surface must be monophonic and solid. What is peeled, wipe, needs to be removed and processed.
How to apply liquid wallpaper
For walls in new homes that have not yet passed shrinkage, this repair is not recommended. It is also important that all the slopes and doors are already in order. The workflow consists of three stages. The first is very important, it is impossible to skip it if you do not want to redo repair.1. Preparation of walls with their own hands
Most of the solutions after drying become translucent. If at the bottom there is no smooth, white background, defects can be shifted. Therefore, the base painted in different colors is necessarily aligned. The wallpaper mixture to some extent levels the depressions and protrusions, but if they are deep, it is better to pre-close them. Otherwise, the consumption of the material will increase and dark spots will remain after drying.
- Remove the entire old finish if it is.
- Metal parts cover with oil paint or anti-corrosion impregnation.
- Remove too protruding over the surface of nails.
- If glitter is a liquid wallpaper on plasterboard, close the seams between the sheets with a paper tape or sickle. Pre-trim the problem areas and boot them.
- Then cover the entire wall.
- After drying the surface, load it once or twice. It hurts moisture from the solution to absorb into the database.
How to do it right and what tools are looking at the master class. Builders show detailed application technique.
Pay attention to the quality of the tape and putty. It is impossible to save on them. If they dug or swell, the finishing layer can crack.
2. Preparation of material
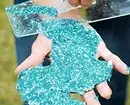
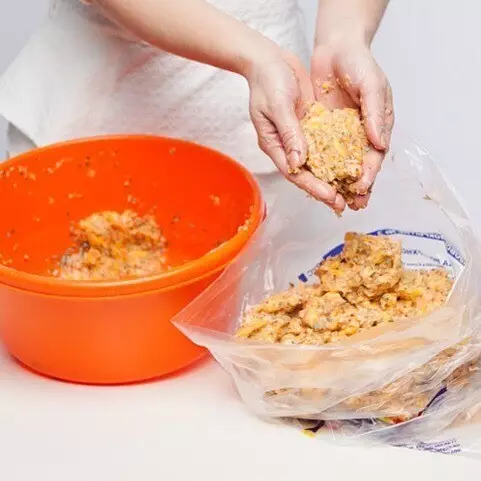
Sometimes the mixture must be breed in advance, 6-12 hours before the application of liquid wallpaper. This is usually indicated on the package. Let's calculate how much powder you will need on all square meters and dissolve with a small margin. Products can be sold in one or in two packages. Be sure to read the rules on the package - they may differ from different manufacturers. Here are some tips, relevant to any composition.
- Separate one bag into several parts can not. This violates the balance of components, there will be problems with consistency, frozen, color.
- The water temperature must be no higher than 35 °. Hot spoil composition, and in the cold it will be dissolved slowly and bad.
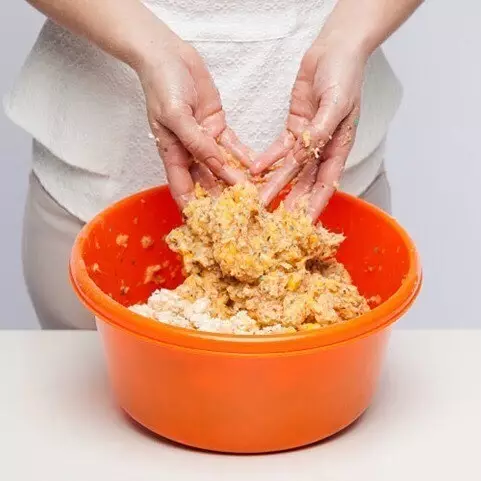
- It is necessary to stir in manually or a mixer if such an option is spelled out in the instructions. The first method is preferable, since it does not damage the fibers in the composition.
- Sometimes the glitter is sold separately. In this case, it is dissolved first.

Sequence of action when cooking
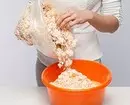
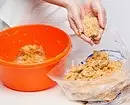
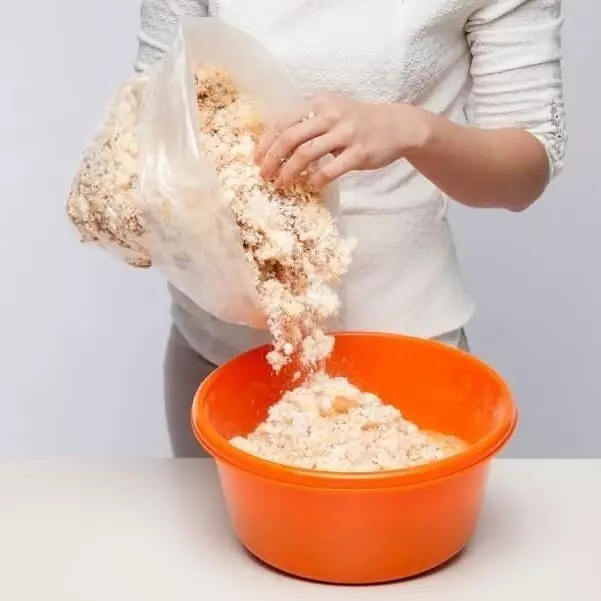
- Pour the amount of water specified by the manufacturer in the bucket, but not completely. Approximately half of the liter for one knead the next stage.
- Take a package with a powder and remember a little to scattered lumps.
- Pulling it completely into the container, immediately start laying out as the dough.
- Tightly close the bucket.
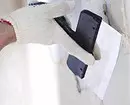
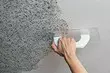
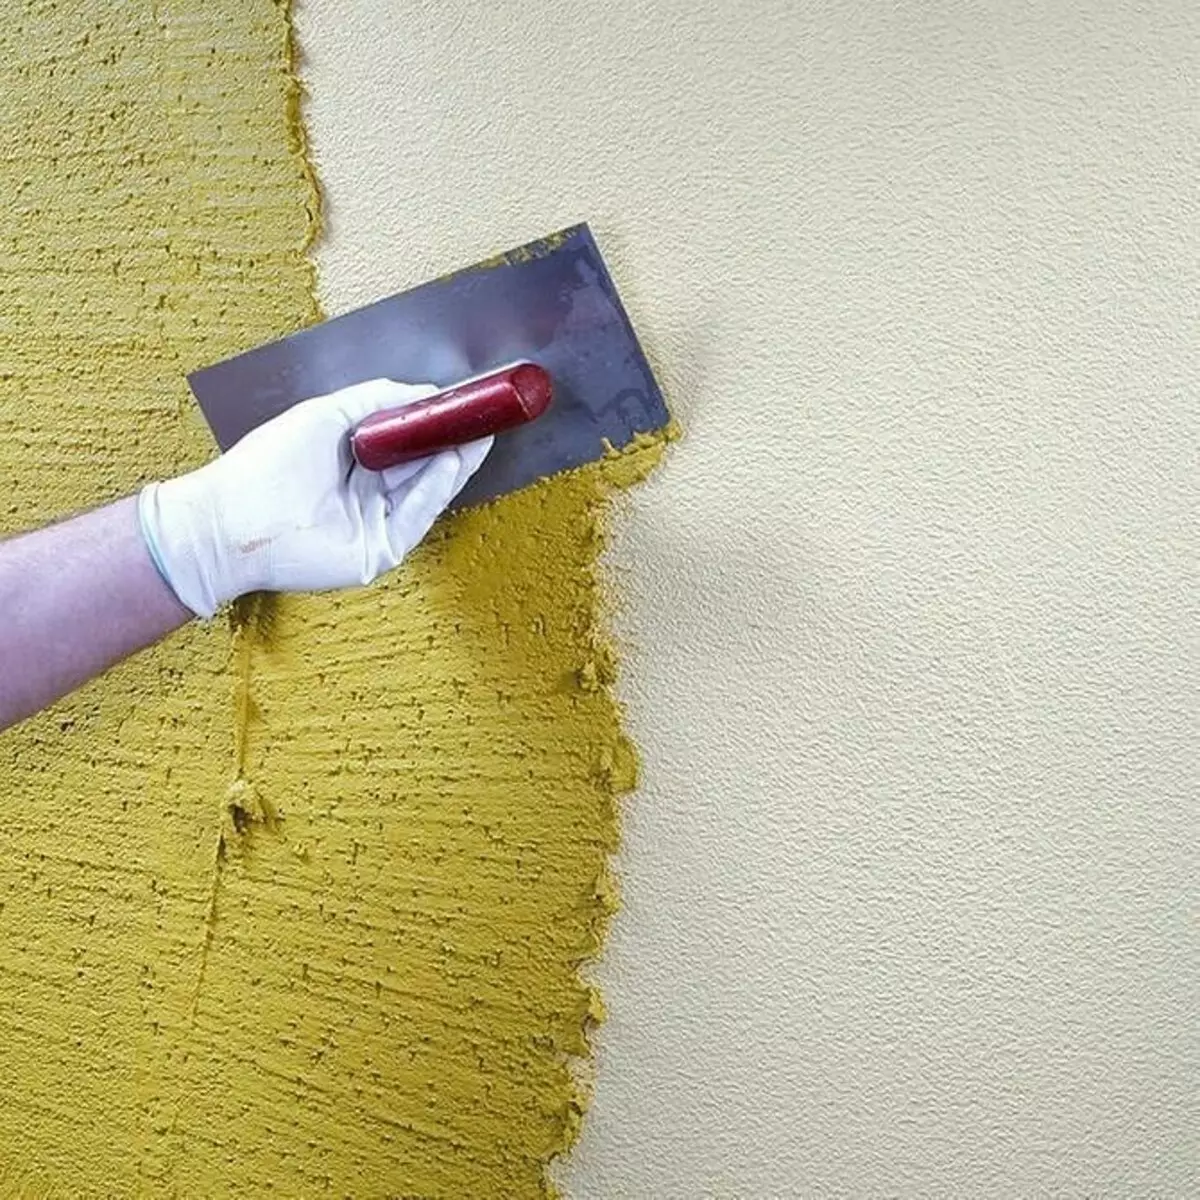
3. Technology of applying liquid wallpaper
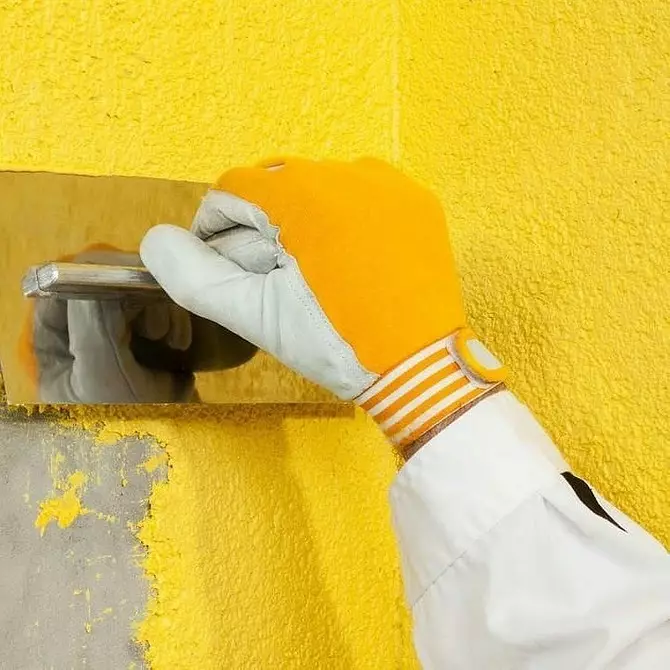
Take the finished mixture and add to the container with it some warm water to soften the composition. Once again, disappear until homogeneous. Then start to apply with a smooth or any other tool. It is better to do it from above-down, from the corner to the center.
An hour after the end of work, the wall highlights the side and eliminate the shortcomings. You can fix them later. The finished solution is kept up to ten days.
The coating is often applied not only on the walls and the ceiling, but also on the battery. True, they must be cooled. The optimal layer thickness is 2 mm. It is desirable that it be the same throughout the area.
In the classic method of applying the spatula is not pressed strongly, hold it at an angle of 5-15 degrees. The thinner there should be a layer, the greater the angle. At the same time, each next smear lies a little on the previous one. Movements can be both circular - it will help get an interesting drawing and irregularities will be less.
If the mixture is too thick, wet the smooth. At home, with moderate moisture and temperature, the finish dries one or two days. During work, the room can be airporty, but the drafts are better not to arrange. It is also not recommended to include heaters.
A small video structure will help to better understand the technology of work.
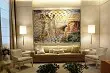
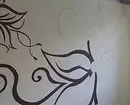
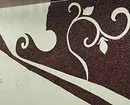
Creating drawings
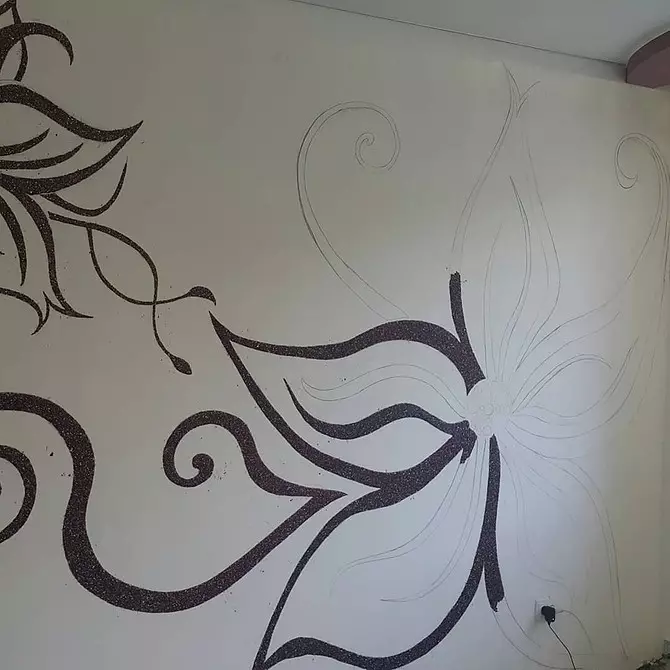
Designers appreciate this material for its plasticity. From the finished mass you can make any drawing. To do this, wait until the base layer is dry. This will take a couple of days. At their end, on the wall, the contours of the application from hand or using a stencil.
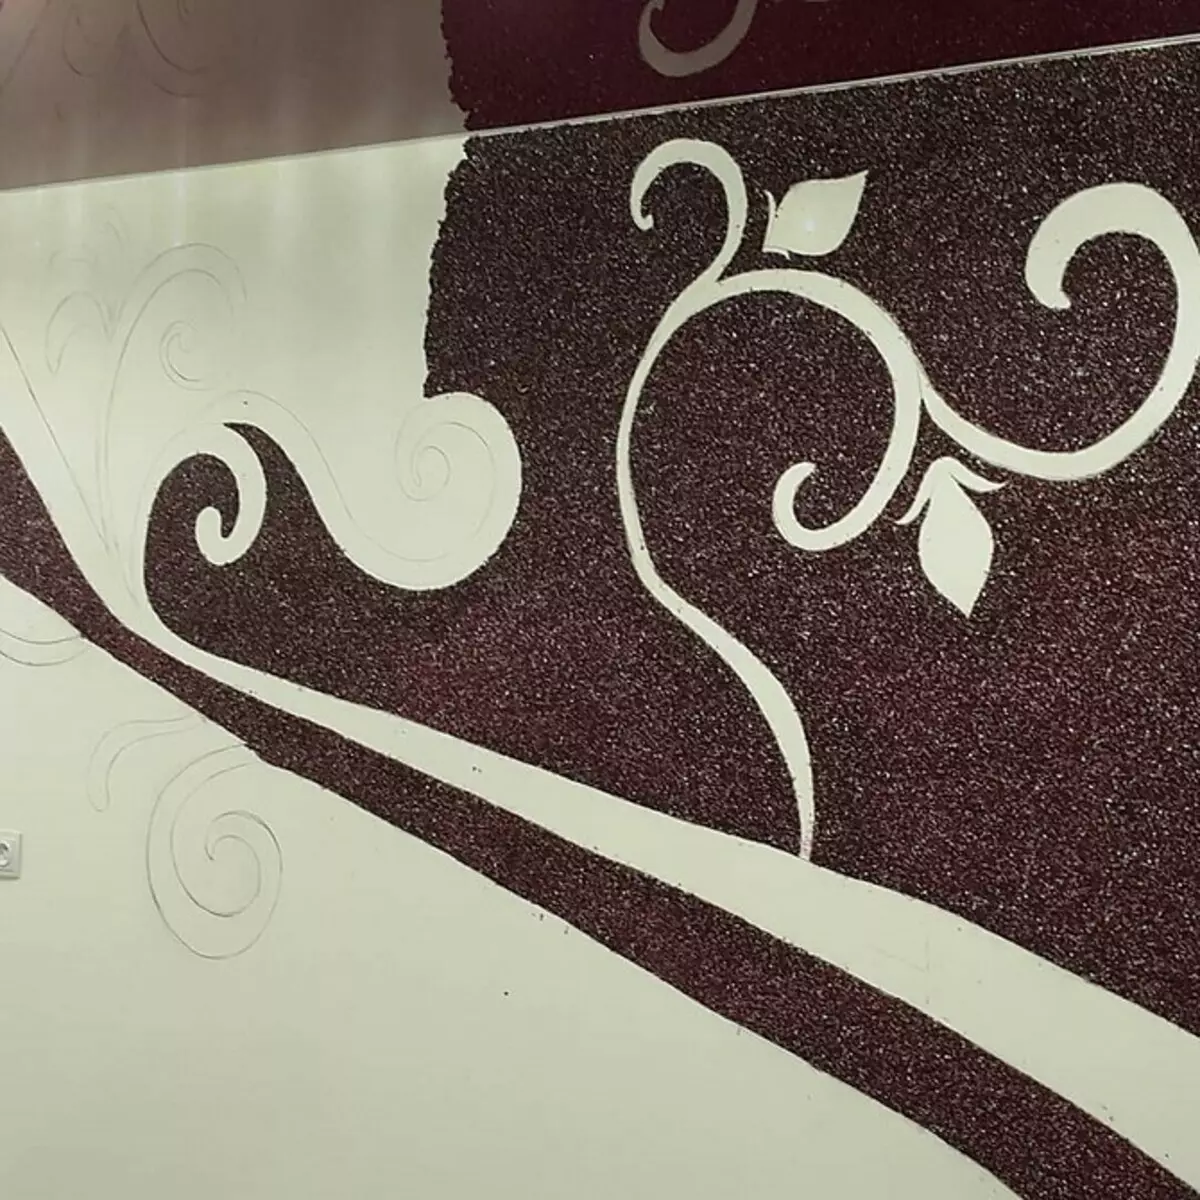
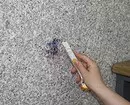
It can be done independently or buy. It is in different ways - the price depends on the size. The pattern is placed on the wall with a painting ribbon so as not to damage the coating. Small portions are distributed manually, a thin layer to 2-3 mm. Experienced masters use a pulverizer, but without skills it will be difficult to cope with it. Especially in large-scale drawings with a large number of parts.
If the pattern is multicolored, then one shade is applied first to all areas where it should be. Then the second, third. Leave a small lumen between them. When the mass is driving, it is filled or shaped with a suitable marker.
How to cover the surface to protect against water
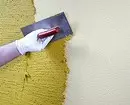
The main drawback of such a finish is instability to water. It is easy to remove the wallpaper mixture. Therefore, it is not recommended to use in the bathroom, as well as the kitchen near the stove. To increase the strength of the material, it is covered with acrylic colorless varnish. After that, the surface can be wiped with a damp cloth and not be afraid that it will start to leave ahead of time. For painting, later choose acrylic paint.How to repair the wall if some defects appeared
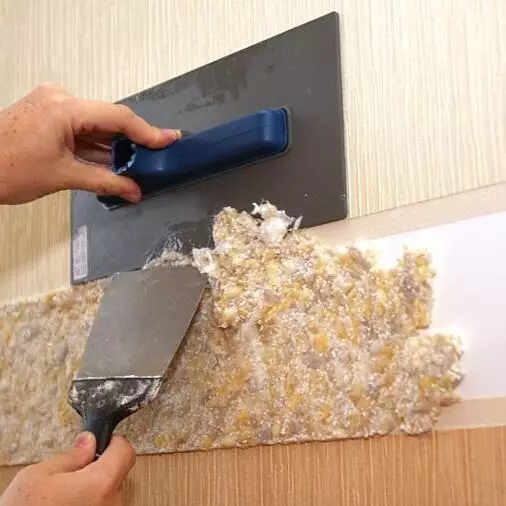
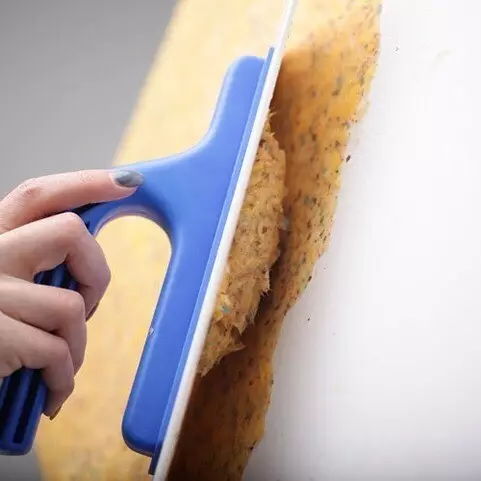
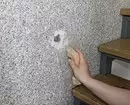
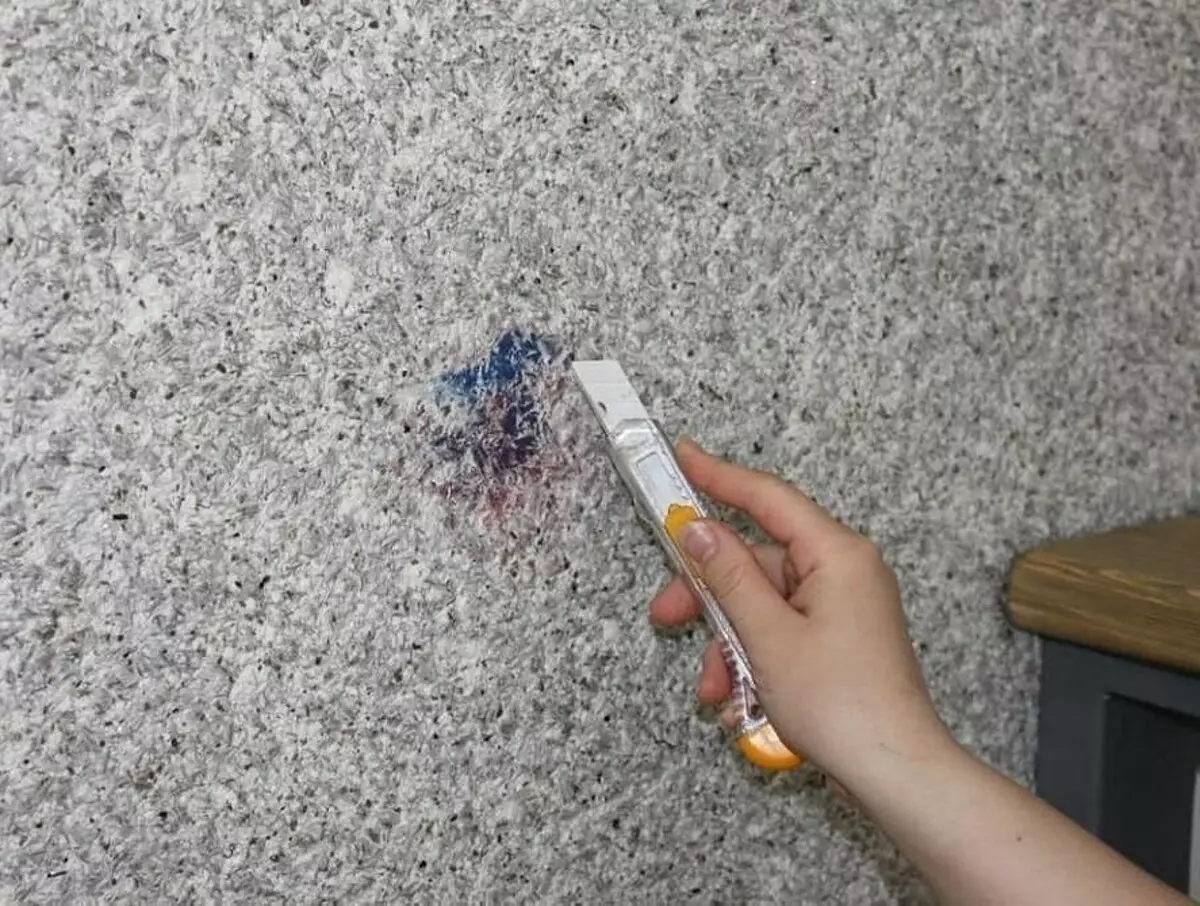
It happens that dark, yellow spots appeared on the wallpaper. Often, this is due to rust on metal parts or base layer, caught moisture. Procedure for such cases:
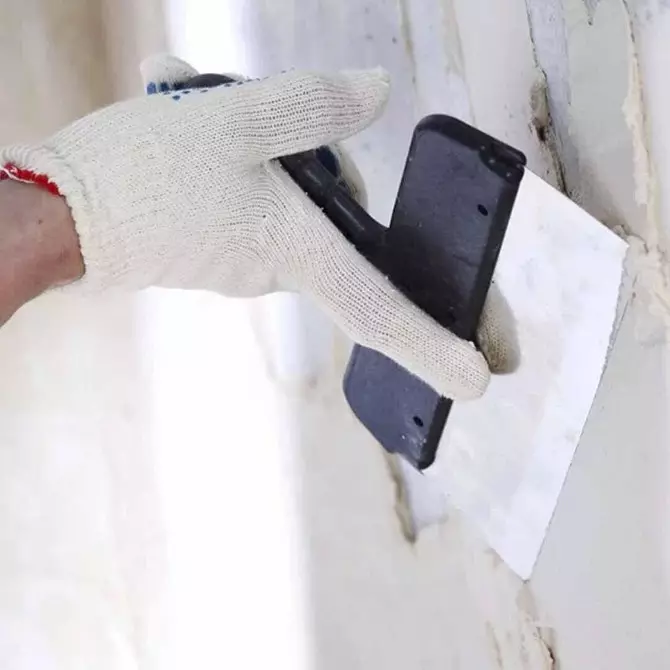
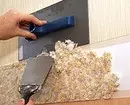
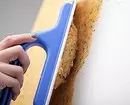
- Remove the damaged coating. This can be done with warm water, tassels and spatula. Water well with a brush, wait a bit, and then remove the layer. If it was covered with varnish or paint, the process becomes more complicated. It will take a grinding machine or industrial hairdryer.
- Seeing well the foundation, overlap and boil it several times.
- After drying, apply the finishing layer.
In the same way, they do if you need to eliminate the drawing or bandage.

Look at one more video with the technology of applying liquid wall wallpapers.