Select tools, paint and method of staining of the concrete surface.

Tell me how to paint a concrete fence from a technical point of view. For a better result, you need to observe several conditions: dry weather, lack of fog and wind, average temperature (from +5 to +30), morning or evening clock (when the sun is not too bright), humidity no more than 80%. If the fence is new, wait until its shrinkage passes - approximately six months after installation. Further in the article - details.
All about painting concrete fence:
What will take for workStages of coloring
- Preparation
- Coloring
Color selection and coloring option
Materials and painting tools
The structure is recommended to paint with products from one manufacturer. Buy it with a slight margin. There are several facade coatings that are suitable for a concrete fence. All of them are made on a water basis, they do not have a sharp smell and problems with long drying.
Choose paint
- Acrylic. Quickly dry, create a robust layer of waterproofing, well tolerate temperature differences, but have low vapor permeability.
- Silicone. Water and heat-resistant, elastic mixtures. Fill cracks, make the wall smooth.
- Latex. Resistant to solar rays, abrasion, with high vapor permeability, elastic, after drying look silky. Also fast enough dry.
- Water-epoxy. Have the same set of qualities, resistant to chemical reagents. Minus is a big consumption and the need to mix two ingredients.
In addition, there are rings - pigments to give the desired shade. In some cases, the solvent is useful to dissolve the composition or wash the brush. For example, White Spirit.
Prepare tools
- A pulverizer or roller, brushes of different sizes for hard-to-reach places.
- Malyary tray with a ribbed bottom. It is convenient to remove the excess mixture from the roller or brush about it.
- Protective glasses, gloves, mask.
- Malyary Scotch, chalk, graphite pencil for distinguishing, if coloring is not monochrome.
You may need a drill with a nozzle, wash or sandblasting, a spatula or a chisel to remove the previous finish.
Preparation and painting of concrete fence
In the course of operation, chips appear on the structure, zapol, dirt. Therefore, before applying the paint, the surface must be cleaned, align and make a little rough. This will provide the best concrete clutch with the LKM. Transfer or cover benches, sculptures located nearby. Template plants.Preparatory actions
- Eliminating the old coating if it is. This can be made with a special wash, spatula, hammer, drill with a brush (protect your eyes), sandblasting. Another way is to heat the fence by the construction hairdryer and remove the paint.
- Wet cleaning. Remove the remnants of dirt, mold, dust with water. Rust with fittings also need to be removed and process anti-corrosion impregnation.
- Alignment of the fence. If there are cracks on it, potholes, after drying, we close them with cement plaster.
- Primer. It is best to use deep penetration primer. It lines the surface, fill the fine slits. If the concrete is loose, the mixture is applied twice.
After drying, the fence can be started to apply the finish finish.
Tips for staining
Lkm need to mix well or even strain if the material has been made for a long time. Apply the first layer with a roller, and use a brush for the corners. In this way, a smooth surface is usually treated. With relief fences it is more convenient to cope with the help of an opponent.
If you bought paint from different parts, transitions between layers of two cans can be noticeable. To paint the surface evenly, not blurring the bottom, start applying from the upper sections. Thoroughly distribute the composition so that there are no drowshes.
Relieve drops at once, as some formulations dry very quickly. Shakes of different shades from each other, squeeze the mixture of them. After the first layer is dry, spray the second. Typically, the interval between procedures is at least 12 hours. Double coating will be more even, durable, will help better hide defects.

Choice of shades and coloring options
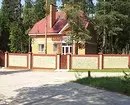
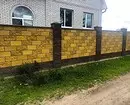
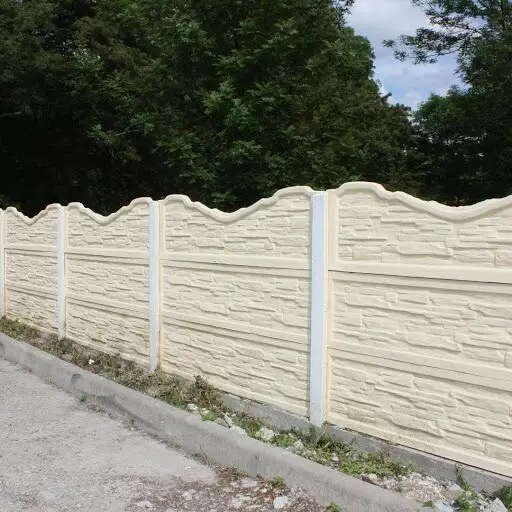
By color, the fence should be approached by the rest of the buildings on the site. If the house is beige, the brightness will be inappropriate. It is advisable to use no more than three colors when it is design. One is the main one, which occupies most, the second - complementary, the third is an emphasis, no more than 10% of the area.Overly distrillable combinations also better avoid. Almost always beautifully looks sand, cream, white, gray, light yellow, brown. These are unobtrusive colors, which are good and smooth and on embossed surfaces. Smooth concrete can be transformed using textured paint. She will add grainability to him.
How to make a good color combination
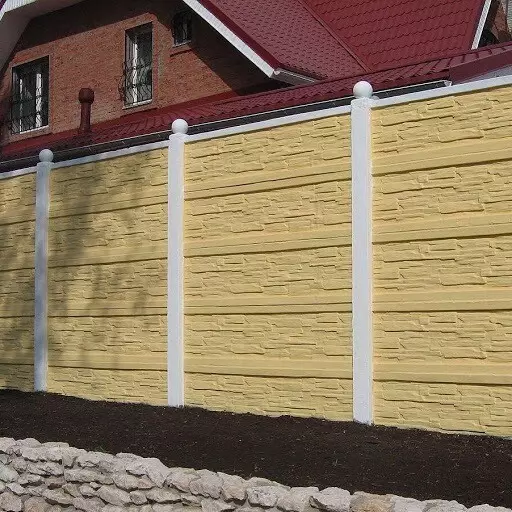
- Use for painting fencing the same color as on the roof, doors, platbands.
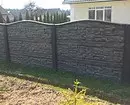
- Pain the lower part of the structure with darker pigments.
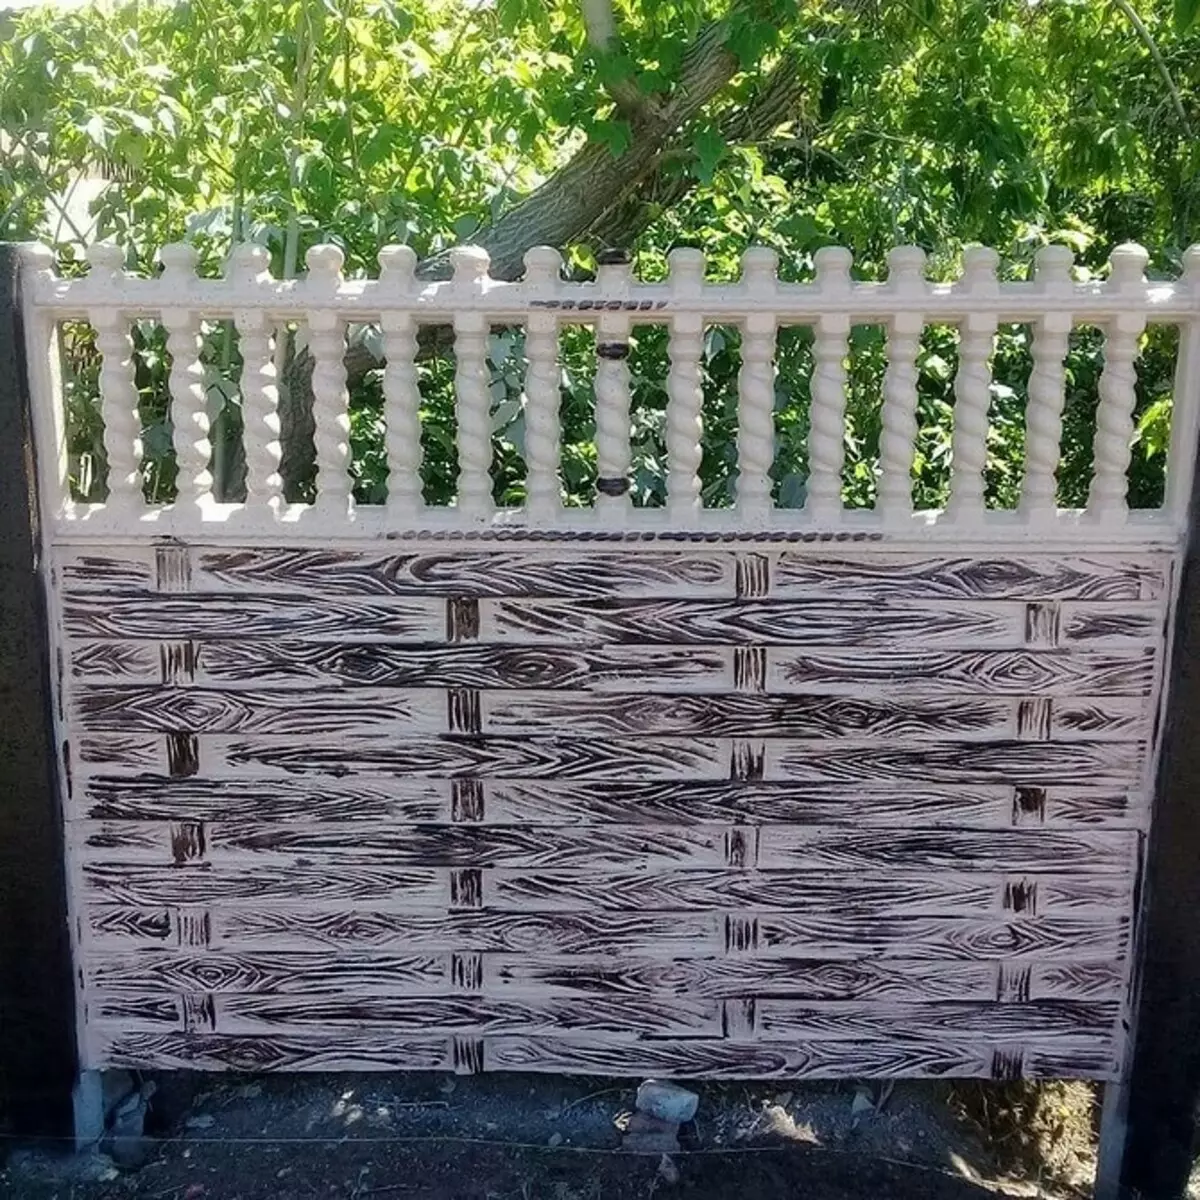
- Decorative sections painted in white, give elegance design and combined with a fence of any color.
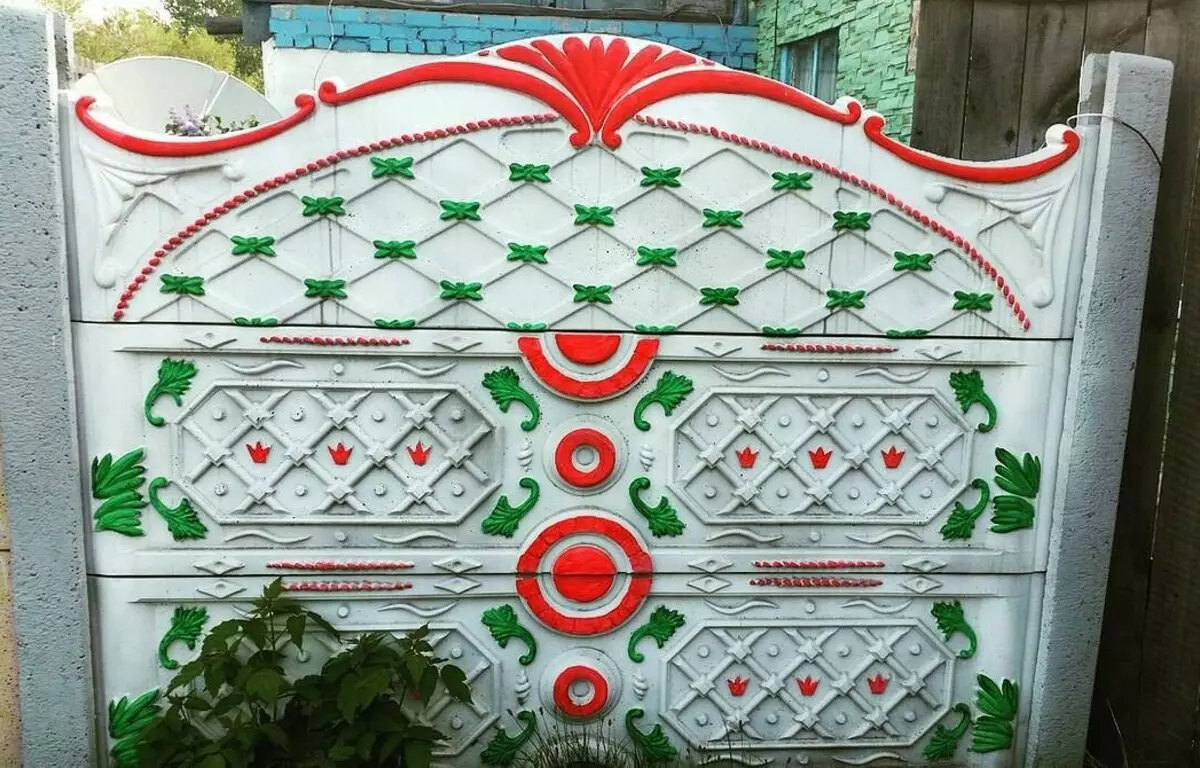
- Red spectacular looks on the white background. With a dark palette, he can create an oppressive impression.
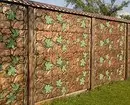
- Bright, flowering plants look beautiful on pastel background. Not only dairy and beige, but also green, blue, lilac.
- In small areas, light fences are needed. In large, you can experiment with different options.
- Colorless coating is suitable only for the surface without flaws.
- Matte paint grows defects, glossy - emphasizes them.
Now we will tell you how beautiful to paint concrete fence in different ways.
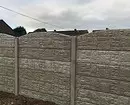
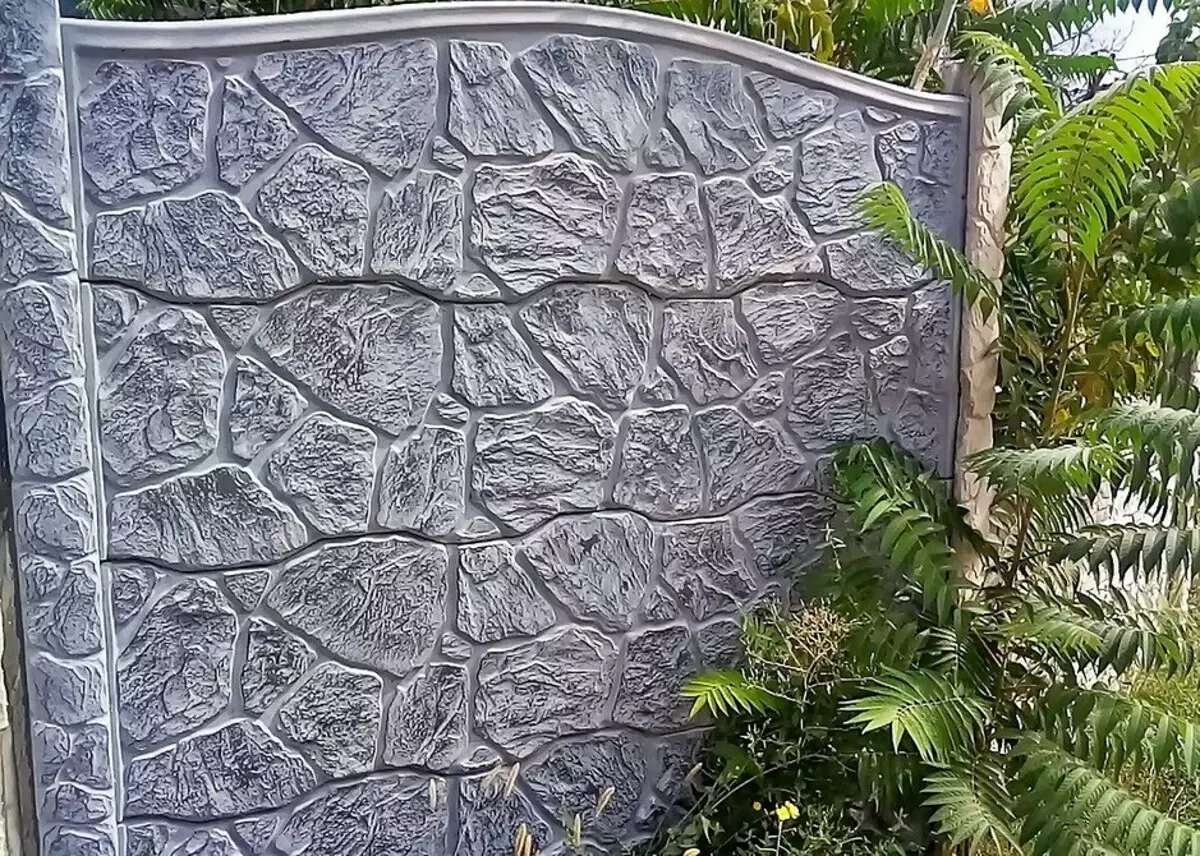
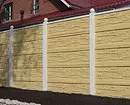
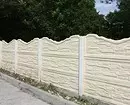
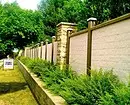
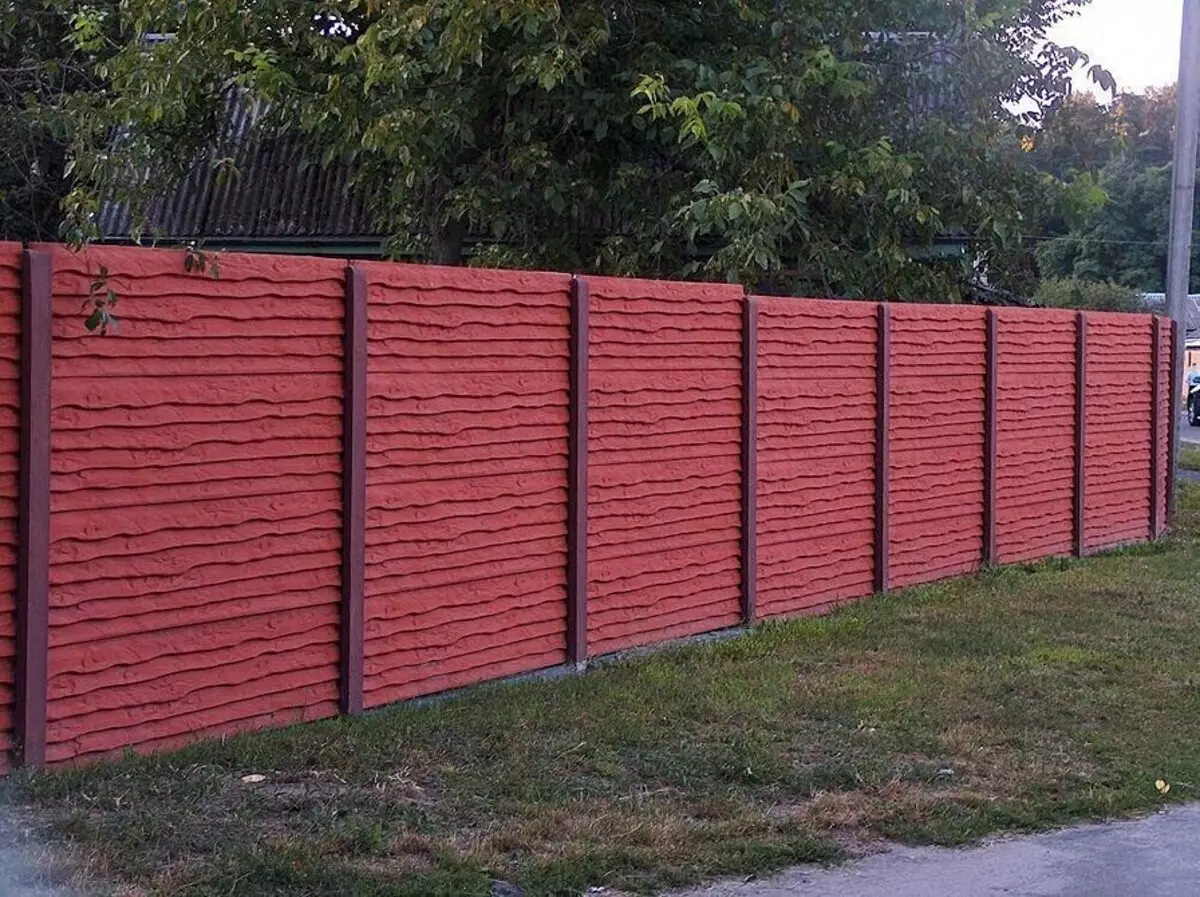
Staining in one color
Here everything is clear - only one color is used. For such a design, LKM with white or pastel pigment is more suitable. They do not give the designs of bulkiness. In some cases it can be blue, green, red roller. On his background, various landings, alive hedges look good.
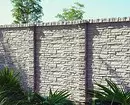
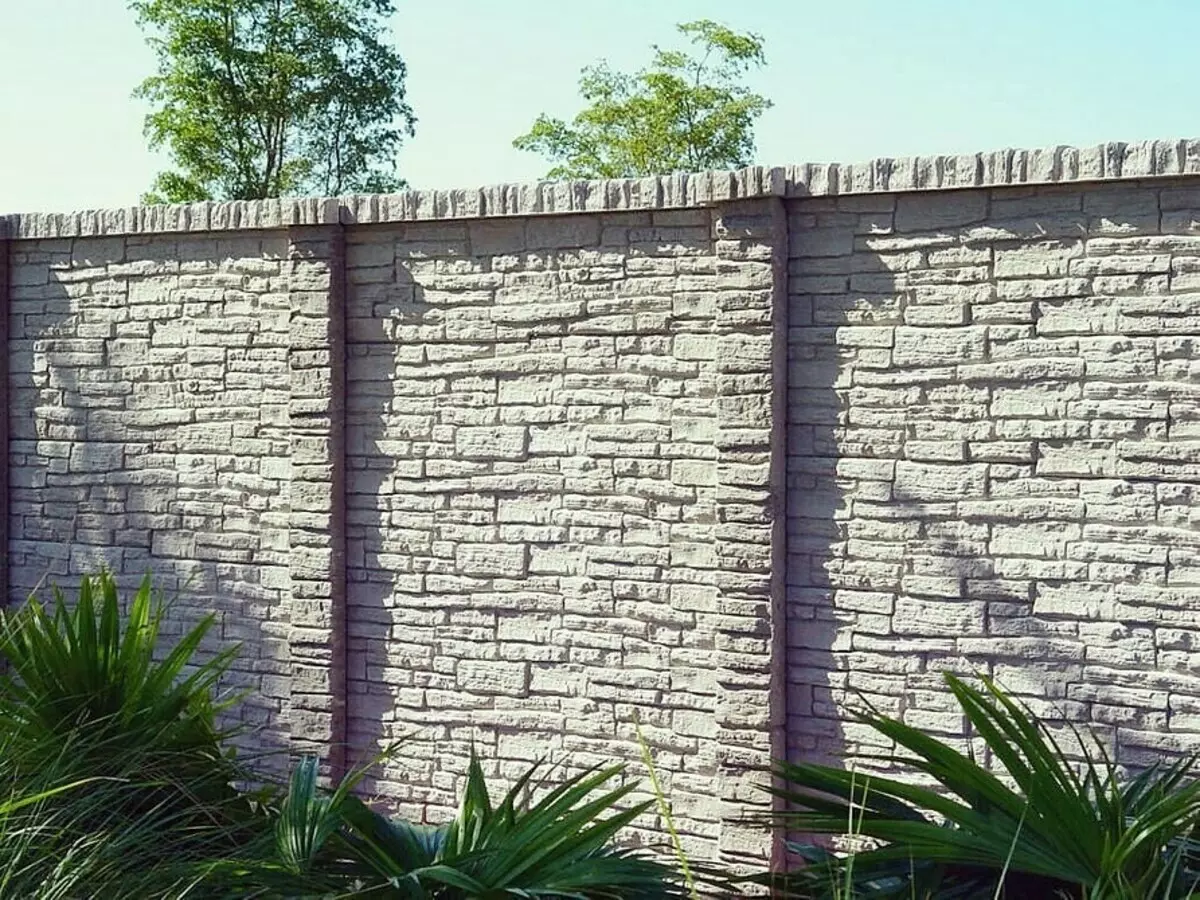
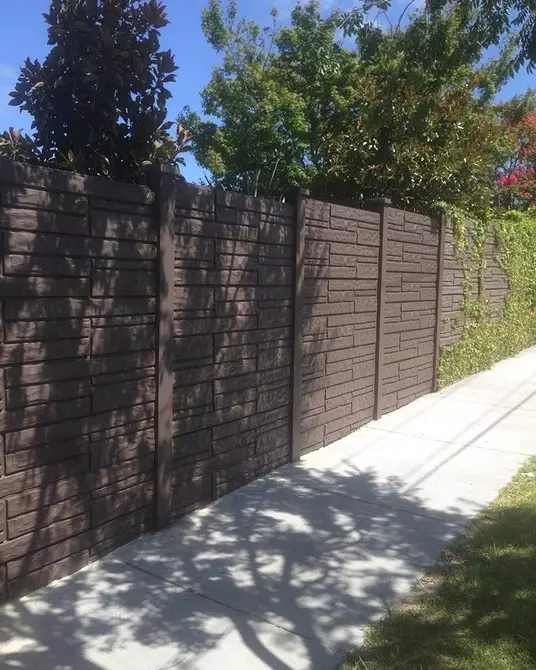
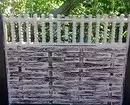
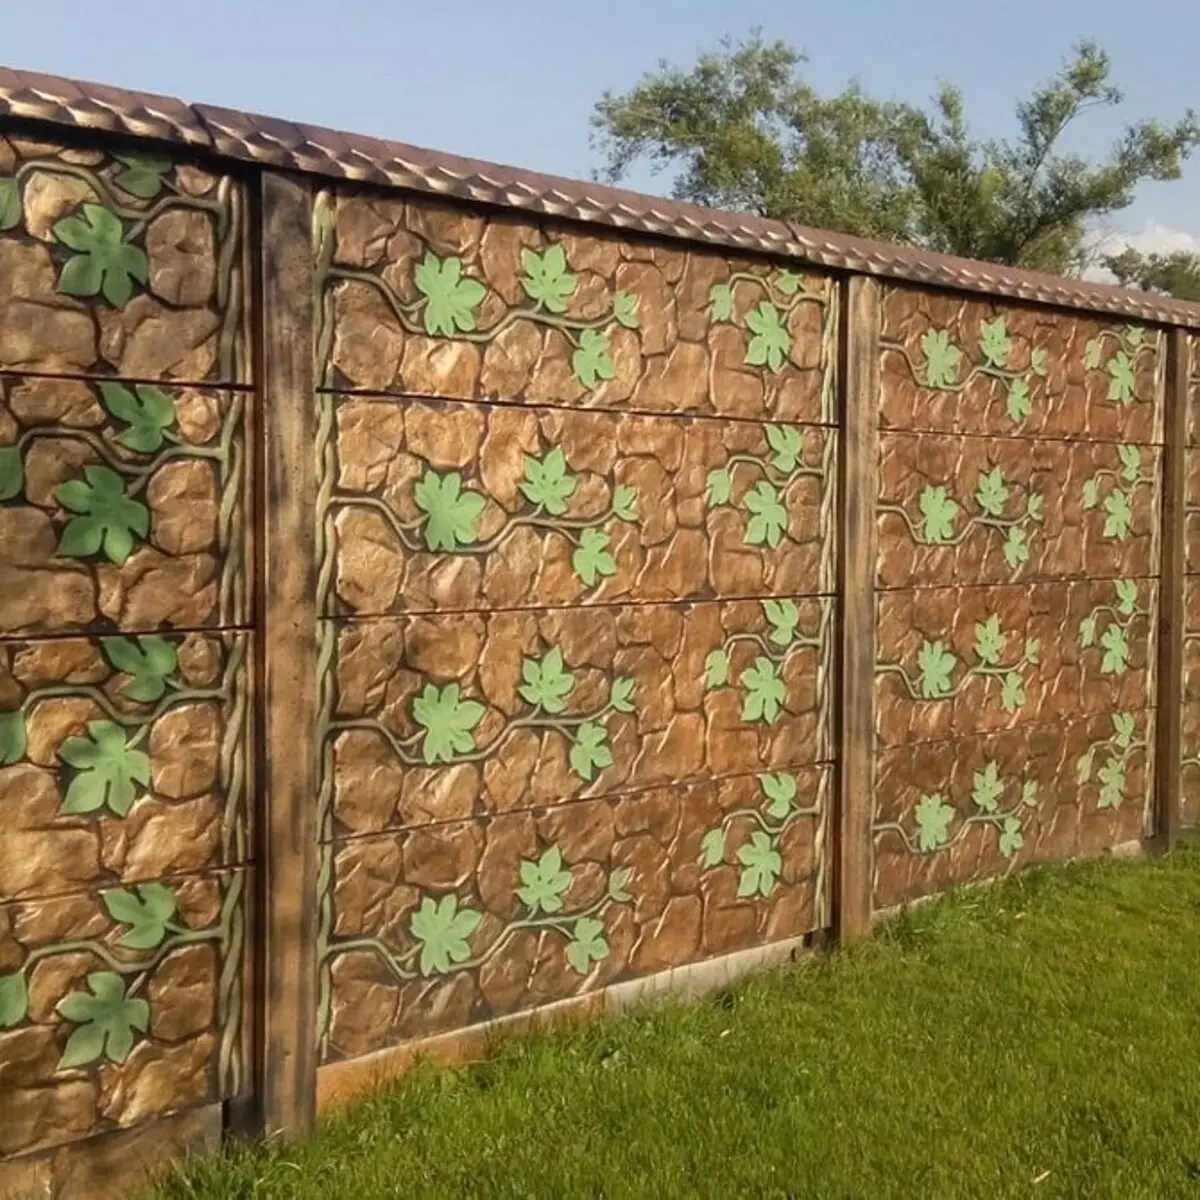
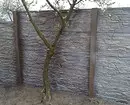
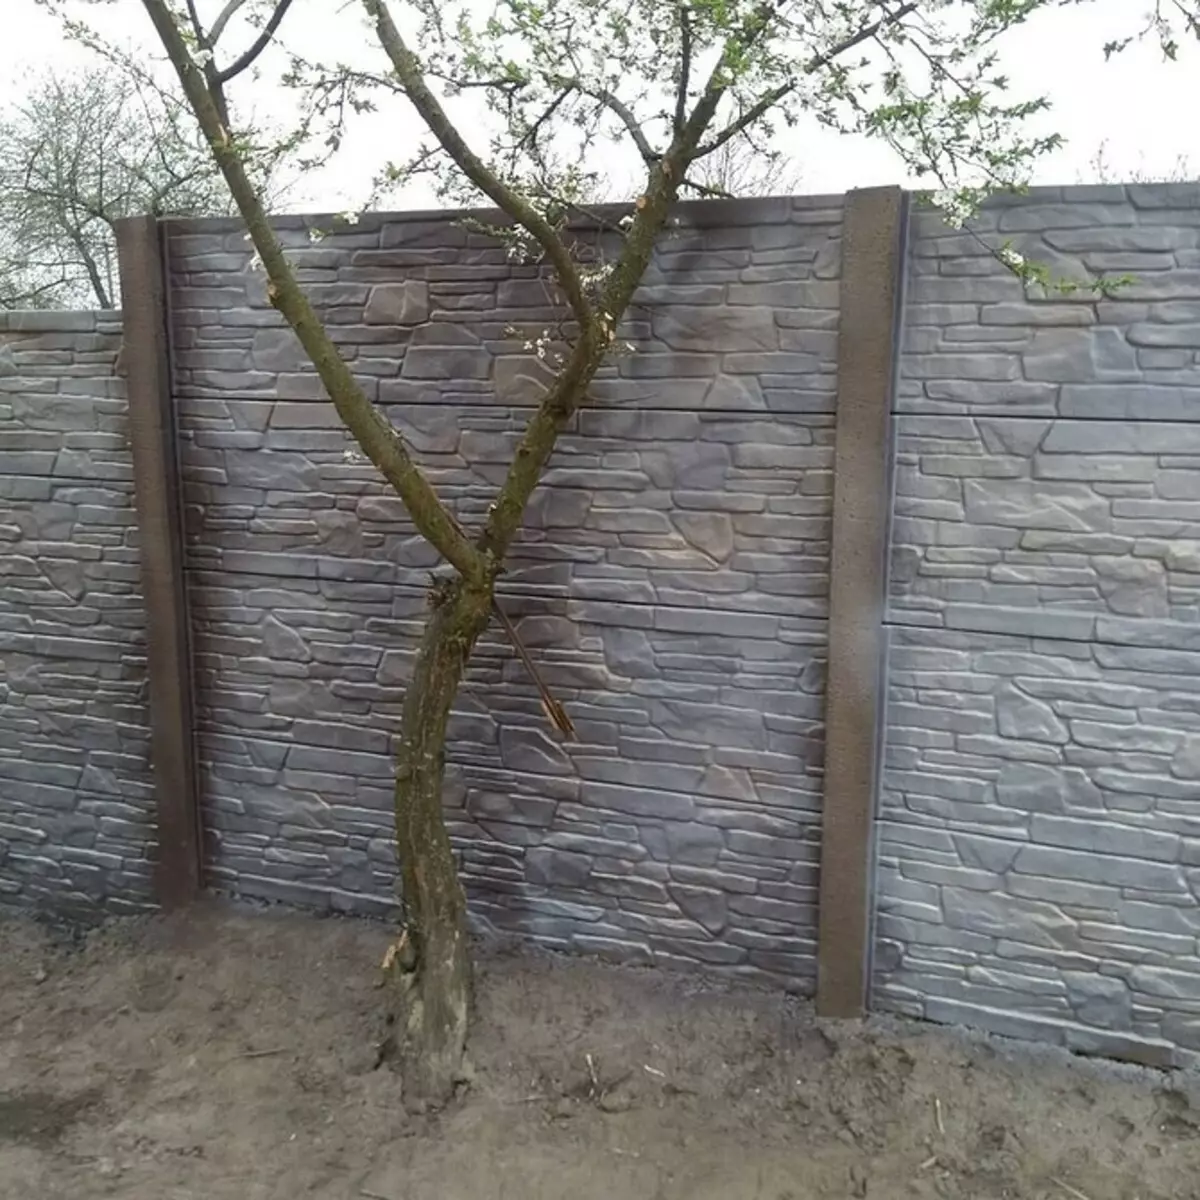
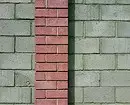
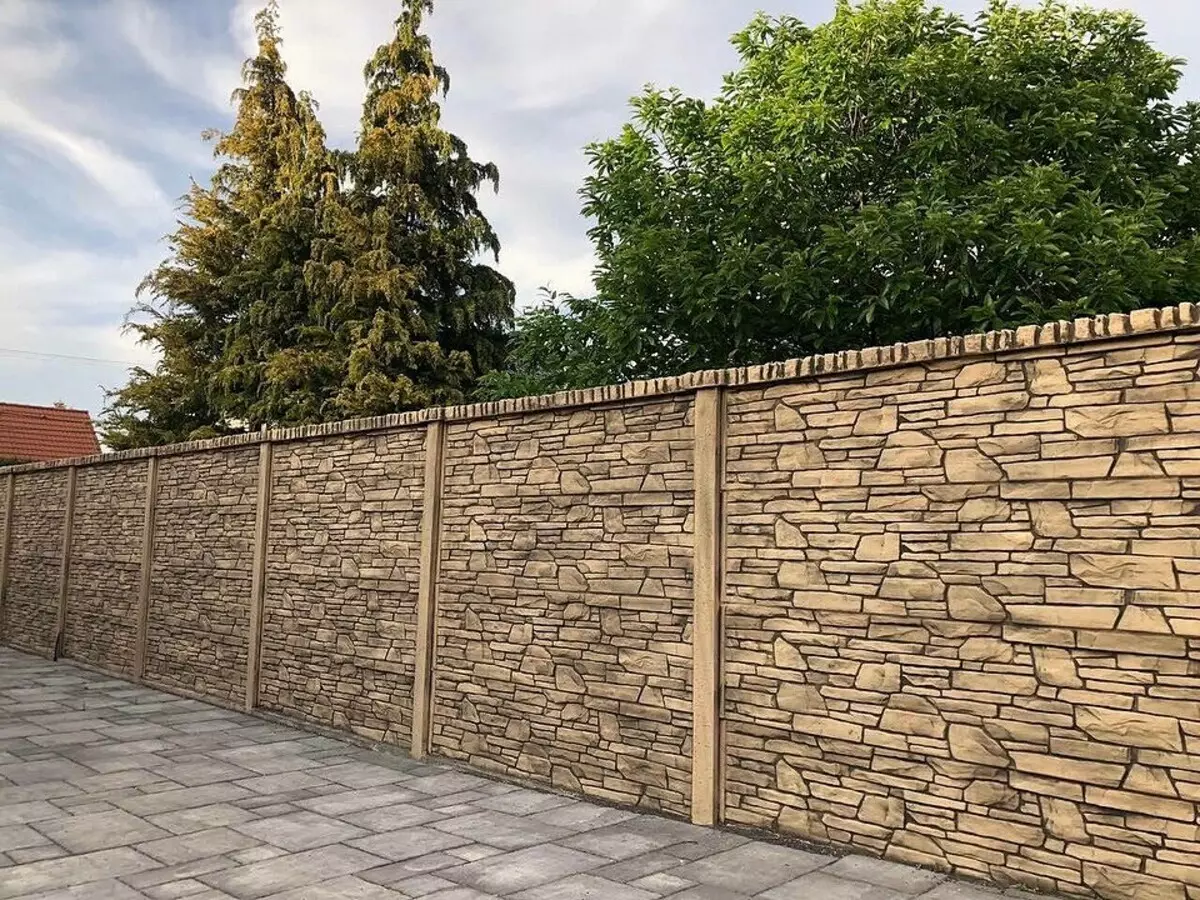
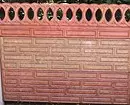
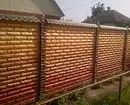
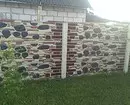
Imitation stone or brick
To get the desired effect, select the most similar shades: brown, terracotta, gray, beige. To implement the idea, you will need a roulette, a pencil, a painting tape. Follow the base, designating the boundaries of bricks or outlines of the stones. The second option is more complicated in performance - for him you need artistic skills and many patience. However, it will be needed for this work anyway. Imitation texture is a painstaking, protracted process.
Creating a drawing, consider that tape should be placed between the elements. Sk up each square or rectangle. Watch that the tape does not dug. After drying the surface, carefully remove it. The transition remaining under it dial or leave as it is. If you wish, you can add shadows on it.
In the case of a decorative europeance, the process is simplified - it already has the desired relief and there is no need for the markup.
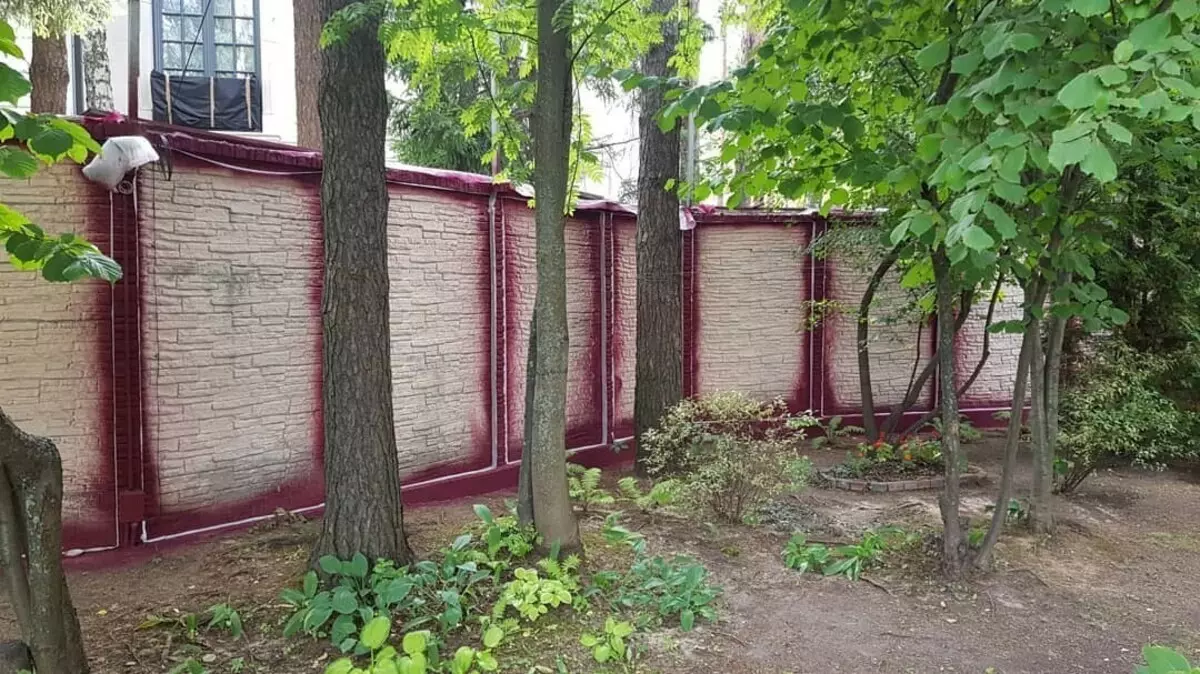
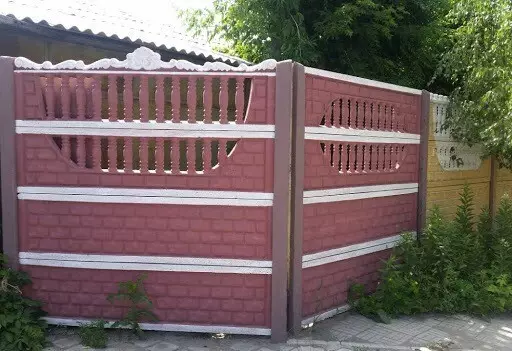
In several colors
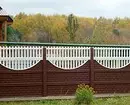
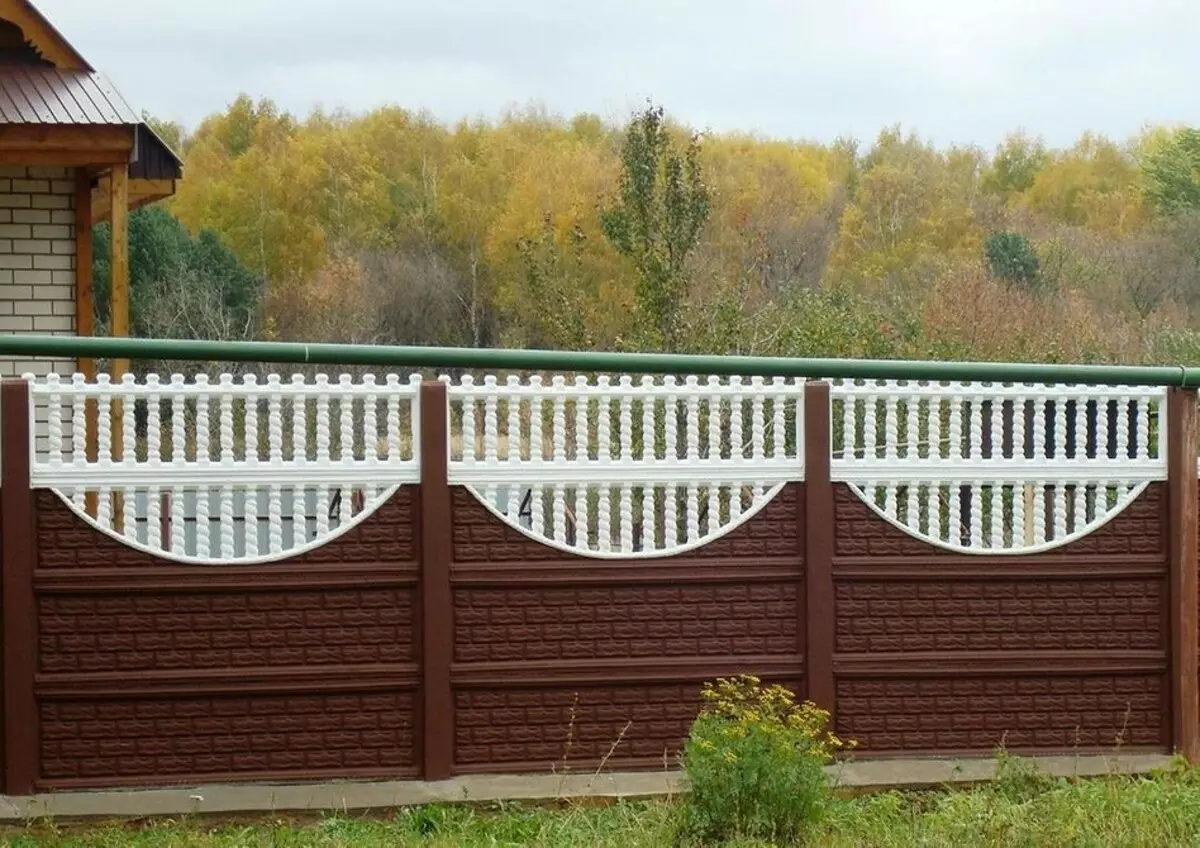
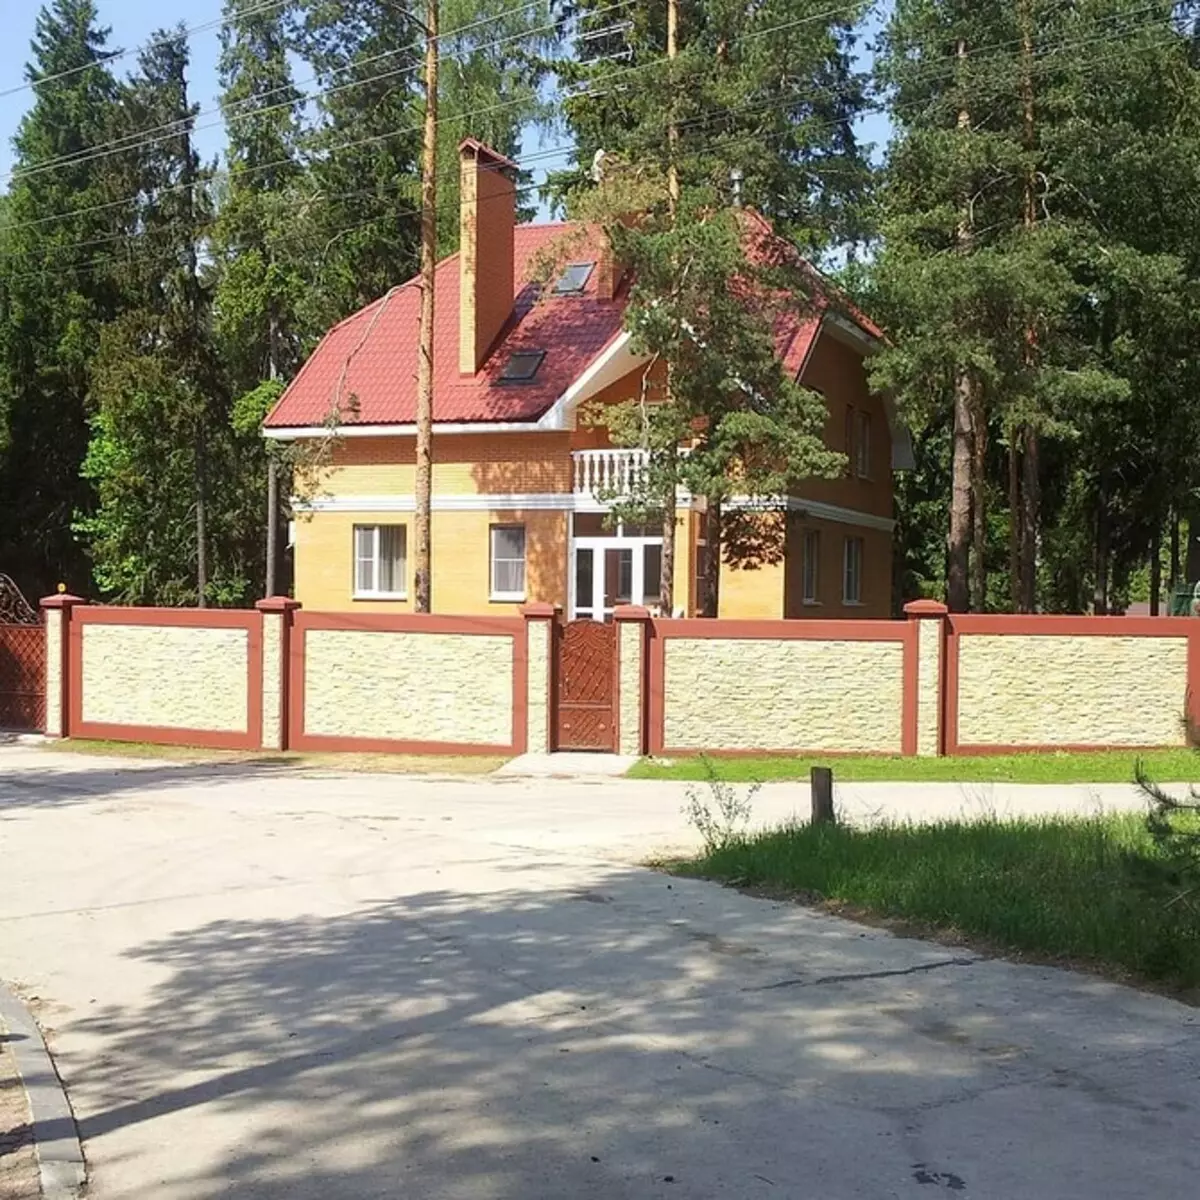
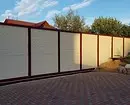
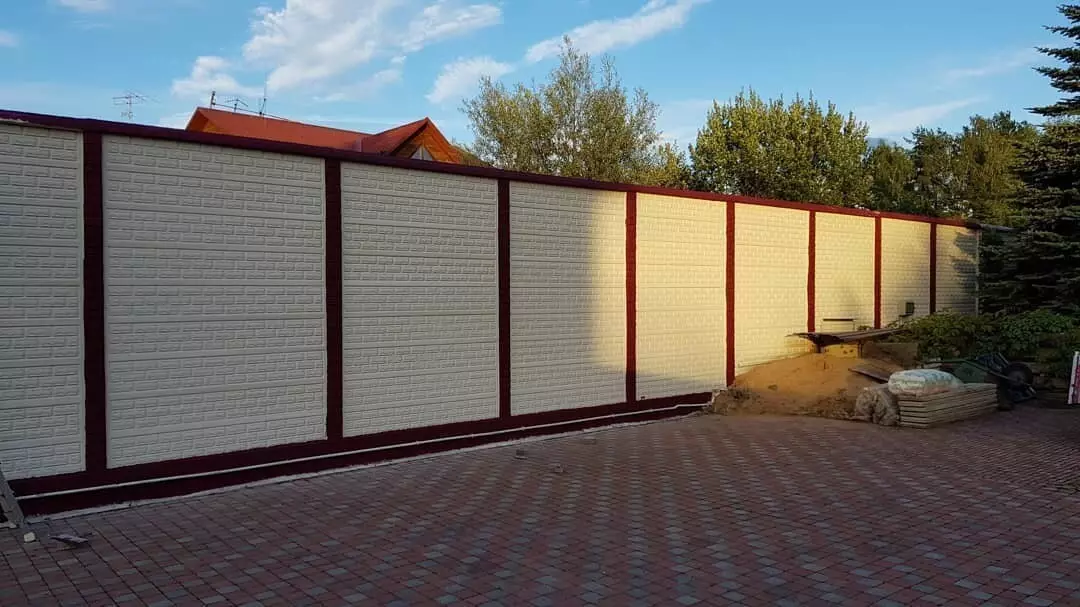
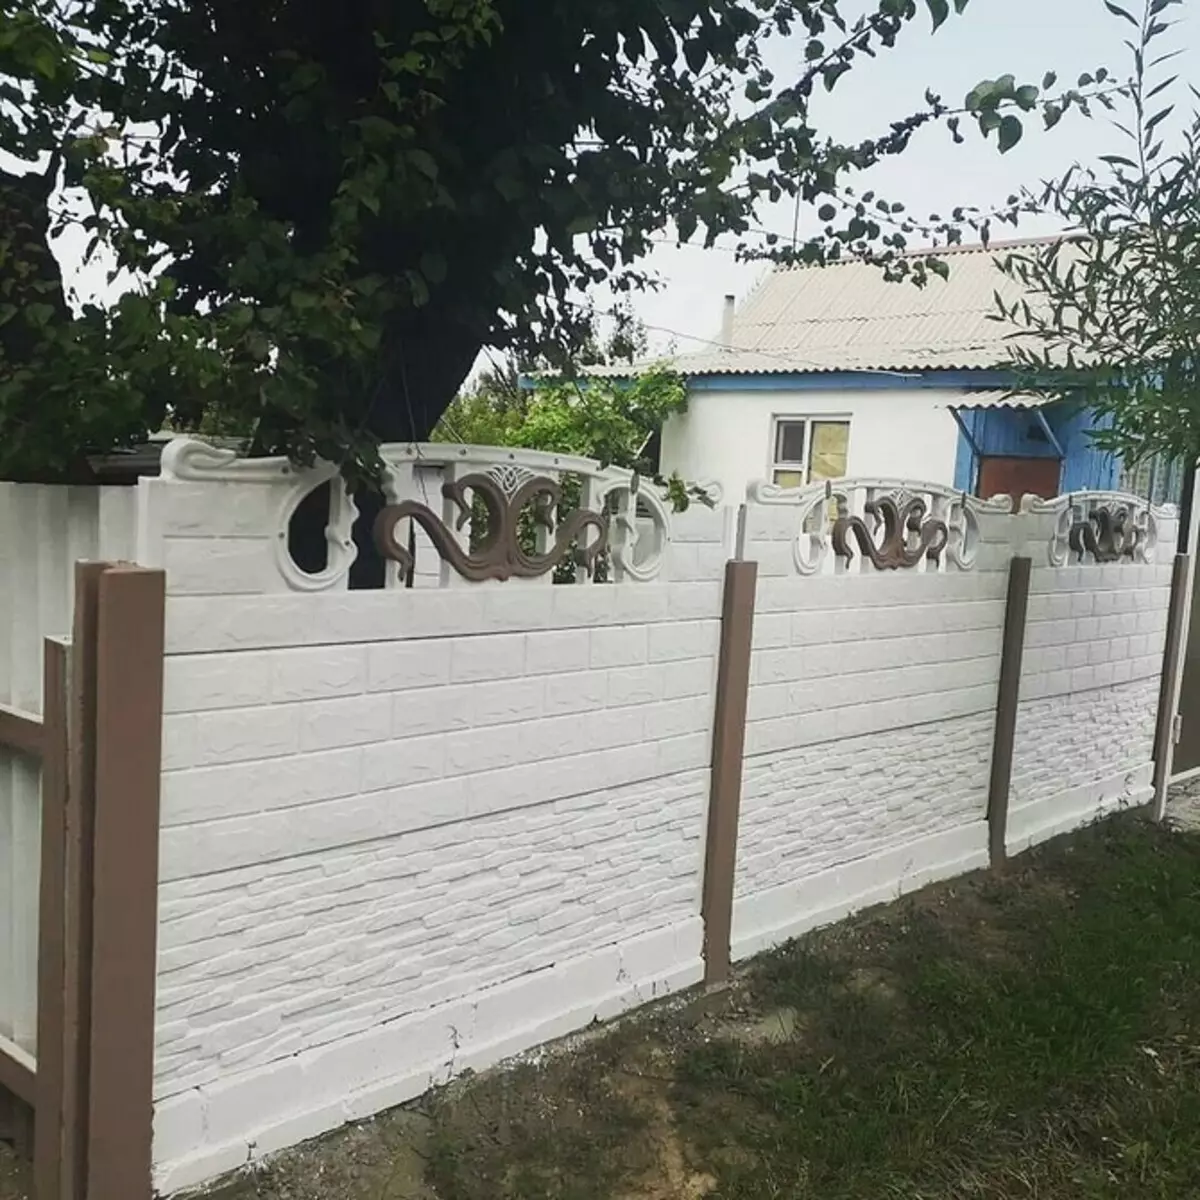
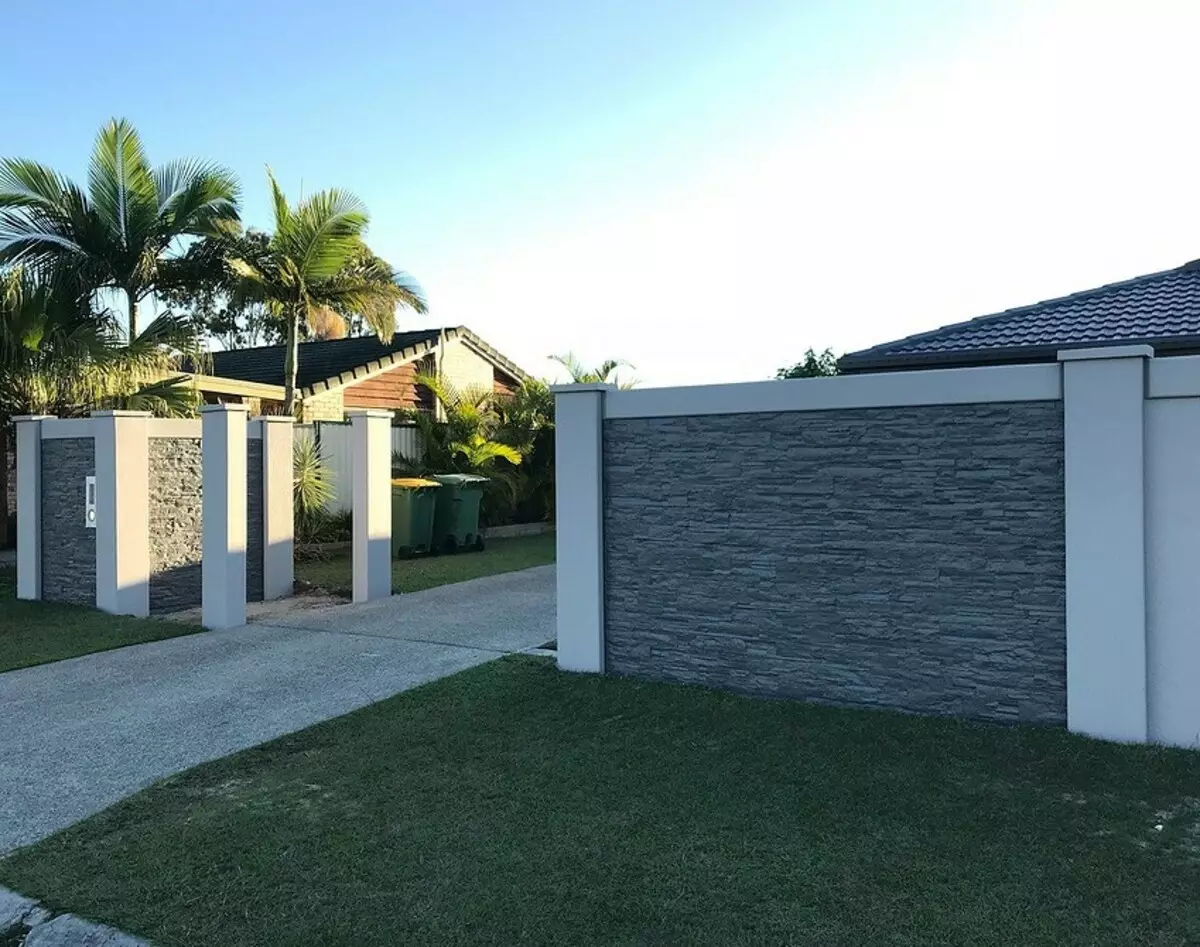
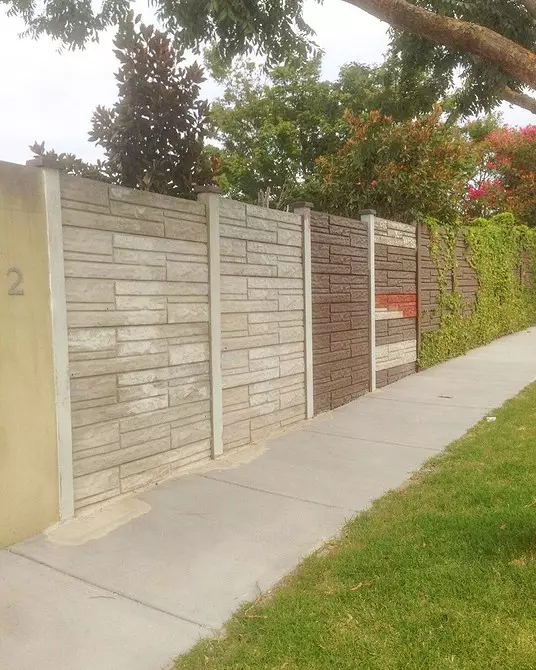
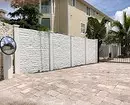
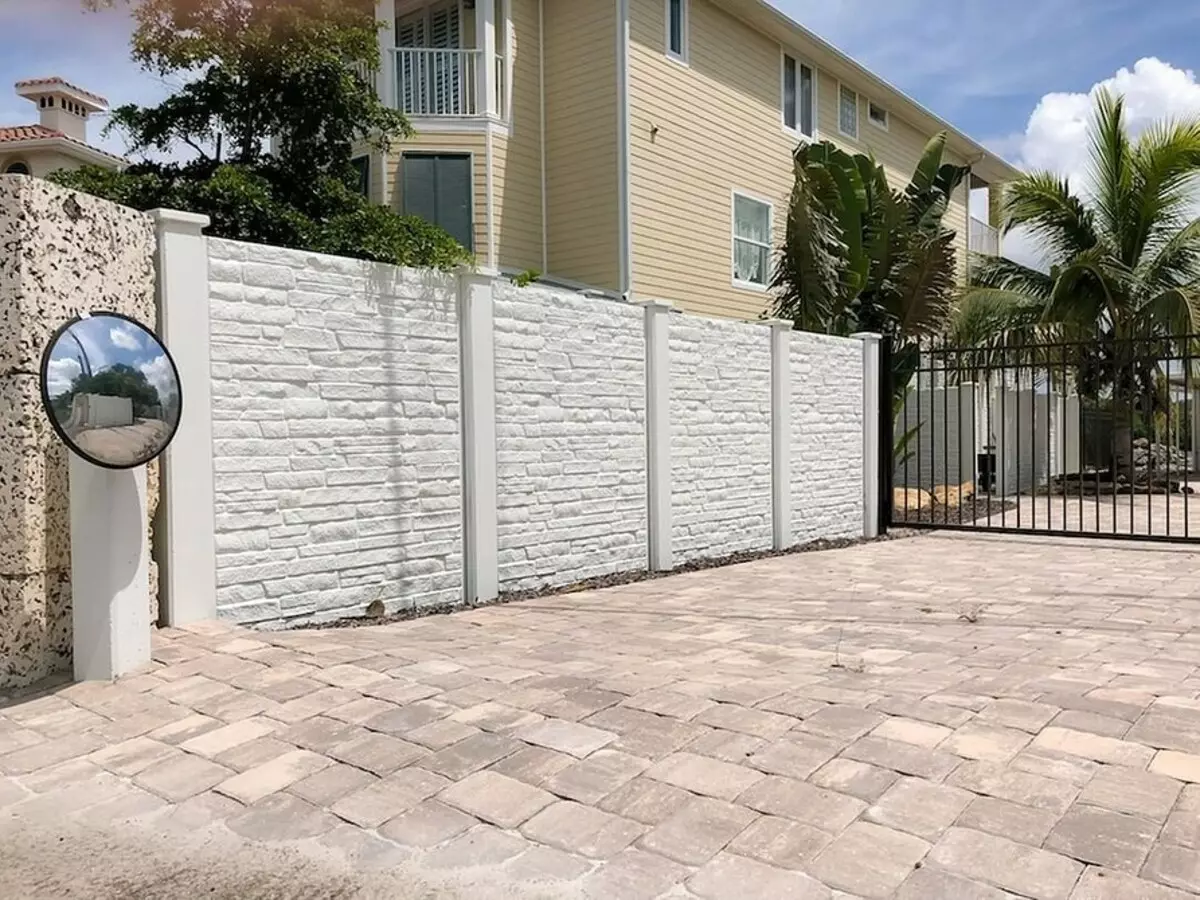
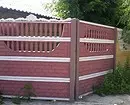
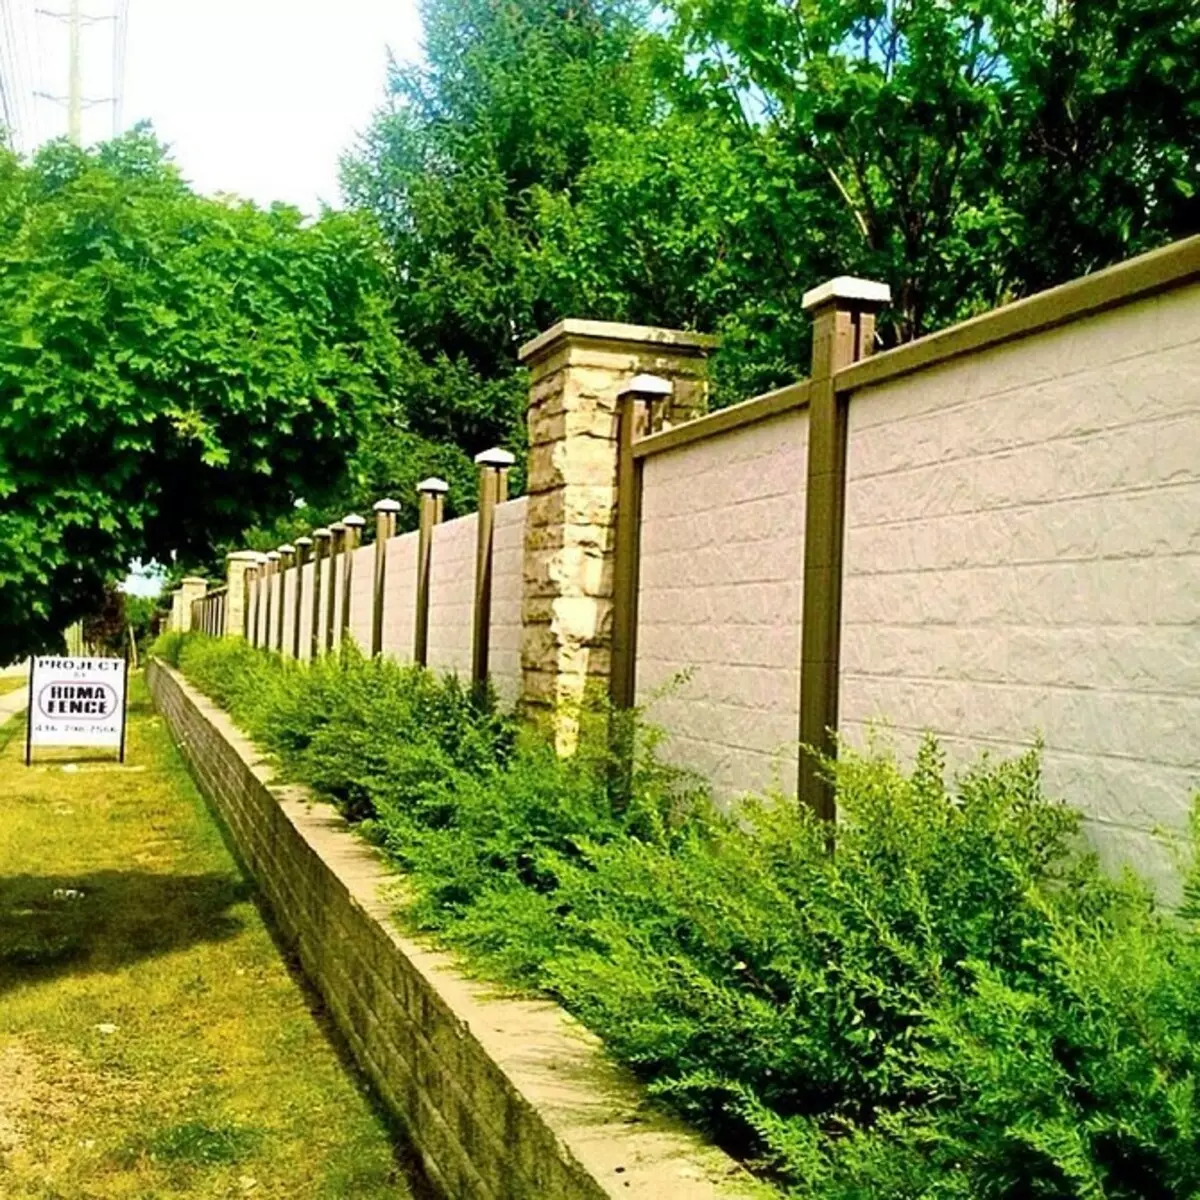
Beautifully looks behind fences with white decorative elements and pillars, contrasting to the rest of the fence. Look at the photo, as it looks.


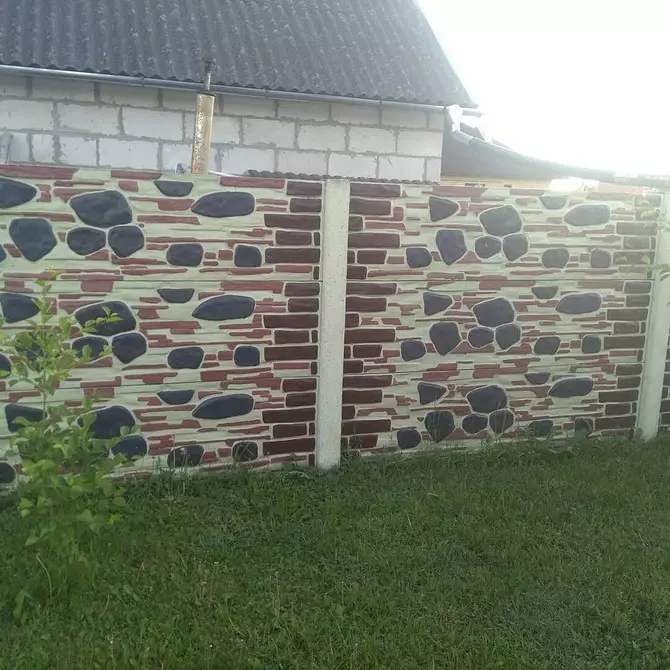
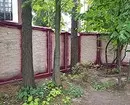
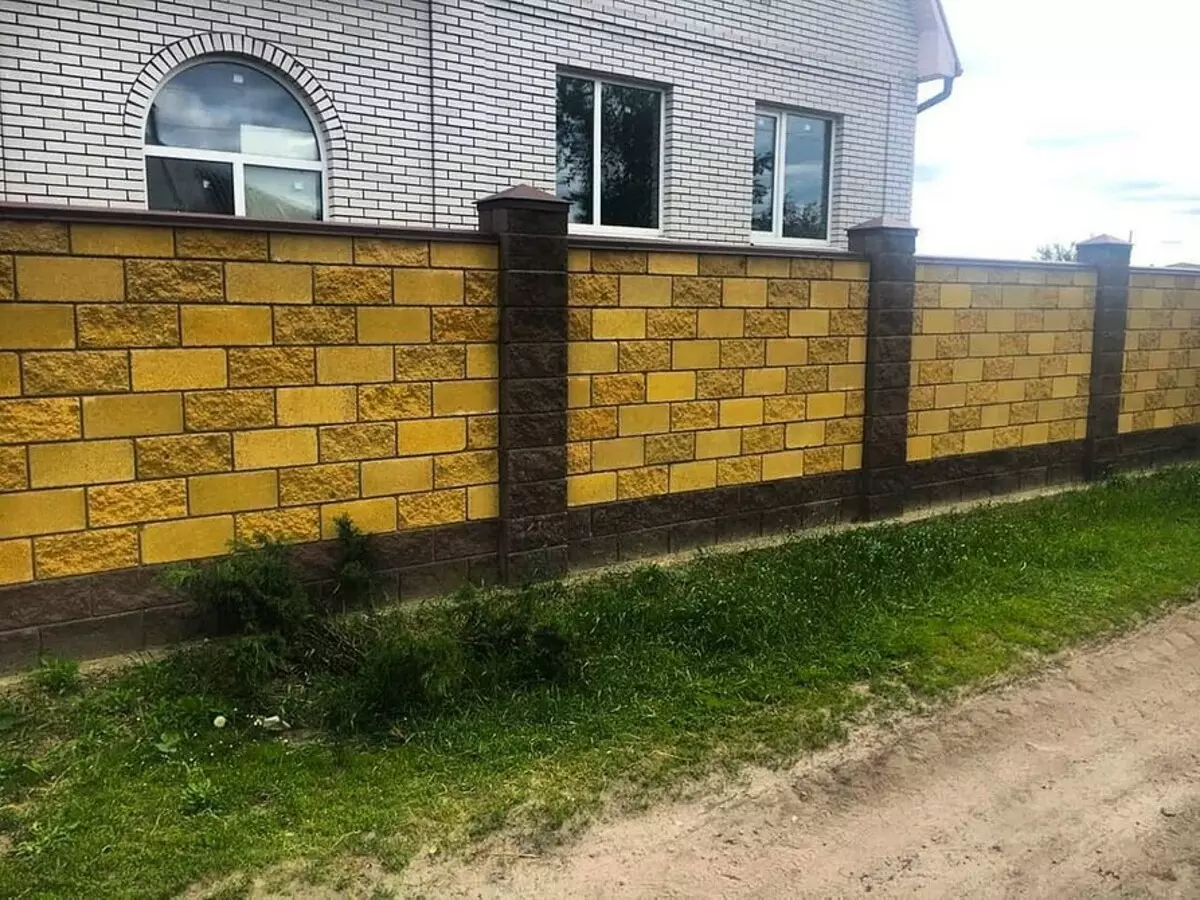
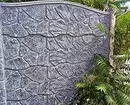
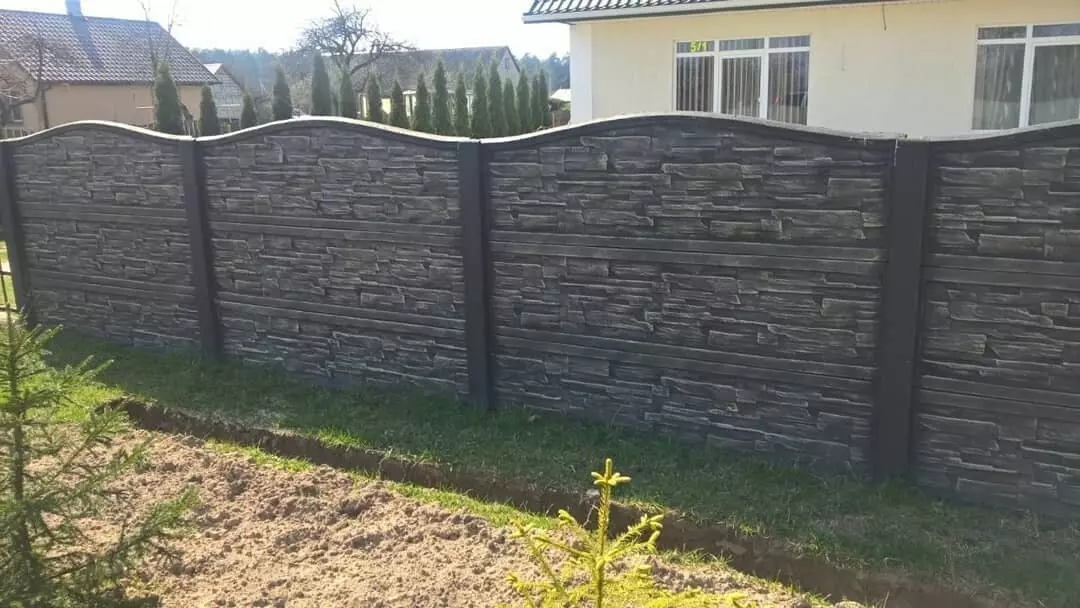
Often the concrete design in the form of blocks is often found, some of which are darker than others. Details can be located systemically or randomly. This version of the design is well complemented by sections in a restrained style.
Methods of coloring
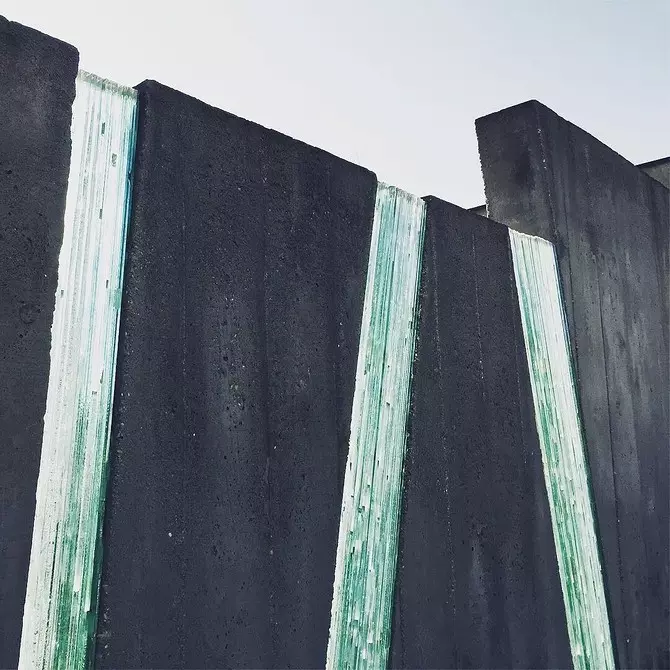
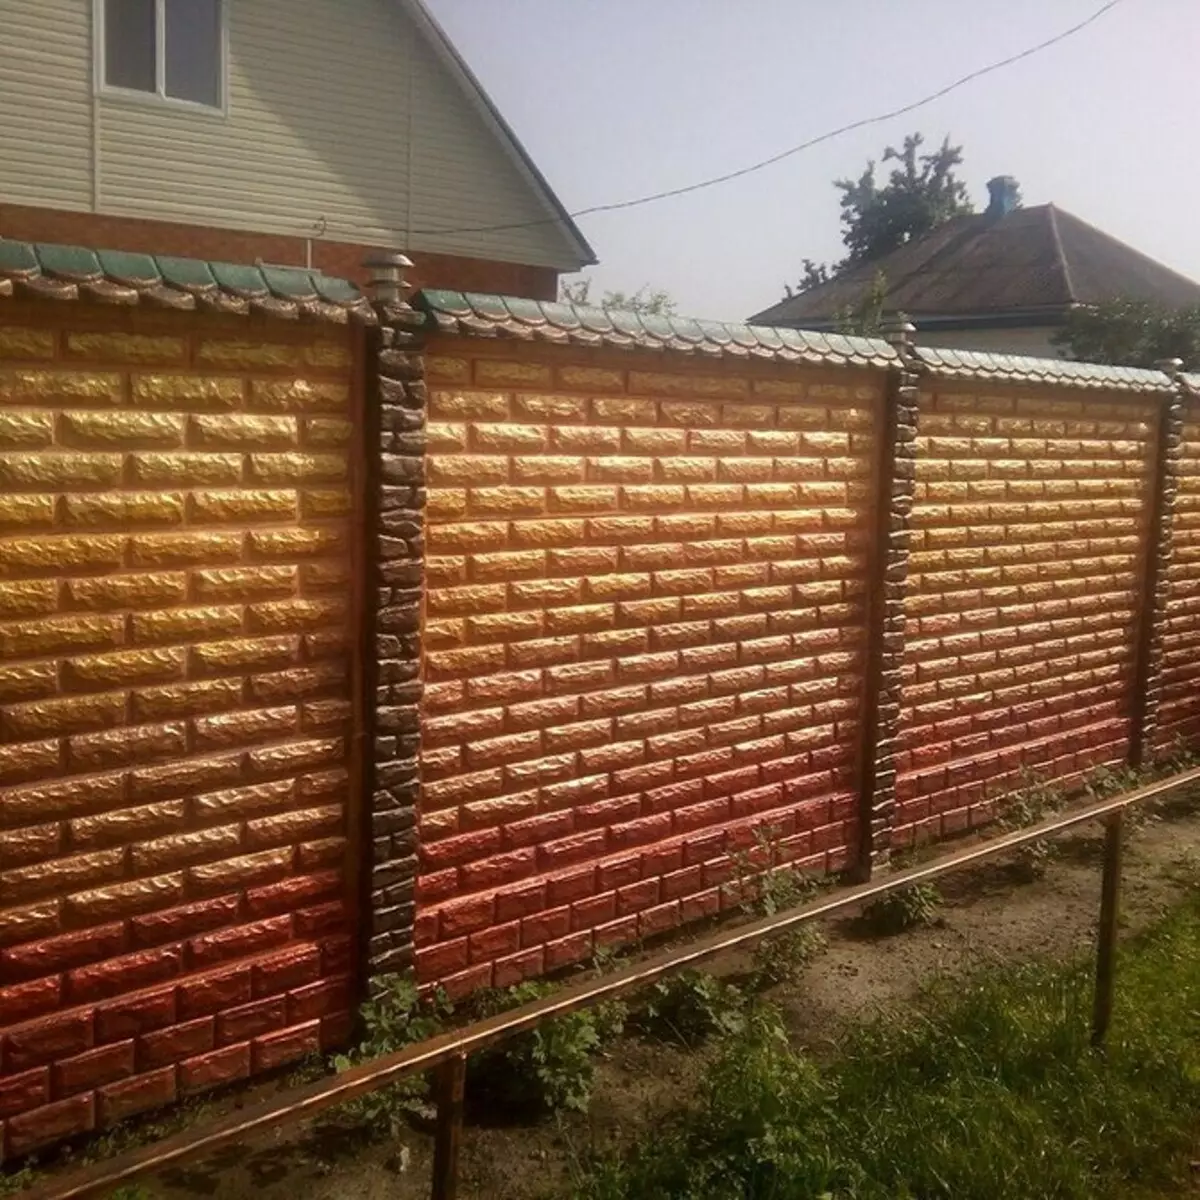
- With a smoothly passing color: from rich in blurred or vice versa. It looks more beautiful on smooth buildings than on embossed. It will not be easy to embody it without skills.
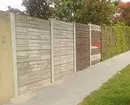
- Each section is painted in his shade. A kind of fence-rainbow. If this is too extreme option - use the shades of the same color.
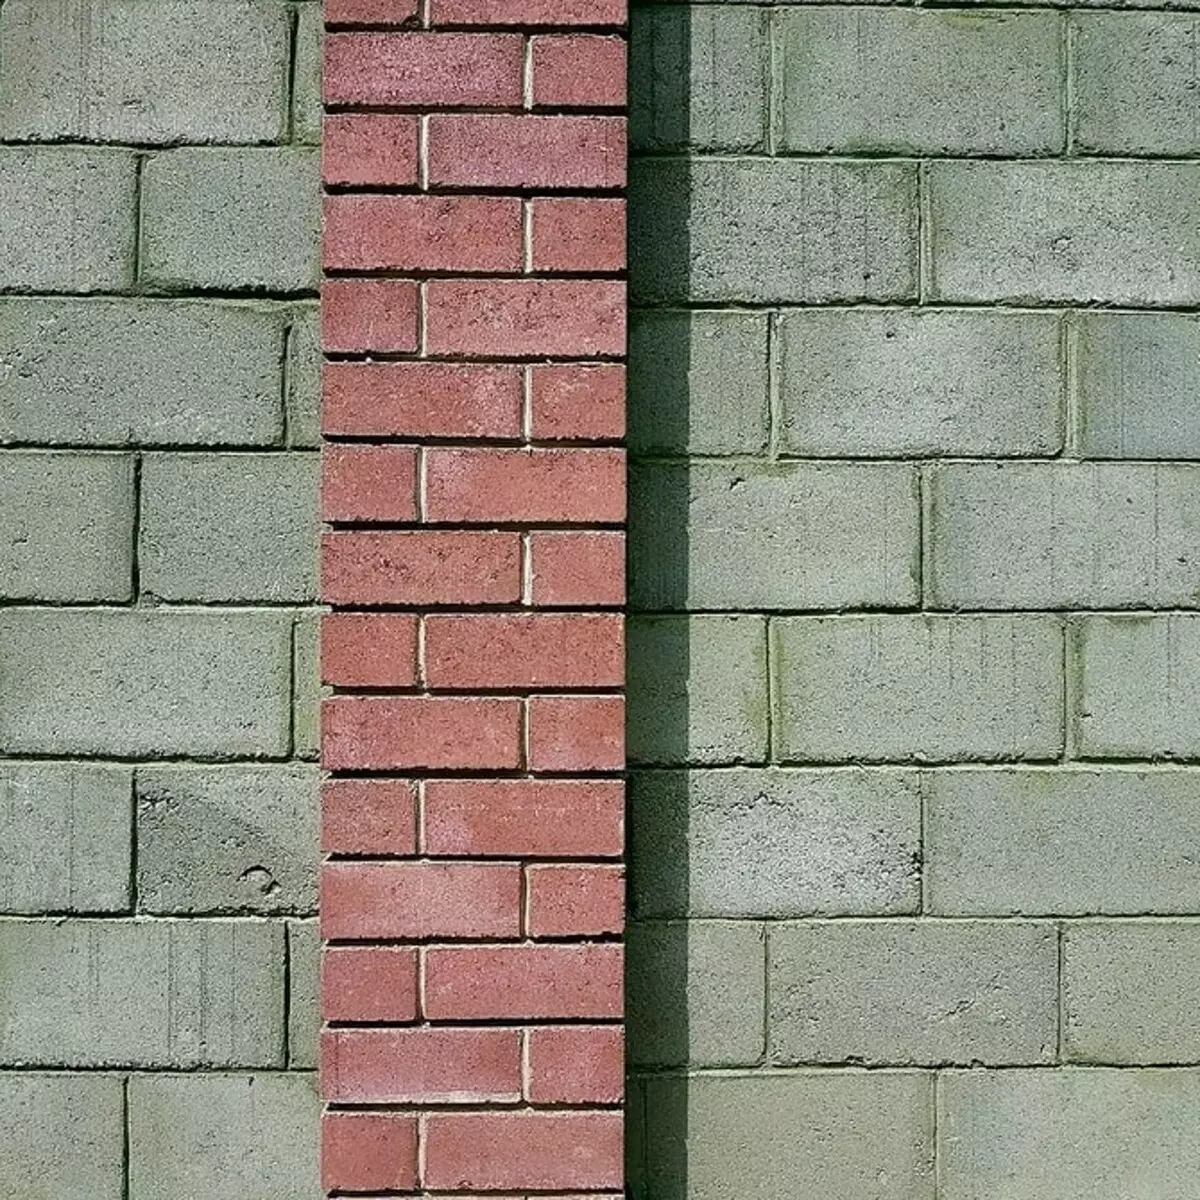
- On the main background - contrast vertical or horizontal inserts.
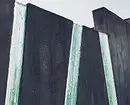
- Two colors in one section. One below, the other above.
- A narrow dark or light strip around the perimeter and a contrasting color on the rest of the area.
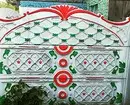
Pictures
Such painting should not necessarily be difficult. You can draw geometric shapes on the fence, a nonsense ornament, small houses at the bottom or full graffiti. Leave on it prints of palms, plants, art splashes and stains. Create large pictures or paint small elements easier with a brush or canister.