
We give instructions for choosing material, tools and installation - for different types of swings.

The country season opens when the whole family will leave for the cottage. During the arrangement of the country area, do not forget about the children's corner. Make it brighter by installing street children's swings for giving.
Mastery swing
ViewsPreparation for work
Ideas
Advice
Types of swing
Based on
In hypermarkets, you can now meet several types of products. They are divided into metal, wooden and plastic. Consider each view separately.
-->- Metal most durable of all kinds. They can be made to order on their own sketch, add wrought-iron elements, additional railing and crossbars. In addition, according to the attachment method, they can be outdoor - the seat is suspended on the steel leg, which is tightly held on the ground.
- Wooden swings for giving with proper processing and care will also serve for quite a long time. In addition to their durability and strength, they are also safe, as made of natural material.
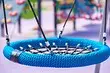
- Plastic fit for the smallest children, because they are made of lightweight material. It should be borne in mind that they are afraid of frosts, and their bright color is faded over time.
By construction
- Frames are very stable and easy to use. They are good because they are transferred to any place of the country area so that the child is always supervised.
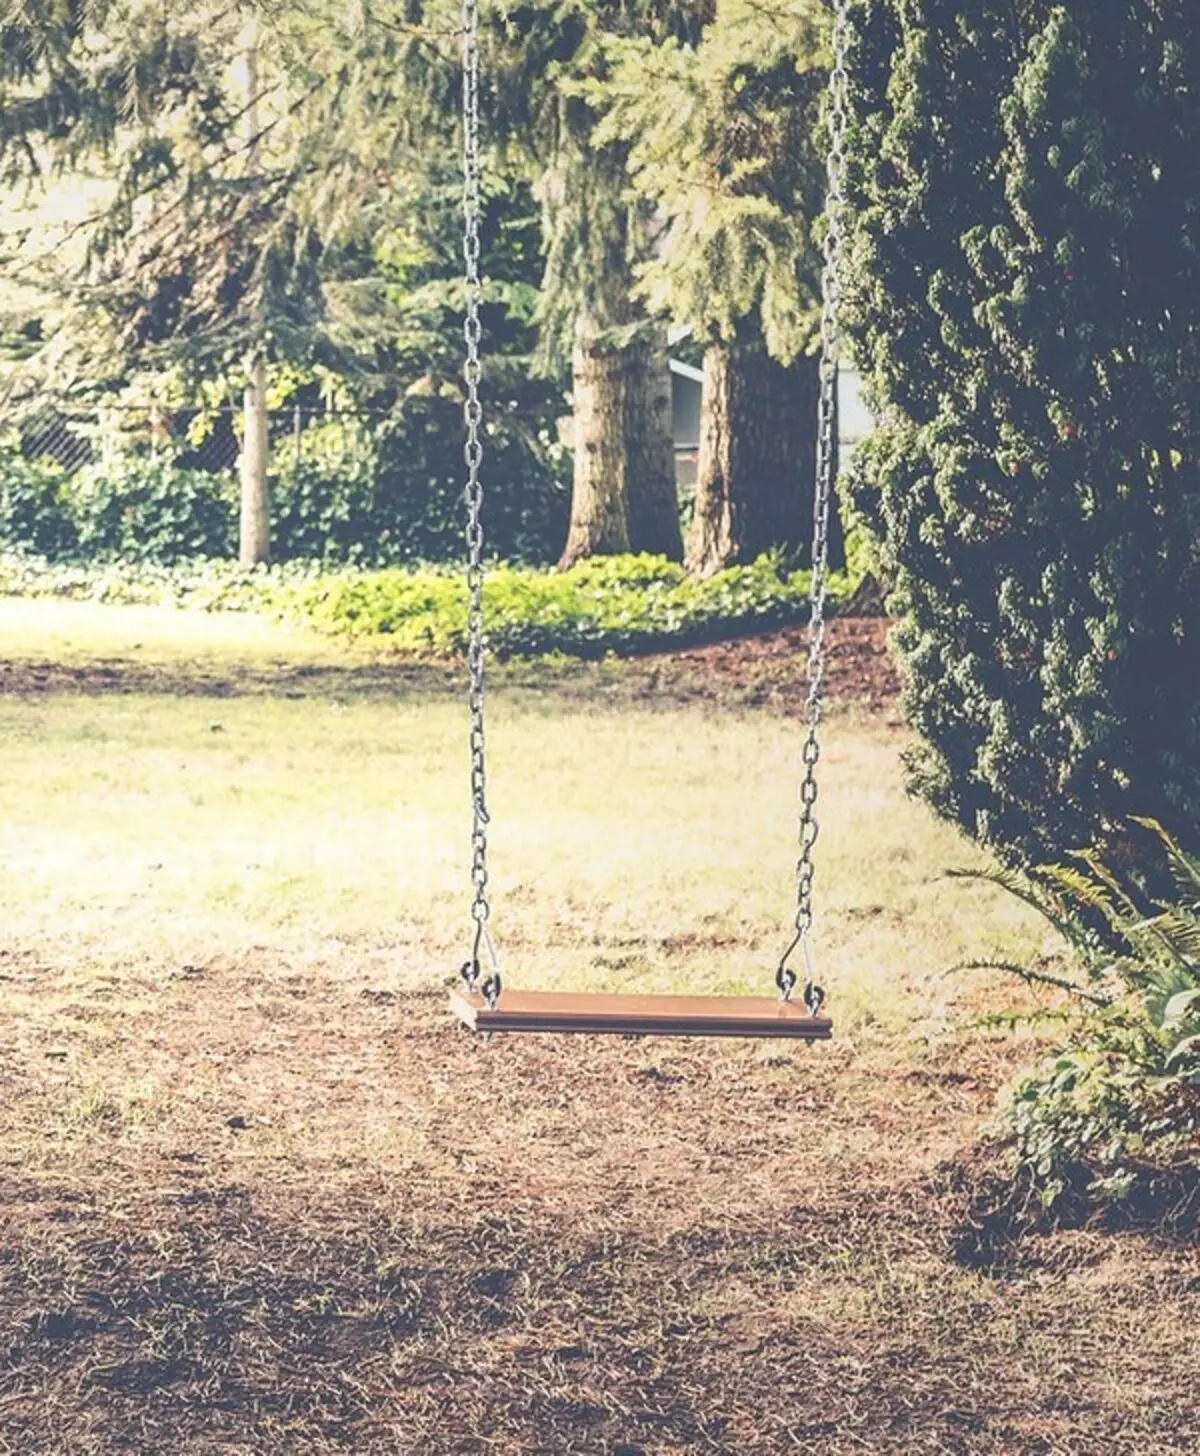
- Suspended consist of three main elements: carrier crossbar, seats, chains or ropes on your choice. They are attached to something durable, while the seat is desirable should have a back. To provide additional comfort and safety.
- Springs please children as a carousel in parks. They are made in the form of various animals and cars, and the plus is that for a small child they are almost no effort.
- Sun loungers are suitable for both children and the whole family. They are spacious and soft, so they will be pleasantly to lie down in the shade of trees, read the book or watch the movie.
Preparation for work
We advise you to think over everything to the smallest details. Our advice will help.Selection of material
When choosing a material, navigate to the methods of installation of the product and the purpose of its operation. If you make a design exclusively for a child, it can be made of light wood or dense fabric. If adults will be used, then the frame is better to make metallic.
However, here you need to correctly appreciate your capabilities, because for the iron construction, a solid foundation is necessary, where welding will have to be applied. If you do not possess similar skills, then create a wooden product project with chain or rope fasteners. Pay attention to the oak, cedar, pine or birch. With proper processing, such wood does not crack, will not burst and will not turn into a duch.
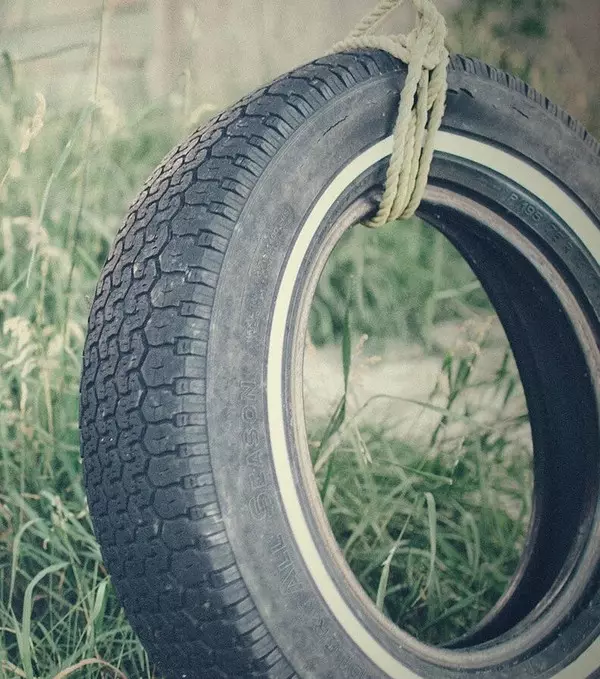
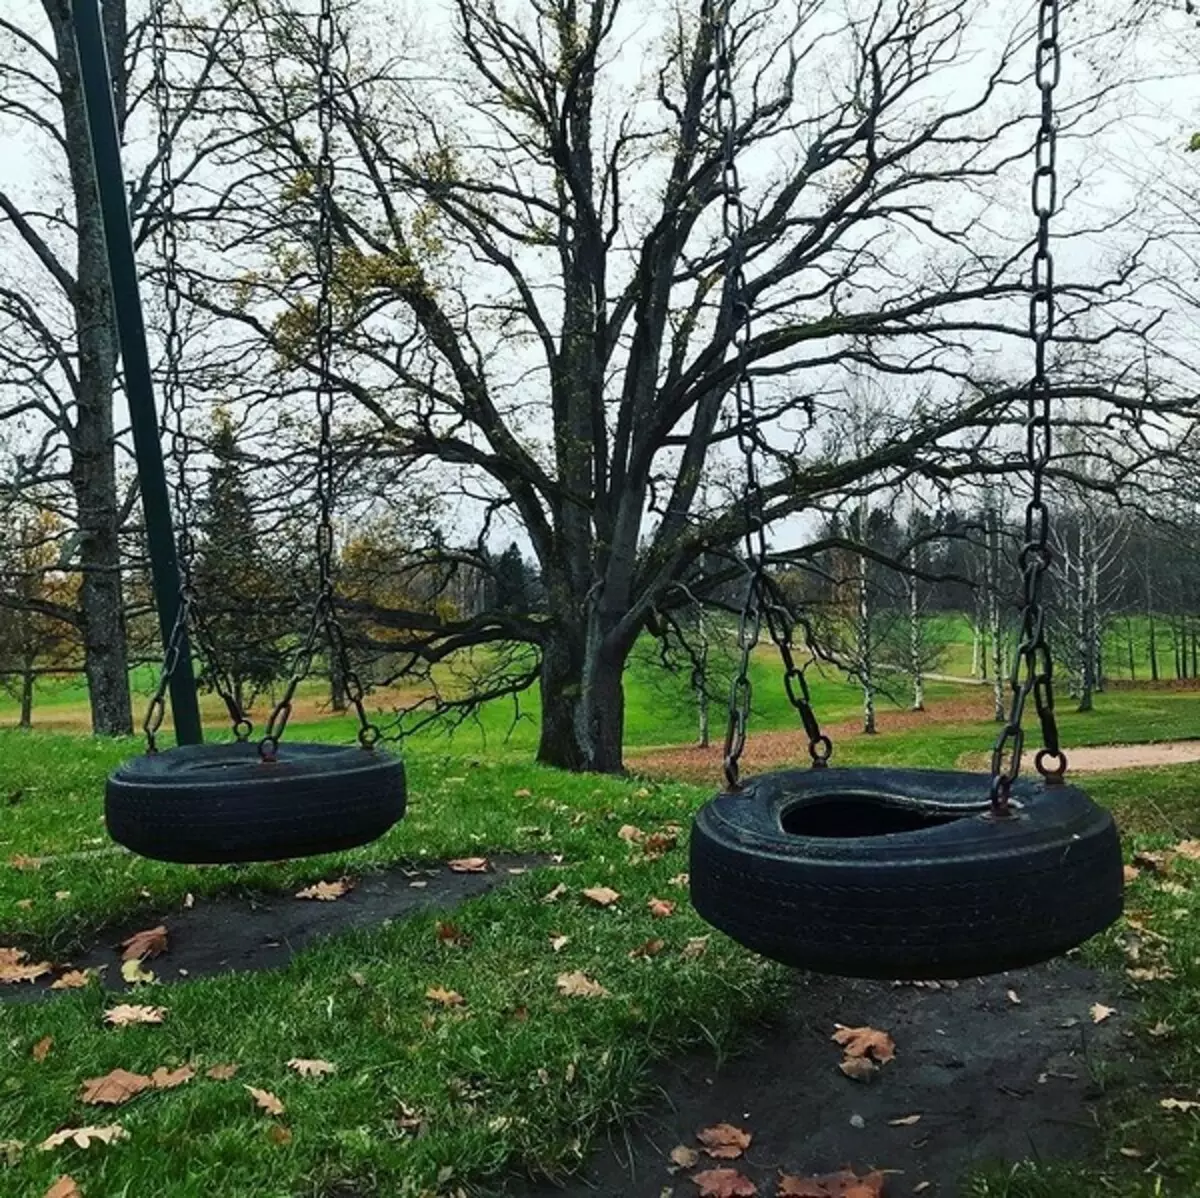
In the absence of wood and metal at hand, you can use another convenient and unpretentious material - rubber bus. It is enough to fix on a solid rope and tie to a sturdy tree branch.
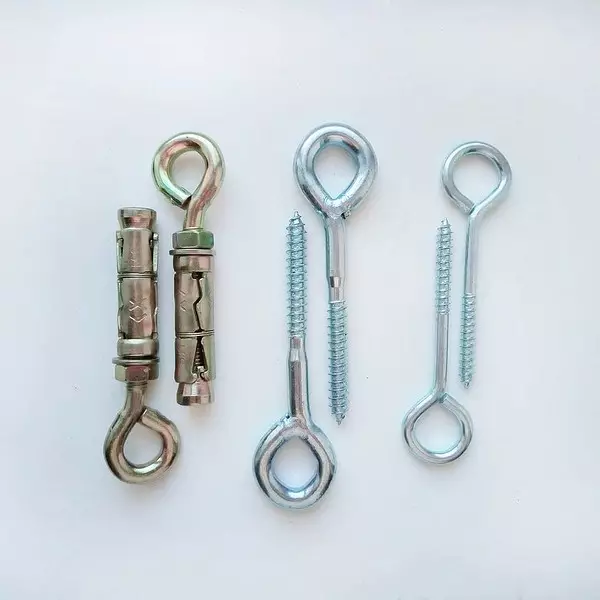
-->Preparation of instruments
You will need:- A hammer
- Sandpaper
- Durable rope or several chains
- Large diameter heat shrink tube
- Screwdriver
- Pencil
- Saw
- Karabina
- Blueprints
The process of assembling a swing for children to the country
Frameless
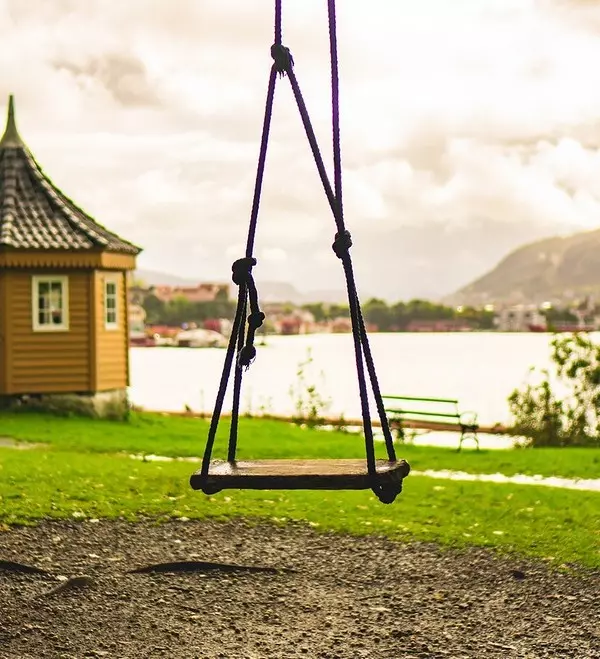
The simplest products are frameless suspended models. In order to place them, look at a sturdy tree with swallow branches.
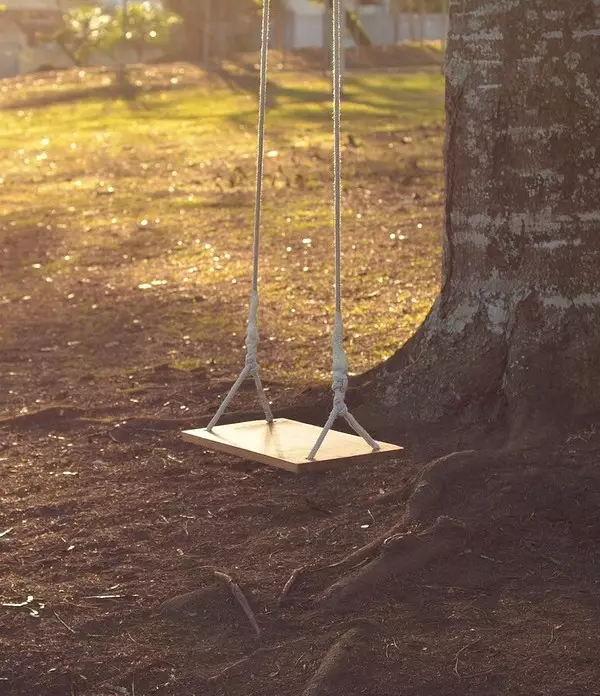
A board from chipboard is suitable for the seat, an old skateboard, a chair without legs or any other object that you can adapt to it. Drill in every corner of the opening. Then handle the surface with sandpaper so that it does not have a zoom. If you wish, you can paint it. The paint layer will create additional protection and extends the service life of the board.
-->After that, over a branch of a tree, throw two ropes. Four-free end to the drilled holes and make a strong nodes under the resulting seat.
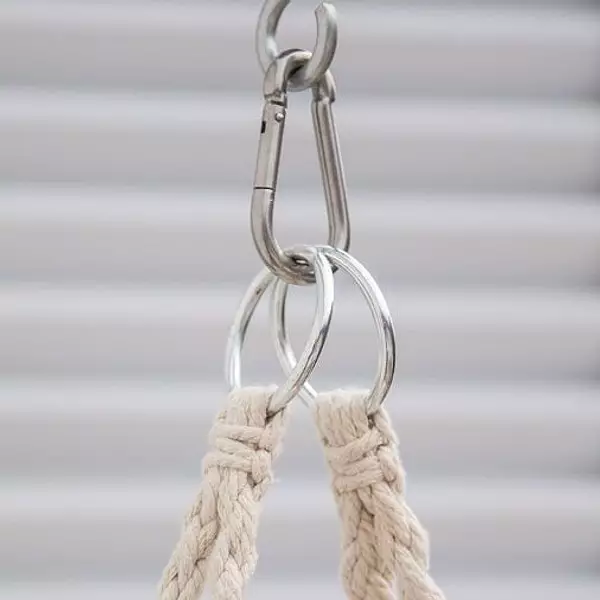
When using chains, in the seat, the hooks are screwed to which the links join.
-->Preload chains through heat shrink tubes. After installing the handset, you need to put at the level of the hands of the child and fix on the chain with the help of fire. So you will protect your little family member from entering the links.
Swing-hammock
Children will love a cozy hammock, which also does not require the manufacture of frame racks.
In order to make a hammock, you will need only a piece of fabric (preferably with a bright print), rope and crossbar.
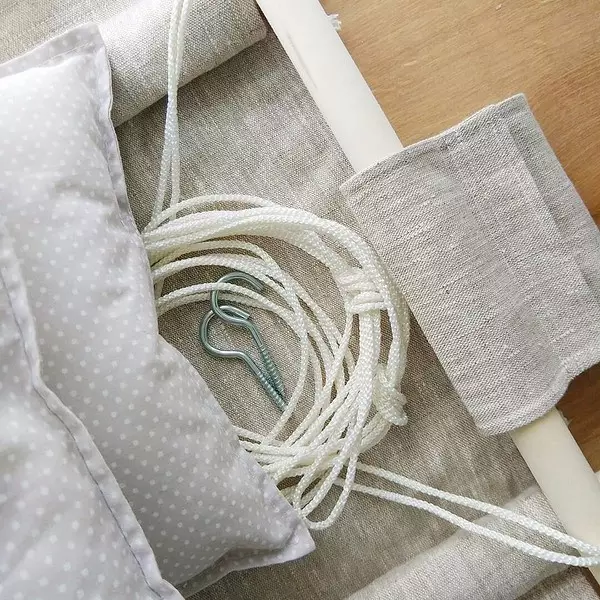
Fold the material in half and push all the untreated edges. Then bend a few centimeters of the fabric on the left and right sides and step up so as to create inside the space for the rope. Throw it into the resulting grooves.
-->Next, you need to drill holes at the edges of the wooden crossbar and insert ropes there. So that she does not "go" from above and replete with rope with nodes.
The ends of the ropes must be tied to the knot and tie to the tree. Also in this node can be inserted with steel carbine, and after attaching the workpiece on the metal frame. So you will receive a portable option that is easy to fold and remove in bad weather or during departure.
-->Hammock from the hoop
If you speak Macrame technique, then you can easily make a hammock, a frame for which two ordinary metal hoops will serve.
Hoops need to be tightly copped with each other and weave the pattern. You can hang such a hammock both on a tree and on a special framework. The fabric is also well suited for hoop. It is enough to wrap it and sew all the edges.
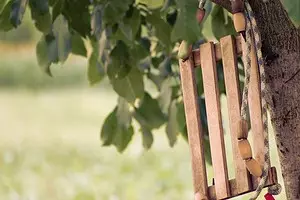
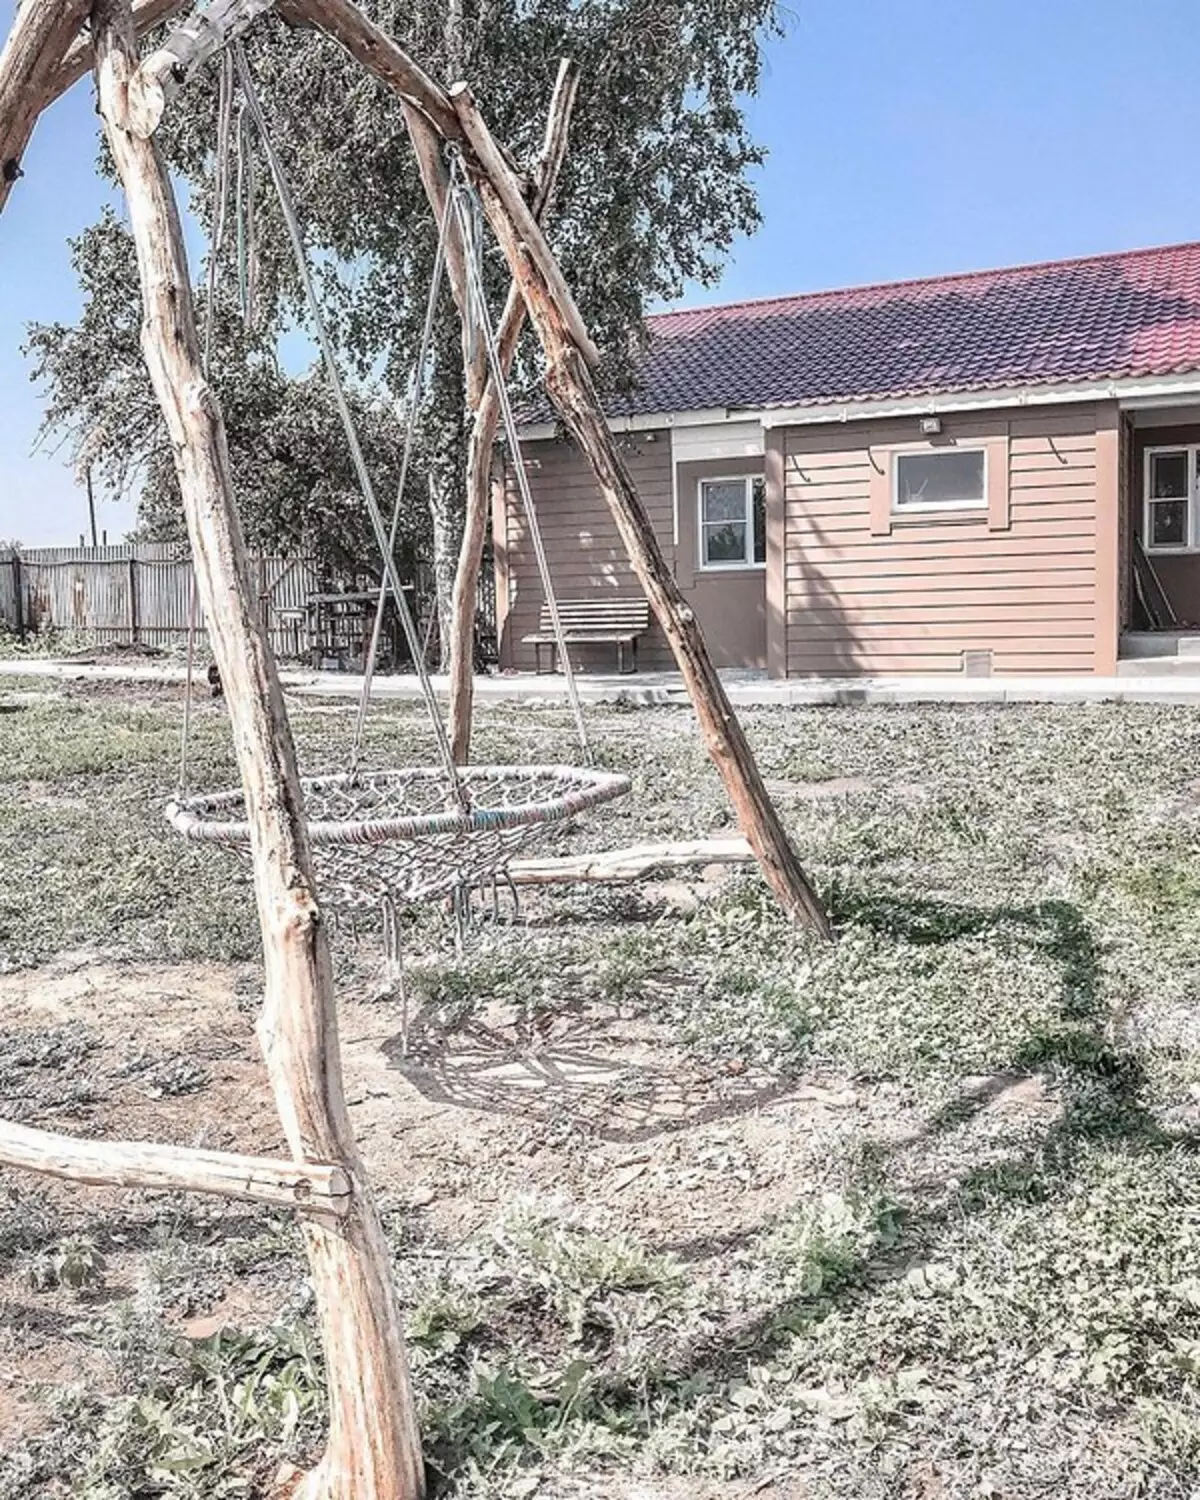
-->Swing from pallets
A more solid form that is best installed on the crossbars in the ground.
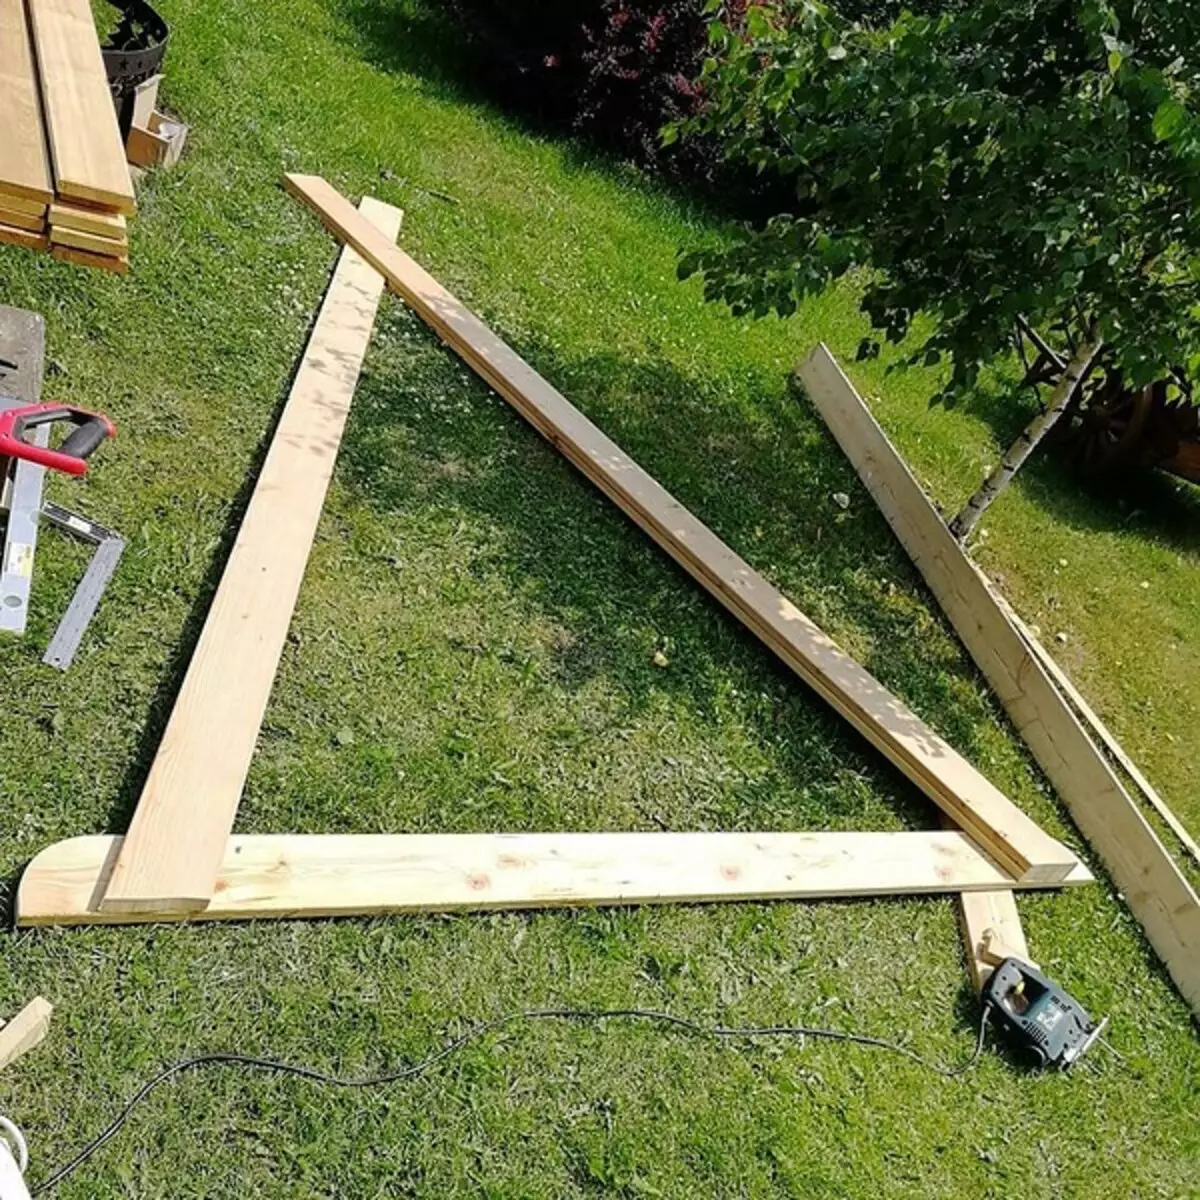
The crossbars can serve in pairwise crossed four long wooden bars or iron poles. If you chose a tree, then the bottom of the structure is treated with primer.
-->After you capture the workpiece between yourself, you can proceed to the preparation of the soil. In the ground, it is necessary to dig a holes of at least 30 centimeters in depth. Fill them with concrete and gravel, then put the support there. Leave the product to complete solutions.
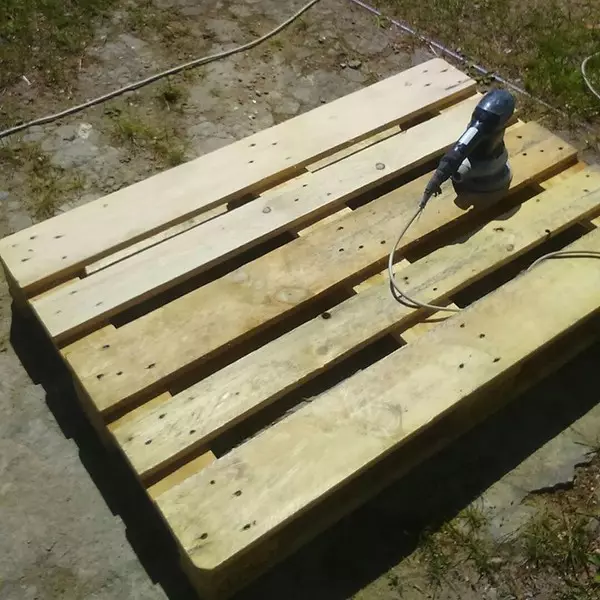
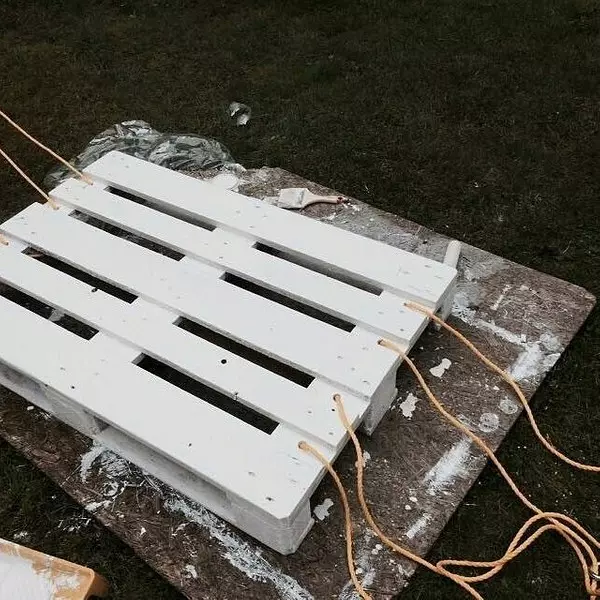
At this time, you can take advantage of the place of rest. Take several wooden pallets, clean them from dirt, polish and treat with a special solution to prevent the development of mold and insects. For additional protection, paint them or cover their lacquer.
-->Connect the two pallets under direct at an angle of 90 degrees using metal fasteners. To the bottom of the pallets on the place of the joints to attach thick bars. They will serve as a good support and prevent the structure of the design. As a result, you will have a peculiar chair.
Further, in each rail, drill a hole and grind a solid synthetic rope into it. Burn the rope to secure large nodes so that they do not fly out of the holes.
-->
Fastening gossip together or leave each thread separately, the ends to customize to the carbines and secure them on the previously prepared support.
-->The case remains only for textiles. Put soft mattresses, throw multicolored pillows and make this place truly cozy.
Security Tips
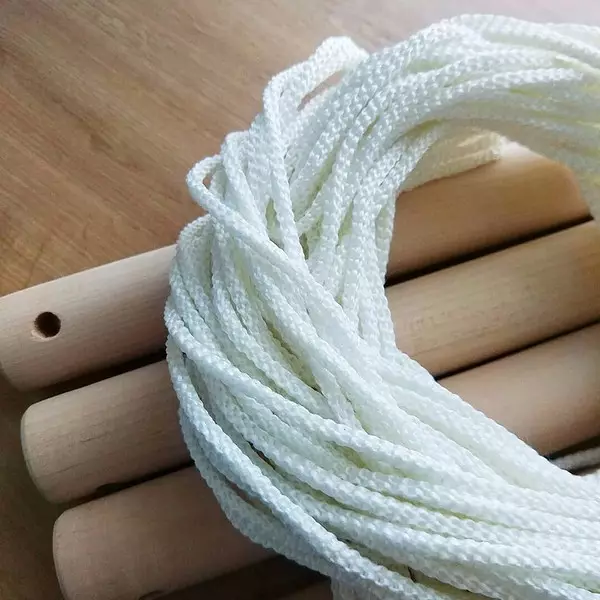
When choosing a type of support between P-shaped and A-shaped, we advise you to prefer the second one. An additional strut in the middle of the design will provide a more stable and reliable fit of the product. Making a rope fastening, refuse ropes from natural materials, as they can quickly join and rub. It is better to select synthetic materials or set the chains to which any rope will give up reliability.
Before hanging the design on a tree, make sure that the branch is strong enough. If you find cracked or dry areas on it, then in this place it is impossible to hang the design because it can be dangerous for your child's life.
-->Next to the selected installation site should not be sharp bits, dry trees, walls or shaky structures.
After installation, be sure to check the strength by putting on them the most severe family member.
Also do not save on materials and fasteners. You not only secure children from injuries, but also be able to avoid continuous repair of the product. We will install the design in the shade. This will take the pastime more comfortable and safe.
Children may fall, so to avoid serious injuries and bruises, install the product above the grass, or prepare a special rubber surface that is used to cover the playgrounds.
-->