
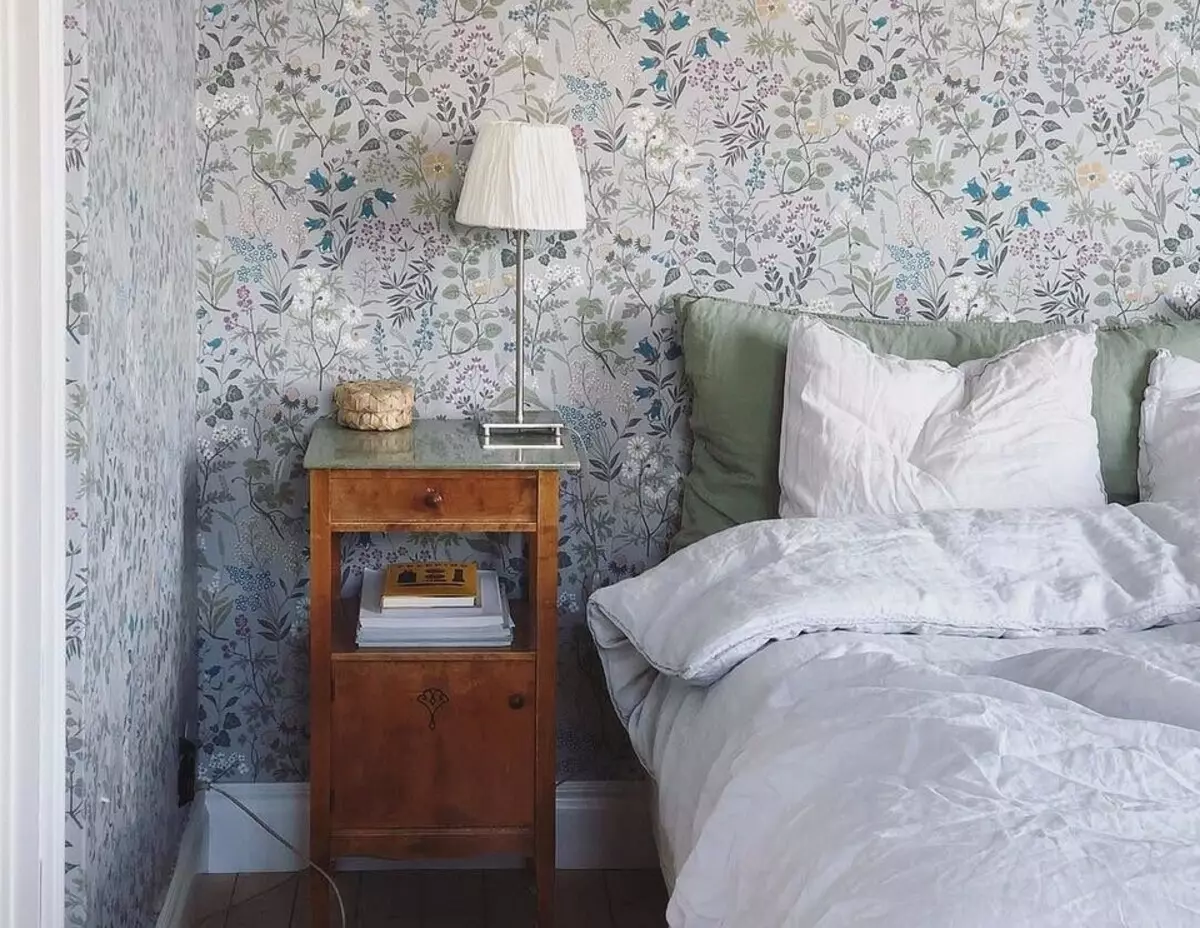
We tell how to put joints, eliminate bubbles and update old wallpapers that have come from the walls. And also we recommend that you need to do before repair so that the coating is not separated from the walls.

It often happens that everything seems to be done correctly, the technologies are observed, the instructions are made, but still the result will deteriorate. On the surface suddenly there are folds and bubbles that were not there before. The canvas suddenly begins to move away. Especially often it happens from the edges. It seems that there is no logical explanation to this phenomenon - because the composition was divorced in the correct proportions and smeared a sufficiently thick layer. Bought it with the sheets in the corporate store, where fakes are not sold. Of course, everything has its own reasons for everything. Nothing happens just like that. And then the question arises - what to do is not to start all over again, how and what to put the wallpapers that were dug? We give answers to the article.
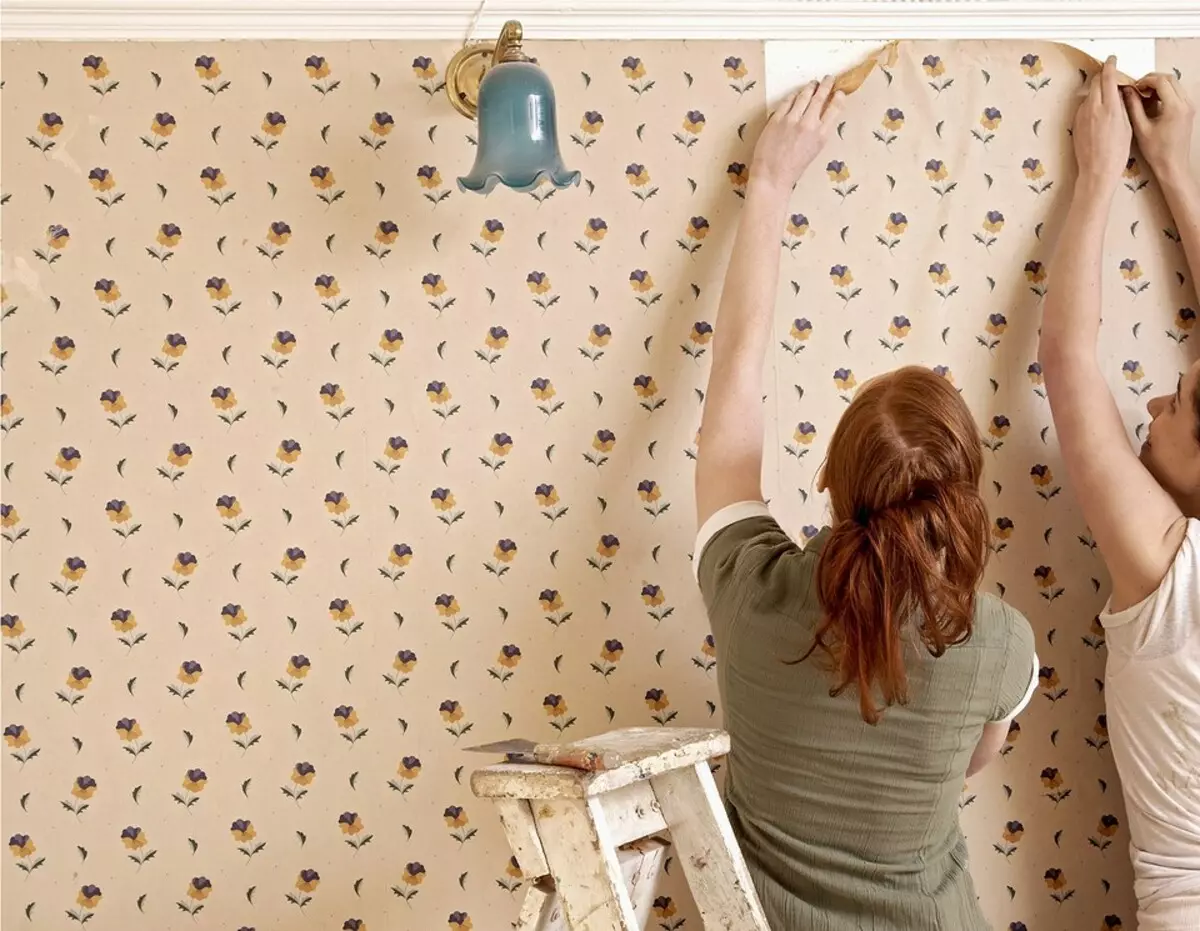
How to put wallpaper correctly
Why did this happenHow to eliminate folds and bubbles
How to fix joints
How to put old coatings
Causes of deals
So that the story does not happen, you need to know, because of what the detachment occurred. It is possible that the coating will have to be deleted due to improper preparation of the base. There are cases when the works turn out to be in vain due to the little things, which do not even write in the instructions.
Conditions of high-quality sticking
In order for the sheets well to keep on the surface, a number of conditions must be observed.
- Reliability on the walls should be eliminated. Basins and deepening become the cause of air bubbles. They interfere with the tight fit of the canvas, creating voids that only increase over time. It happens not only around the edges. It is impossible to fight this phenomenon. It is useless to smooth up a cloth with a rag or roller. Increased density and thickness of the solution layer will only lead to the formation of new folds and wrinkles. The only remedy that avoids the detachment is to properly prepare the basis, if necessary, plastered and sharplying it. The problem will know about yourself if there are poorly fitted plasterboard sheets, and there are cracks between them, or if they are not securely fixed.
- It is necessary to remove the old coating, as well as a finish that holds well. If this is not done, slices of putty, paint and old sheets stick to the roll and fall finally. If you want to remove pieces of paper, they are better to tweak the wet rag first - they will lose weight. Cracks and holes need to clear up so that they do not appear, and expand so that the building material can fill them. If not to do this, then it will be too late to correct anything.
- The basis should be clean. Dust reduces adhesion. The surface must be won or even rinsed. To determine how suitable it is for work, you can glue a piece of scotch or tape to it. If particles of dust and garbage remain on it, the purification was insufficient. A certain danger represents mold. It occurs on the walls and the ceiling in poorly ventilated rooms, stays for a long time after the flooding of the apartment. To get rid of it at home apply ordinary remedies sold in construction stores.
- If the putty is dirty, the roll is unlikely to be able to keep it. So that he did not move away, use special primers.
- The work is allowed to produce in a ventilated room, but with strong drafts of the seams will diverge. The edges will have to stack even if high-quality solution was used, and the base was carefully prepared. In this case, rip off the coating and start everything will not have to begin. This situation is not difficult to correct. It is desirable that the temperature is close to room. If the sun warms too much, the curtain must be closed to avoid uneven drying.
- You must follow the instructions on the package. If this is not done, the consequences will be unpredictable.
How to fix bubbles and folds on the wallpaper
Flesting and bubbles are easily eliminated with a blade or knife. The point must be well sharpened to not tear paper. The method is equally well suited for vinyl, phlizelin, and for ordinary canvases.
The resulting cavities arise due to drying the glue, losing moisture and experiencing deformation. Wrinkles may appear under the impact of the weight of the wet roll and its expansion. Such defects disappear by themselves during the day or several hours. If this does not happen, you will have to resort to "surgical" intervention. It will act much more convenient if the glue has not yet frozen, so you should not delay with correction. Work is not necessary to spend together with the assistant. One person will be able to correct.
A neat incision is made on the bubble, and air or a solution in excess is produced from it. It is necessary to do it very carefully to avoid breaks and stretching. If necessary, it is possible to press the stronger - there is nothing terrible. But when smoothed, caution should be caution.
The method does not always work. The incision will be noticeable on photographic windows or on clear drawings, where every millimeter is important. In this case, the syringe is used to pump. With it, adhesive weight is introduced inside. The surface is maintained with a roller and is rubbed with a rag.
Too big cavities that have already managed to dry, increase with PVA or its analogues. It is desirable to apply the composition that was used during the main work, but it usually does not remain, since to obtain a solution with the correct proportions it is more convenient to pour out all the packaging. If the stock still remains, the solution is better made slightly more liquid than indicated in the instructions. It should be remembered that PVA at high concentration leaves yellow traces on paper.
What to do if the wallpapers are spled
Causes can be different. Perhaps the whole thing in drafts or poorly prepared basis.
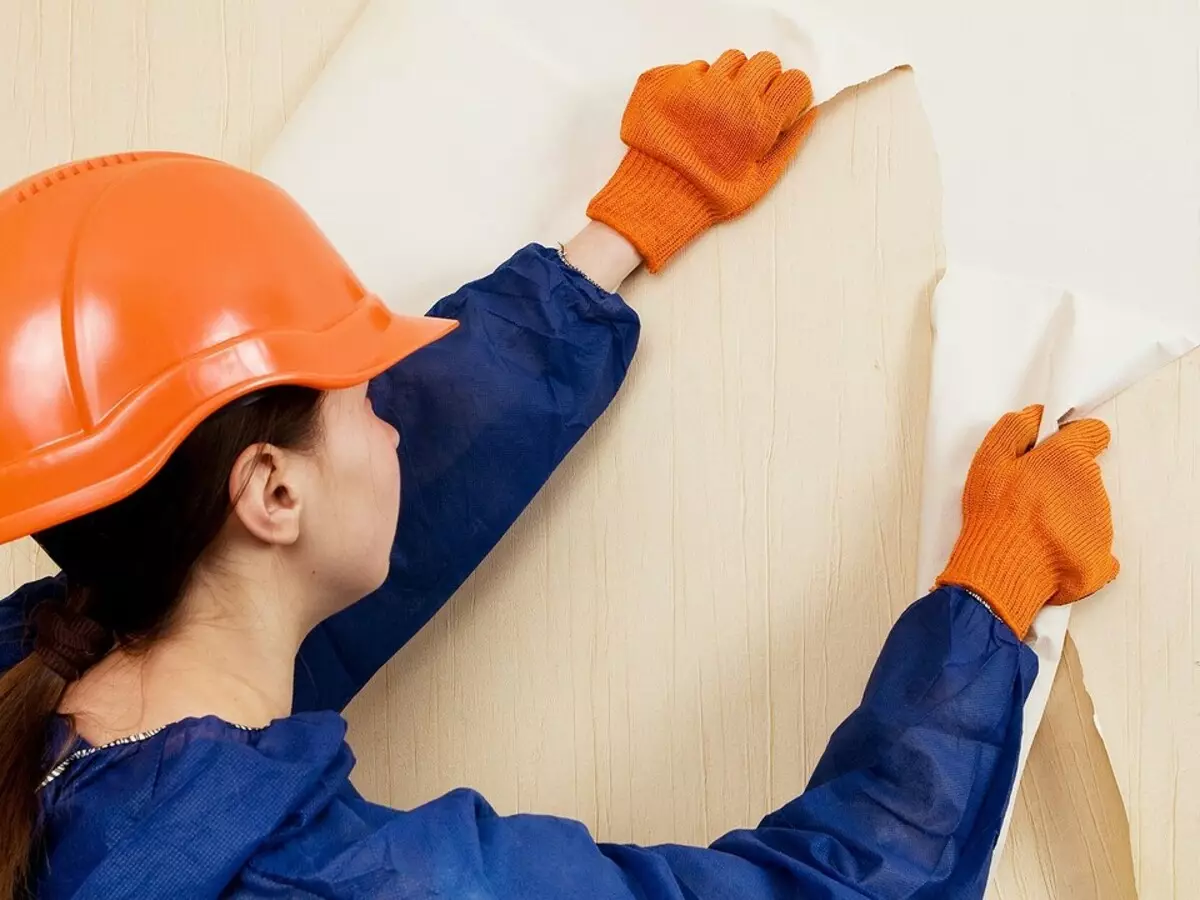
If the roll holds well within a few days, and the problem is only in the separation of the edges, the surface was processed satisfactorily. However, additional cleaning in the discontinuation places does not hurt. Small cracks sufficiently wipe with cotton chopsticks. For larger, a spatula and sponge will fit. If possible, climbing edges should be avoided so as not to spoil their appearance. It is more convenient to deal with vinyl and fliesline sheets. They are plastic and do not lose shape during wetting. Paper is usually covered by waves. It is easy to break it, so you need to handle it so carefully as possible.
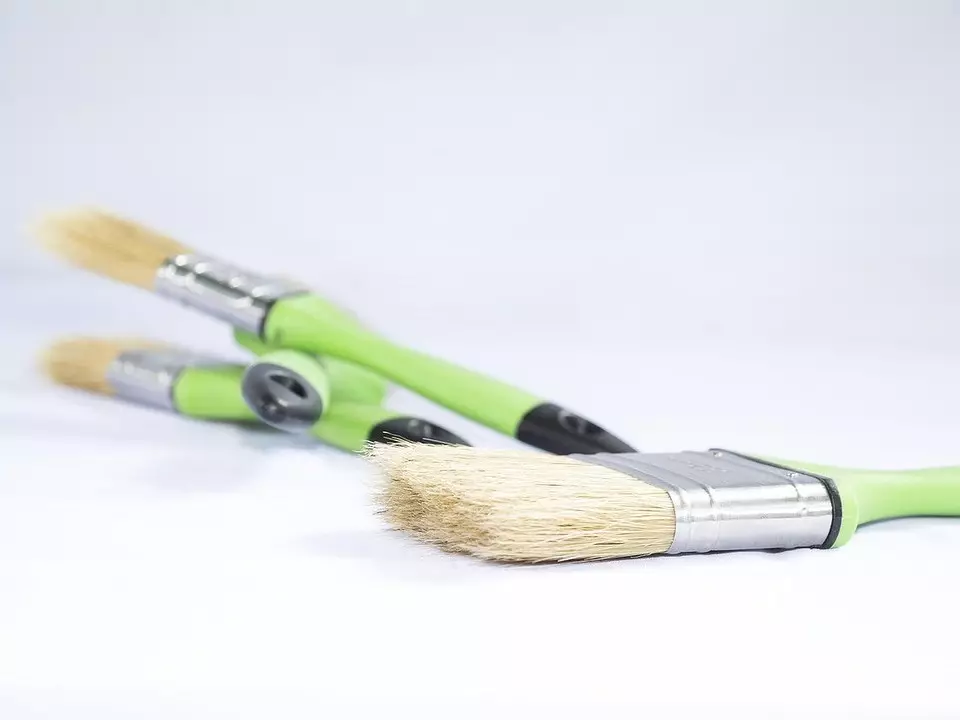
How to put the wallpapers correctly on the junction? You can glue joints using PVA or a dry solution residue if it was not completely consumed. Water to it should be added a little more than usual to ensure the mixtures of the greatest plasticity. In addition, it will have to compensate for the rigidity of the edge, which appeared due to the fact that an old solution remained on the inner surface. If possible, the edge is inspired. The composition is applied with a brush, after which the edge is pressed and rolled with a rubber roller. Excess mass is removed by a dry cloth.
If a few days later had to remove the entire roll, it would not be possible to use it for the second time - you need to take a new one. However, there are craftsmen who refute this rule, moreover, quite skillfully. It is possible to save already dry vinyl sheet will succeed, but the paper is unlikely. Such situations arise due to the fact that the surface has not been prepared properly. Before using the next roll, it must be cleaned and eliminated irregularities.
How to put the old, the wallpaper moved from the walls
It is not so important why it happened. The reason can be in any way - in the flooding of the apartment, proximity to heat sources or steam, physical effects. The main thing is that the coating is well kept and not peeled.
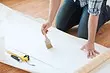
Here are the ways described in the previous part of the article. There are special means sold in tubes with long narrow nozzles. They are ready to use. You do not need to dilute them. Such means are well suited for all types of coatings. Their adhesive properties are better than that of ordinary mixtures. This solution will be optimal for hard edges that are difficult to clean. The composition is evenly applied to the pure base, after which the surface is rolled with a rubber roller and is rubbed. Works should be performed at room temperature. Drafts must be avoided. The base can be reinforced with a special paper tape. It is glued in the place where the seams diverge. The edges adhere to it much better than to putty or plaster. It can be used only for thick vinyl cloths - otherwise its contour will be noticeable.
How to fix the situation if wallpaper dug out at the junction? The best solution is to not allow mistakes initially during work. But if they were still allowed, use the tips from our article.